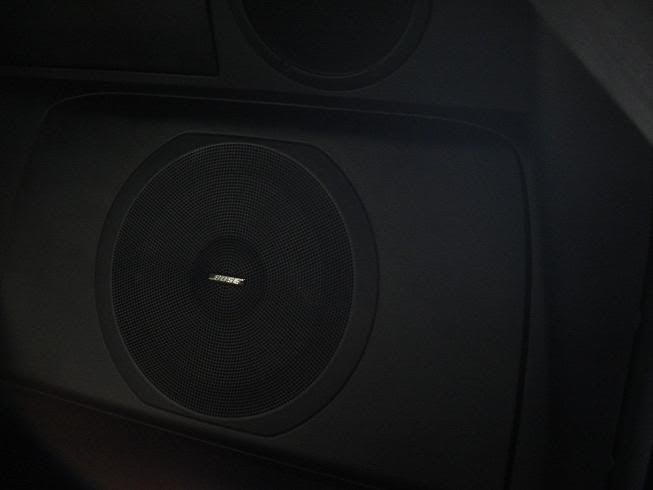
My first completed install.
#1
New Member
Thread Starter
iTrader: (2)
Join Date: Dec 2007
Location: Houston, TX
Posts: 170
Likes: 0
Received 0 Likes
on
0 Posts
I tried to keep it clean and simple. The subs are a bit of an overkill for me, but I got a great price on the JL equipment and I figure I'll never need to get anything bigger. I was a little worried about the placement of the front speakers, but it sounds great to me so I'm not going to bother changing it. Plus I keep my dead pedal and it's one less thing I have to fiberglass. The only thing I didn't do was the upholstery since I don't have a sewing machine and I wanted the stitching to match. Turned out pretty nice, I'm very happy with the work. Only part that sucks is that I scratched a little of the vinyl as I was putting in the box. Hopefully I can patch it up somehow. Couple more things to add, but it's basically done, and I'm loving it.


Last edited by brick; 08-02-2008 at 09:51 AM.
#6
New Member
Thread Starter
iTrader: (2)
Join Date: Dec 2007
Location: Houston, TX
Posts: 170
Likes: 0
Received 0 Likes
on
0 Posts
Fiberglass door pods, fiberglass sub enclosure roughly 2.25 cu ft. with polyfil, lots of dynamat everywhere. Kick panels are stock panels with holes cut in them with dynamat on the back. Did everything myself except the covering.
Thanks for the nice comments everyone.
Thanks for the nice comments everyone.
Trending Topics
#11
New Member
Thread Starter
iTrader: (2)
Join Date: Dec 2007
Location: Houston, TX
Posts: 170
Likes: 0
Received 0 Likes
on
0 Posts
Originally Posted by TreeFiddyZee
Your first install? Don't take this personally, but I hate you. That looks very nice. Fits the character of the Z. Congrats.
Dynamat didn't make a huge difference with road noise, but it does make a huge difference with the sound of the system. I didn't cover absolutely everything. I used strips in most places and more in key locations. Just Dynamat Extreme, nothing else.
The amp rack was a pain. I had to do a little grinding and I had to put together the pieces inside the compartment. Barely any wiggle room. That took a lot longer than I thought it would, but it was worth it. I put 2 fans behind the amps and once I find a decent looking grill/opening I'll put it into the stock plastic cover piece. No overheat issues with normal listening for a 90min drive, but I'm still going to do it.
#13
Registered User
iTrader: (2)
Join Date: Jul 2006
Location: Dallas, TX
Posts: 1,324
Likes: 0
Received 0 Likes
on
0 Posts
Originally Posted by brick
once I find a decent looking grill/opening I'll put it into the stock plastic cover piece

There's a heatwave here in Texas right now and my computer (which is hidden behind it) hasn't overheated at all. Even right out of the work/etc. when i'm sure it's like 120 in my car hehe.
#15
Speed of White

iTrader: (18)
Join Date: Oct 2006
Location: San Diego
Posts: 1,568
Likes: 0
Received 0 Likes
on
0 Posts
Very nice....
Re: placement of your front speakers.... when I had my mids and tweets in my kick panels, I was not satisfied with the sound. I had dash pods built and preferred that sound much better.... fwiw.
Re: placement of your front speakers.... when I had my mids and tweets in my kick panels, I was not satisfied with the sound. I had dash pods built and preferred that sound much better.... fwiw.

#17
Registered User
iTrader: (7)
Join Date: Aug 2006
Location: NJ
Posts: 2,136
Likes: 0
Received 0 Likes
on
0 Posts
Originally Posted by doug
10/10 on install
10/10 on detail
10/10 on custom work
6/10 on equipment
10/10 on detail
10/10 on custom work
6/10 on equipment

I love the stitching!!!! are you going to continue that on the seats/shift boot/etc?
Very nice job overall. Also I wanted to give you props on speaker wire pants. Not too many people use them, but I find them to be one of those great 'finishing touches'.
#18
New Member
Thread Starter
iTrader: (2)
Join Date: Dec 2007
Location: Houston, TX
Posts: 170
Likes: 0
Received 0 Likes
on
0 Posts
Originally Posted by doug
10/10 on install
10/10 on detail
10/10 on custom work
6/10 on equipment
10/10 on detail
10/10 on custom work
6/10 on equipment

 Less then $1200 for a 1000/1, 450/4, and 2 10W7's all brand new.
Originally Posted by StreetOC192
I knew that was coming
I love the stitching!!!! are you going to continue that on the seats/shift boot/etc?
Very nice job overall. Also I wanted to give you props on speaker wire pants. Not too many people use them, but I find them to be one of those great 'finishing touches'.
I love the stitching!!!! are you going to continue that on the seats/shift boot/etc?
Very nice job overall. Also I wanted to give you props on speaker wire pants. Not too many people use them, but I find them to be one of those great 'finishing touches'.
Last edited by brick; 08-05-2008 at 03:58 PM.
#19
Sponsor
Simplicity in Sound
Simplicity in Sound
iTrader: (10)
everything looks very nice, my only suggestion is that i would have liked to see you do instead is forget about hte rear comp set, use the money saved and 1. get enough amp channels to run the front stage active, and 2, get a processor like the h701, that would, IMO, make for a better overall sounding system, but hey as long as you are happy with it, thats all it matters  looks clean and nice
 looks clean and nice

