
A Smart phone mount tutorial


Thread Starter
Registered User
iTrader: (1)
Joined: Jan 2004
Posts: 1,407
Likes: 0
From: Orange County, CA
Feel weird calling it a tutorial, can't think of another word for it. It's 2am.
I don't know why given the size of this forum and the popularity of our cars there's no small Z inspired company that makes a custom smartphone bracket or mount for our cars. There'a few out there like Panavise, ProclipUSA, etc. but they're pricey for just a mount. That and their placement is not very good.
I was pretty shocked to find numerous threads discussing cell phones dated back in 2004 before the iphone release and finding pictures of people's nokia bricks. And the newer threads involve a lot of talk about "why would you need your cellphone mounted. keep it in your pocket." which doesn't make a whole lot of sense to people like me who use the phone for everything including navigation and music.
Who this is for: People who use their smart phones, iphones, galaxy notes, etc. as a music player in their car, for GoogleMaps navigation, Car Dock apps, etc. and need a place to put the cell phone that is a) easily visible b) easily accessible c) does not get in the way of driving d) doesn't block the AC vent e) does not rely on suction power (which ultimately fails over time).
Estimated time of completion: 1 hour or less
Skills (1 being easiest, 5 hardest): 2. If you can use a drill and know how to measure, you can do this.
Here we go..
Step 1) Go to http://www.modifry.com/products/mounts/mdb.htm and buy the modifry bracket made for the S2000. Modifry is a small company run by Bob that specializes in s2000 products.
Cost = $15

Step 2) Go to radioshack or any electronics or hardware store and buy assorted size pack of 6-32 bolts/nuts and washers set. Cost = $5.50
I can take a picture of these if anyone requests.

(Get bolts shorter than pictured above. Like the ones in the middle in this pic: )
)
Step 3) Go to Amazon.com and order this AMPS plate:
This is the plate that you will bolt onto the Modifry bracket holes.
Cost = $9.95
Step 4) Buy a smart phone car holder/mount that utilizes the swivel ball as a mount in the back. This is something you will have to experiment with or research for whichever dock you are looking into. Instead of a smartphone mount you can mount a TomTom or Garmin GPS type device as well with the "ball".
** OPTIONAL ** if you want the one I am using, it is the ibolt: Cost = $39.95
I specifically chose this because it is not only a dock that's extremely sturdy (it's rock solid), the top arm adjusts and can fit a variety of cell phones, Ipods, iphones, etc. It is one of the best quality mounts I have come across and so far I have been putting my phone in and out in and out, all day long, every day for 3 months and the spring, tension, rubber feet, etc. are all solid.
It also allows you to plug your USB cable into the back of the mount and you can charge your phone with the bendable USB cable that is attached to the mount for a cleaner look.
Step 5) Assemble everything. Mount the AMPS plate onto the Modifry bracket, attach the iBolt smart phone mount onto the AMPS swivel ball. Now that it is a full unit, you can mock fit the placement.
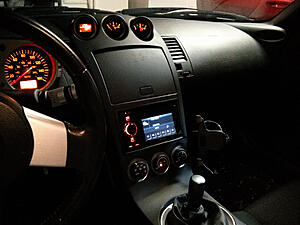
Best picture I have:
Obviously you want to also add the IBolt smart phone mount so you get the measurement and positioning correct!
Step 6) Pop open the passenger's dash cup holder. Make sure this is open all the way so when the phone mount is in final position, it doesn't get in the way. If you do not account for this, you're going to drill and mount the bracket and then later when you pull out the cup holder it will hit your mount.
Step 7) Arrange the bracket as you see in the picture below, in Step 5, and in my final picture to find the right spot. Make sure you do this with the shift boot trim piece on.. AND the passenger cup holder ejected so you can get a good idea of where it should go and not let it hit and rattle off each other. Should be less than 1/4" below the cup holder, which ends up being about 2" down from the top edge of the shift boot trim piece. Mark the hole with a pen.

Step 8) Remove your shift **** and shift **** washer.
Step 9) Remove your shift boot trim plastic. Grab beneath the plastic (through the boot) and tug up. It's just clips holding in place, slides right out. Easier to remove if shifter is put into 4th gear.
Step 10) Detach AC controls ribbon cable.
Step 11) Take the shift trim piece and drill a hole the size of the small bolt, where you marked originally.
Step 12) Drill a second hole on the top of the Modifry bracket. The reason for this is because the bracket only comes with 1 hole. The s2000 only needs one. I tried using only 1 hole and it allowed the bracket to pivot about the bolt if pushed too hard. That would get extremely annoying. Drill a hole anywhere you see fit but MAKE SURE you dry fit on the shift boot trim piece and look on the other side of the plastic to see you have enough room for the bolt/nut.
The smaller circular hole will not be there when you order the bracket from Modifry.


Step 13) Drill a second hole in the corresponding place in the shift trim piece.
Step 14) Attach bracket to the plastic trim piece and put a bolt&washer in. Check the other side of the plastic to see if you have enough clearance. (remember try to get assorted bolt set so you can find the right length. too long and it will hit some plastic parts on the other side. Put a washer and the nut on the other side. Tighten down hard until it is firmly in place.
Do this for the second hole. Align and re-torque it down.
Step 15) Put everything back together.
Step 16) **OPTIONAL** Route USB power cable from head unit to come down through the passenger side knee pad area for cleaner look and cable management. Another option is to do what I did and route it through the passenger side knee pad plastic, go under the passenger side center console (you can just tuck it in ) alllll the way back to the cigarette lighter behind the seats. plug it in. Use a zip tie or rubber band to scrunch up all the extra slack in the cable and tuck it in the plastic under the center console. I use the cigarette lighter instead of my headunit because a) it charges way faster than my headunit charges. Headunit charges EXTREMELY slow, practically useless. b) allows the headunit USB female cable to be accessible and ready for ipod should I use one later.
TIP: When drilling the hole in the shift boot trim piece, drill SLIGHTLY smaller than the bolt so you can tap threads into the plastic so it's nice and snug. Dont want the bolt to have any free play or move around in a larger hole.
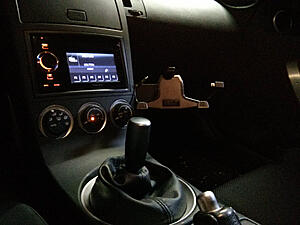
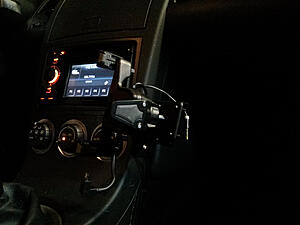
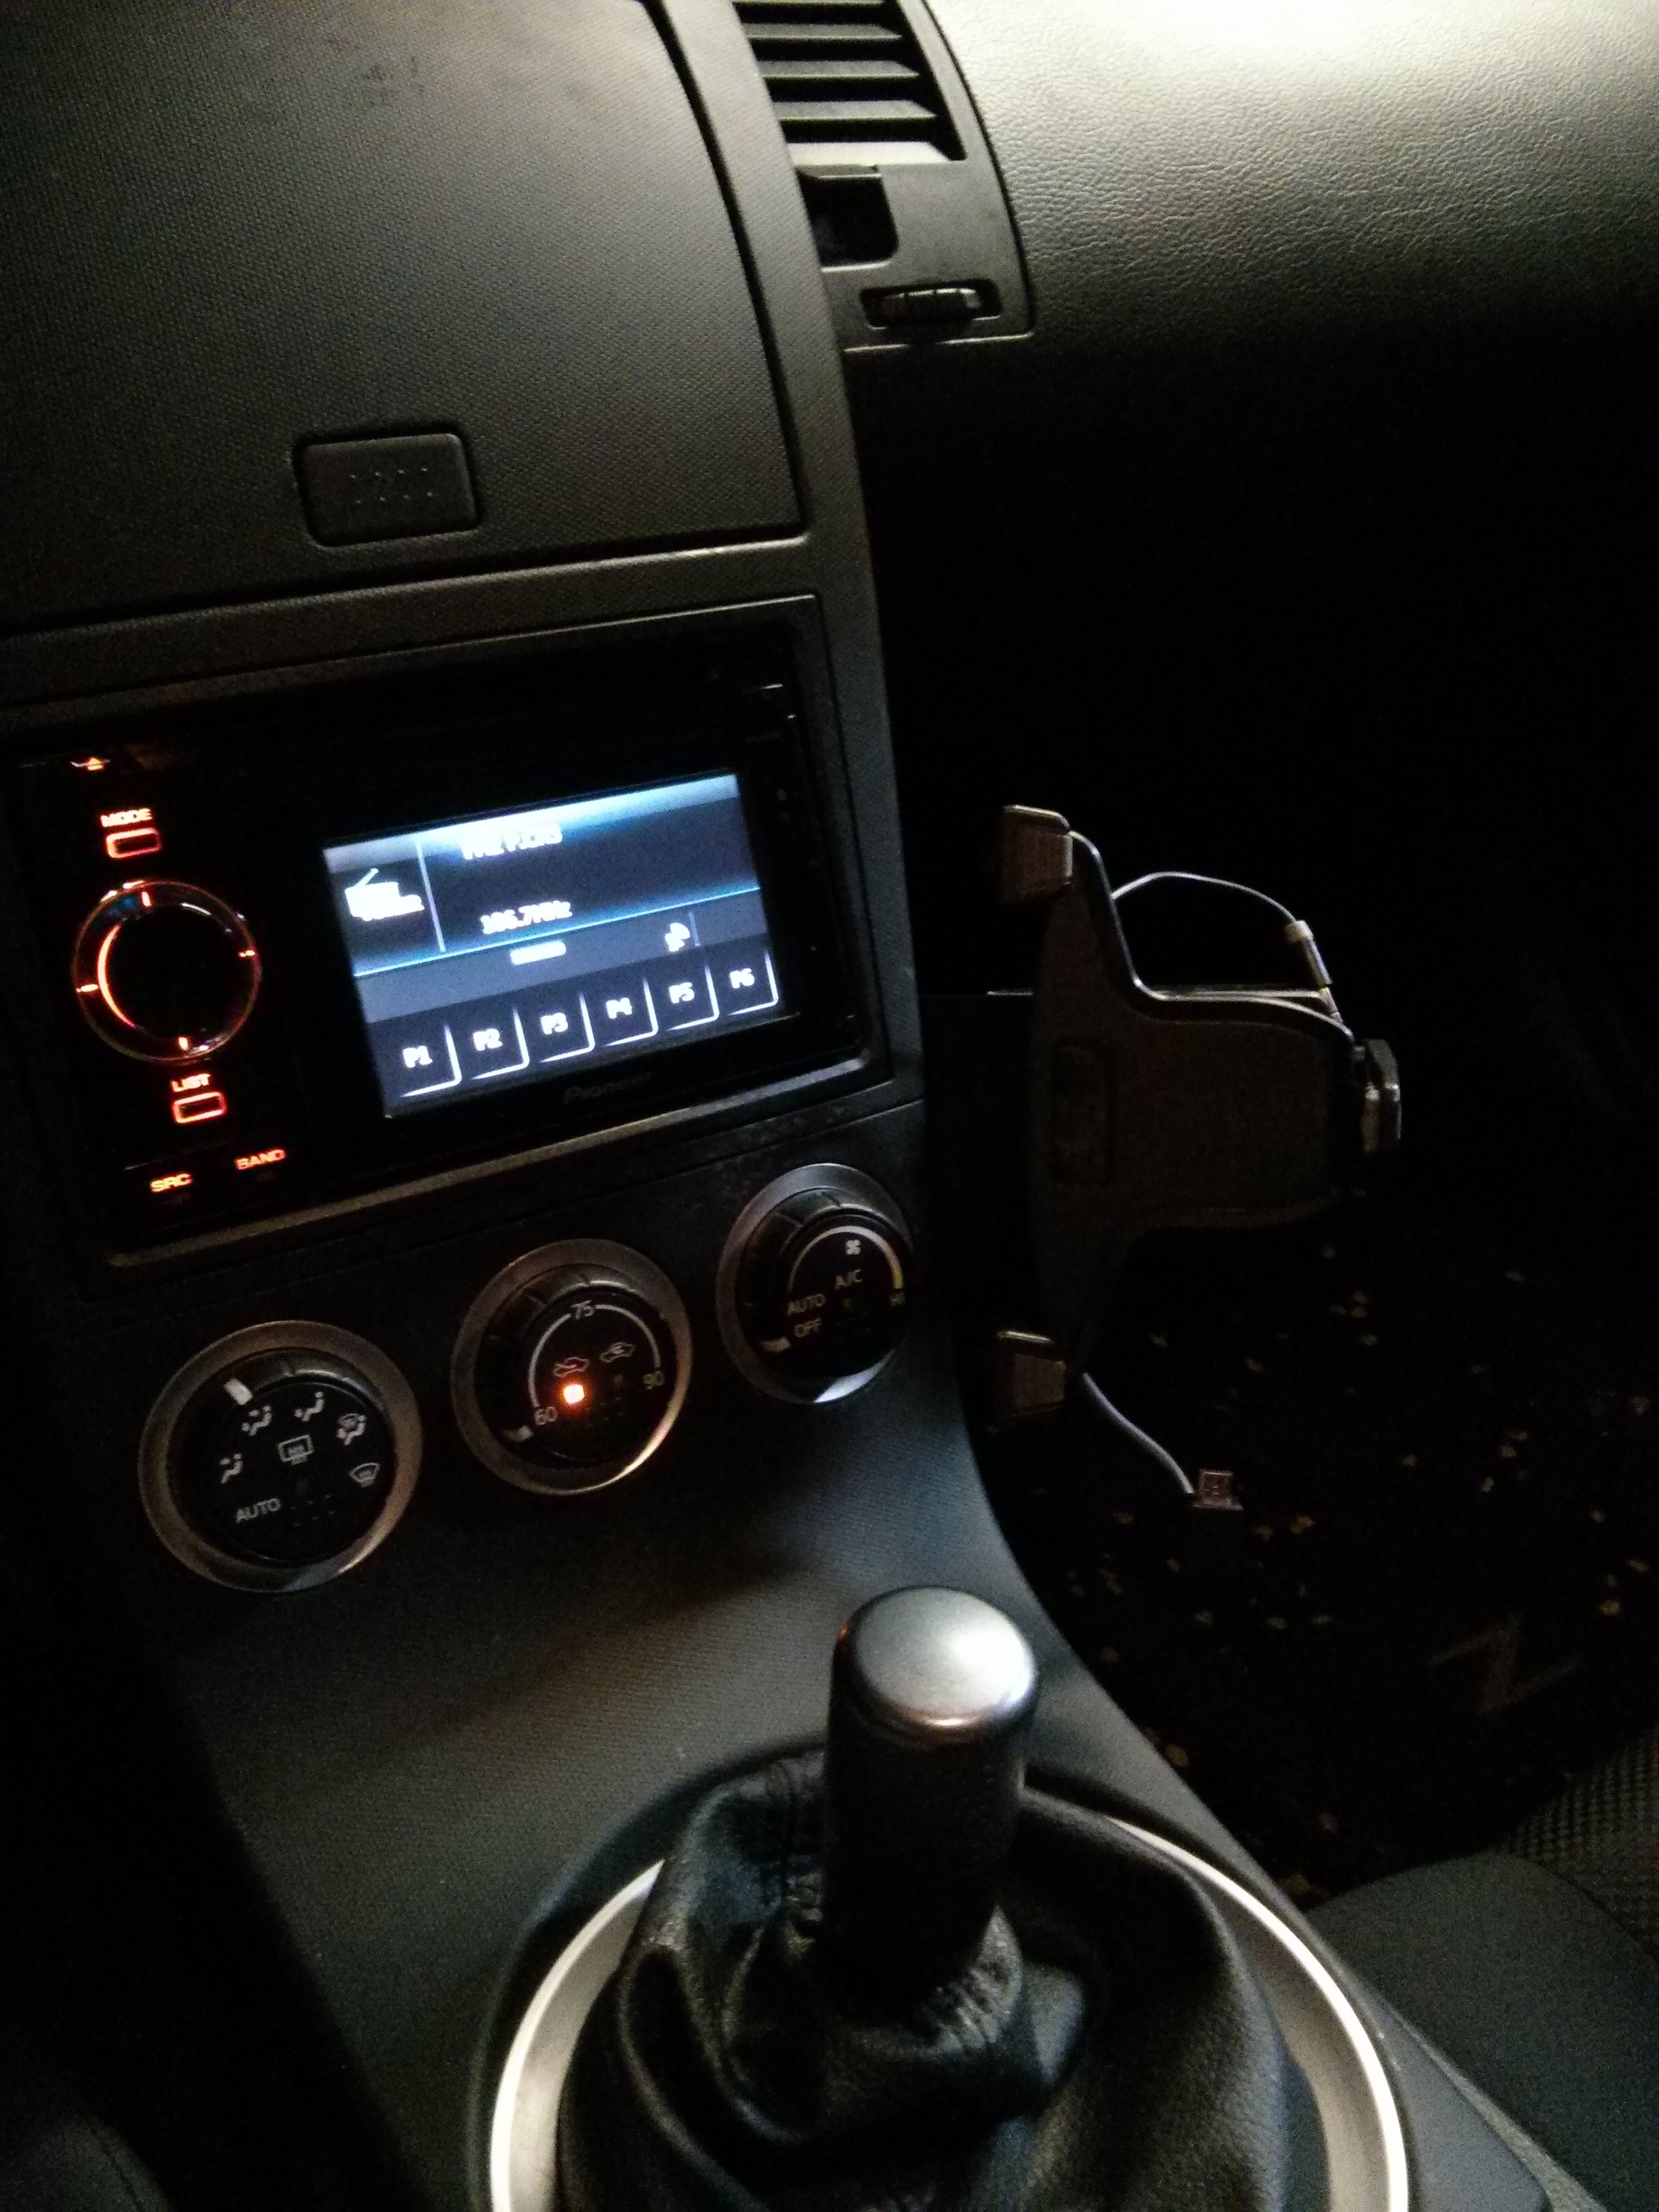
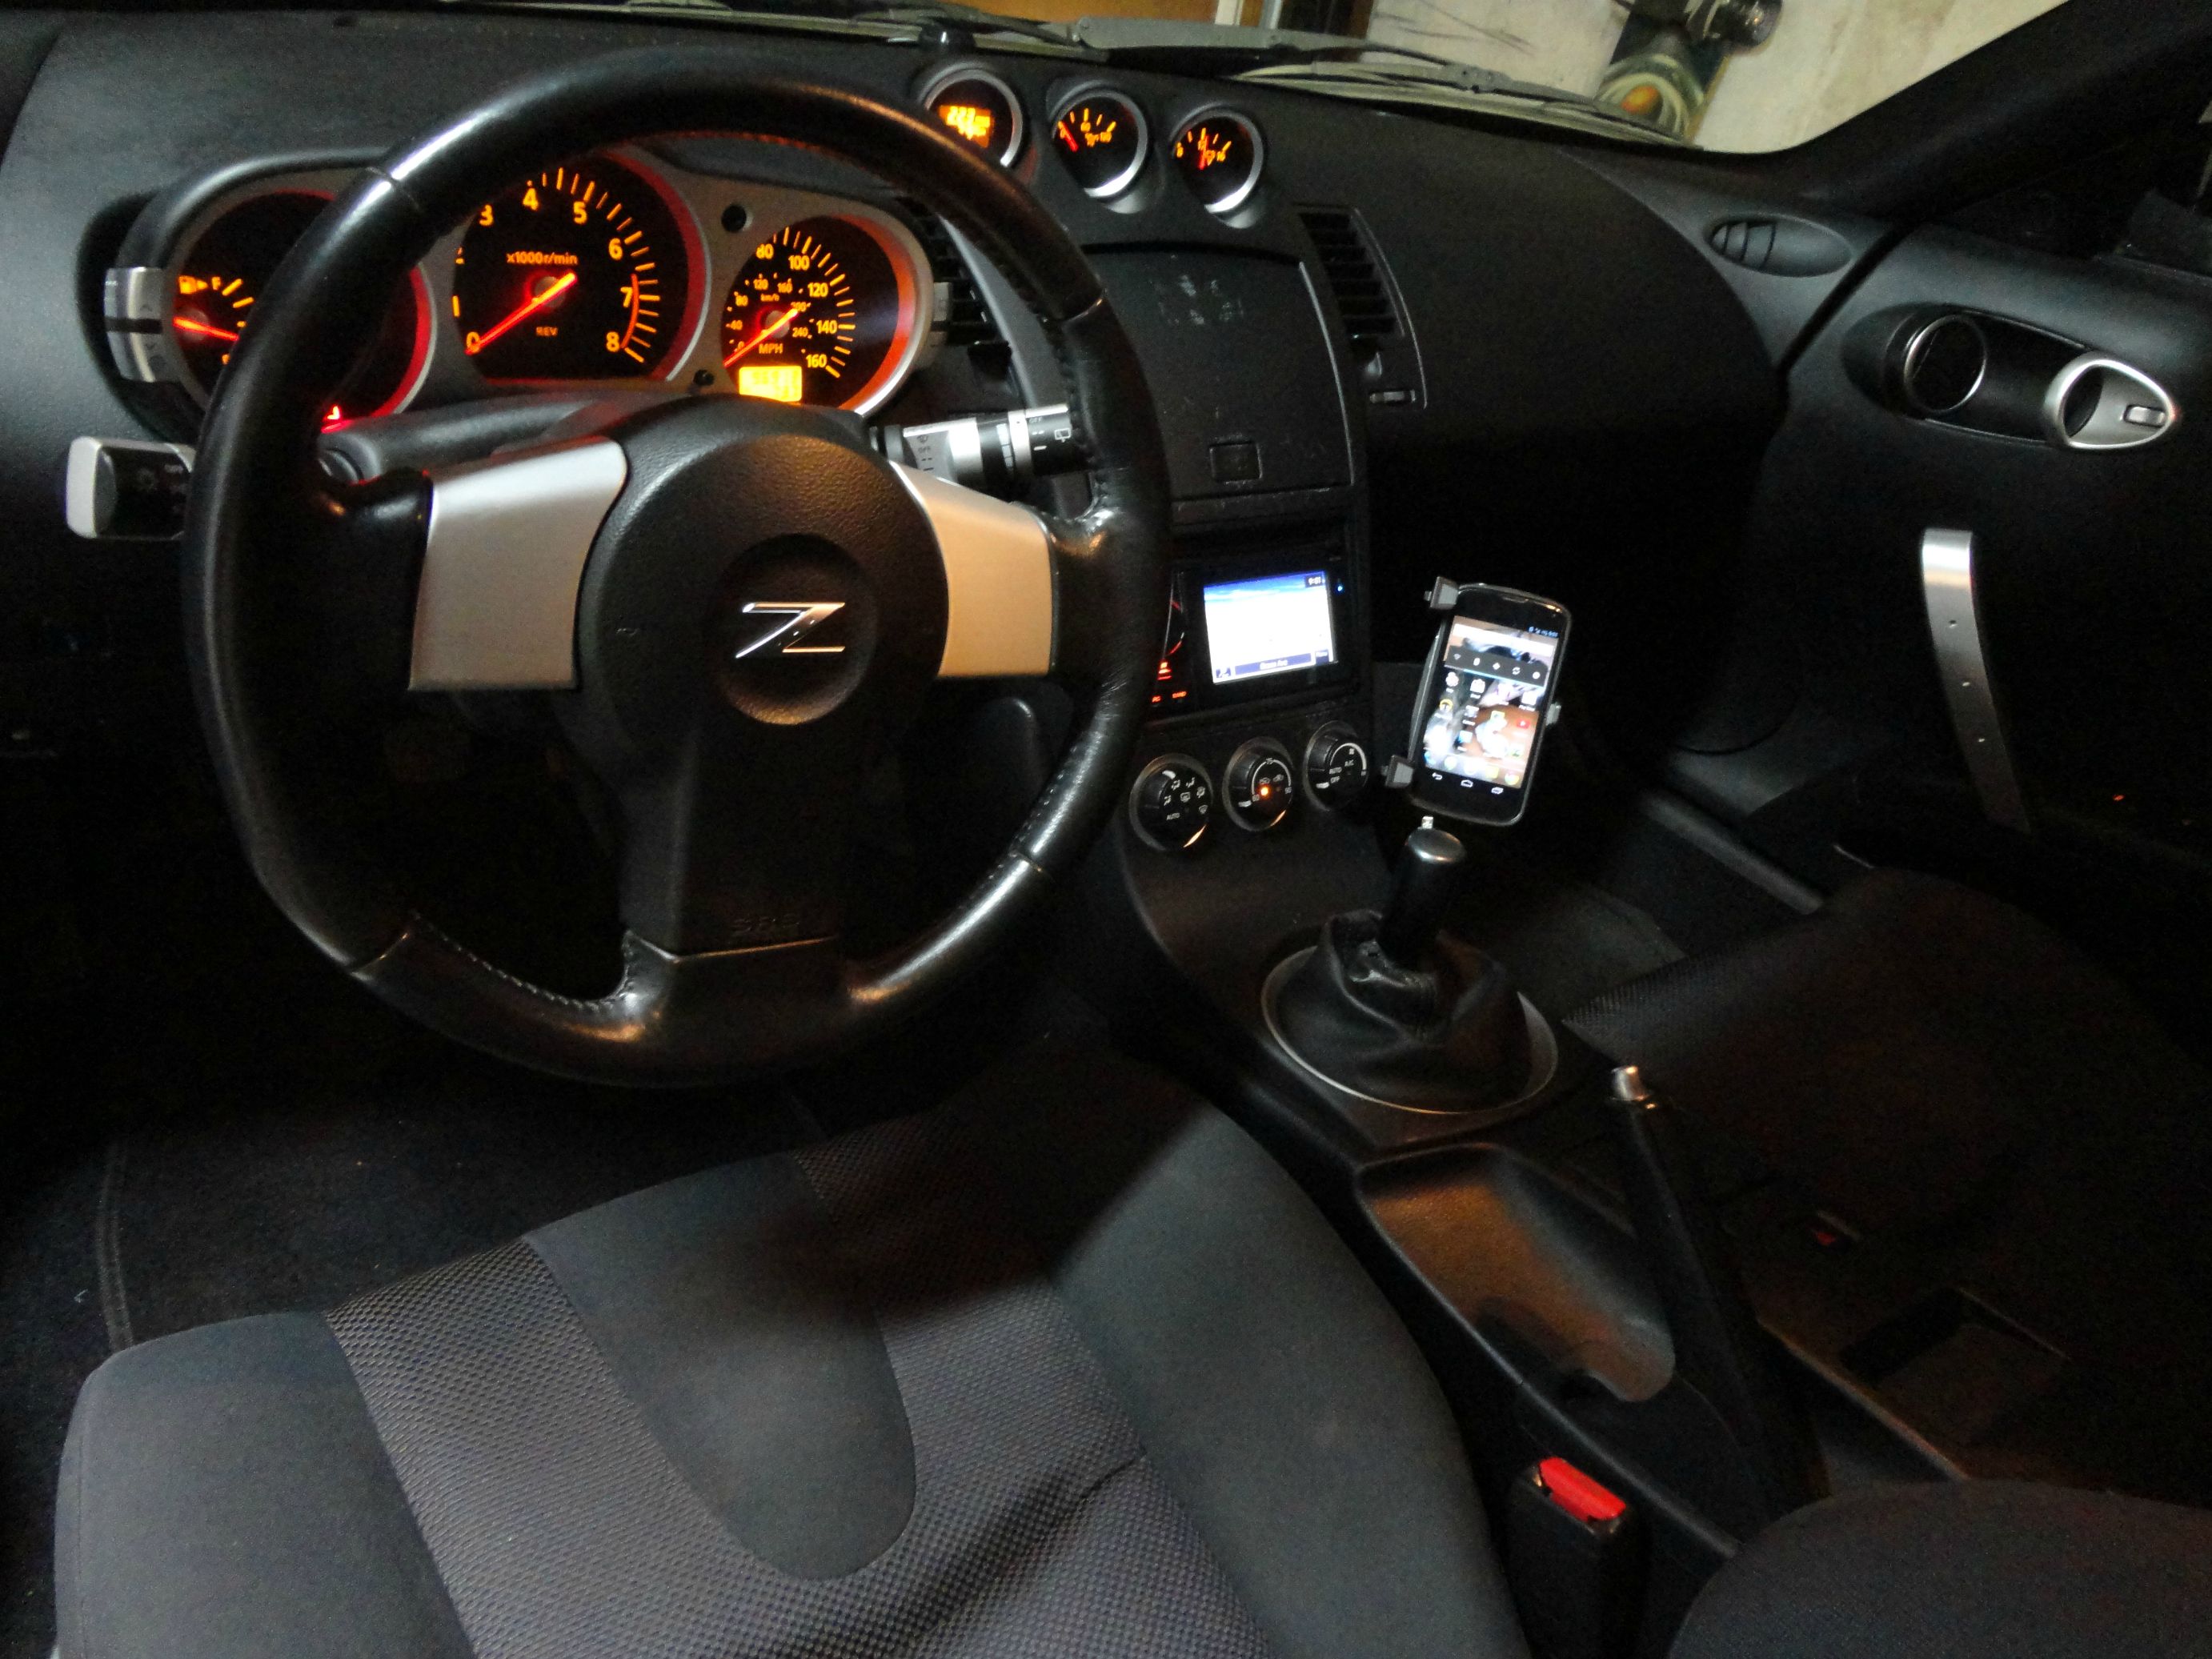
Finished outcome:


It's important that you dry fit in both landscape and portrait if you decide to use both. Also have enough slack in the cables to accommodate both orientations if you decide to scrunch the extra cables to remove slack and tuck it in the center console as I have.
Now I am able to get in the car, put my phone in the dock and it will automatically connect to my headunit via bluetooth for calls. I use Pandora and Google Music to have access to my 50gb+ of music over the air. I also am able to use a car dock app and can use Google Maps for navigation, live traffic update while driving. Passenger has enough room to not find the placement obtrusive and can also help with the music/traffic if they want. It's also not blocking my view by using the suction mounts on the windshield, which I contemplated because the iBolt mount comes with a very good one for free. And I hate that other drivers can see what's on my phone and what I'm doing when it's so high up. Doesn't block the AC by using vent clips, doesn't obstruct my right leg/knee like the mount ProClipUSA or panavise uses, which was what I was going to order before I thought of this. Their stuff is like $50-100 for the bracket alone with the AMPS adapters. Like stated before, if smartphones aren't your think, you can use this to mount your ipod, or GPS unit that uses a ball mount.
I'm sure this setup can also be implemented on the newer 370z if the shift boot trim and placement is somewhat similar.
Hope this is helpful to anyone looking for a mounting solution like i have. I'm pretty meticulous about my **** and need things PERFECT so took a while to find what I needed.
EDIT: I'll post a picture with my phone mounted. I didnt have a camera only my phone at the time.
I don't know why given the size of this forum and the popularity of our cars there's no small Z inspired company that makes a custom smartphone bracket or mount for our cars. There'a few out there like Panavise, ProclipUSA, etc. but they're pricey for just a mount. That and their placement is not very good.
I was pretty shocked to find numerous threads discussing cell phones dated back in 2004 before the iphone release and finding pictures of people's nokia bricks. And the newer threads involve a lot of talk about "why would you need your cellphone mounted. keep it in your pocket." which doesn't make a whole lot of sense to people like me who use the phone for everything including navigation and music.
Who this is for: People who use their smart phones, iphones, galaxy notes, etc. as a music player in their car, for GoogleMaps navigation, Car Dock apps, etc. and need a place to put the cell phone that is a) easily visible b) easily accessible c) does not get in the way of driving d) doesn't block the AC vent e) does not rely on suction power (which ultimately fails over time).
Estimated time of completion: 1 hour or less
Skills (1 being easiest, 5 hardest): 2. If you can use a drill and know how to measure, you can do this.
Here we go..
Step 1) Go to http://www.modifry.com/products/mounts/mdb.htm and buy the modifry bracket made for the S2000. Modifry is a small company run by Bob that specializes in s2000 products.
Cost = $15
Step 2) Go to radioshack or any electronics or hardware store and buy assorted size pack of 6-32 bolts/nuts and washers set. Cost = $5.50
I can take a picture of these if anyone requests.
(Get bolts shorter than pictured above. Like the ones in the middle in this pic:
)Step 3) Go to Amazon.com and order this AMPS plate:
This is the plate that you will bolt onto the Modifry bracket holes.
Cost = $9.95
Step 4) Buy a smart phone car holder/mount that utilizes the swivel ball as a mount in the back. This is something you will have to experiment with or research for whichever dock you are looking into. Instead of a smartphone mount you can mount a TomTom or Garmin GPS type device as well with the "ball".
** OPTIONAL ** if you want the one I am using, it is the ibolt: Cost = $39.95
I specifically chose this because it is not only a dock that's extremely sturdy (it's rock solid), the top arm adjusts and can fit a variety of cell phones, Ipods, iphones, etc. It is one of the best quality mounts I have come across and so far I have been putting my phone in and out in and out, all day long, every day for 3 months and the spring, tension, rubber feet, etc. are all solid.
It also allows you to plug your USB cable into the back of the mount and you can charge your phone with the bendable USB cable that is attached to the mount for a cleaner look.
Step 5) Assemble everything. Mount the AMPS plate onto the Modifry bracket, attach the iBolt smart phone mount onto the AMPS swivel ball. Now that it is a full unit, you can mock fit the placement.
Best picture I have:
Obviously you want to also add the IBolt smart phone mount so you get the measurement and positioning correct!
Step 6) Pop open the passenger's dash cup holder. Make sure this is open all the way so when the phone mount is in final position, it doesn't get in the way. If you do not account for this, you're going to drill and mount the bracket and then later when you pull out the cup holder it will hit your mount.
Step 7) Arrange the bracket as you see in the picture below, in Step 5, and in my final picture to find the right spot. Make sure you do this with the shift boot trim piece on.. AND the passenger cup holder ejected so you can get a good idea of where it should go and not let it hit and rattle off each other. Should be less than 1/4" below the cup holder, which ends up being about 2" down from the top edge of the shift boot trim piece. Mark the hole with a pen.
Step 8) Remove your shift **** and shift **** washer.
Step 9) Remove your shift boot trim plastic. Grab beneath the plastic (through the boot) and tug up. It's just clips holding in place, slides right out. Easier to remove if shifter is put into 4th gear.
Step 10) Detach AC controls ribbon cable.
Step 11) Take the shift trim piece and drill a hole the size of the small bolt, where you marked originally.
Step 12) Drill a second hole on the top of the Modifry bracket. The reason for this is because the bracket only comes with 1 hole. The s2000 only needs one. I tried using only 1 hole and it allowed the bracket to pivot about the bolt if pushed too hard. That would get extremely annoying. Drill a hole anywhere you see fit but MAKE SURE you dry fit on the shift boot trim piece and look on the other side of the plastic to see you have enough room for the bolt/nut.
The smaller circular hole will not be there when you order the bracket from Modifry.
Step 13) Drill a second hole in the corresponding place in the shift trim piece.
Step 14) Attach bracket to the plastic trim piece and put a bolt&washer in. Check the other side of the plastic to see if you have enough clearance. (remember try to get assorted bolt set so you can find the right length. too long and it will hit some plastic parts on the other side. Put a washer and the nut on the other side. Tighten down hard until it is firmly in place.
Do this for the second hole. Align and re-torque it down.
Step 15) Put everything back together.
Step 16) **OPTIONAL** Route USB power cable from head unit to come down through the passenger side knee pad area for cleaner look and cable management. Another option is to do what I did and route it through the passenger side knee pad plastic, go under the passenger side center console (you can just tuck it in ) alllll the way back to the cigarette lighter behind the seats. plug it in. Use a zip tie or rubber band to scrunch up all the extra slack in the cable and tuck it in the plastic under the center console. I use the cigarette lighter instead of my headunit because a) it charges way faster than my headunit charges. Headunit charges EXTREMELY slow, practically useless. b) allows the headunit USB female cable to be accessible and ready for ipod should I use one later.
TIP: When drilling the hole in the shift boot trim piece, drill SLIGHTLY smaller than the bolt so you can tap threads into the plastic so it's nice and snug. Dont want the bolt to have any free play or move around in a larger hole.
Finished outcome:
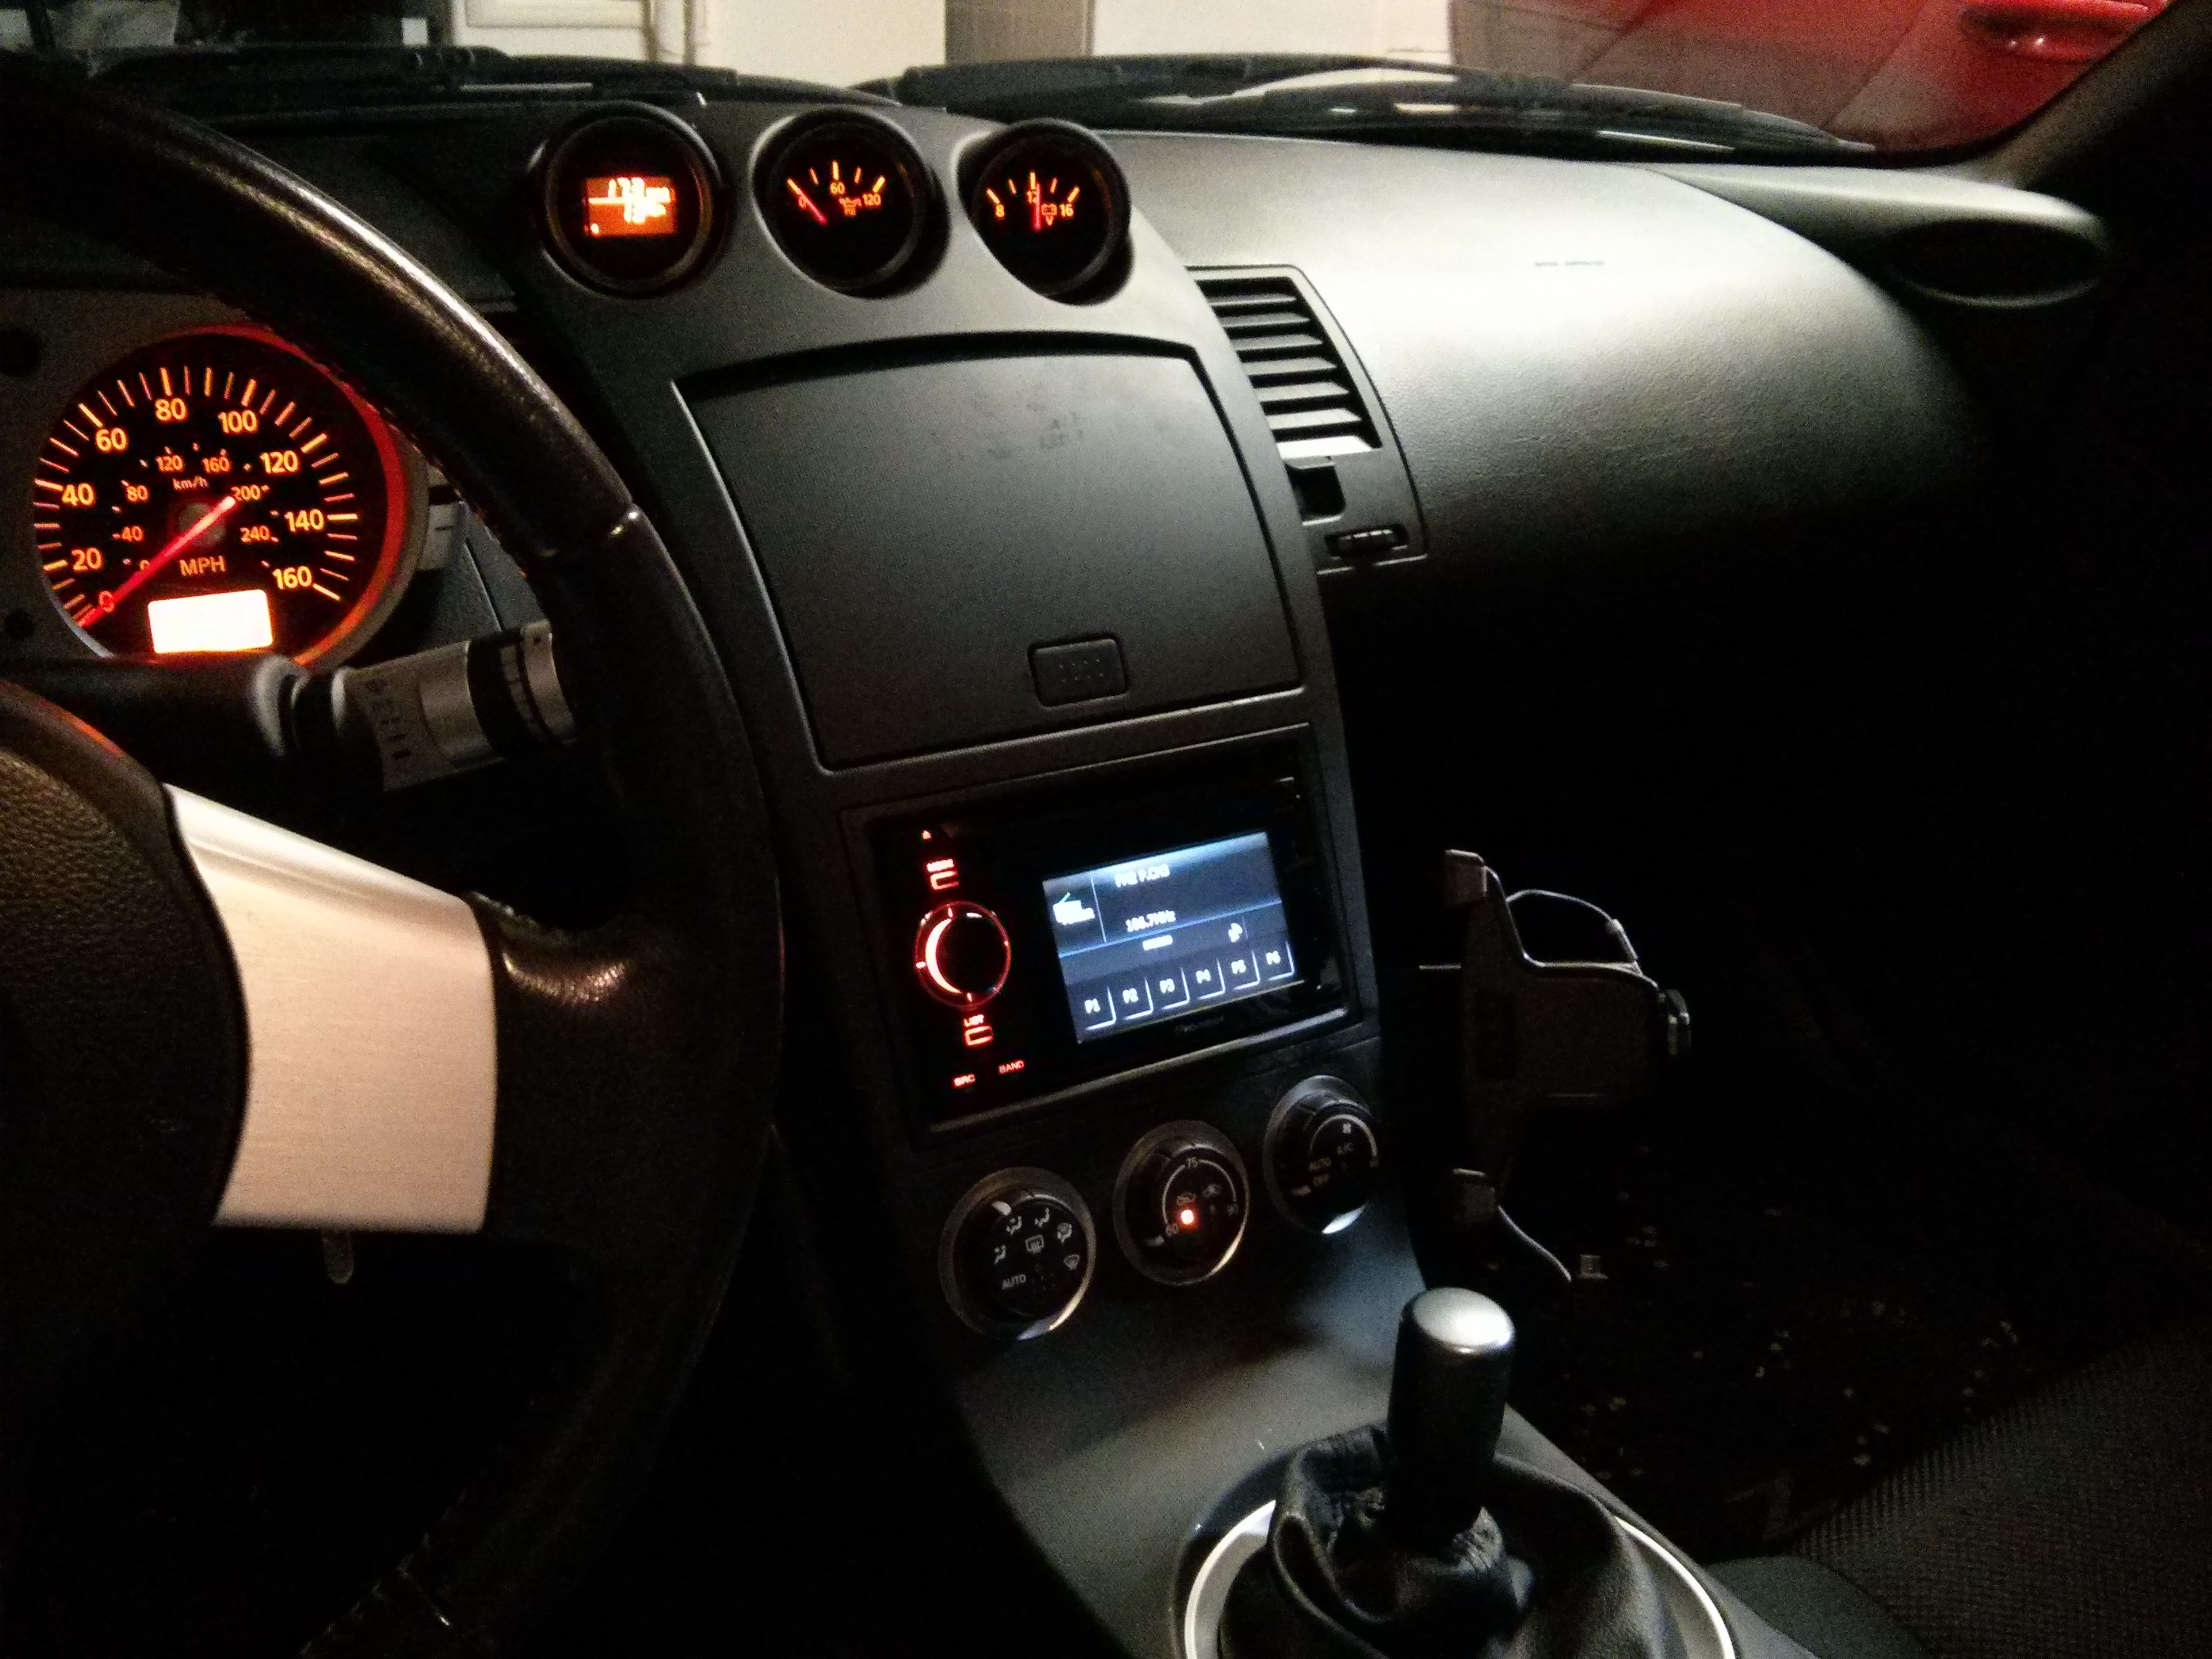

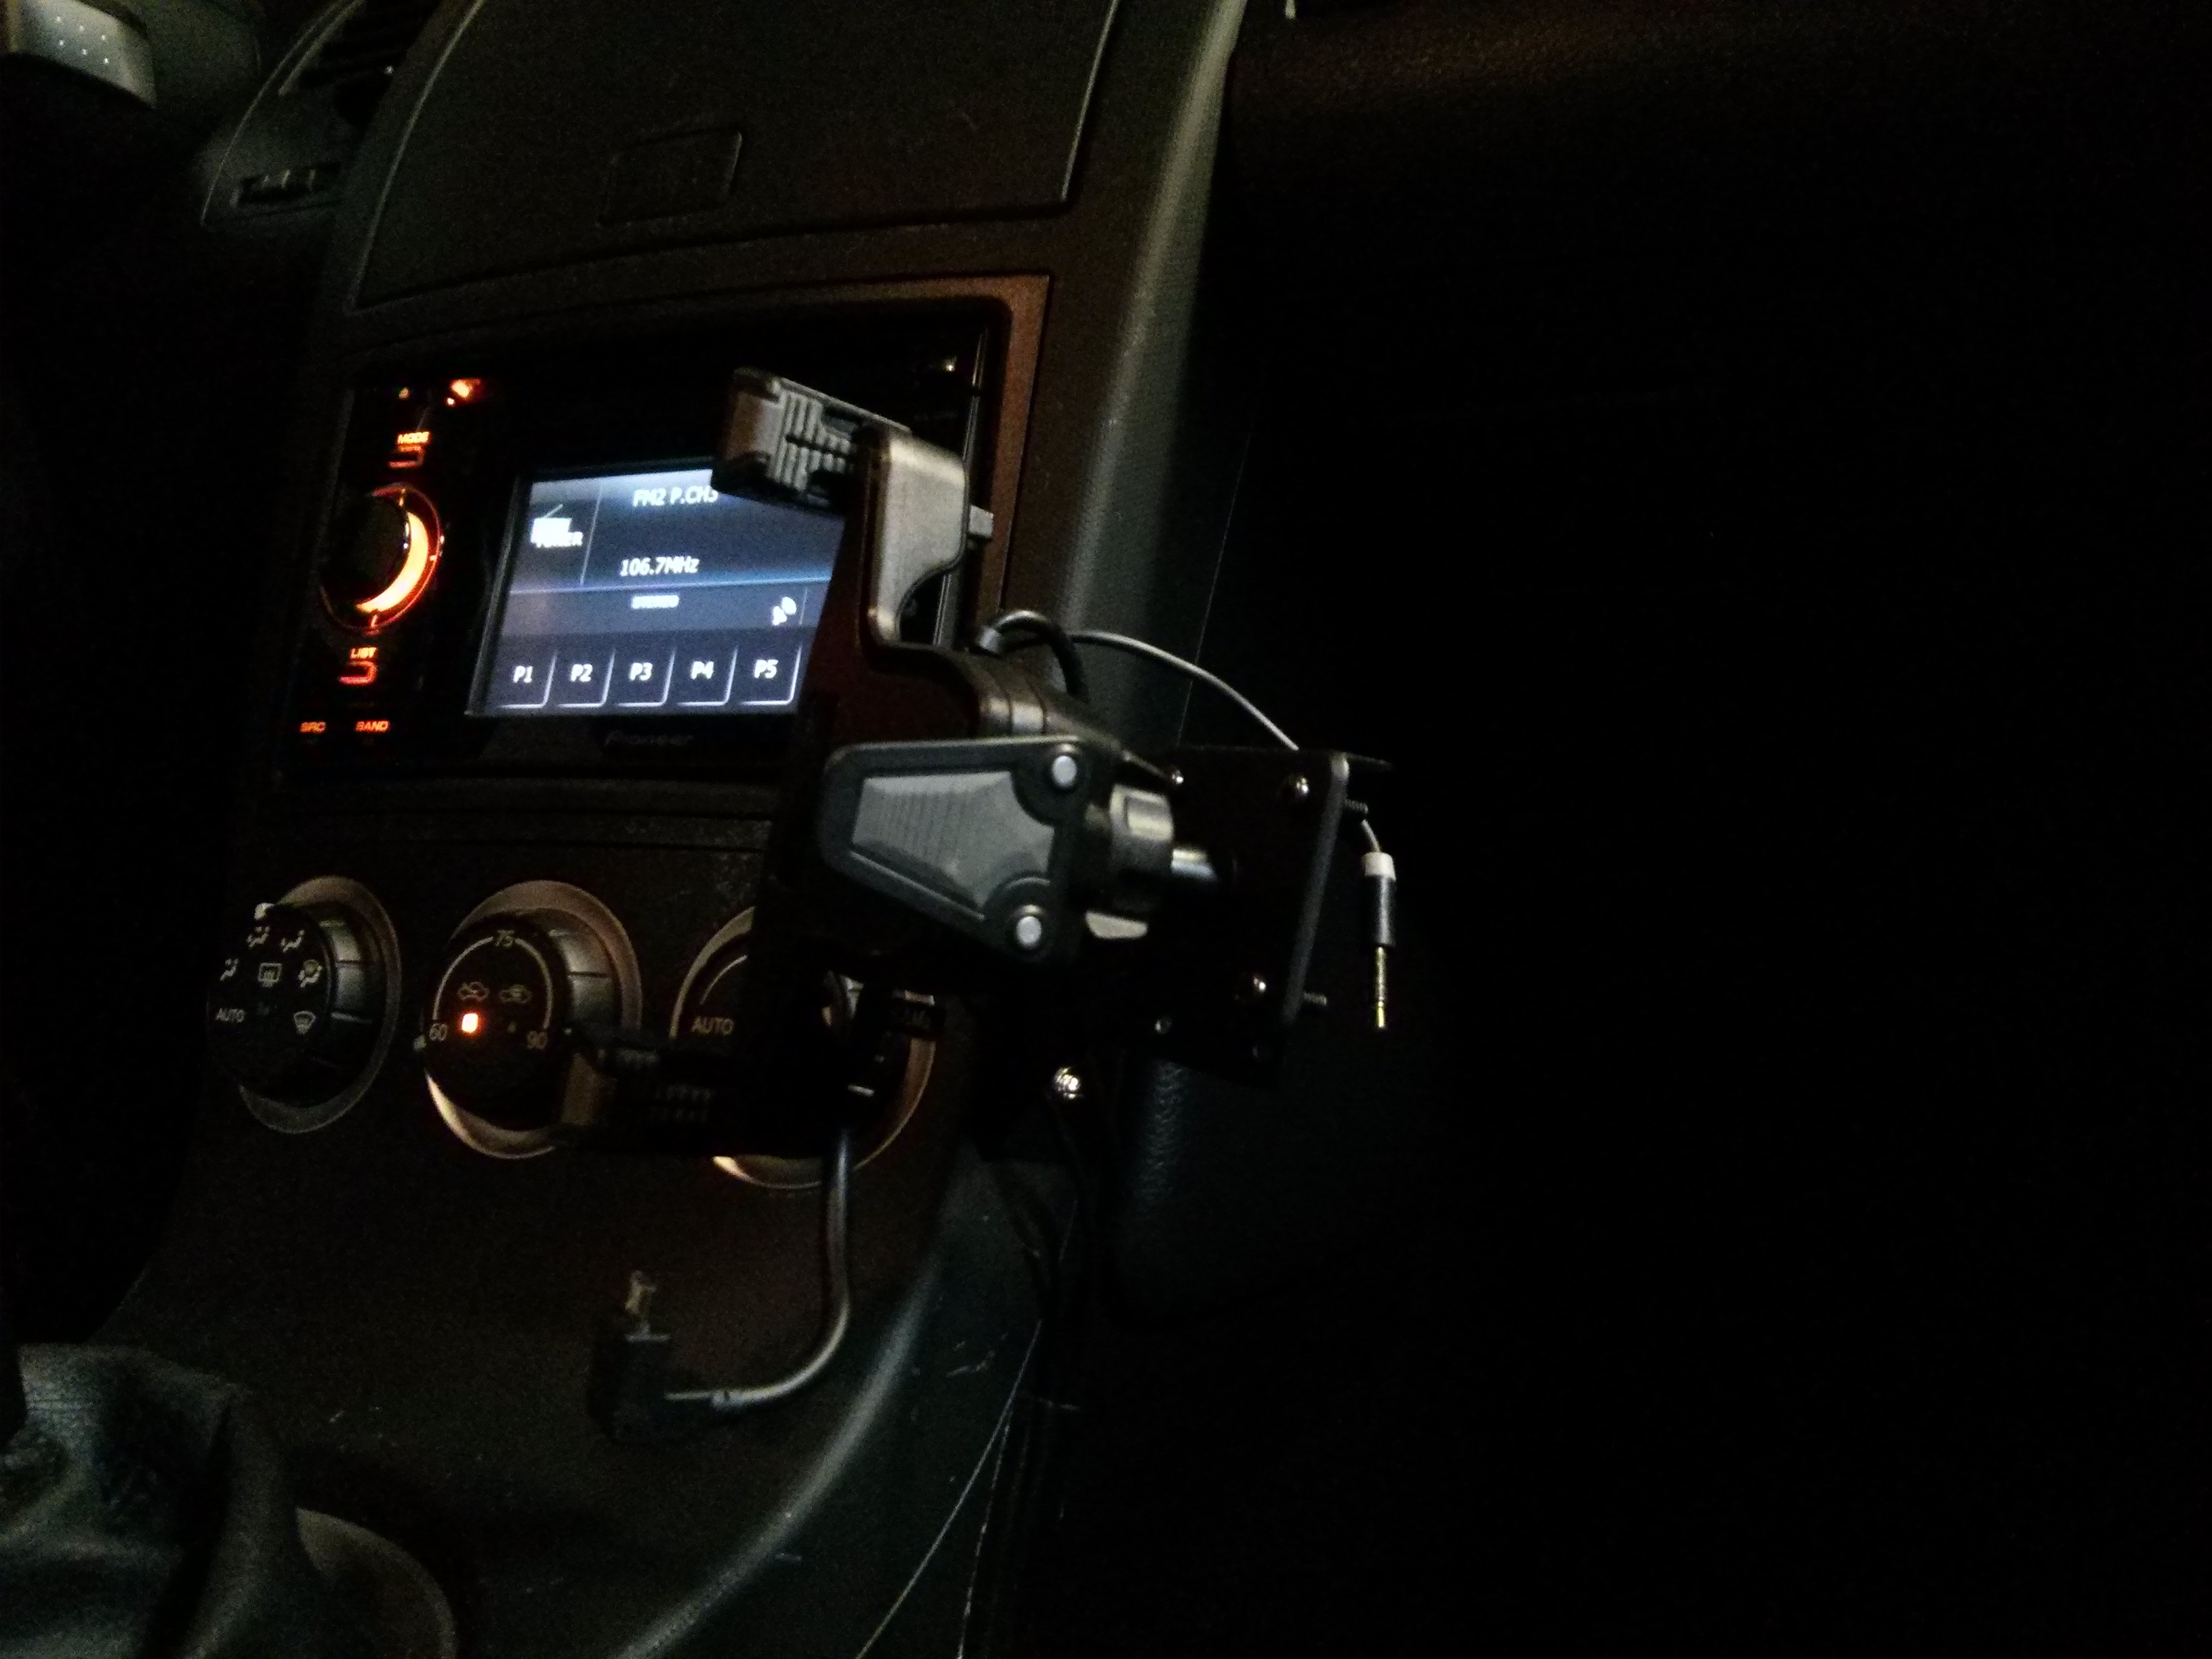
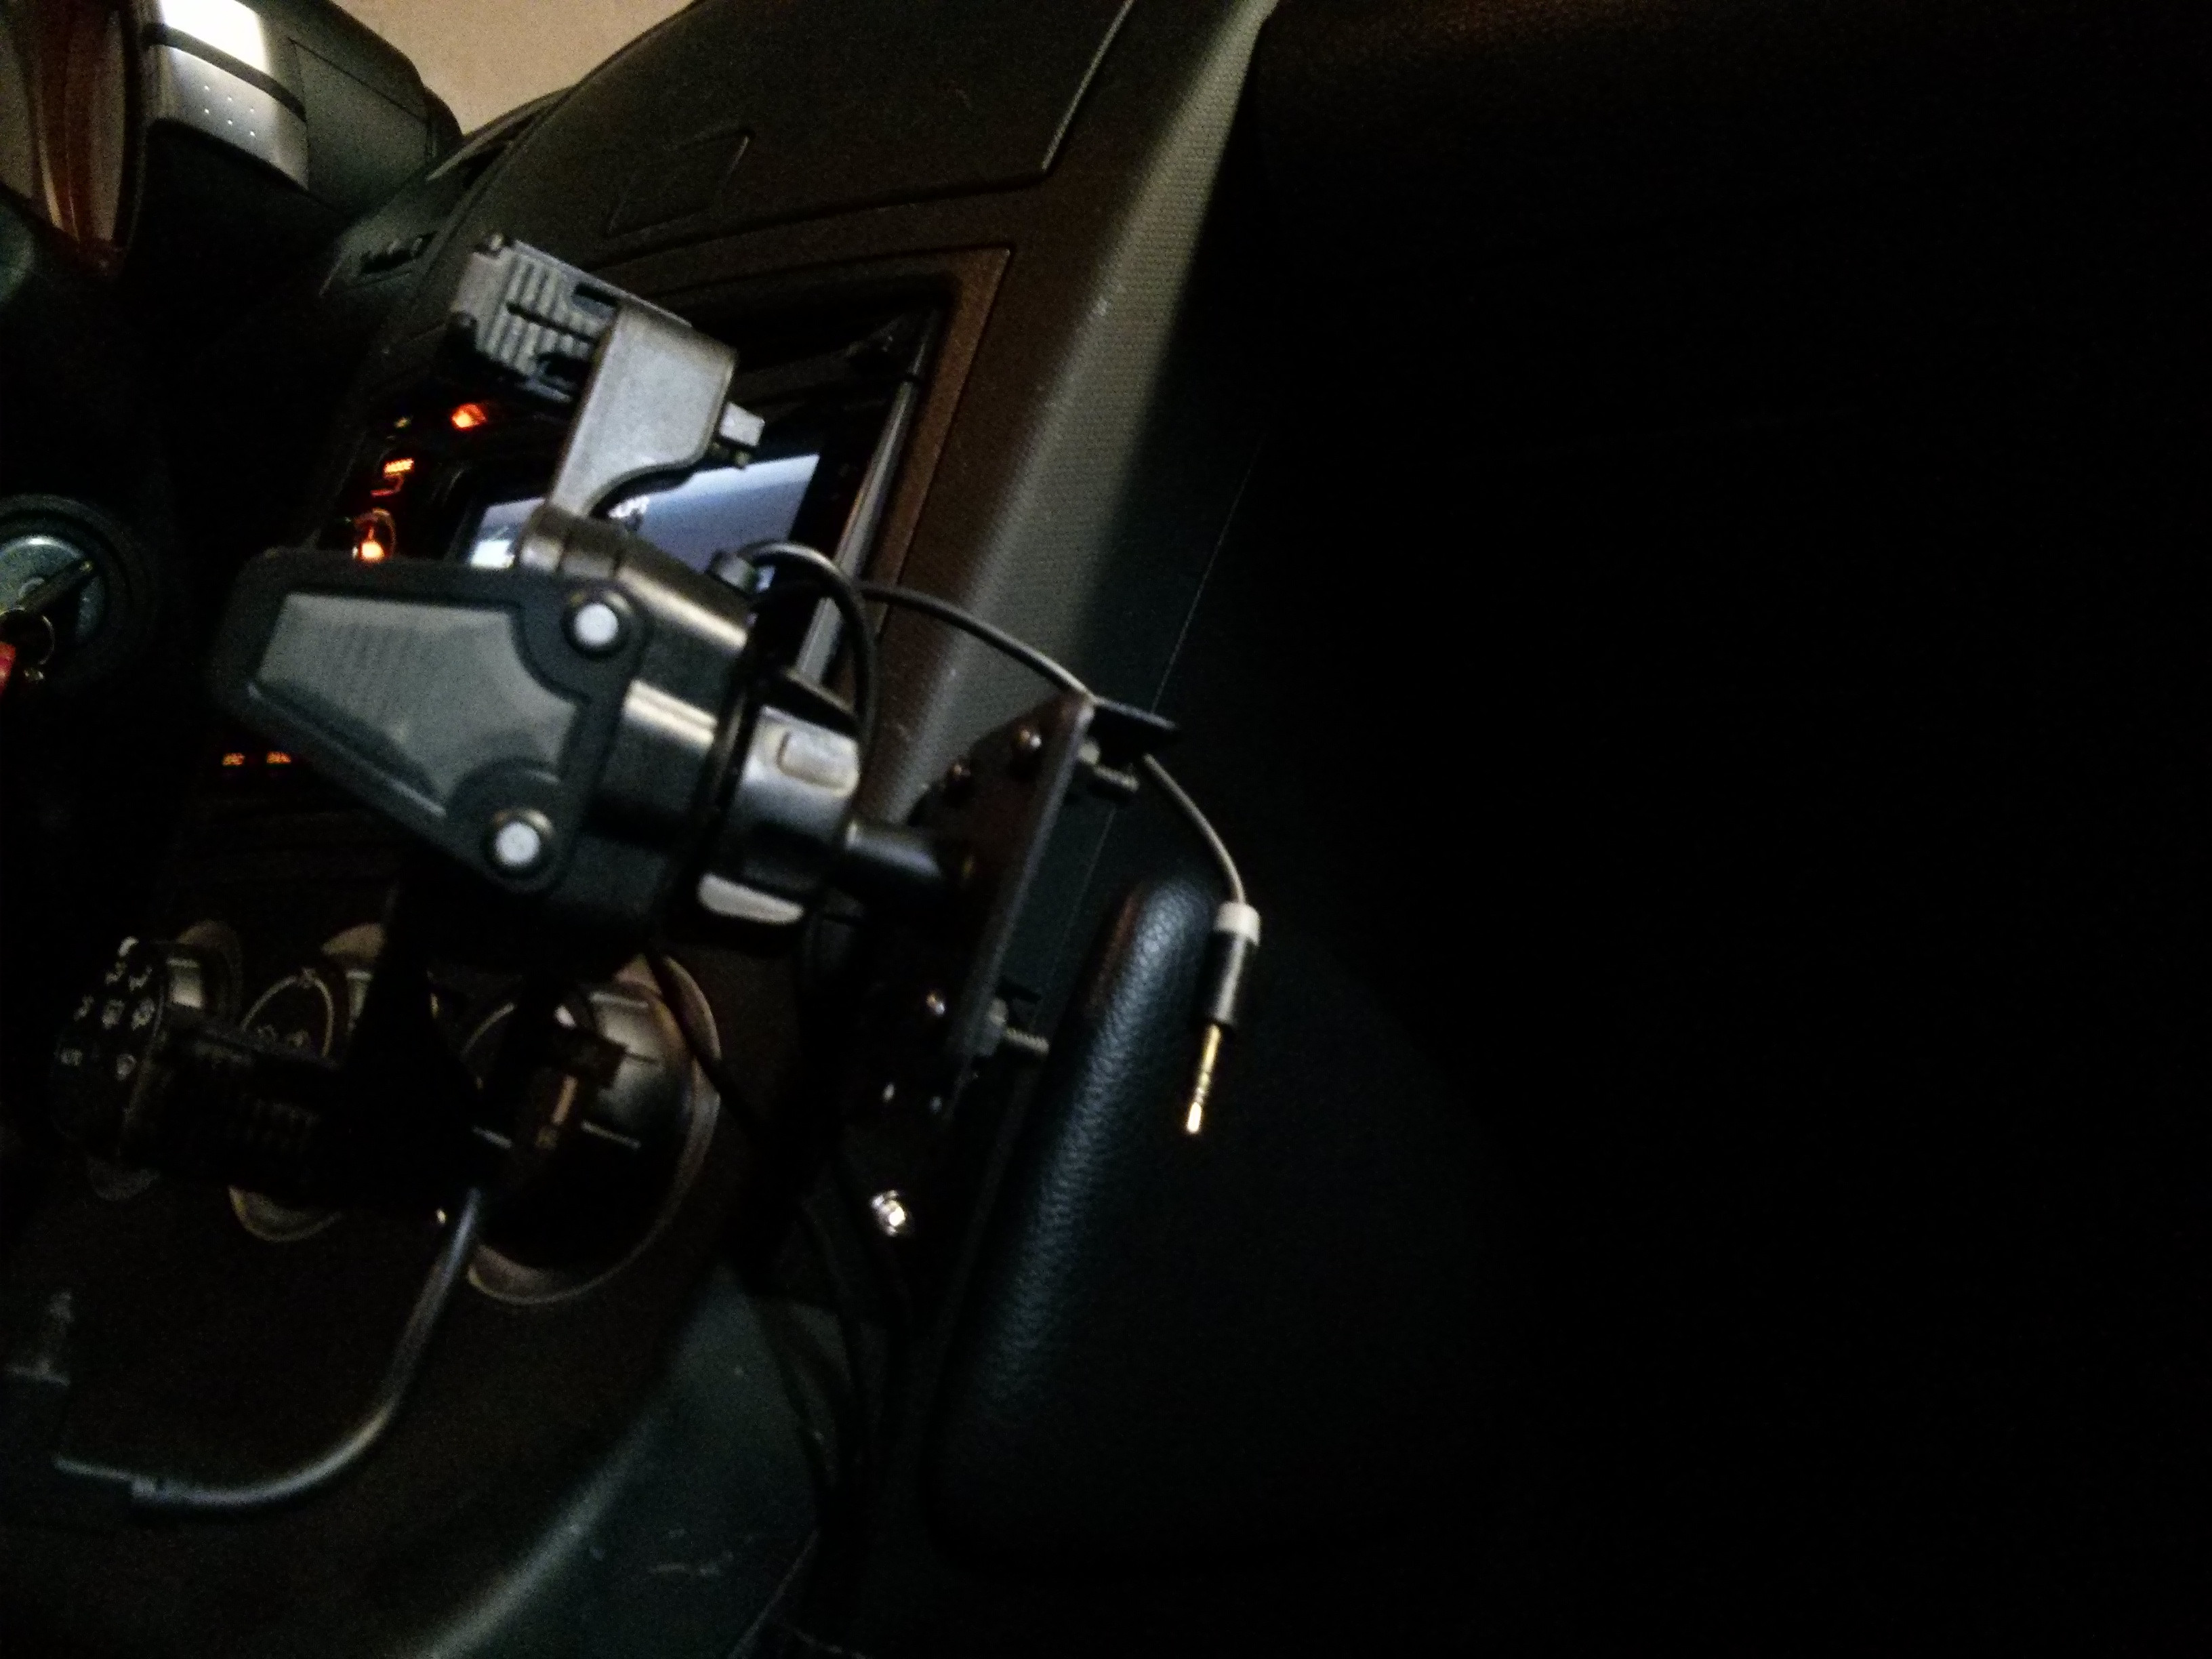
It's important that you dry fit in both landscape and portrait if you decide to use both. Also have enough slack in the cables to accommodate both orientations if you decide to scrunch the extra cables to remove slack and tuck it in the center console as I have.
Now I am able to get in the car, put my phone in the dock and it will automatically connect to my headunit via bluetooth for calls. I use Pandora and Google Music to have access to my 50gb+ of music over the air. I also am able to use a car dock app and can use Google Maps for navigation, live traffic update while driving. Passenger has enough room to not find the placement obtrusive and can also help with the music/traffic if they want. It's also not blocking my view by using the suction mounts on the windshield, which I contemplated because the iBolt mount comes with a very good one for free. And I hate that other drivers can see what's on my phone and what I'm doing when it's so high up. Doesn't block the AC by using vent clips, doesn't obstruct my right leg/knee like the mount ProClipUSA or panavise uses, which was what I was going to order before I thought of this. Their stuff is like $50-100 for the bracket alone with the AMPS adapters. Like stated before, if smartphones aren't your think, you can use this to mount your ipod, or GPS unit that uses a ball mount.
I'm sure this setup can also be implemented on the newer 370z if the shift boot trim and placement is somewhat similar.
Hope this is helpful to anyone looking for a mounting solution like i have. I'm pretty meticulous about my **** and need things PERFECT so took a while to find what I needed.
EDIT: I'll post a picture with my phone mounted. I didnt have a camera only my phone at the time.
Last edited by superstuddc27; Oct 1, 2013 at 01:55 AM.

Great tutorial!!!, my only issue is that the mount will be sanding down the passengers leg all day. Maybe the same concept can be applied to a different part of the waterfall. just me .2c


No offense to your write-up kudos for doing it yourself
But here's more expensive alternative that requires no disassembly: http://www.proclipusa.com/dashboard-...250-13389.cmsv
The company sells normal smart phone adjustable mounts sell like you used but they also have this great (again, more expensive) solution: http://www.proclipusa.com/mobile-dev...nt-710305.cmsv
http://iomounts.proclipusa.com/
I don't work for this company in any way, I'm also in the market for a solution so I thought others would appreciate my findings.
Last edited by pyshin; Oct 12, 2013 at 12:10 PM.
Thread Starter
Registered User
iTrader: (1)
Joined: Jan 2004
Posts: 1,407
Likes: 0
From: Orange County, CA
No offense to your write-up kudos for doing it yourself
But here's more expensive alternative that requires no disassembly: http://www.proclipusa.com/dashboard-...250-13389.cmsv
The company sells normal smart phone adjustable mounts sell like you used but they also have this great (again, more expensive) solution: http://www.proclipusa.com/mobile-dev...nt-710305.cmsv
http://iomounts.proclipusa.com/
I don't work for this company in any way, I'm also in the market for a solution so I thought others would appreciate my findings.
But here's more expensive alternative that requires no disassembly: http://www.proclipusa.com/dashboard-...250-13389.cmsv
The company sells normal smart phone adjustable mounts sell like you used but they also have this great (again, more expensive) solution: http://www.proclipusa.com/mobile-dev...nt-710305.cmsv
http://iomounts.proclipusa.com/
I don't work for this company in any way, I'm also in the market for a solution so I thought others would appreciate my findings.
The reason I didn't go with that is because a) way too expensive. you also need their adapter plate to make it work for the AMPS holes like many GPS and phone mounts have. b) It gets in the way of my legs. i'd rather (if anything) have it on the passenger side than get in the way of my driving.
c) I couldn't even see it because it was blocked by the steering wheel which was the most important aspect
It will depend on your body type and which phone you have so take that picture and experiment to see if you'll like it. My setup only requires a $15 bracket and drilling two holes into the shift trim which takes about 5 seconds to remove.

Trending Topics


Registered User
Joined: Aug 2003
Posts: 2
Likes: 0
From: alberta, canada
Like what you've done. Been using a window mount for my iPhone which is a pain on hot days. Phone overheats, mount falls off the windshield, etc. Gonna try what you've done. Thanks for the details.
40 for the phone carrier
10 for the AMP plate
17 ish shipped for the S2000 piece

Thread
Thread Starter
Forum
Replies
Last Post
Tonyz_2004_350z
South East Marketplace
1
Oct 4, 2015 12:53 PM