
DIY: Black Housing
 07-28-2003, 11:39 PM
#1
Registered User
Thread Starter
iTrader: (97)
Join Date: Jun 2003
Location: Los Angeles County
Posts: 2,820
Likes: 0
Received 0 Likes
on
0 Posts
Greeting brothers and sisters!!! Everyone have ask me about my custom black housing. Thanks for the many compliments I have received. They all ask for some instuction so here it is.
REMOVING THE FRONT BUMPER
1. Open up your hood and remove 6 clips on top of your bumper with a flat head screwdriver.
2. Under your car has (8)10mm screws that need to be remove with a 10mm socket wrench
3. Where you fender and bumper touch, on each side has a 10mm screws. Remove them.
4. From inside, under the headlight should have (2)10mm screws. Remove them
5. The front bumper should come right off, if not please double check for any left over screws that may have not come off.
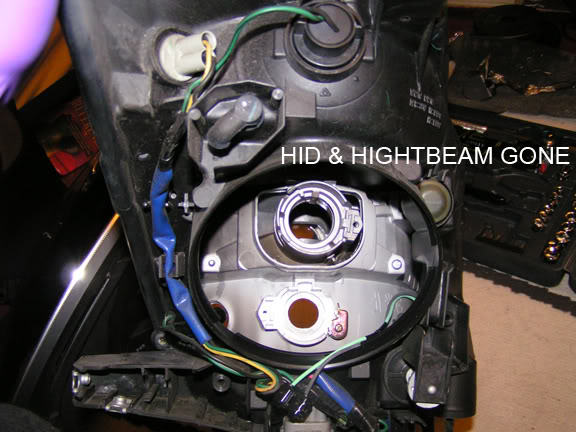
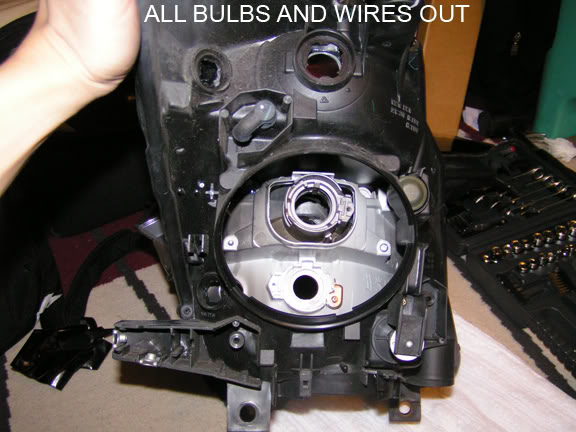
REMOVING THE HEADLIGHTS AND WIRE (HID)
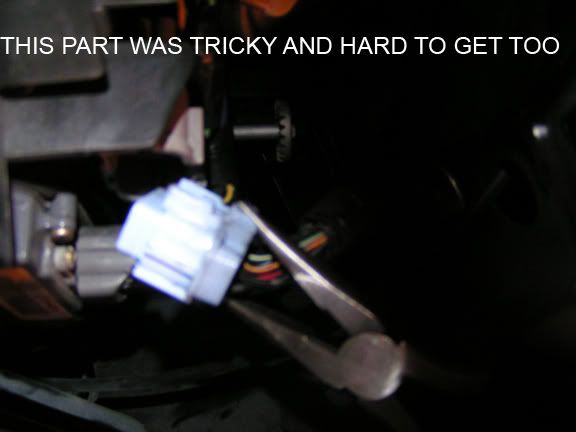
1. There are (4) 10mm screws that need to be remove with 10mm socket wrench.
2. Once you pull out the headlights, remove the wire clip that hold it and everything should be completely out.
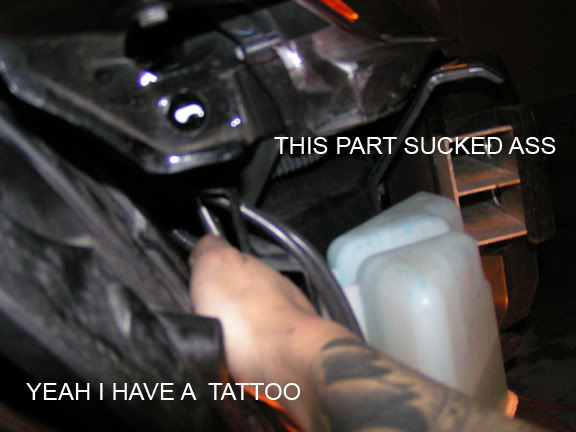
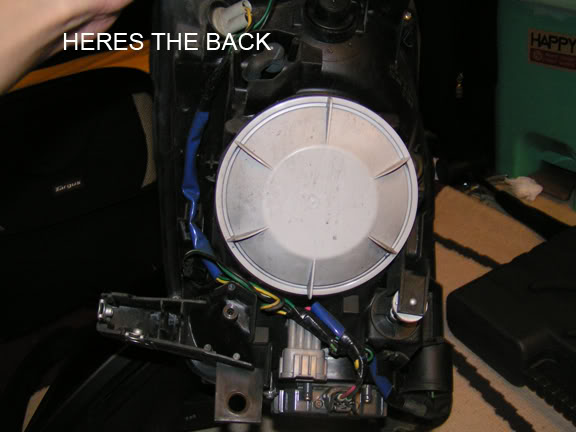
3. Behind the headlights has a weather seal to protect the bulbs. Remove that by turning counter-clock wise
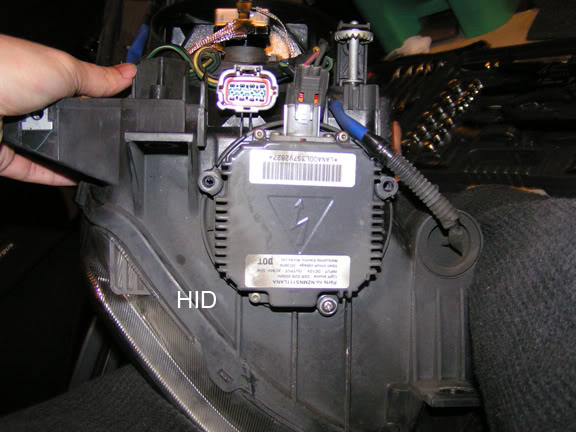
4. Since my Z has HID, on the bottom should be the ballast that need to be remove using a phillip screwdriver (3 screws each side)
5. Unclip the ballast and remove the wire from it.
6. Remove all turns/parking light bulbs.
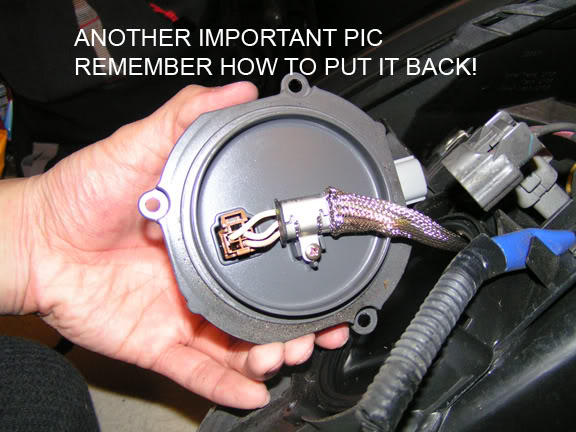
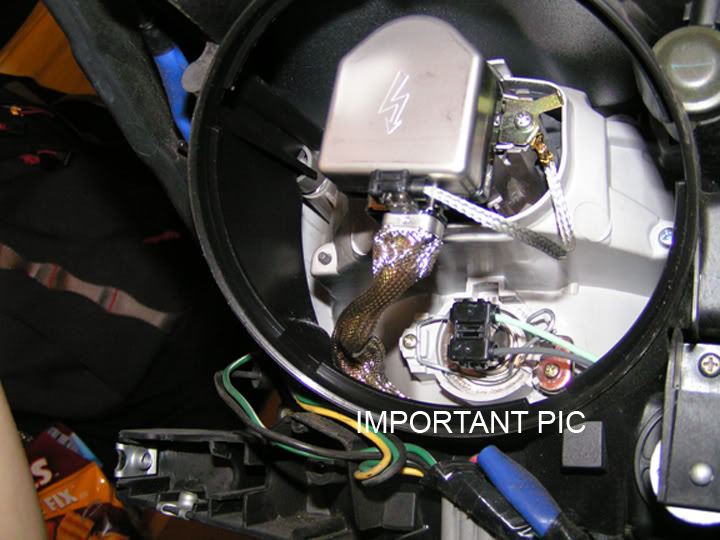
7. Remove the HID bulbs and wire using a screwdriver. Including the wire clip that hold down the bulb. BEWARE!!! REMEBER HOW IT IS PLACE. Putting it back is a pain for me.
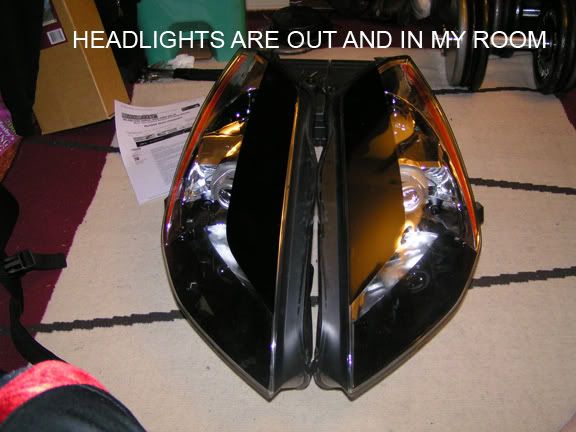
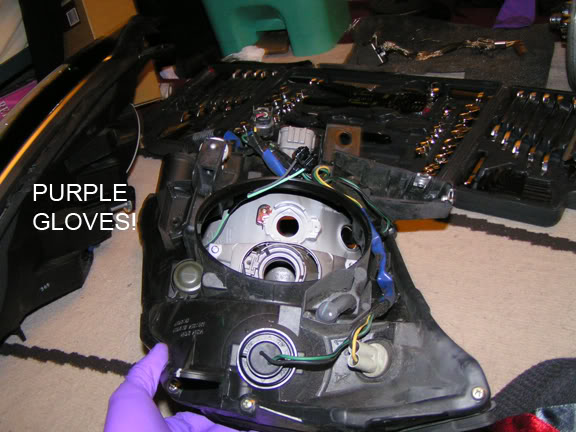
OPENING UP THE HEADLIGHT (Emeril Style BAMM)
1. On your headlight should have small phillip screws around them that need to be remove (forgot how many)
2. Preheat your cooking oven @ 250 degree for 5 minutes.
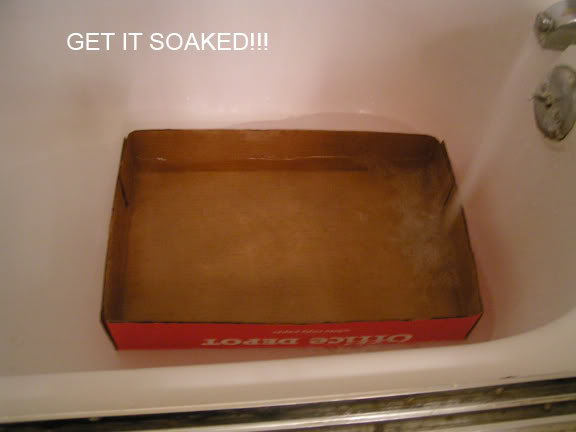
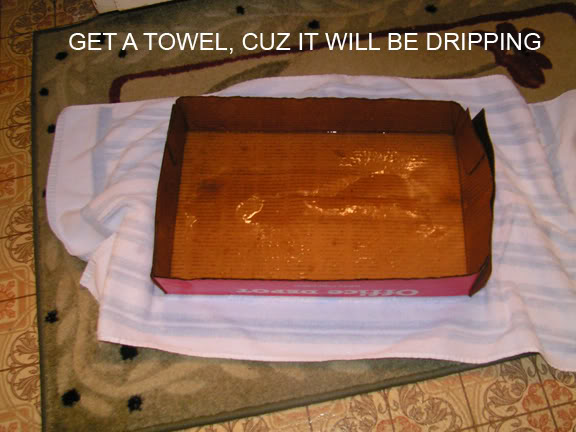
3. 5 min is up, sit a piece of WET cardboard on top of the plate.
4. Place your headlight on top of the WET cardboard. (make sure no wires or bulbs are attached
5. Bake your headlight for 7 minutes.
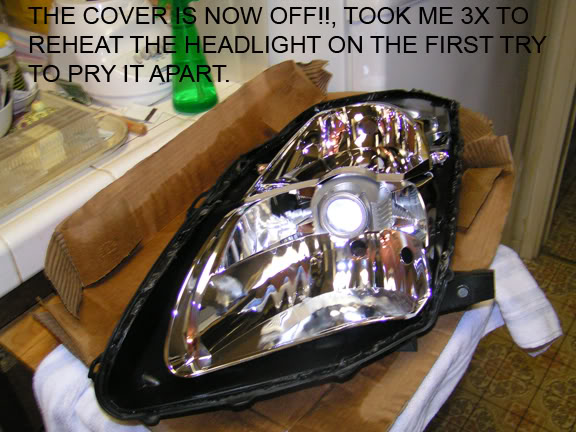
6. After 7 minutes, remove it from the oven. The silicone should be
melted. With your bare hand, try to open it up by tugging and pulling. If you are not the Incredible Hulk like me, you may need a 2nd person to help you or use a flat head to pry it open.
7. While opening, make sure no silicone stick inside your housing. If yes try to clean it off.
* In case you can't open it. re-wet the cardboard and throw it back in for about 3 minute should be good.
BLACK HOUSING (Whatever you do from here is your choice)
1. The other housing is held by (2)phillip screwdriver that need to be remove. Everything else should be out.
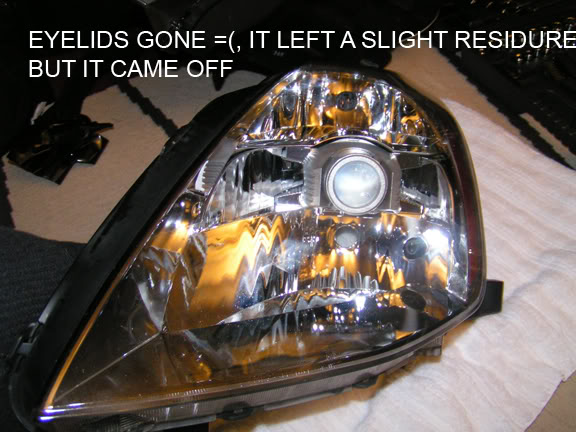
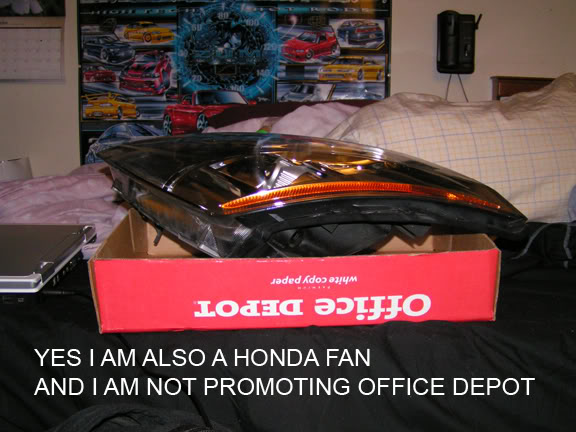
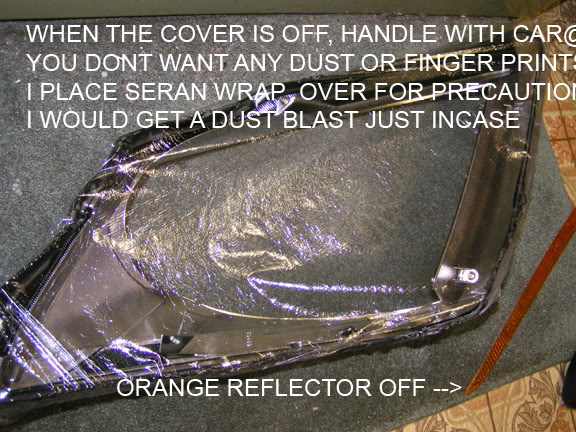
2. The orange strip is easy to remove so I'am sure anyone can do this.
3. Paint the outer housing with primer.
4. Once primer you paint the other housing with flat black paint.
5. I paint only a small portion of the inner housing but you'll need masking tape to cover the part where you don't want paint.
6. You need to let the paint dry first before putting everything back together.
* However you want to do is your black housing is up to you
BACK TO THE OVER!!!
1. Push your headlight back together as much as you can.
2. re-wet the cardboard.
3. @ 250 degree place the headlight on top of the cardboard for3 min. (not nesscary to pre-heat)
4. Remove it and push your headlight back together as much as your can. Try your best not to have any opening.
5. Once together, have some silicone (can pick one up @ your local auto store) and spread it along the housing. this will cover any open holes.
6. Let it dry before re-installing them.
* Those tiny phillip on step 1 of OPENING UP THE HEADLIGHT, I don't think you can put them back on, but I may be wrong.
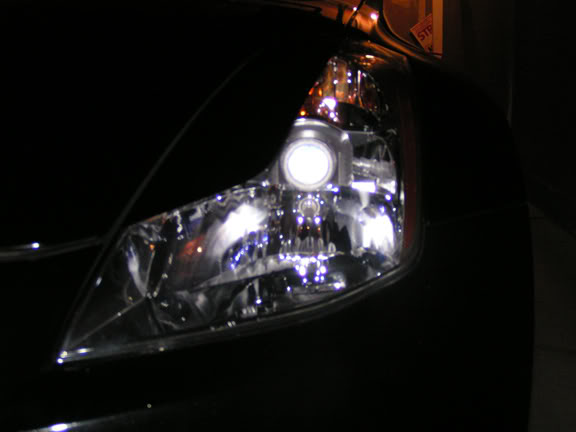
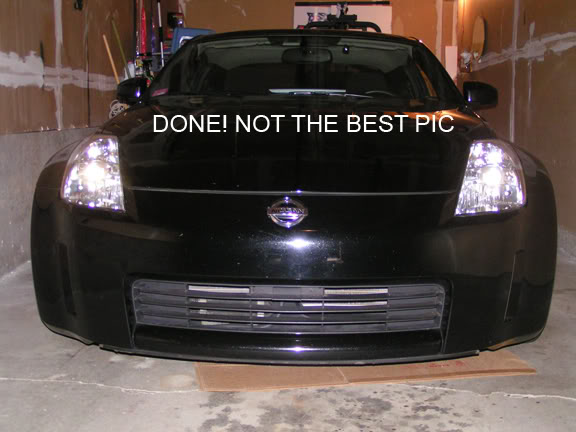
TADA!!!
Once the silicone is dry, just go backward on removing everything. Here is some personal tips.
1. Begin this project early, in case you do things wrong you still have sunlight.
2. A helping hand is always A+. Be thankful and treat them out of lunch.
3. Please have all the nessacary tools ready
4. Organize all the screws your remove.
5. Re-installing the HID is a pain IMO. Please remeber how they're place so you know how to install them.
6. Make sure everything is properly seal. You don't want water or moisture in there. Because the ballast is on the bottom. I'am afraid that water gets in and sink to the bottom it will damage your ballast.
7. Like all DIY projects do at your own risk and please don't blame me if you don't like it.
I hope that this information really help you guys. All I ask in return is just credits or a twin turbo kit . If there is any questions feel free to ask or email me @ LaoSiFu@Aol.com.
REMOVING THE FRONT BUMPER
1. Open up your hood and remove 6 clips on top of your bumper with a flat head screwdriver.
2. Under your car has (8)10mm screws that need to be remove with a 10mm socket wrench
3. Where you fender and bumper touch, on each side has a 10mm screws. Remove them.
4. From inside, under the headlight should have (2)10mm screws. Remove them
5. The front bumper should come right off, if not please double check for any left over screws that may have not come off.
REMOVING THE HEADLIGHTS AND WIRE (HID)
1. There are (4) 10mm screws that need to be remove with 10mm socket wrench.
2. Once you pull out the headlights, remove the wire clip that hold it and everything should be completely out.
3. Behind the headlights has a weather seal to protect the bulbs. Remove that by turning counter-clock wise
4. Since my Z has HID, on the bottom should be the ballast that need to be remove using a phillip screwdriver (3 screws each side)
5. Unclip the ballast and remove the wire from it.
6. Remove all turns/parking light bulbs.
7. Remove the HID bulbs and wire using a screwdriver. Including the wire clip that hold down the bulb. BEWARE!!! REMEBER HOW IT IS PLACE. Putting it back is a pain for me.
OPENING UP THE HEADLIGHT (Emeril Style BAMM)
1. On your headlight should have small phillip screws around them that need to be remove (forgot how many)
2. Preheat your cooking oven @ 250 degree for 5 minutes.
3. 5 min is up, sit a piece of WET cardboard on top of the plate.
4. Place your headlight on top of the WET cardboard. (make sure no wires or bulbs are attached
5. Bake your headlight for 7 minutes.
6. After 7 minutes, remove it from the oven. The silicone should be
melted. With your bare hand, try to open it up by tugging and pulling. If you are not the Incredible Hulk like me, you may need a 2nd person to help you or use a flat head to pry it open.
7. While opening, make sure no silicone stick inside your housing. If yes try to clean it off.
* In case you can't open it. re-wet the cardboard and throw it back in for about 3 minute should be good.
BLACK HOUSING (Whatever you do from here is your choice)
1. The other housing is held by (2)phillip screwdriver that need to be remove. Everything else should be out.
2. The orange strip is easy to remove so I'am sure anyone can do this.
3. Paint the outer housing with primer.
4. Once primer you paint the other housing with flat black paint.
5. I paint only a small portion of the inner housing but you'll need masking tape to cover the part where you don't want paint.
6. You need to let the paint dry first before putting everything back together.
* However you want to do is your black housing is up to you
BACK TO THE OVER!!!
1. Push your headlight back together as much as you can.
2. re-wet the cardboard.
3. @ 250 degree place the headlight on top of the cardboard for3 min. (not nesscary to pre-heat)
4. Remove it and push your headlight back together as much as your can. Try your best not to have any opening.
5. Once together, have some silicone (can pick one up @ your local auto store) and spread it along the housing. this will cover any open holes.
6. Let it dry before re-installing them.
* Those tiny phillip on step 1 of OPENING UP THE HEADLIGHT, I don't think you can put them back on, but I may be wrong.
TADA!!!
Once the silicone is dry, just go backward on removing everything. Here is some personal tips.
1. Begin this project early, in case you do things wrong you still have sunlight.
2. A helping hand is always A+. Be thankful and treat them out of lunch.
3. Please have all the nessacary tools ready
4. Organize all the screws your remove.
5. Re-installing the HID is a pain IMO. Please remeber how they're place so you know how to install them.
6. Make sure everything is properly seal. You don't want water or moisture in there. Because the ballast is on the bottom. I'am afraid that water gets in and sink to the bottom it will damage your ballast.
7. Like all DIY projects do at your own risk and please don't blame me if you don't like it.
I hope that this information really help you guys. All I ask in return is just credits or a twin turbo kit
. If there is any questions feel free to ask or email me @ LaoSiFu@Aol.com.
Last edited by LaoSiFu; 07-28-2006 at 02:32 PM.


 07-29-2003, 08:21 AM
#5
heres my "thoughts" on the orange strip, I havent looked at it closely enough, but I see a whole behind it near the top, depending how its all setup, you could MAYBE cut that orange strip there, and then pull each end through the hole if that makes sense.
but the design of the housing might not allow that, the strip could be glued in, or attached in some other way.
and the biggest problem, you cant put a clear strip back in like this.
sooooo... IMO you have to open it.
but the design of the housing might not allow that, the strip could be glued in, or attached in some other way.
and the biggest problem, you cant put a clear strip back in like this.
sooooo... IMO you have to open it.
07-29-2003, 10:12 AM
#6
Registered User
Thread Starter
iTrader: (97)
Join Date: Jun 2003
Location: Los Angeles County
Posts: 2,820
Likes: 0
Received 0 Likes
on
0 Posts
ares: There is another method you can do. You can use a heat gun or a hair dyer. This is a long process in my opinion. very long
zPilott: There is no way to remove the orange strip without opening the headlight.
zPilott: There is no way to remove the orange strip without opening the headlight.
07-29-2003, 10:22 AM
#7

Originally posted by LaoSiFu
ares: There is another method you can do. You can use a heat gun or a hair dyer. This is a long process in my opinion. very long
ares: There is another method you can do. You can use a heat gun or a hair dyer. This is a long process in my opinion. very long
DON'T DO IT
Trending Topics
07-31-2003, 10:29 AM
#8
Registered User

Join Date: Mar 2003
Location: GA
Posts: 12
Likes: 0
Received 0 Likes
on
0 Posts
great right-up. This should go into a sticky/note/diy section so people in the future could do it.
But has anyone ever noticed that when cars come from the factory with chrome headlights, people are always trying to paint them black, and when car's come with Black headlights, people are always wanting them chrome?
But has anyone ever noticed that when cars come from the factory with chrome headlights, people are always trying to paint them black, and when car's come with Black headlights, people are always wanting them chrome?
07-31-2003, 02:47 PM
#10
Registered User
Join Date: Apr 2003
Location: International
Posts: 1,991
Likes: 0
Received 0 Likes
on
0 Posts
Nice write up! I know what you mean about the head light clip. Mine flew off of my car before I could see how it was supposed to go. I spent the next hour messing with that stupid clip before I got it right.
When you have time could you post some more pictures in better light?
When you have time could you post some more pictures in better light?
 04-11-2006, 06:51 PM
#14
Registered User
Thread Starter
iTrader: (97)
Join Date: Jun 2003
Location: Los Angeles County
Posts: 2,820
Likes: 0
Received 0 Likes
on
0 Posts
Originally Posted by creationv2
wow old thread but all ican find on this process that is thorough.....so just here to make reference.....this should work for 06 models yah?
04-30-2007, 01:52 PM
#15
Registered User
iTrader: (11)
Join Date: Apr 2006
Location: My own world!
Posts: 7,723
Likes: 0
Received 0 Likes
on
0 Posts
i wi'll try it, i didn't kniow u had to heat the seal up. i was trying to pry it open. haha...oops.
i'll try again. see if the wife lets me BAKE the headlights with the caserole.
haha.
i'll try again. see if the wife lets me BAKE the headlights with the caserole.
haha.


 if anyone wants this done they can pm me. i will do it for a good price, and i will ship them back to you