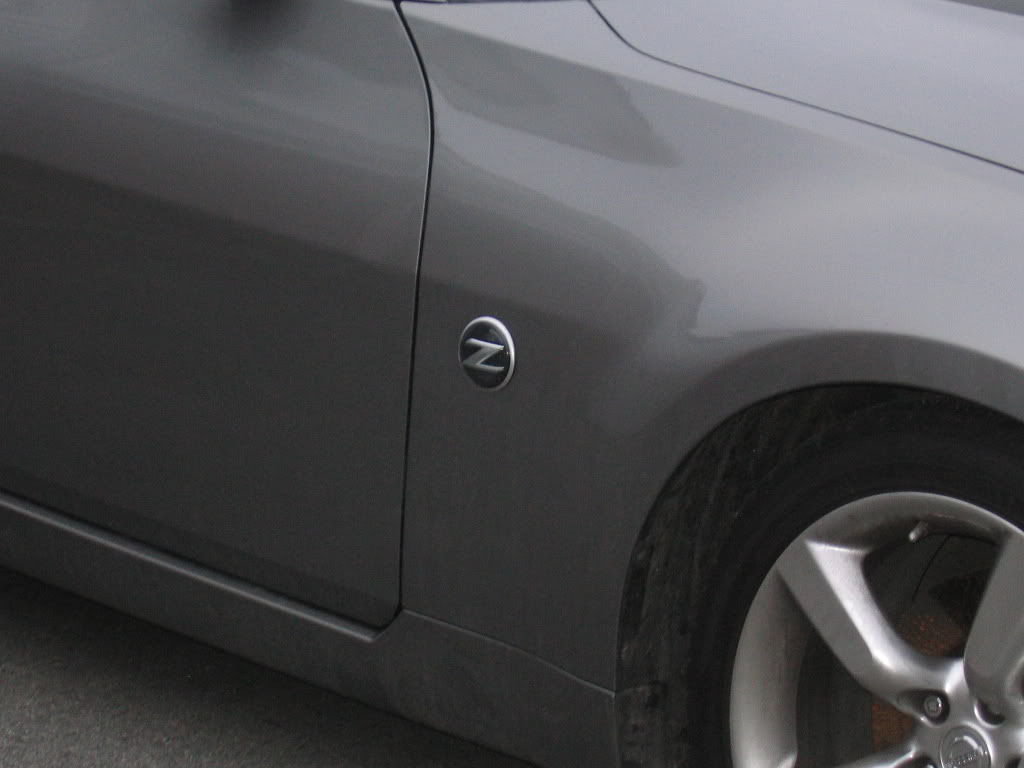
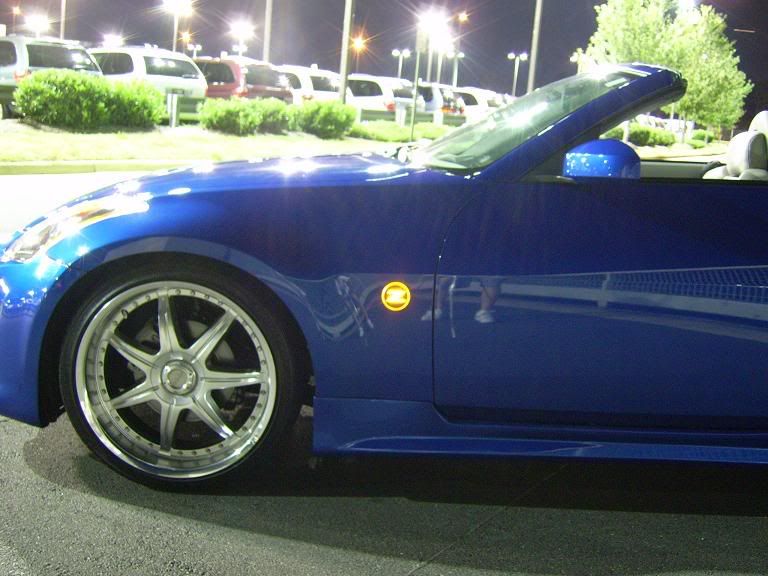
370z Side Emblem on a 350z


do you mean a word document that has pictures in it? or a word document + pictures?
either ways, you're only allowed to attach a 73kb file size (document), and that won't allow you to have a document with pictures in it (cuz it's gonna exceed the quota).
if you're trying to post a DYI, then i'd suggest you do it like everyone does.
either ways, you're only allowed to attach a 73kb file size (document), and that won't allow you to have a document with pictures in it (cuz it's gonna exceed the quota).
if you're trying to post a DYI, then i'd suggest you do it like everyone does.

Thread Starter
Registered User
Joined: Dec 2008
Posts: 38
Likes: 0
From: New York
Thanks for your help, yes it is a word document that includes pictures.
I will search on this forum on how to post a DIY
thanks
I will search on this forum on how to post a DIY
thanks
Last edited by 350z_Roadster; Mar 29, 2009 at 05:38 AM.
edit your post, copy the image link, press
 , paste the link.. once you're done, submit the post.
good luck.


Thread Starter
Registered User
Joined: Dec 2008
Posts: 38
Likes: 0
From: New York
Nobody is perfect, some people like it and others don't.
My personal opinion, this mod is sweet.
With this mod, you give your 350z a much younger look.
My personal opinion, this mod is sweet.
With this mod, you give your 350z a much younger look.
Last edited by 350z_Roadster; Mar 29, 2009 at 01:44 PM.

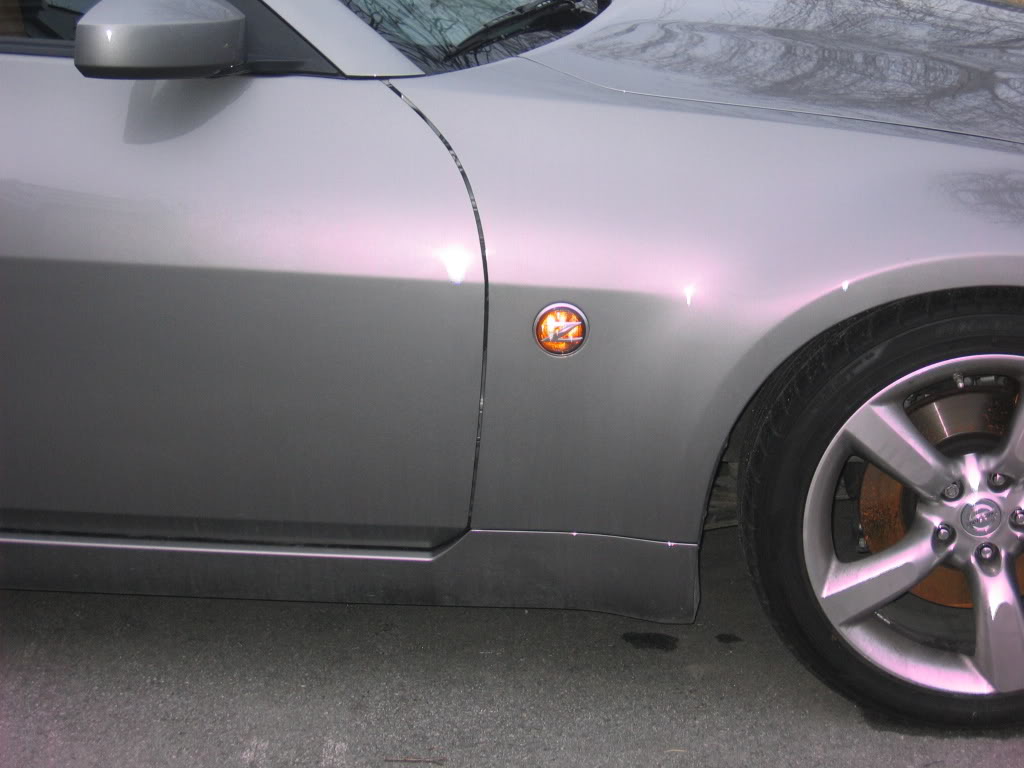
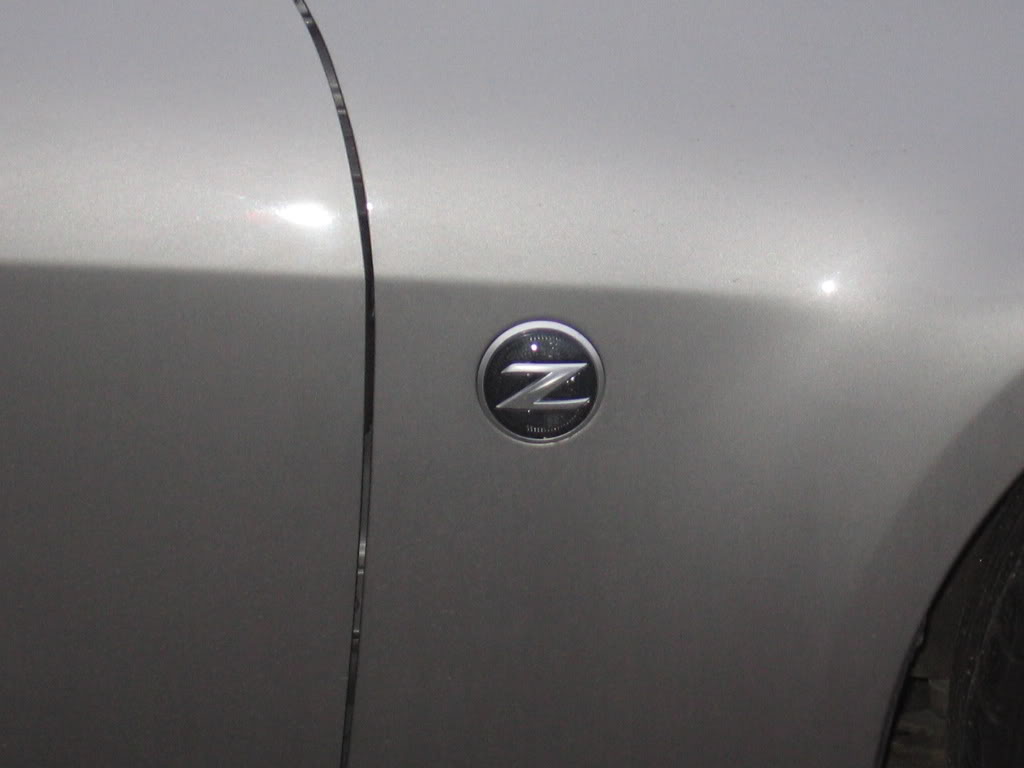
i own a 350z 2007 grand touring and purchased 2 370z lamp assy-side flasher (emblems)
tools needed
- 1 flat head screw driver (used to remove inner fender clips)
- 1 phillip screw driver (used to remove inner fender clips)
- 1 phillip screw driver (90 degree angle)
- 1 tube of silicon
- 1 drill
- 2 hose clamps
- 2 drill bits (1/32 use to start the drilling, 2 1/8 drill bit to make the hole)
- little rust proof paint (paint the unpainted metal from drilling)
- 20 feet of wireing (used to wire emblems to the front signals)
- 4 plastic clips (purchased at autozone, connects emblem wiring to front signal wiring)
- 4 longer screws (2 per emblems holders)
- 1 template (included as attached .pdf)
- 2 nissan 370z lamp assy-side flasher (emblems) purchased at
http://www.courtesyparts.com/26160m-...-p-620273.html
http://www.courtesyparts.com/26165-l...-p-620274.html
pre-steps :
- prepare the lamp assy-side flasher (emblems) prior to installation
- i cut off the male connector on each emblem
- solder 2 new wires on each emblems
- remove both little pins on each emblems
steps :
- tools

- remove both fender wheel liner (on both sides) by removing the philip screws and plastic plugs


- view from inside the fender

- use something hard to push out the emblem ( i used my screw driver handle)

- the results after the emblem is pushed out

- use the suplied paper template (marked right for the passenger side)

- place the paper template over the center where the original emblem was
- use the small drill bit to drill in the center of the template

- once the center hole has been drilled
- to make sure the center hole is fully drilled, i redrill the center hole (without the template)

- i then use the 2 1/8 drill bit, position the center drill bit in the center hole previously drilled

- voila, a nice centerd drilled hole

- 2 pins located on the new blinkers (they both need to be removed)
- picture of the first pin

- picture of the second pin

- paint, add rust proof paint on the unpainted metal
- choices :
A) use 2 small screws to screw the plastic bracket onto the blinker
or
b) use a hose clamp to hold the plastic bracket onto the blinker (my choice, easier and faster to install inside the fender)

- add silicone all around the inside of the blinker

- install the blinker inside its hole, position the z as straight as possible (i used a level to align the z perfectly)

- view from inside the fender (you can see the hose clamp holding the plastic holder onto the blinker)

- get the wires from the blinker through the plastic holder located inside the fender

- locate the 3 wires from the front blinker connector

- a picture of both my wires from the blinker

- plastic clips that will be used to connect the wires from the blinkers too the wires on the front lights

- locate the front blinker connector (3 wires, green, black, blue)
- use a plastic clip to connect the black wire from the blinker onto the black wire from the front connector
- use a second plastic clip to connect your second wire from the blinker onto the green wire from the front connector.

- done
- test (use your 4 ways to see the side blinkers lite up)
- successful
- put everything back
its a great mod, have fun
tools needed
- 1 flat head screw driver (used to remove inner fender clips)
- 1 phillip screw driver (used to remove inner fender clips)
- 1 phillip screw driver (90 degree angle)
- 1 tube of silicon
- 1 drill
- 2 hose clamps
- 2 drill bits (1/32 use to start the drilling, 2 1/8 drill bit to make the hole)
- little rust proof paint (paint the unpainted metal from drilling)
- 20 feet of wireing (used to wire emblems to the front signals)
- 4 plastic clips (purchased at autozone, connects emblem wiring to front signal wiring)
- 4 longer screws (2 per emblems holders)
- 1 template (included as attached .pdf)
- 2 nissan 370z lamp assy-side flasher (emblems) purchased at
http://www.courtesyparts.com/26160m-...-p-620273.html
http://www.courtesyparts.com/26165-l...-p-620274.html
pre-steps :
- prepare the lamp assy-side flasher (emblems) prior to installation
- i cut off the male connector on each emblem
- solder 2 new wires on each emblems
- remove both little pins on each emblems
steps :
- tools
- remove both fender wheel liner (on both sides) by removing the philip screws and plastic plugs
- view from inside the fender
- use something hard to push out the emblem ( i used my screw driver handle)
- the results after the emblem is pushed out
- use the suplied paper template (marked right for the passenger side)
- place the paper template over the center where the original emblem was
- use the small drill bit to drill in the center of the template
- once the center hole has been drilled
- to make sure the center hole is fully drilled, i redrill the center hole (without the template)
- i then use the 2 1/8 drill bit, position the center drill bit in the center hole previously drilled
- voila, a nice centerd drilled hole
- 2 pins located on the new blinkers (they both need to be removed)
- picture of the first pin
- picture of the second pin
- paint, add rust proof paint on the unpainted metal
- choices :
A) use 2 small screws to screw the plastic bracket onto the blinker
or
b) use a hose clamp to hold the plastic bracket onto the blinker (my choice, easier and faster to install inside the fender)
- add silicone all around the inside of the blinker
- install the blinker inside its hole, position the z as straight as possible (i used a level to align the z perfectly)
- view from inside the fender (you can see the hose clamp holding the plastic holder onto the blinker)
- get the wires from the blinker through the plastic holder located inside the fender
- locate the 3 wires from the front blinker connector
- a picture of both my wires from the blinker
- plastic clips that will be used to connect the wires from the blinkers too the wires on the front lights
- locate the front blinker connector (3 wires, green, black, blue)
- use a plastic clip to connect the black wire from the blinker onto the black wire from the front connector
- use a second plastic clip to connect your second wire from the blinker onto the green wire from the front connector.
- done
- test (use your 4 ways to see the side blinkers lite up)
- successful
- put everything back
its a great mod, have fun
Last edited by Michla22; Oct 11, 2009 at 11:02 PM. Reason: Fixed again - Re-uploaded pics


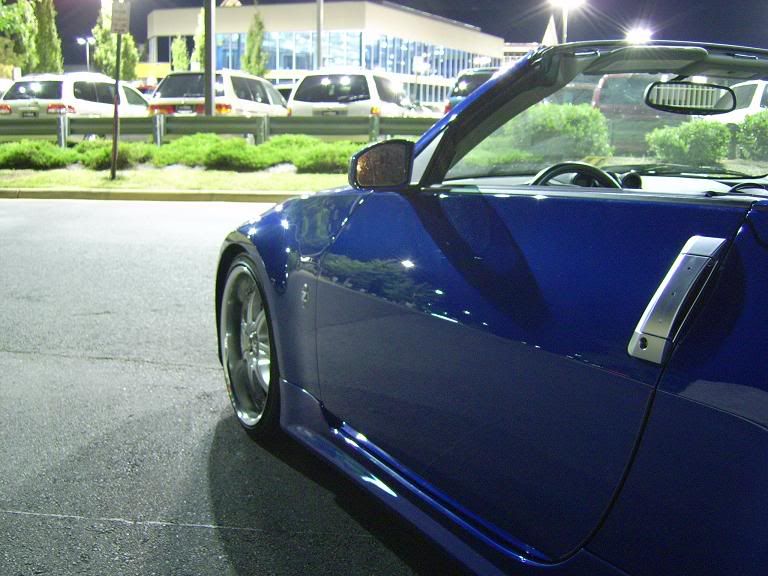


pics of the flasher on please......
wanna see the difference of the background of Z lighting up
compared to
the older ones like the pic above that has the Z and the border flashing
wanna see the difference of the background of Z lighting up
compared to
the older ones like the pic above that has the Z and the border flashing