

My Detailing Conquests!
 02-18-2011, 07:41 AM
#41

Glass is actually a lot harder than your clear coat so buffing out swirls and ultra fine scratches is much more challenging. If you want to really polish glass you'll need something like the Lake Country Pro Glass Polishing Kit with Rain-X (don't use the rain-x on the stove, lol).
Greg @ DI
Greg @ DI

 02-20-2011, 08:47 AM
#43
Greg @ DI
02-23-2011, 05:59 PM
#44
Registered User
iTrader: (1)

Join Date: Jun 2010
Location: Franklin, VA
Posts: 38
Likes: 0
Received 0 Likes
on
0 Posts
I'm subscribing to this one.. I've been looking at detailing sites for the last six months and Detailed Image will be where I get my stuff from.. My 07 Carbon Silver 350Z needs light correction and my 05 Aztec Red Nismo Frontier needs major correction (water spots). I'm gonna go with the 7424XP and Meguiar's for the process. Of course, I will do the Frontier first so my 350Z will look as good as yours OP... Good Work!!
02-24-2011, 01:09 PM
#45
I'm subscribing to this one.. I've been looking at detailing sites for the last six months and Detailed Image will be where I get my stuff from.. My 07 Carbon Silver 350Z needs light correction and my 05 Aztec Red Nismo Frontier needs major correction (water spots). I'm gonna go with the 7424XP and Meguiar's for the process. Of course, I will do the Frontier first so my 350Z will look as good as yours OP... Good Work!!
Greg @ DI
02-26-2011, 08:42 AM
#46
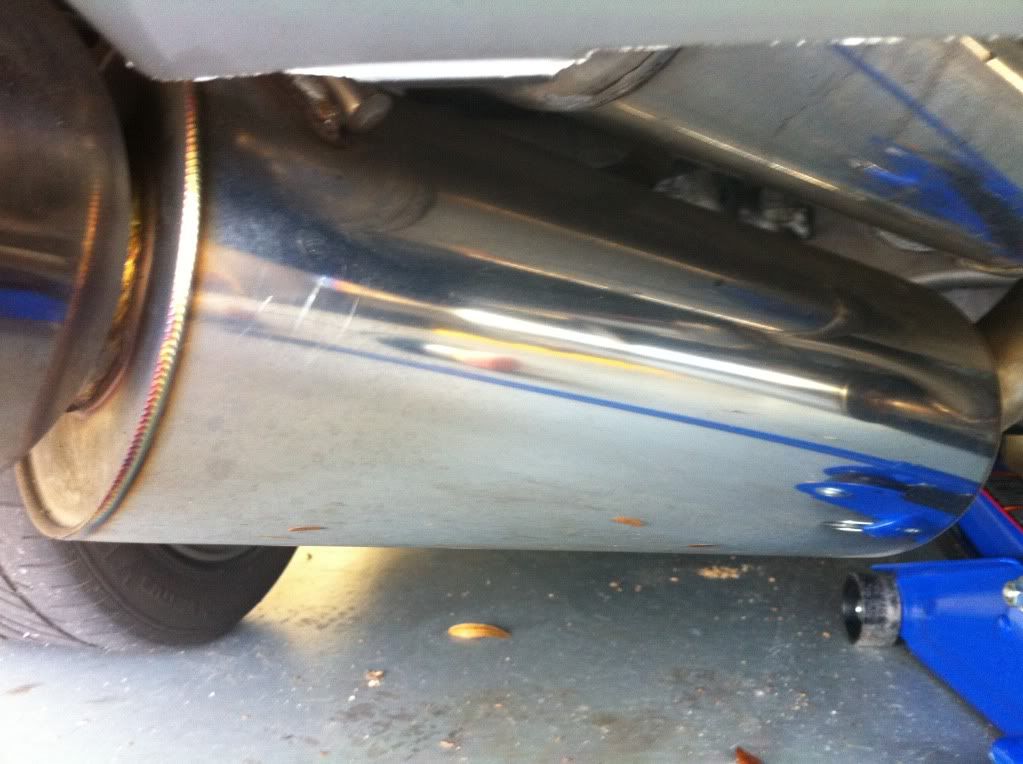
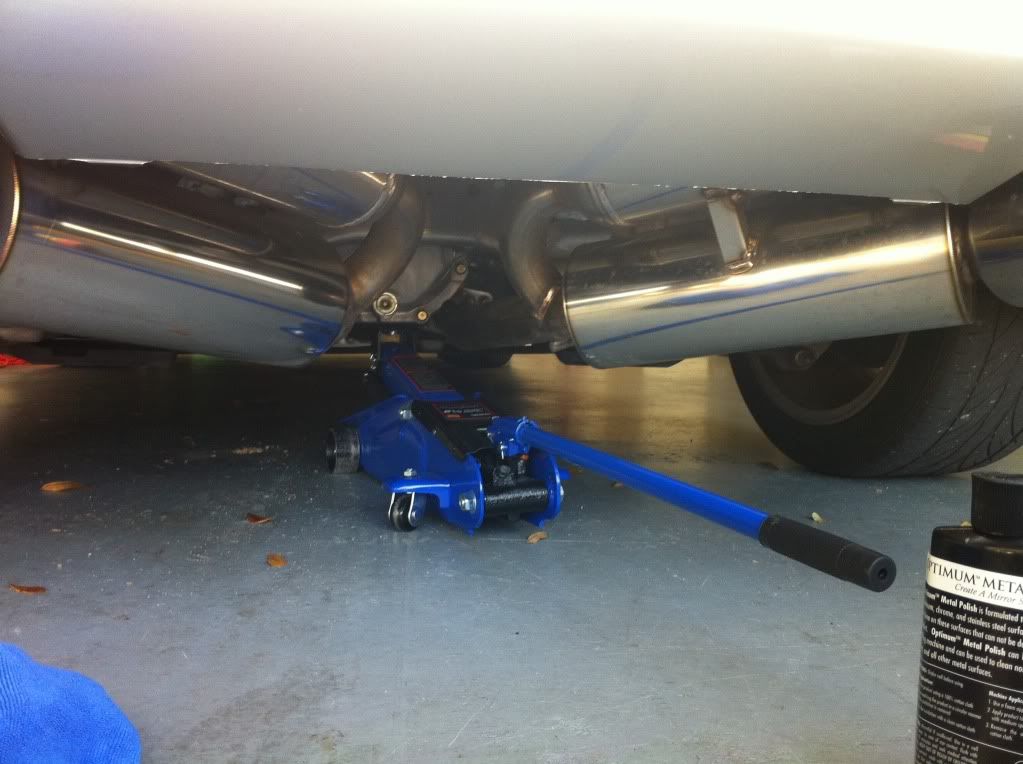
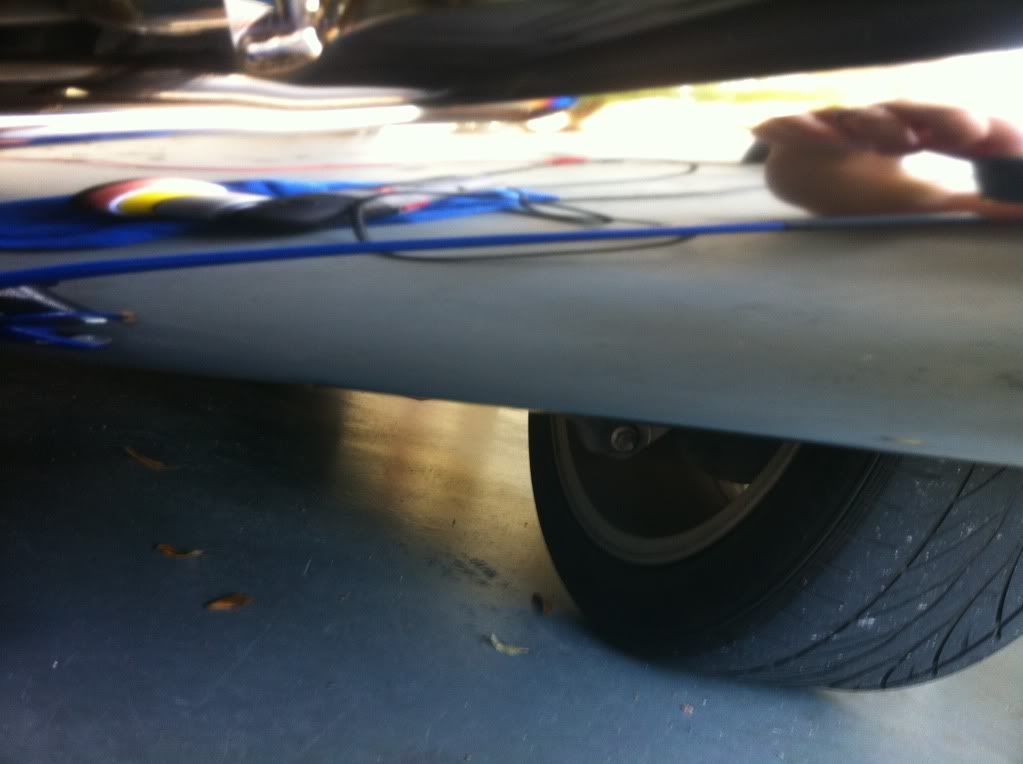
Today I attempted to polish my HKS exhaust with Optimum Metal Polish and a Tangerine pad.

Before:
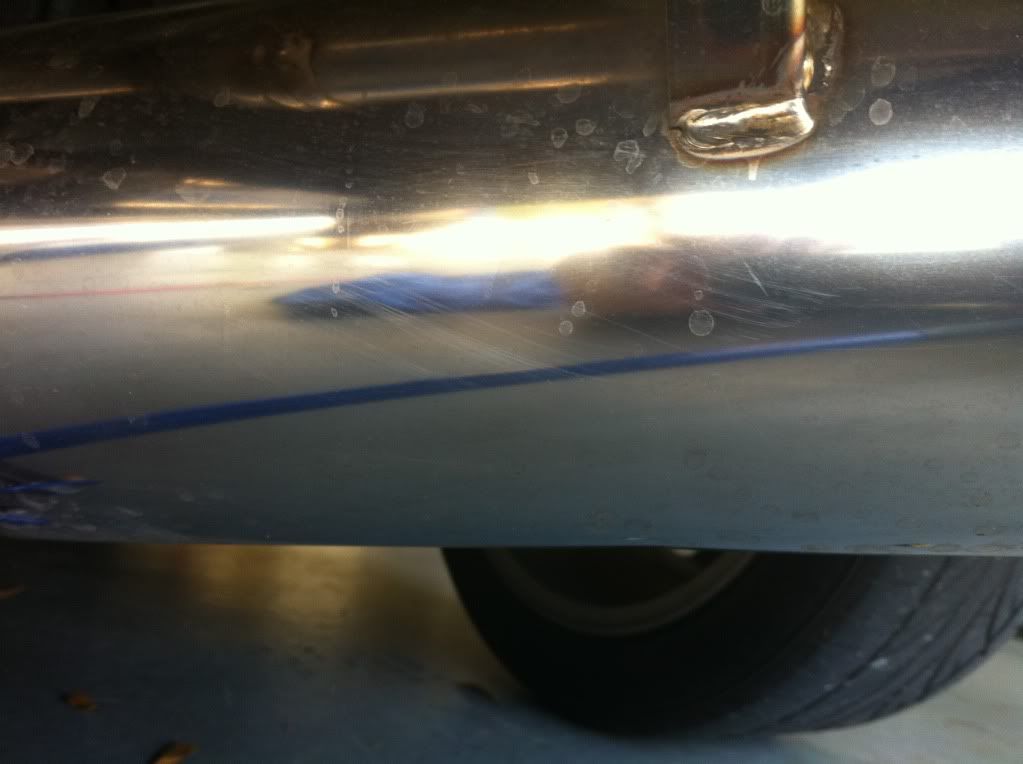
Not too shabby for an Amatuer, got most of the scratches out
After:
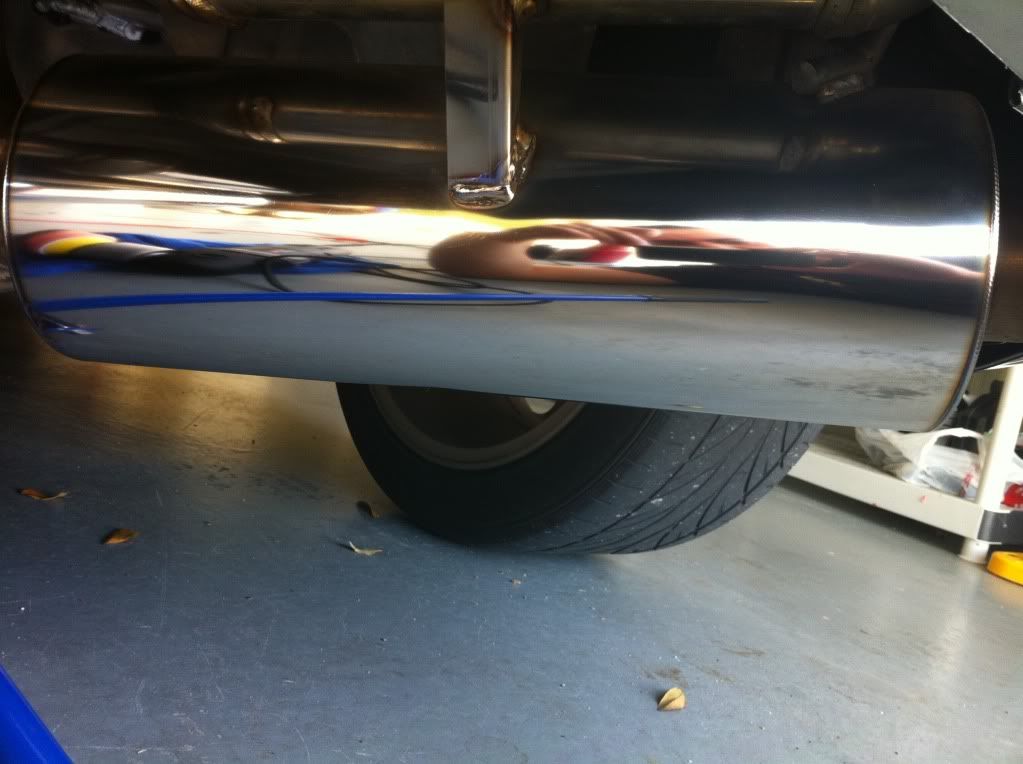
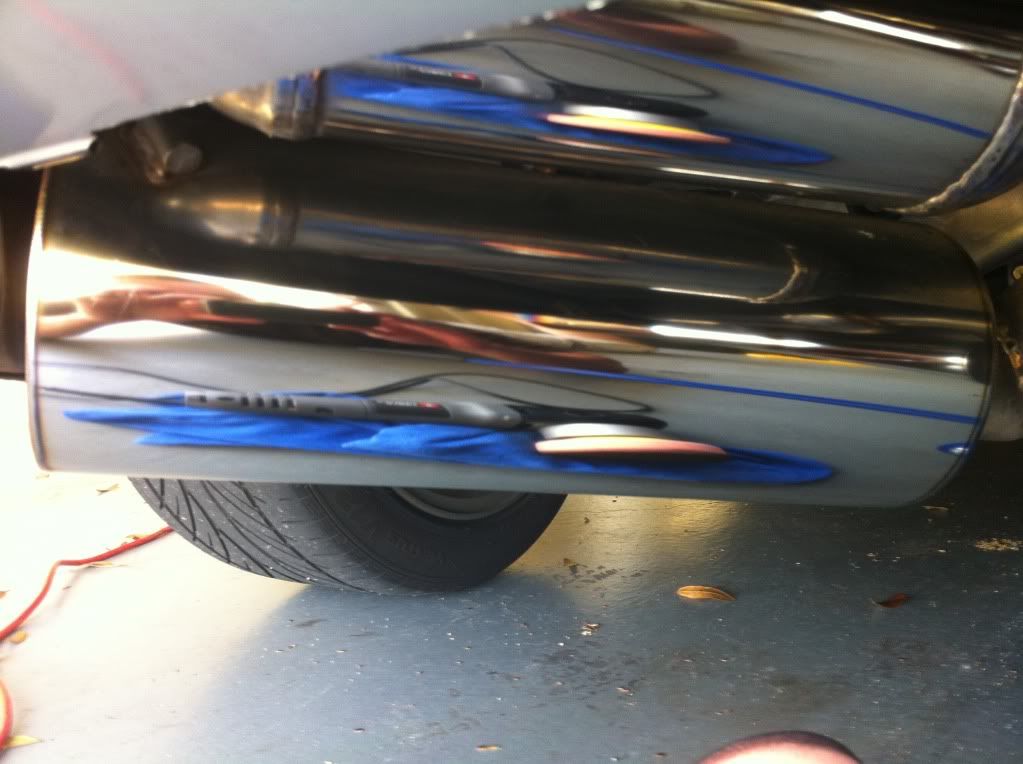


Looks like it cost me a Tangerine pad. It turned it completely black!
Whoops!

Before:
Not too shabby for an Amatuer, got most of the scratches out
After:
Looks like it cost me a Tangerine pad. It turned it completely black!
Whoops!
Last edited by Diesel350; 02-26-2011 at 08:44 AM.
02-27-2011, 04:12 PM
#47
Huge improvement on the exhaust system, thanks for sharing! The Optimum Metal Polish is a great polish and I'm happy to see it bring some serious shine to the exhaust.
Greg @ DI
Greg @ DI
04-16-2011, 06:46 AM
#48
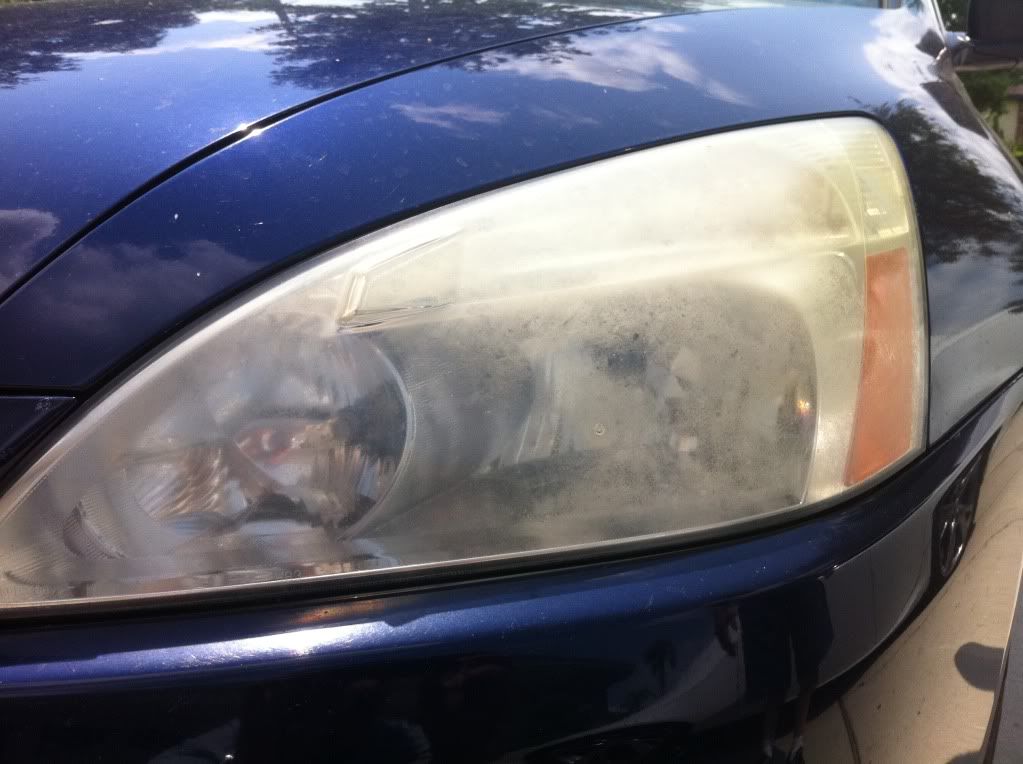
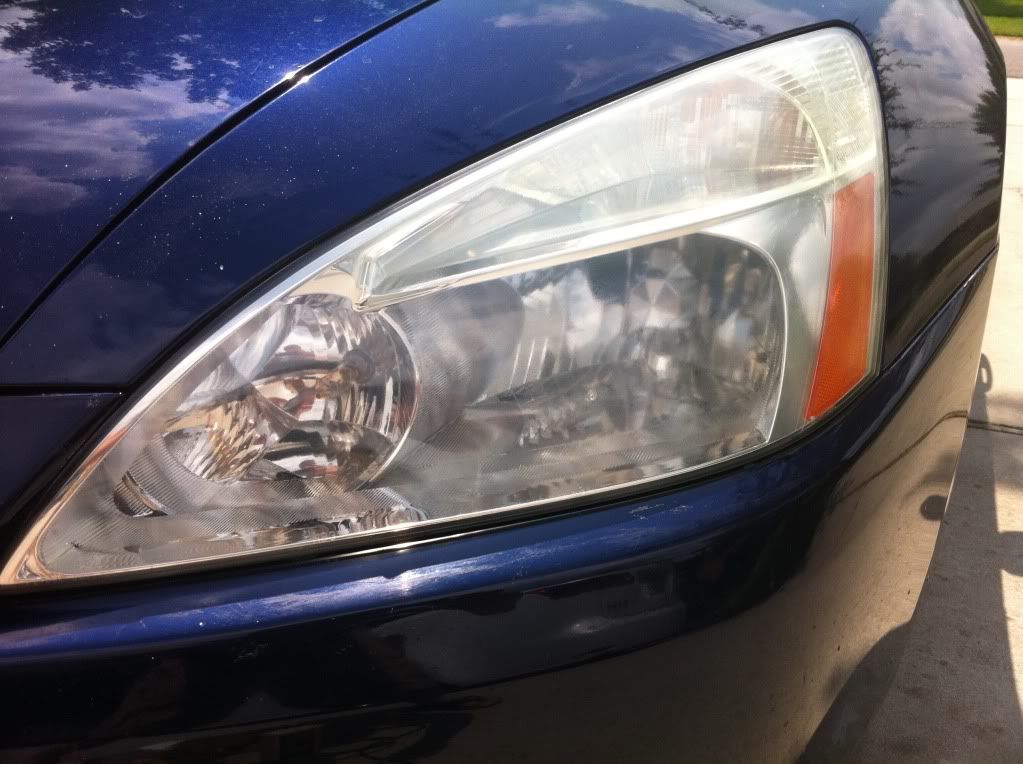
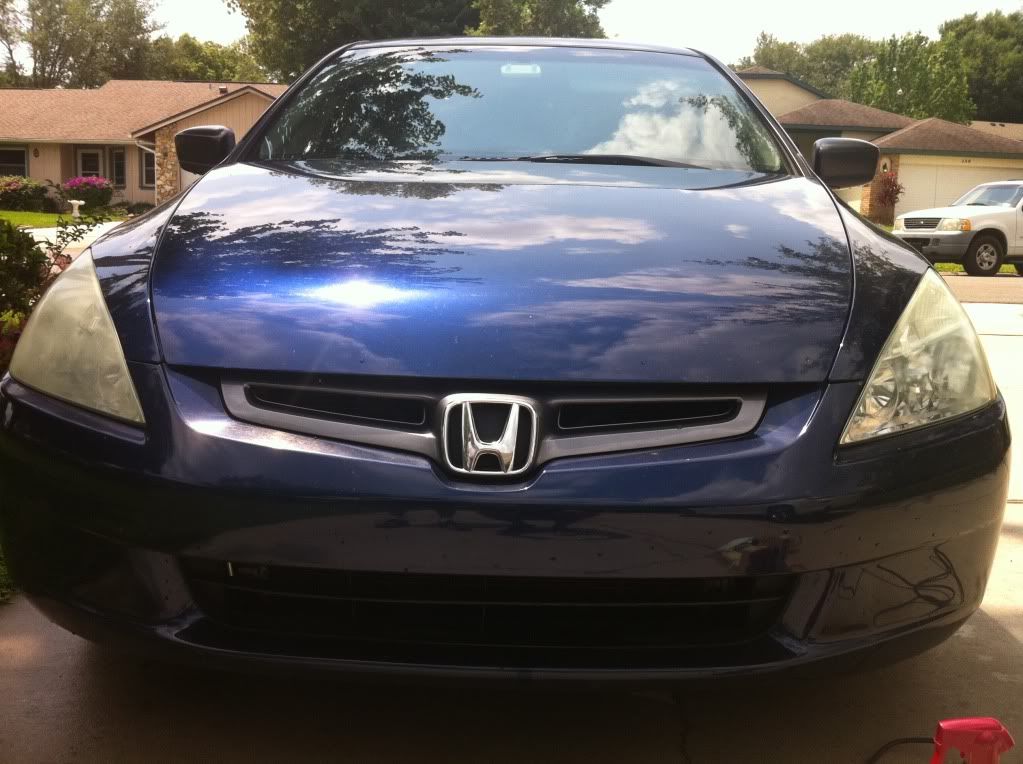
Worked on my dads 2004 Honda Accord today which was in horrendous condition. I only had time to do the headlights and the trunk today.
Before:
After:
Before:
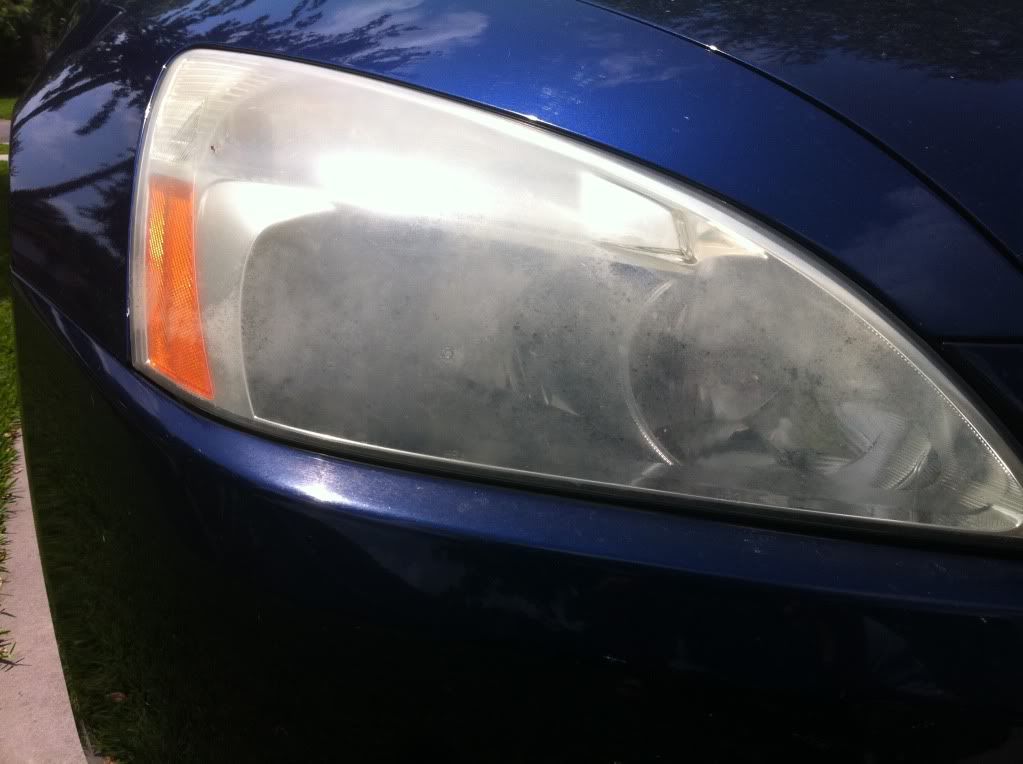
After:

One headlight done:
Trunk Before:


Etched water spots on trunk:
After:


Before:
After:
Before:
After:
One headlight done:
Trunk Before:
Etched water spots on trunk:
After:


 04-16-2011, 11:44 AM
#51
Lack of UV protection. Some headlights turn cloudy looking faster than other just depending on how much UV protection the original manufacturer put on the headlights. Too keep the headlights from getting cloudy it is best to frequently apply a UV protectant like 303 Aerospace to your headlights. Obviously from the looks of these headlights my father never applied any protectant to these headlights. LOL
04-16-2011, 03:36 PM
#54
Registered User
iTrader: (9)

Join Date: Apr 2011
Location: Florida
Posts: 543
Likes: 0
Received 0 Likes
on
0 Posts
Looks like you have wayyyyyy too much time on your hands. lol
Seriously, looks really great.
Where did you get the buffer and how much $$$ ?
I've been using carcareonline.com for years and I really like their products and tips sheet.
Seriously, looks really great.
Where did you get the buffer and how much $$$ ?
I've been using carcareonline.com for years and I really like their products and tips sheet.
04-17-2011, 06:30 AM
#55
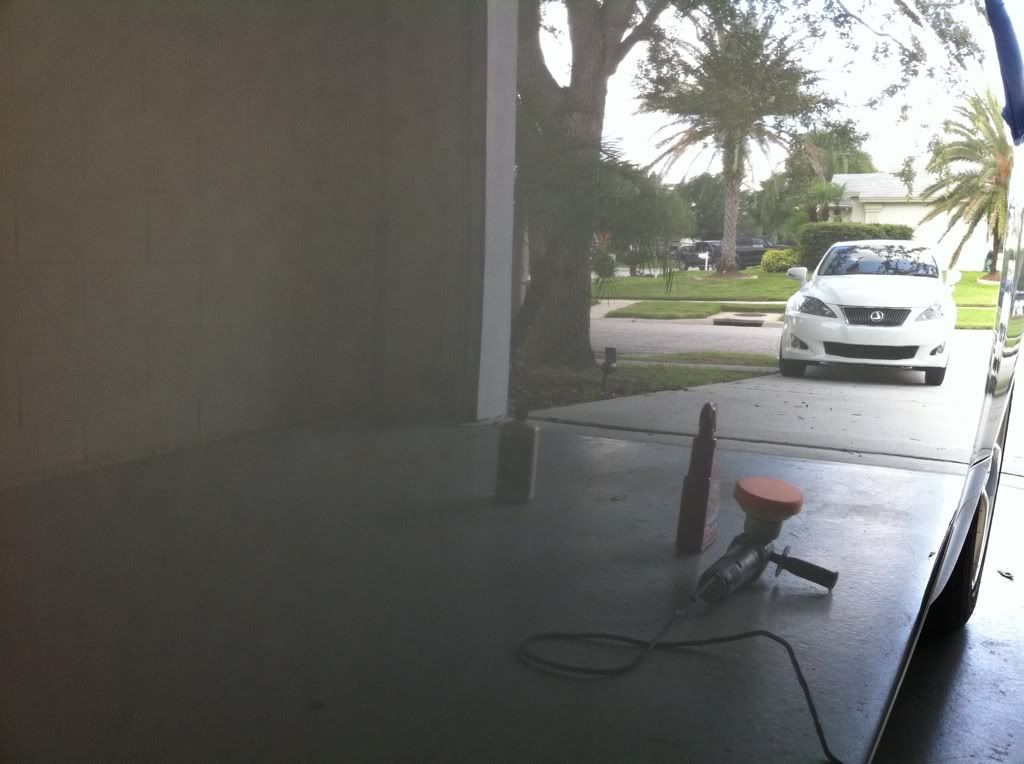
For the buffer you can get it anywhere online for the $120 range. I got mine from Amazon. So far it has worked flawlessly and has not broken down on me. It's amazing how much you can accomplish polishing with an Orbital buffer you just spend alot of money on pads though.
 07-26-2011, 03:37 PM
#58
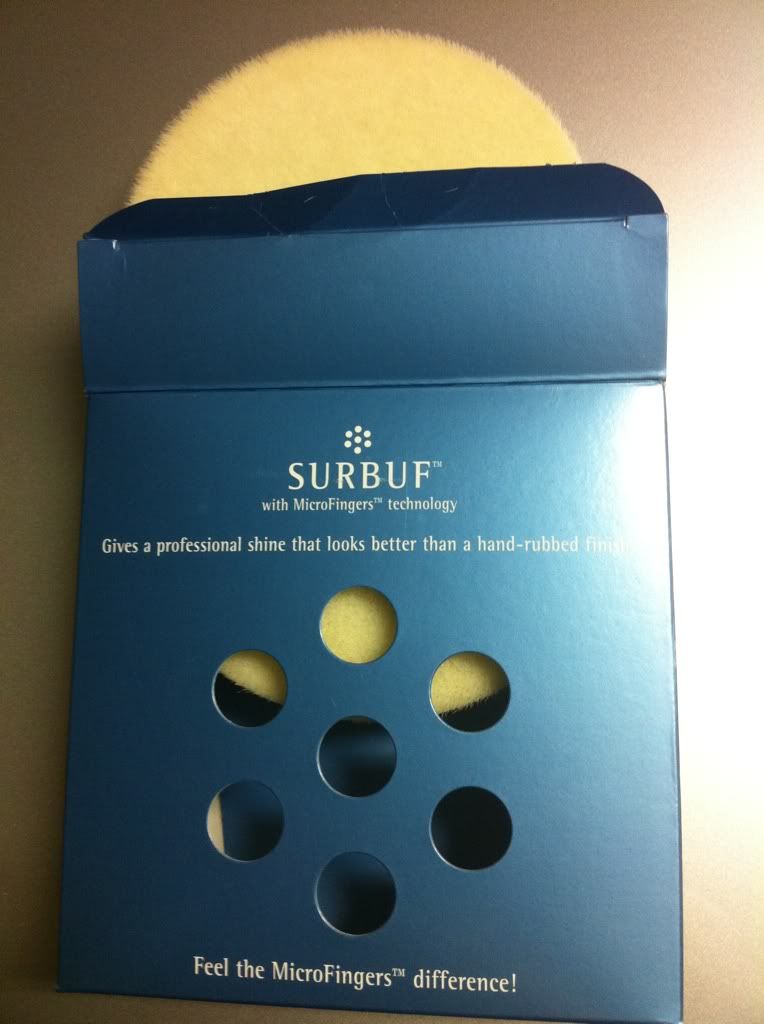
So I bought these Surbuf Pads after seeing a review on these pads. If you are looking for amazing paint correction or just a more aggressive pad this is the pad for you. BTW I learned today if you are using Isopropyl Alcohol to keep it a way from the rubber linings on the outside of your car. IPA makes your rubber linings look like crap.
http://www.detailedimage.com/Ask-a-P...o-with-review/
http://www.detailedimage.com/Ask-a-P...-cable-7424xp/
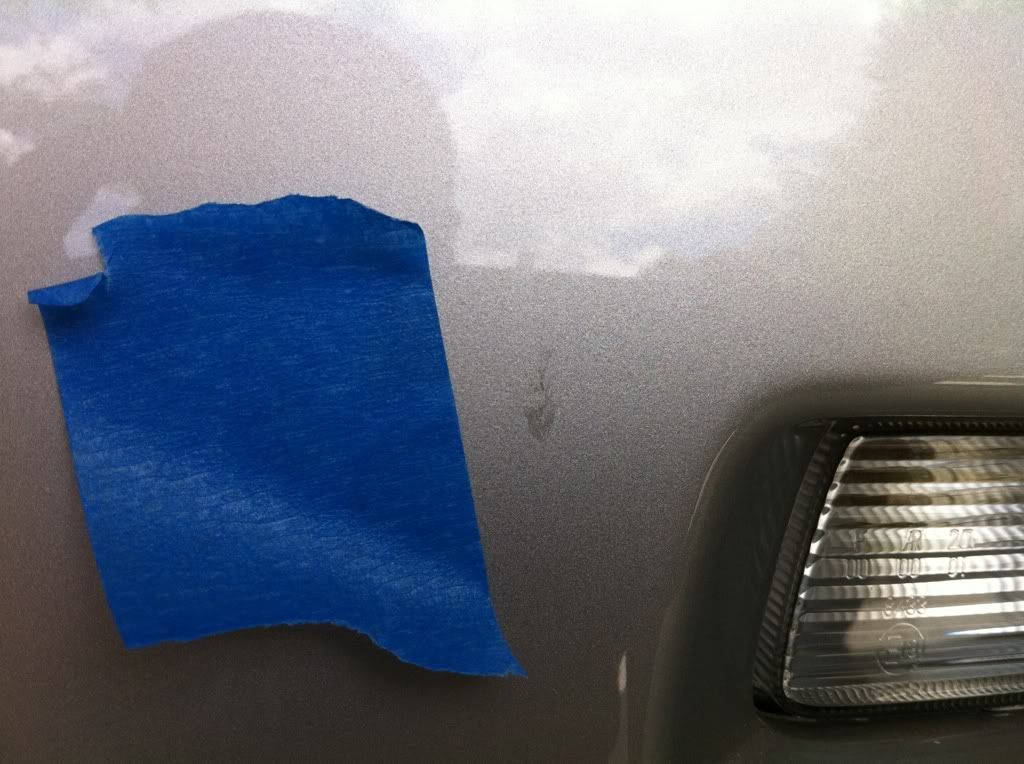
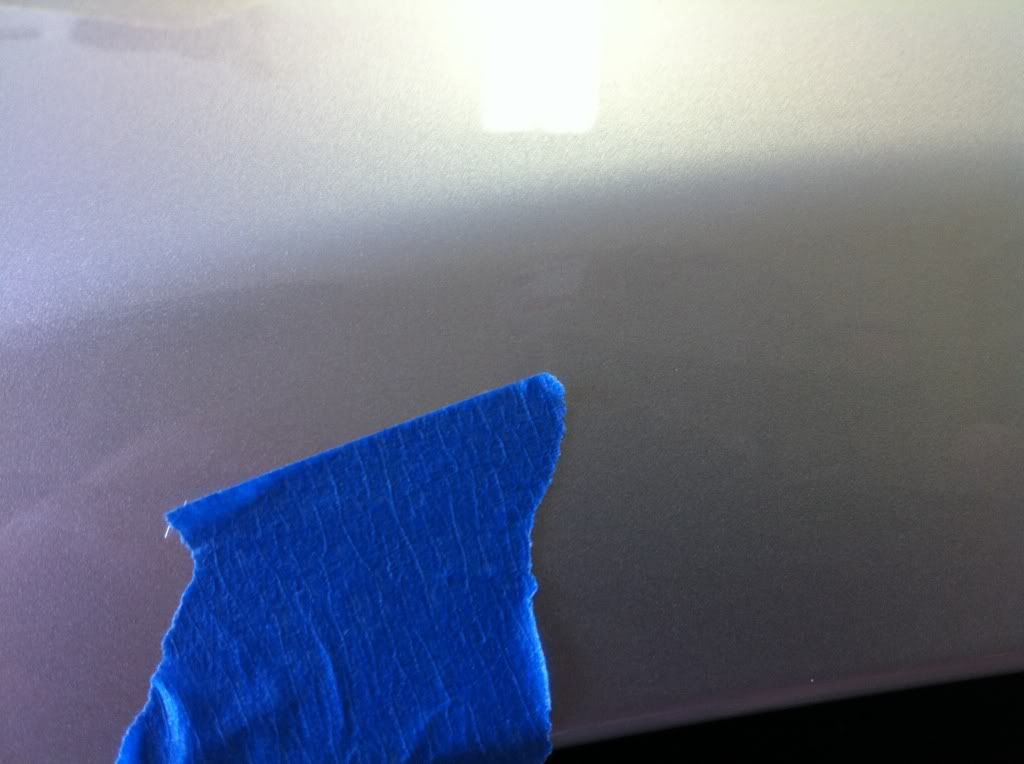
Started with some imperfections around the car that I could not get off with just a yellow pad which is considered a pretty aggressive pad.
Before:
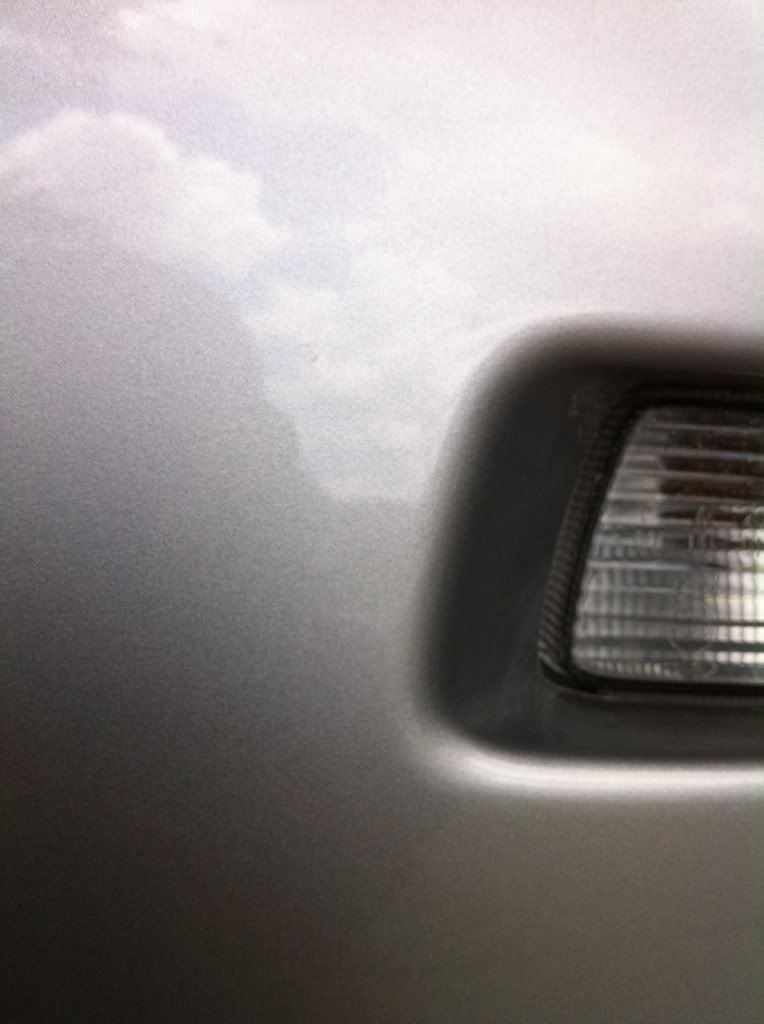
After:
Before: These two were in the same area. After passing the Surbuf pad and M105 they were gone
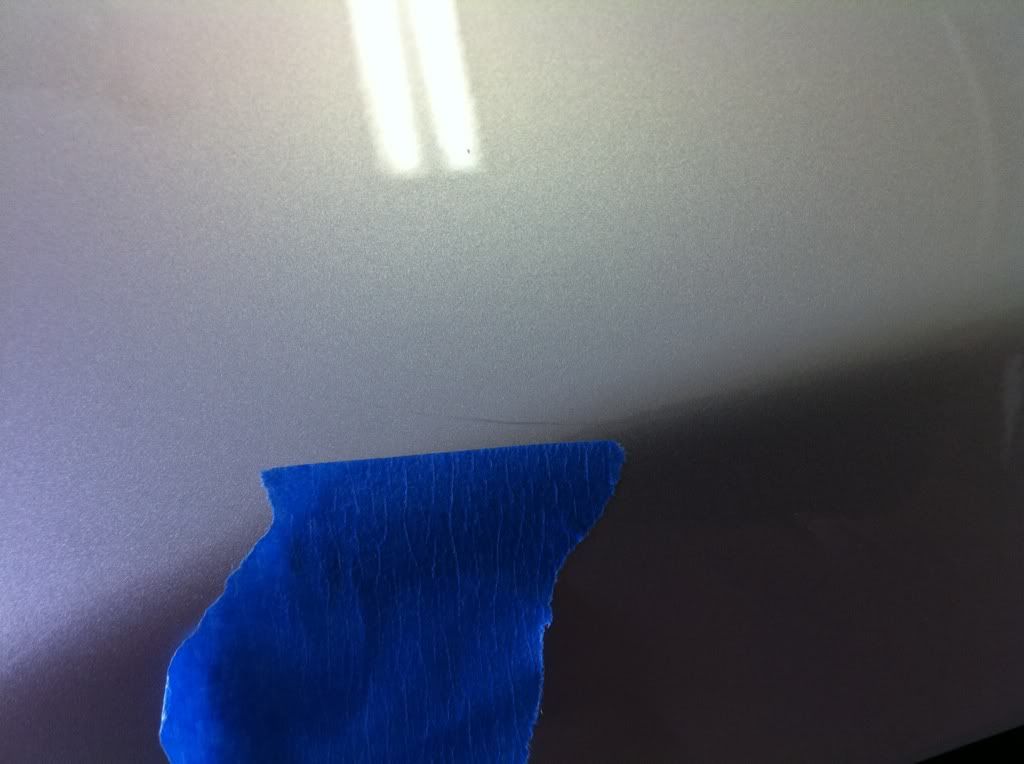

After:
Decided to do my whole roof and hood with Surbuf pad with M105 then finished it off with M205 and a finishing pad. Here are the results:
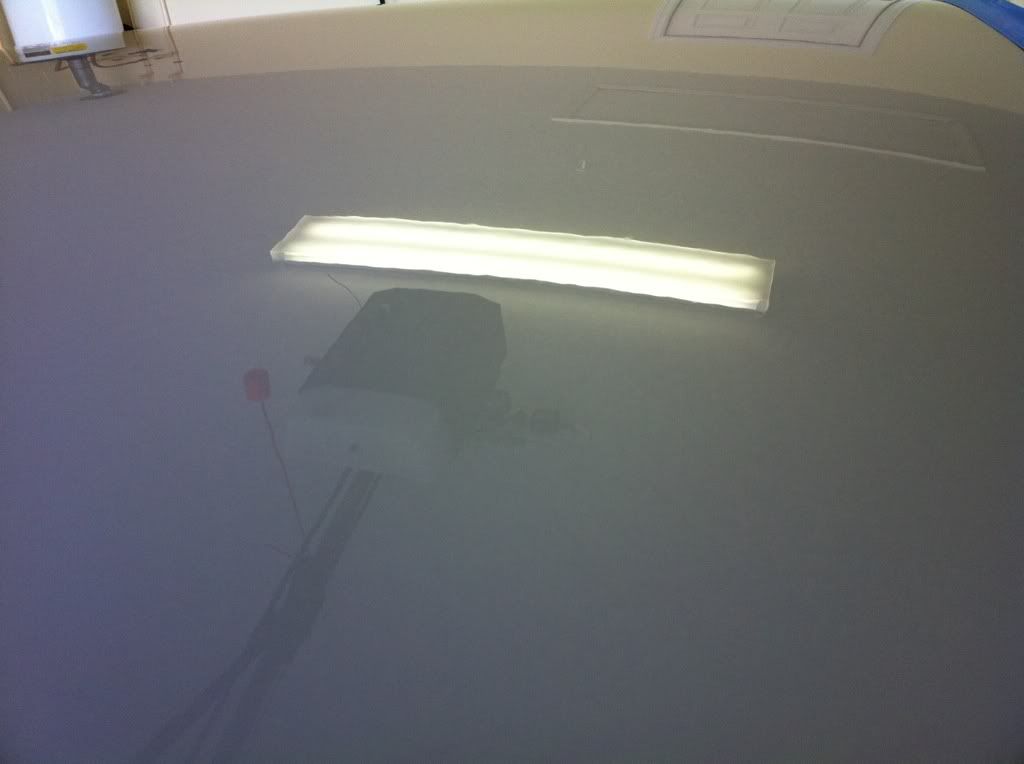
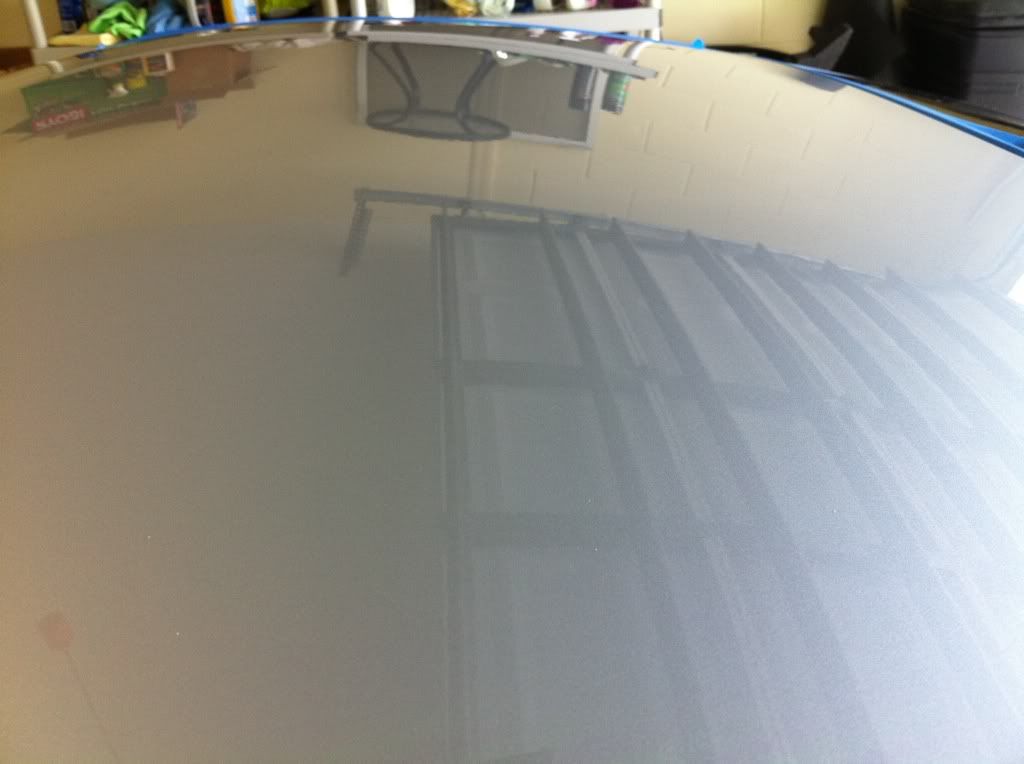
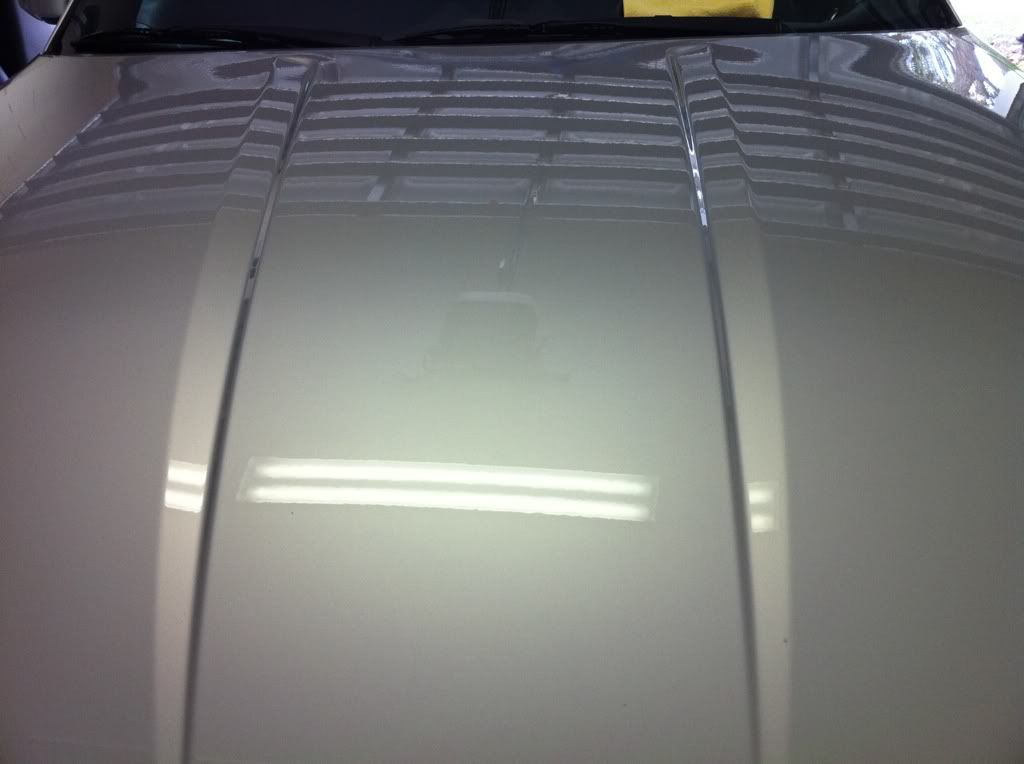
And all done after BFWD Sealant added:

http://www.detailedimage.com/Ask-a-P...o-with-review/
http://www.detailedimage.com/Ask-a-P...-cable-7424xp/
Started with some imperfections around the car that I could not get off with just a yellow pad which is considered a pretty aggressive pad.
Before:
After:
Before: These two were in the same area. After passing the Surbuf pad and M105 they were gone
After:
Decided to do my whole roof and hood with Surbuf pad with M105 then finished it off with M205 and a finishing pad. Here are the results:
And all done after BFWD Sealant added:


