
LS1 Drift Build 'Nuff Said'


Thread Starter
New Member
iTrader: (9)
Joined: Sep 2004
Posts: 2,840
Likes: 14
From: San Antonio, TX
Well got to this post early today, its a short one but its a good one... So enjoy:biggthumpup:
STAGE 1: Phase 4 'LS1 to LS6 PCV conversion'
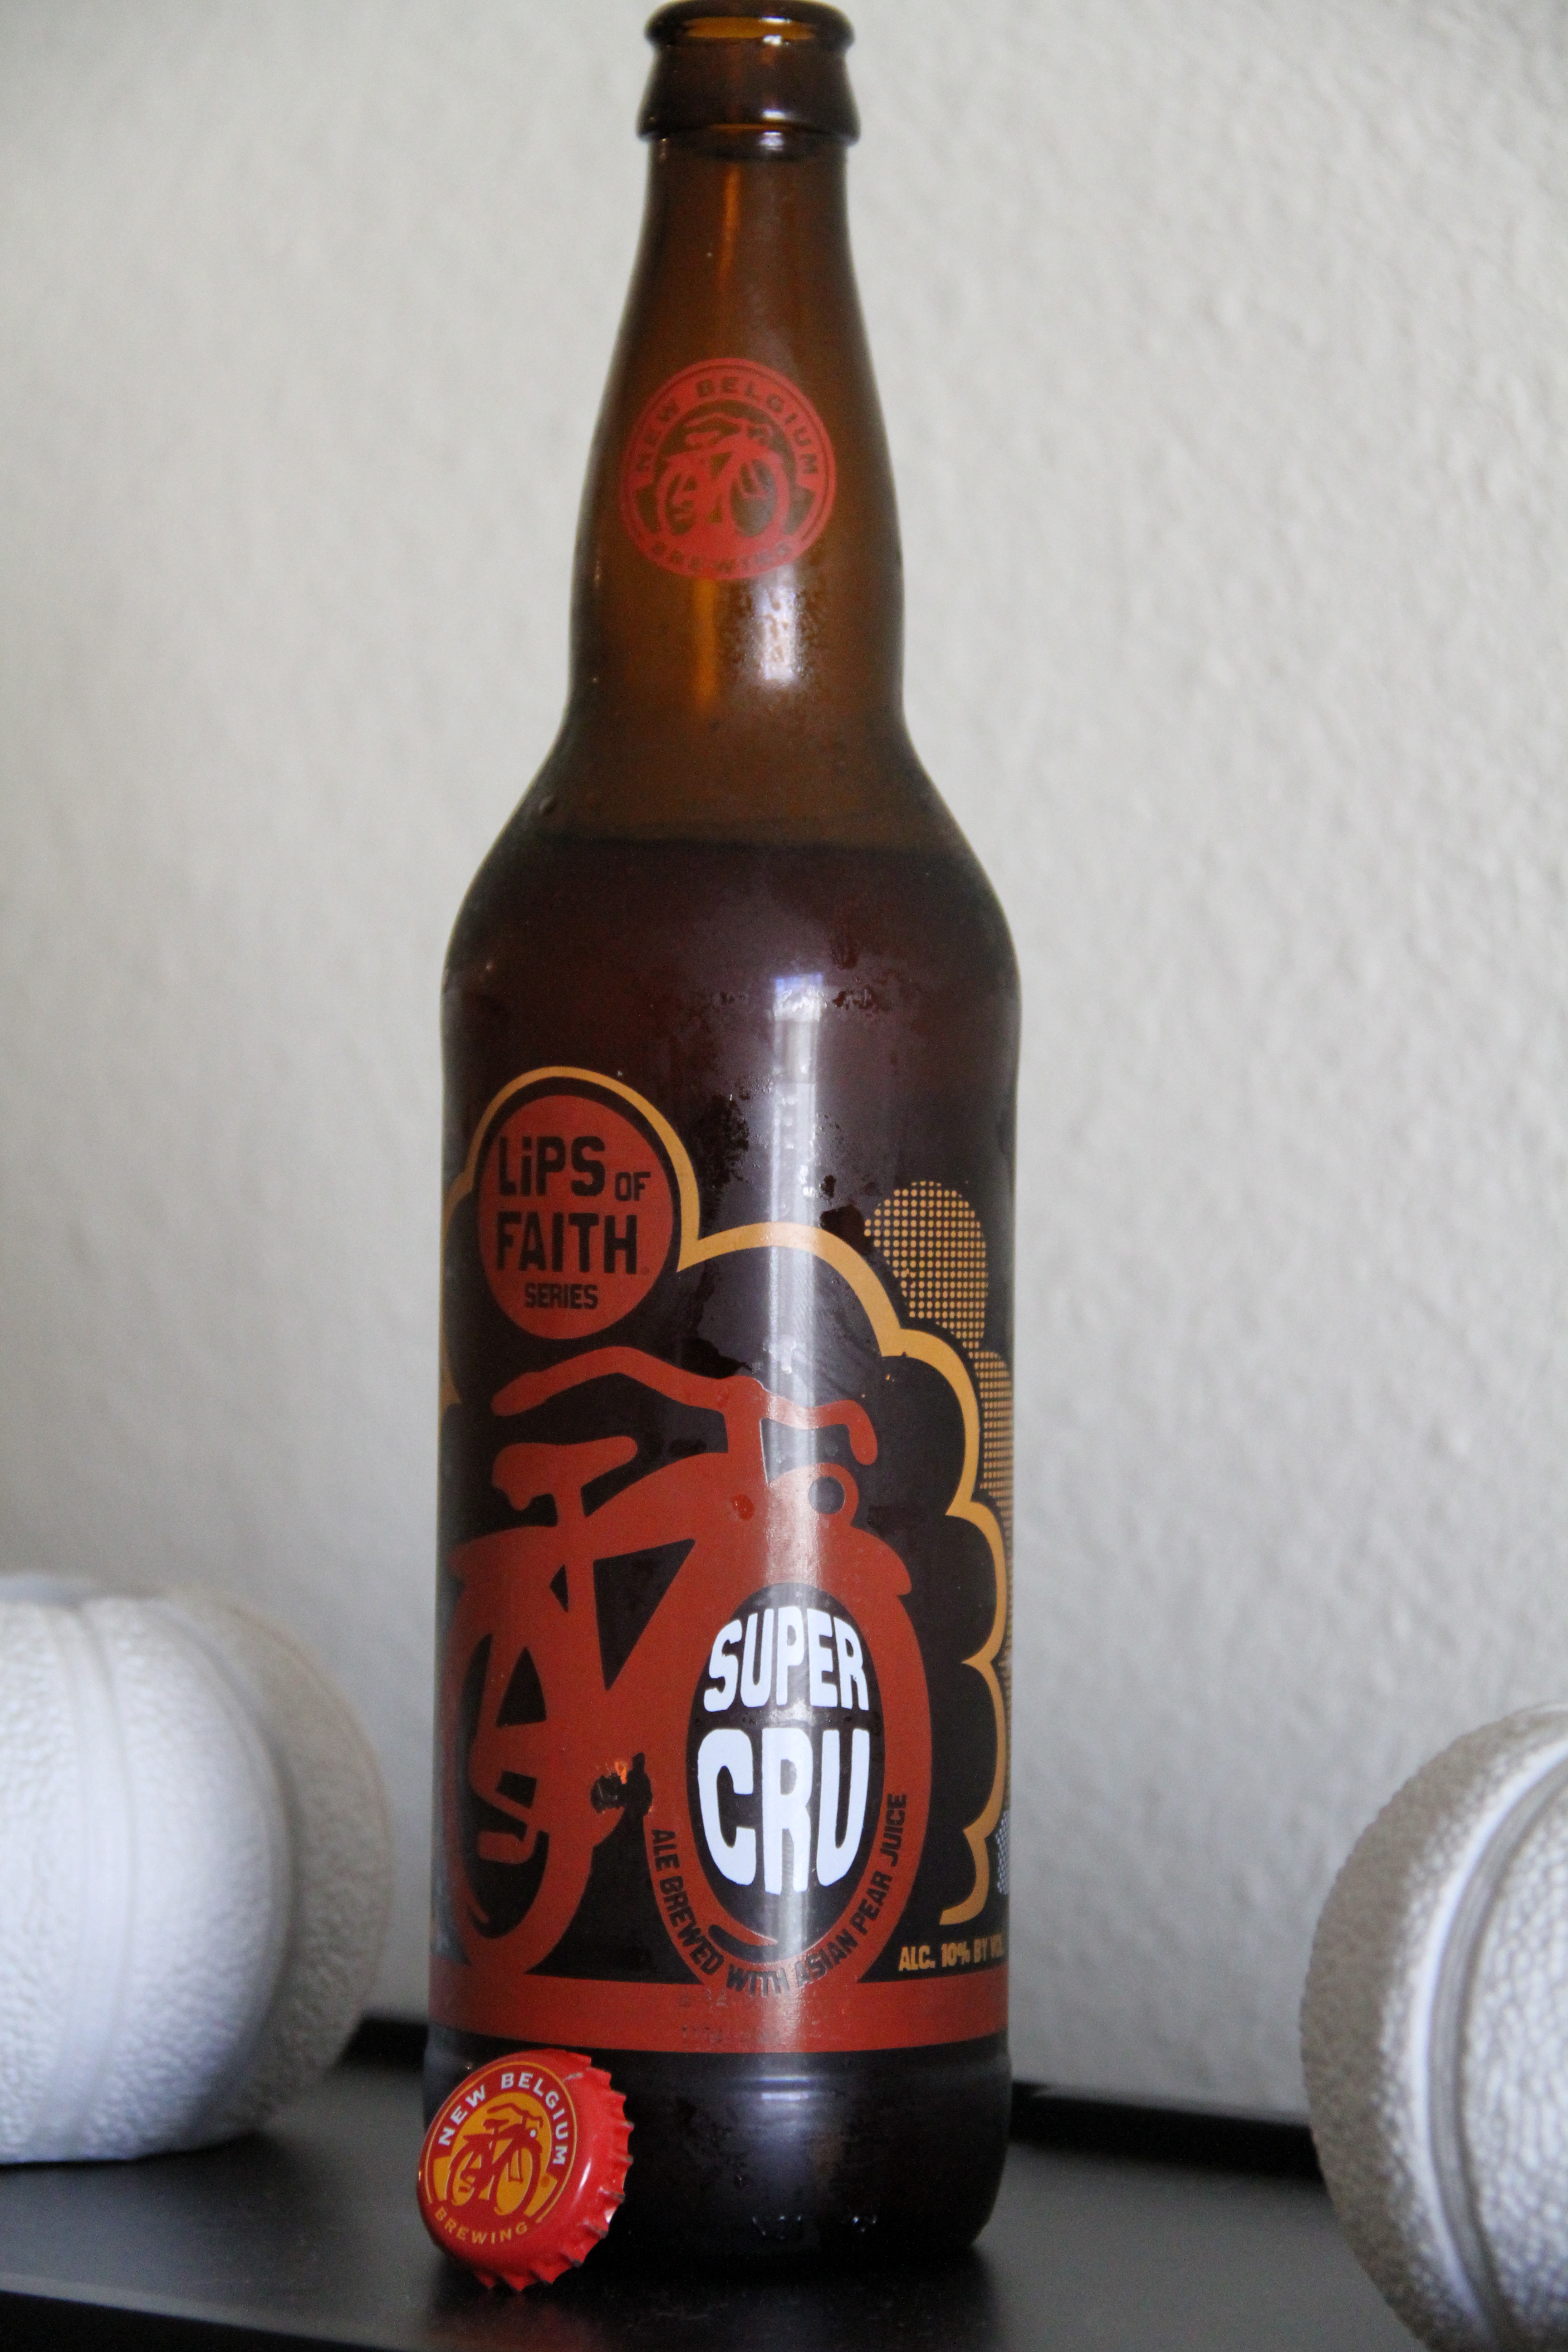
Okay this weeks beer of choice is New Belgium Brewing 'Lips of Faith Series' 'Super Cru'. This beer is pretty much a hopped up Fat Tire with double the malt and hops; Add in crisp Asian Pears, which is a Belgian thing to do; and bring it to life with a Saison yeast. With a ABV of 10% it does get the job done:JAMIN:
Okay what we are installing today is a LS6 PCV system. You might be asking your self why do we need to change PCV systems. Well the reason we switched to a GM LS6 PCV system was to reduce oil consumption issues associated with the factory LS1PCV system.
I got the kit from Thunder Racing, it includes everything needed to do the conversion: LS6 Valley Cover, valley cover gasket, valley cover bolts, LS6 PCV Tube, and valve cover plugs.
Thunder Racing LS1 to LS6 PCV Conversion Kit : $169.99
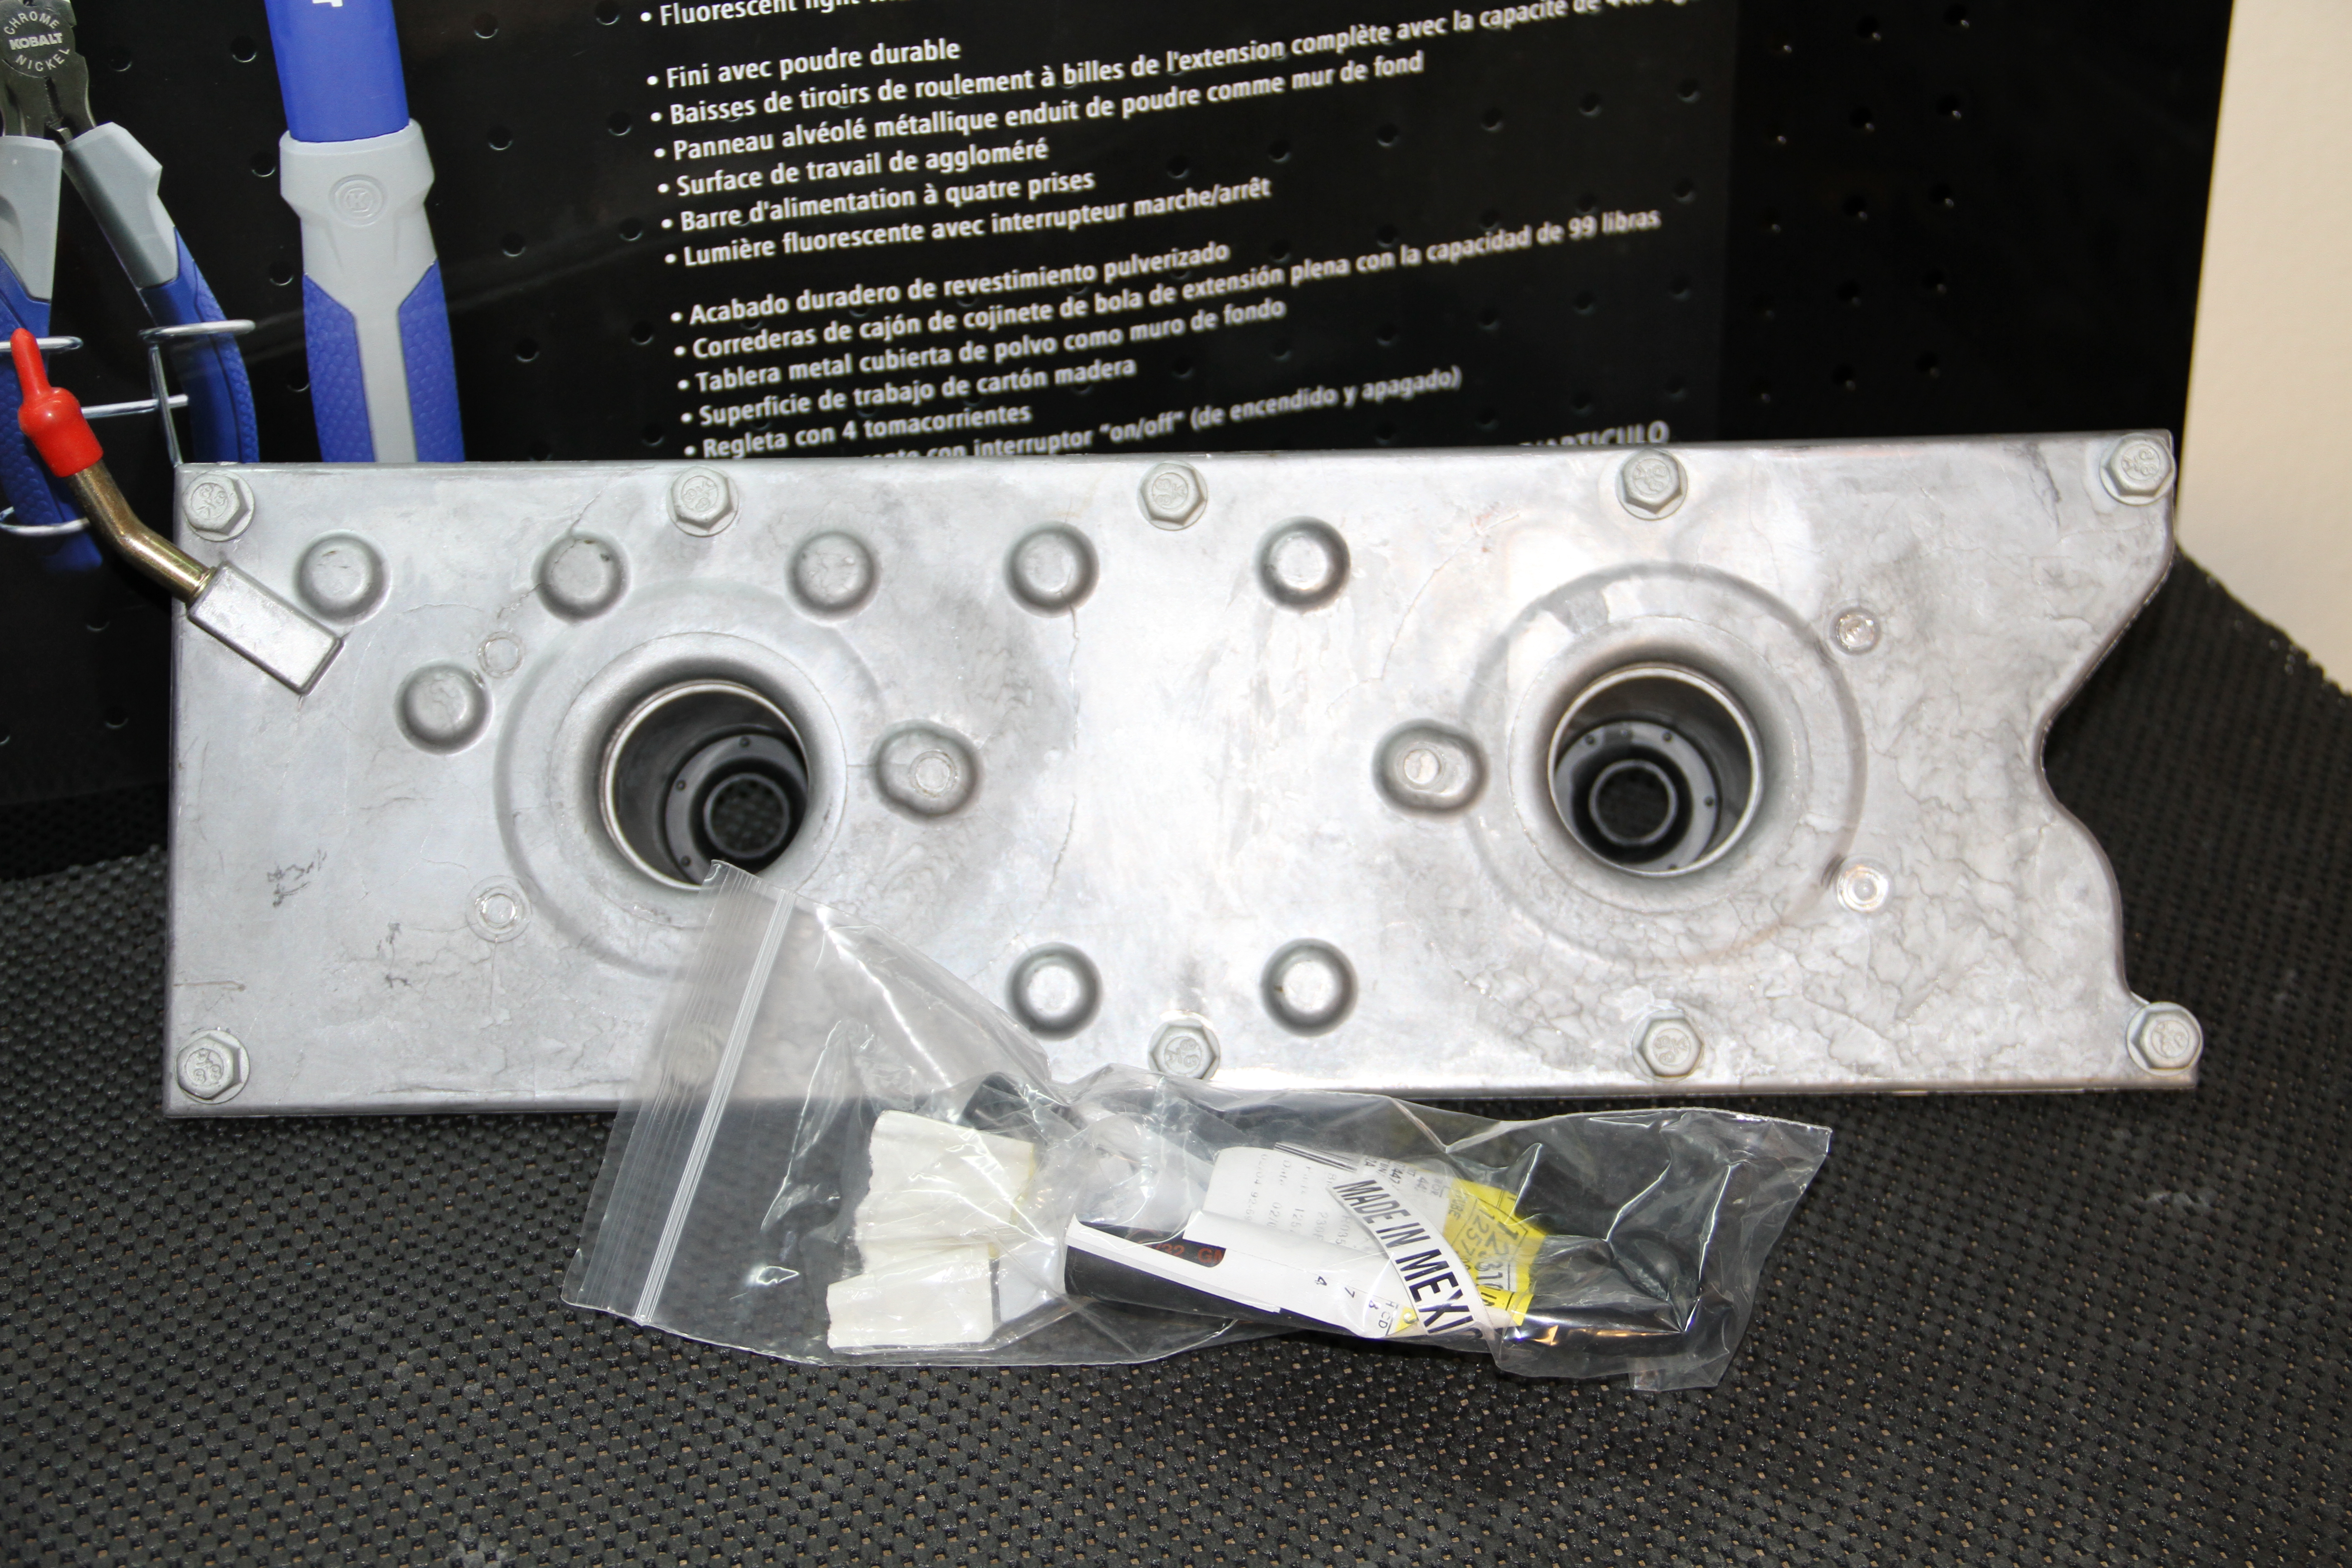
This pic shows the difference in the to PCV systems. Bottom is the LS6 PCV system and the top is the factory LS1 PCV system. You can also see from this pic why some trimming is required.
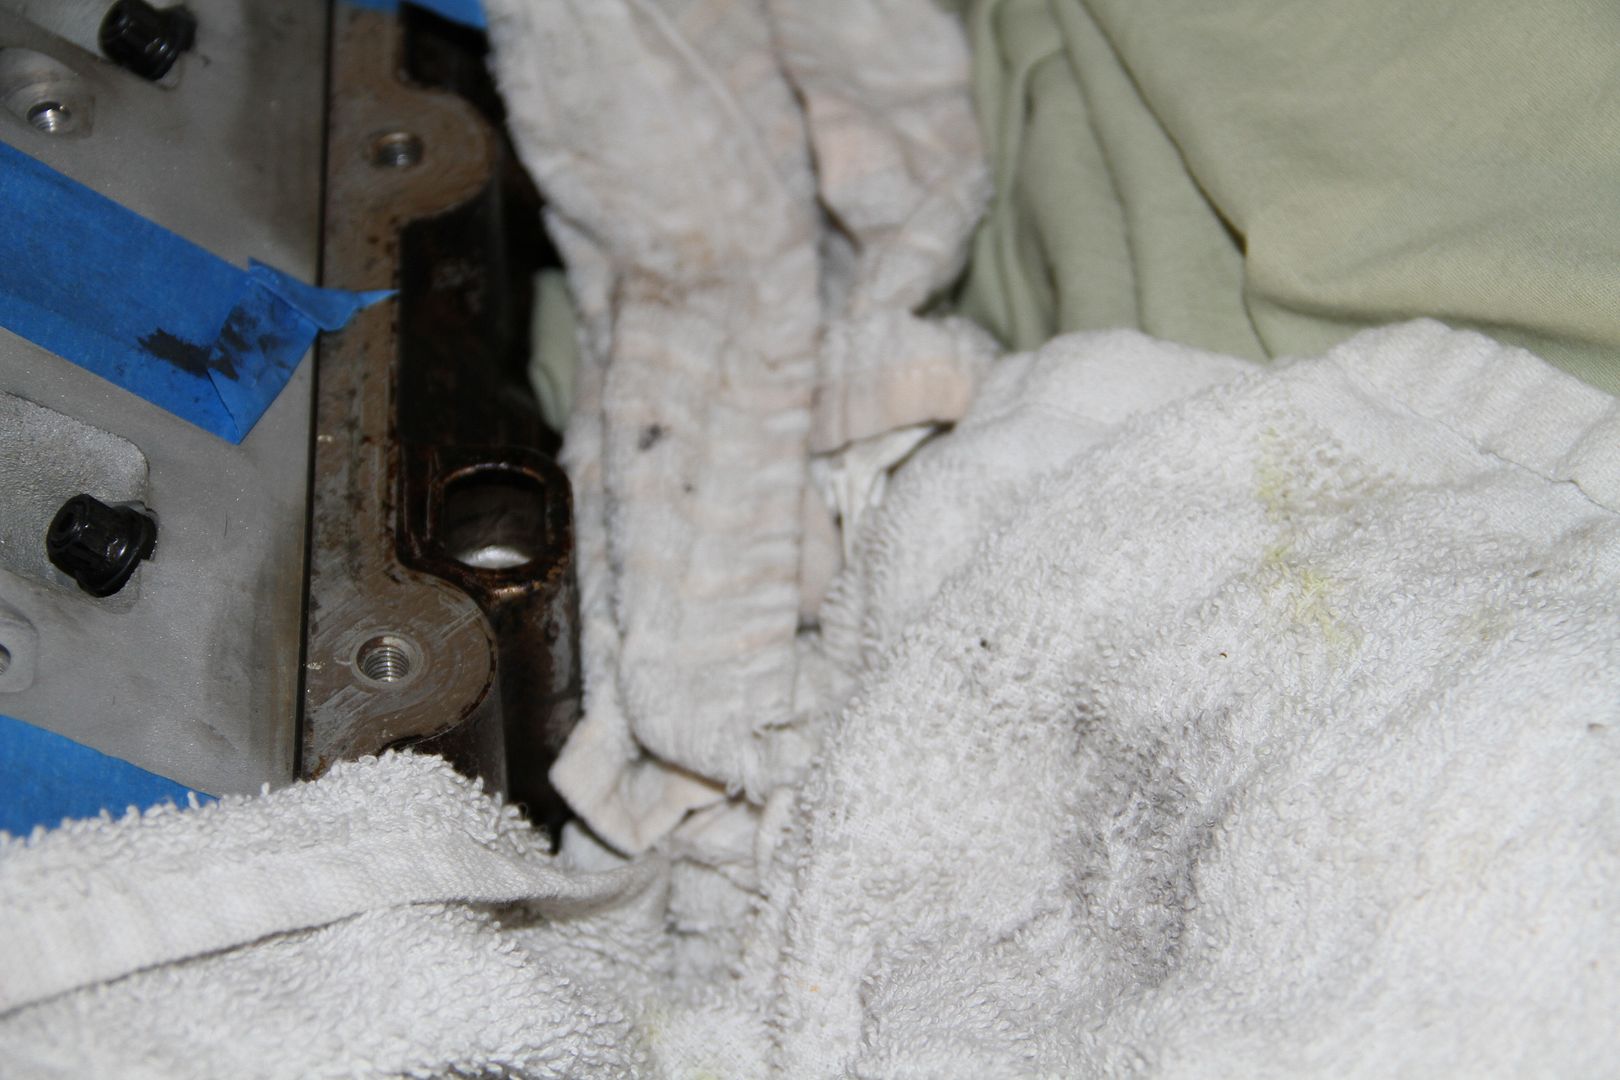
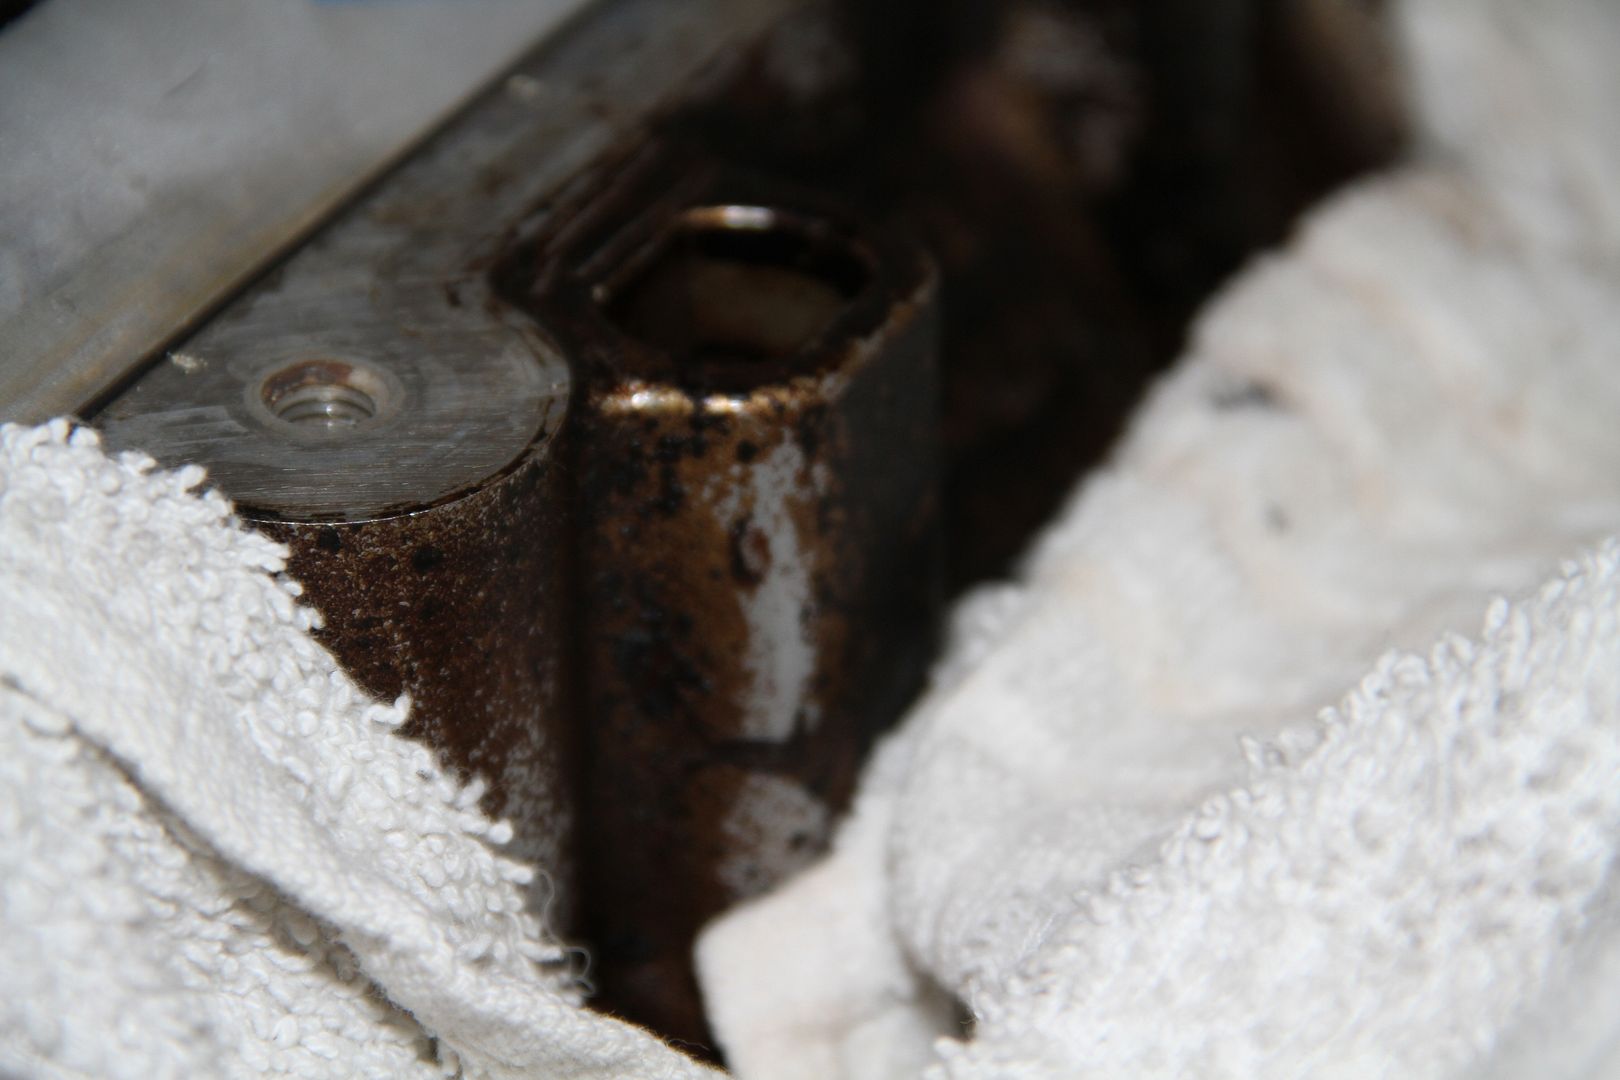
Start of by removing the old LS1 PCV system, I forgot to take pics of this stage, just thought it was straight forward enough. Next prep your area for cutting. Make sure you cover everything you can, use towels, blue painter tape every thing so no shavings get in the engine.

Here is a better pic of the prep area taken from LS1Howto.com
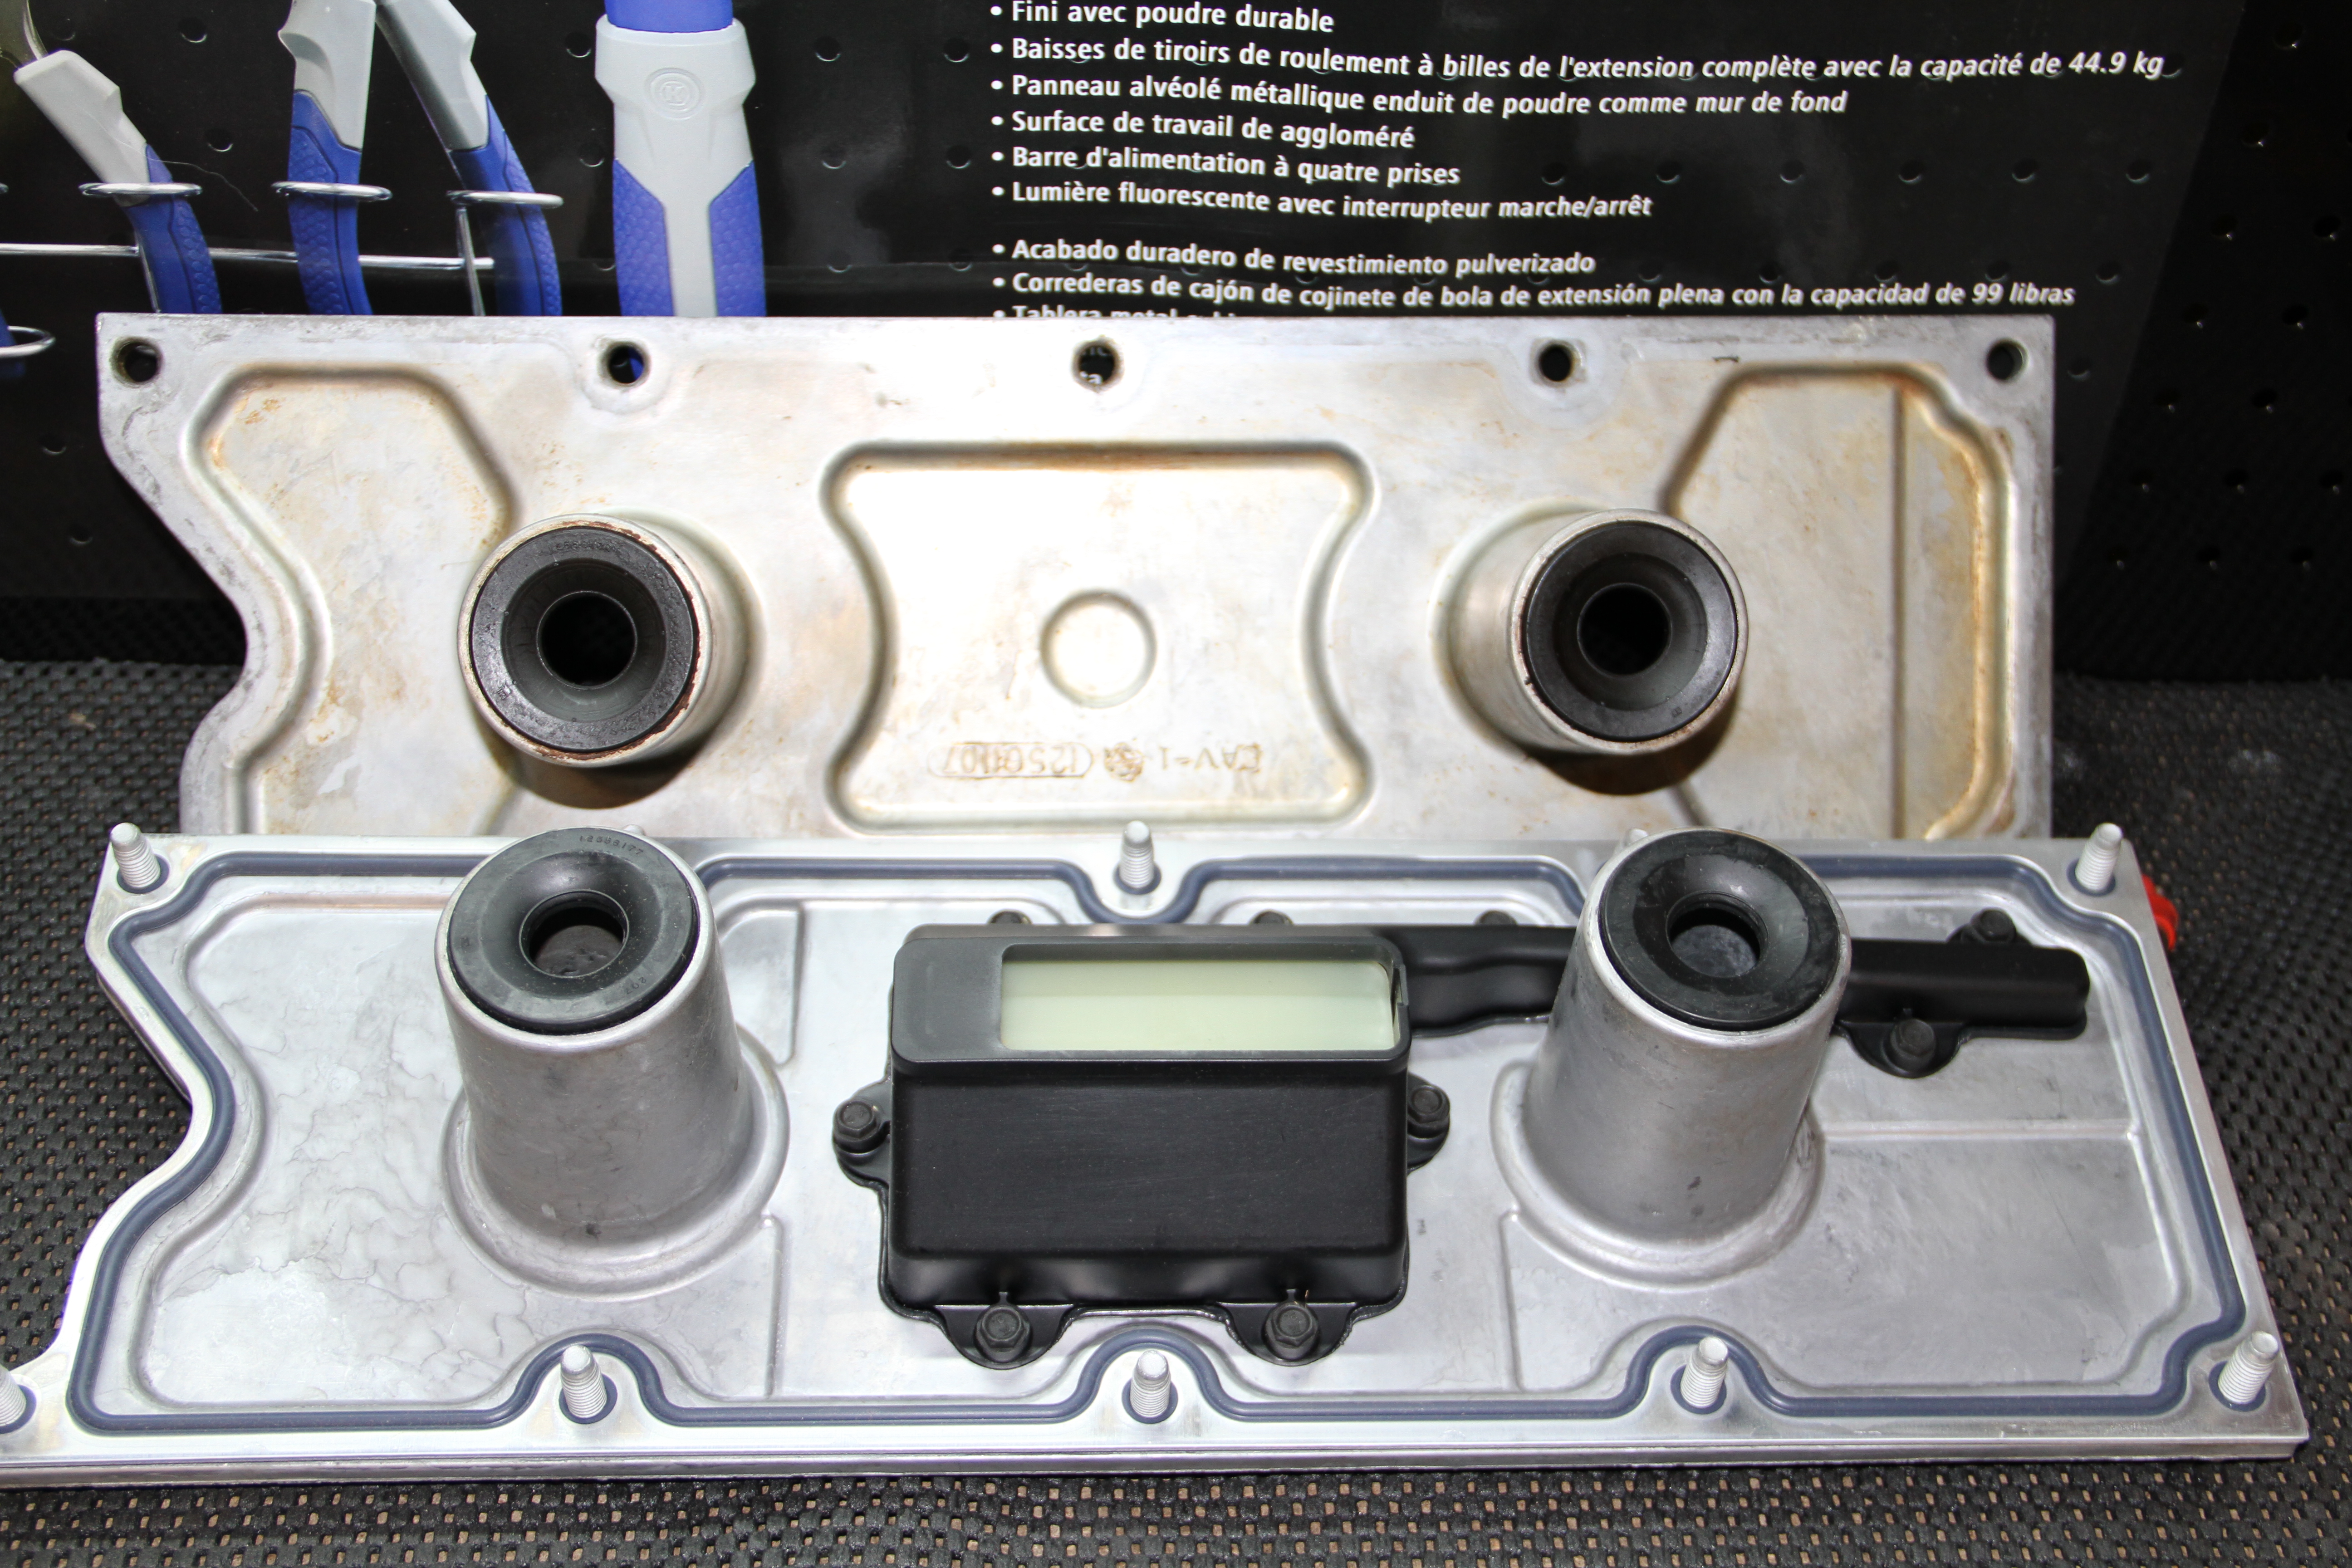
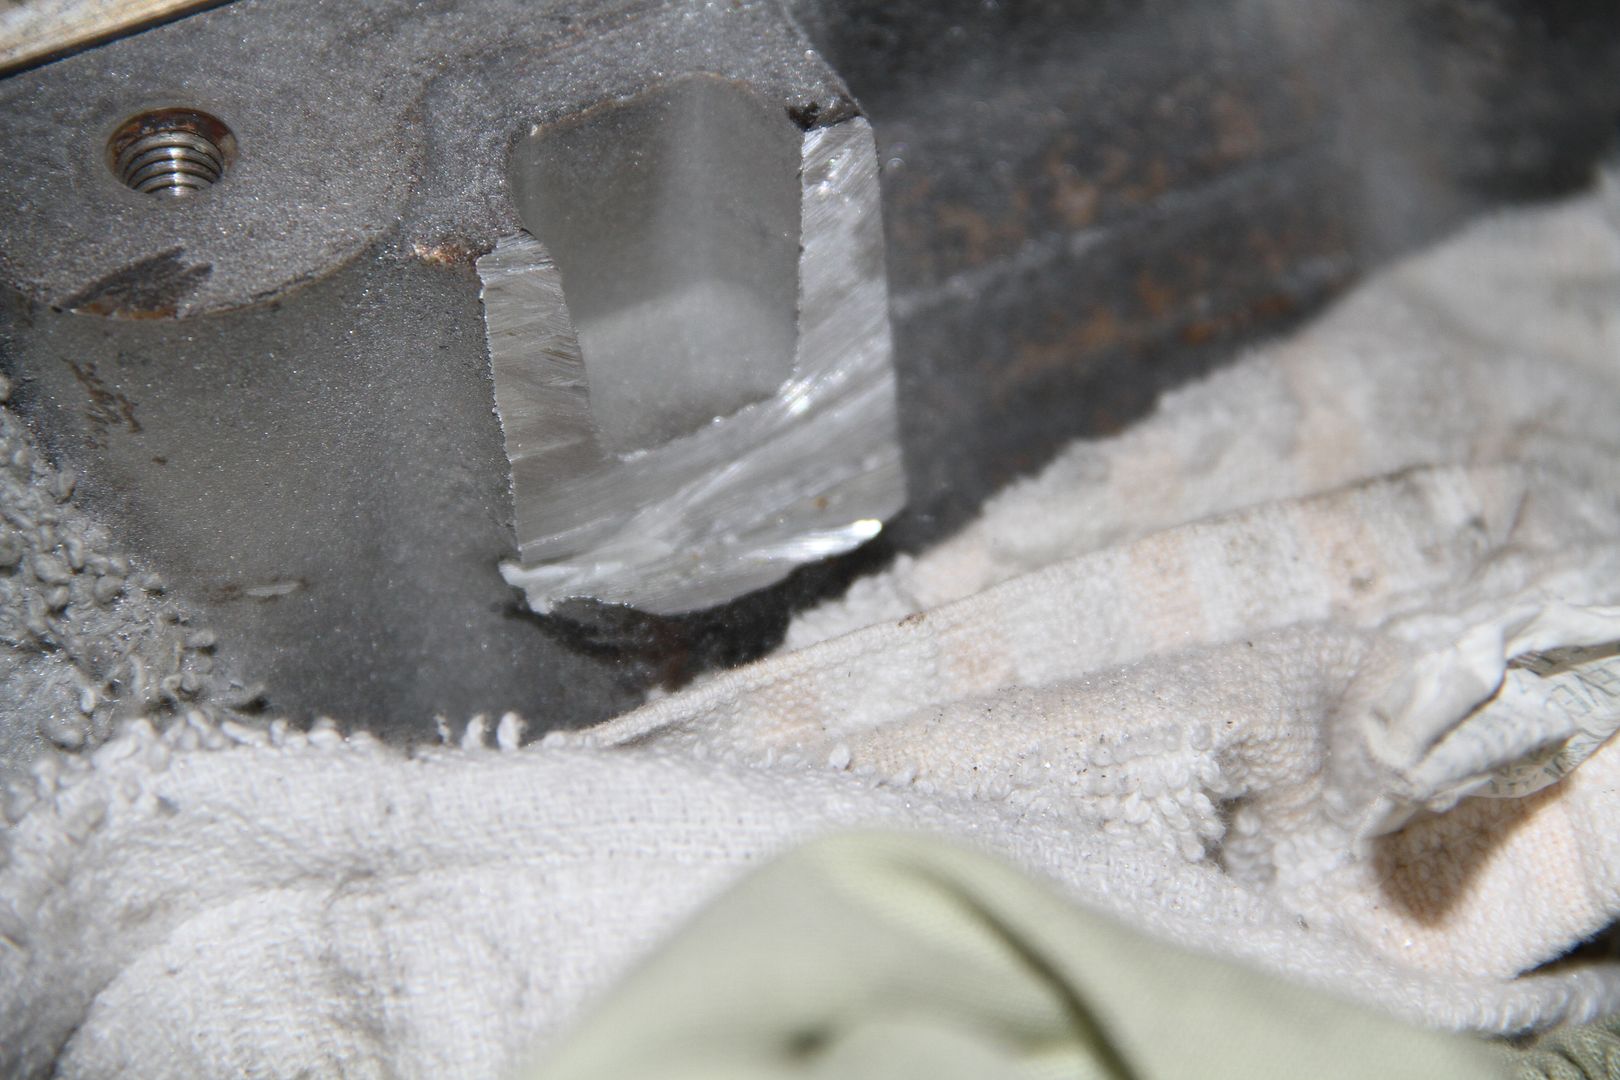
This is the piece that we are going to trim down. We need to chop the wall off this block all the way down so that its even with the bottom of the pit. It may help for you to mark a line on the aluminum about 3/4" down so you know where to cut

Here is a better pic of the target area, pic taken once again from LS1howto.com
Okay cut made. I just used my high power electric cutting wheel to cut this off.
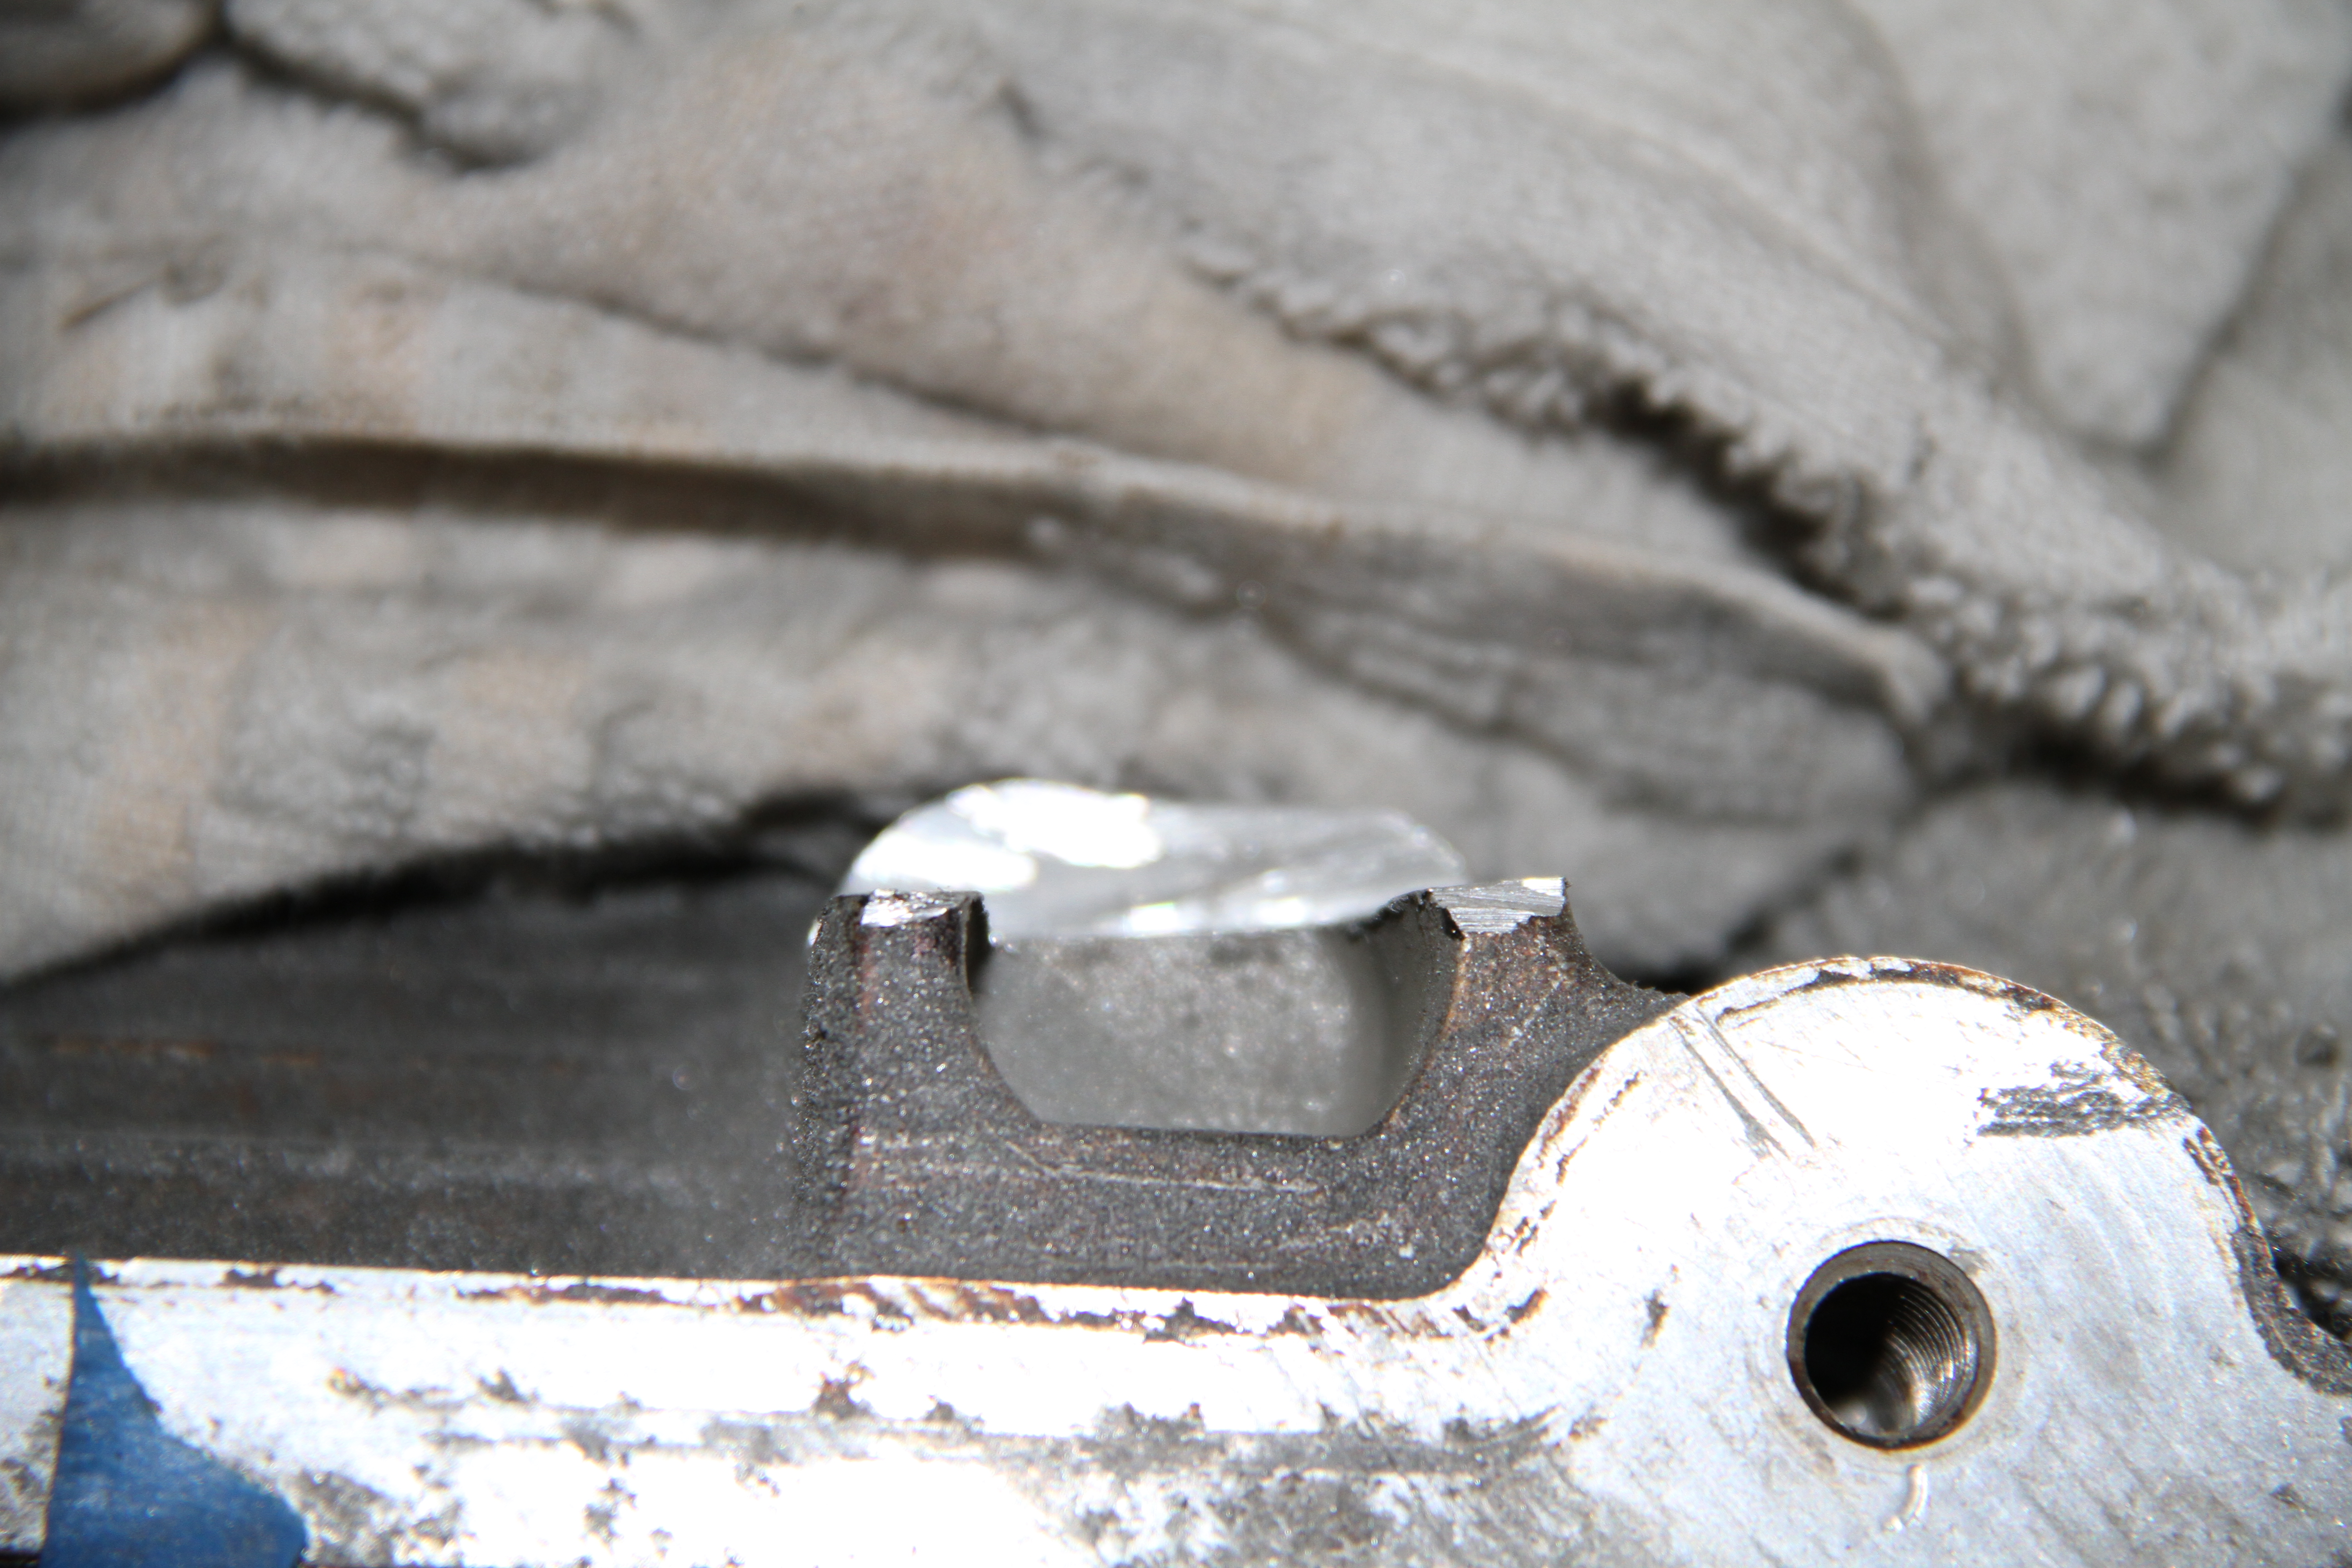
Another pic of the cut
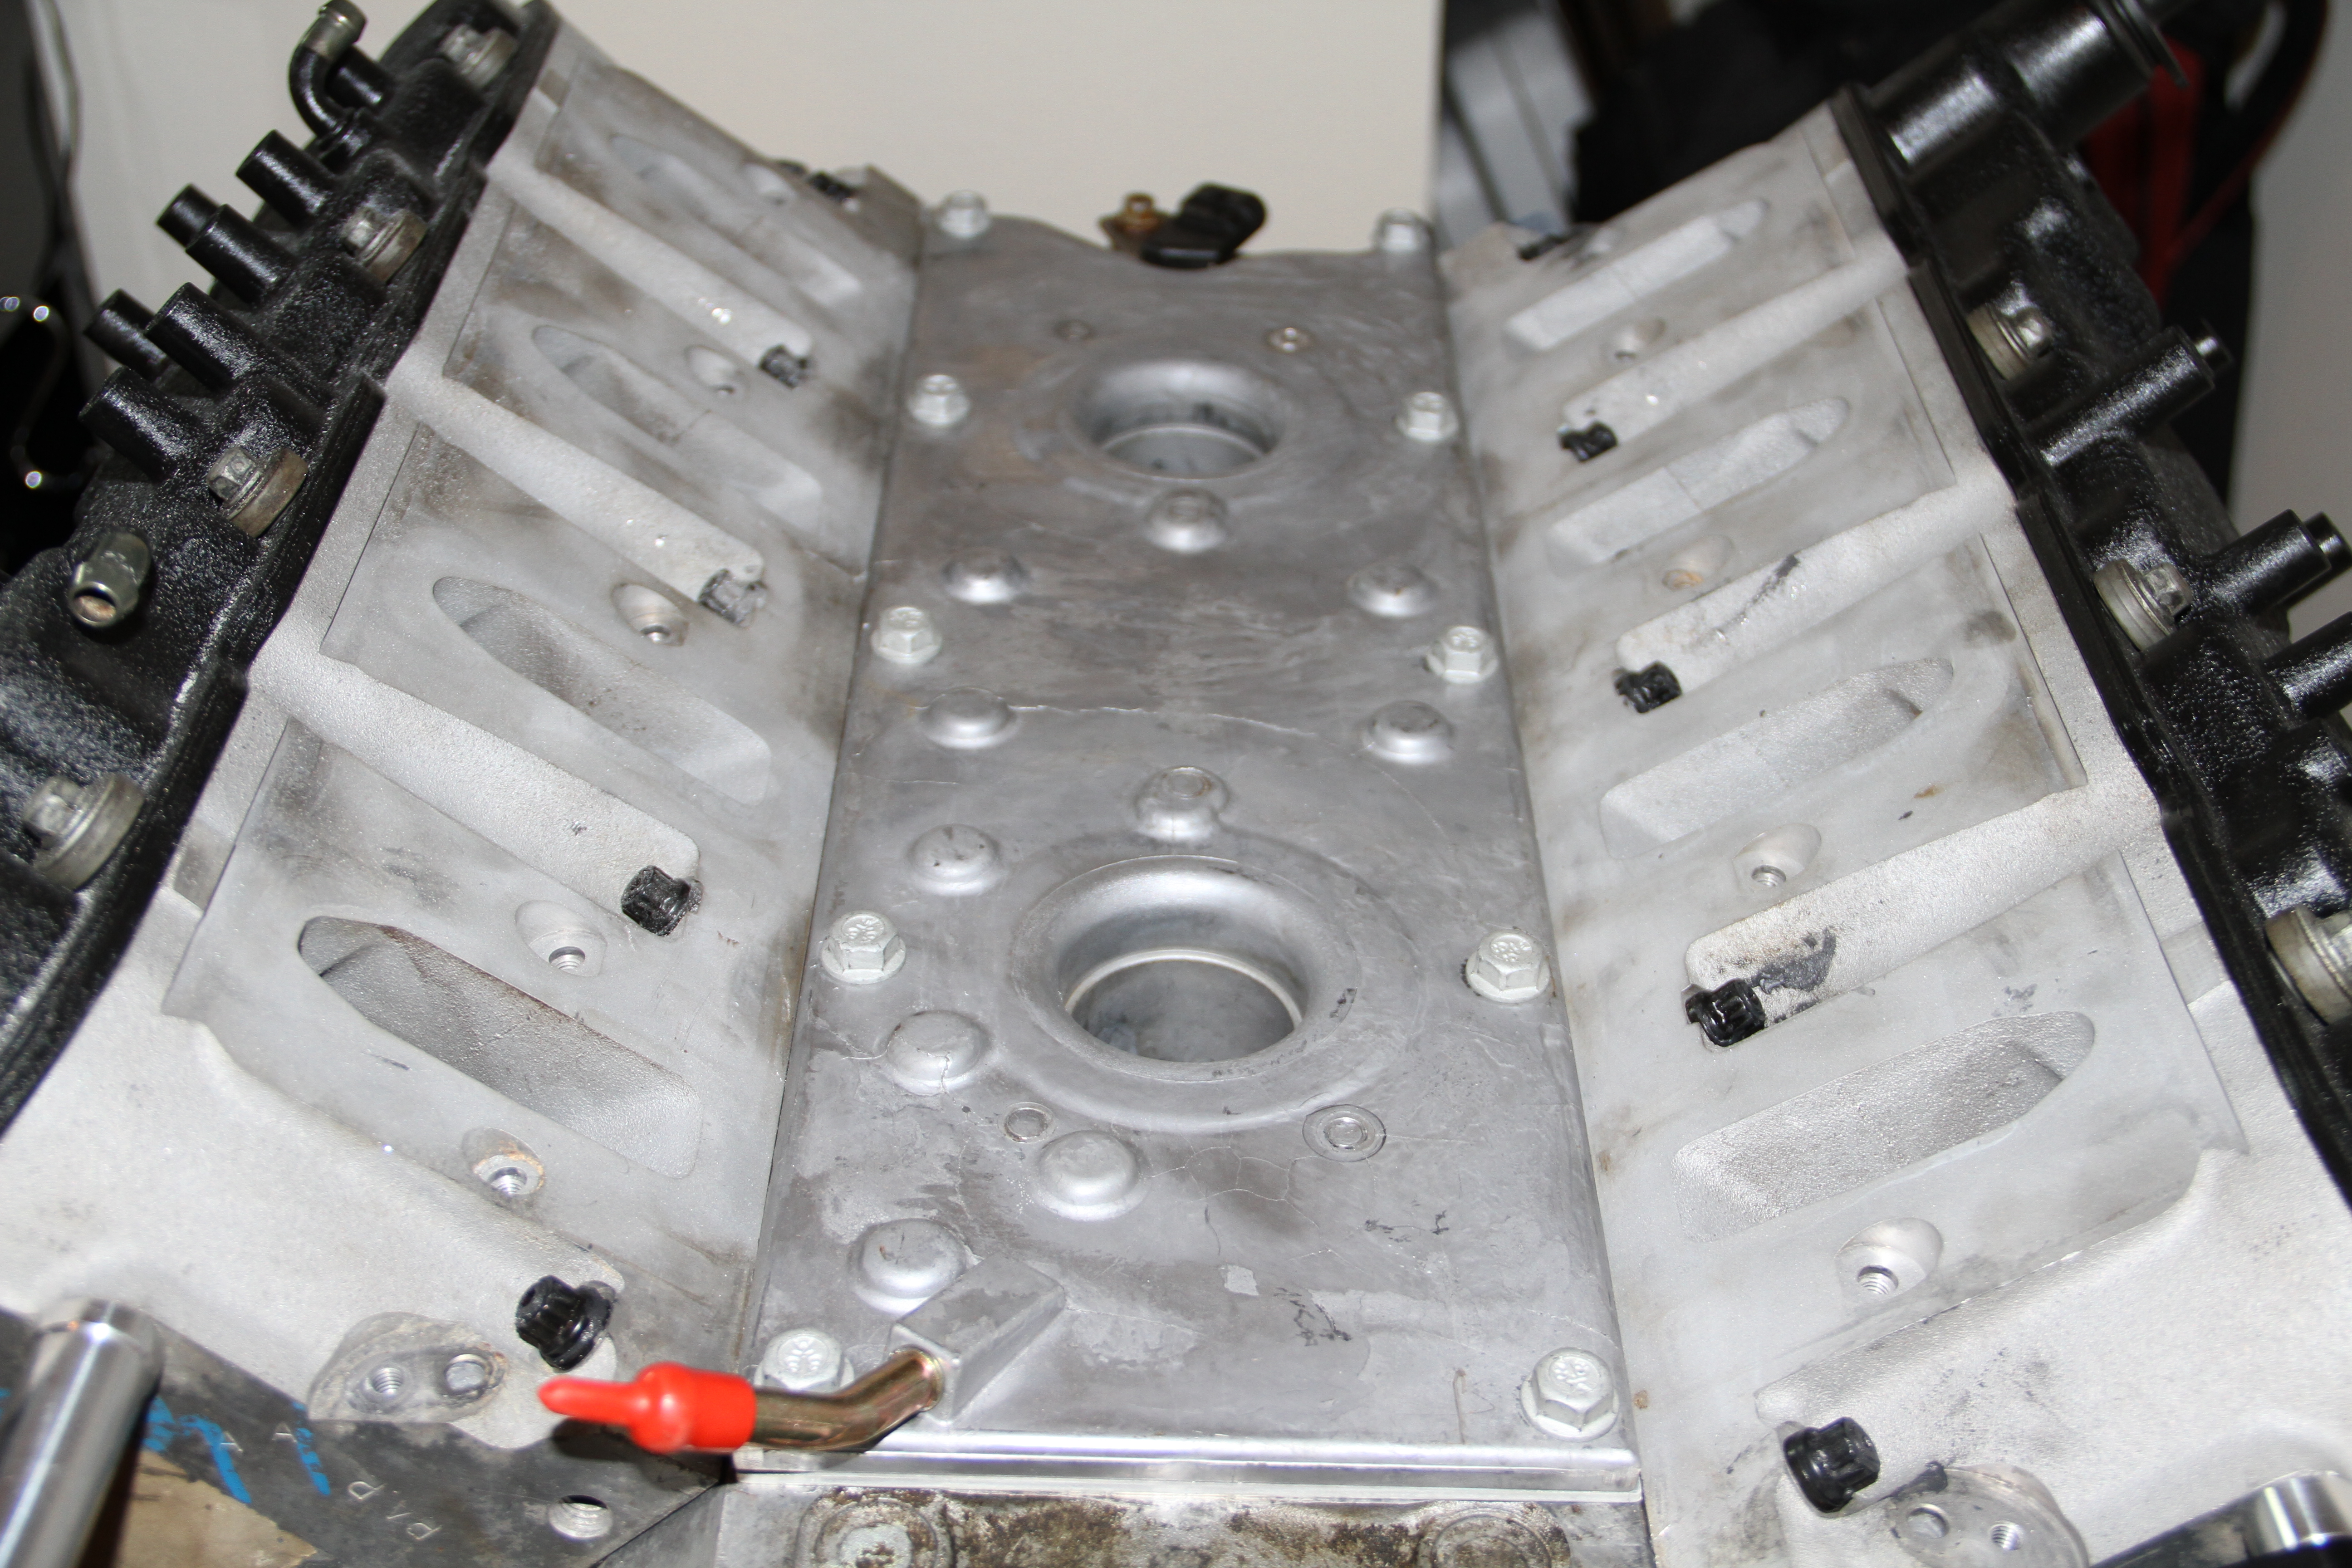
Once you done cutting the piece off make sure you clean the area very well before installing the new LS6 PCV system. The new unit should just drop right into place. Torque all 10 bolts to 18 lb/ft. Next, hand thread in both knock sensors until they bottom out. Torque these to 11 lb/ft. Reconnect both wiring plugs, and slide the plastic connectors back in place.
Now there is more to the install but I have no need for it since I am going to route my PCV system to a Catch can later.
So there you have it nice and quick and easy..
Total price so far: $4,240.19
Next week STAGE 1: Phase 5 'FAST 102 Intake/FAST 102 TB'
STAGE 1: Phase 4 'LS1 to LS6 PCV conversion'
Okay this weeks beer of choice is New Belgium Brewing 'Lips of Faith Series' 'Super Cru'. This beer is pretty much a hopped up Fat Tire with double the malt and hops; Add in crisp Asian Pears, which is a Belgian thing to do; and bring it to life with a Saison yeast. With a ABV of 10% it does get the job done:JAMIN:
Okay what we are installing today is a LS6 PCV system. You might be asking your self why do we need to change PCV systems. Well the reason we switched to a GM LS6 PCV system was to reduce oil consumption issues associated with the factory LS1PCV system.
I got the kit from Thunder Racing, it includes everything needed to do the conversion: LS6 Valley Cover, valley cover gasket, valley cover bolts, LS6 PCV Tube, and valve cover plugs.
Thunder Racing LS1 to LS6 PCV Conversion Kit : $169.99
This pic shows the difference in the to PCV systems. Bottom is the LS6 PCV system and the top is the factory LS1 PCV system. You can also see from this pic why some trimming is required.
Start of by removing the old LS1 PCV system, I forgot to take pics of this stage, just thought it was straight forward enough. Next prep your area for cutting. Make sure you cover everything you can, use towels, blue painter tape every thing so no shavings get in the engine.
Here is a better pic of the prep area taken from LS1Howto.com
This is the piece that we are going to trim down. We need to chop the wall off this block all the way down so that its even with the bottom of the pit. It may help for you to mark a line on the aluminum about 3/4" down so you know where to cut
Here is a better pic of the target area, pic taken once again from LS1howto.com
Okay cut made. I just used my high power electric cutting wheel to cut this off.
Another pic of the cut
Once you done cutting the piece off make sure you clean the area very well before installing the new LS6 PCV system. The new unit should just drop right into place. Torque all 10 bolts to 18 lb/ft. Next, hand thread in both knock sensors until they bottom out. Torque these to 11 lb/ft. Reconnect both wiring plugs, and slide the plastic connectors back in place.
Now there is more to the install but I have no need for it since I am going to route my PCV system to a Catch can later.
So there you have it nice and quick and easy..
Total price so far: $4,240.19
Next week STAGE 1: Phase 5 'FAST 102 Intake/FAST 102 TB'

Nice job Royal... looking forward to the primer on the TB/intake. Are you doing any F/I or NO2 right away or just a solid NA setup to start?
You should have a secondary running total for all the cases of beer
You should have a secondary running total for all the cases of beer


Thread Starter
New Member
iTrader: (9)
Joined: Sep 2004
Posts: 2,840
Likes: 14
From: San Antonio, TX
Shoot I should do a beer total...lol

Thanks bro and glad you like Mississippi Mud, def a good beer
also a beer i strongly recommend (mind im not a beer guy) is flaming damsel. its a alger and a good one at that!

Thread Starter
New Member
iTrader: (9)
Joined: Sep 2004
Posts: 2,840
Likes: 14
From: San Antonio, TX
better be a rear mount i hope. i got no room up front, but tons of room out back, and my turbo sits up really high. my turbo downpipe hangs off the bottom of the turbo and i got easy 5+inches of space.
also a beer i strongly recommend (mind im not a beer guy) is flaming damsel. its a alger and a good one at that!
also a beer i strongly recommend (mind im not a beer guy) is flaming damsel. its a alger and a good one at that!
Thanks everyone for the kind words..
Well to keep things going just wanted to share with you guys what I just picked up..
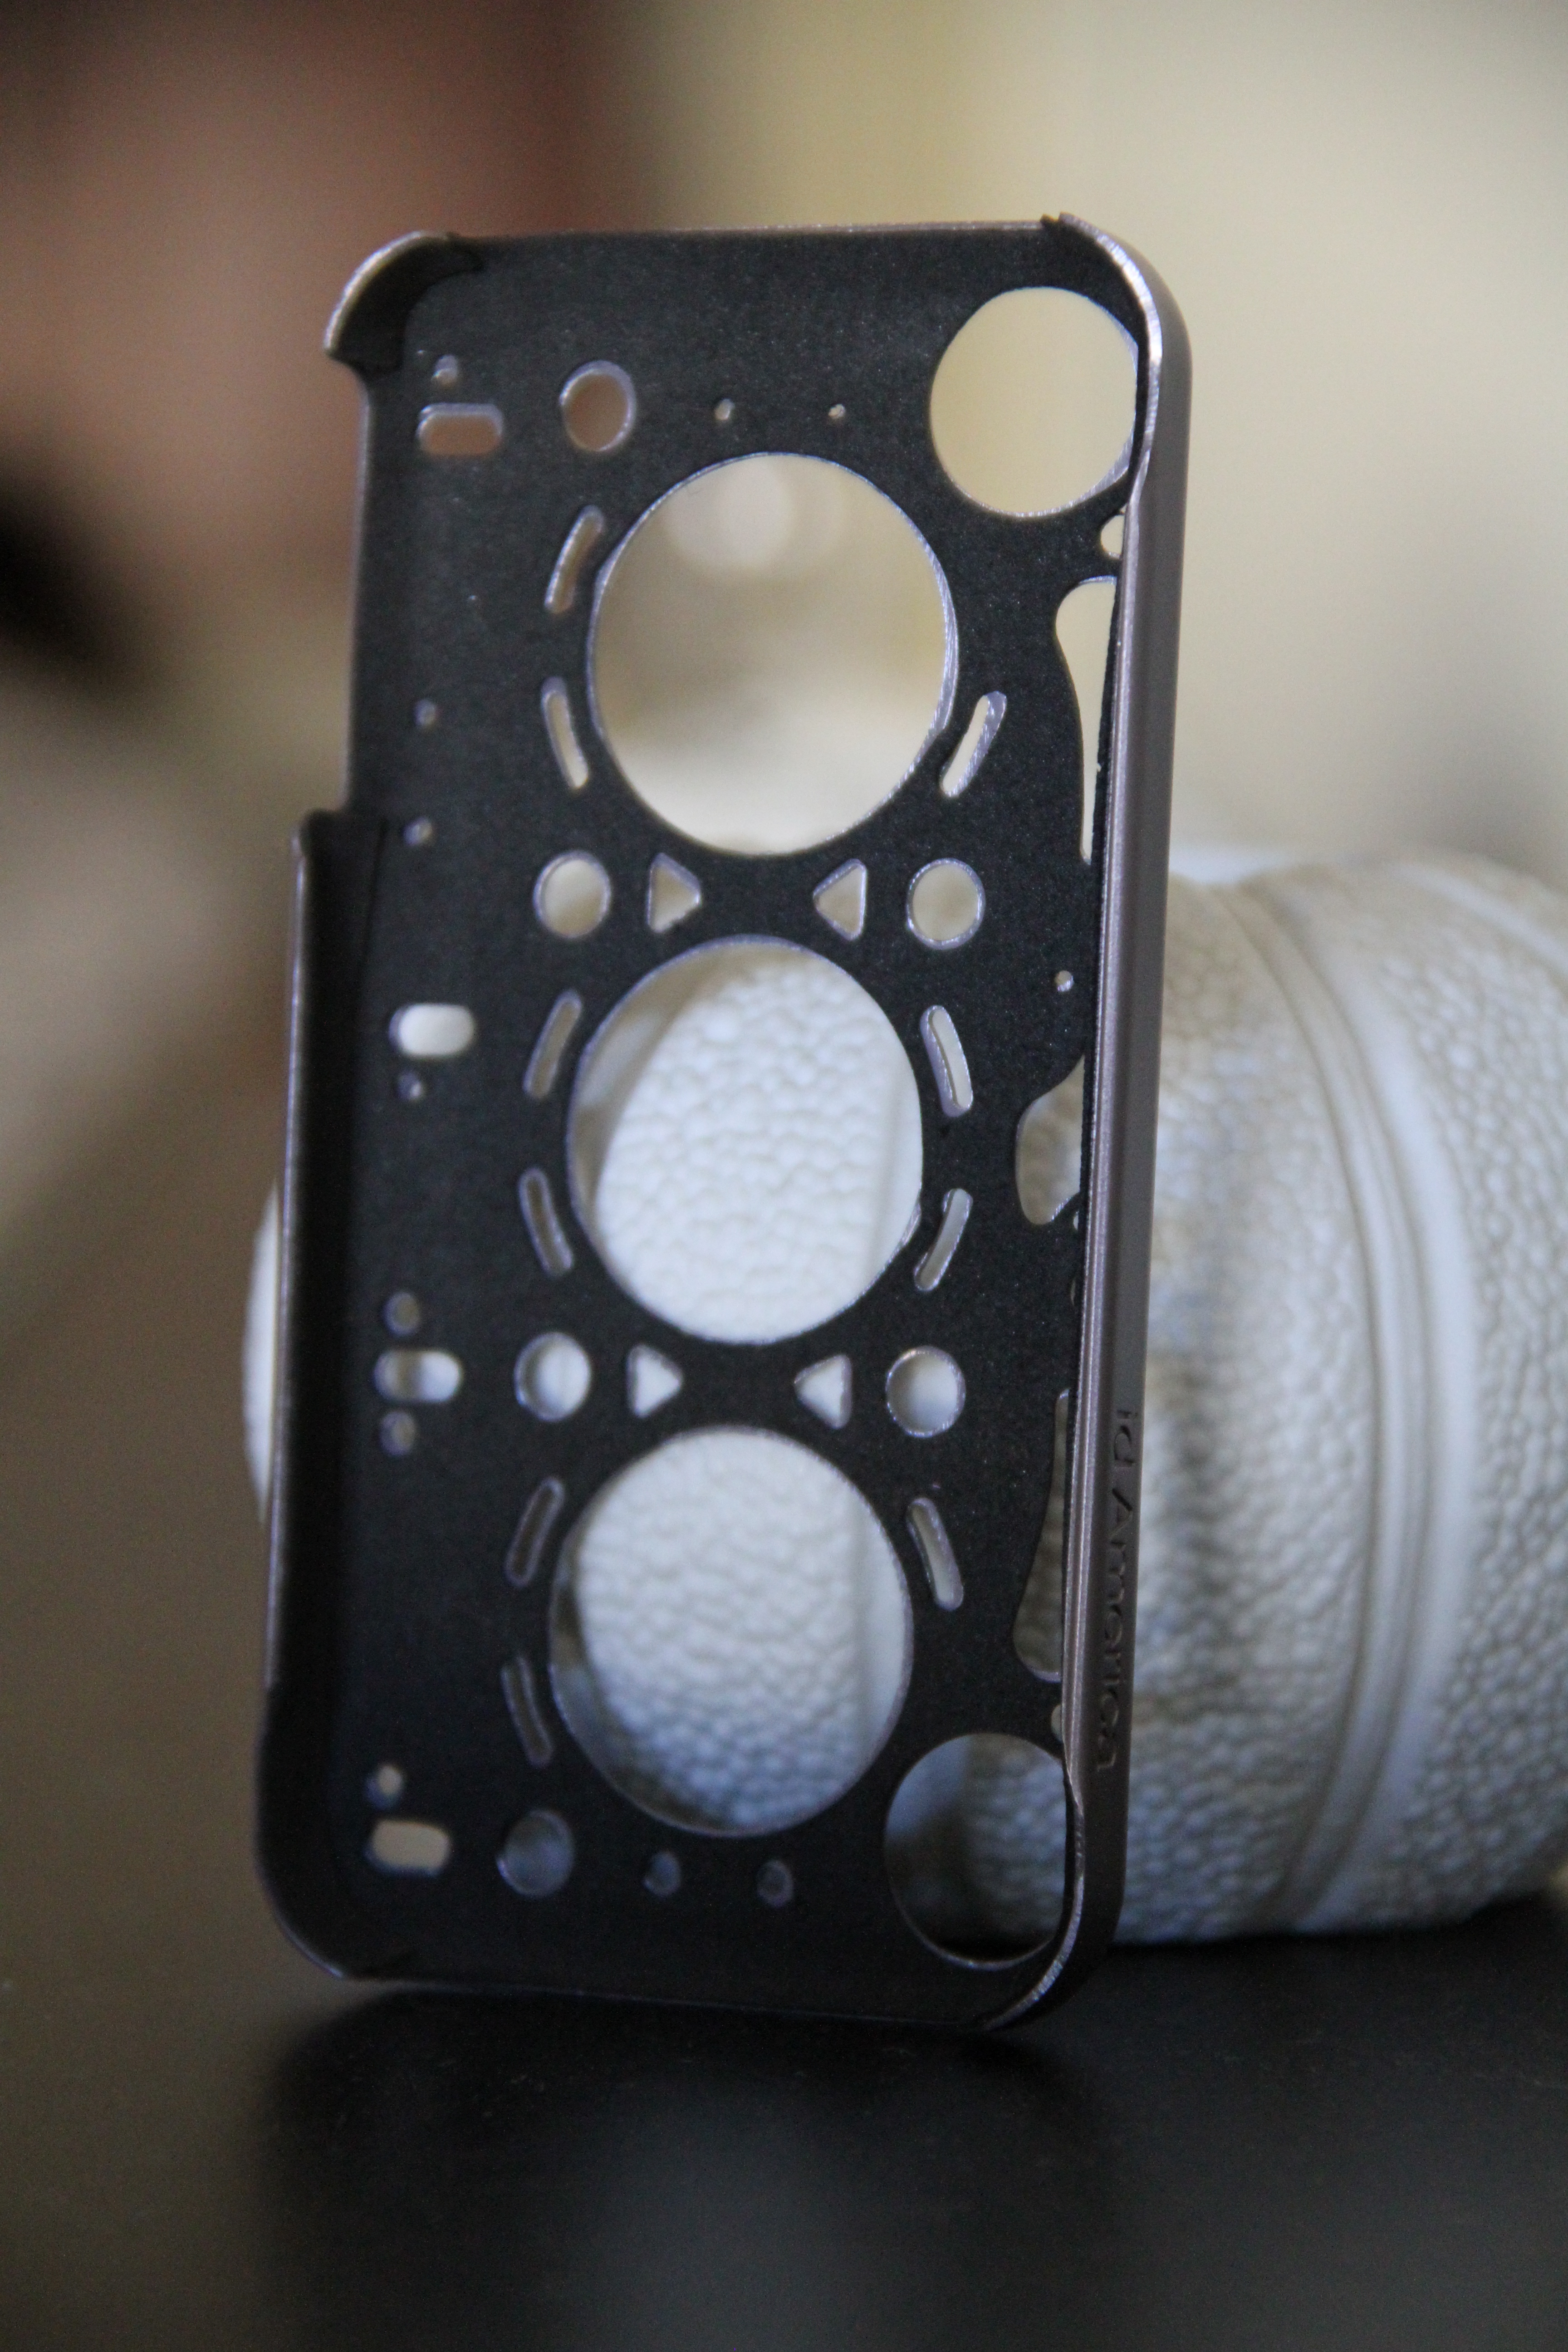
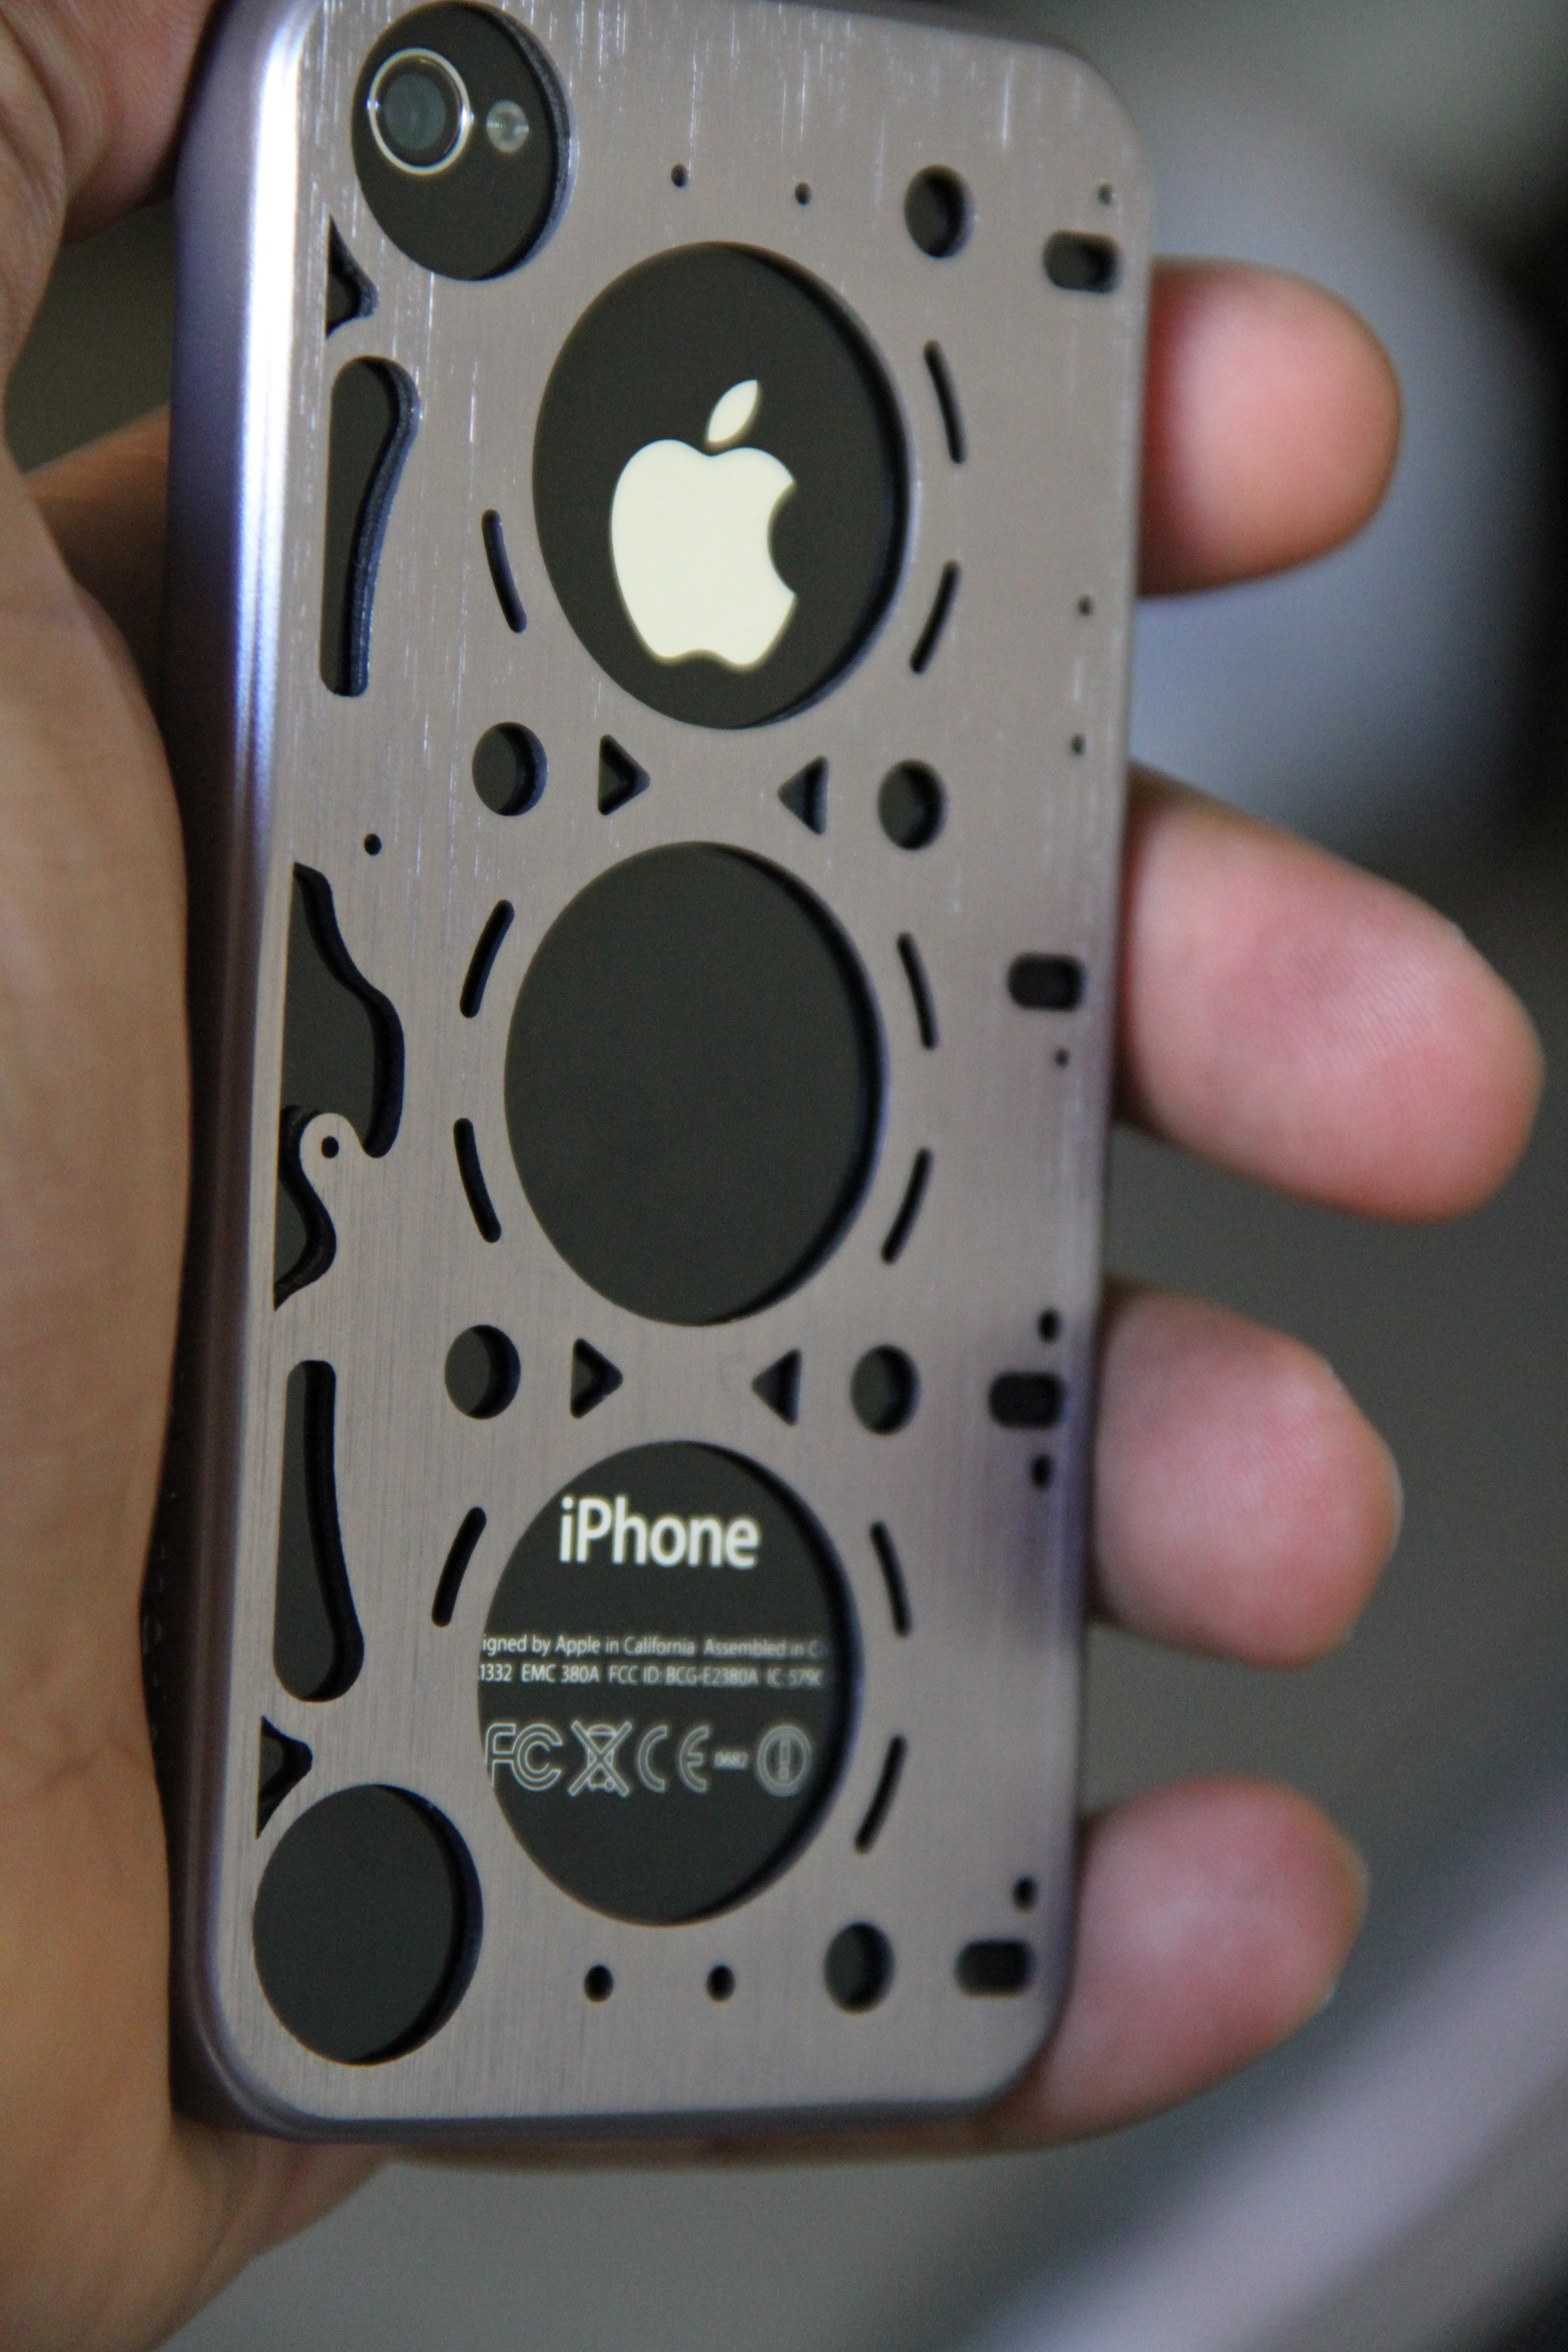
Got this sick I-Phone-4 case the other day by id America. Its a head gasket, pretty sick design I must say.
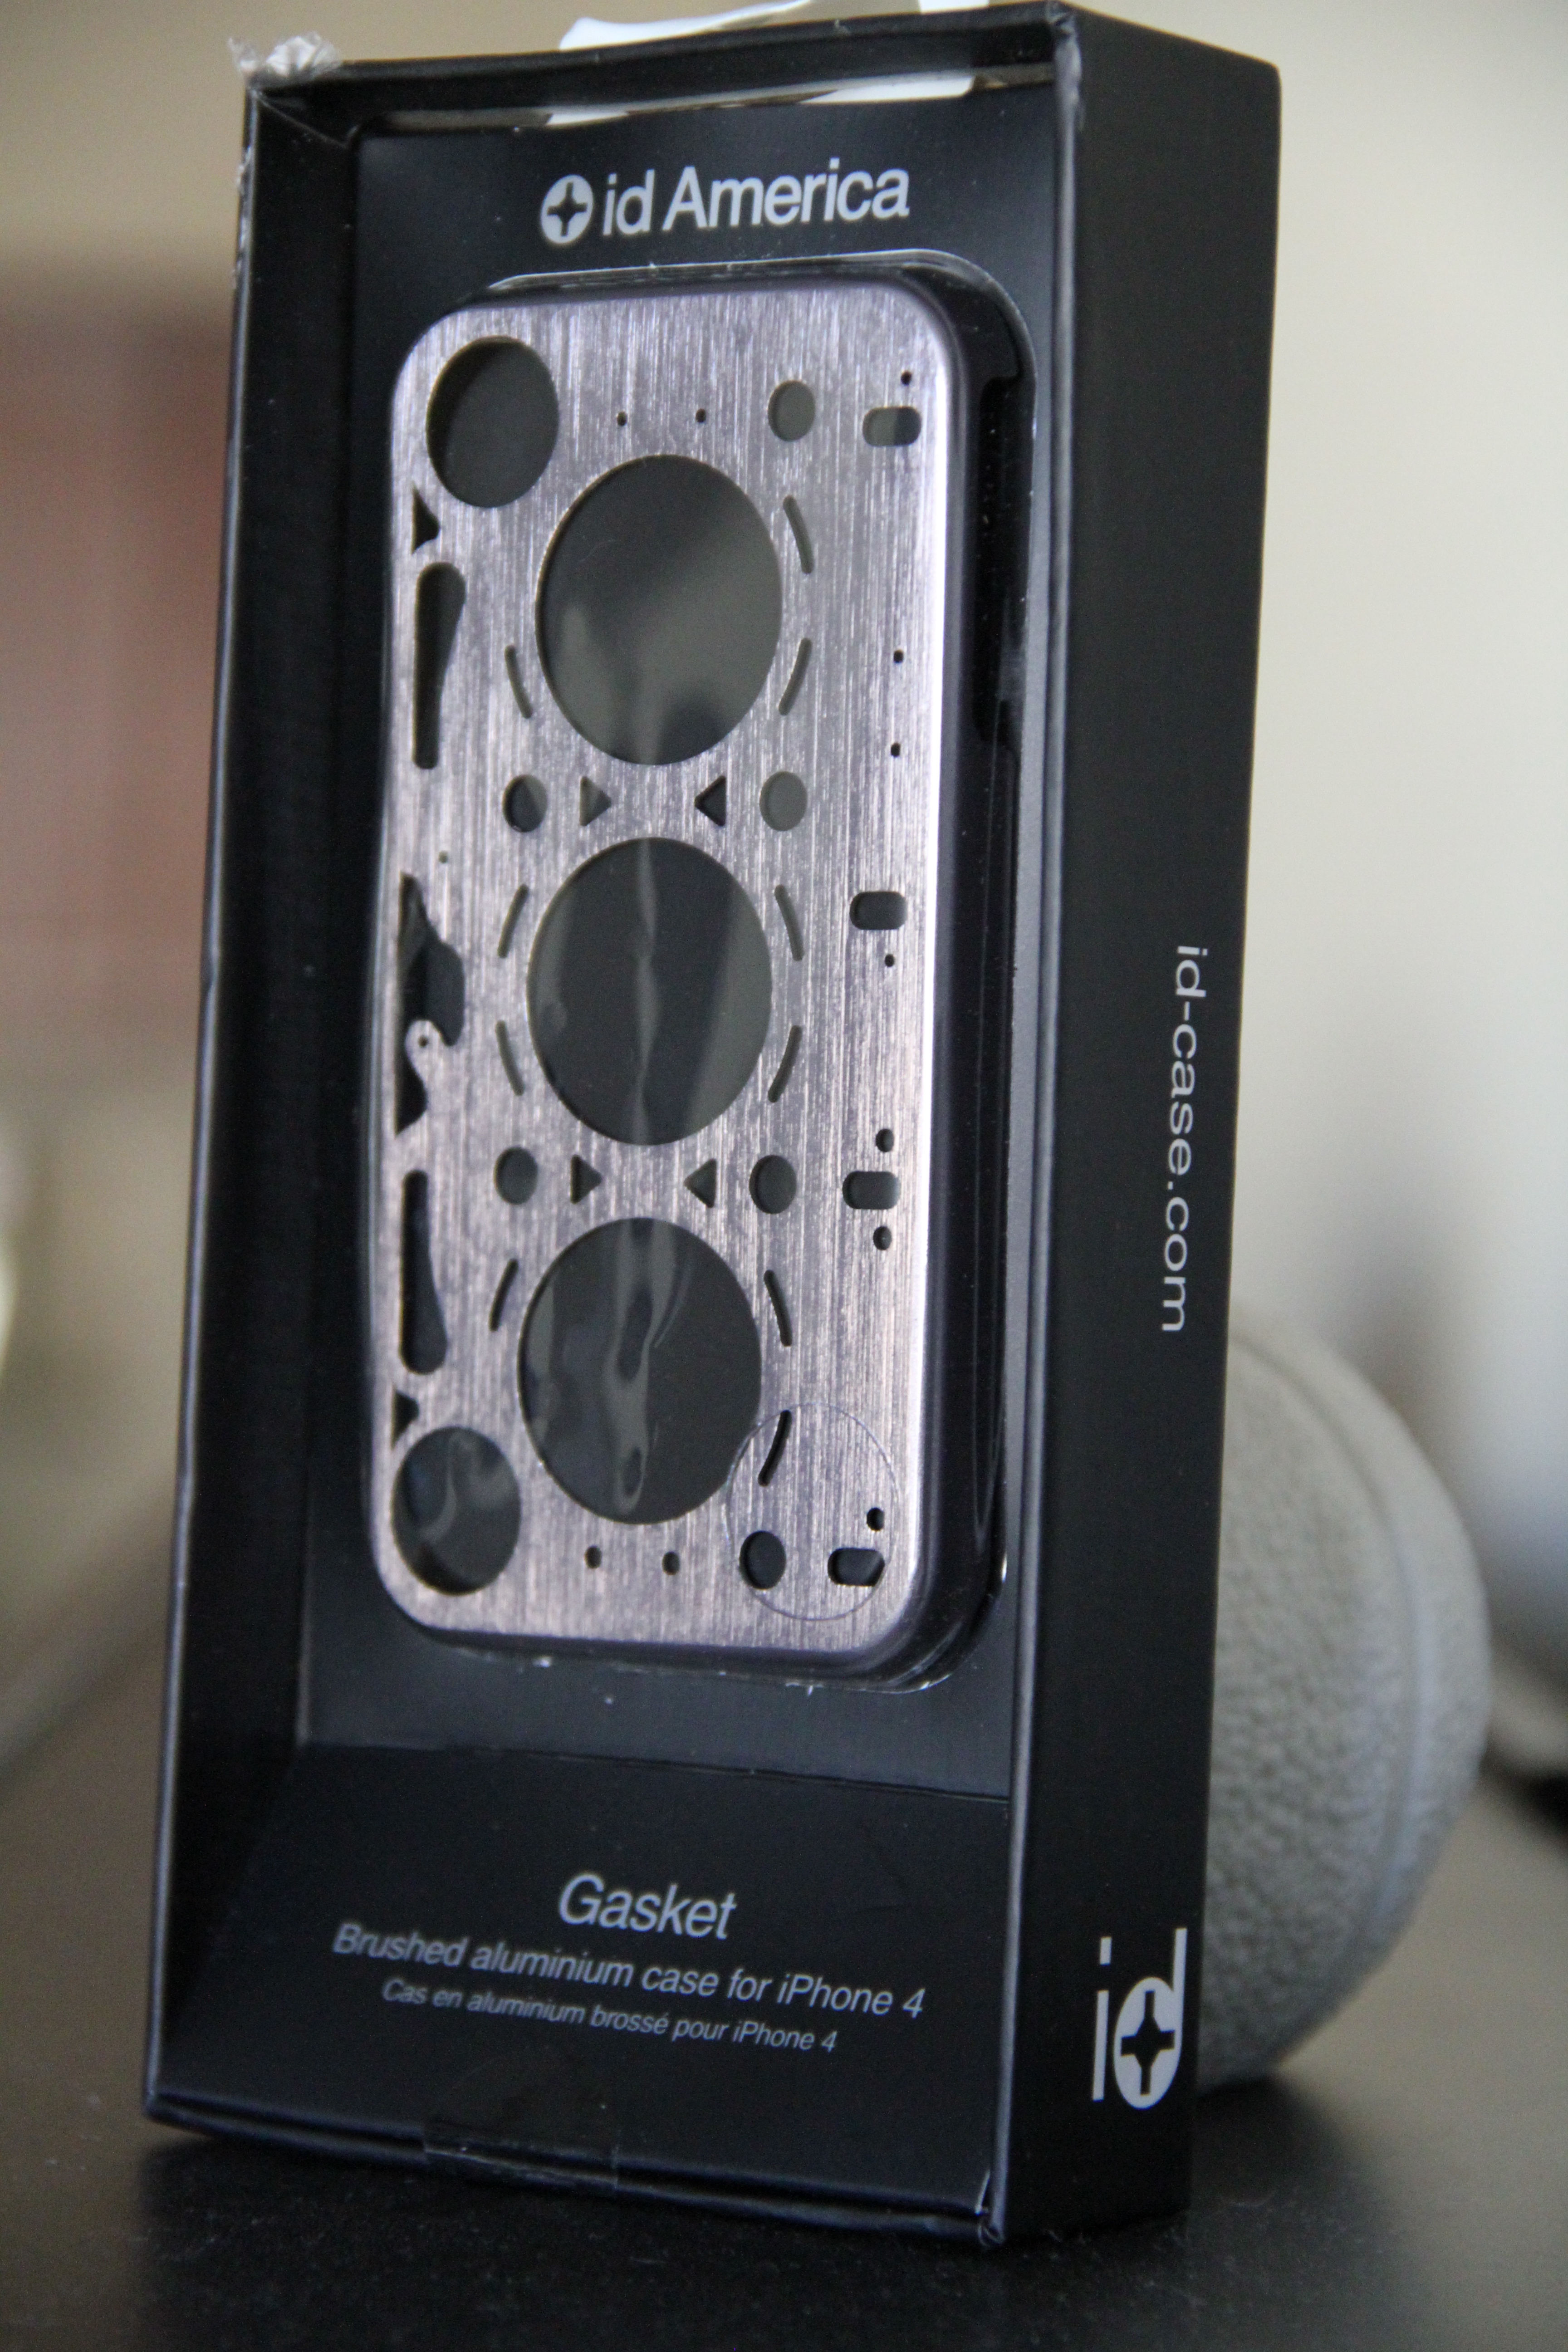
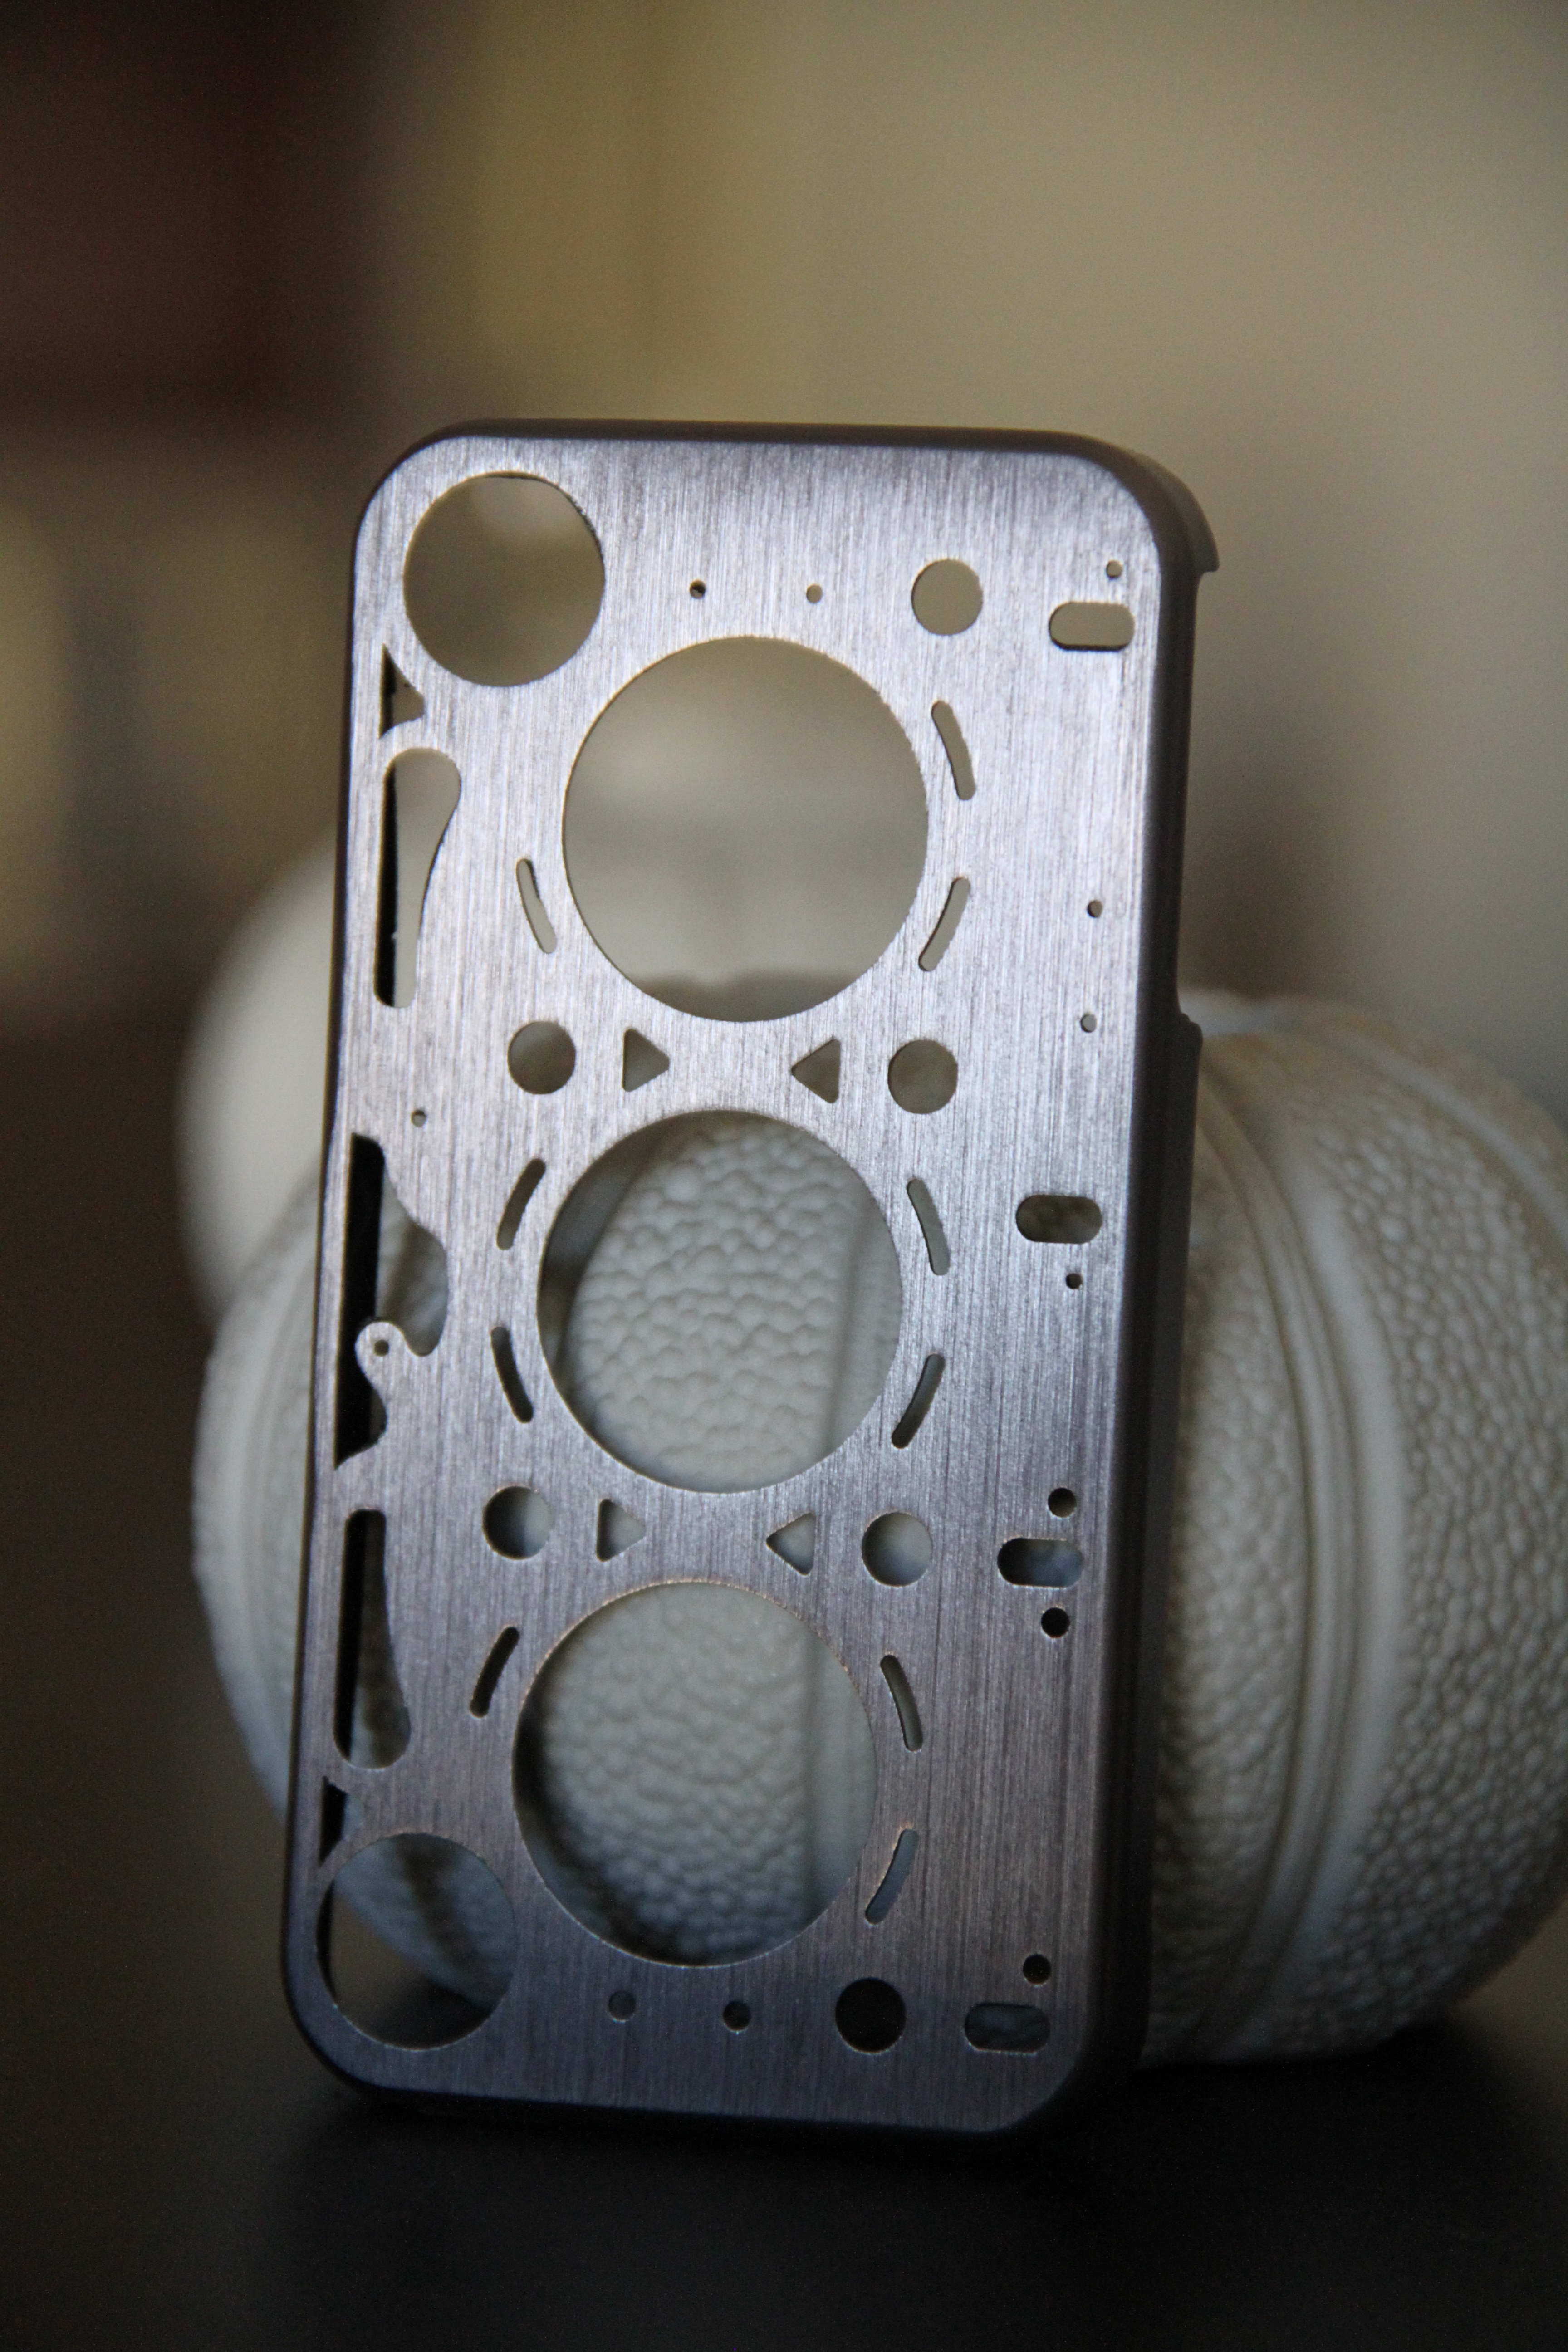
The design of this case is by far well thought out.
Has a lot of padding in the back to protect your phone..
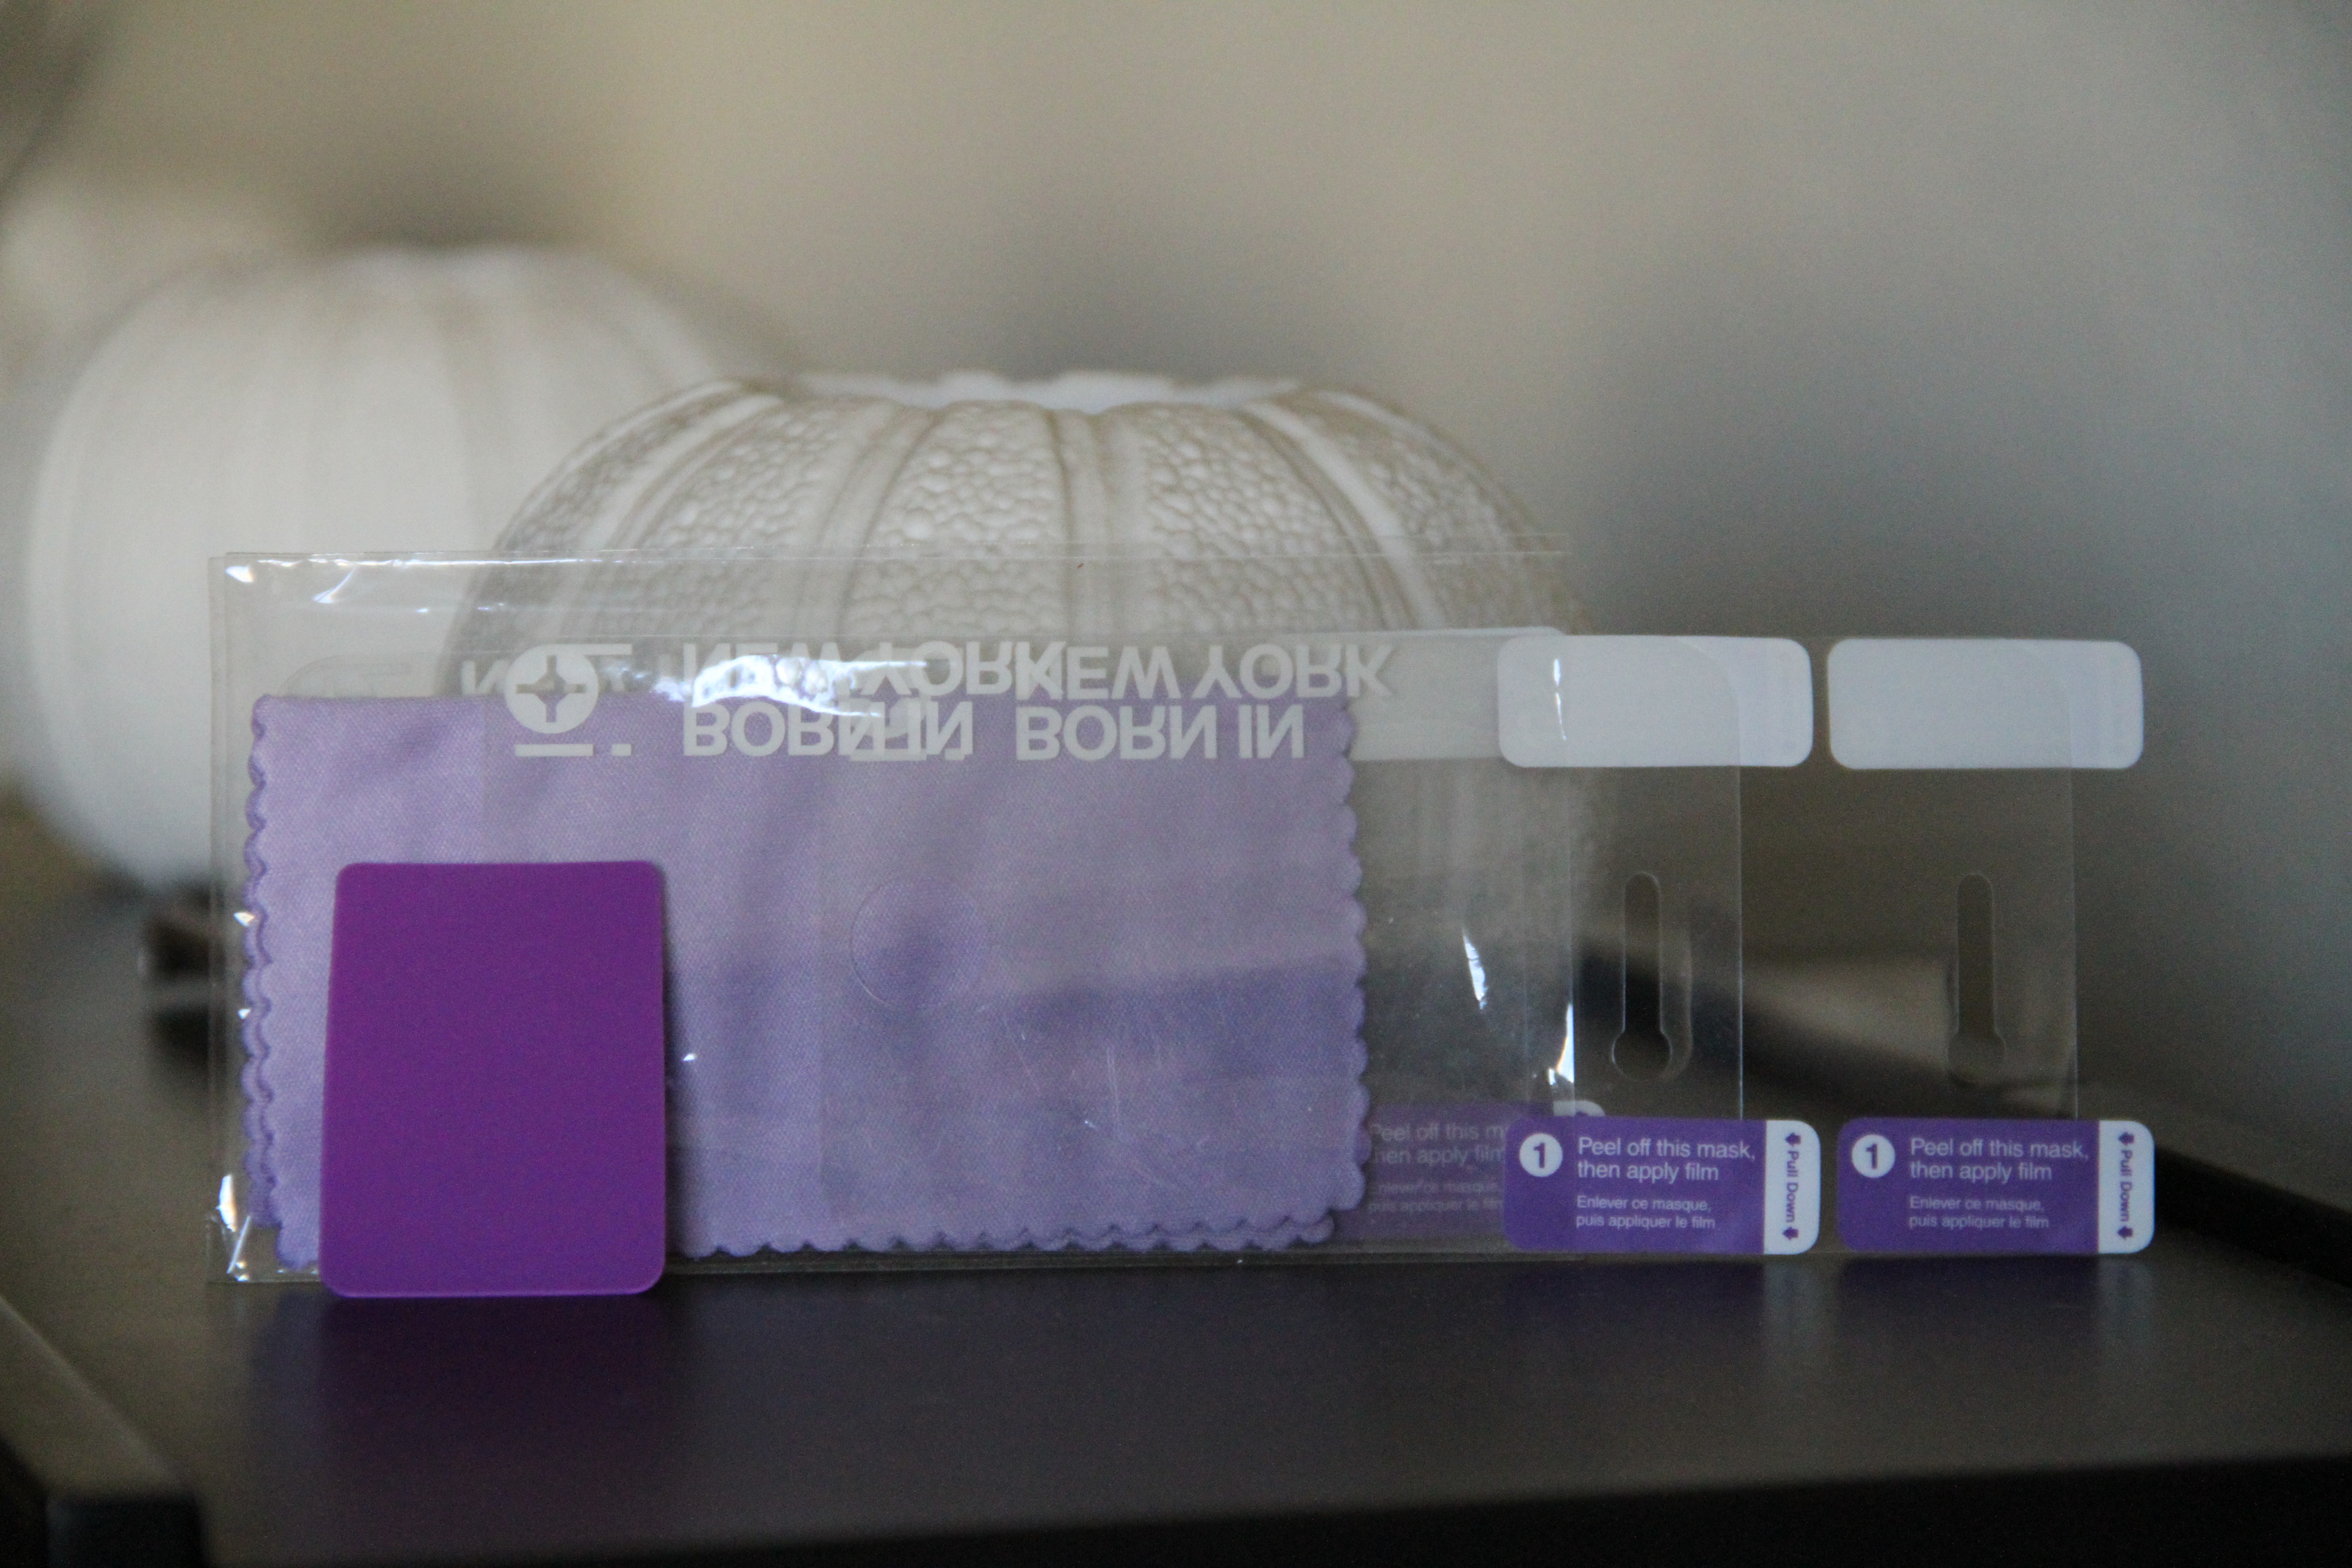
Comes with these screen and back protectors.. I personally hate theses things so I did not install them..
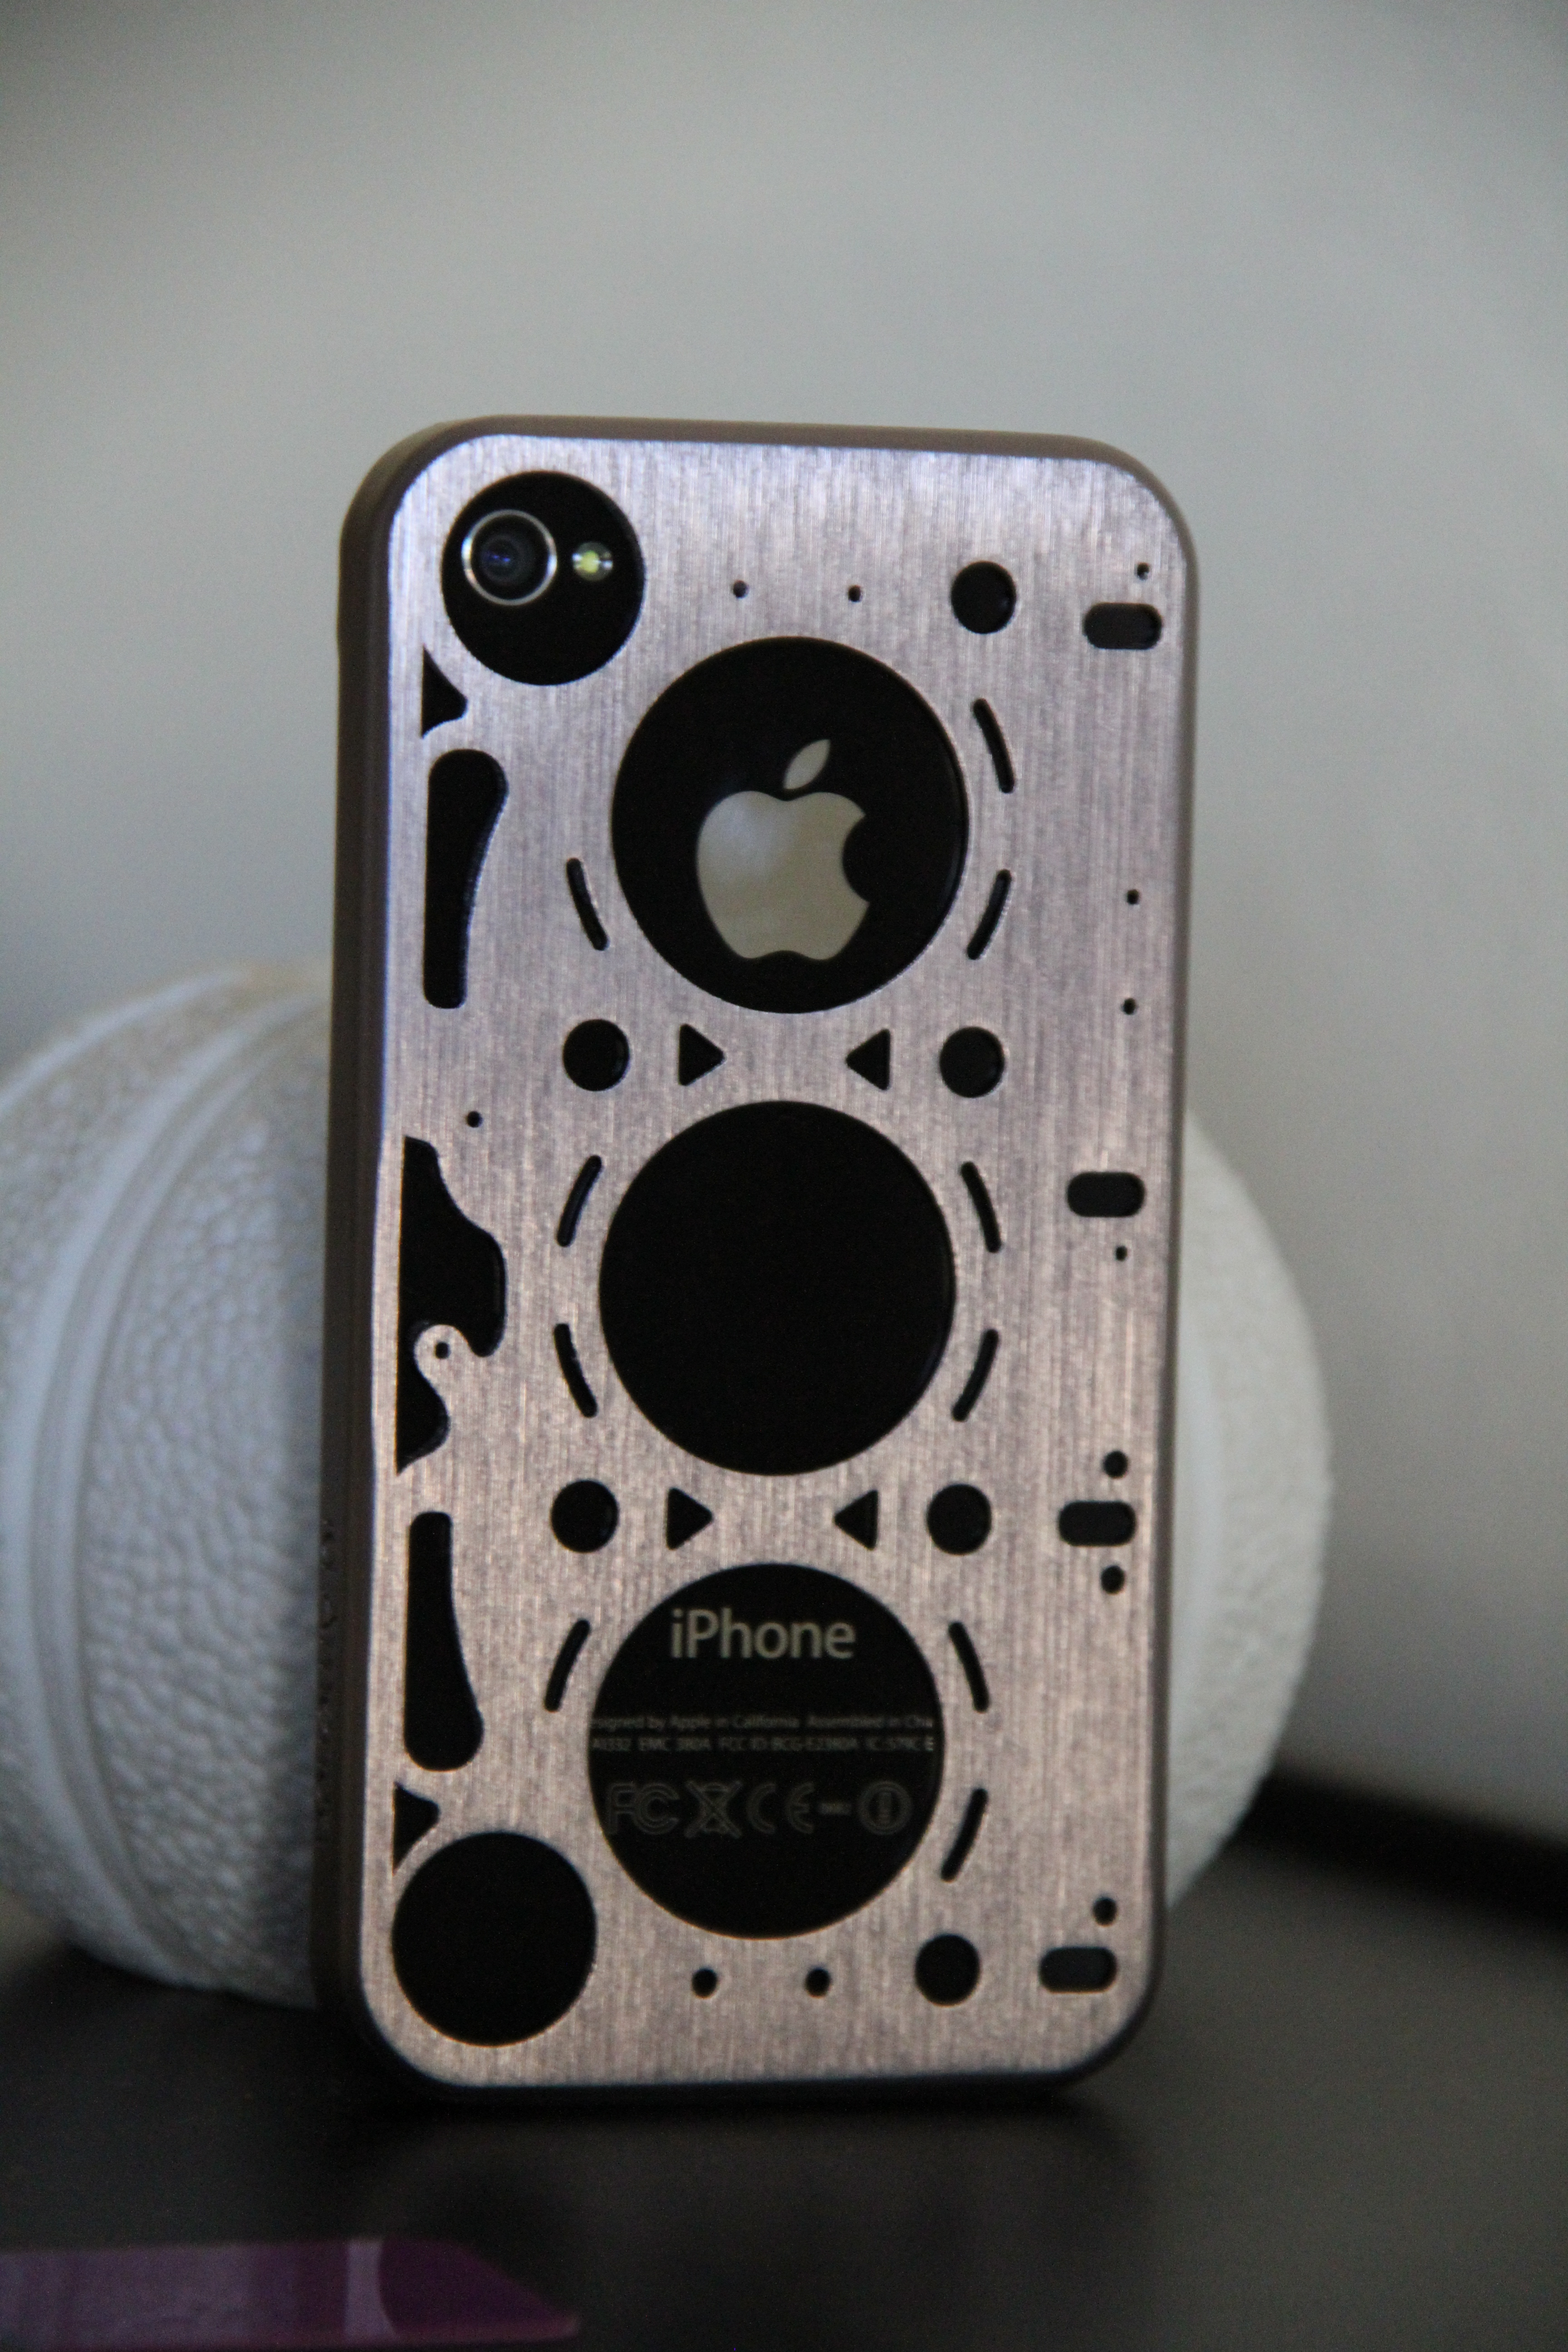
They come in different colors like, gold, bronze and silver..
Bam there you have it..
one idea i came across was to replace the oem gas tank with a fuel cell in the trunk and utilize that space for the turbos. theres plenty of room on each side with the oem tank gone

That actually the only reason I went to a fuel cell originally. I was going to run a large single on one side where the stock tank was and a huge air to water ic on the other side under the car.
yessir!^ i was gonna run qwamens idea originally but due to laziness, i ran a rear mount. i actually have plenty of space between the downpipe (which hangs lower than the turbo). id say 5+ inches, and its a 76mm turbo
Thread Starter
New Member
iTrader: (9)
Joined: Sep 2004
Posts: 2,840
Likes: 14
From: San Antonio, TX
STAGE 1: Phase 5 'FAST 102 Intake/FAST 102 TB'
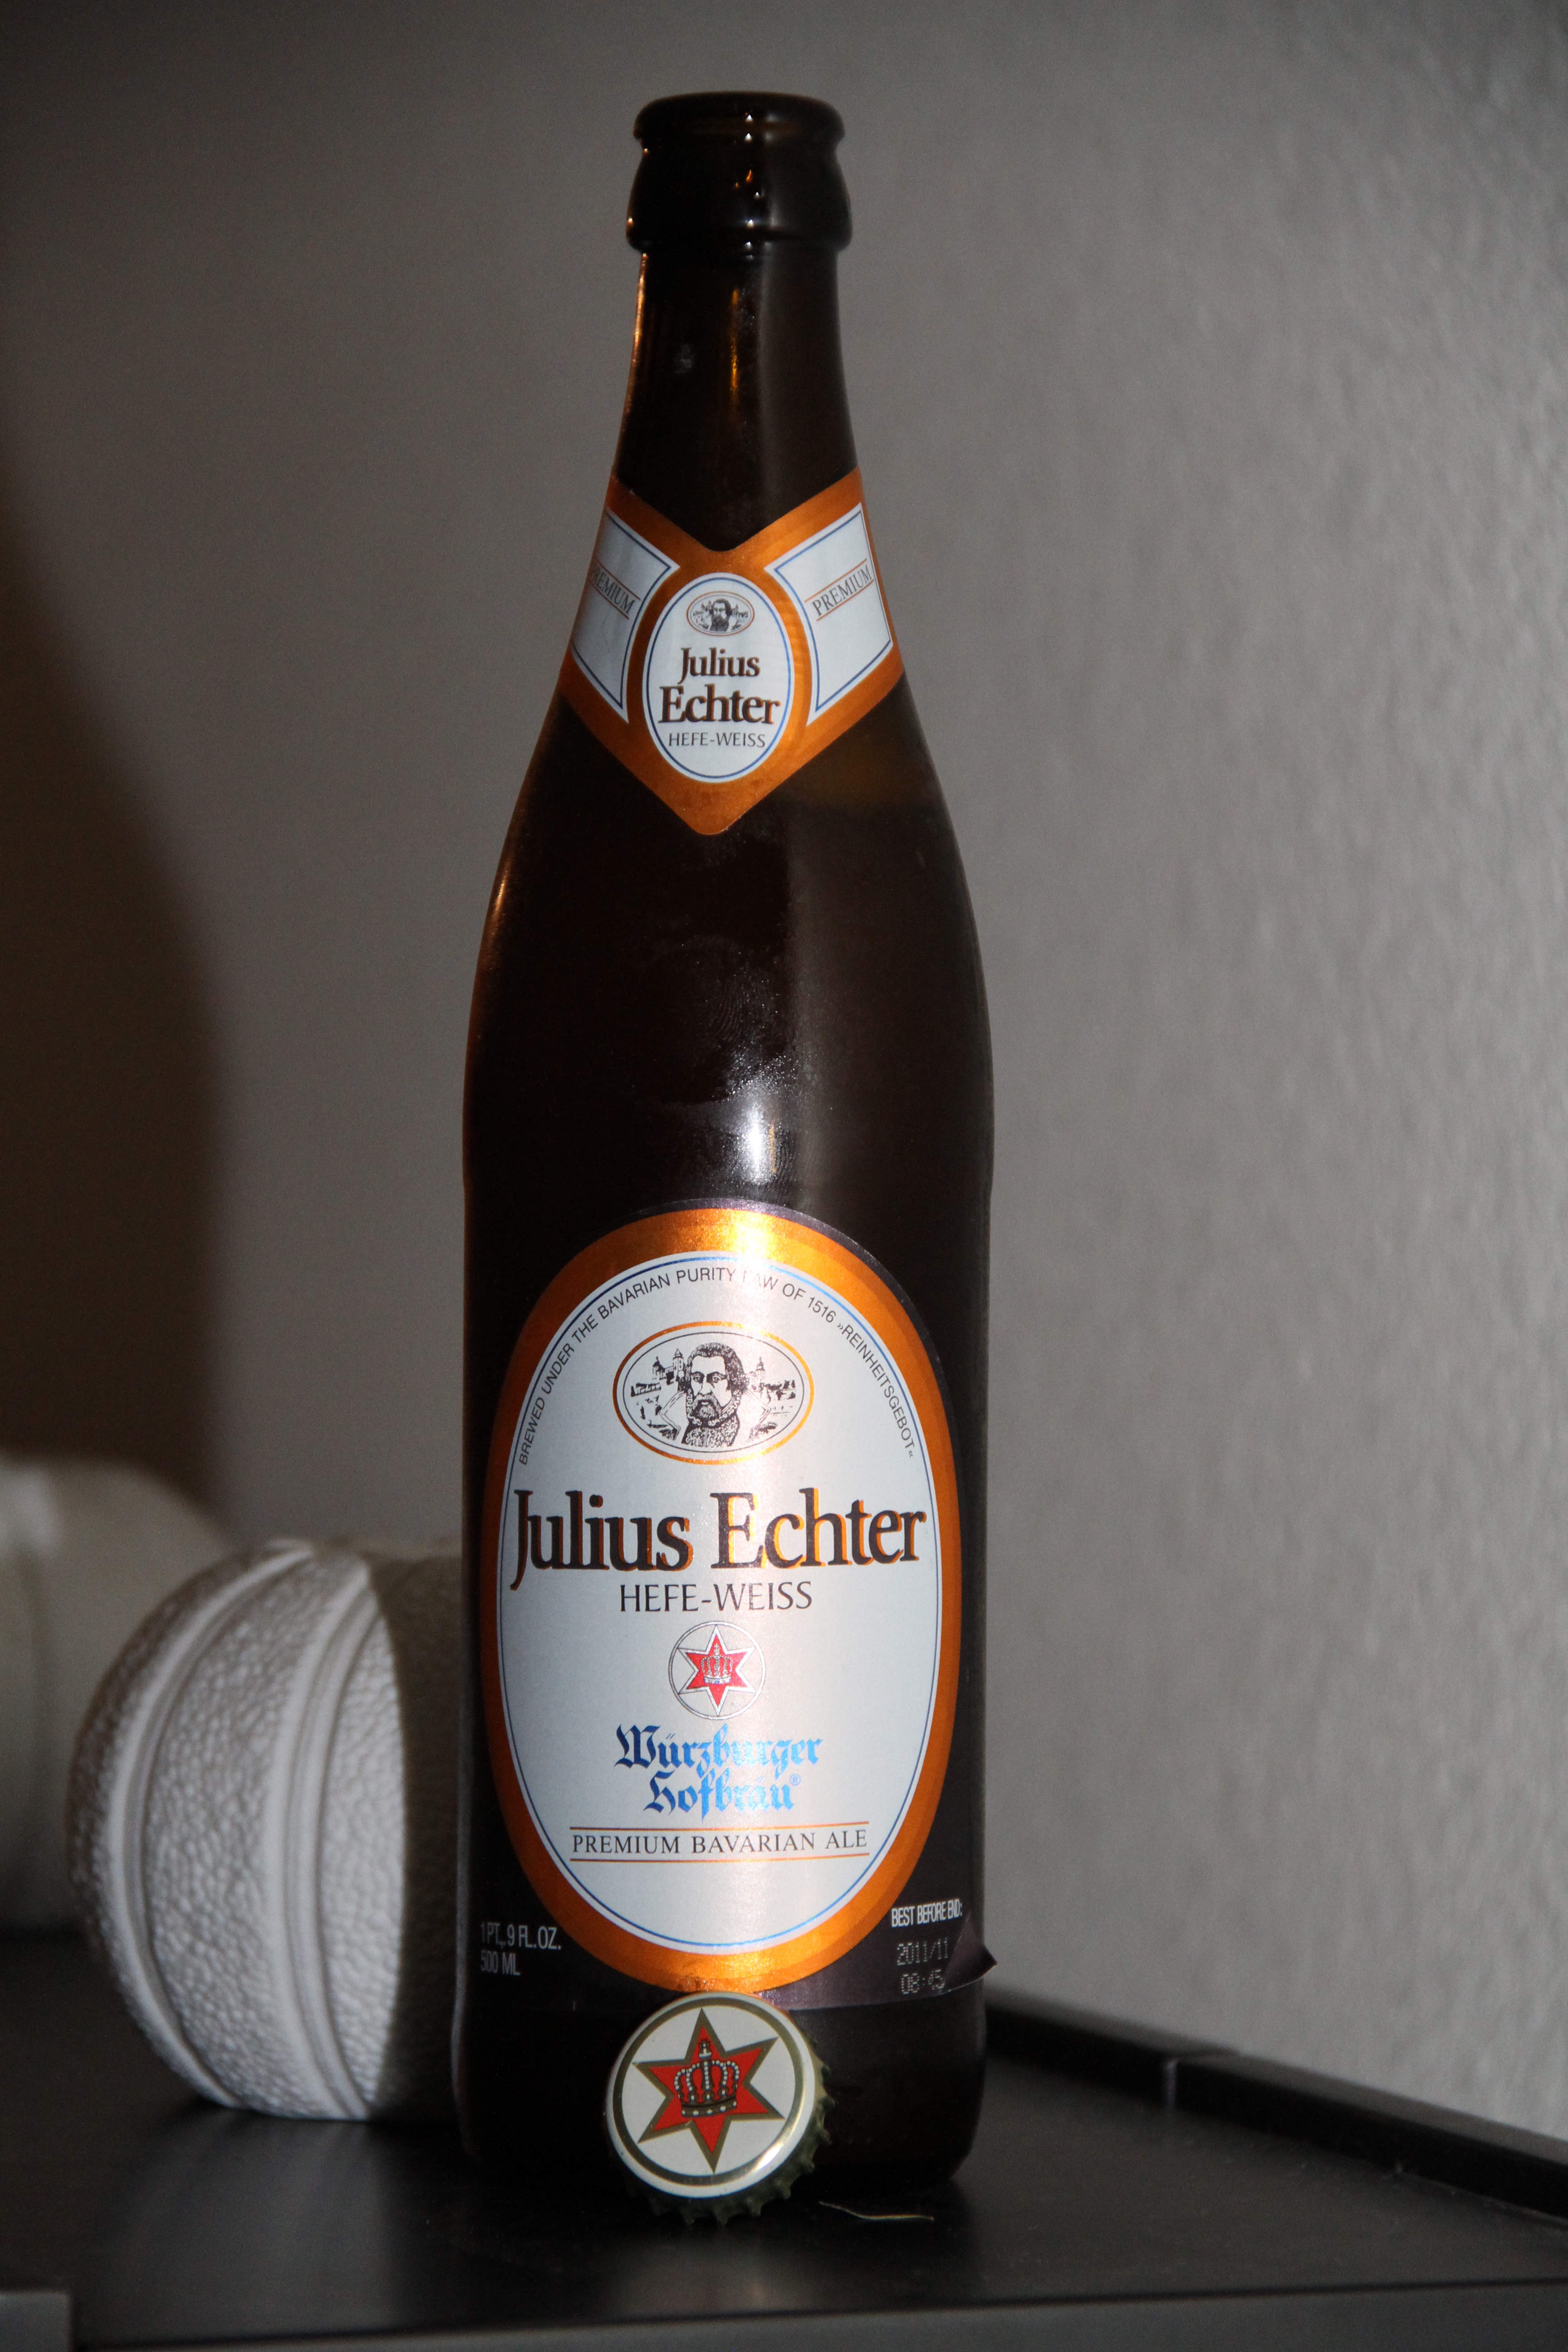
Okay beer of choice this week is Julius Echter 'Hefe Weisse' if you are looking for a good wheat beer then look no further.. I personally love hefeweizen type of beers and this one really hits the spot.. Hope you like.
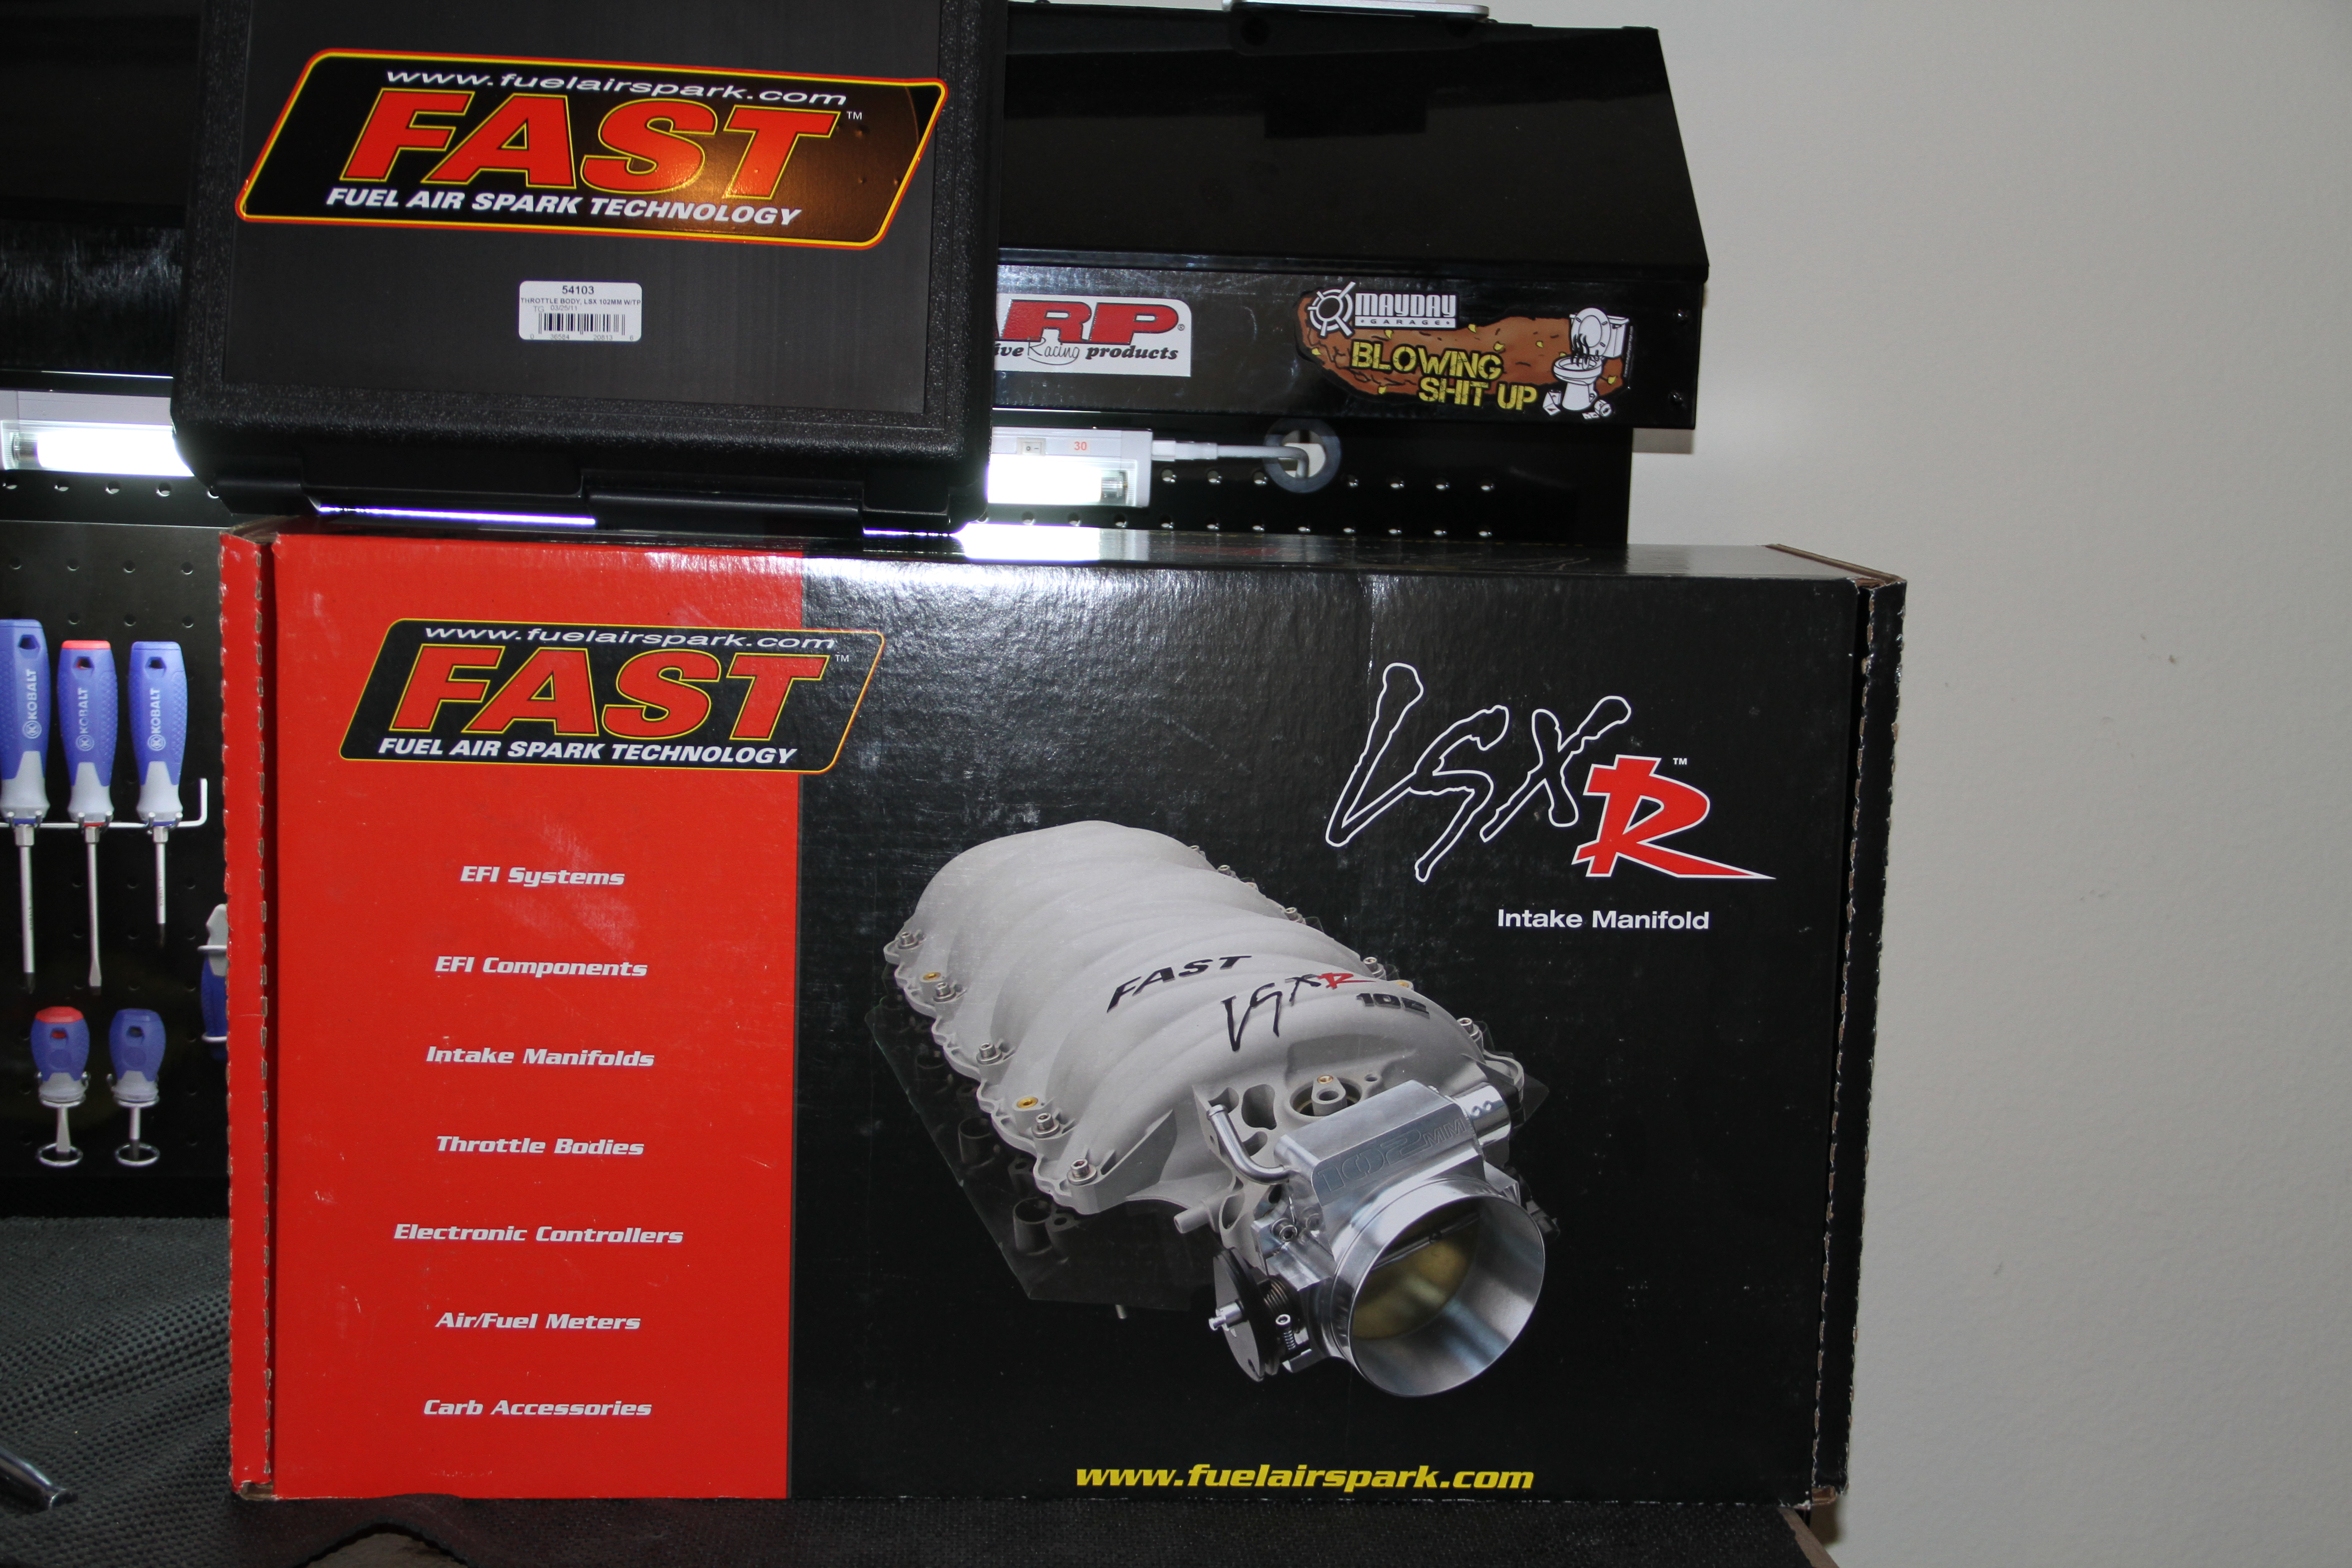
Okay what we have today to instill is a FAST 102 Intake with a FAST 102 TB, and a FAST fuel rail.. Now I bought this as a package deal on Texas Speed Shop, and yet again they do not disappoint.
FAST 102 Intake/TB and Fuel rail kit from Texas Speed Shop: $1,653.98
(I added the Coolant pipes and plugs, fuel rail and gaskets)
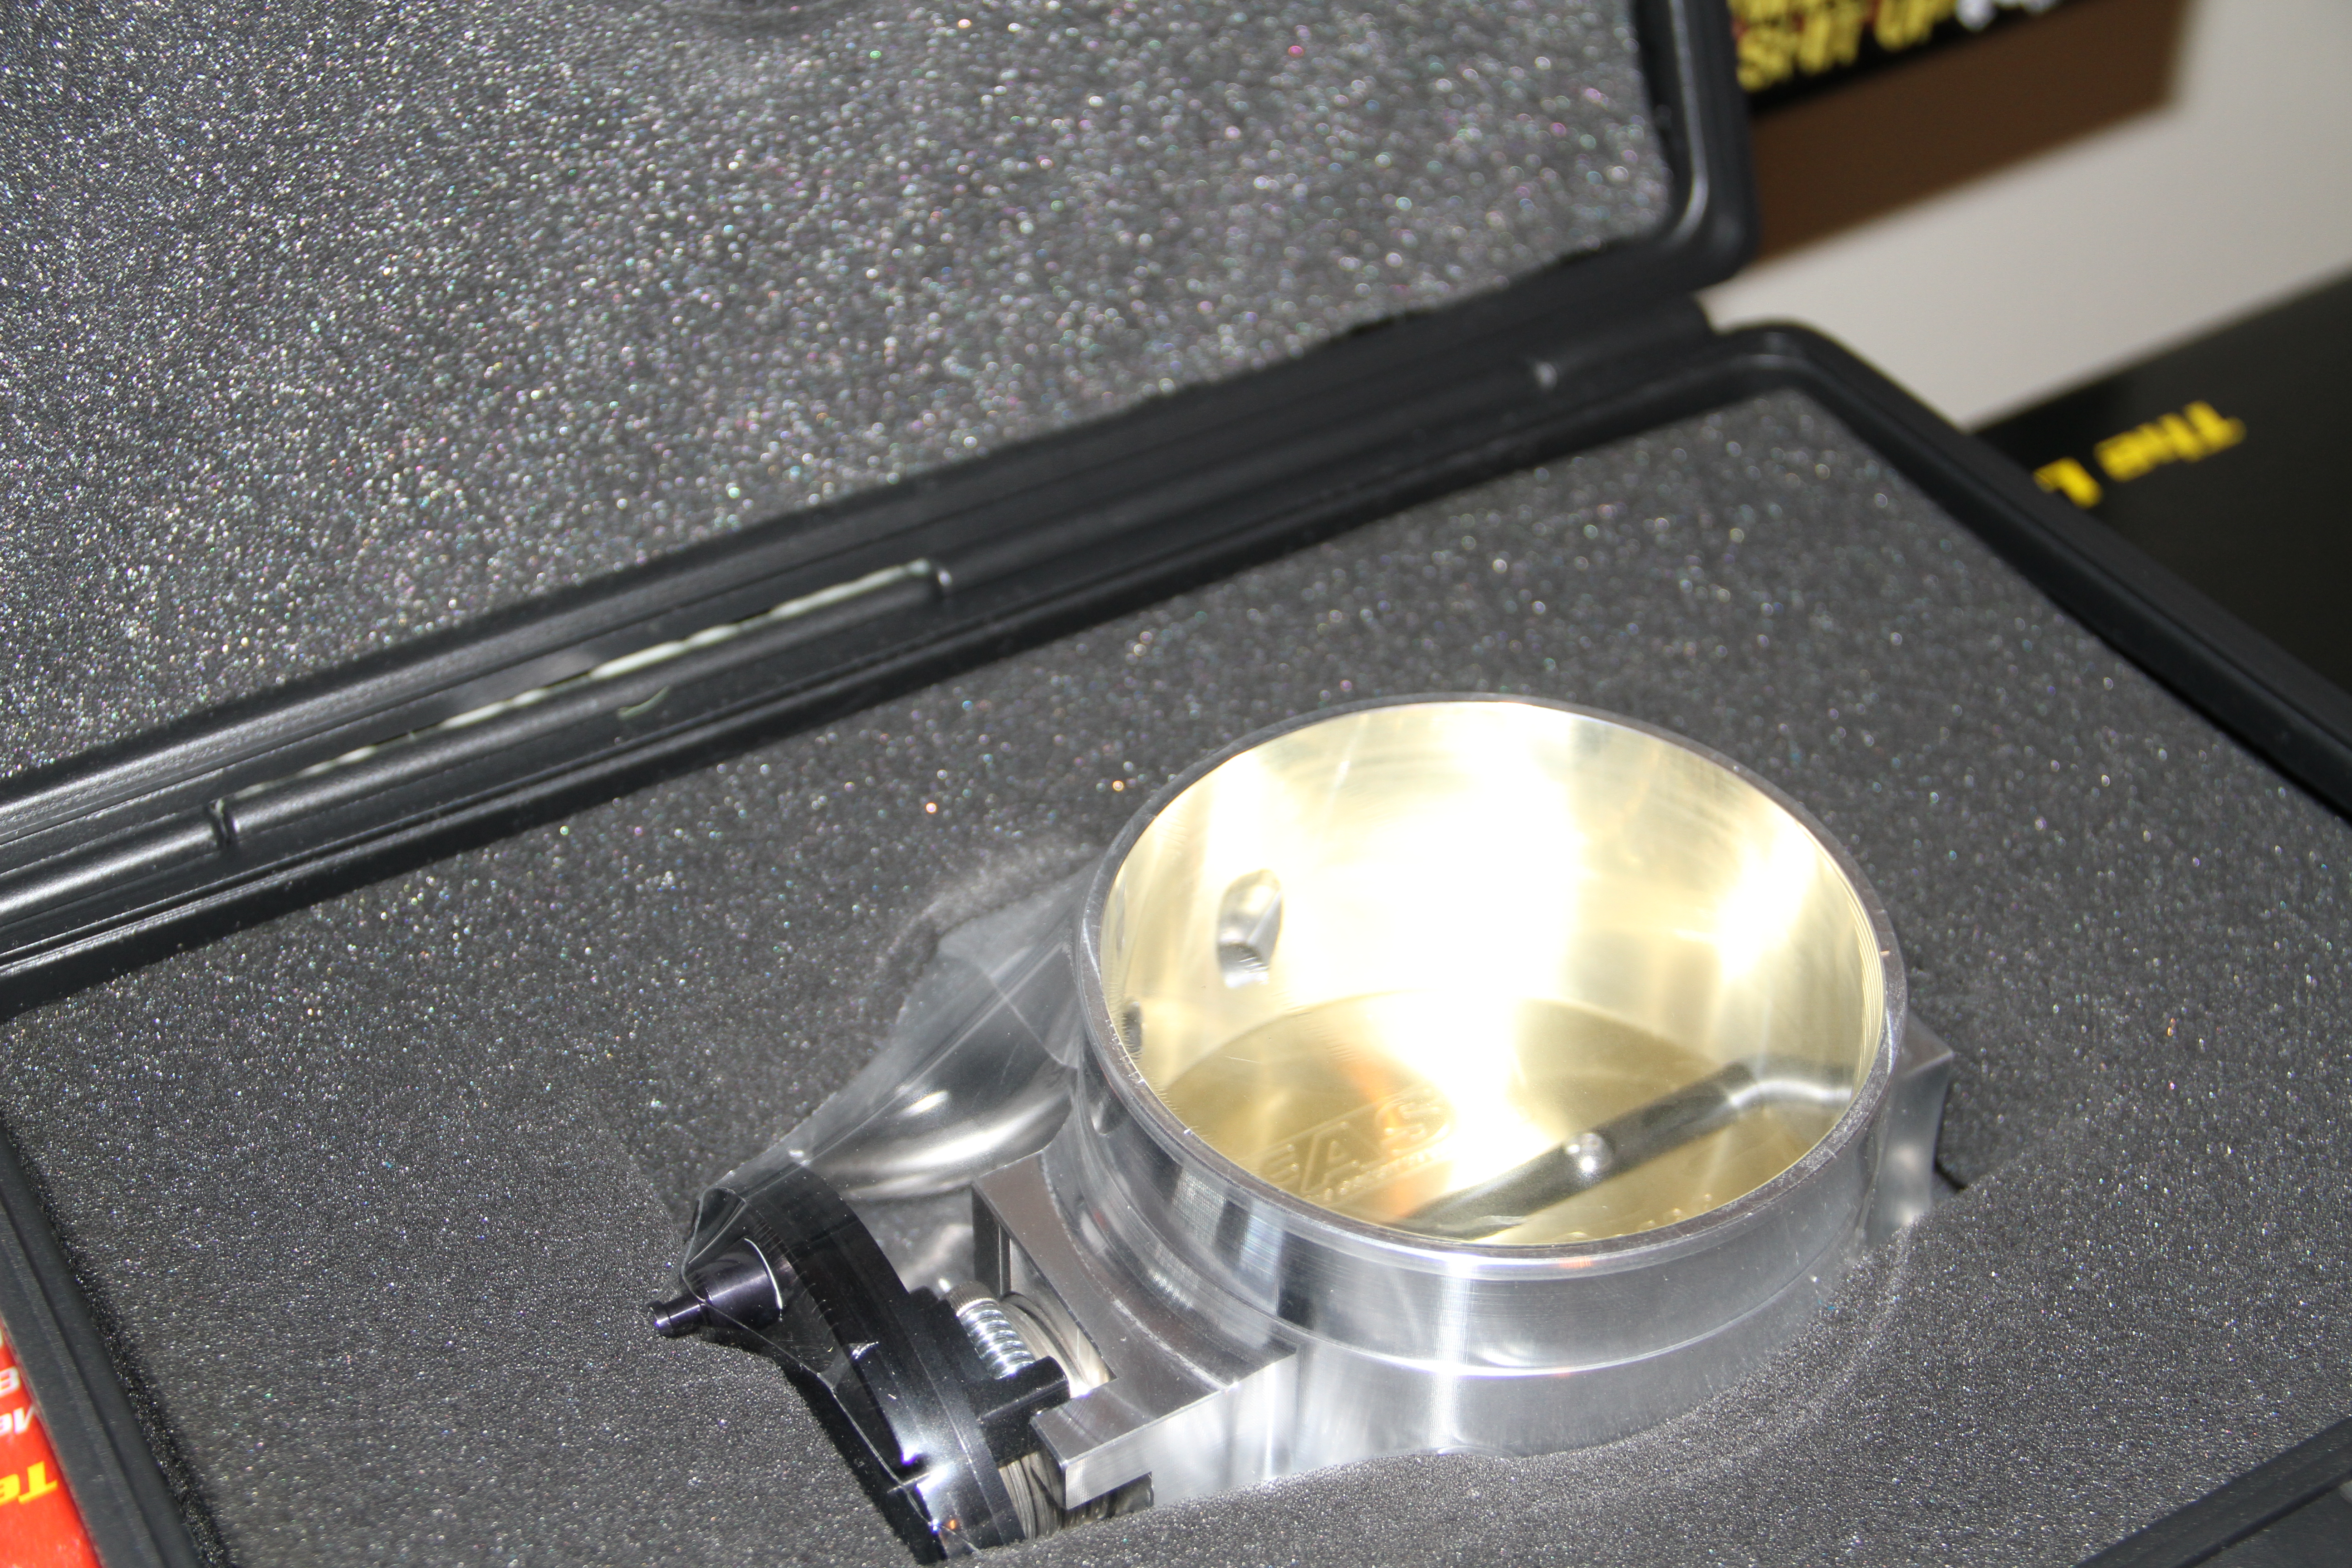
Man I just love how the FAST 102 TB is packaged.. I felt like James Bond opening up this case. Its well protected and overall just impressed me..
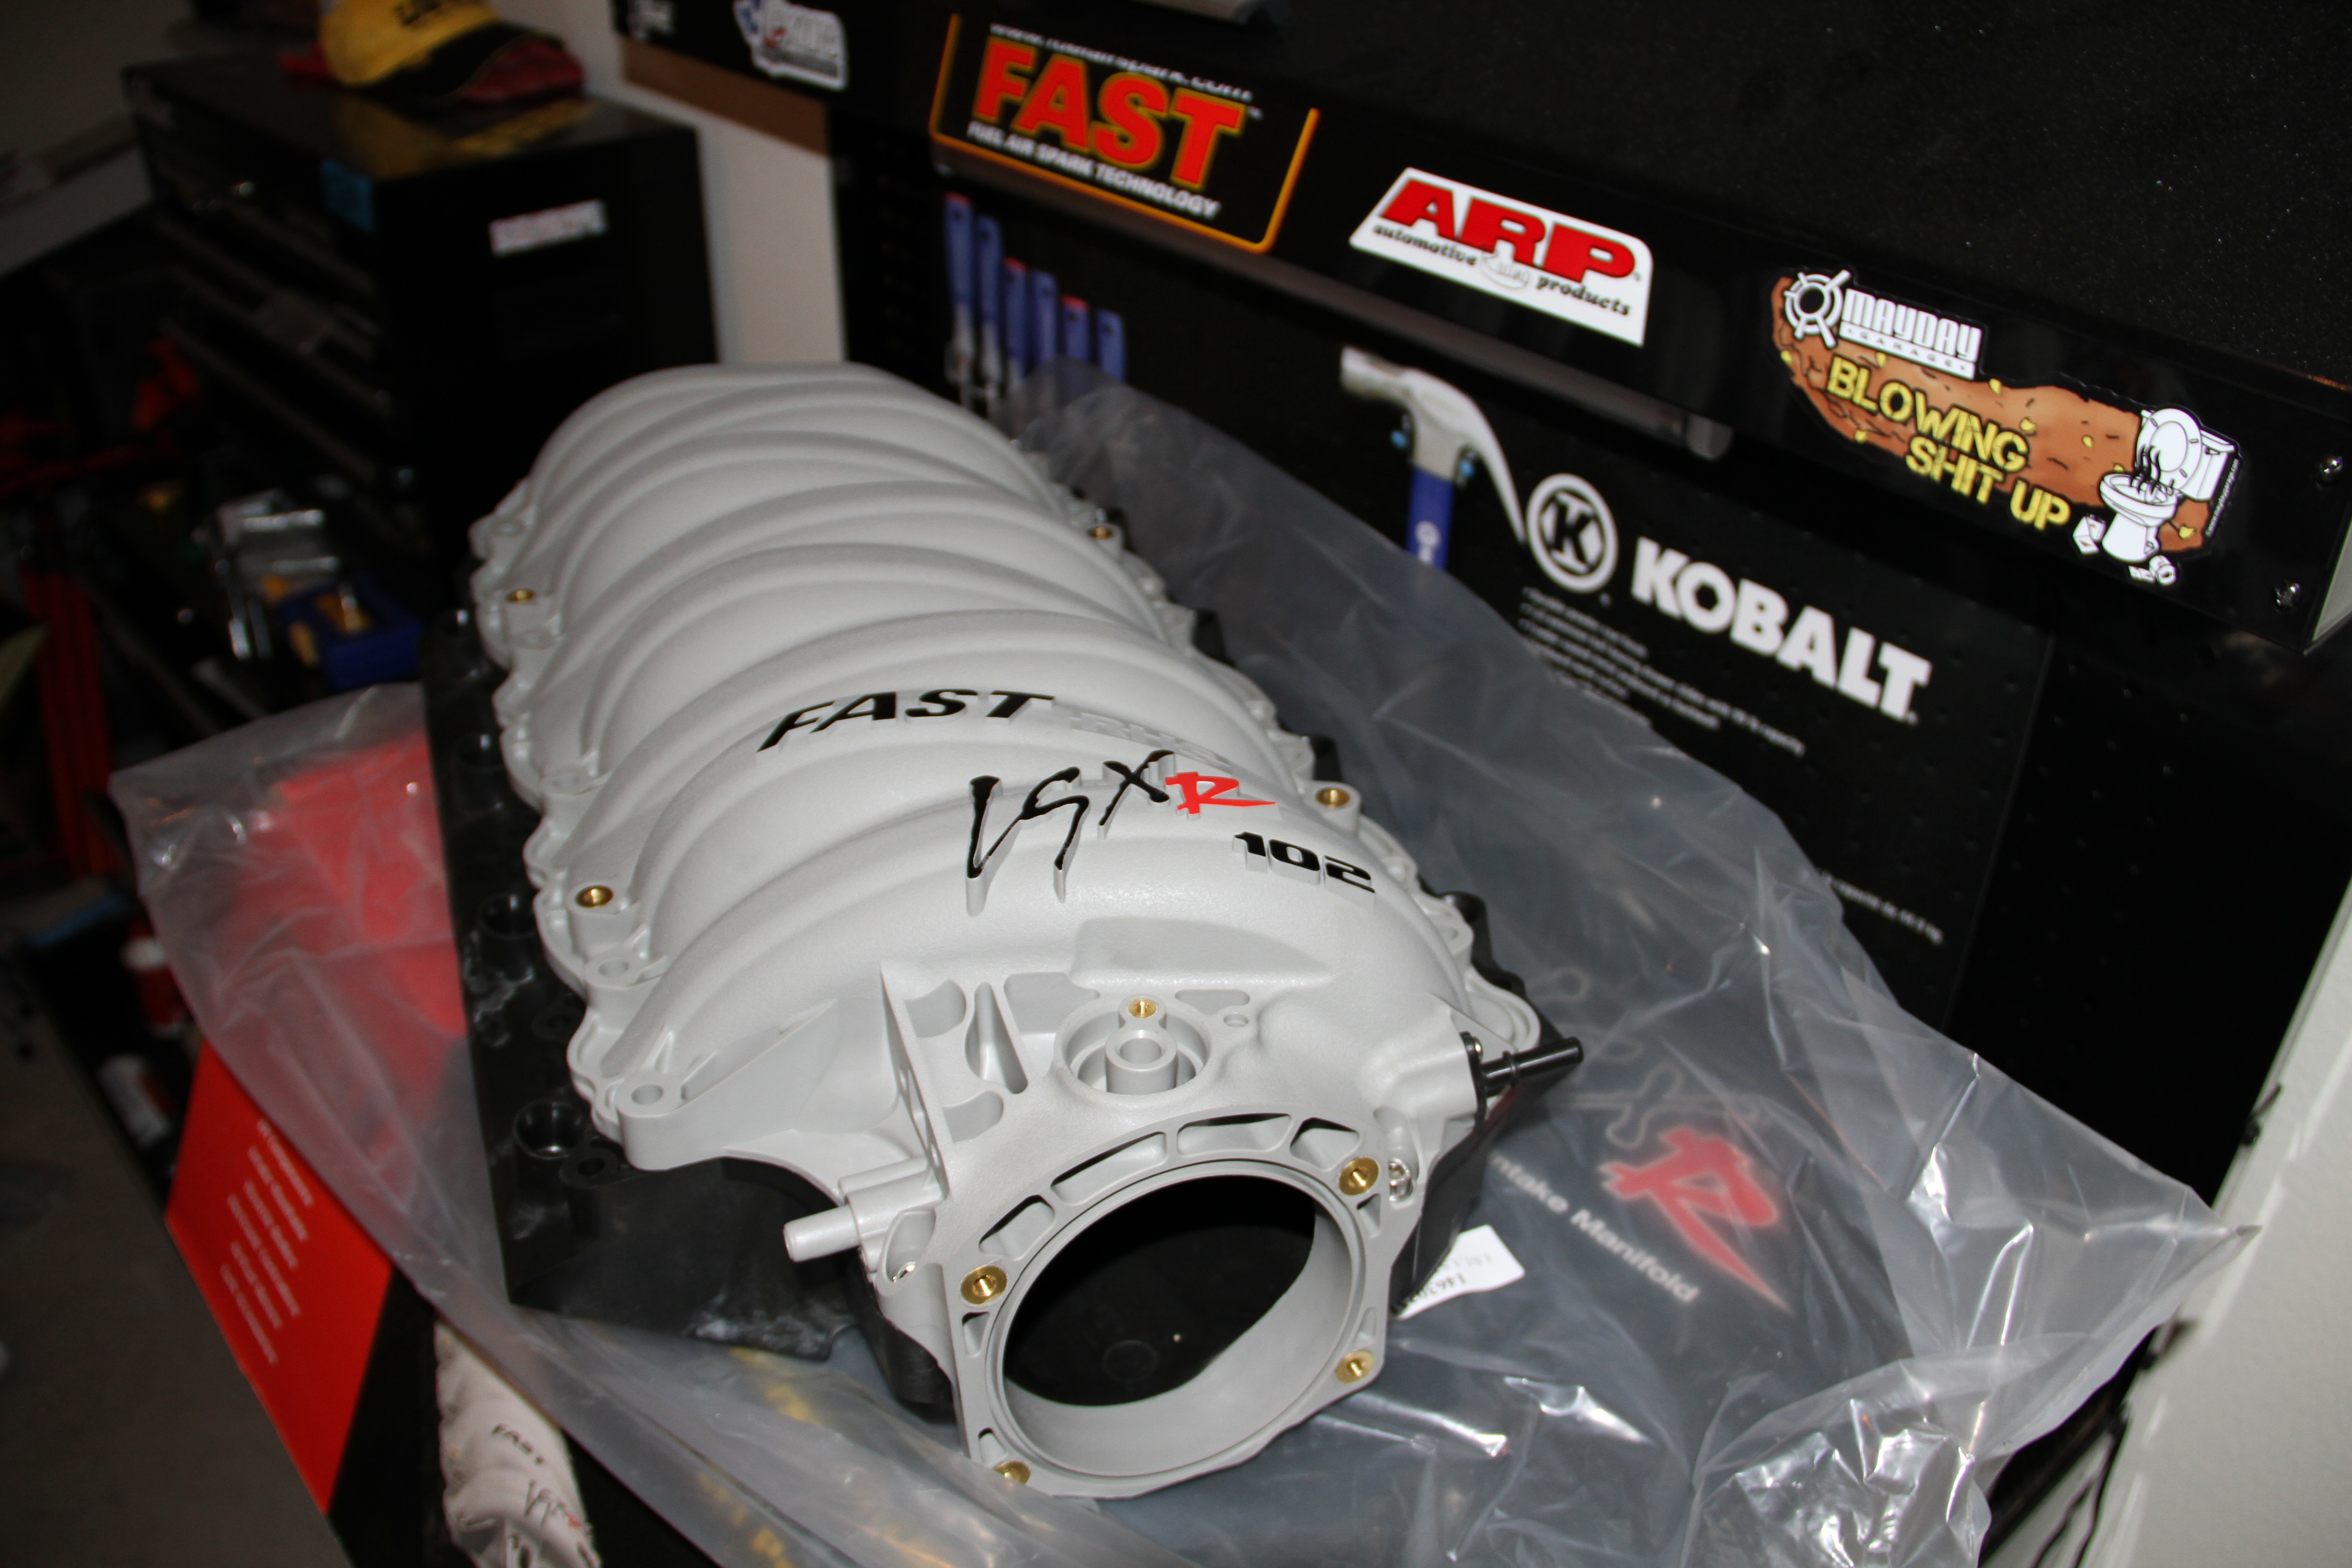
Now a lot of people might question the 102 Intake. Some say it does not give you any gains so why bother.. Well the main reason I bought this Intake was simply for my later plans for the motor. I do plan on storking this engine and running a twin turbo set up so this intake will def help me when I put down the big numbers. Got to plan ahead..

And damn does it just not scream beast mode...lol
First thing to install is the new Coolant pipe for the front of the engine..
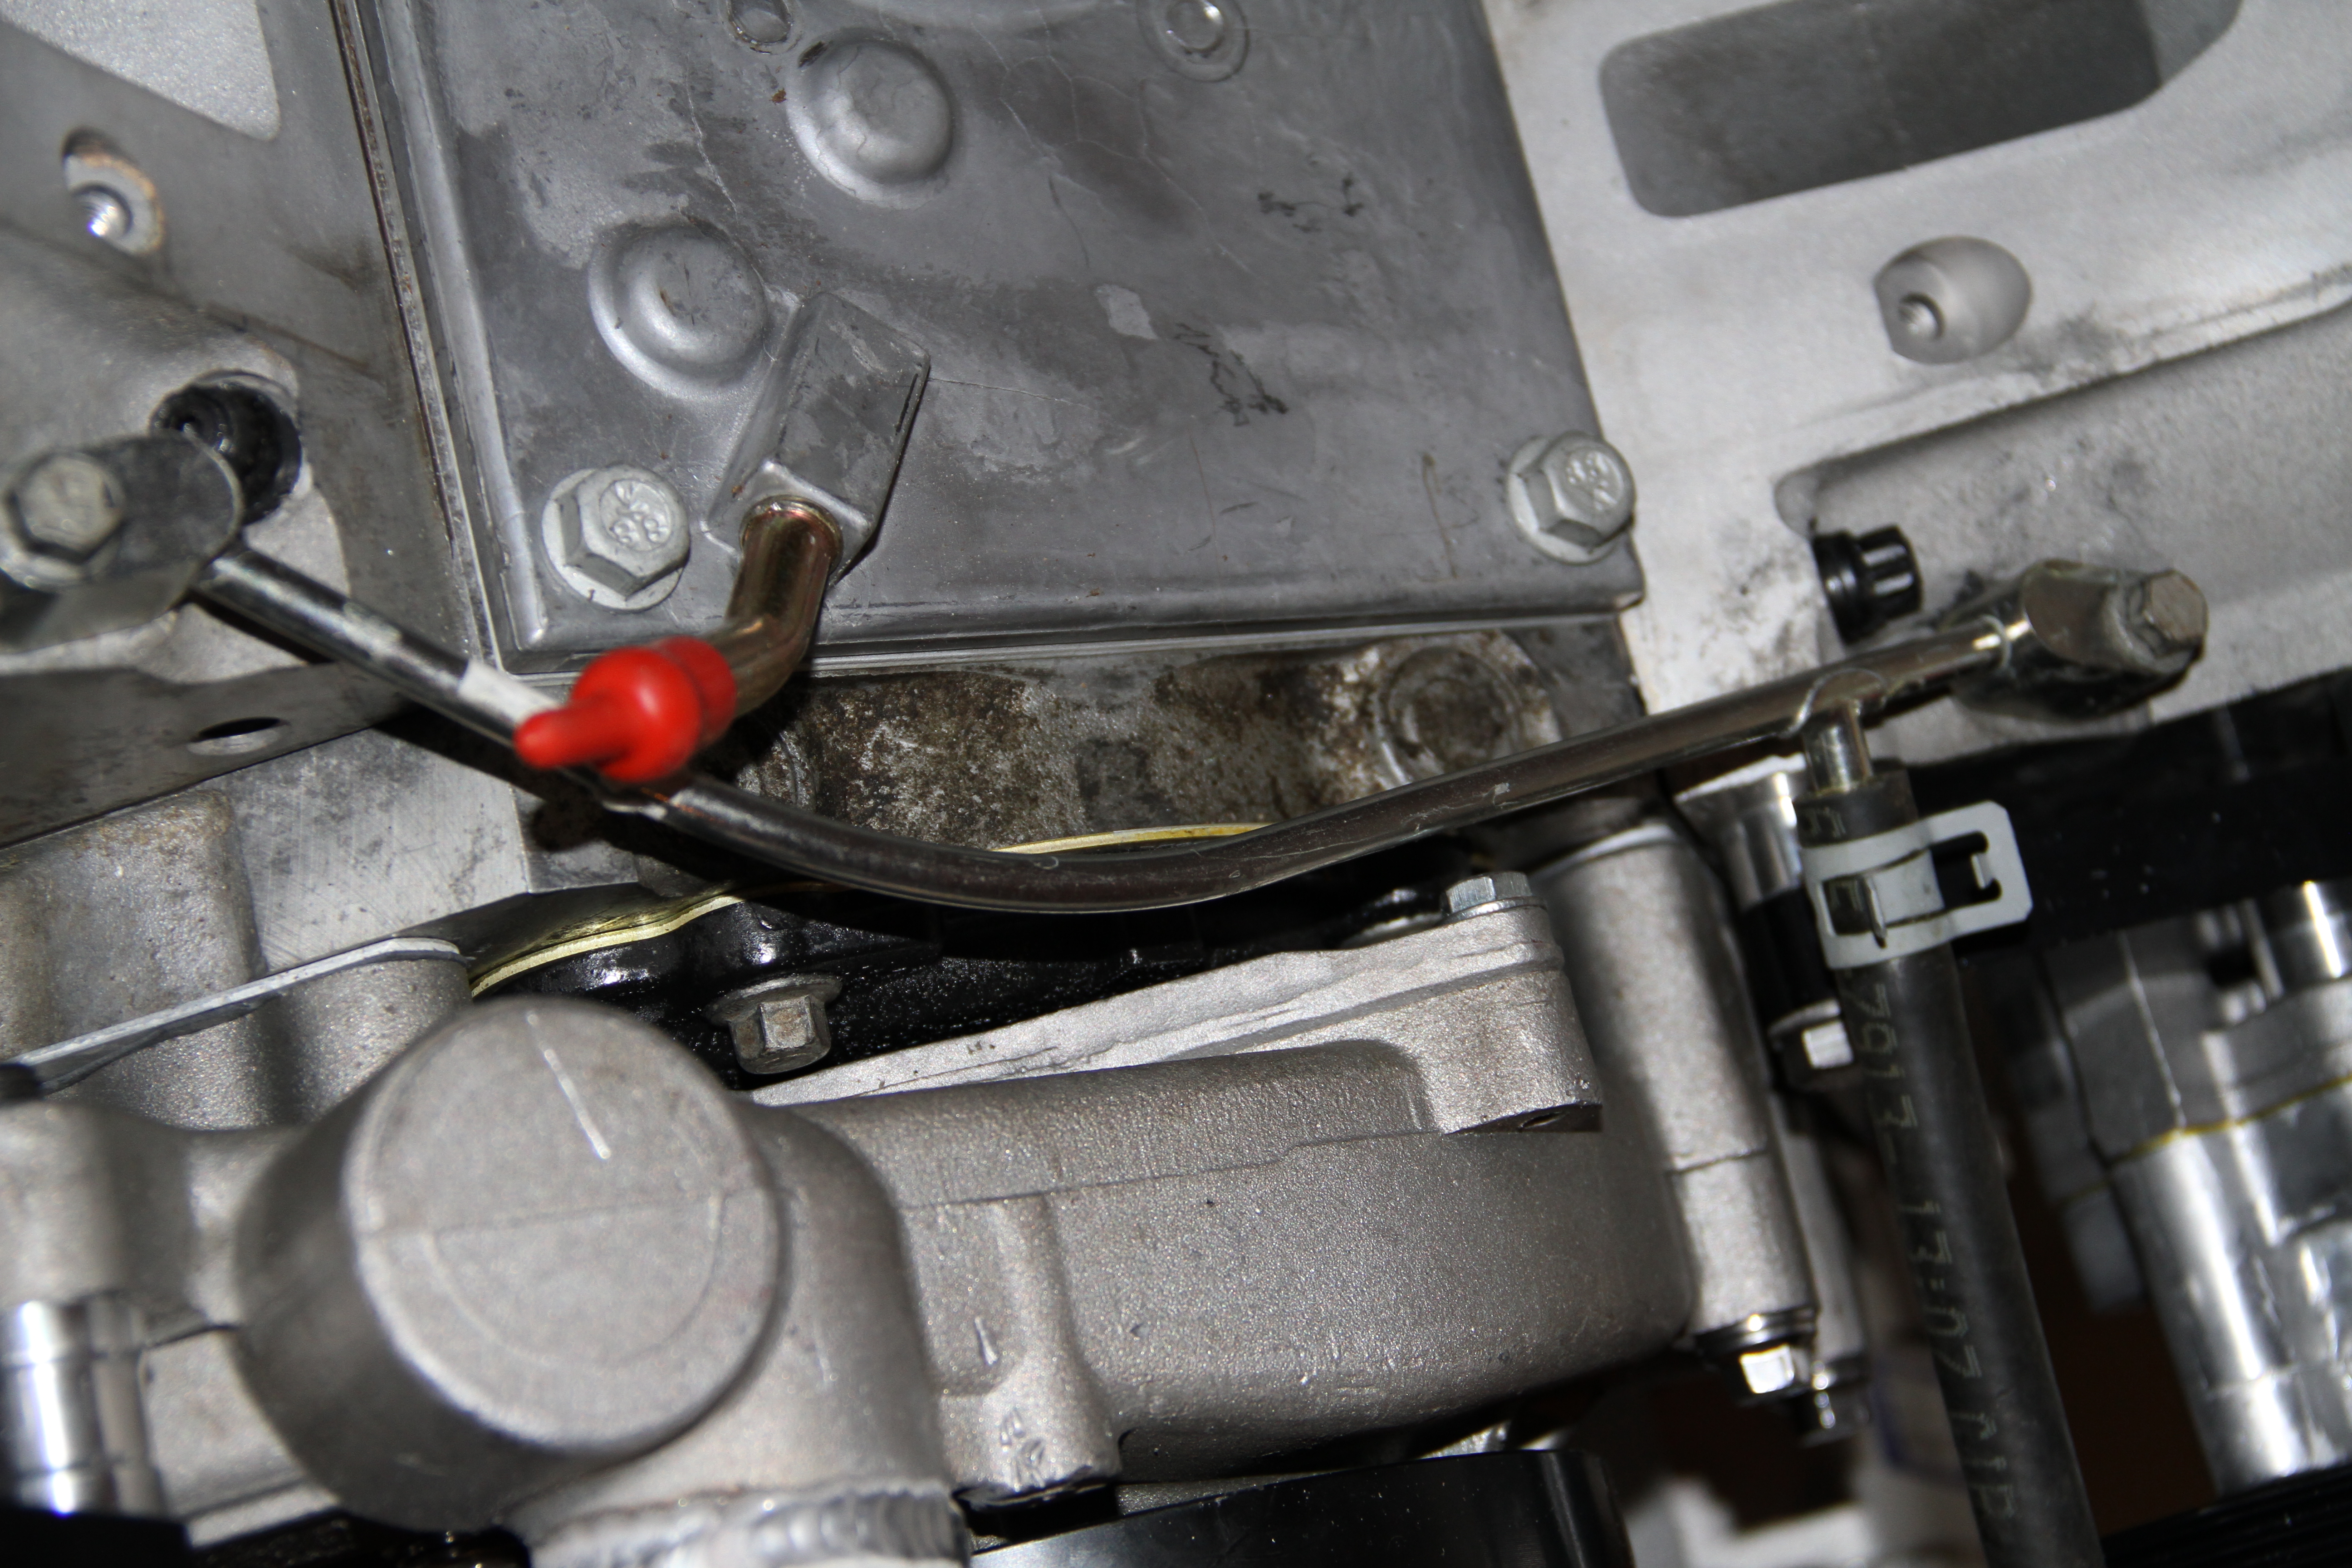
pretty straight forward here, you just place it where the old coolant pipes went.
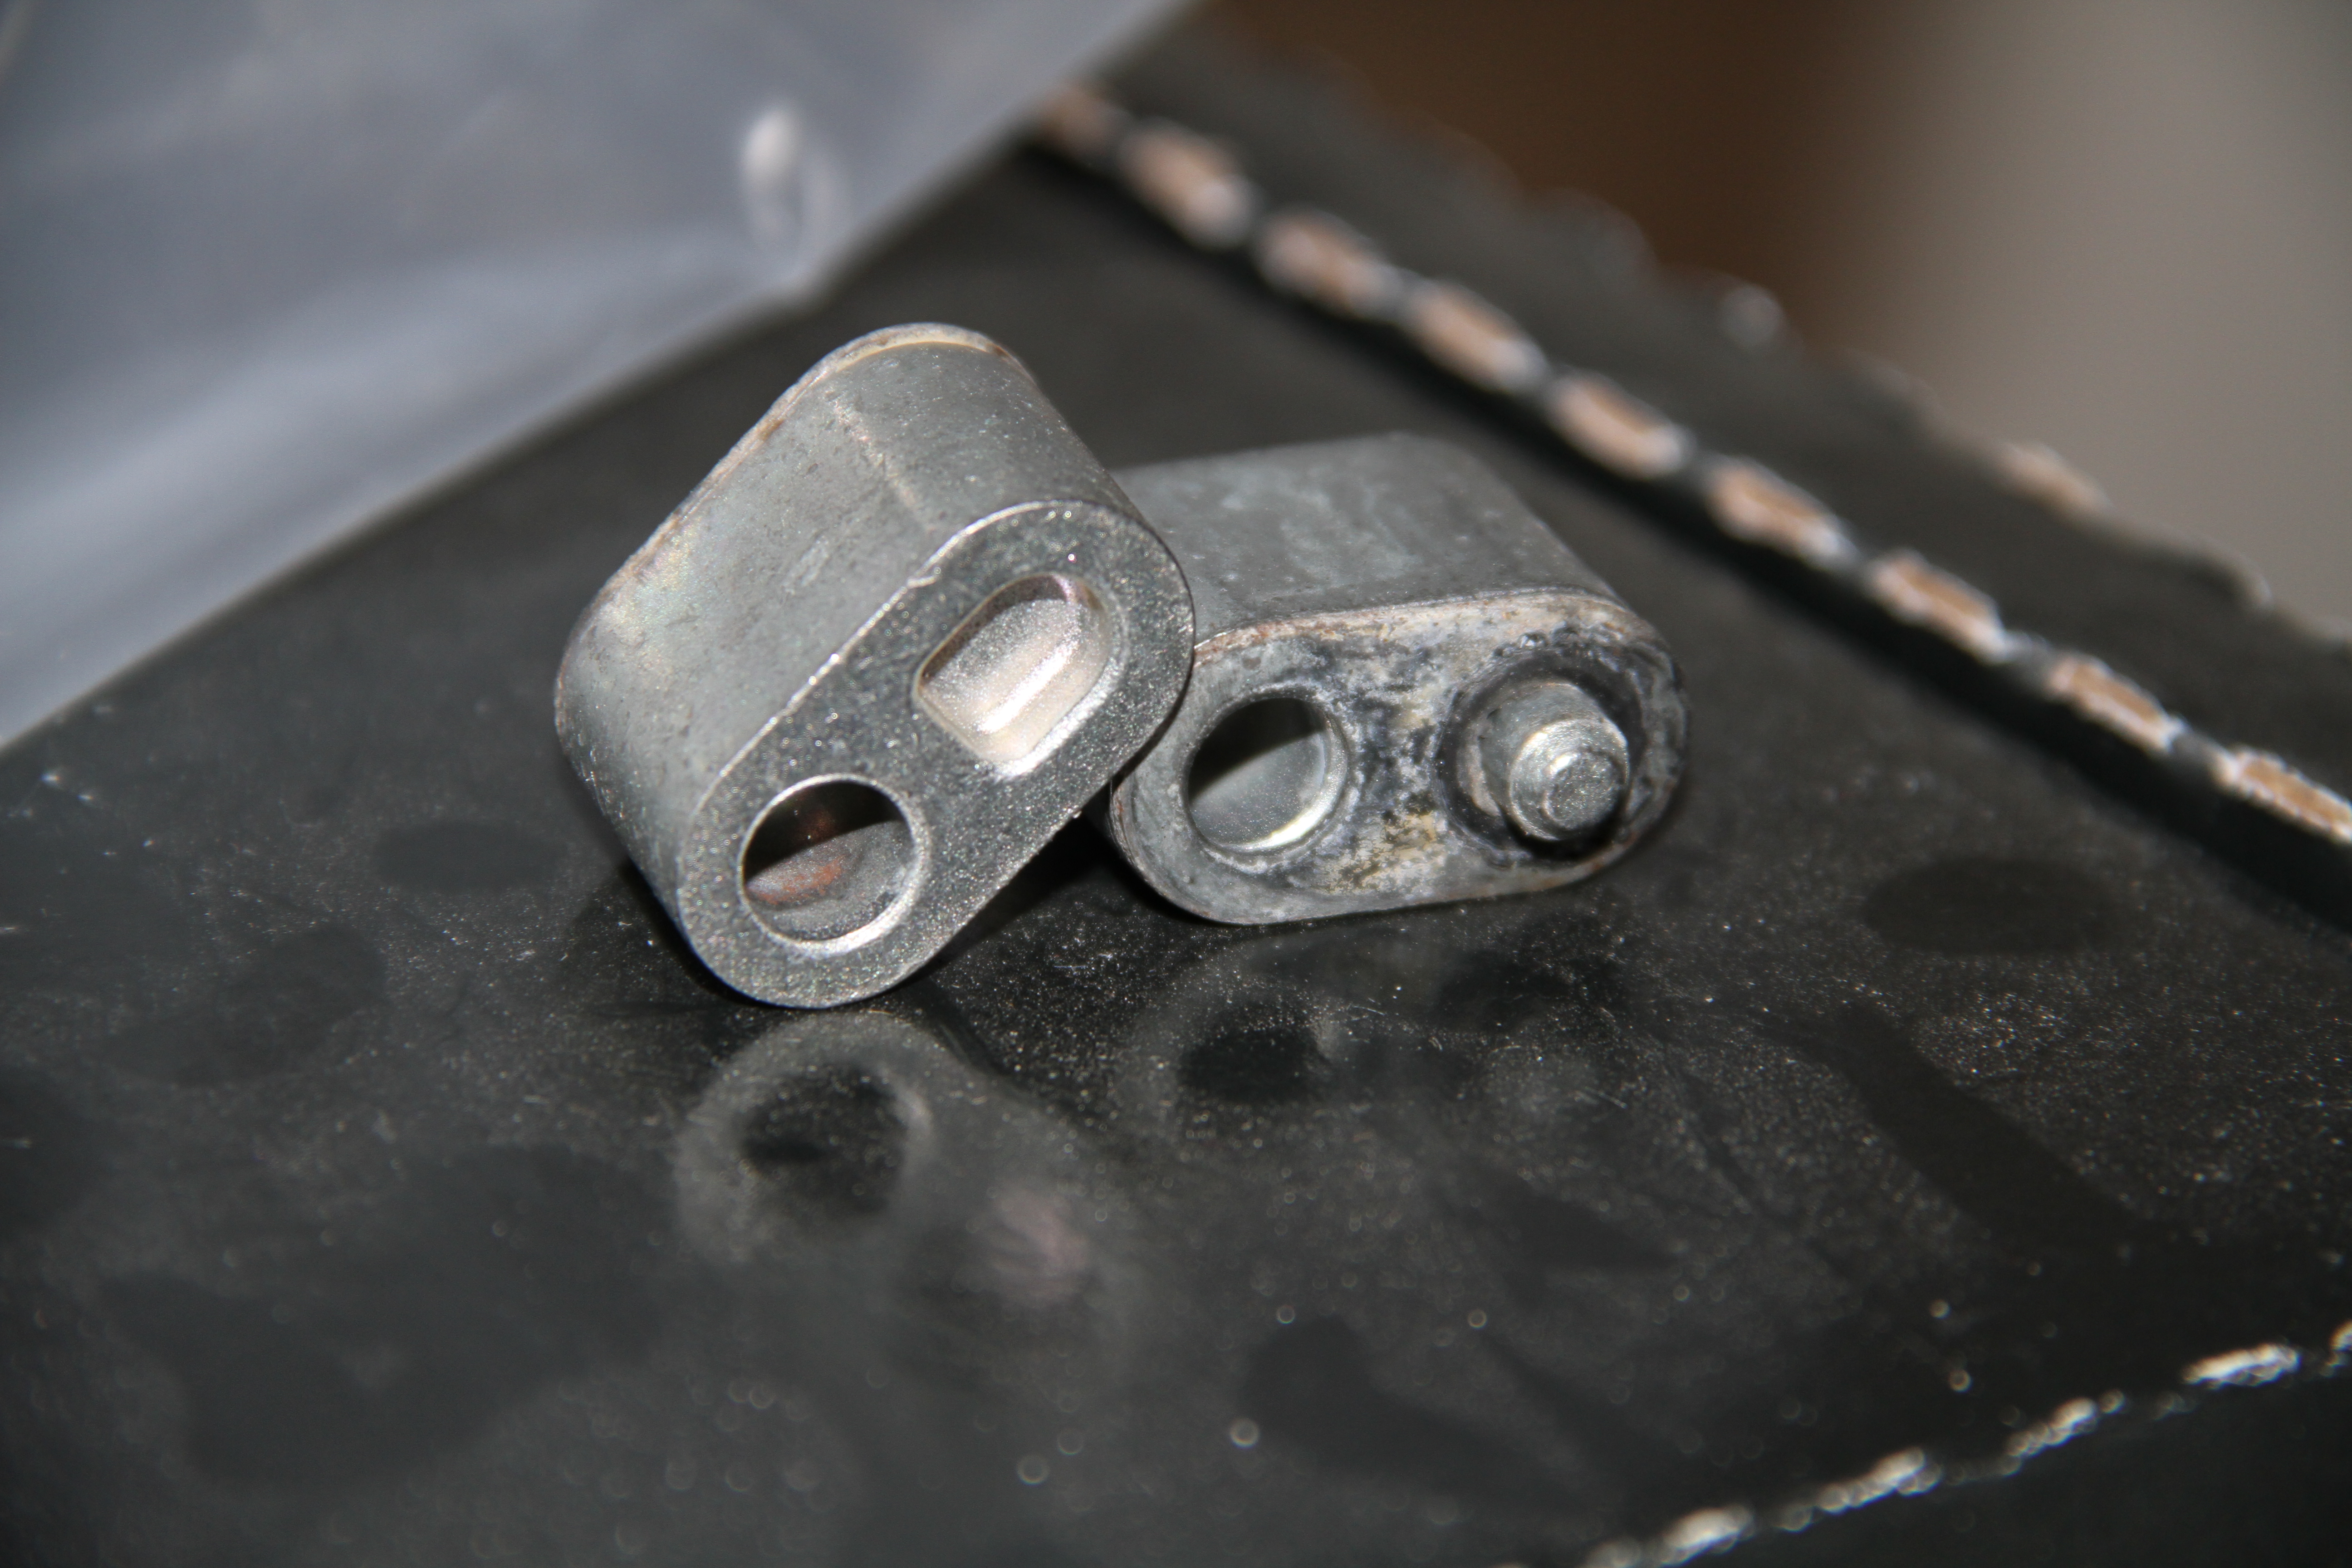
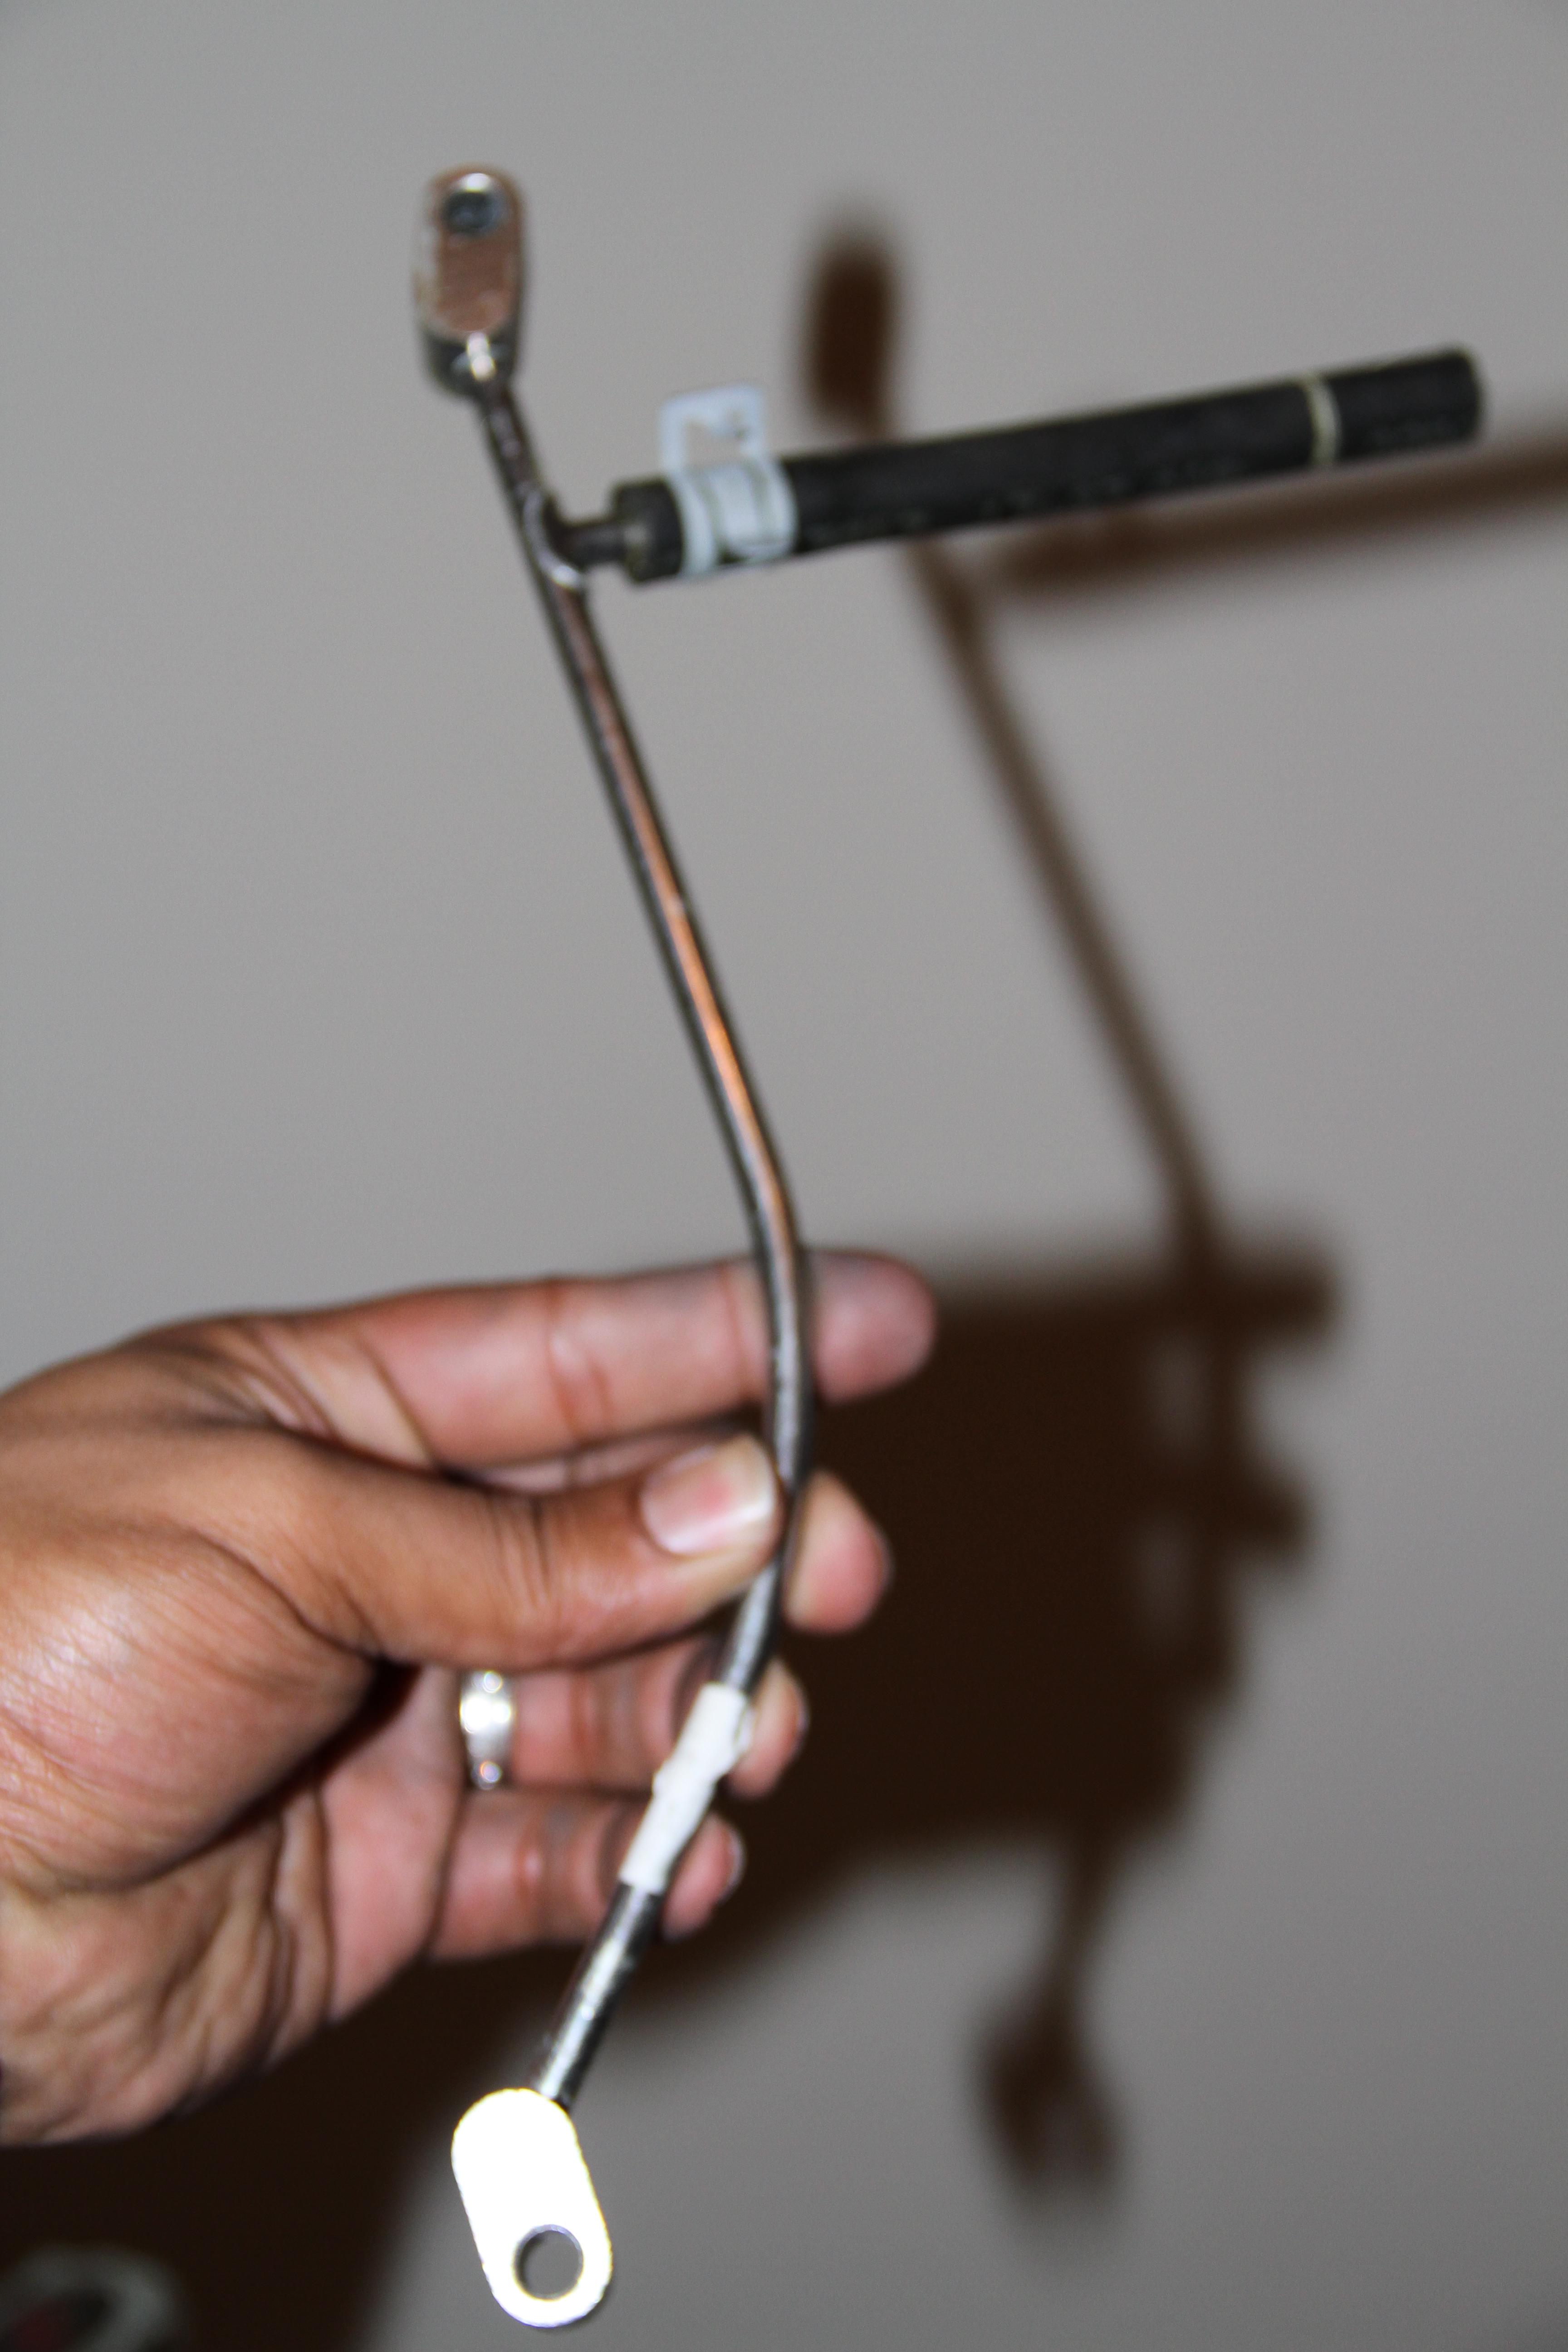
Next is the Coolant plugs for the rear of the engine...
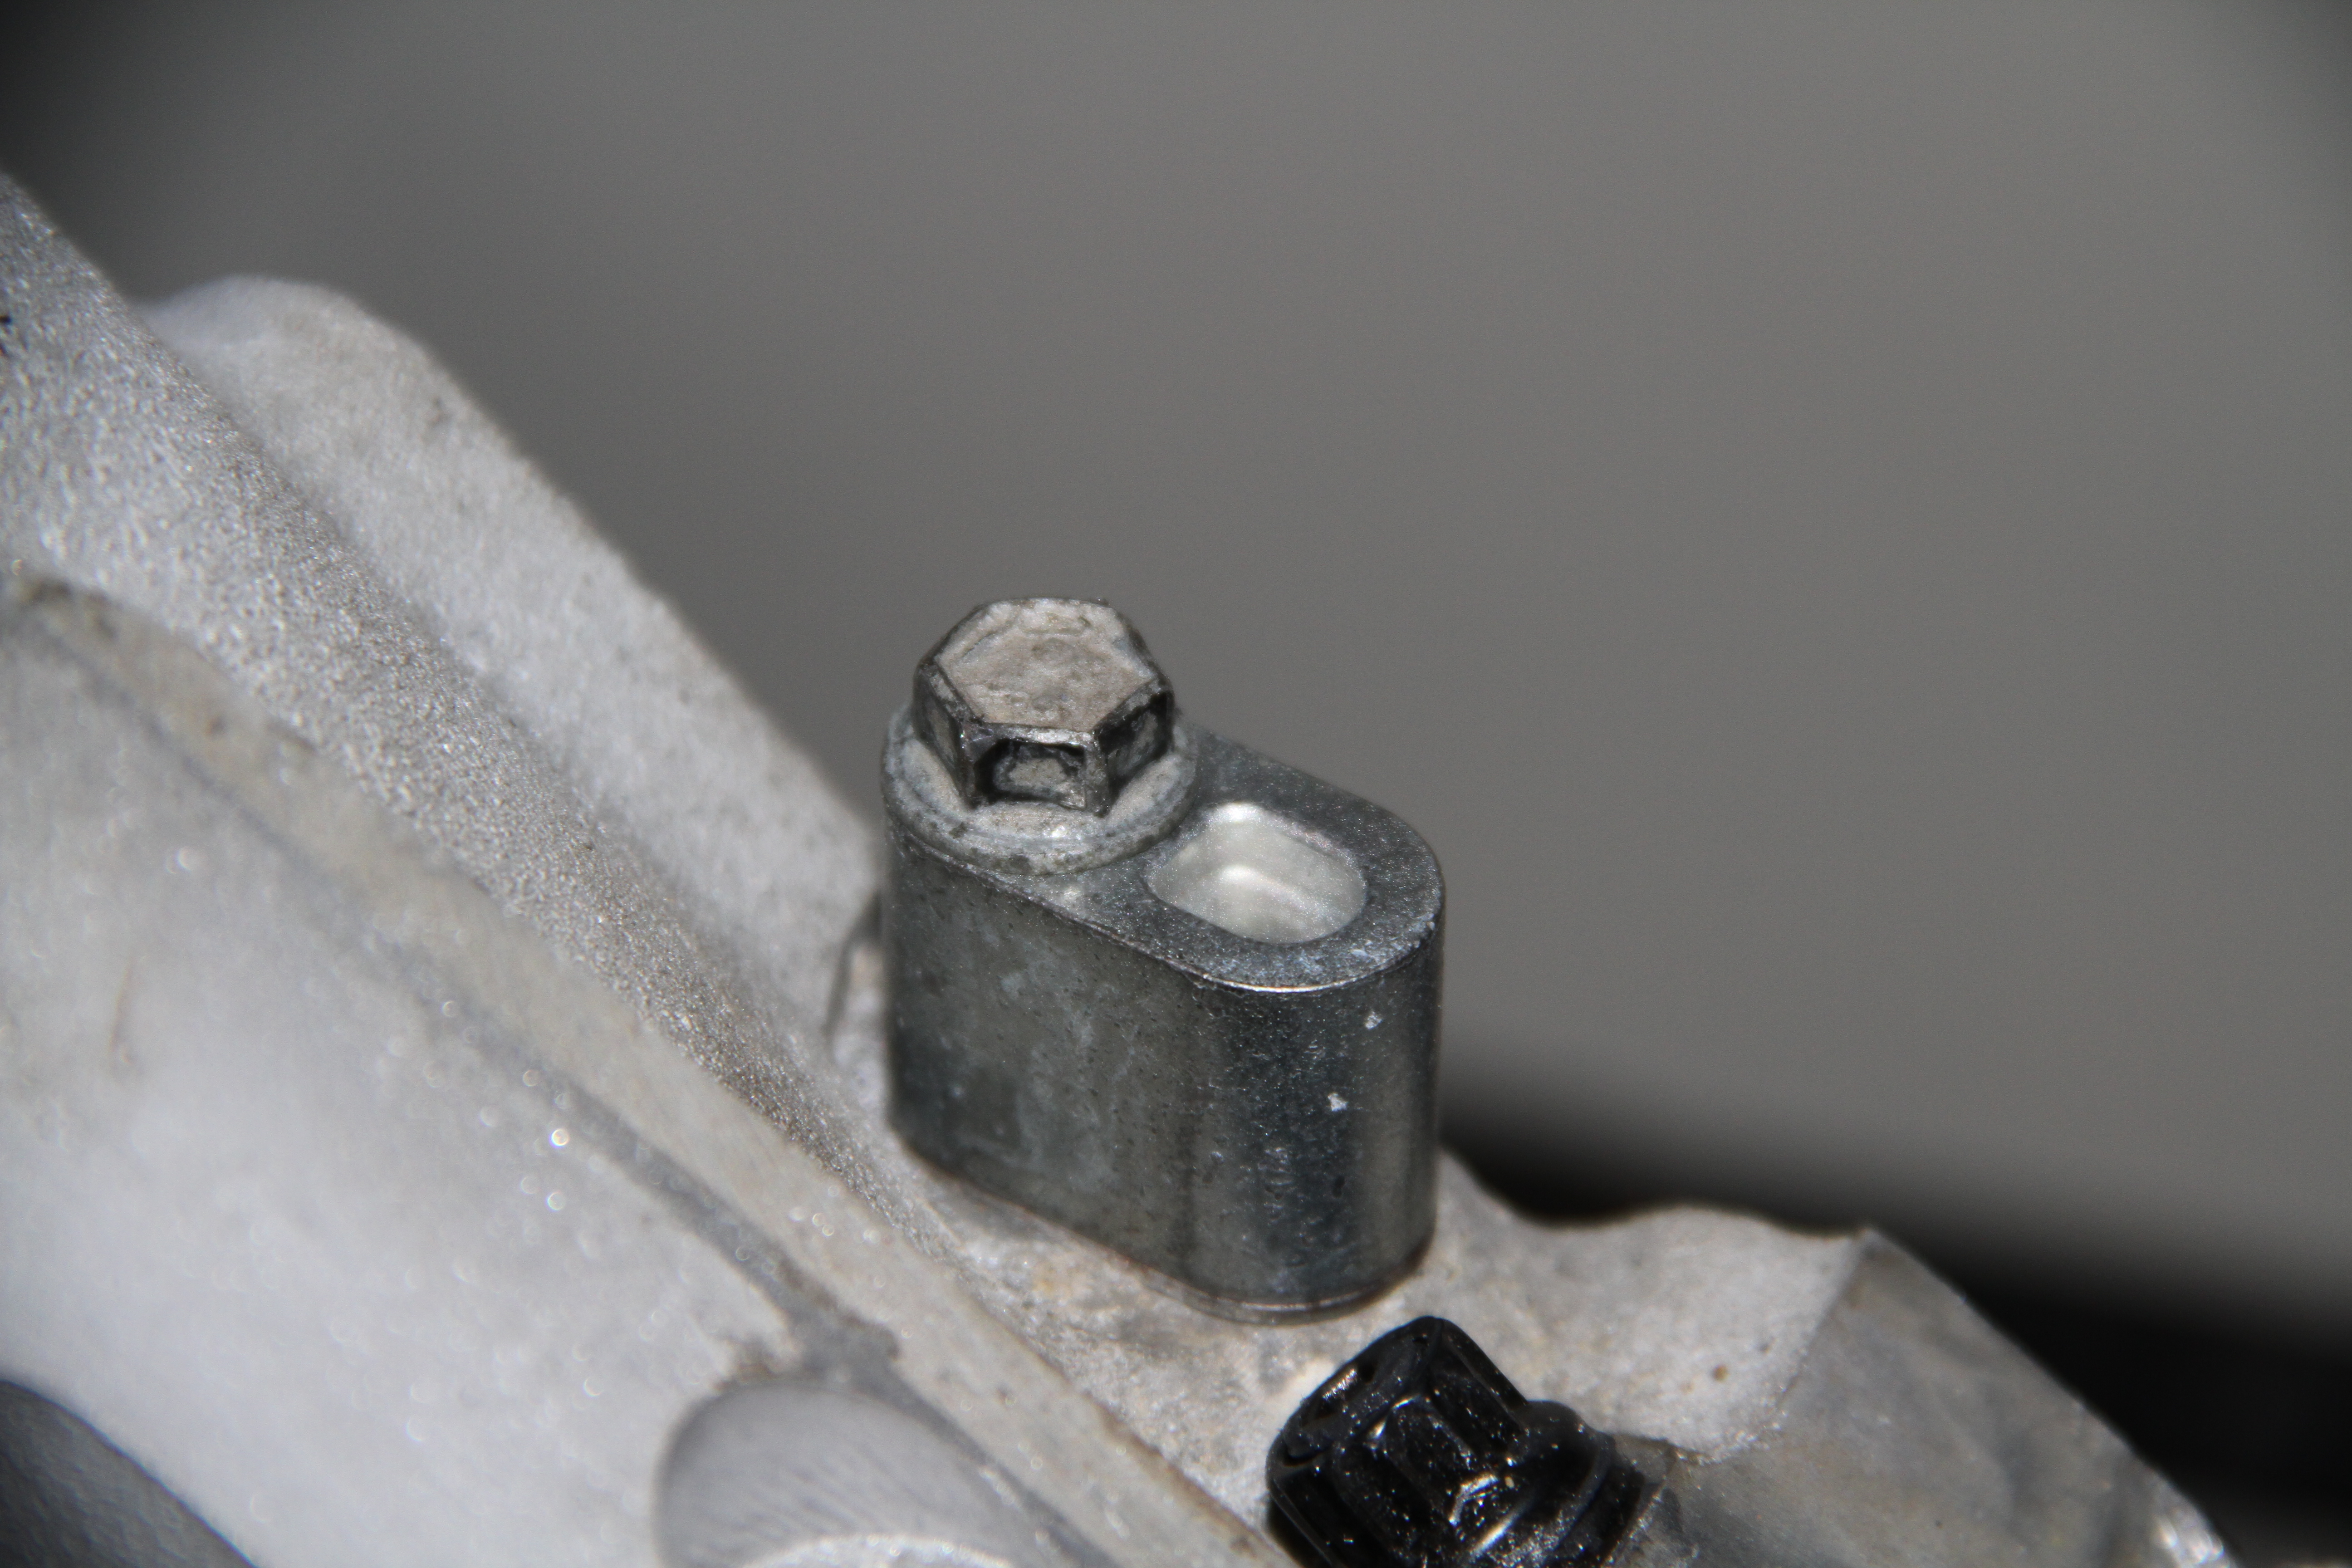
Place both coolant plugs where they are suppose to be, and tighten down..
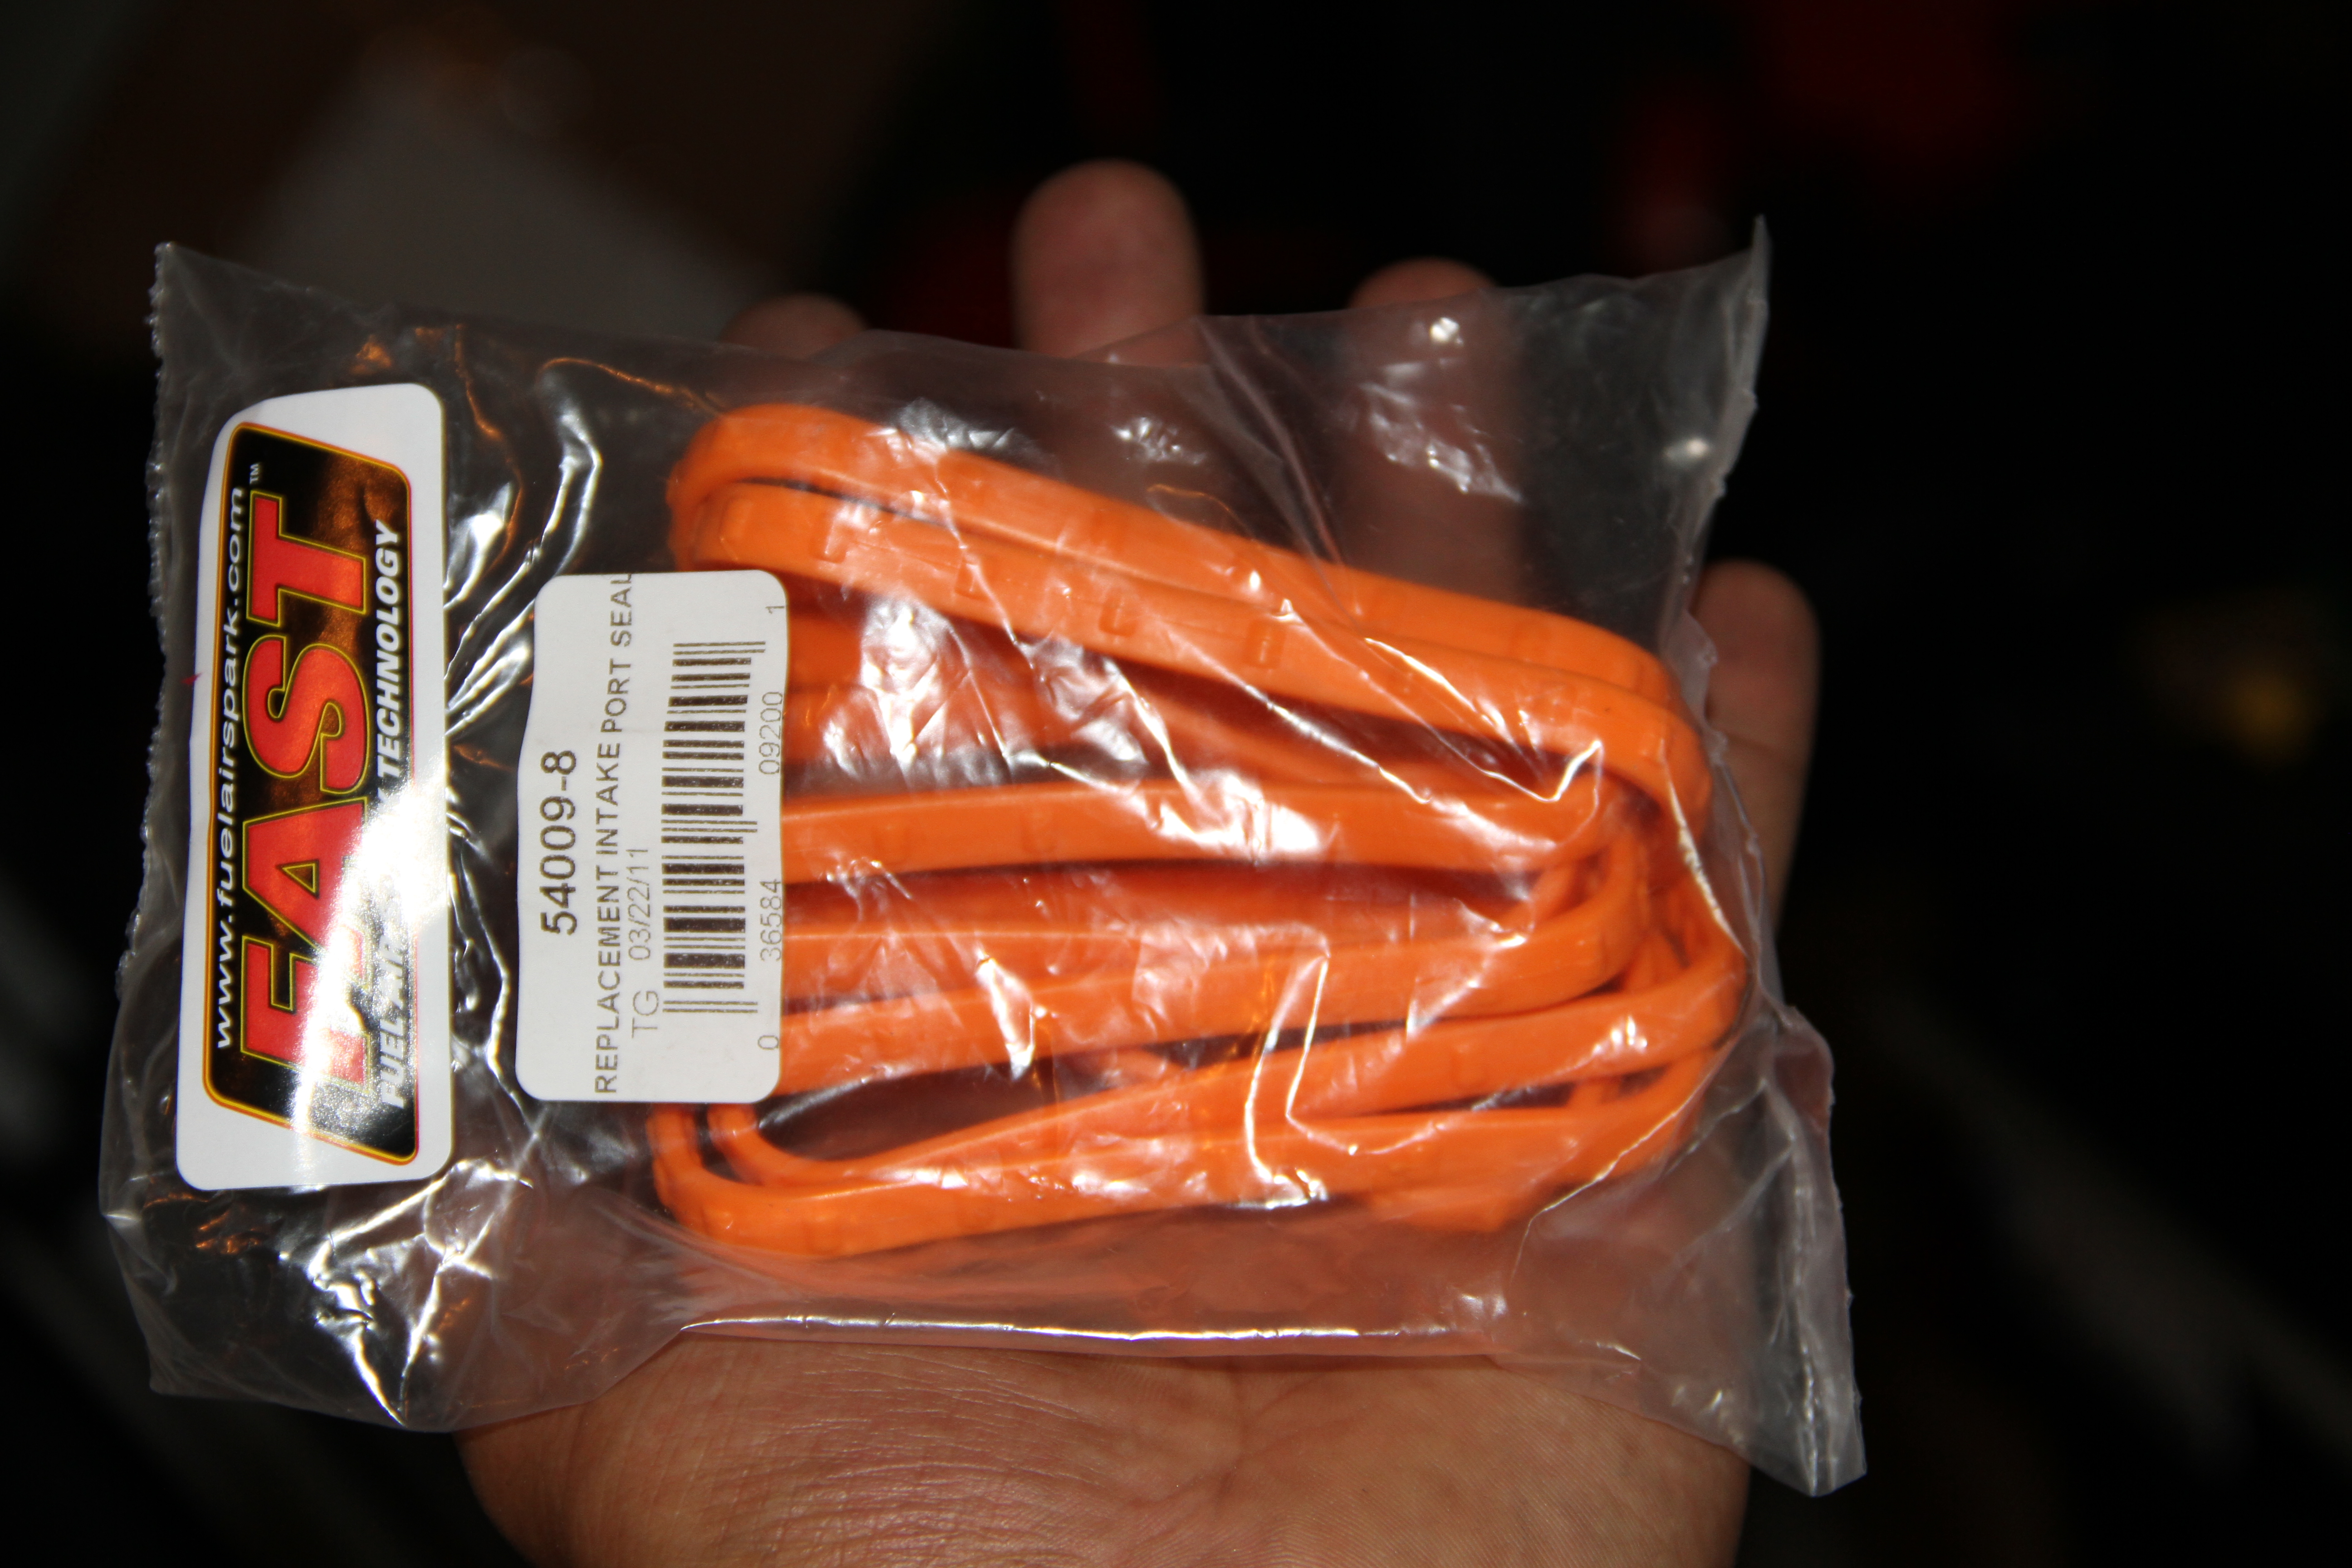
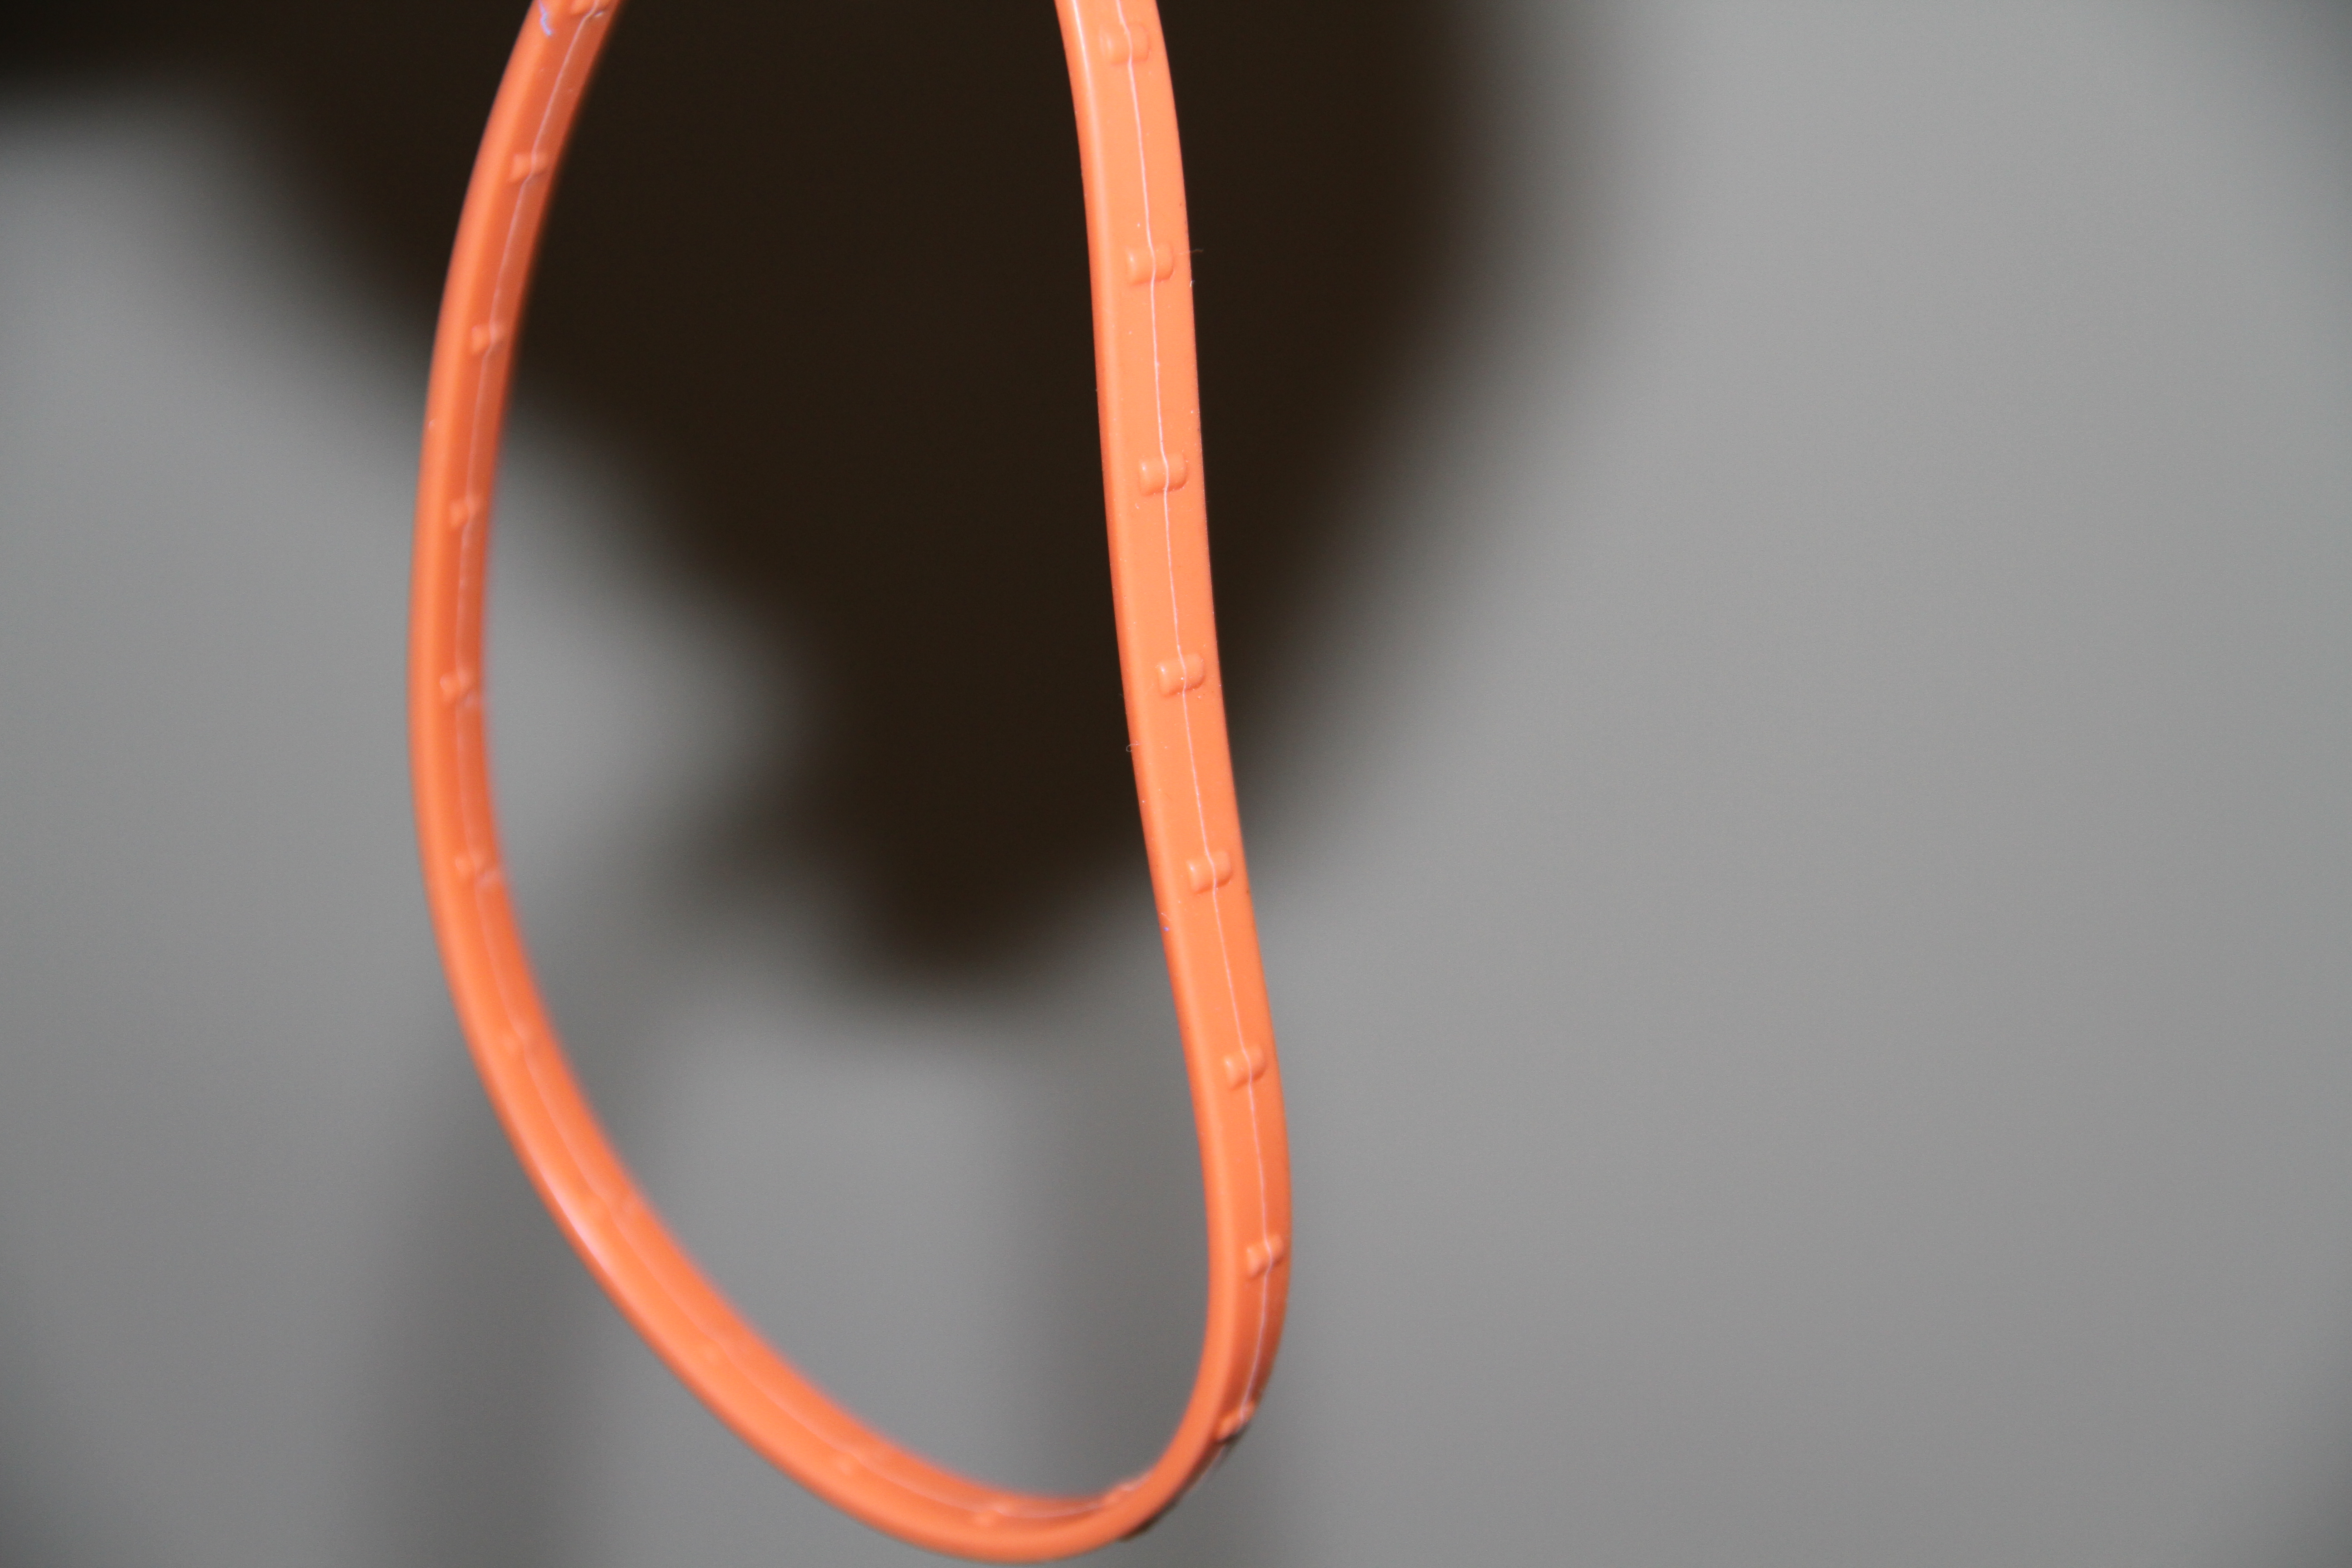
Next is the FAST 102 Intake gaskets... love the orange
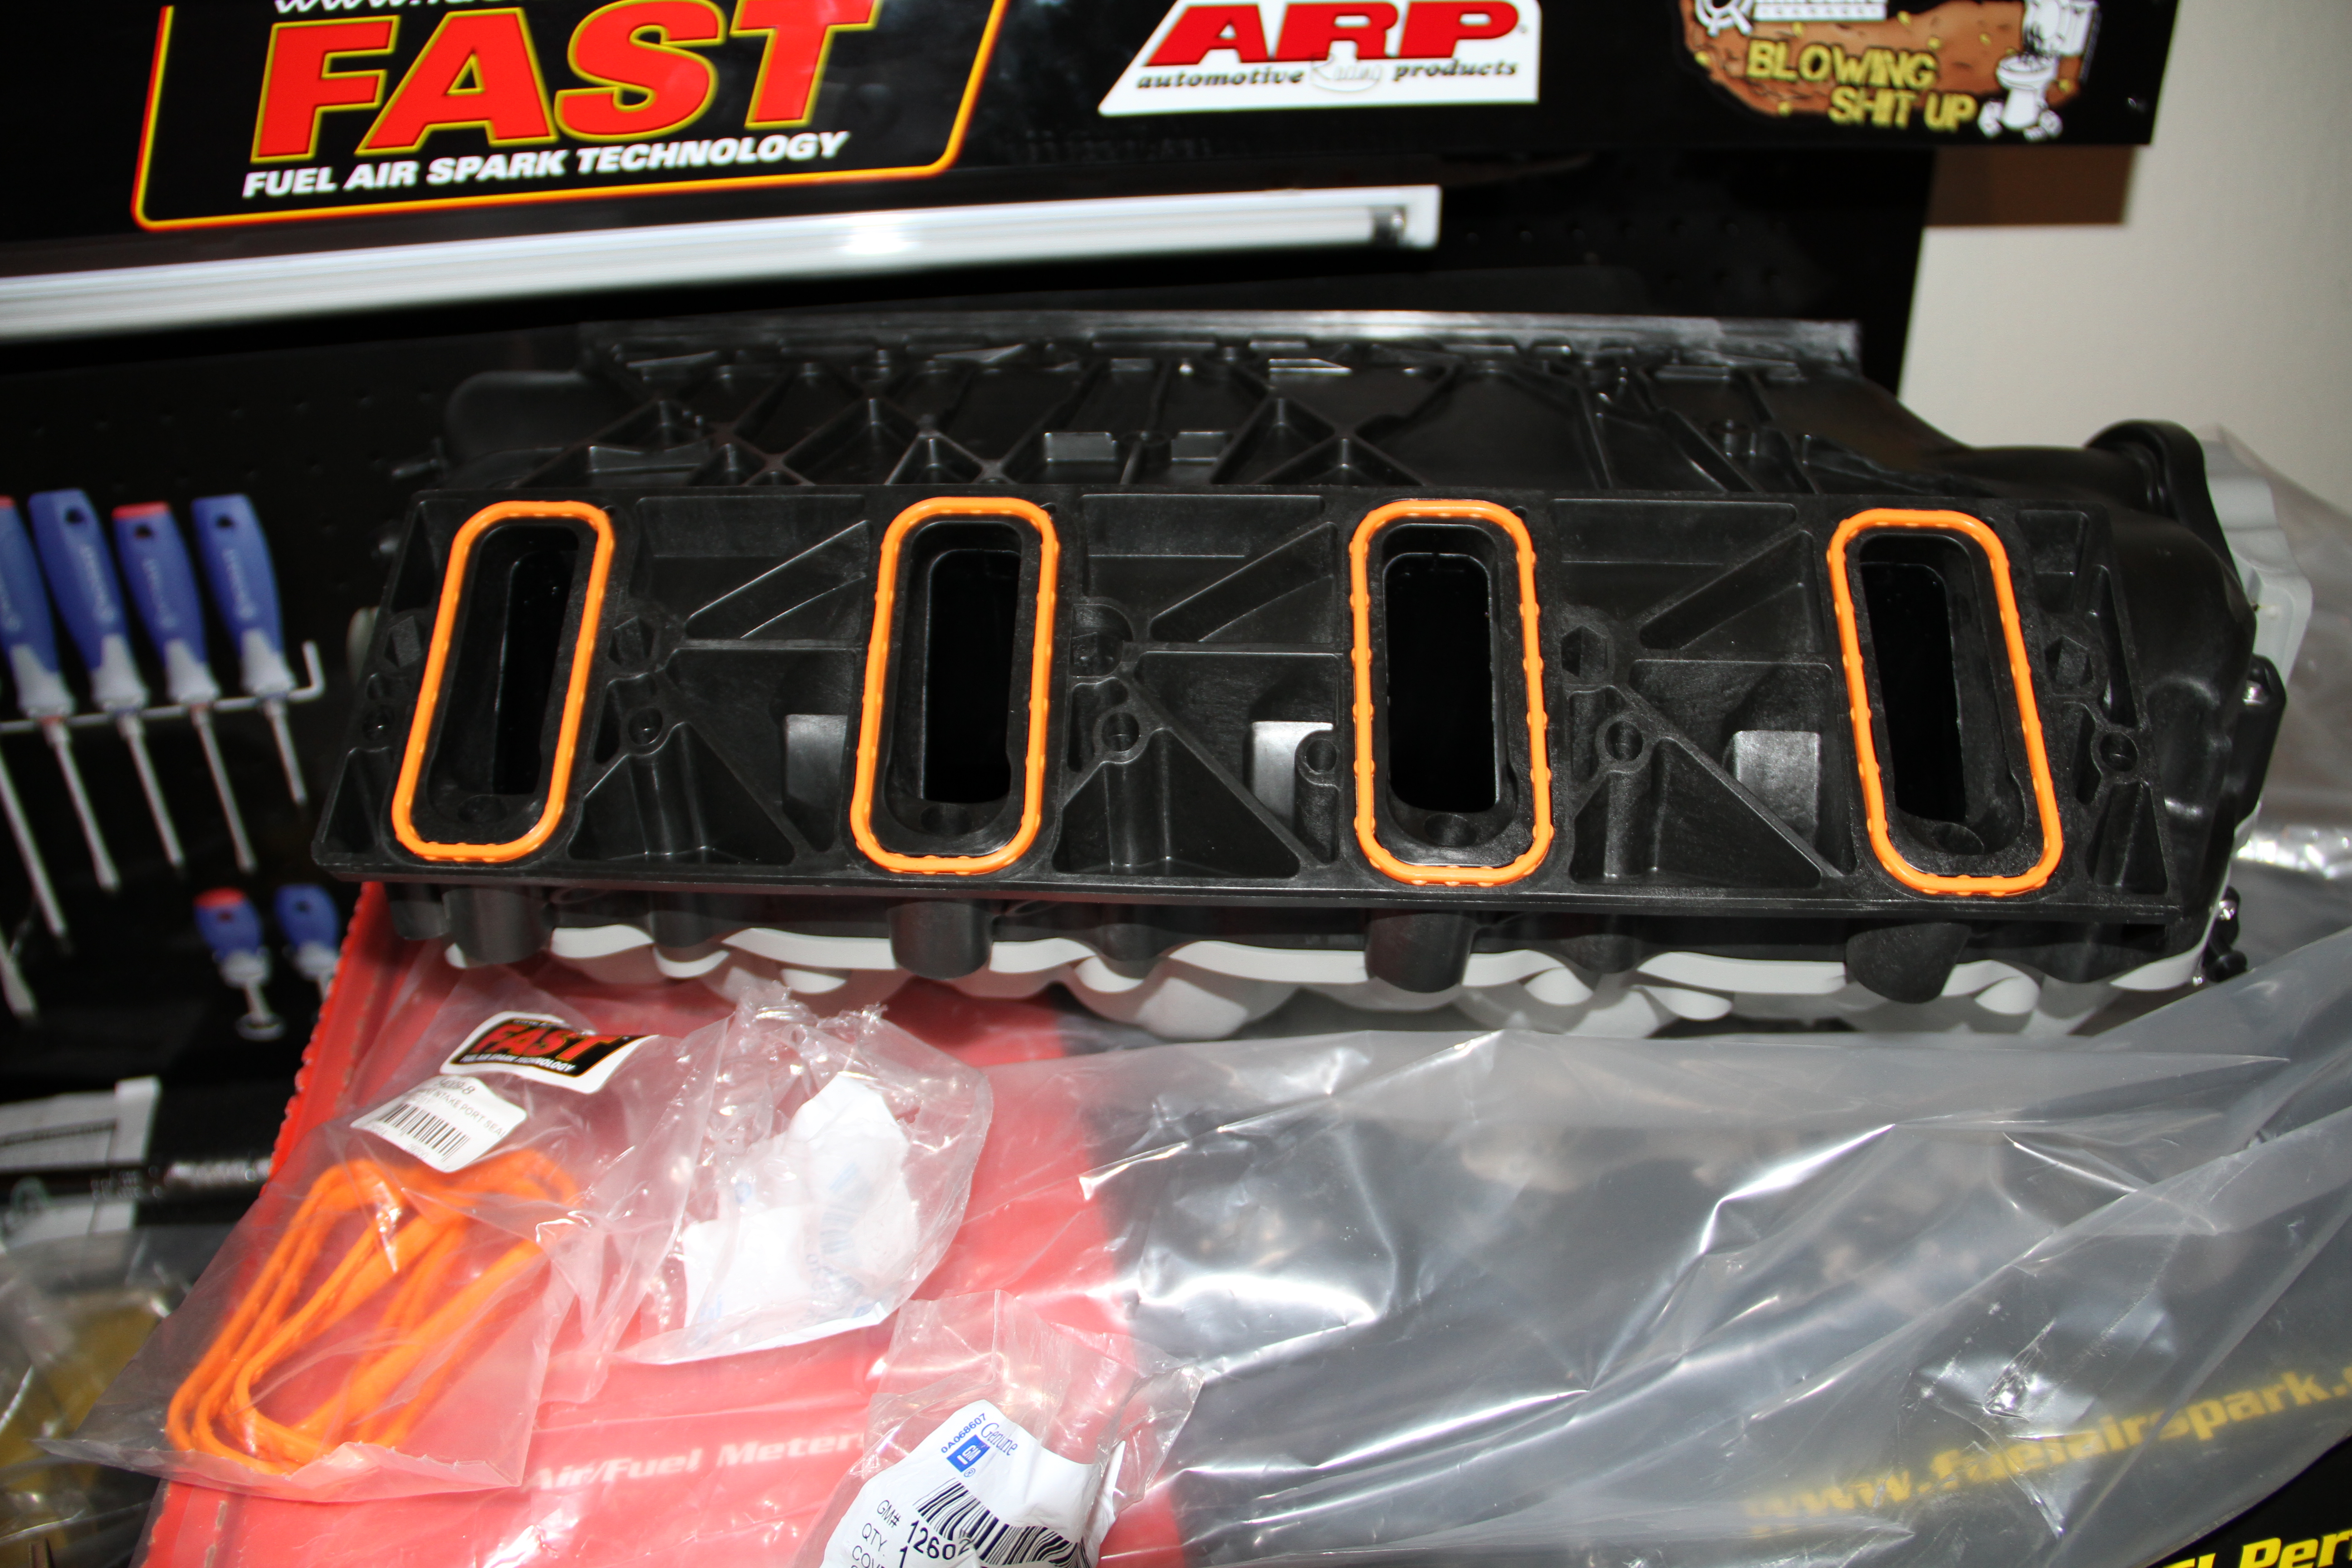
Place around every runner...
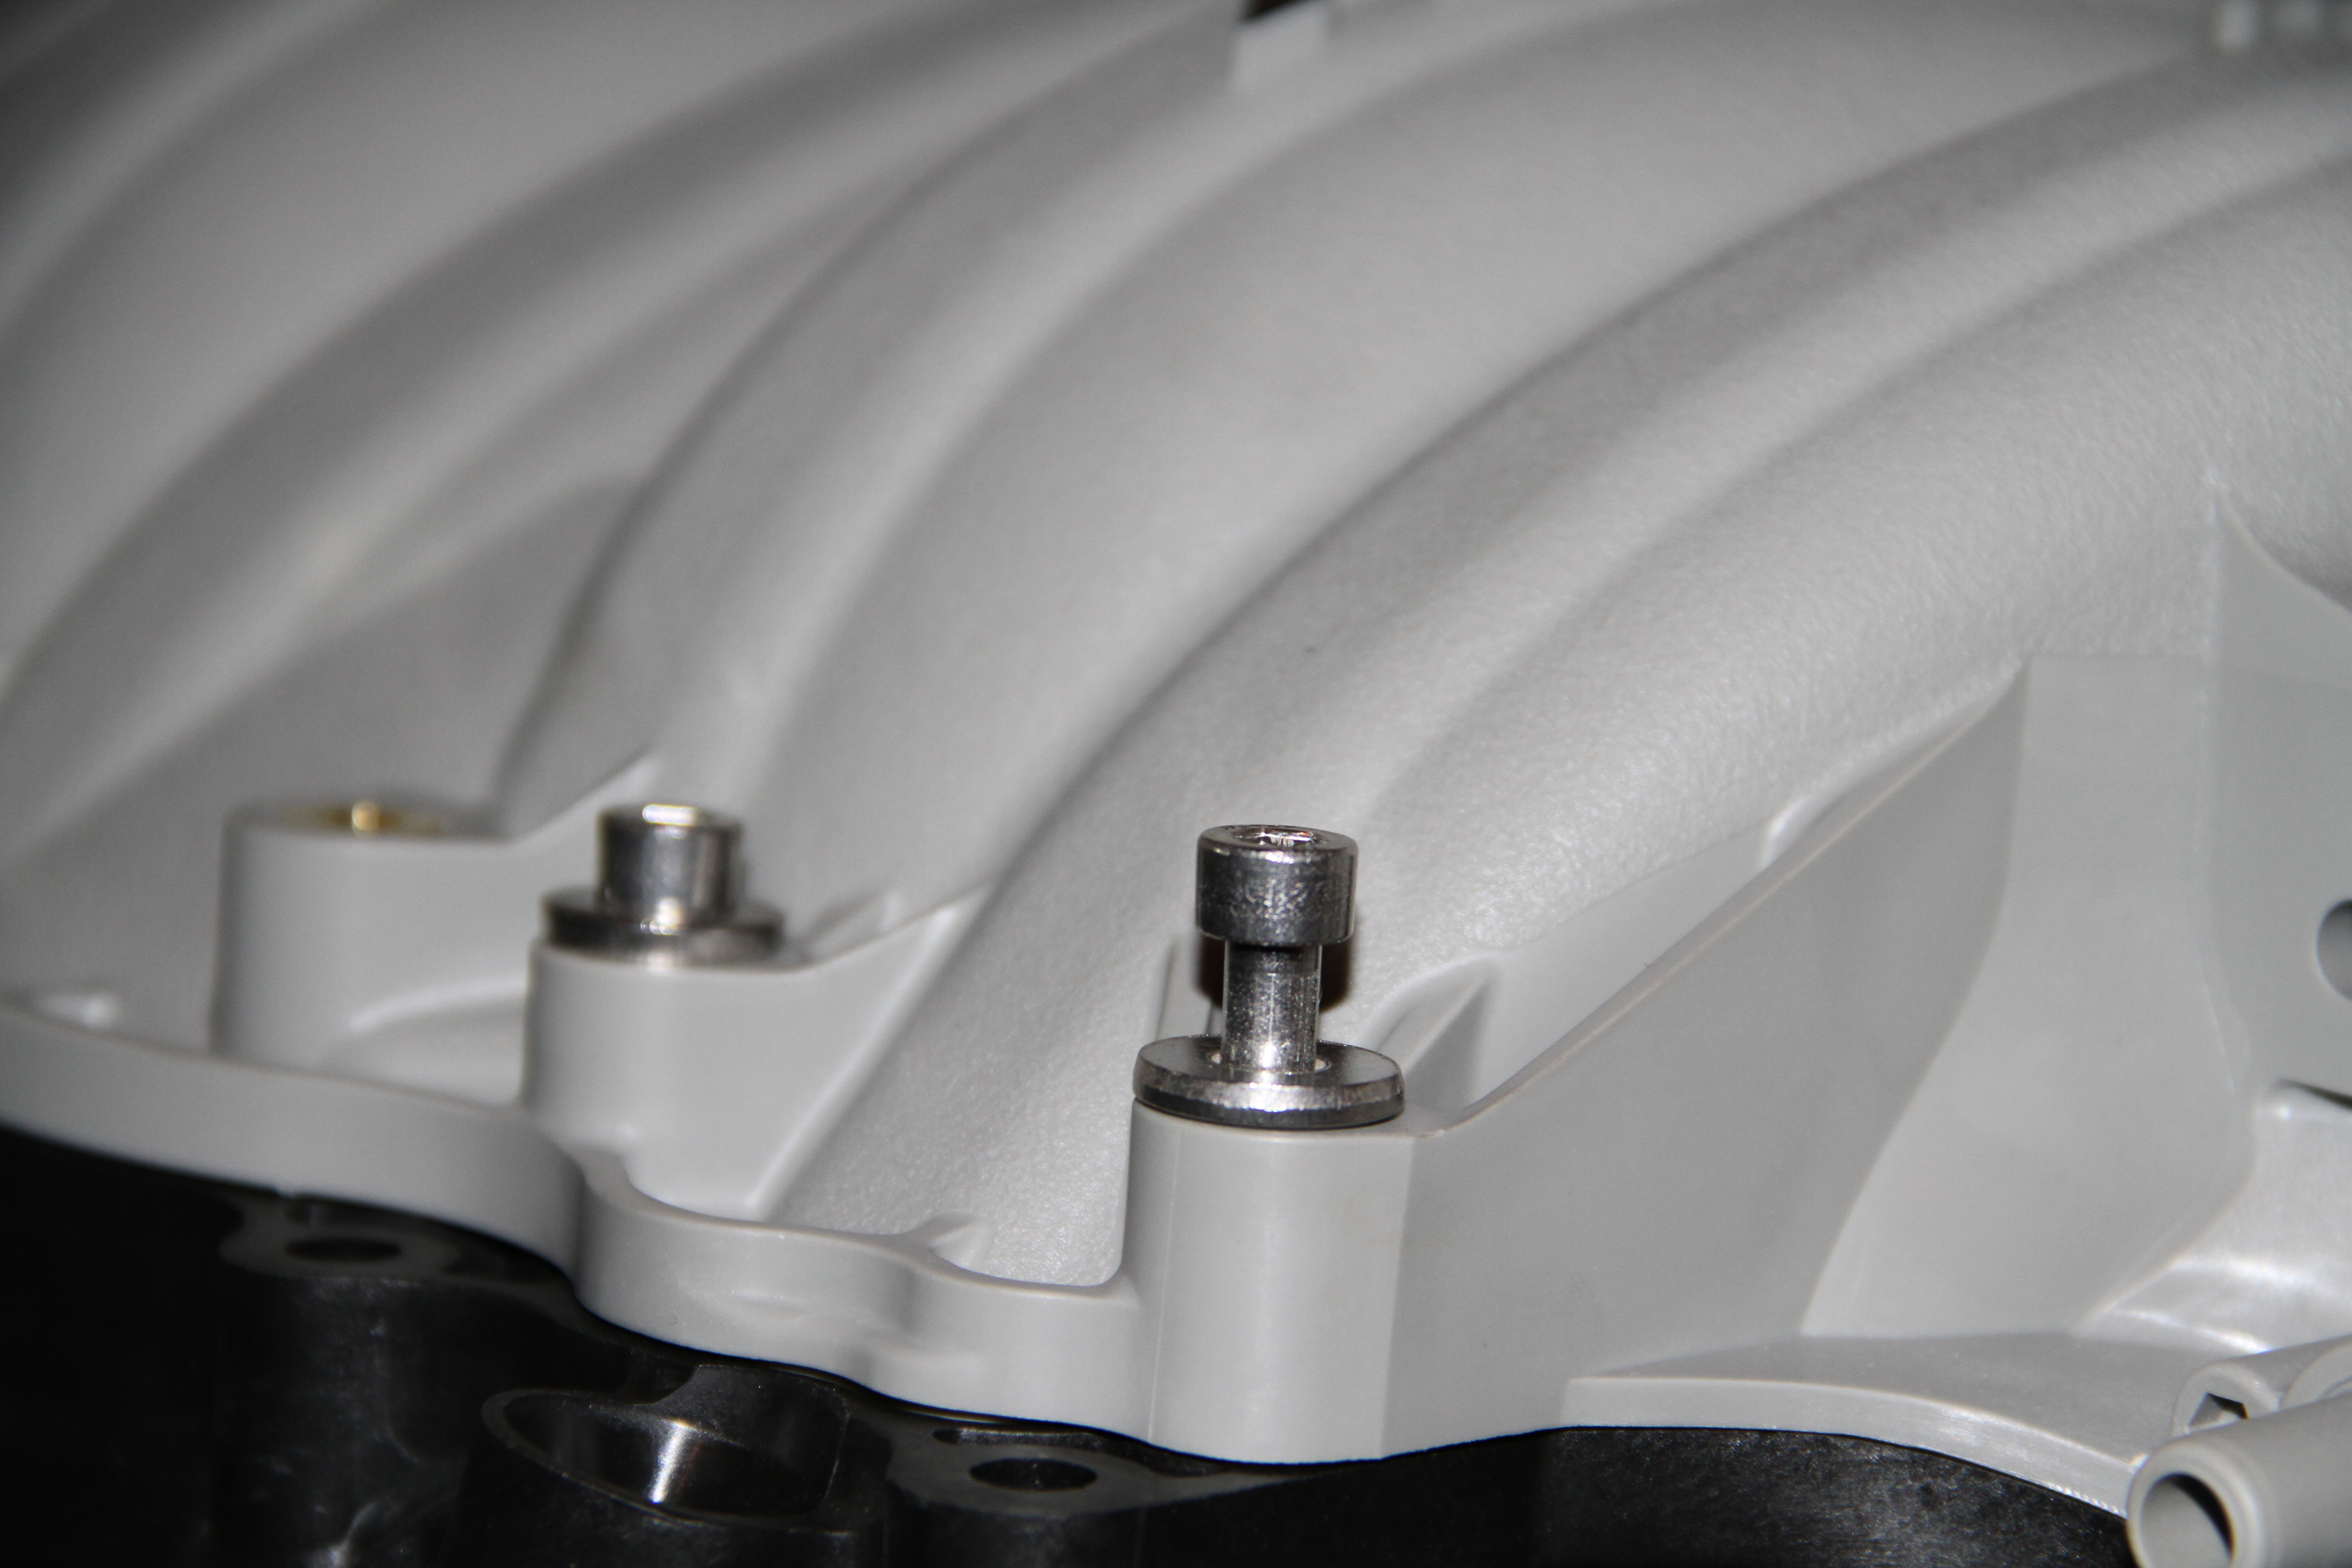
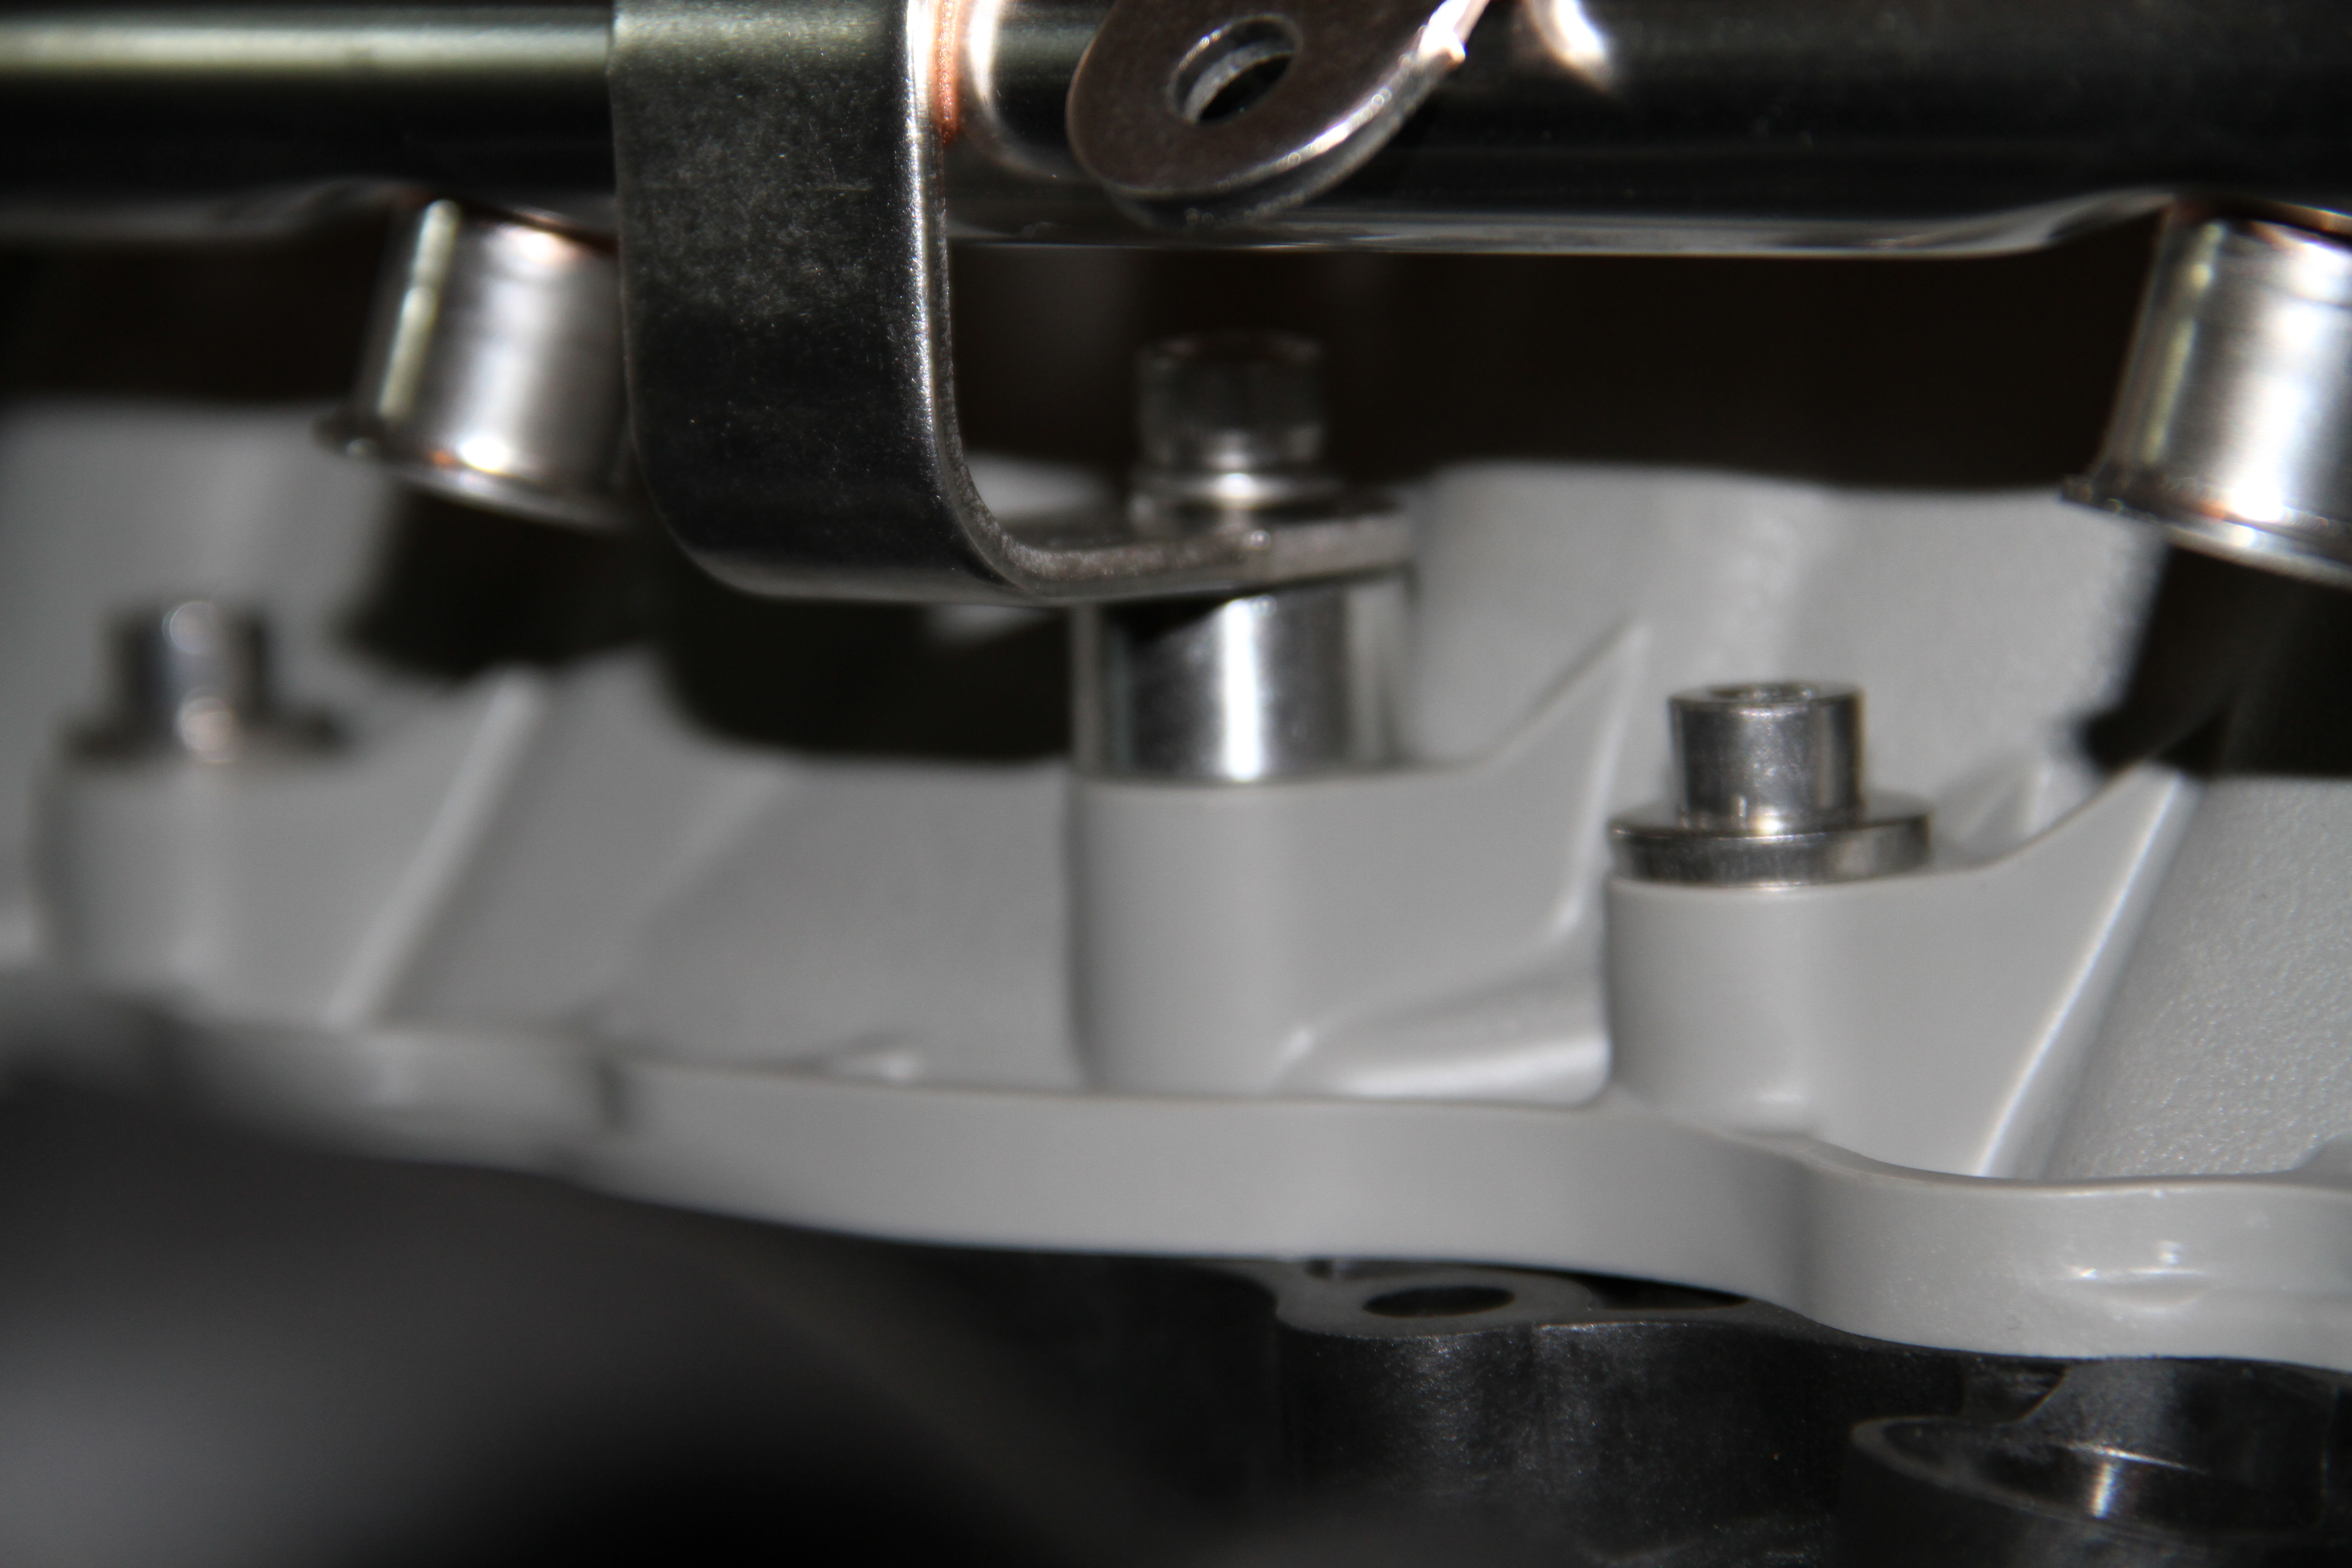
Next install the intake, follow the FAST instructions. They state what torque specs and proper order to torque down..
Next is the gasket for the FAST TB,,

Place the gasket where it needs to be...
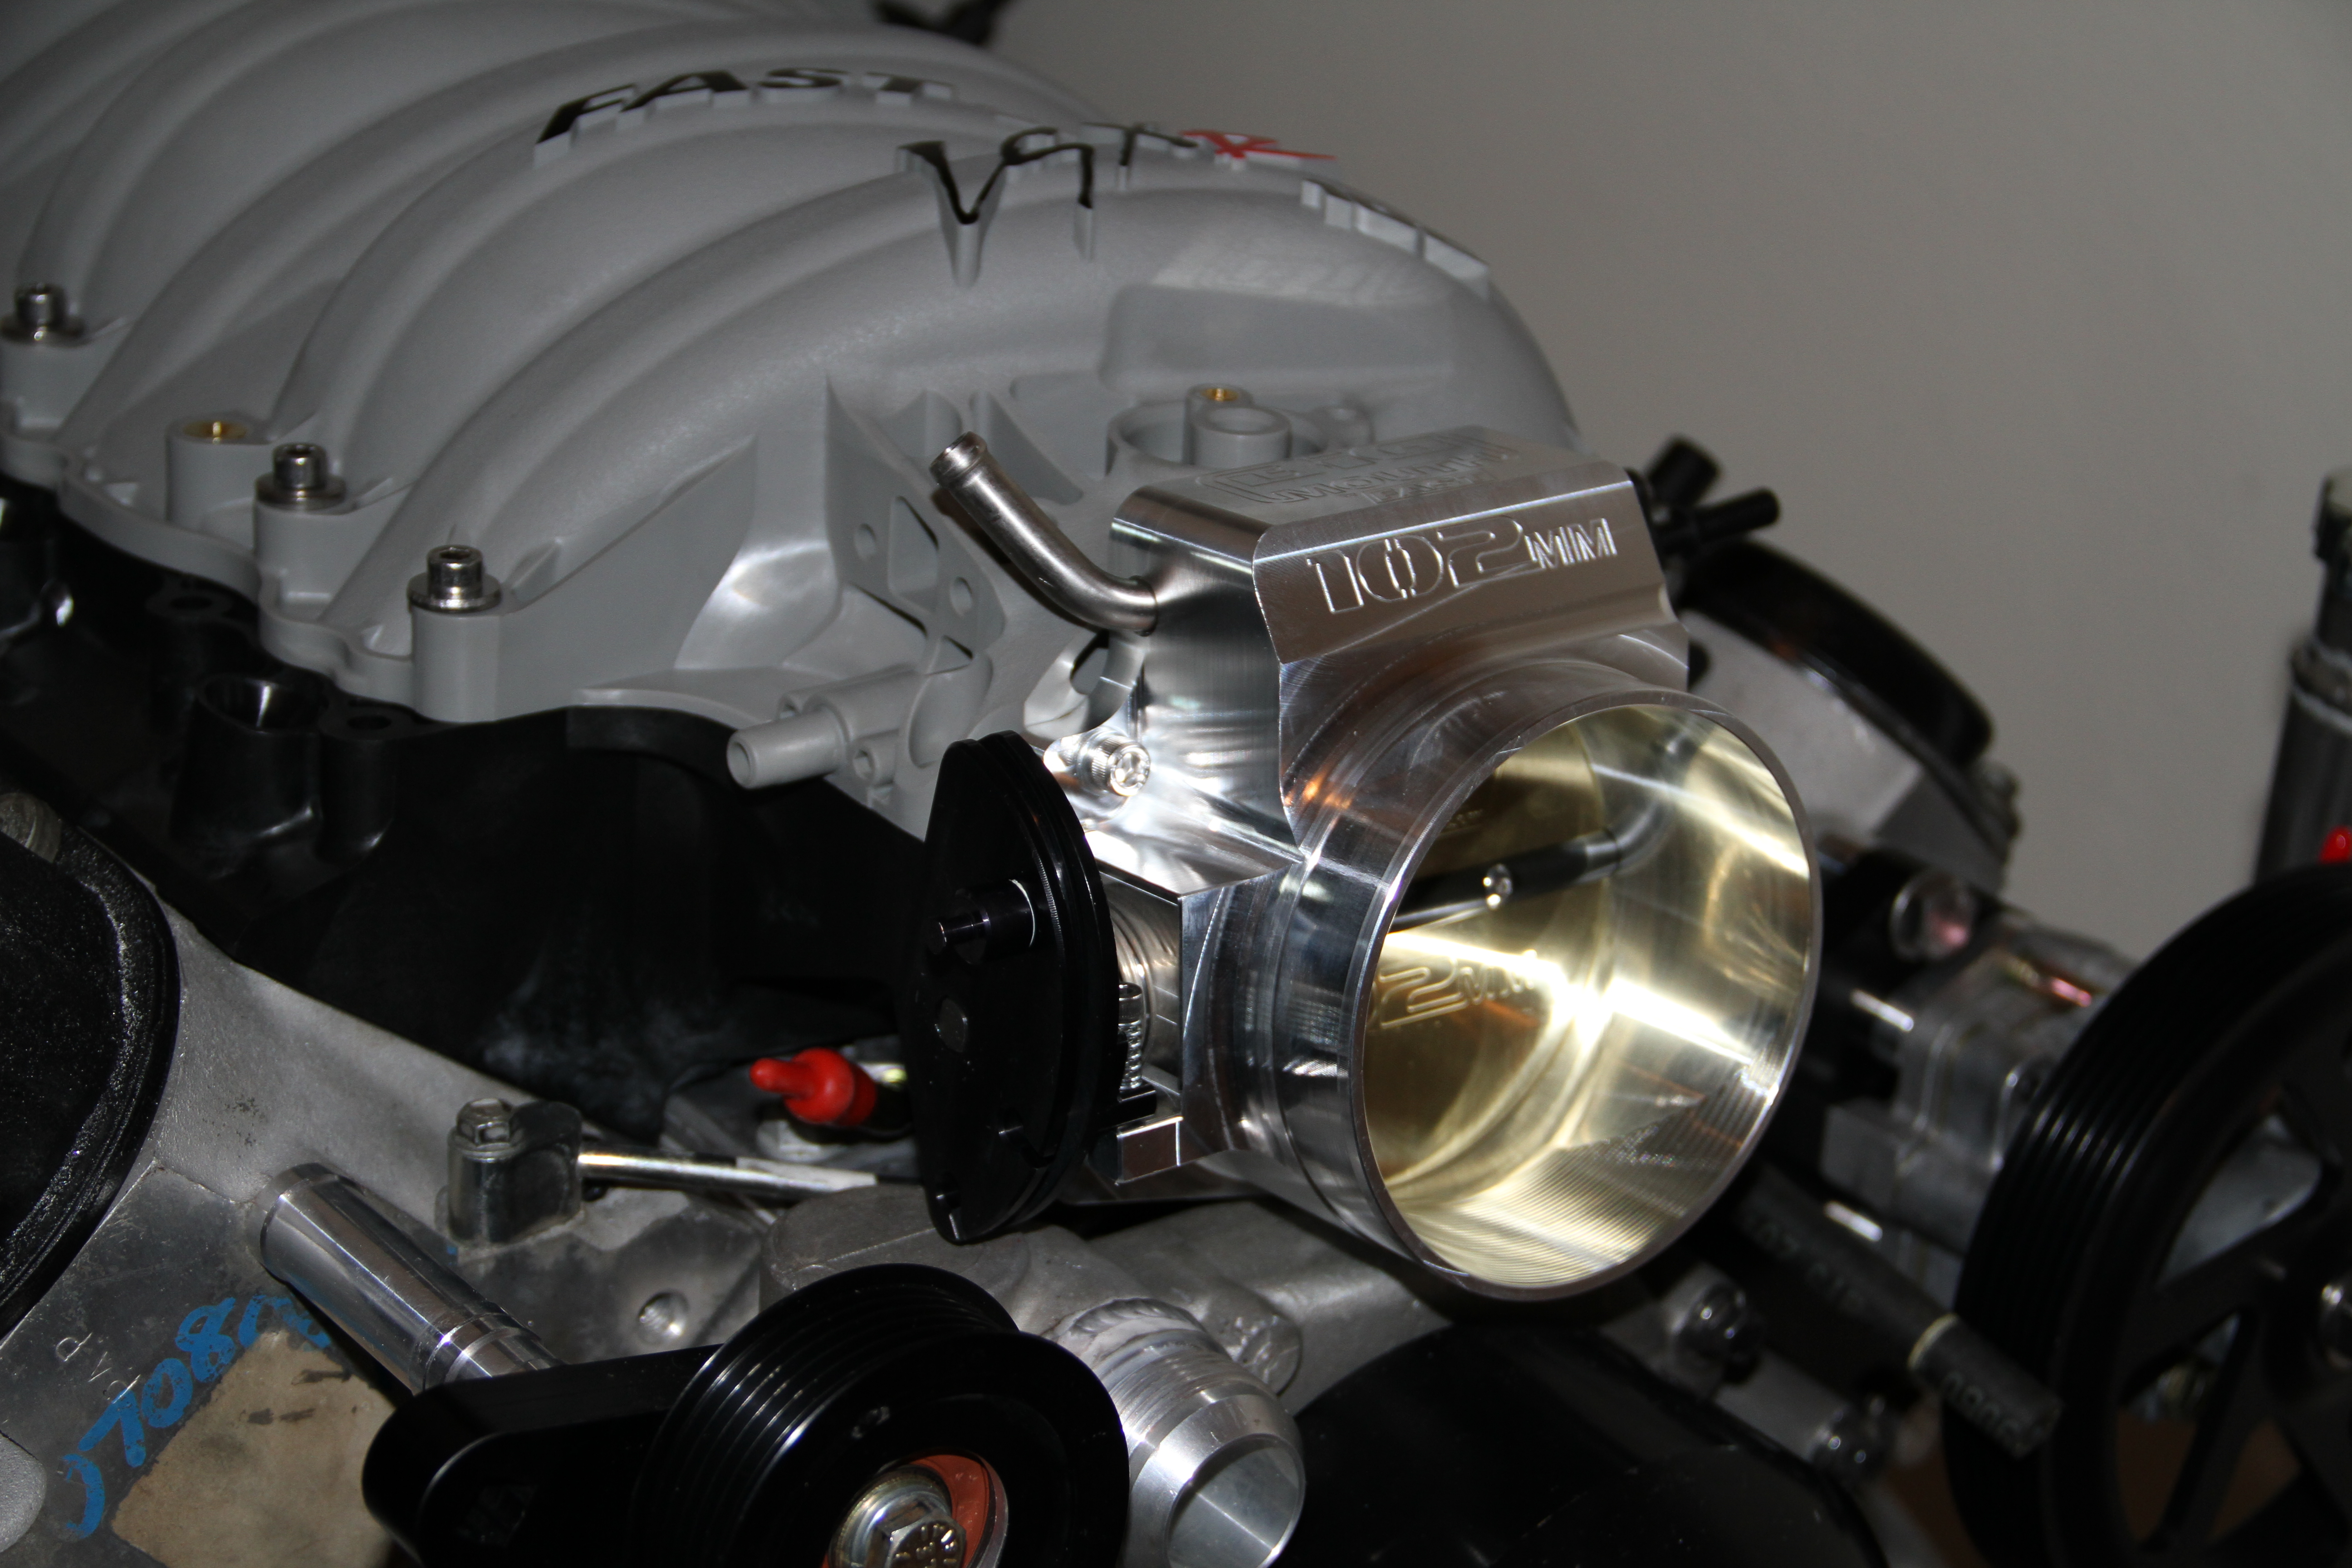
And then install this beastly TB,, man this thing is nasty
Almost complete.. Looks like an engine now..
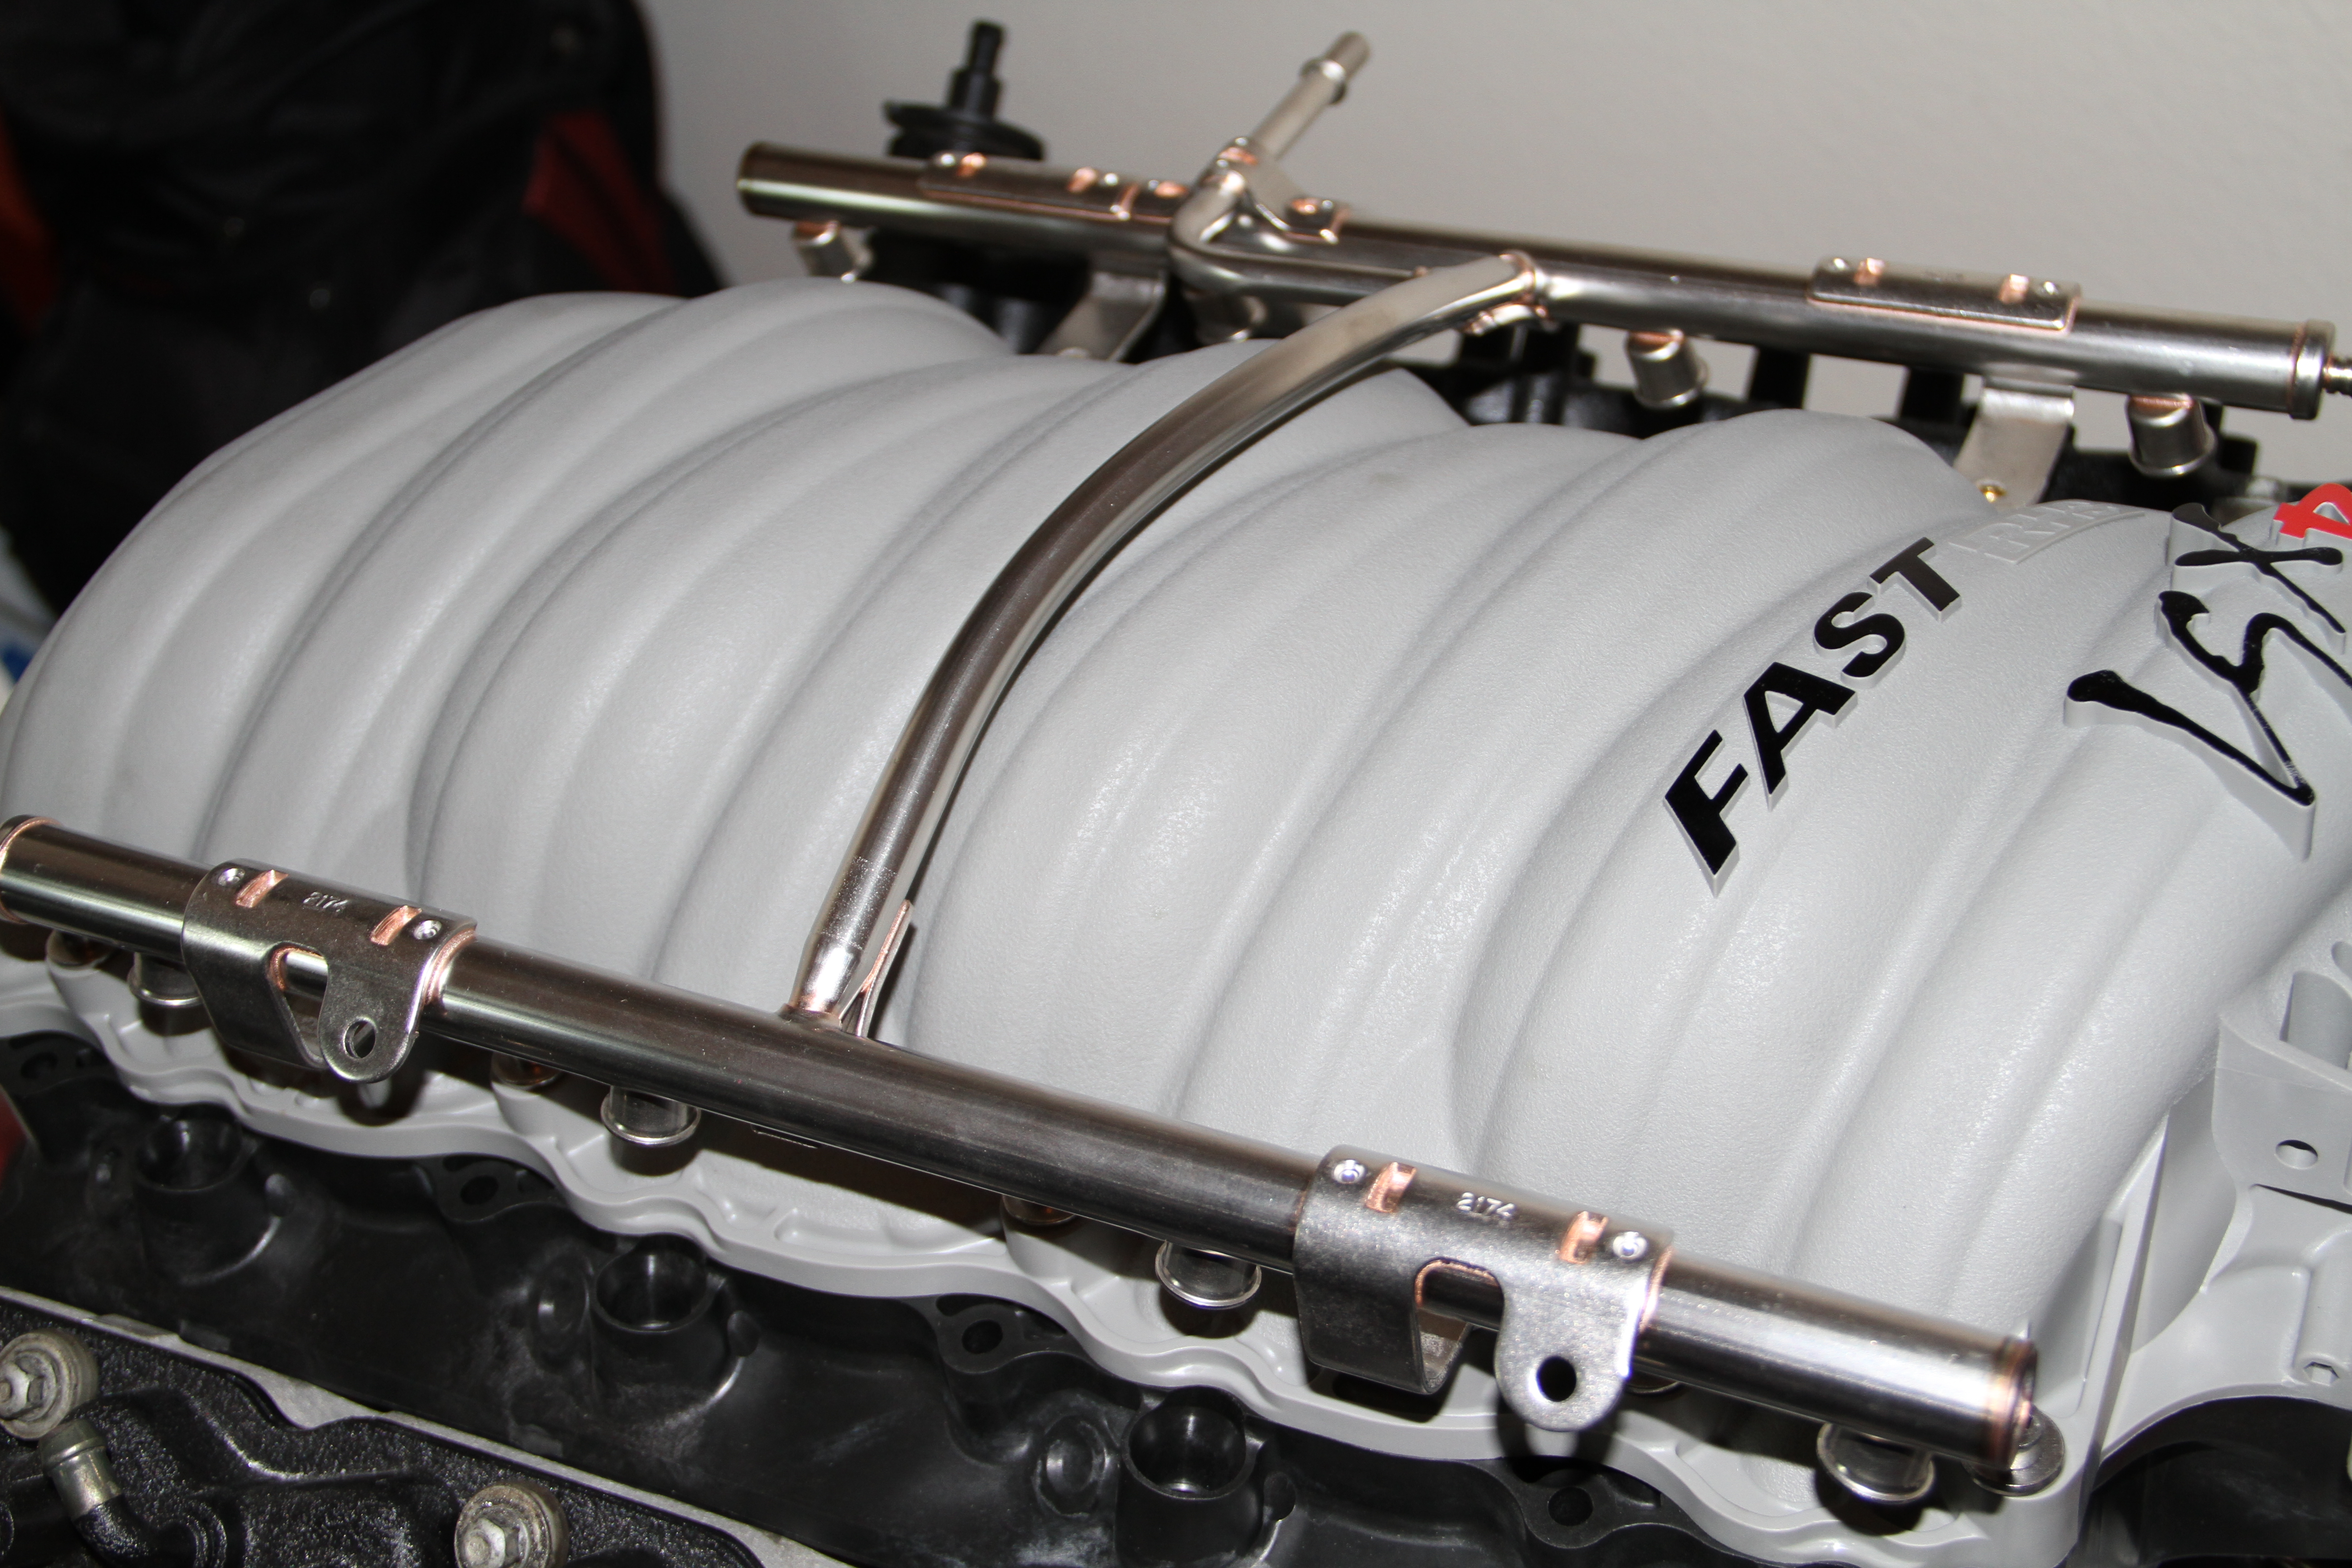
Next is the FAST fuel rails.. Now I don't think I am going to keep these so if some one wants them shoot me a PM and I will sell them to you.. Going to go with the FAST Billet Fuels instead..
They come with spacers so you can run the factory LS1 injectors
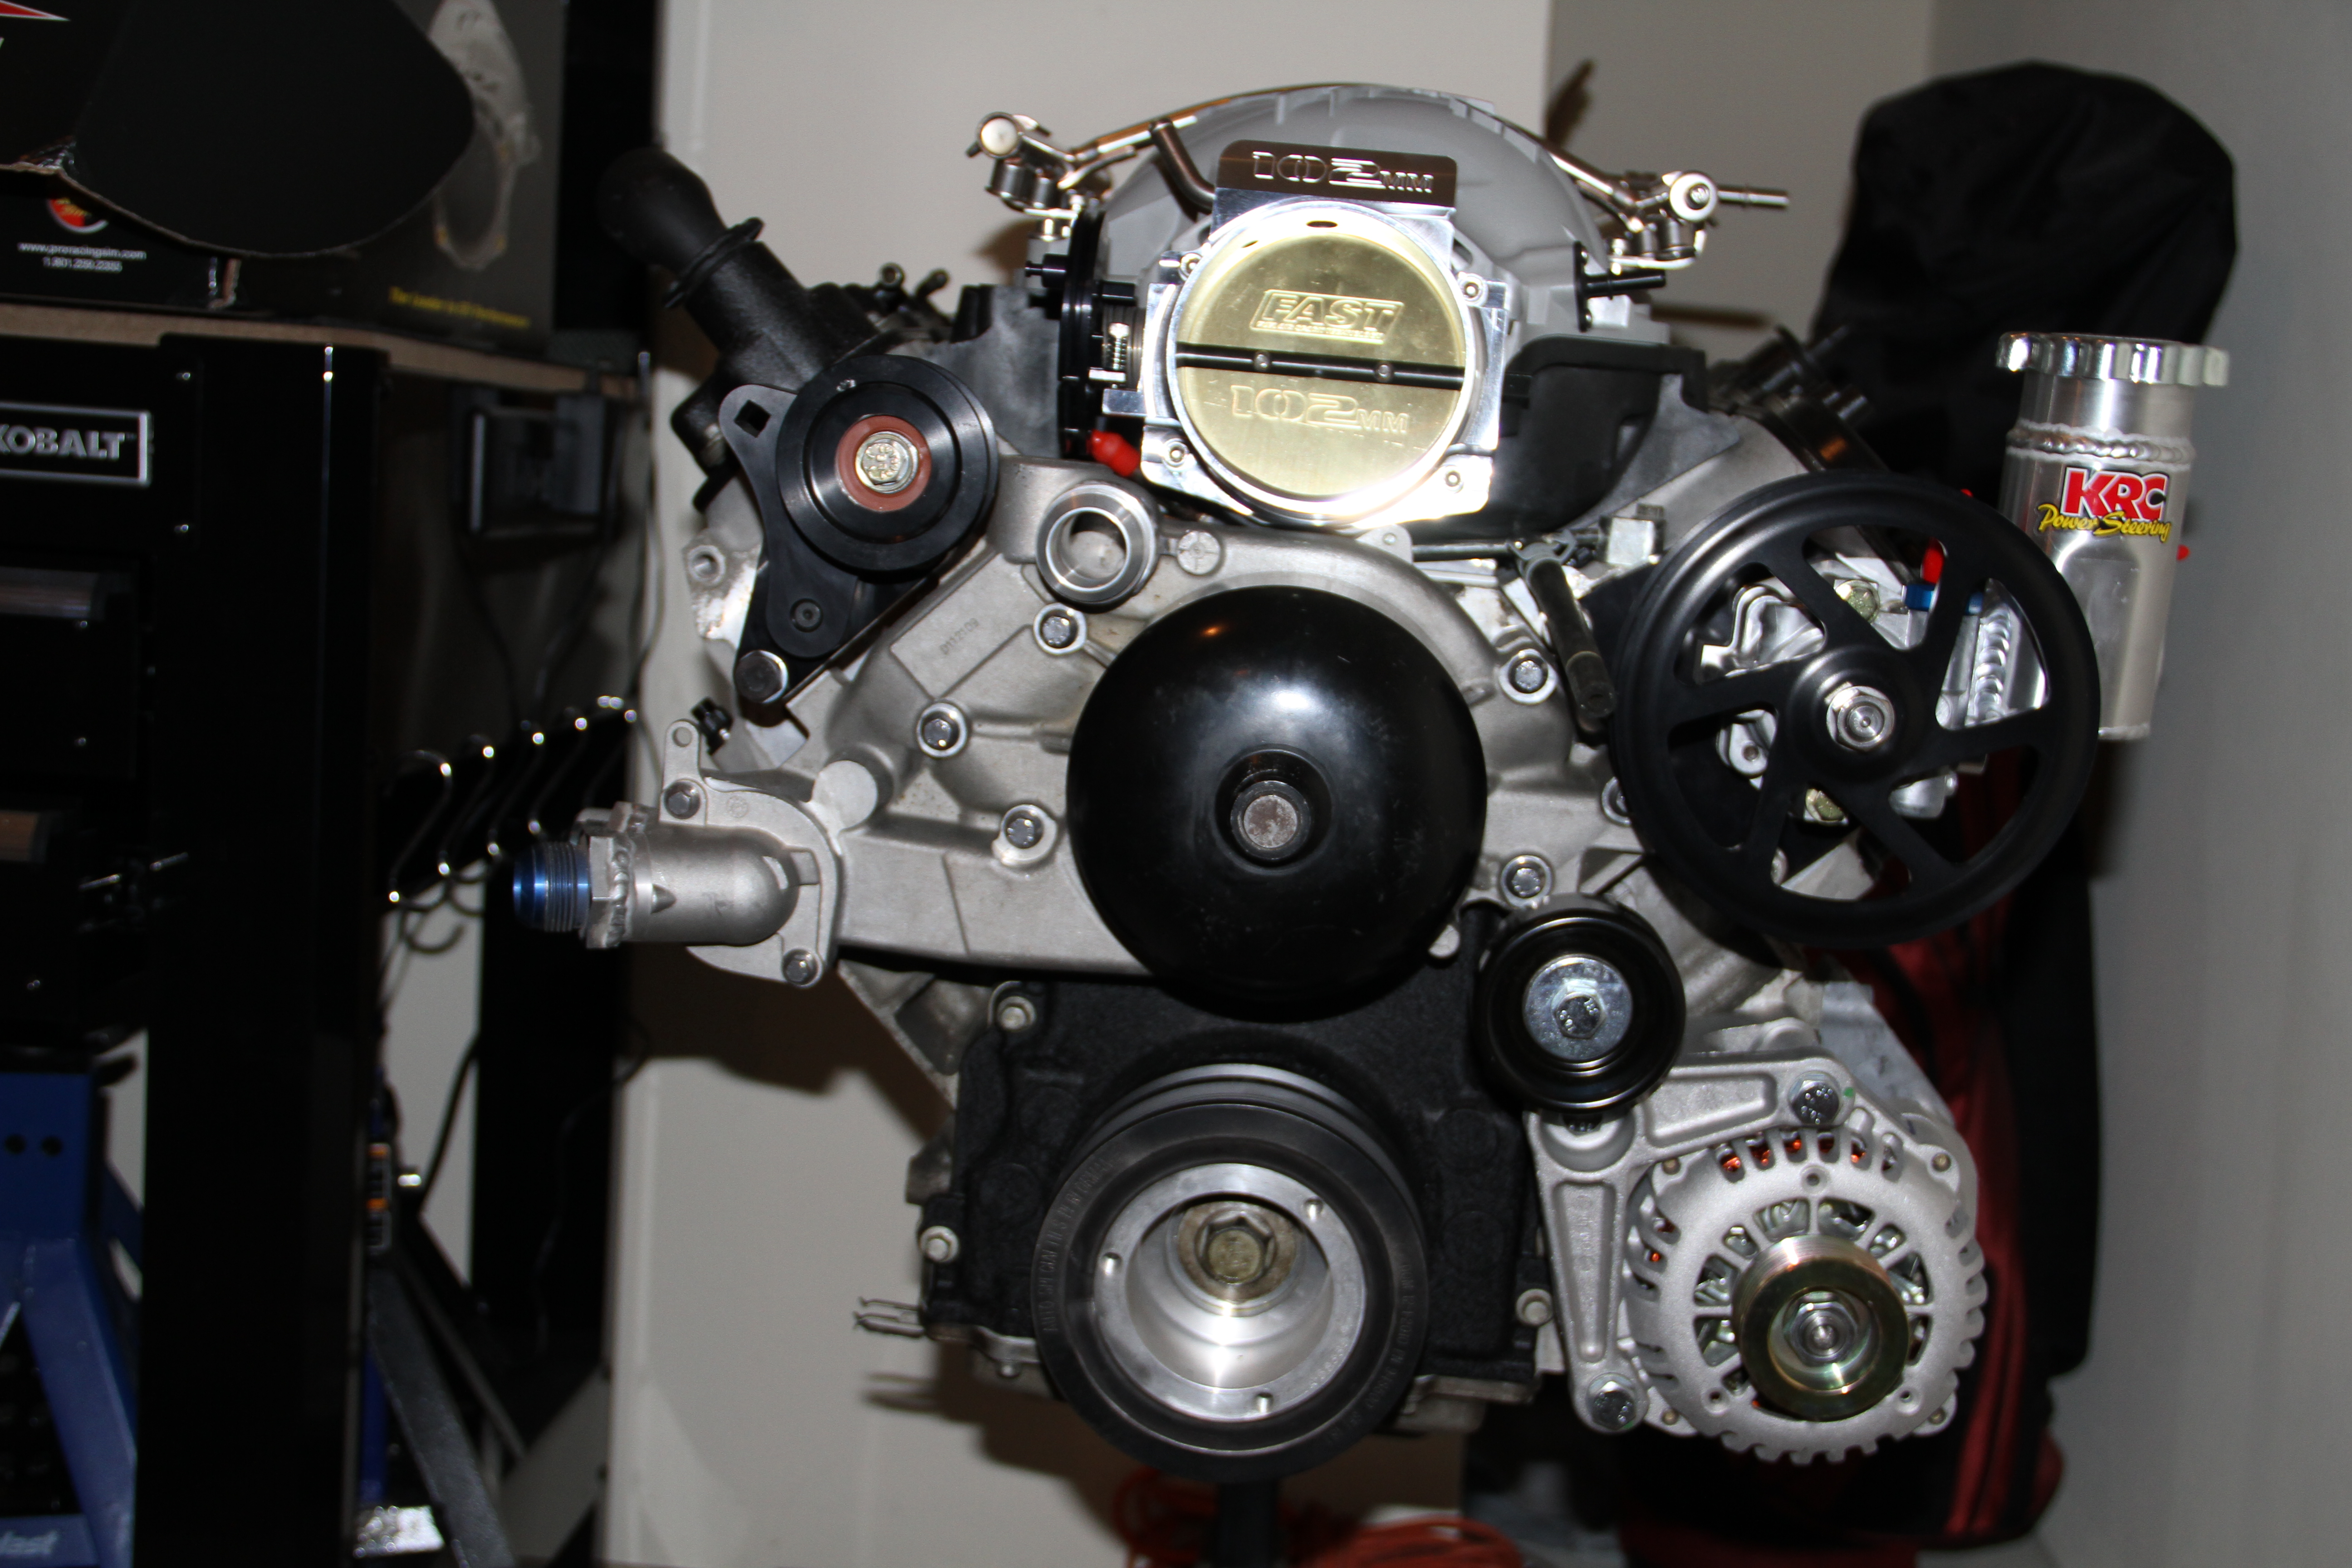
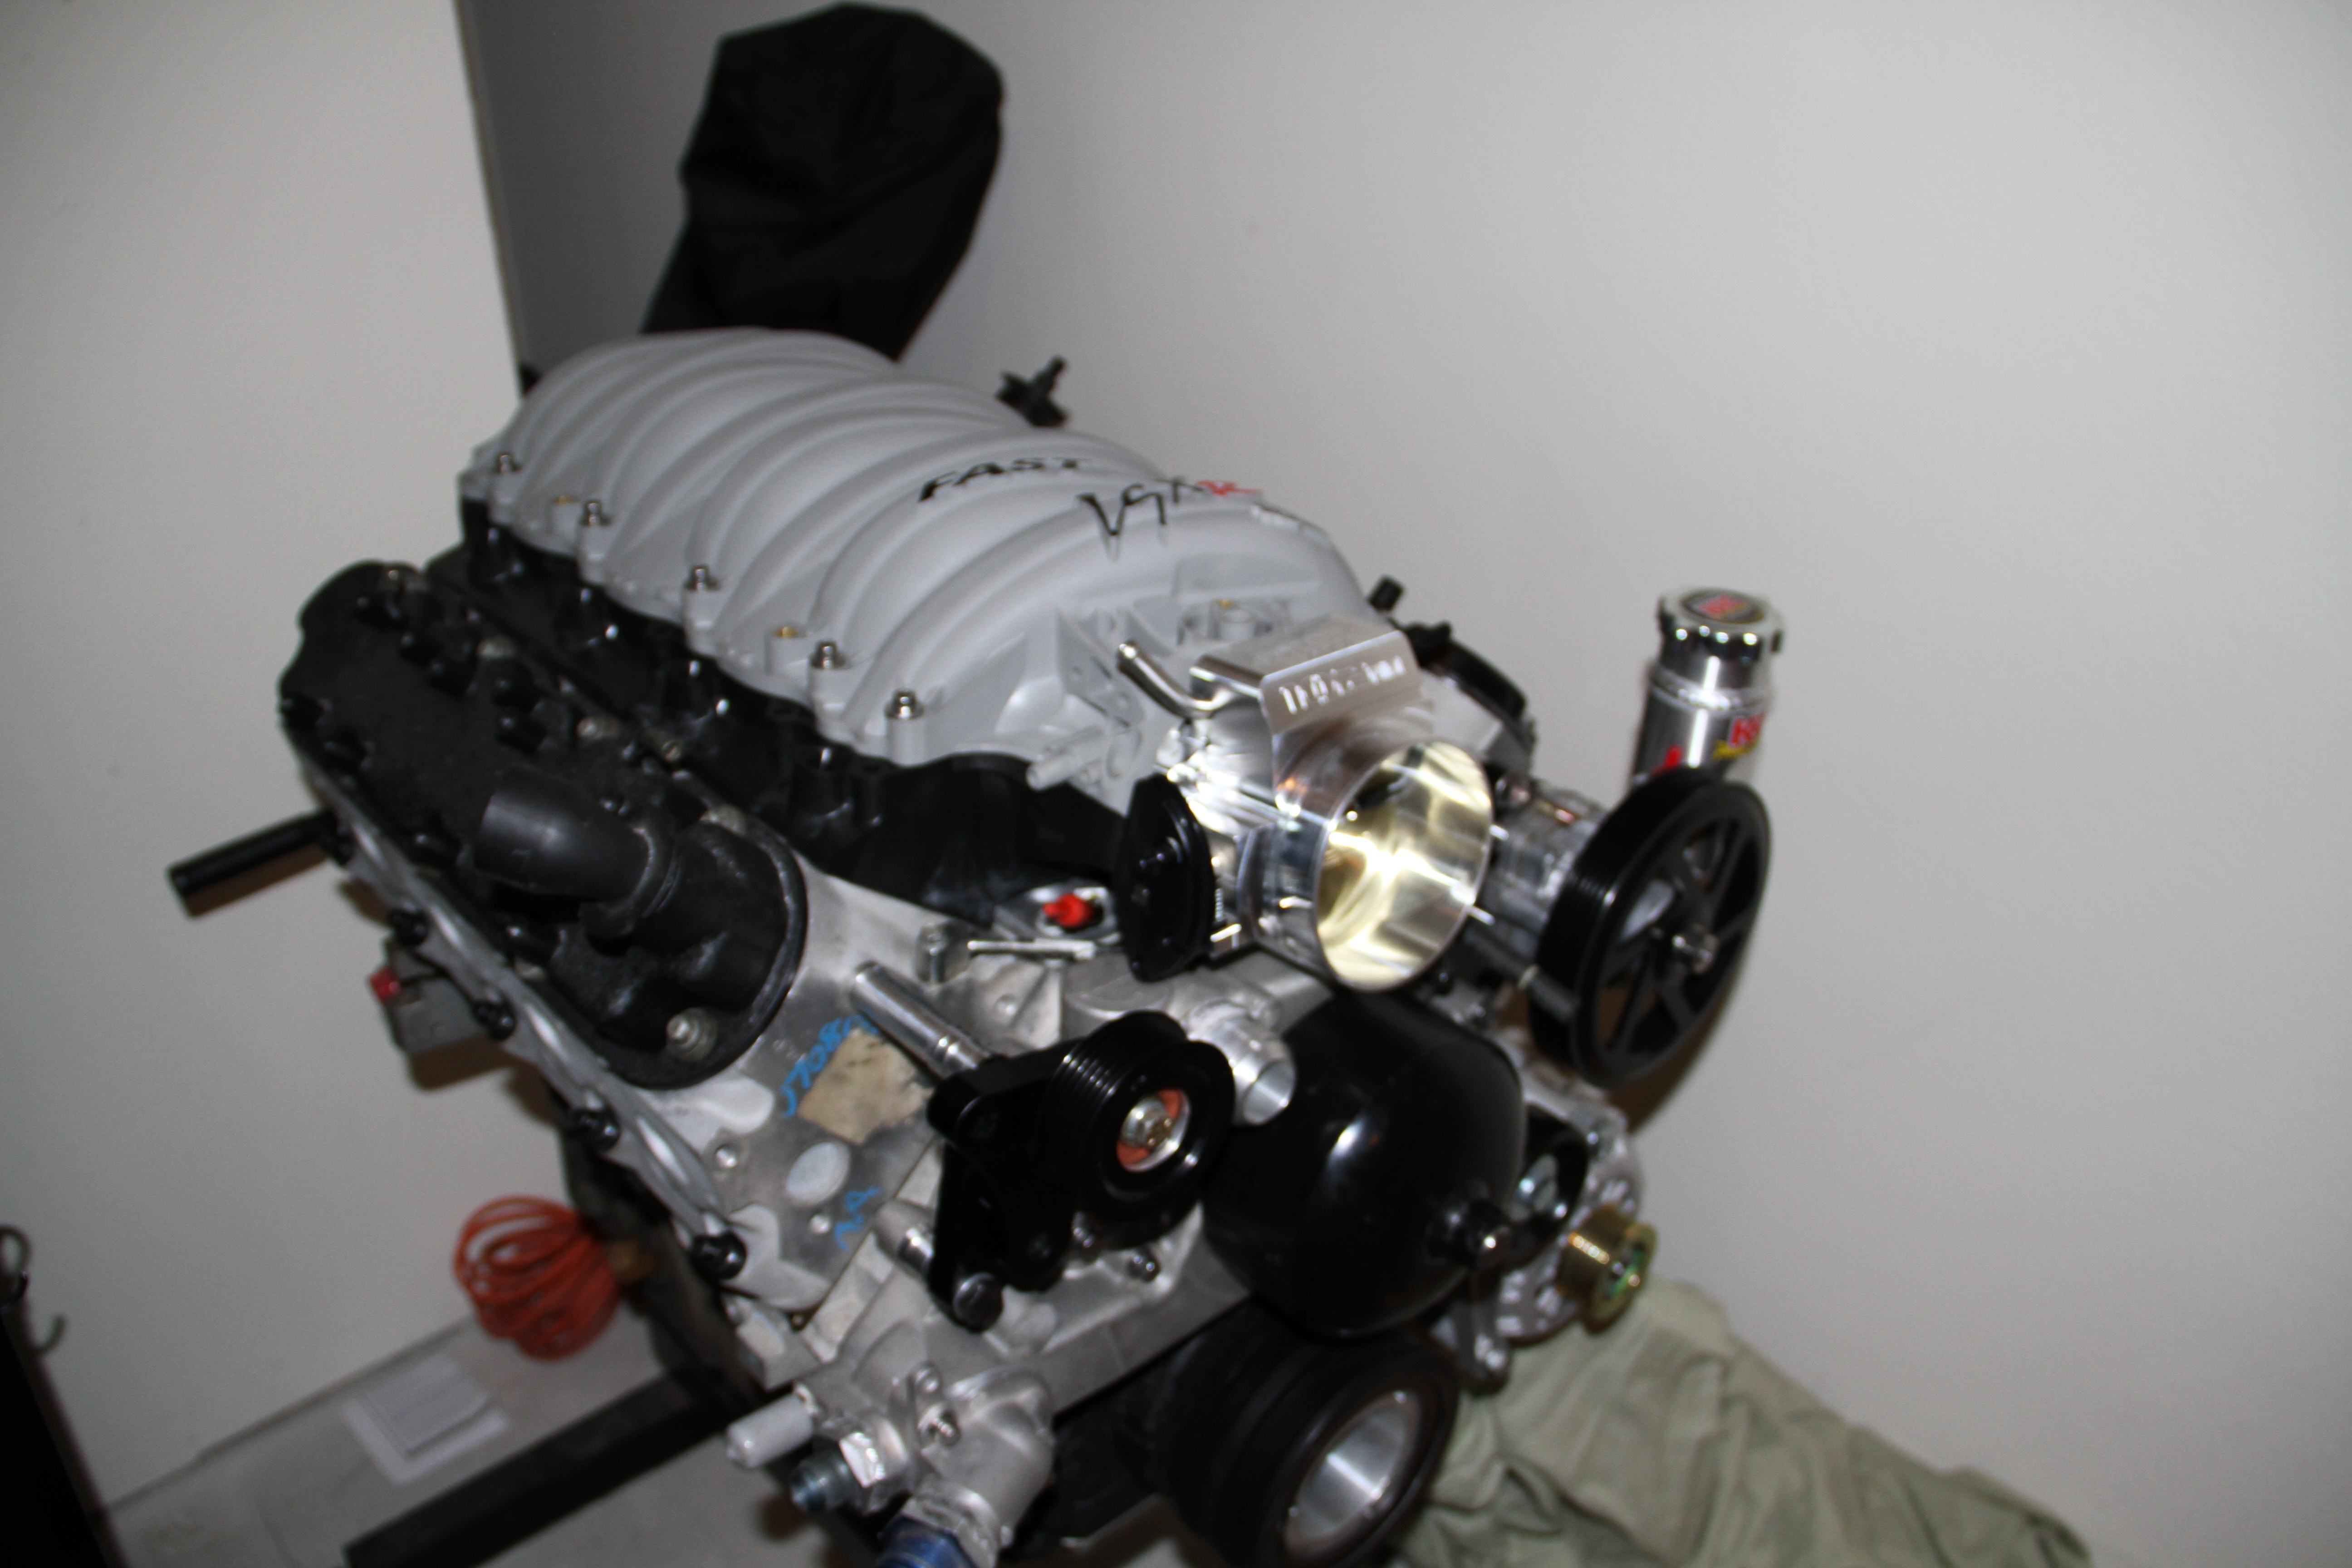
Sorry for the tilt of the motor in this pic but you get the idea... Engine is pretty much complete just have to install a few things but this is what it will look like..

Goodnight and sleep tight my lil engine..
Total price so far: $5,894.17
Next week STAGE 1: Phase 6 'Coils/Spark Plugs and Wires'
Okay beer of choice this week is Julius Echter 'Hefe Weisse' if you are looking for a good wheat beer then look no further.. I personally love hefeweizen type of beers and this one really hits the spot.. Hope you like.
Okay what we have today to instill is a FAST 102 Intake with a FAST 102 TB, and a FAST fuel rail.. Now I bought this as a package deal on Texas Speed Shop, and yet again they do not disappoint.
FAST 102 Intake/TB and Fuel rail kit from Texas Speed Shop: $1,653.98
(I added the Coolant pipes and plugs, fuel rail and gaskets)
Man I just love how the FAST 102 TB is packaged.. I felt like James Bond opening up this case. Its well protected and overall just impressed me..
Now a lot of people might question the 102 Intake. Some say it does not give you any gains so why bother.. Well the main reason I bought this Intake was simply for my later plans for the motor. I do plan on storking this engine and running a twin turbo set up so this intake will def help me when I put down the big numbers. Got to plan ahead..
And damn does it just not scream beast mode...lol
First thing to install is the new Coolant pipe for the front of the engine..
pretty straight forward here, you just place it where the old coolant pipes went.
Next is the Coolant plugs for the rear of the engine...
Place both coolant plugs where they are suppose to be, and tighten down..
Next is the FAST 102 Intake gaskets... love the orange
Place around every runner...
Next install the intake, follow the FAST instructions. They state what torque specs and proper order to torque down..
Next is the gasket for the FAST TB,,
Place the gasket where it needs to be...
And then install this beastly TB,, man this thing is nasty
Almost complete.. Looks like an engine now..
Next is the FAST fuel rails.. Now I don't think I am going to keep these so if some one wants them shoot me a PM and I will sell them to you.. Going to go with the FAST Billet Fuels instead..
They come with spacers so you can run the factory LS1 injectors
Sorry for the tilt of the motor in this pic but you get the idea... Engine is pretty much complete just have to install a few things but this is what it will look like..
Goodnight and sleep tight my lil engine..
Total price so far: $5,894.17
Next week STAGE 1: Phase 6 'Coils/Spark Plugs and Wires'
Last edited by Royal_T; Aug 28, 2011 at 05:02 PM.

Thread Starter
New Member
iTrader: (9)
Joined: Sep 2004
Posts: 2,840
Likes: 14
From: San Antonio, TX
^^ glad you like.. I usually get my beers from this place called Specs, they usually get really good beers in.. Or if I want to try something new I look up the brand and see where I can buy near me..