LS1 Drift Build 'Nuff Said'
#1
Thread Starter
New Member
iTrader: (9)
Joined: Sep 2004
Posts: 2,840
Likes: 14
From: San Antonio, TX
Okay it is time for me to start this build thread. First I would like to say this has been a long time coming and I just can't wait for the finish product to be done. I will do this build in stages and tell you everything, from building the engine to suspension work. I will also make note of how much everything cost since that is a big deal for everyone that wants to do an LS build. I will post an update once a week with pics so there will be something to look at..And last but not least I will post a beer of the week, since I love crafted beers So lets get started!!

Wanted to post this pic here.. Some of you know my car and some of you don't. but it has been through so many wheels/looks its not funny.. But it will not look like this any more and hopefully the last change.....
STAGE 1: Phase 1...'Engine tear down and clean up'

Let's start this with the beer of the week.. One of my Favs 'DogFish Head 90 Min' Good stuff
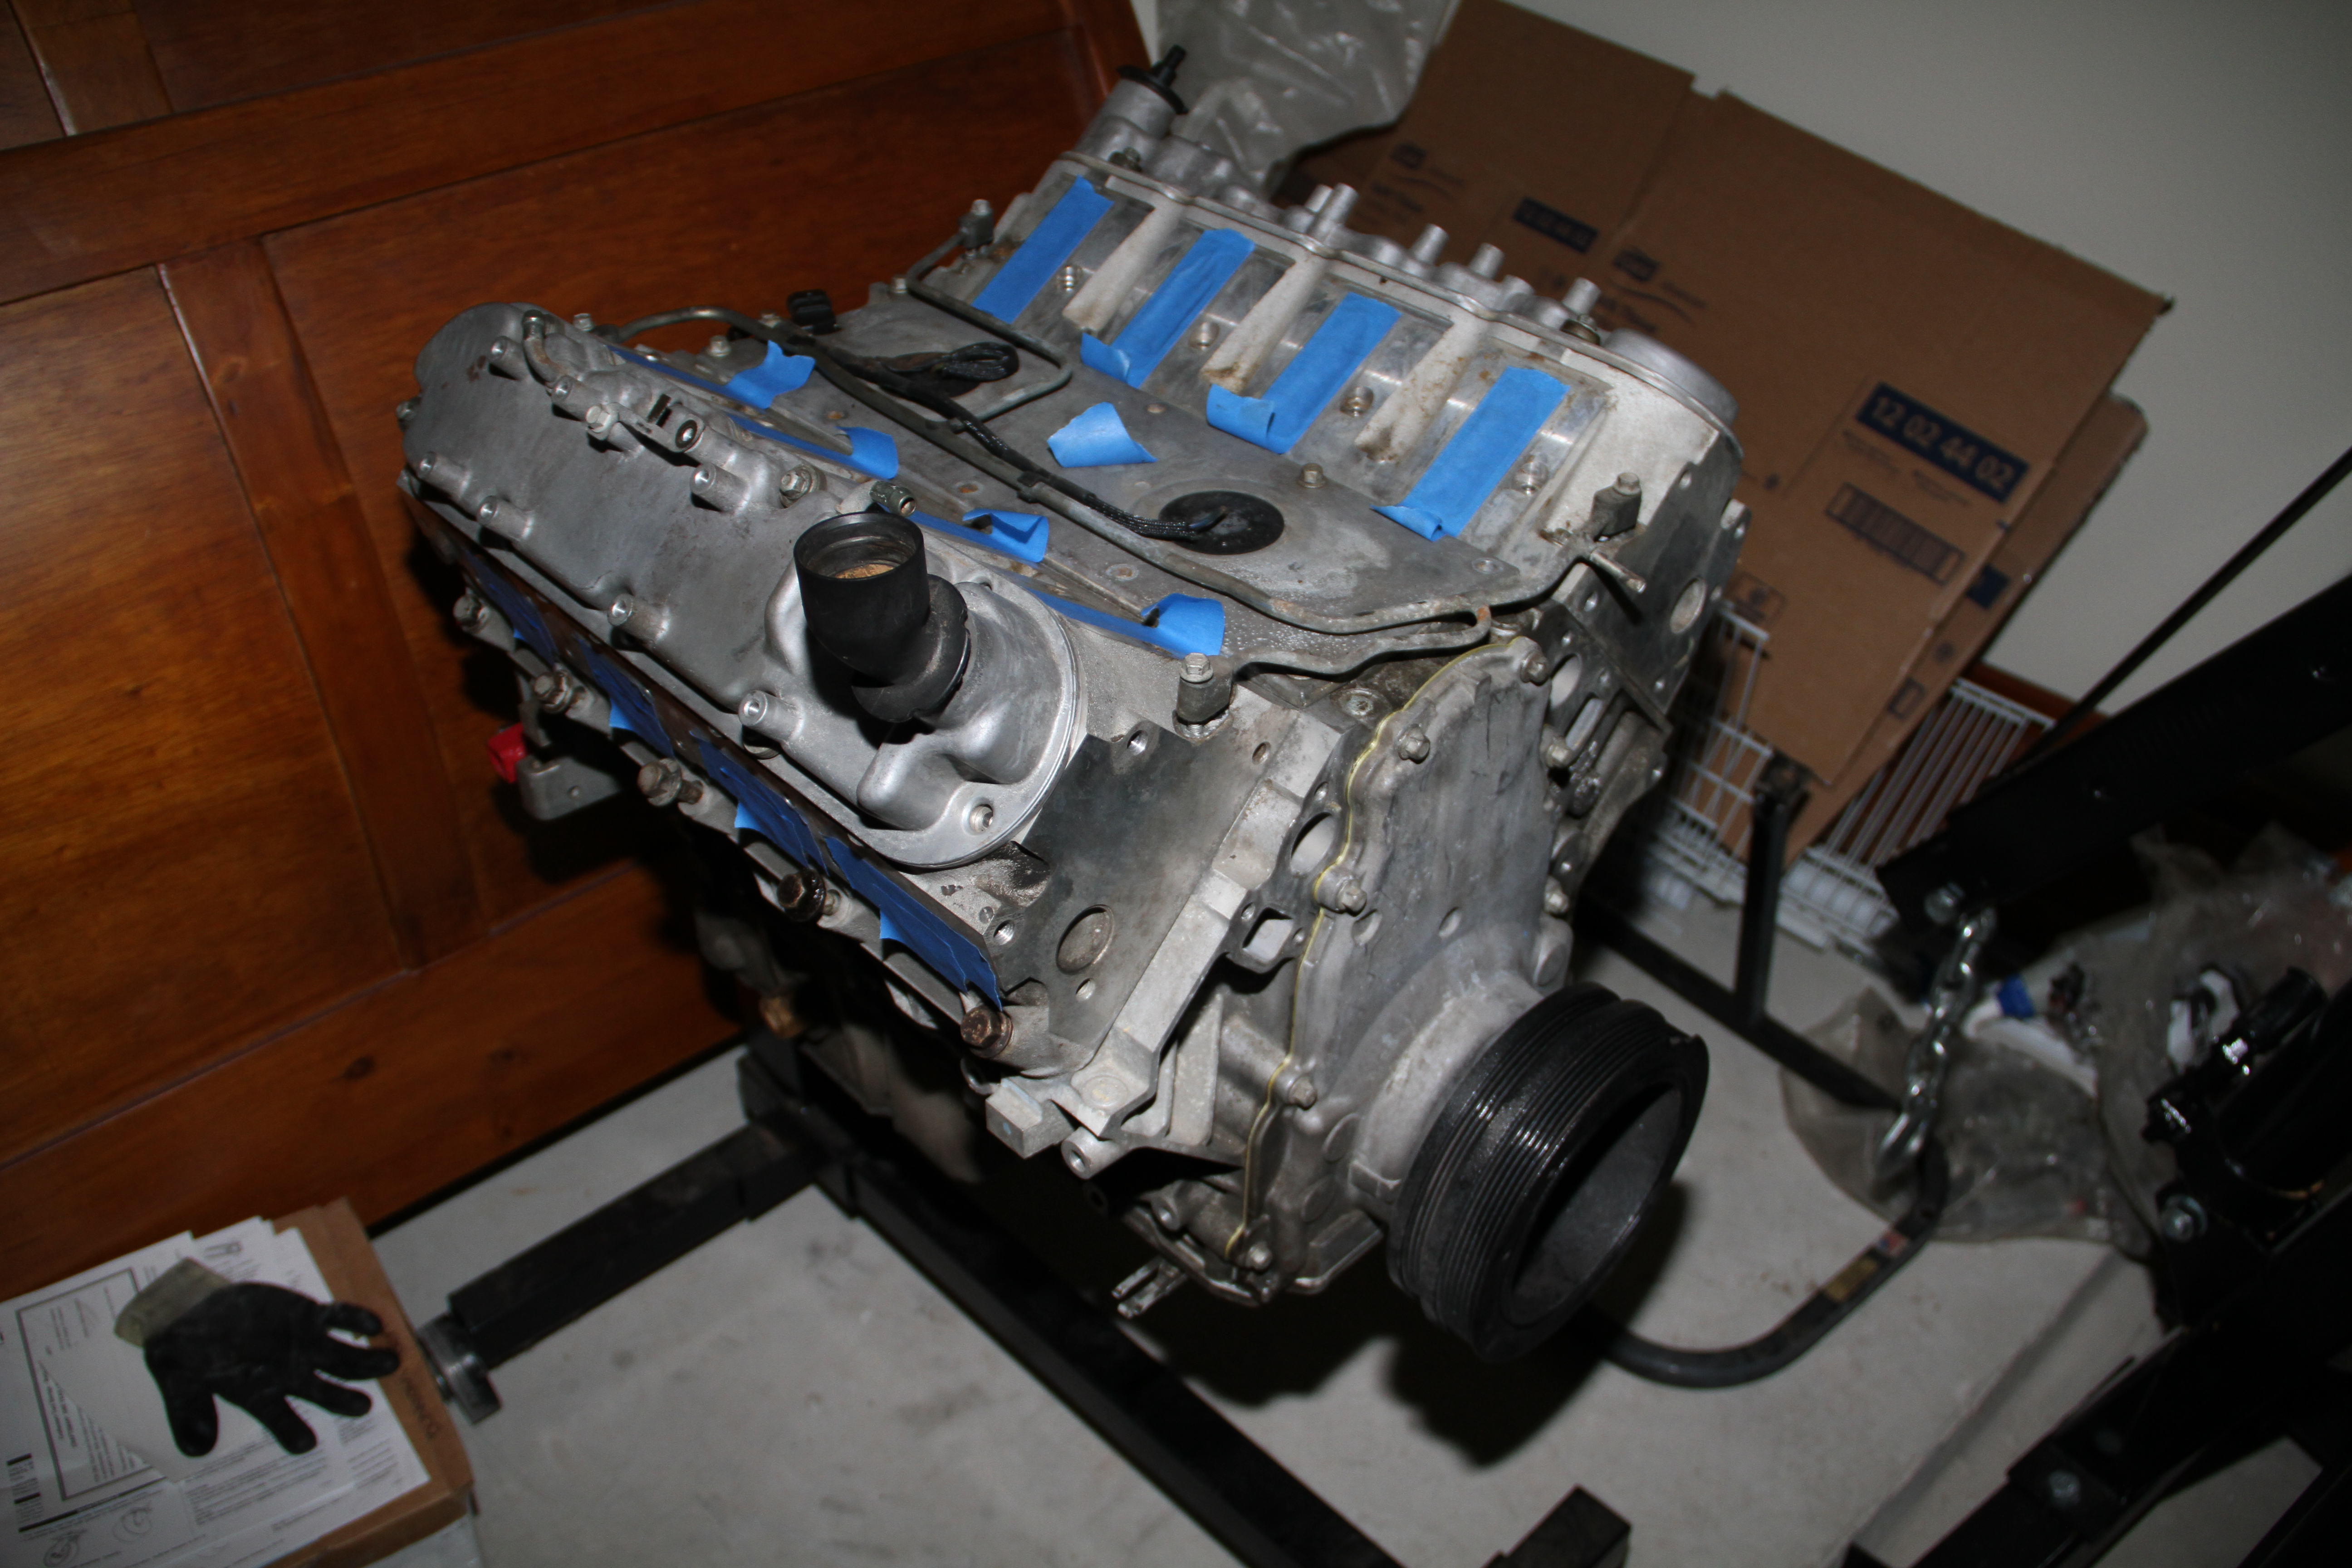
First thing was the purchase of this LS1 longblock that I got off of LS1tech.com. You can find a lot of useful info on there so def check it out..
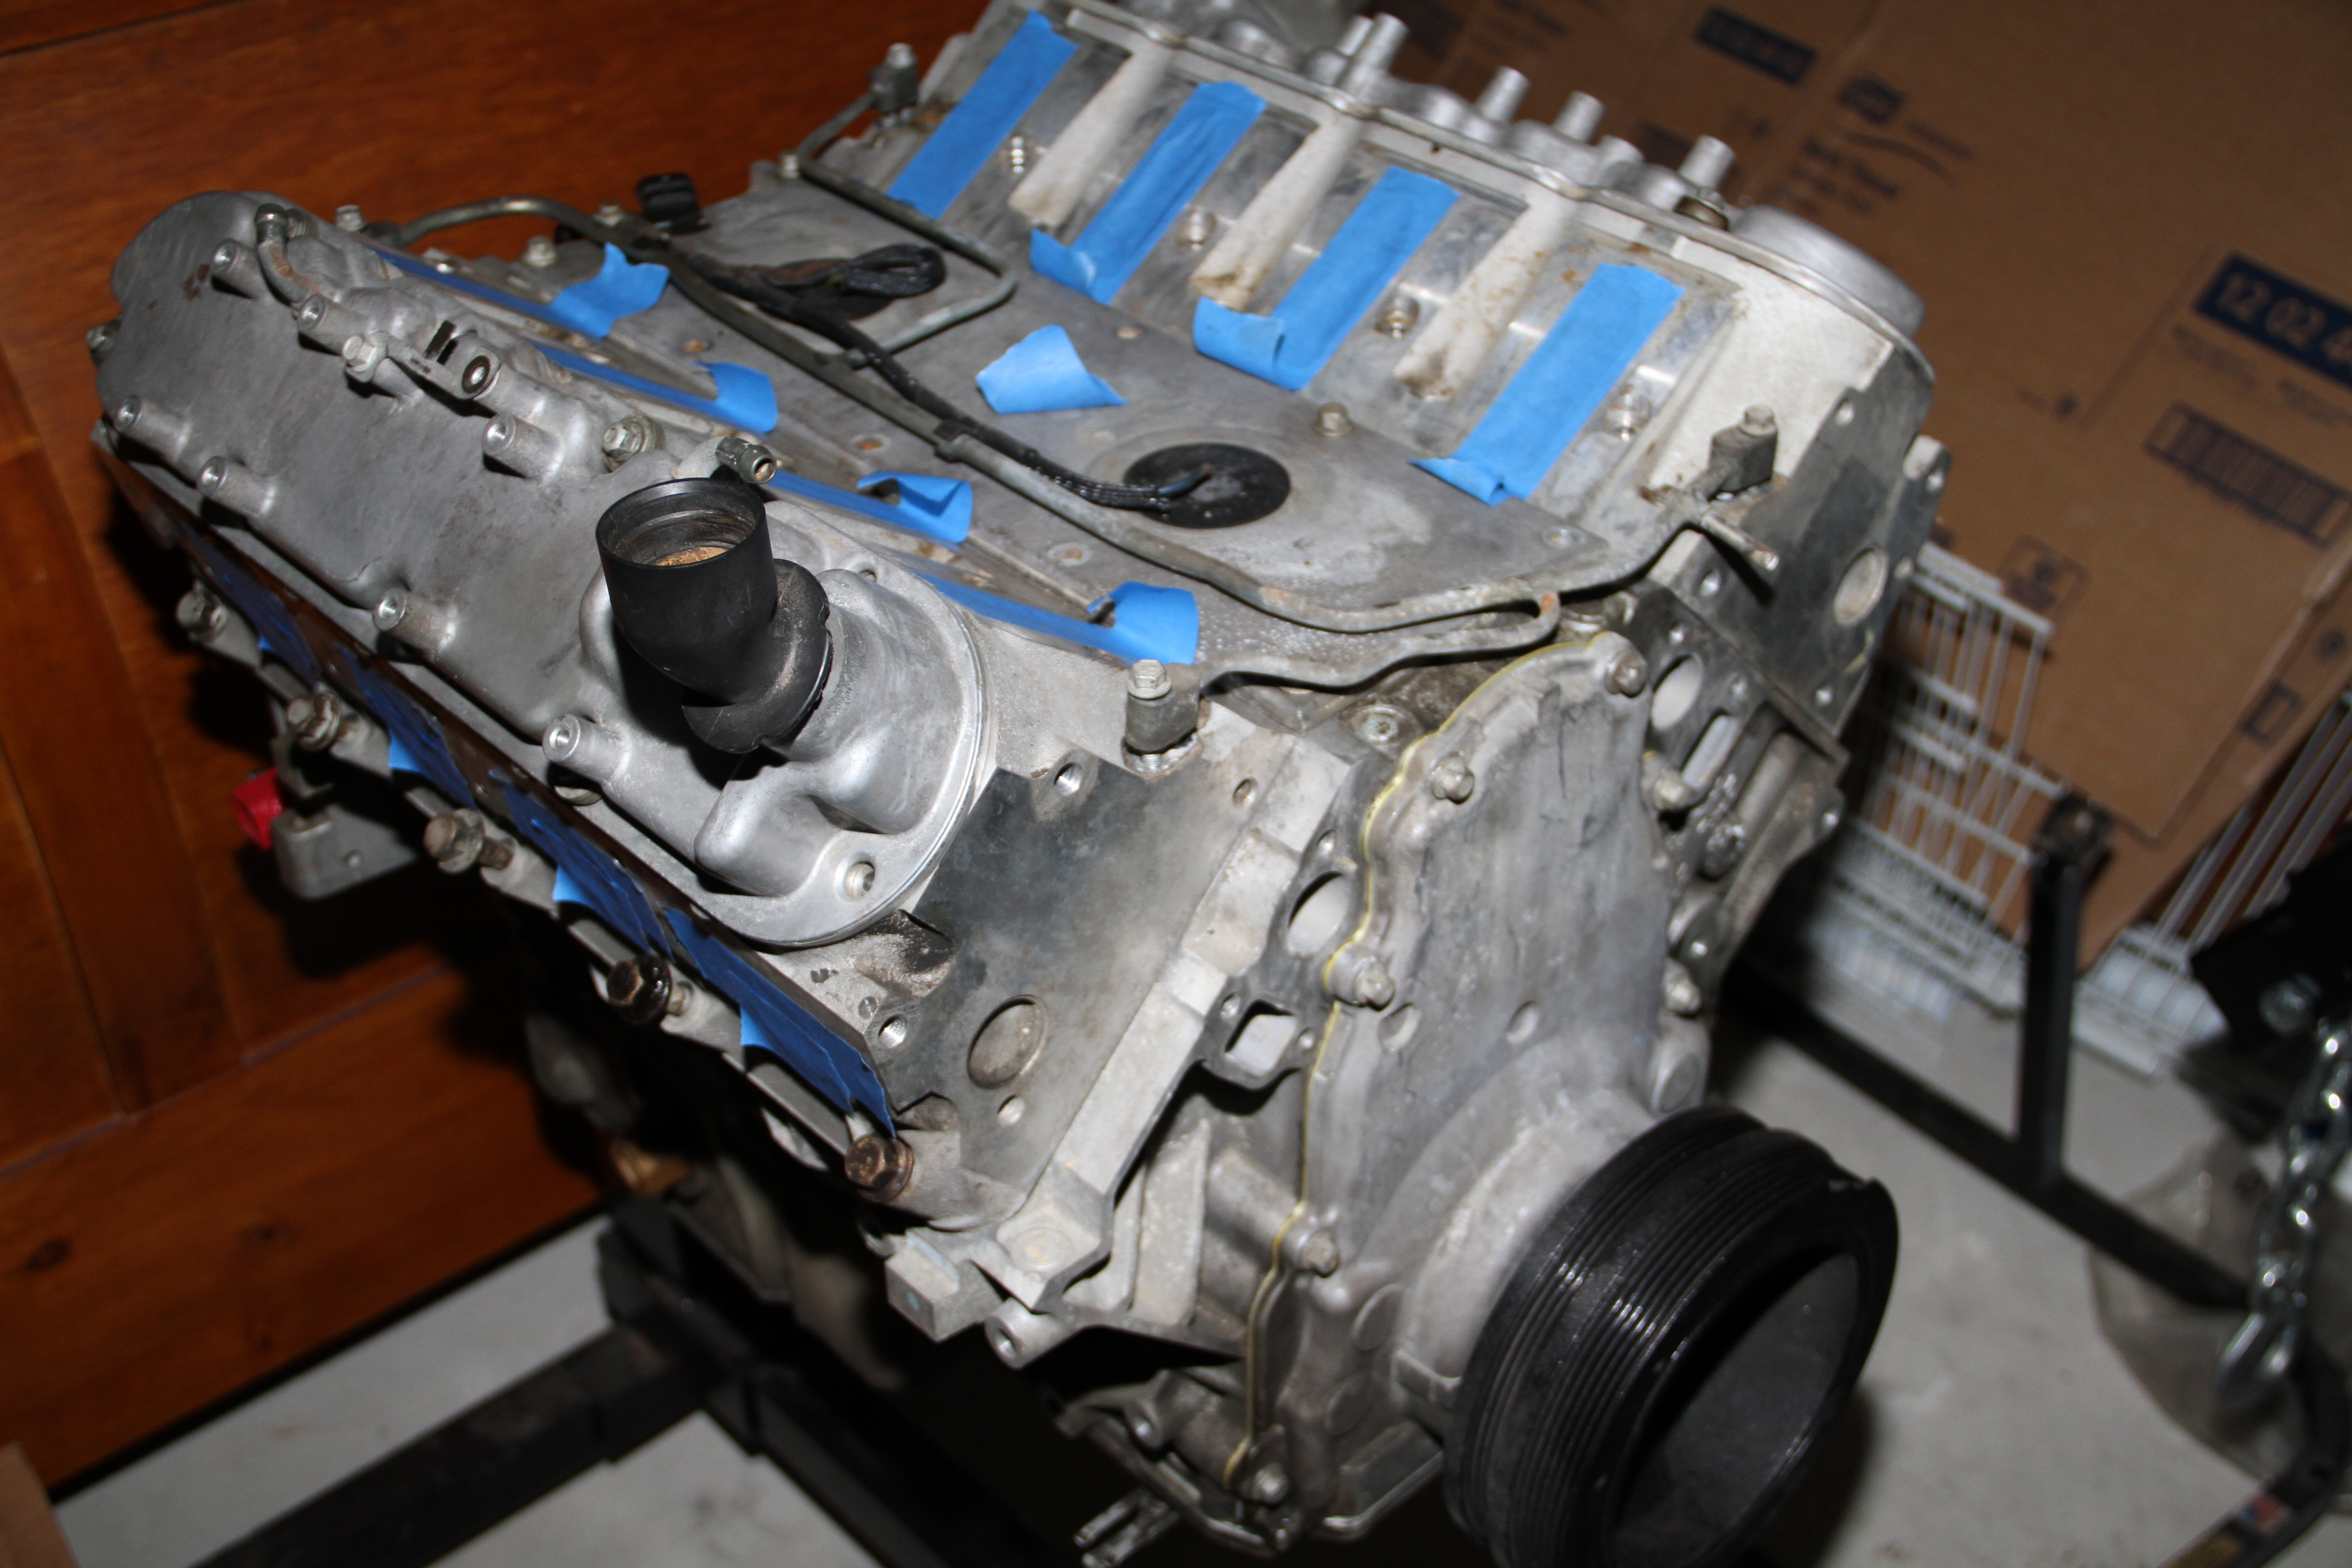
A little dirty but that will all change. Had 38k on it and the owner had the Bottom end torn down by a local machine shop (to check the condition of it which was great still) and had all the bearings replaced, ls6 oil pump installed, ls2 timing chain, ARP rod bolts.. All this for the price of $1500
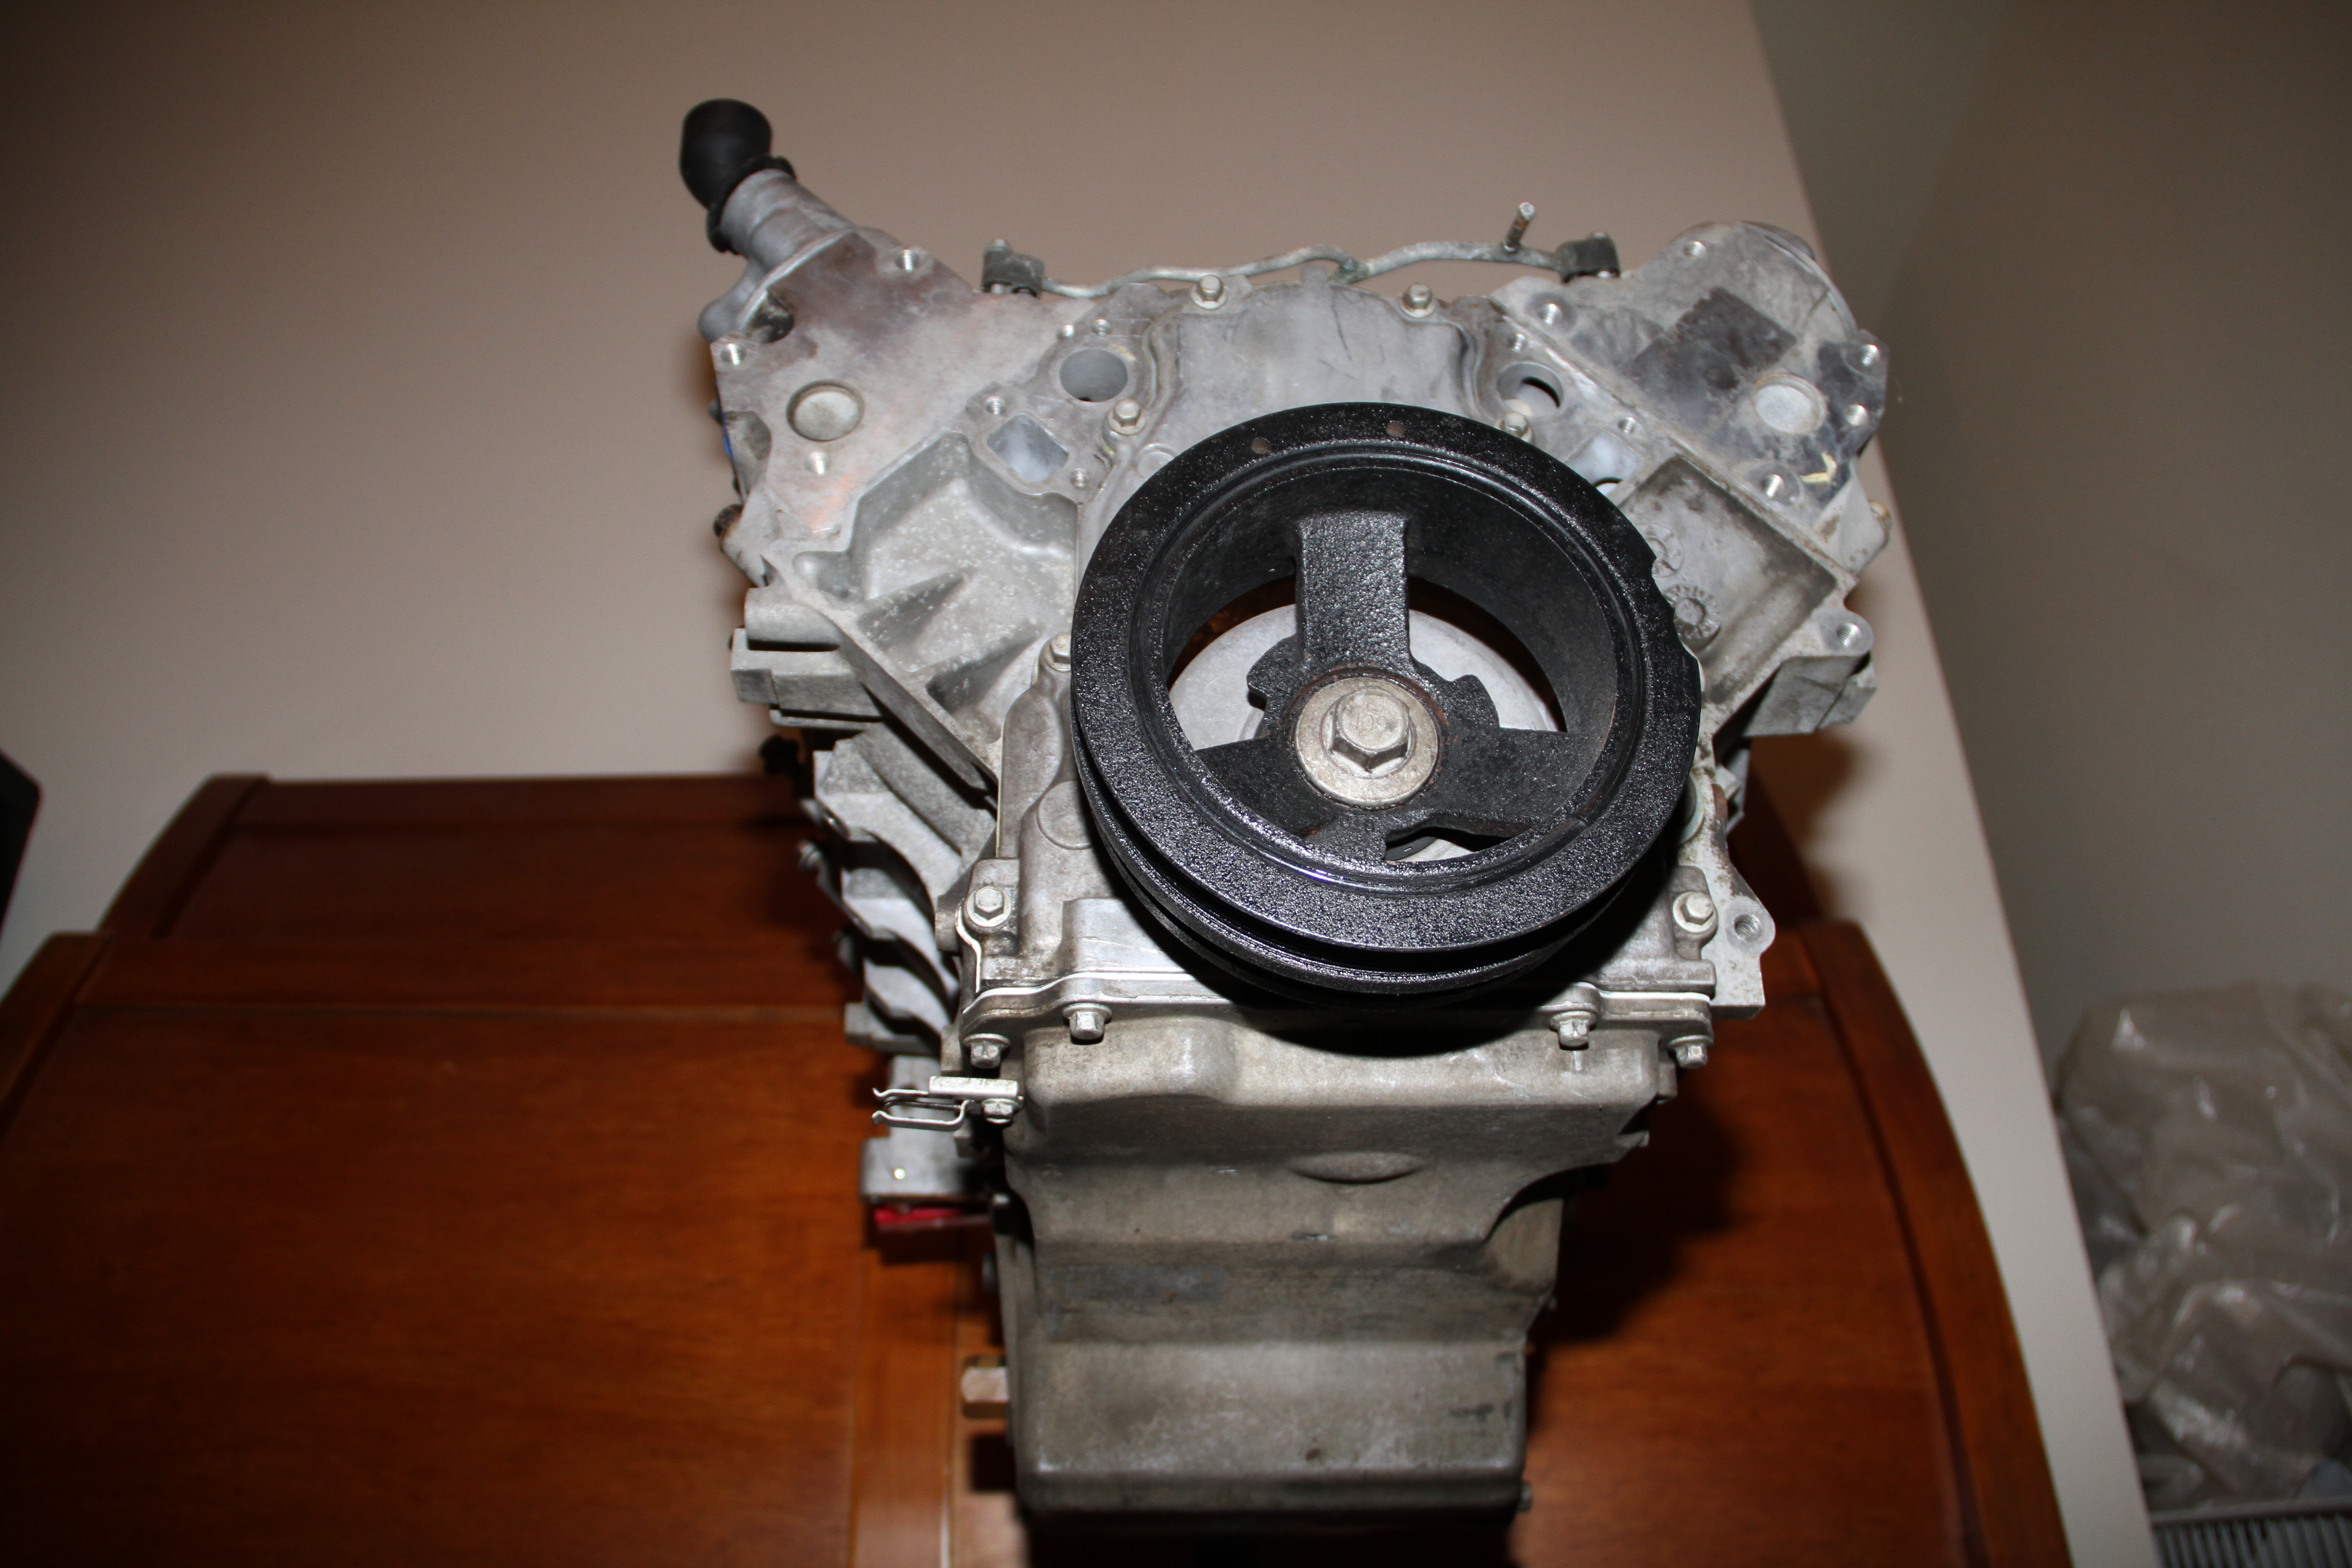
In my opinion not a bad purchases since I plan on changing and adding a lot of aftermarket parts..
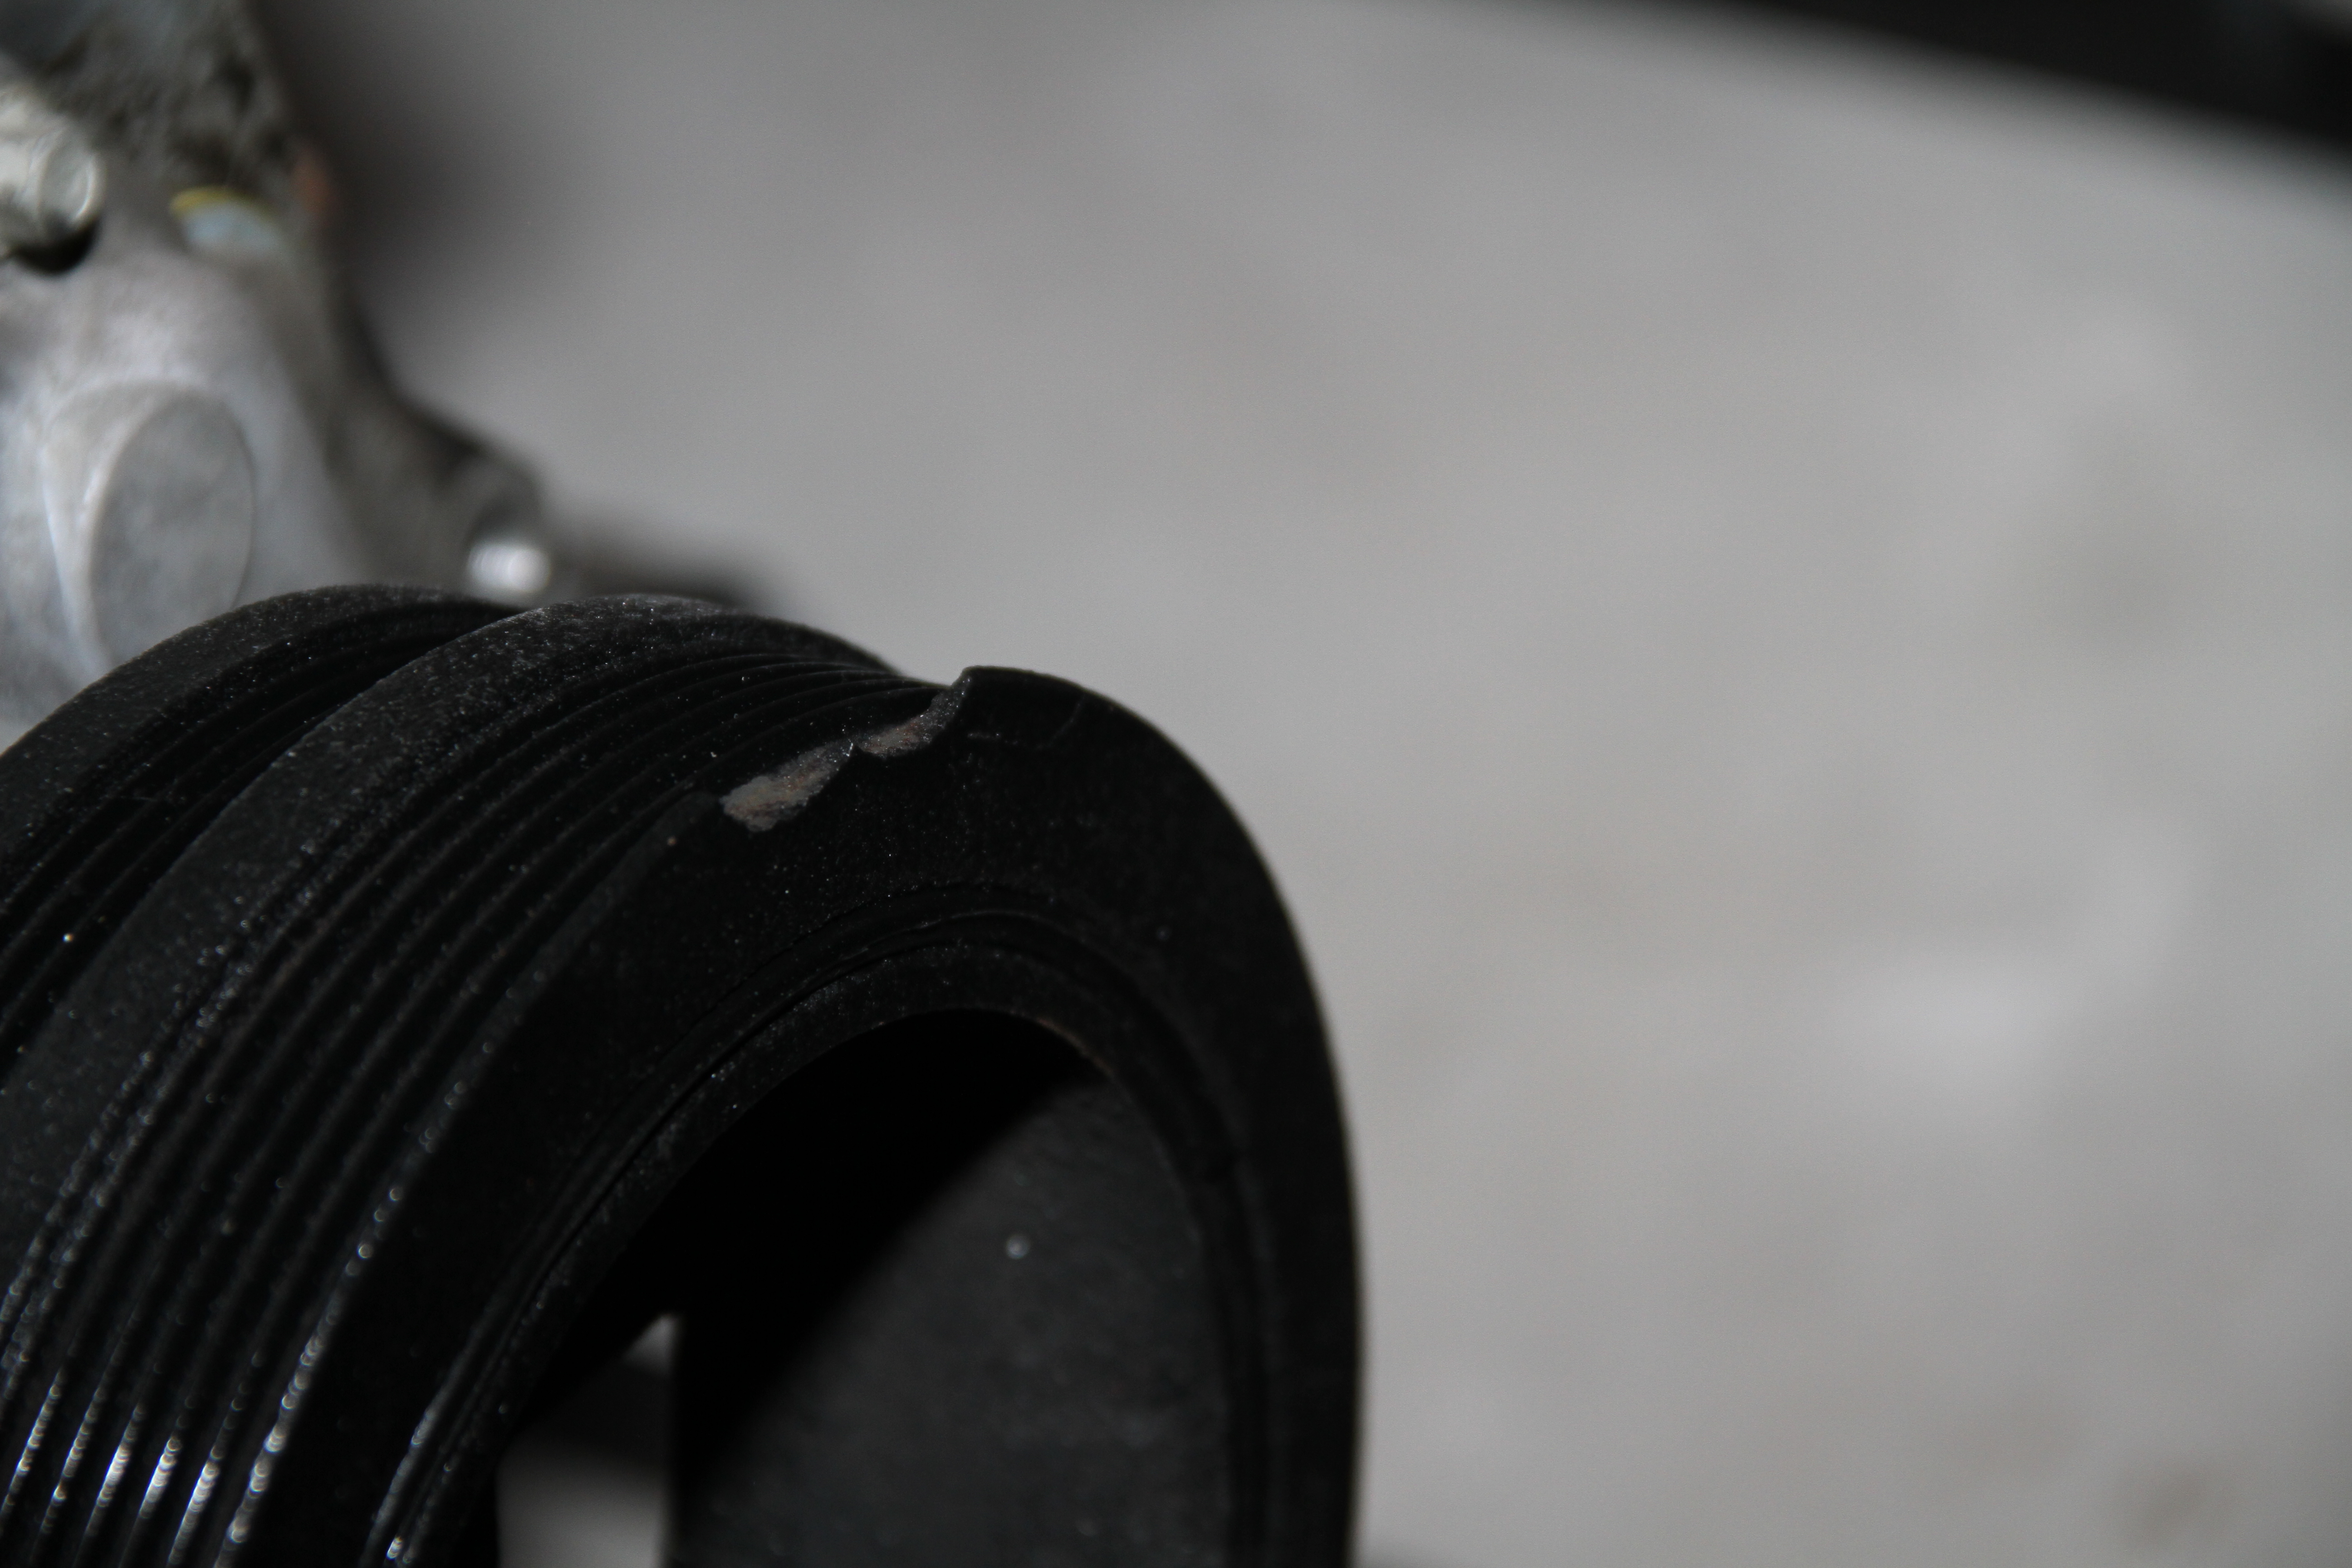
First thing I saw was this little chip on the crank balancer pulley.. a no go in my book and will get replaced...
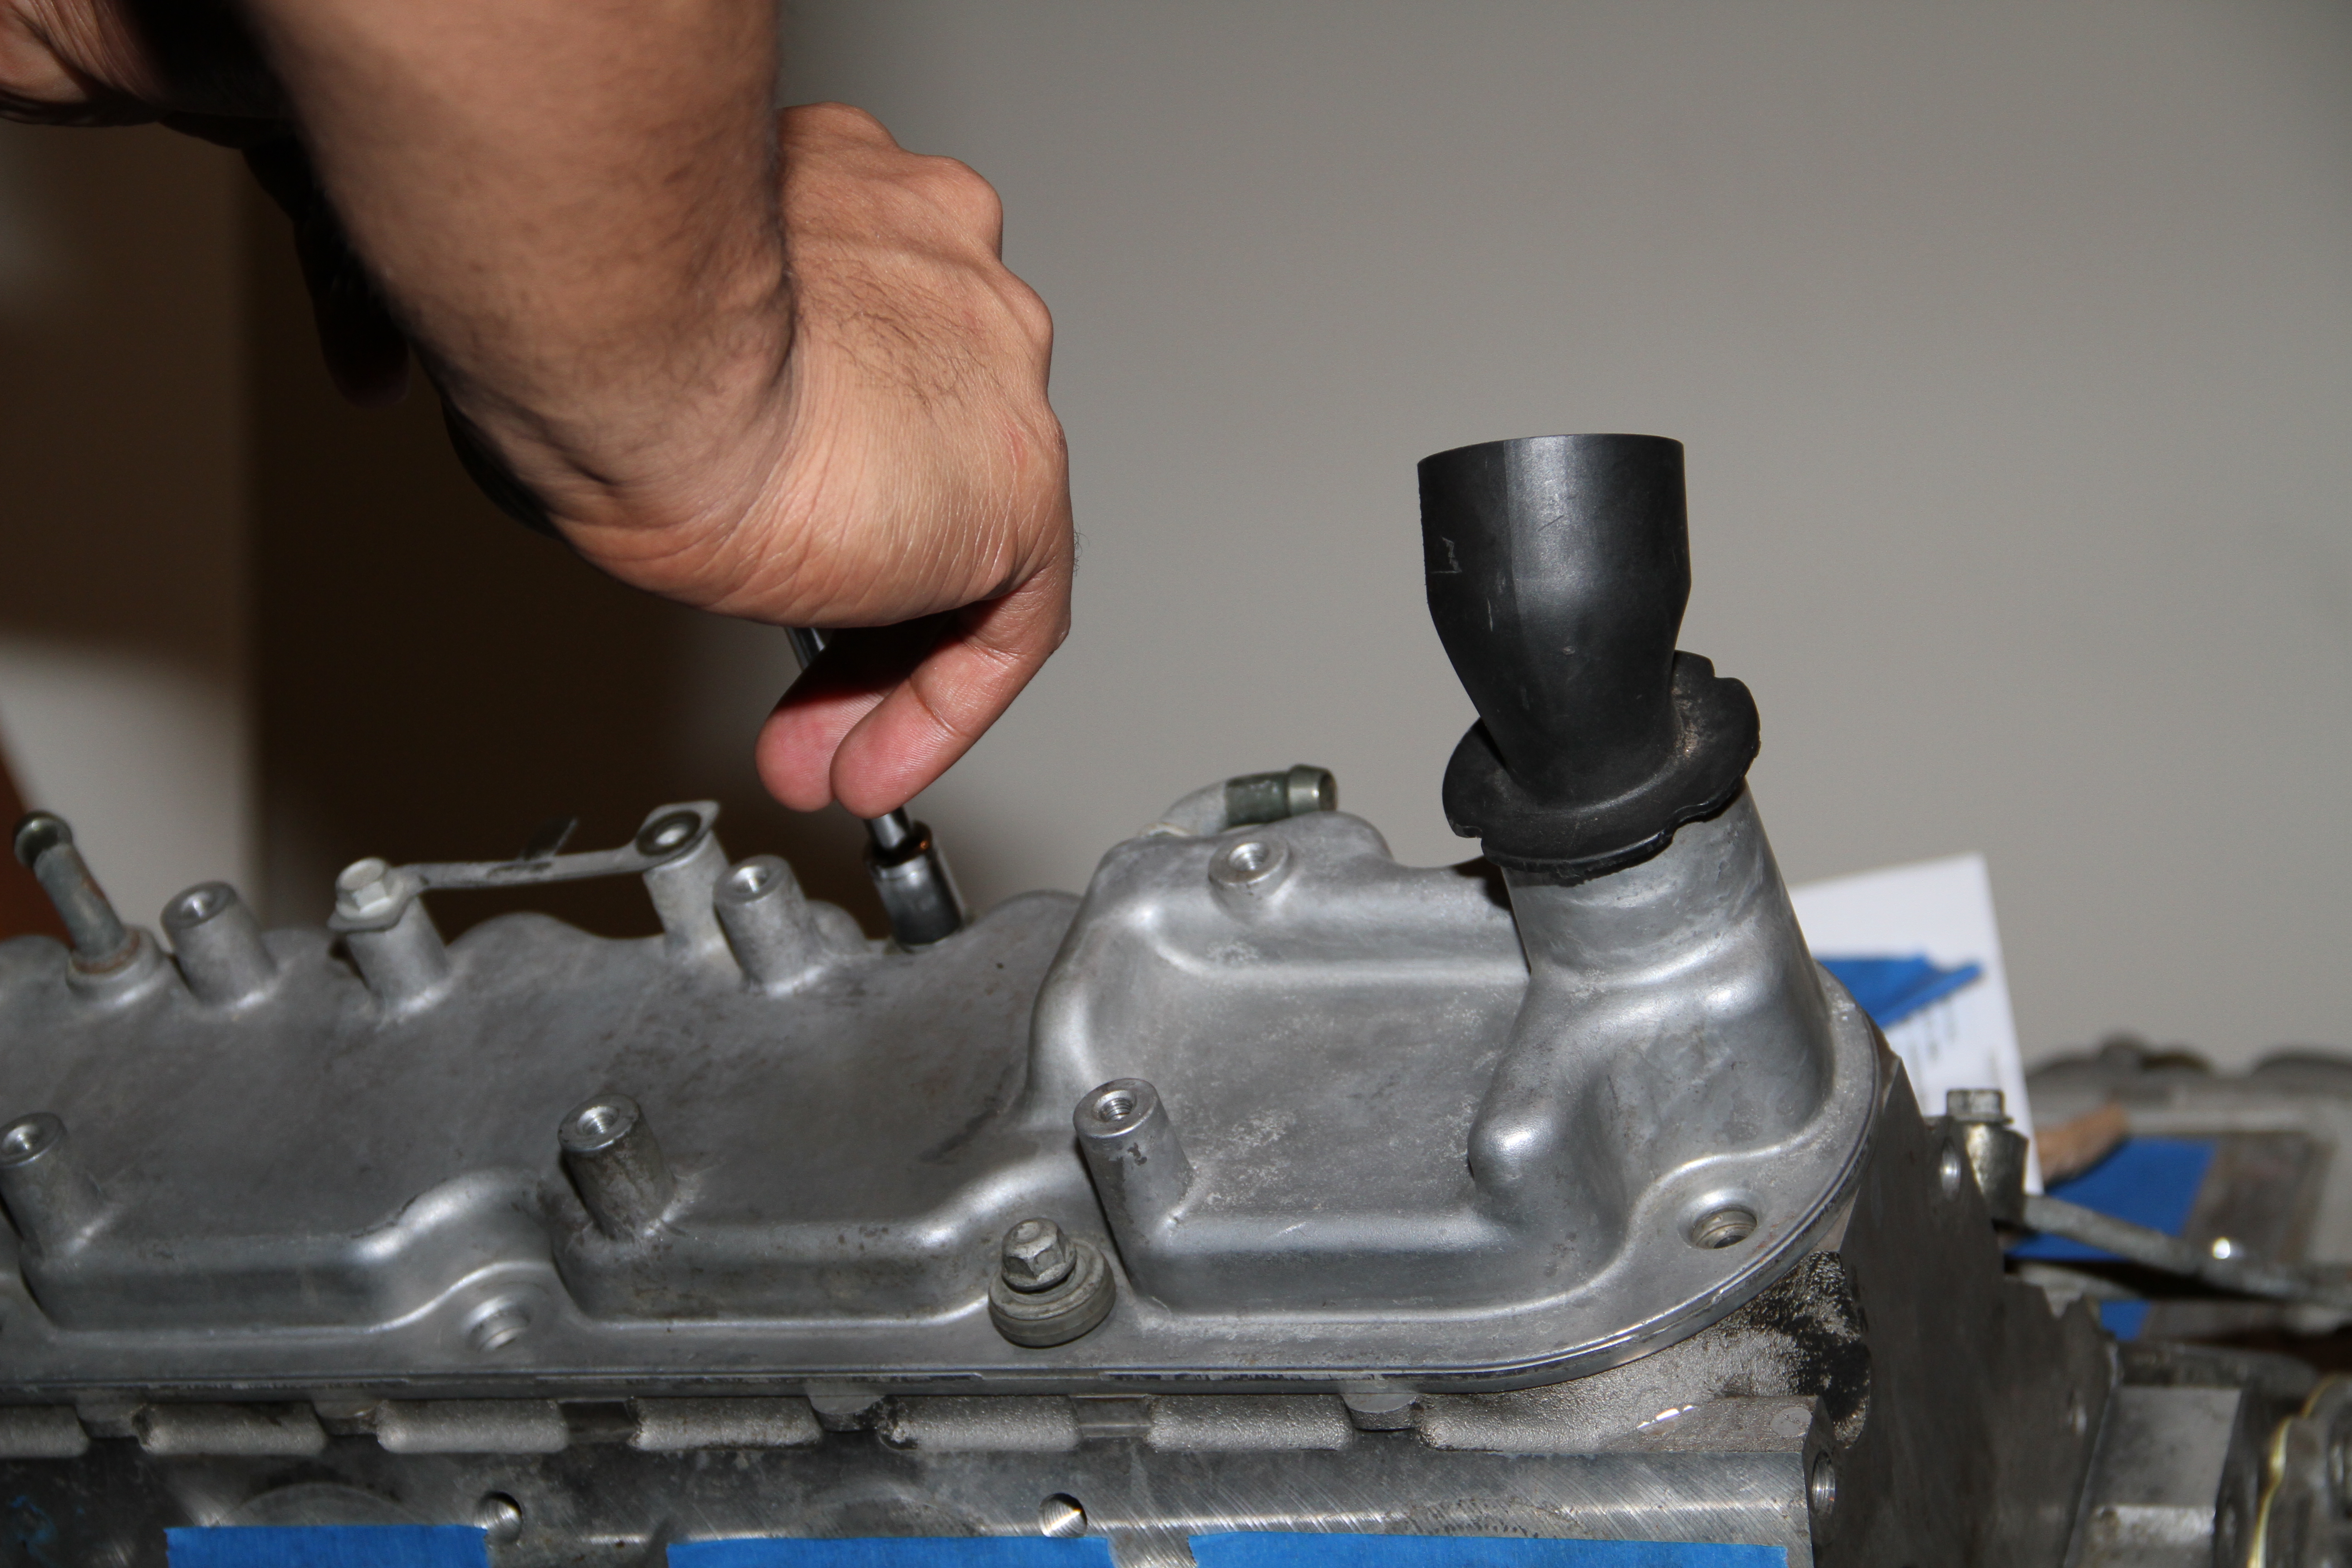
Now lets crack open these heads and see what we have.. To do so you will need a 10mm to unbolt all the head bolts.
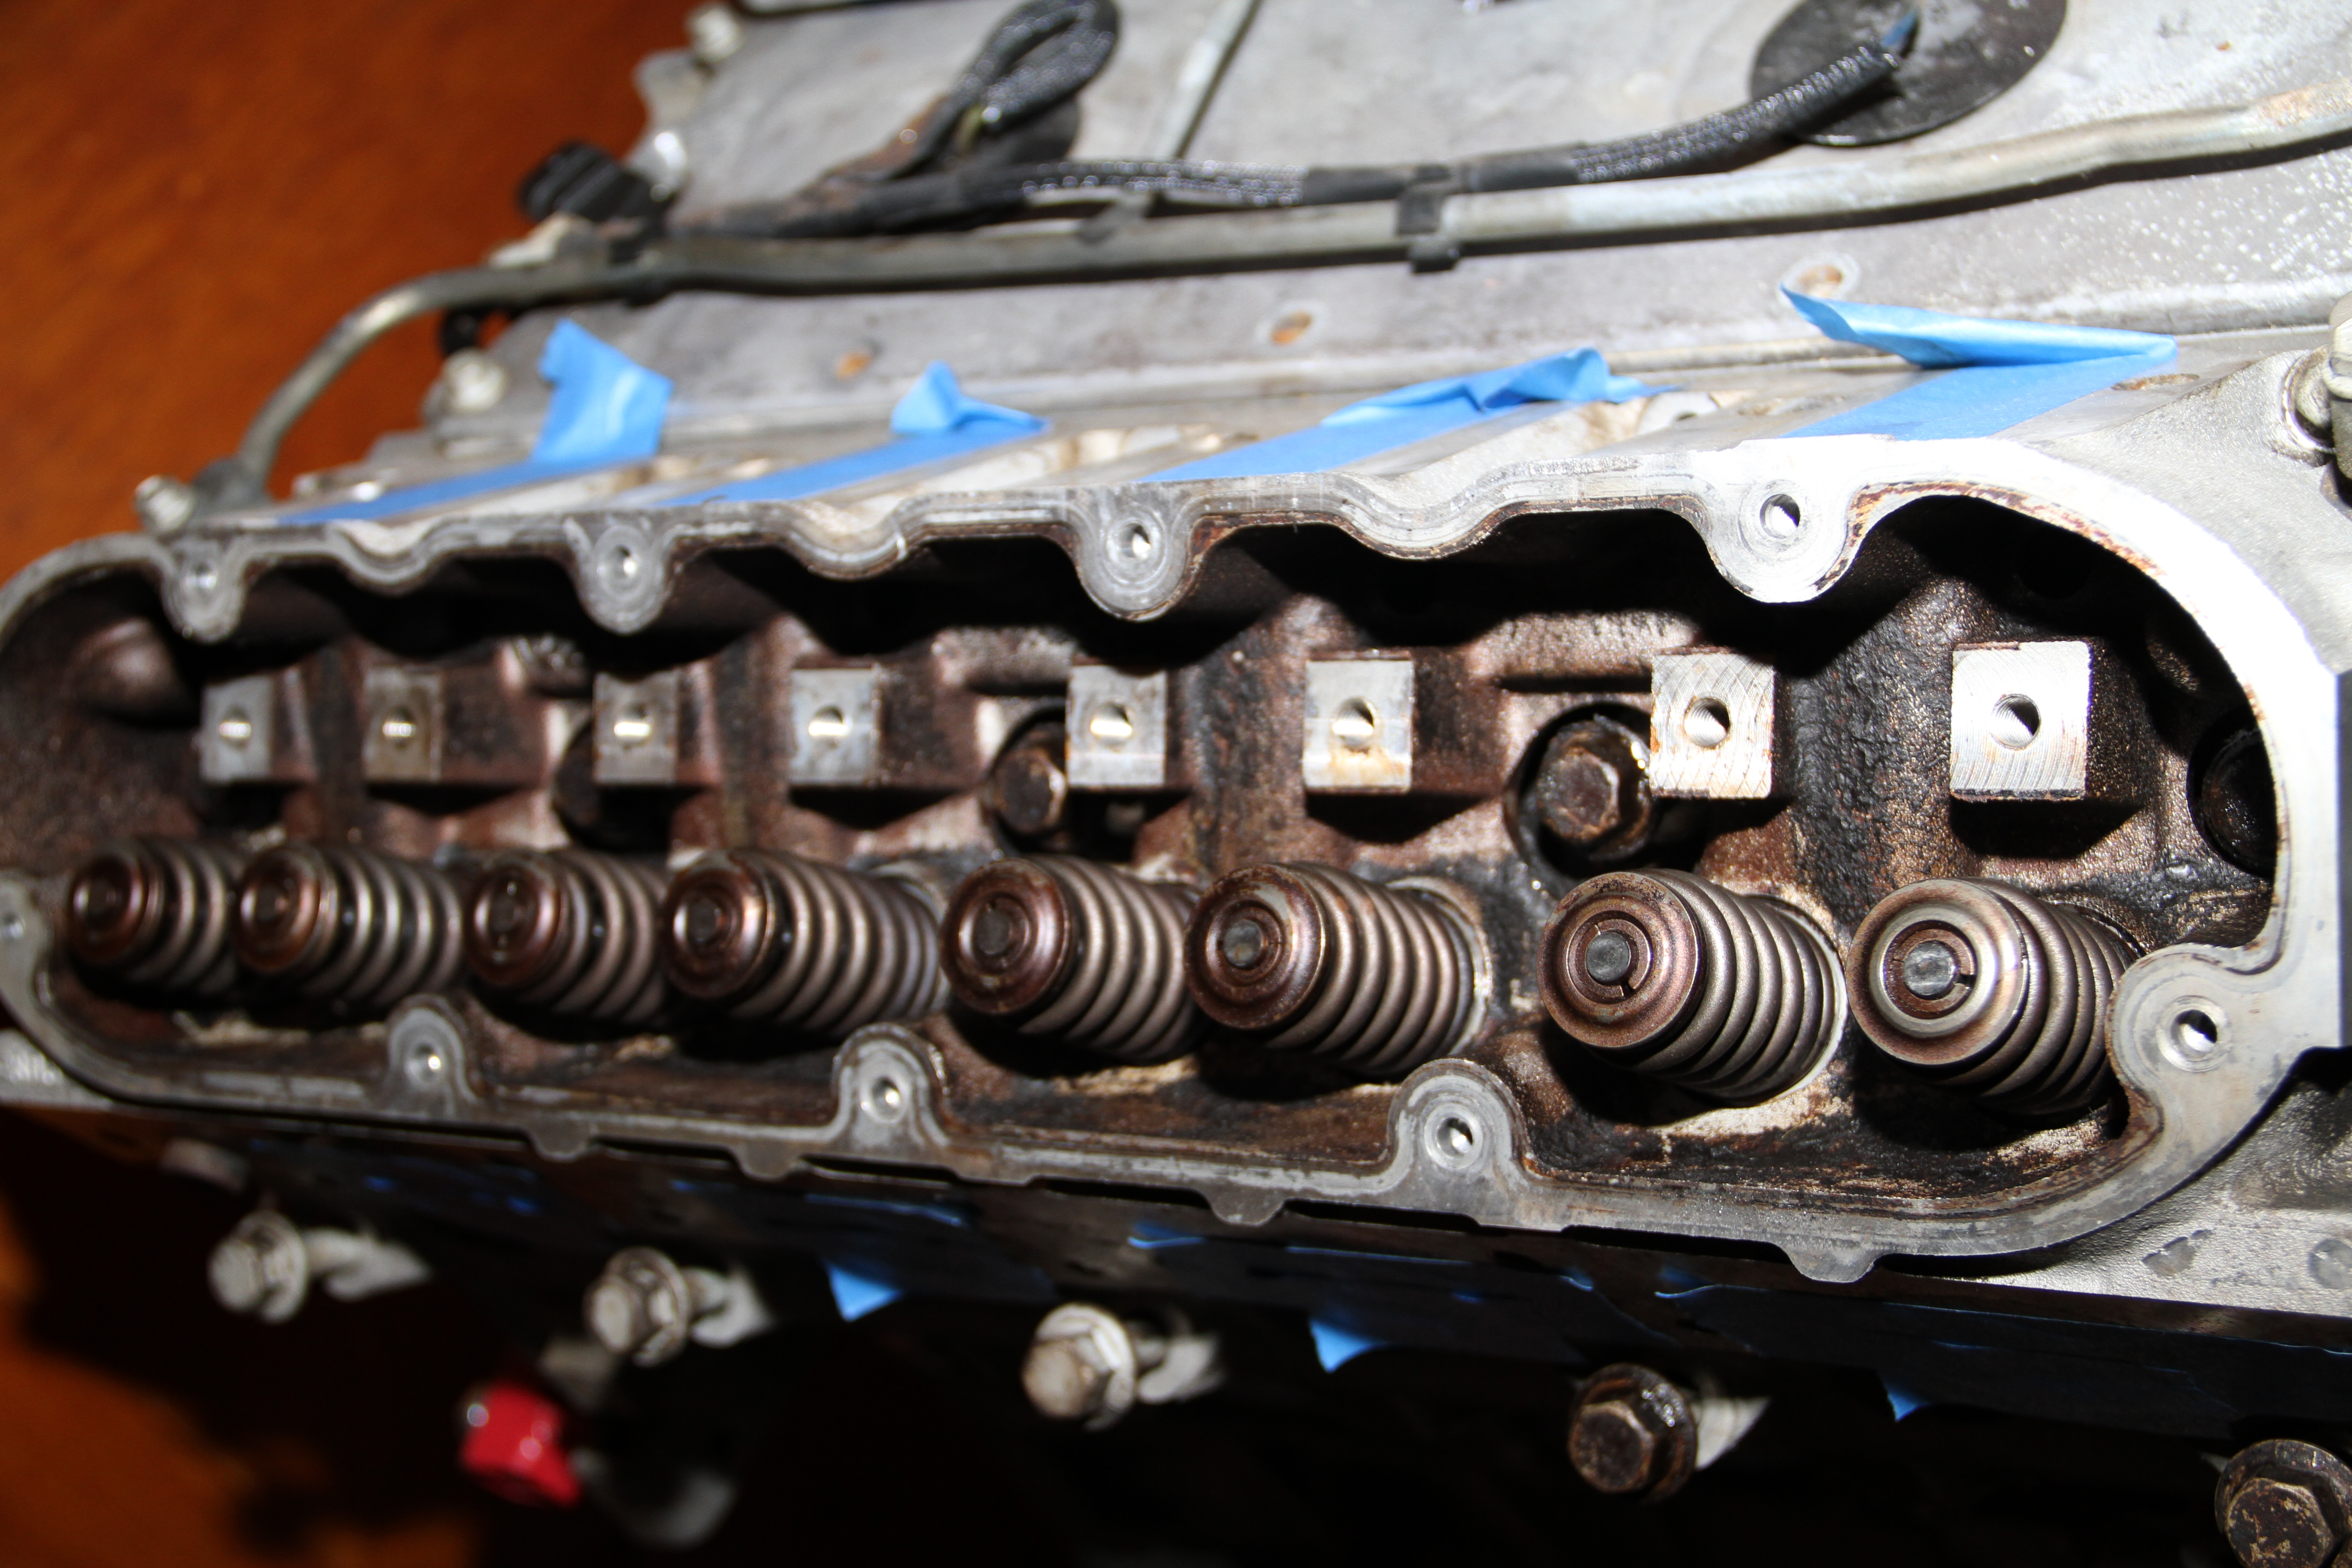
Nasty I don't like how dirty they are so I will send these off to the machine shop to get cleaned..
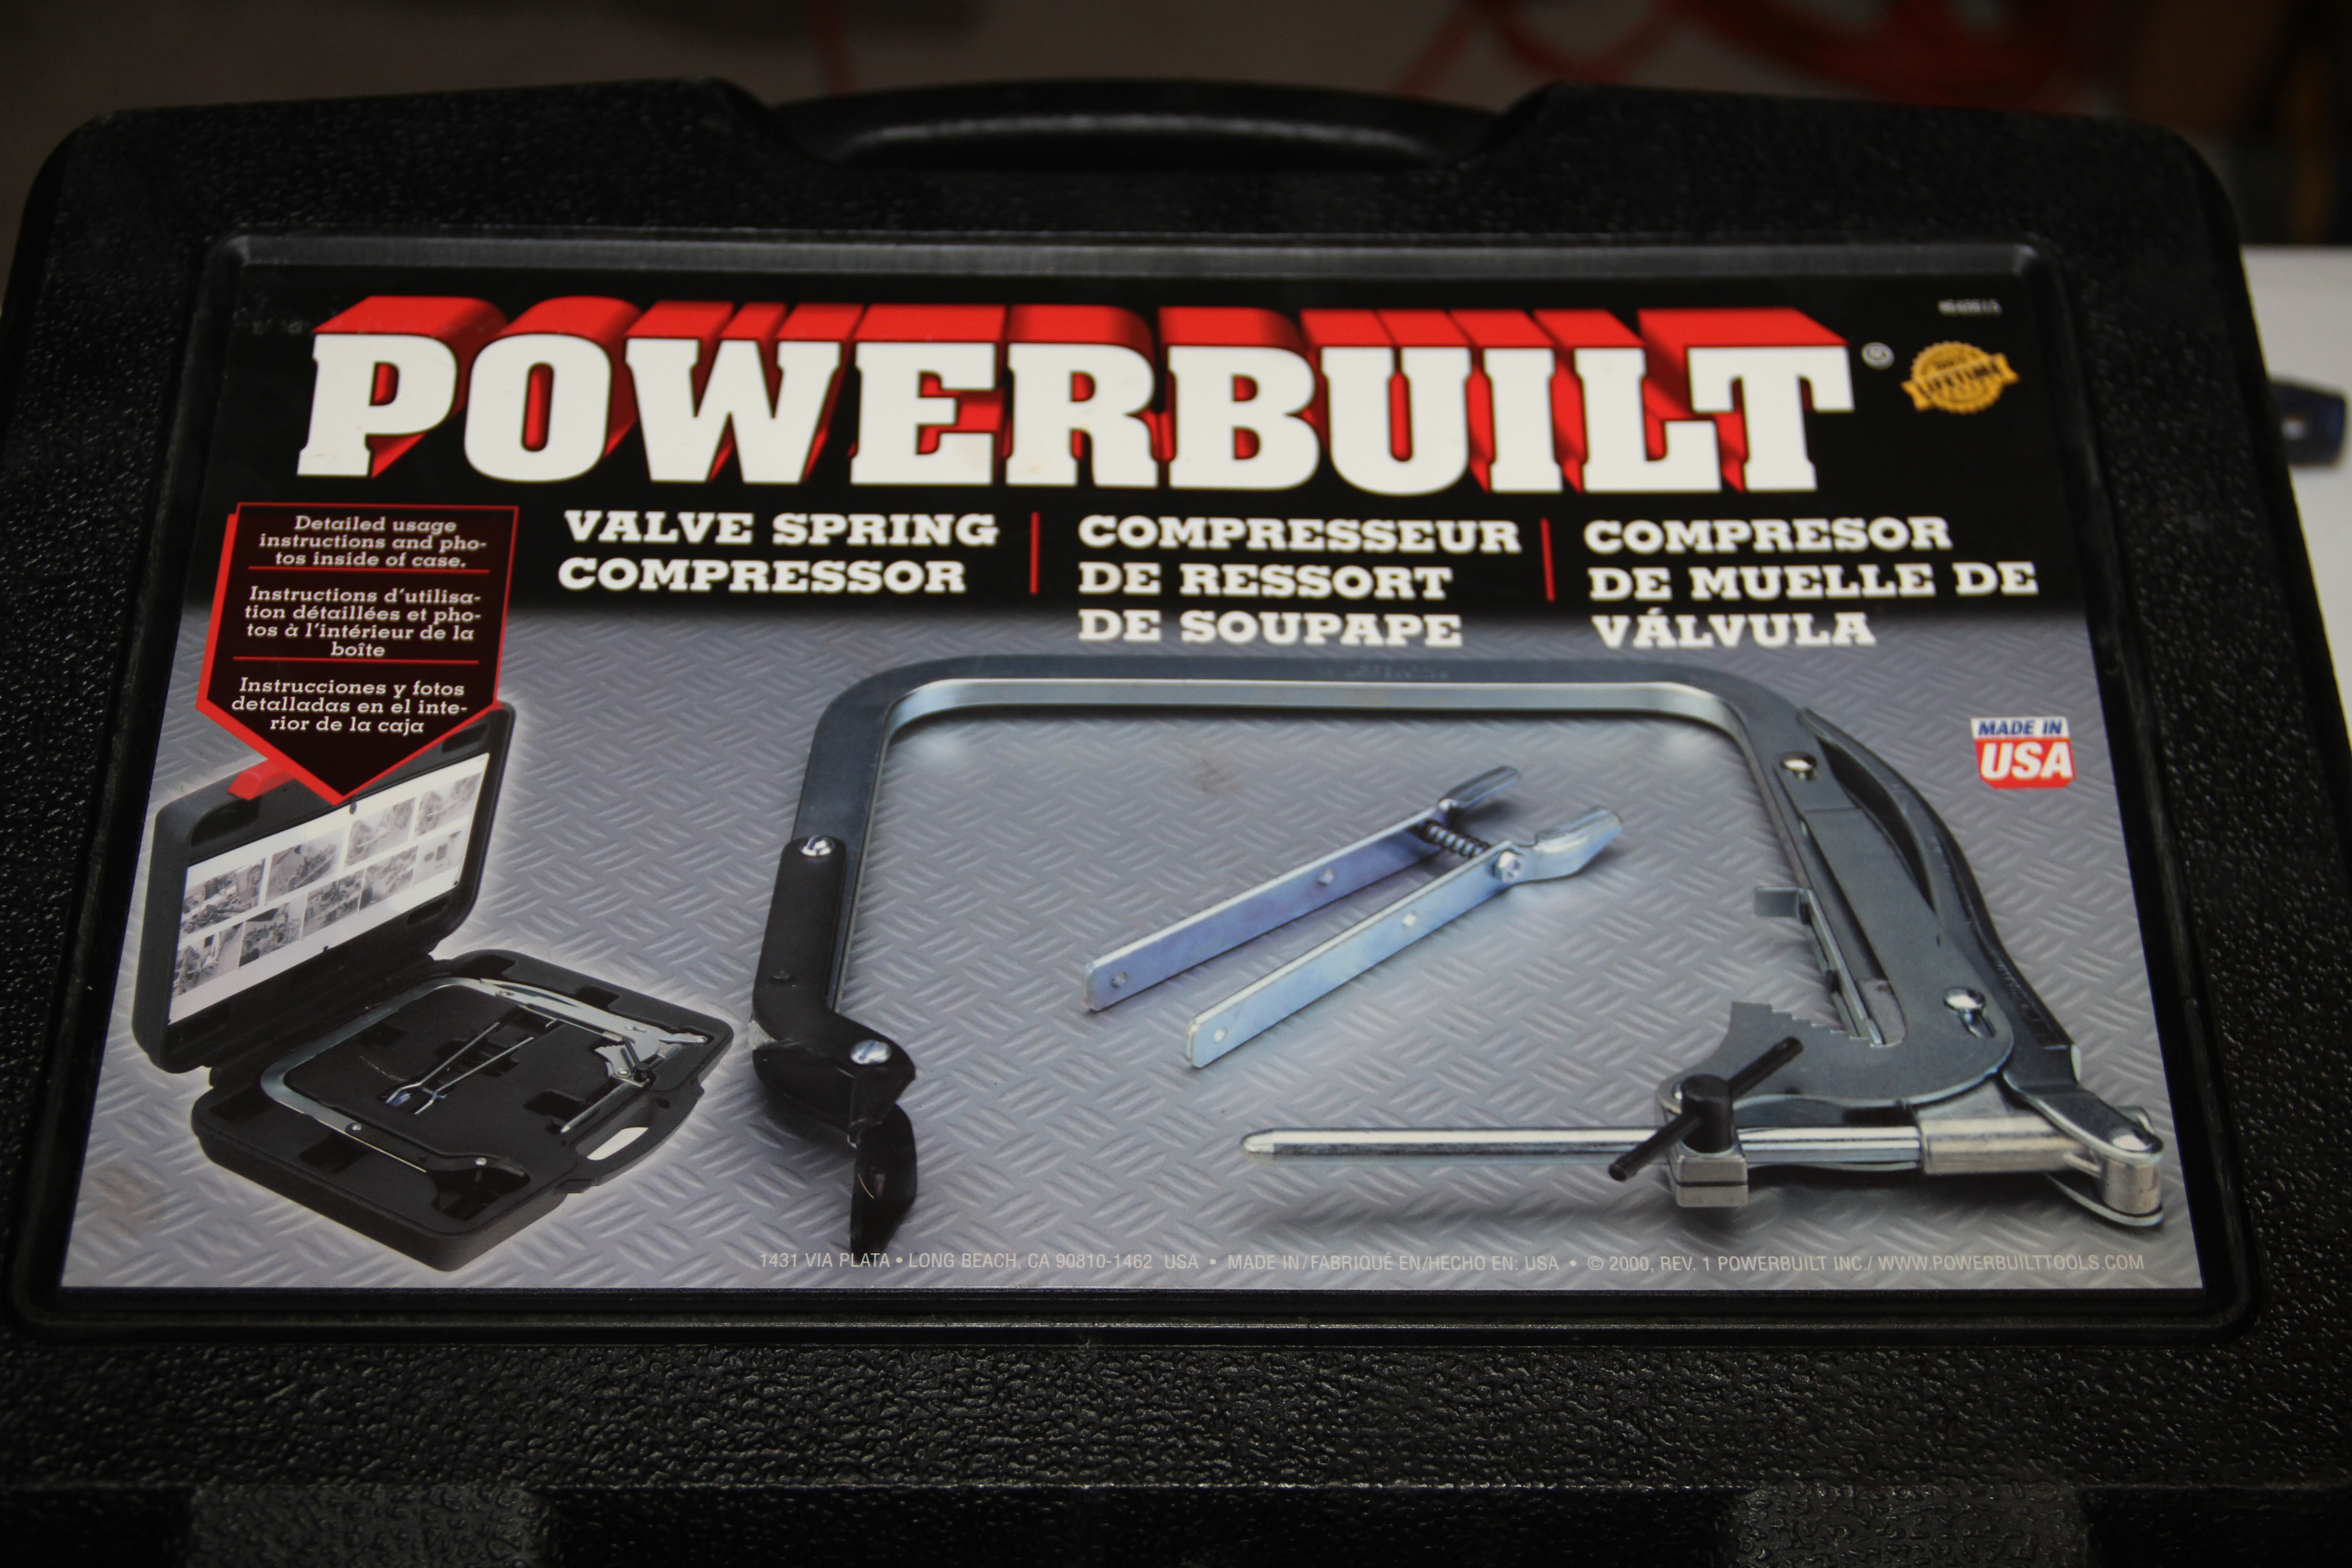
To have the heads ready for the machine shop, I went to Advance Auto parts to rent out there Valve Spring Compressor. This is a free service through them and you guys should def take advantage of it.. Just leave a deposit and you get it back when you return it..

Comes with everything you need to get the job done.. It is kind of like a big *** C clamp
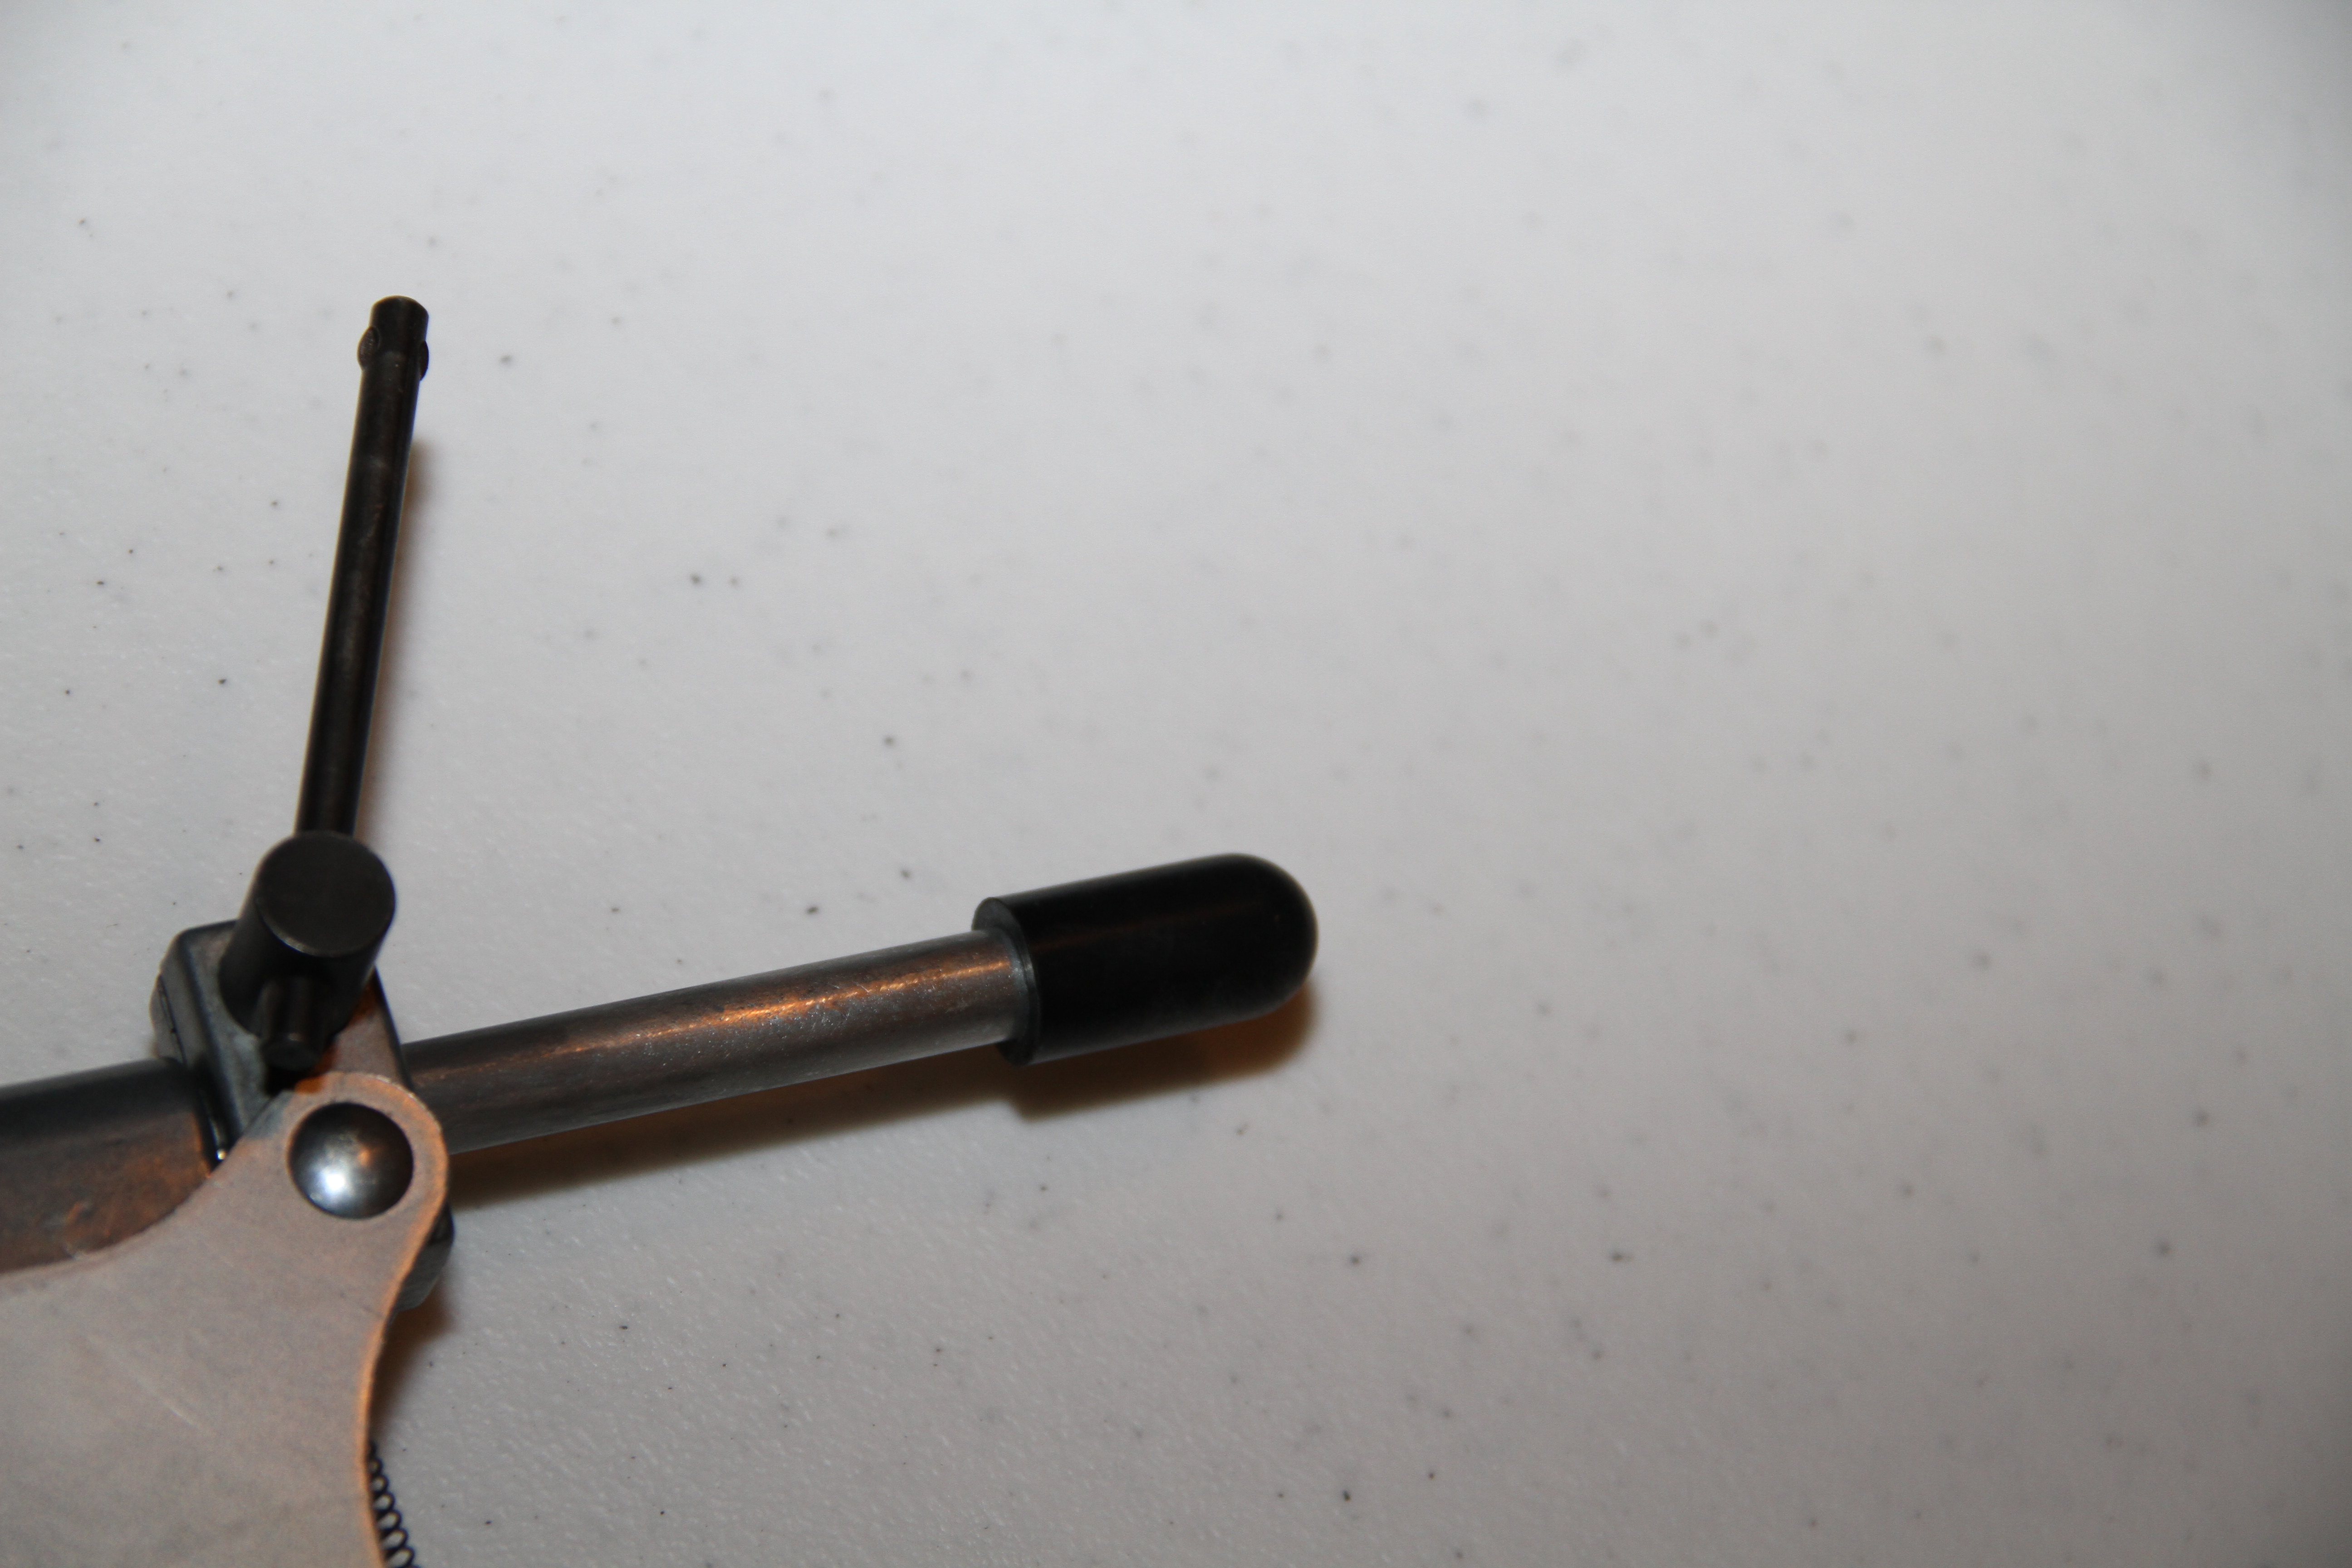
I placed a little rubber cap over the end of the compressor so it would not F up the valves..
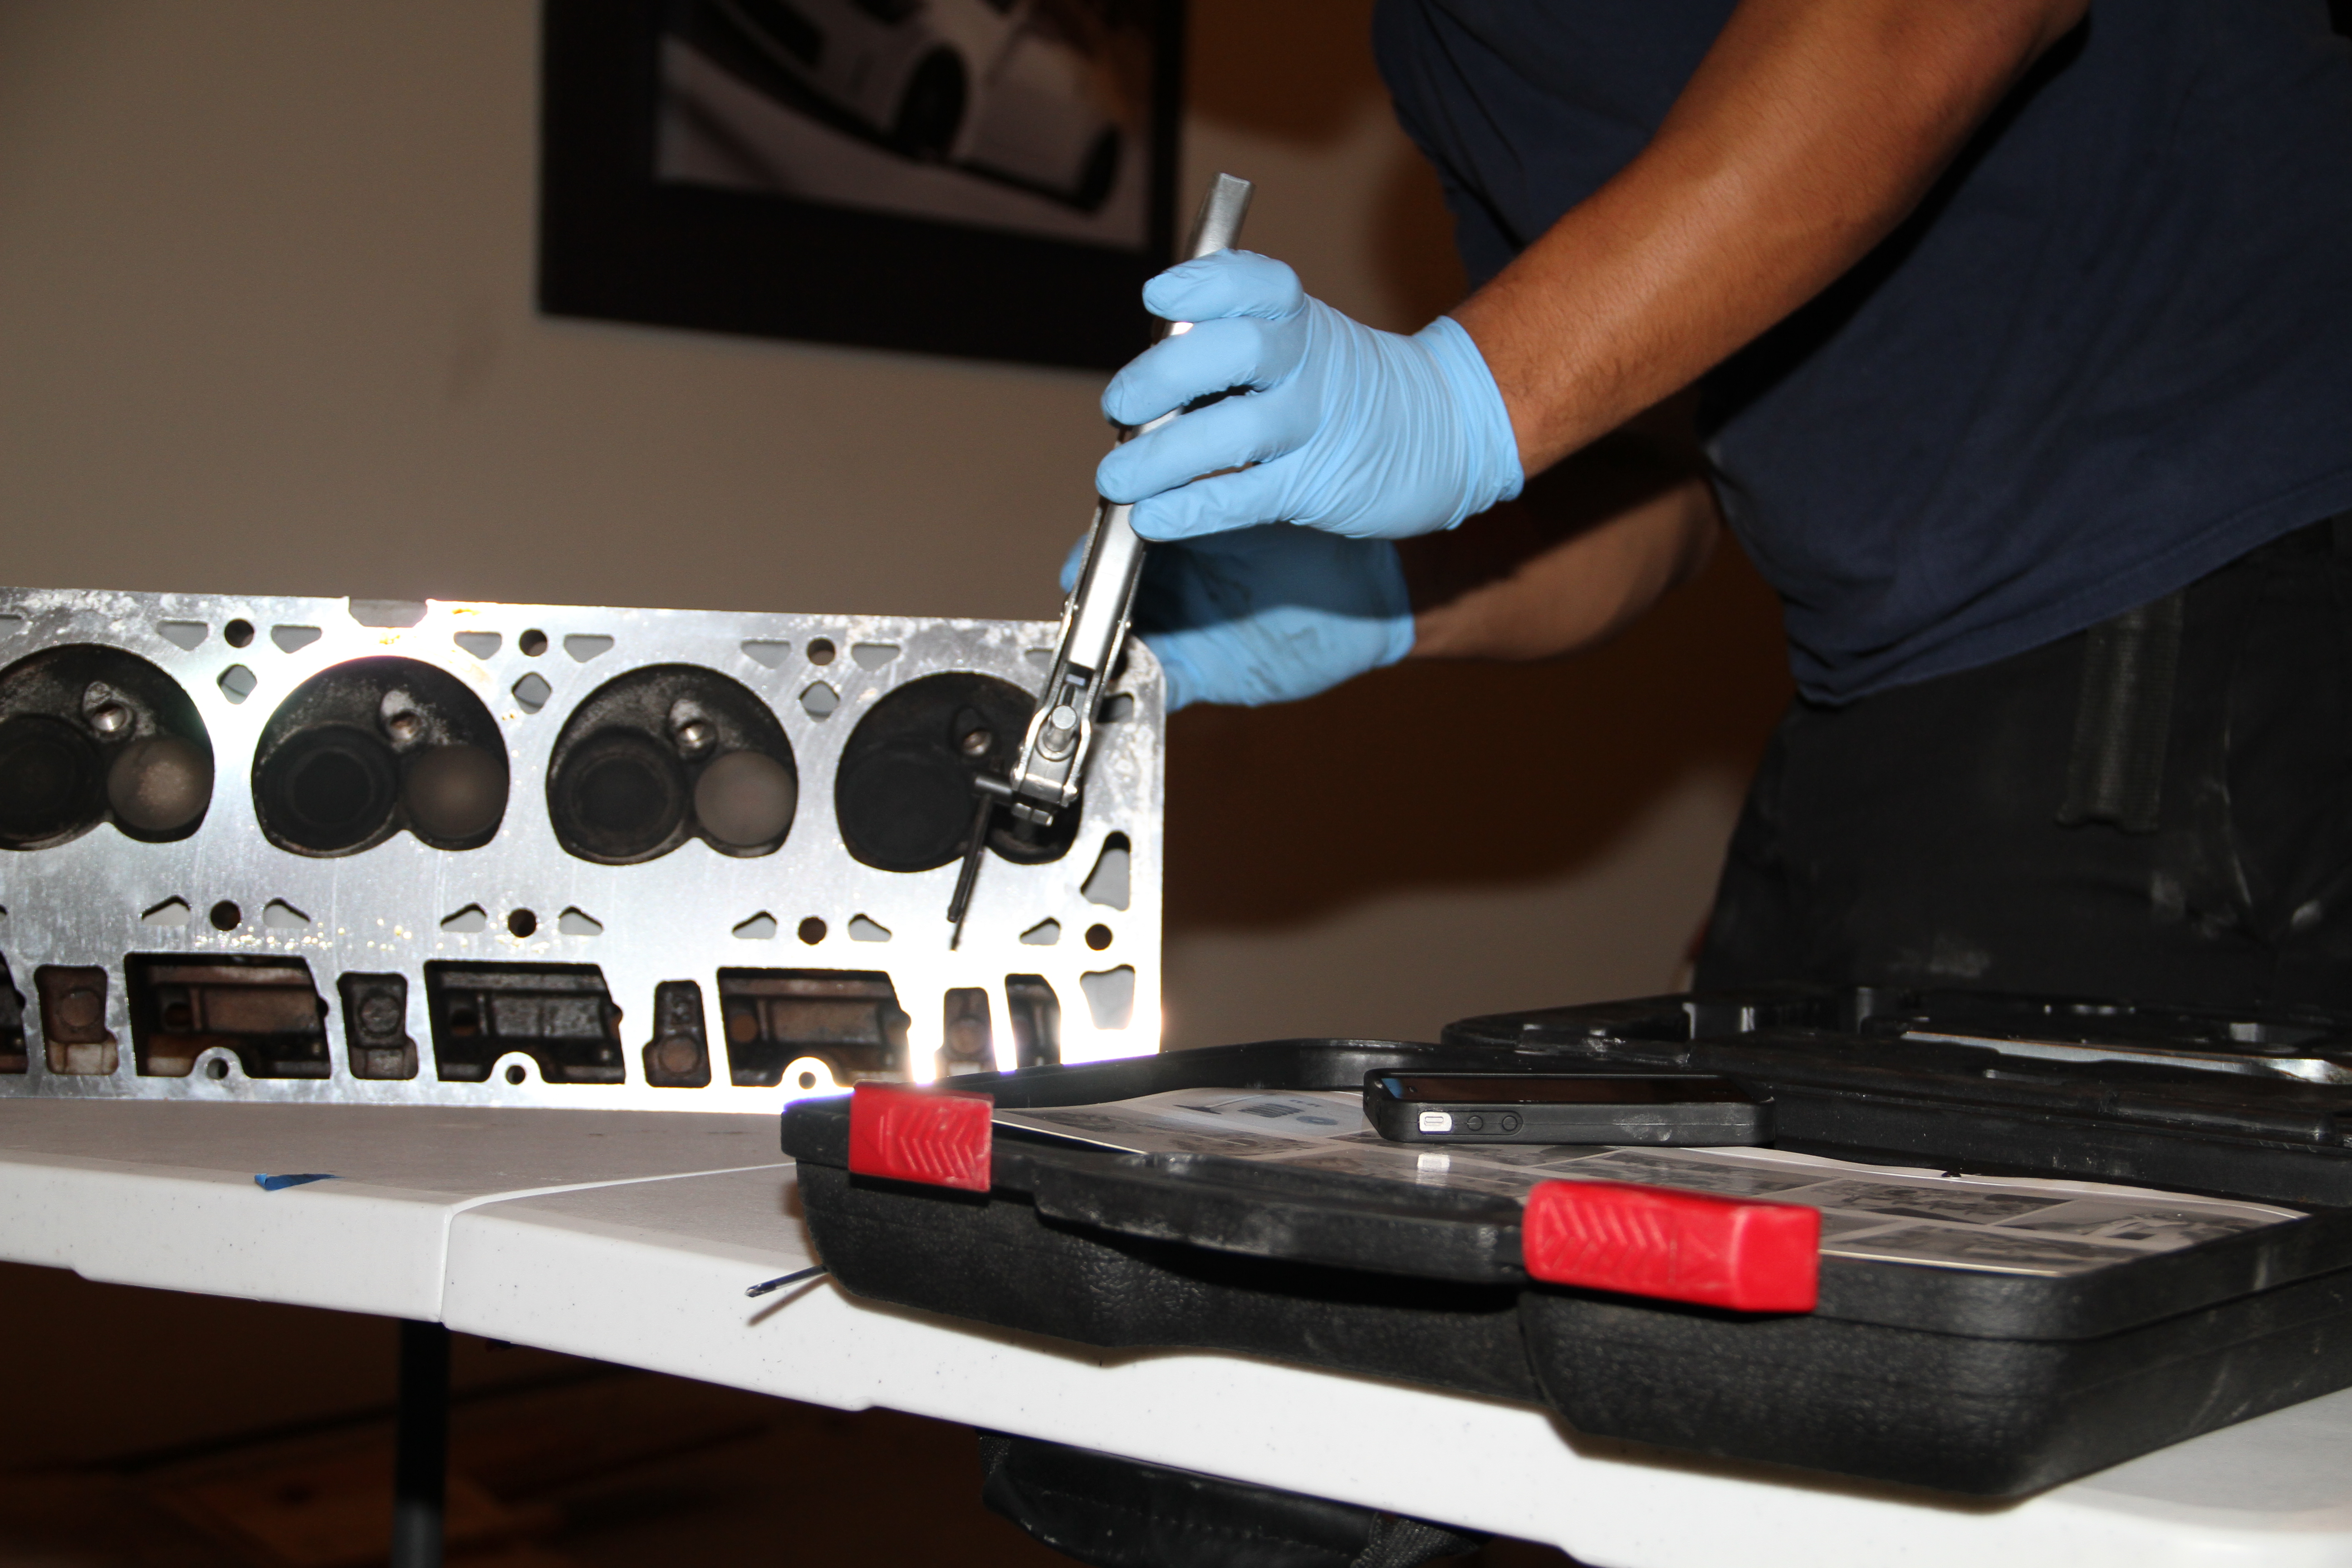
Lets do this... Gloves are
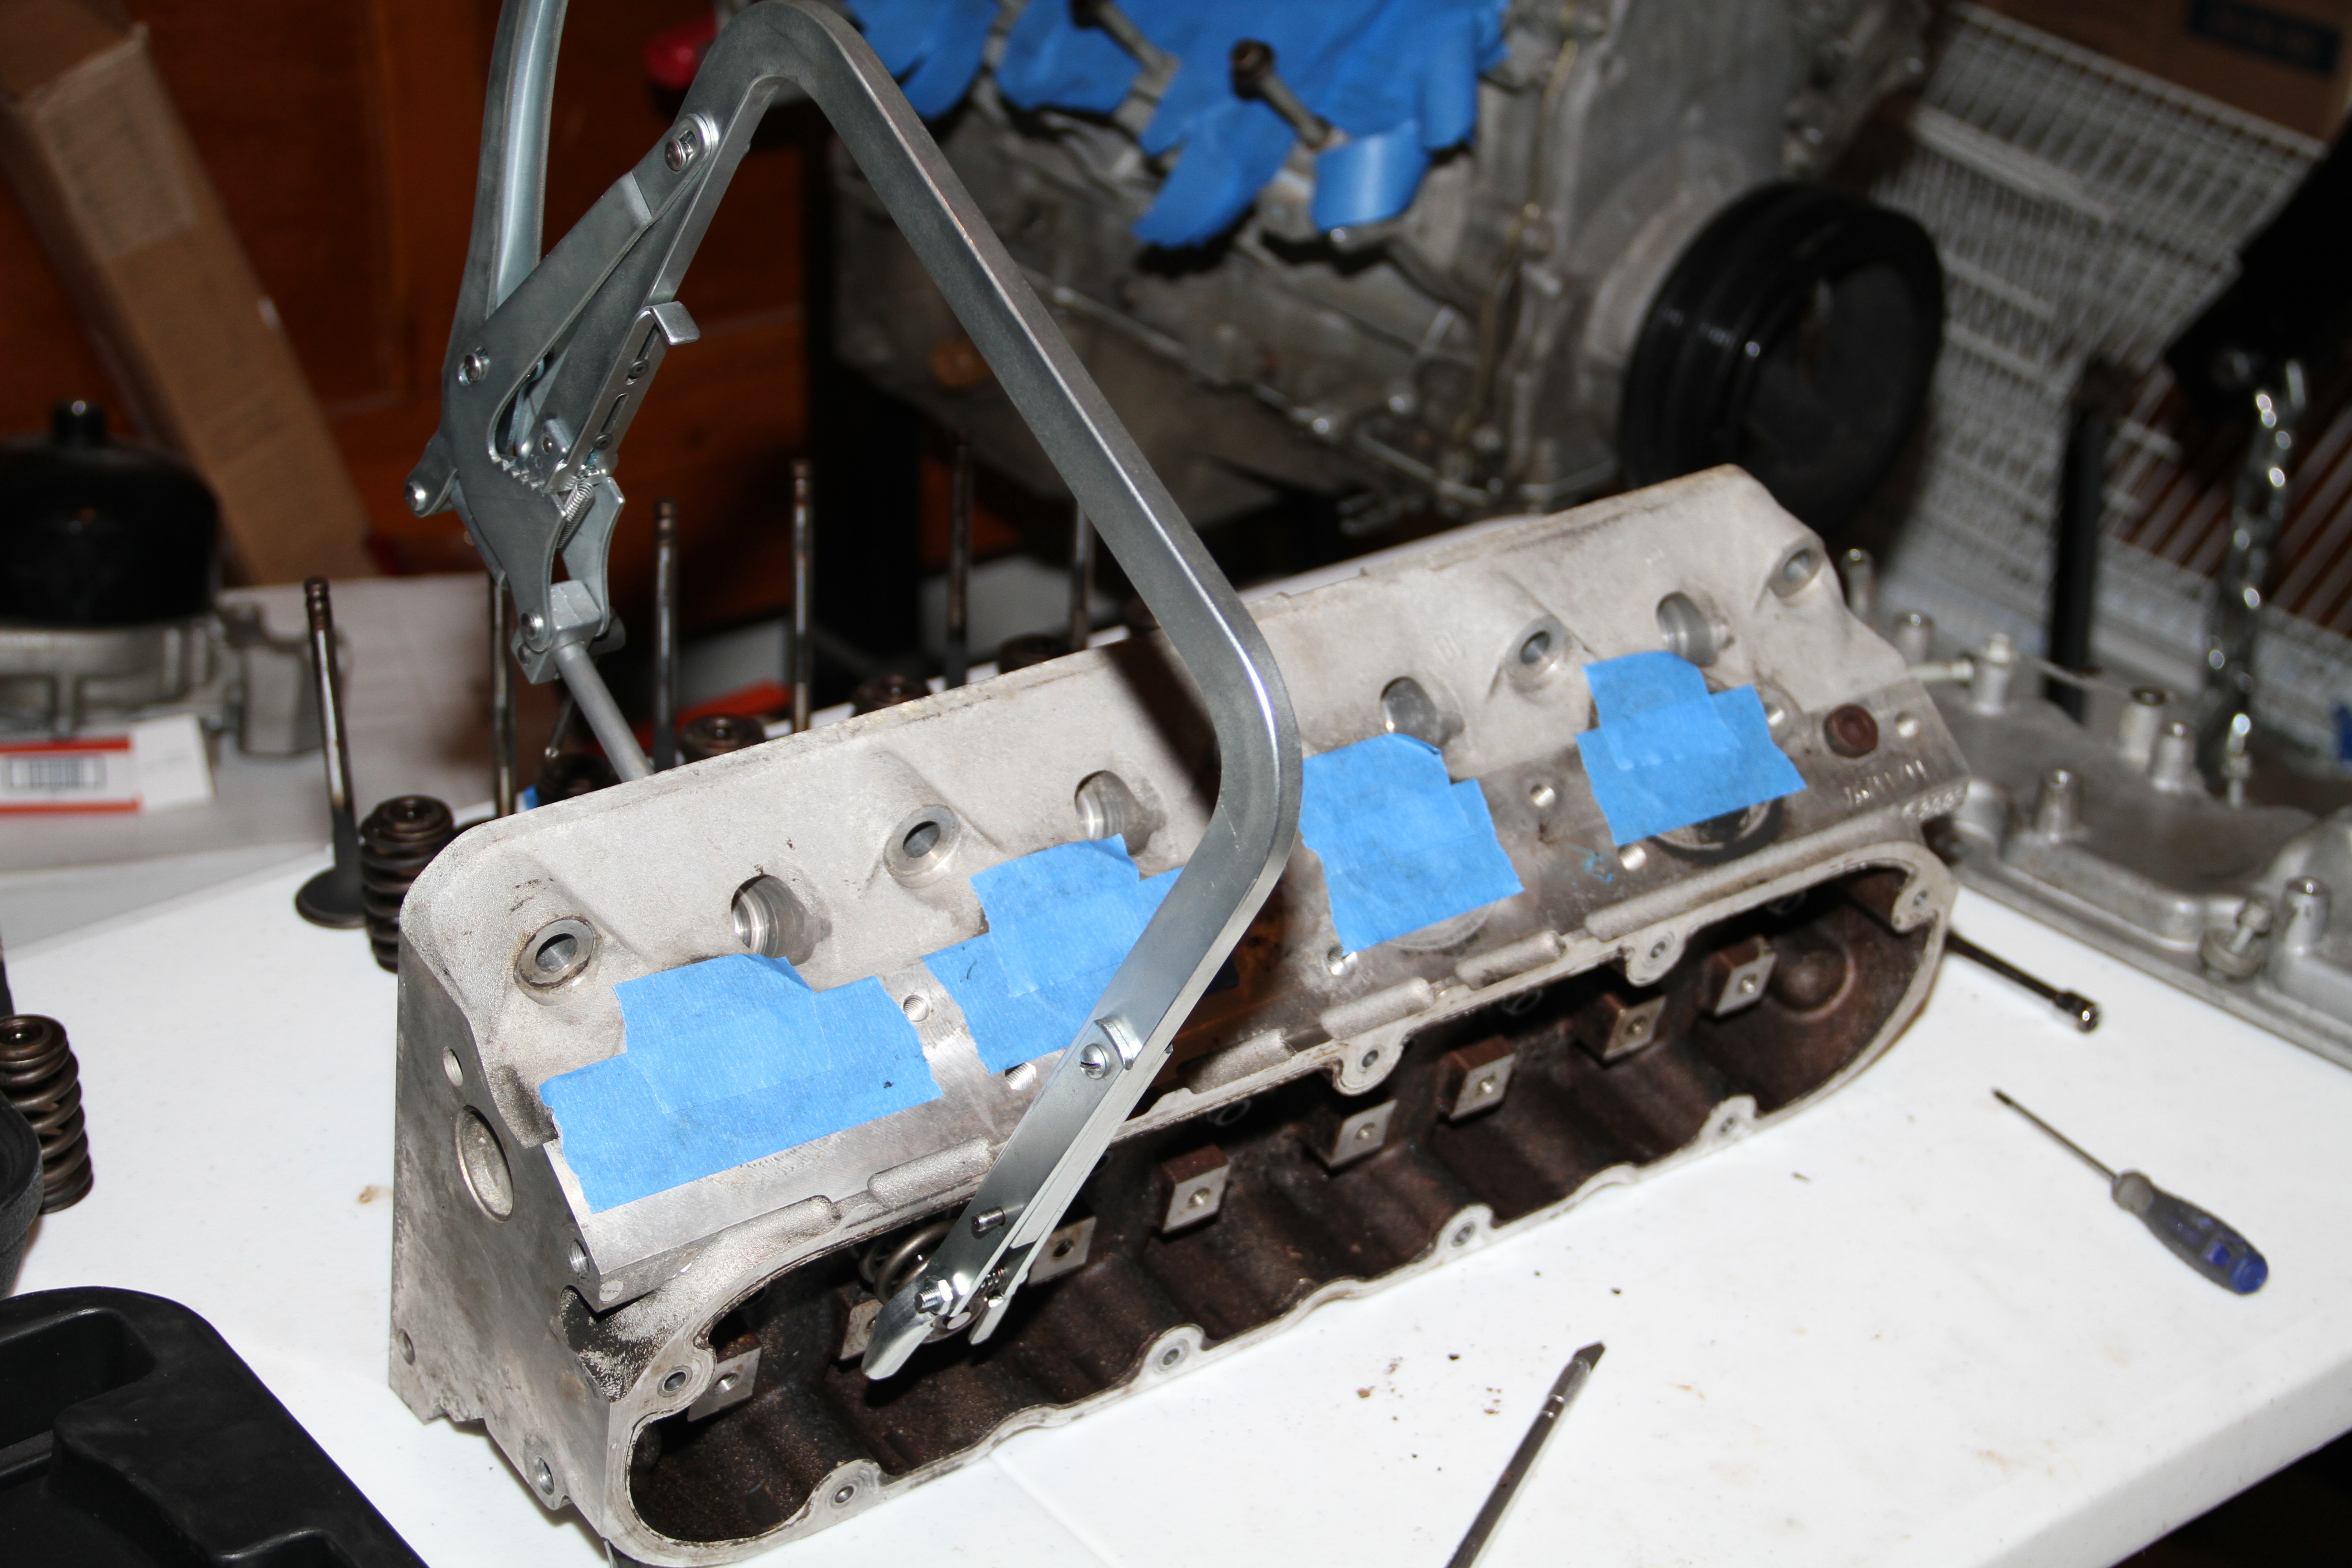
This is how you use this tool for those that don't know. The Heads have to be off the engine to use this tool.
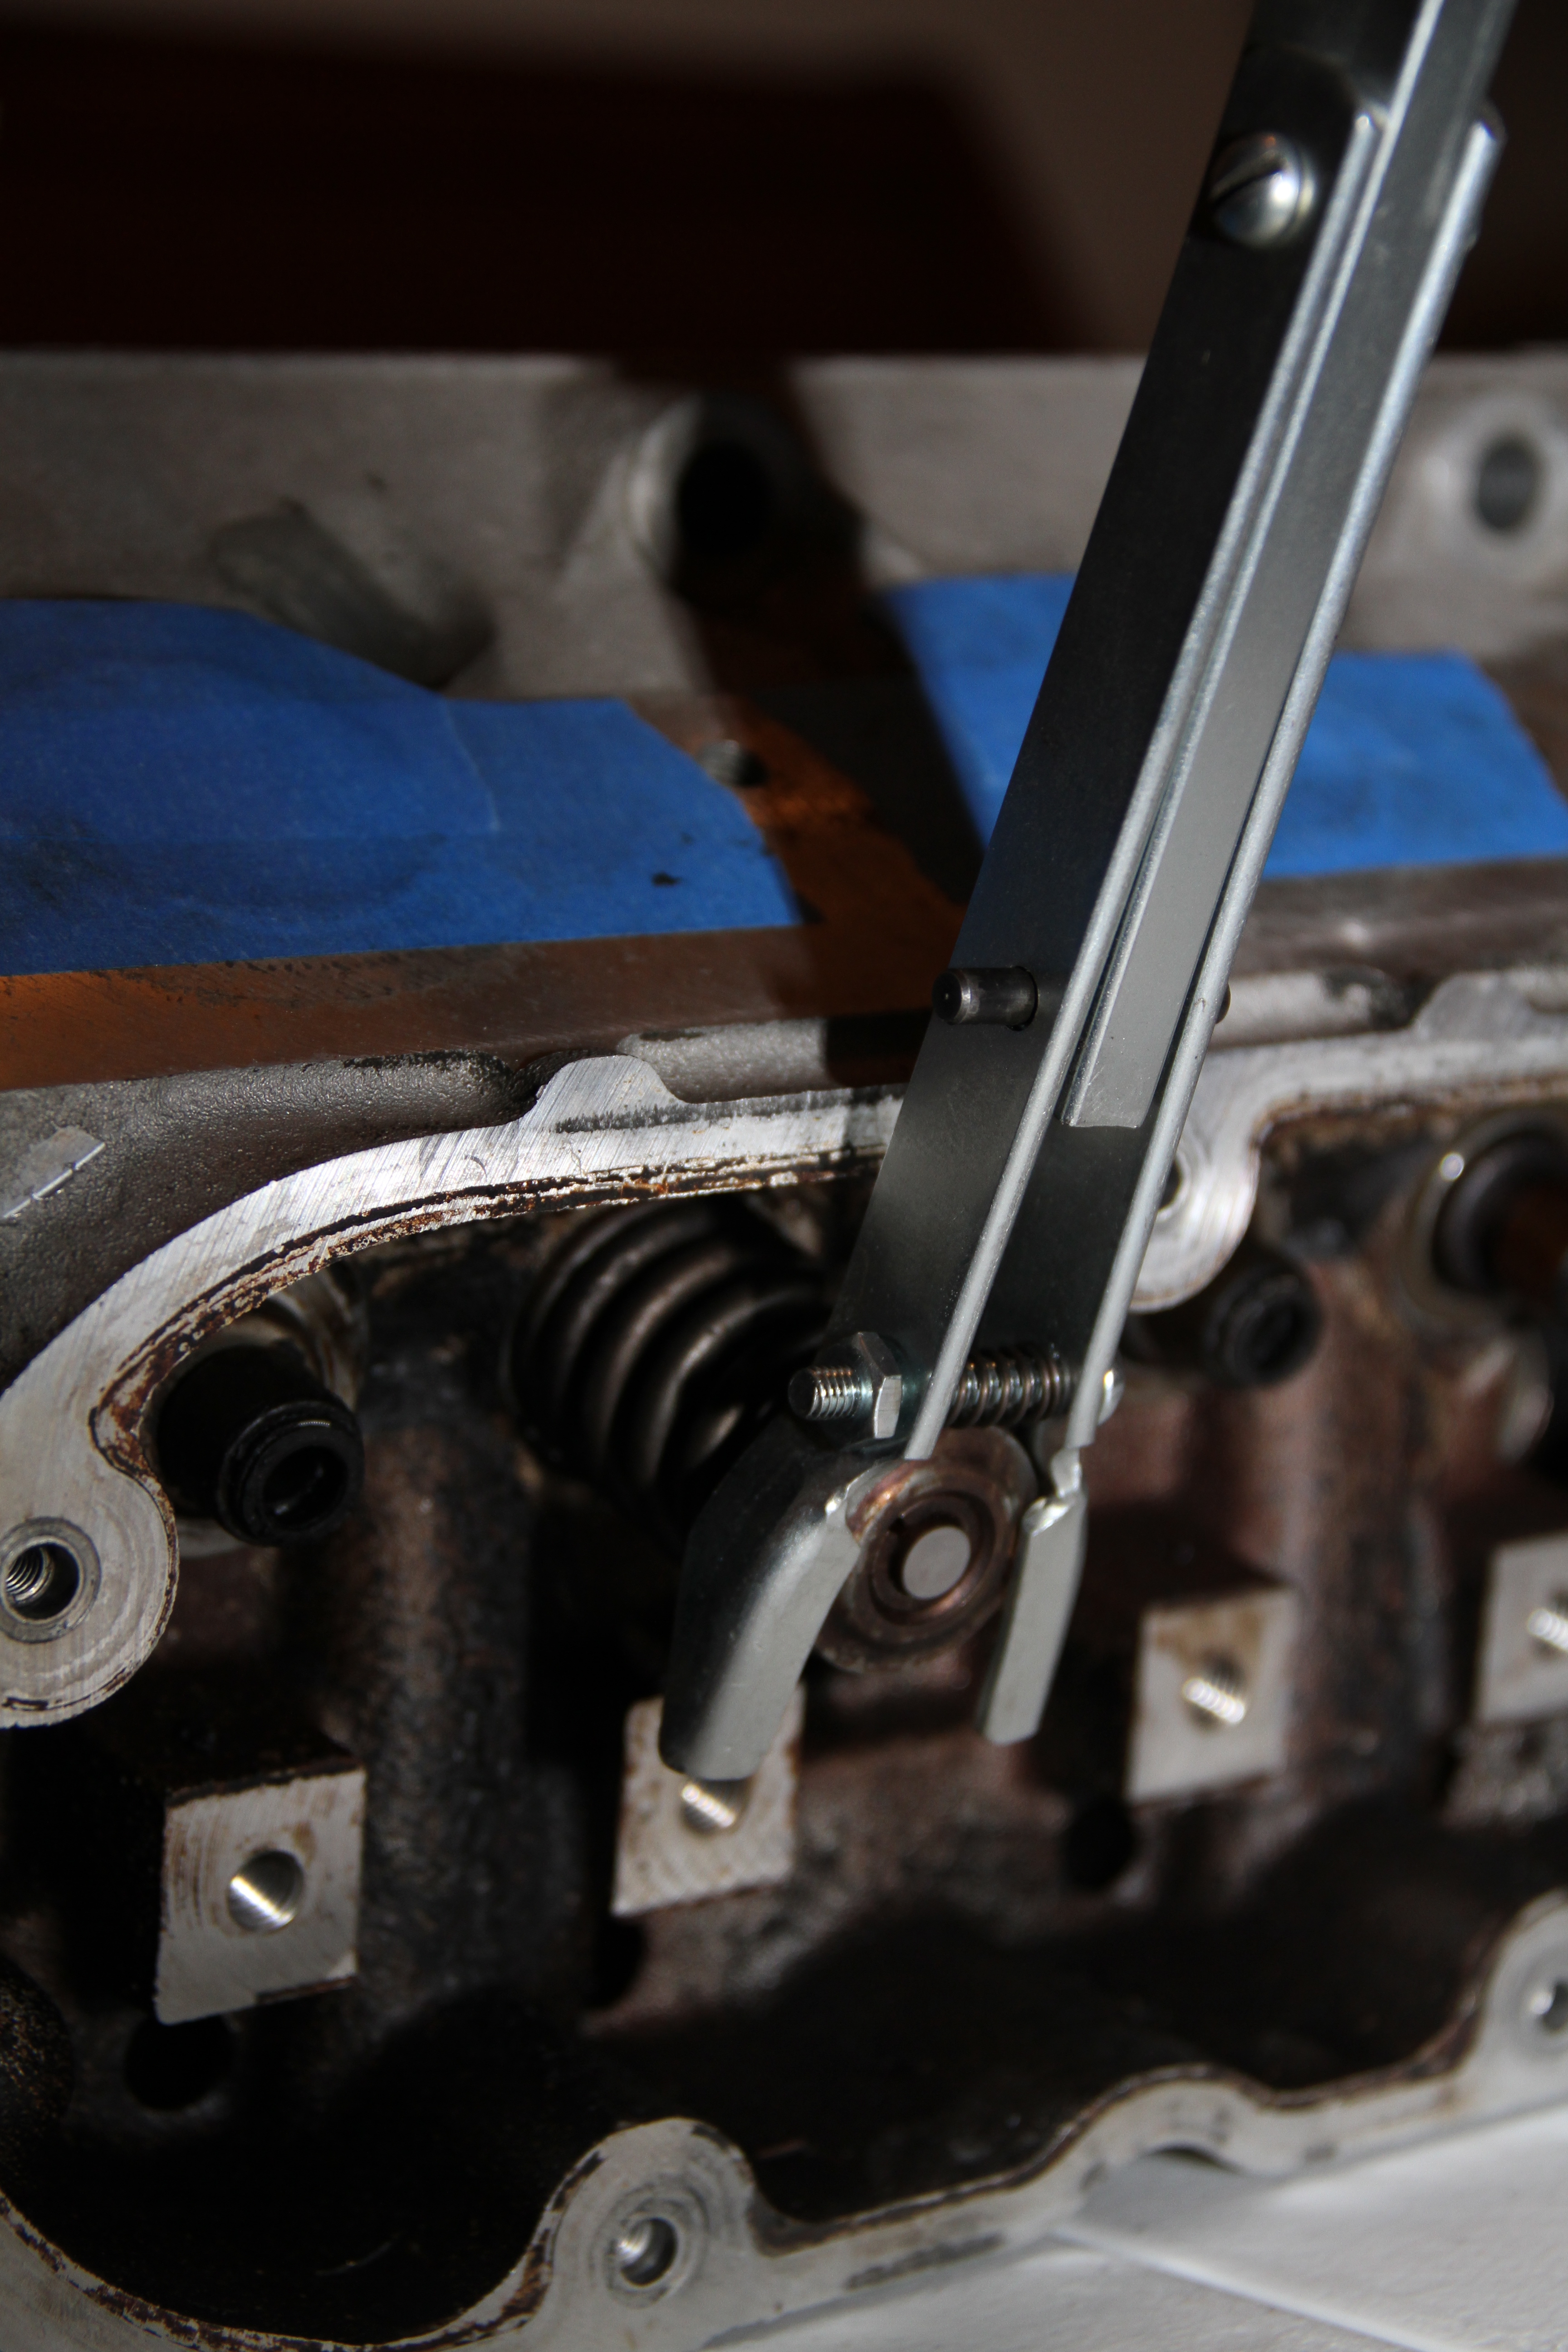
Placement of the tool
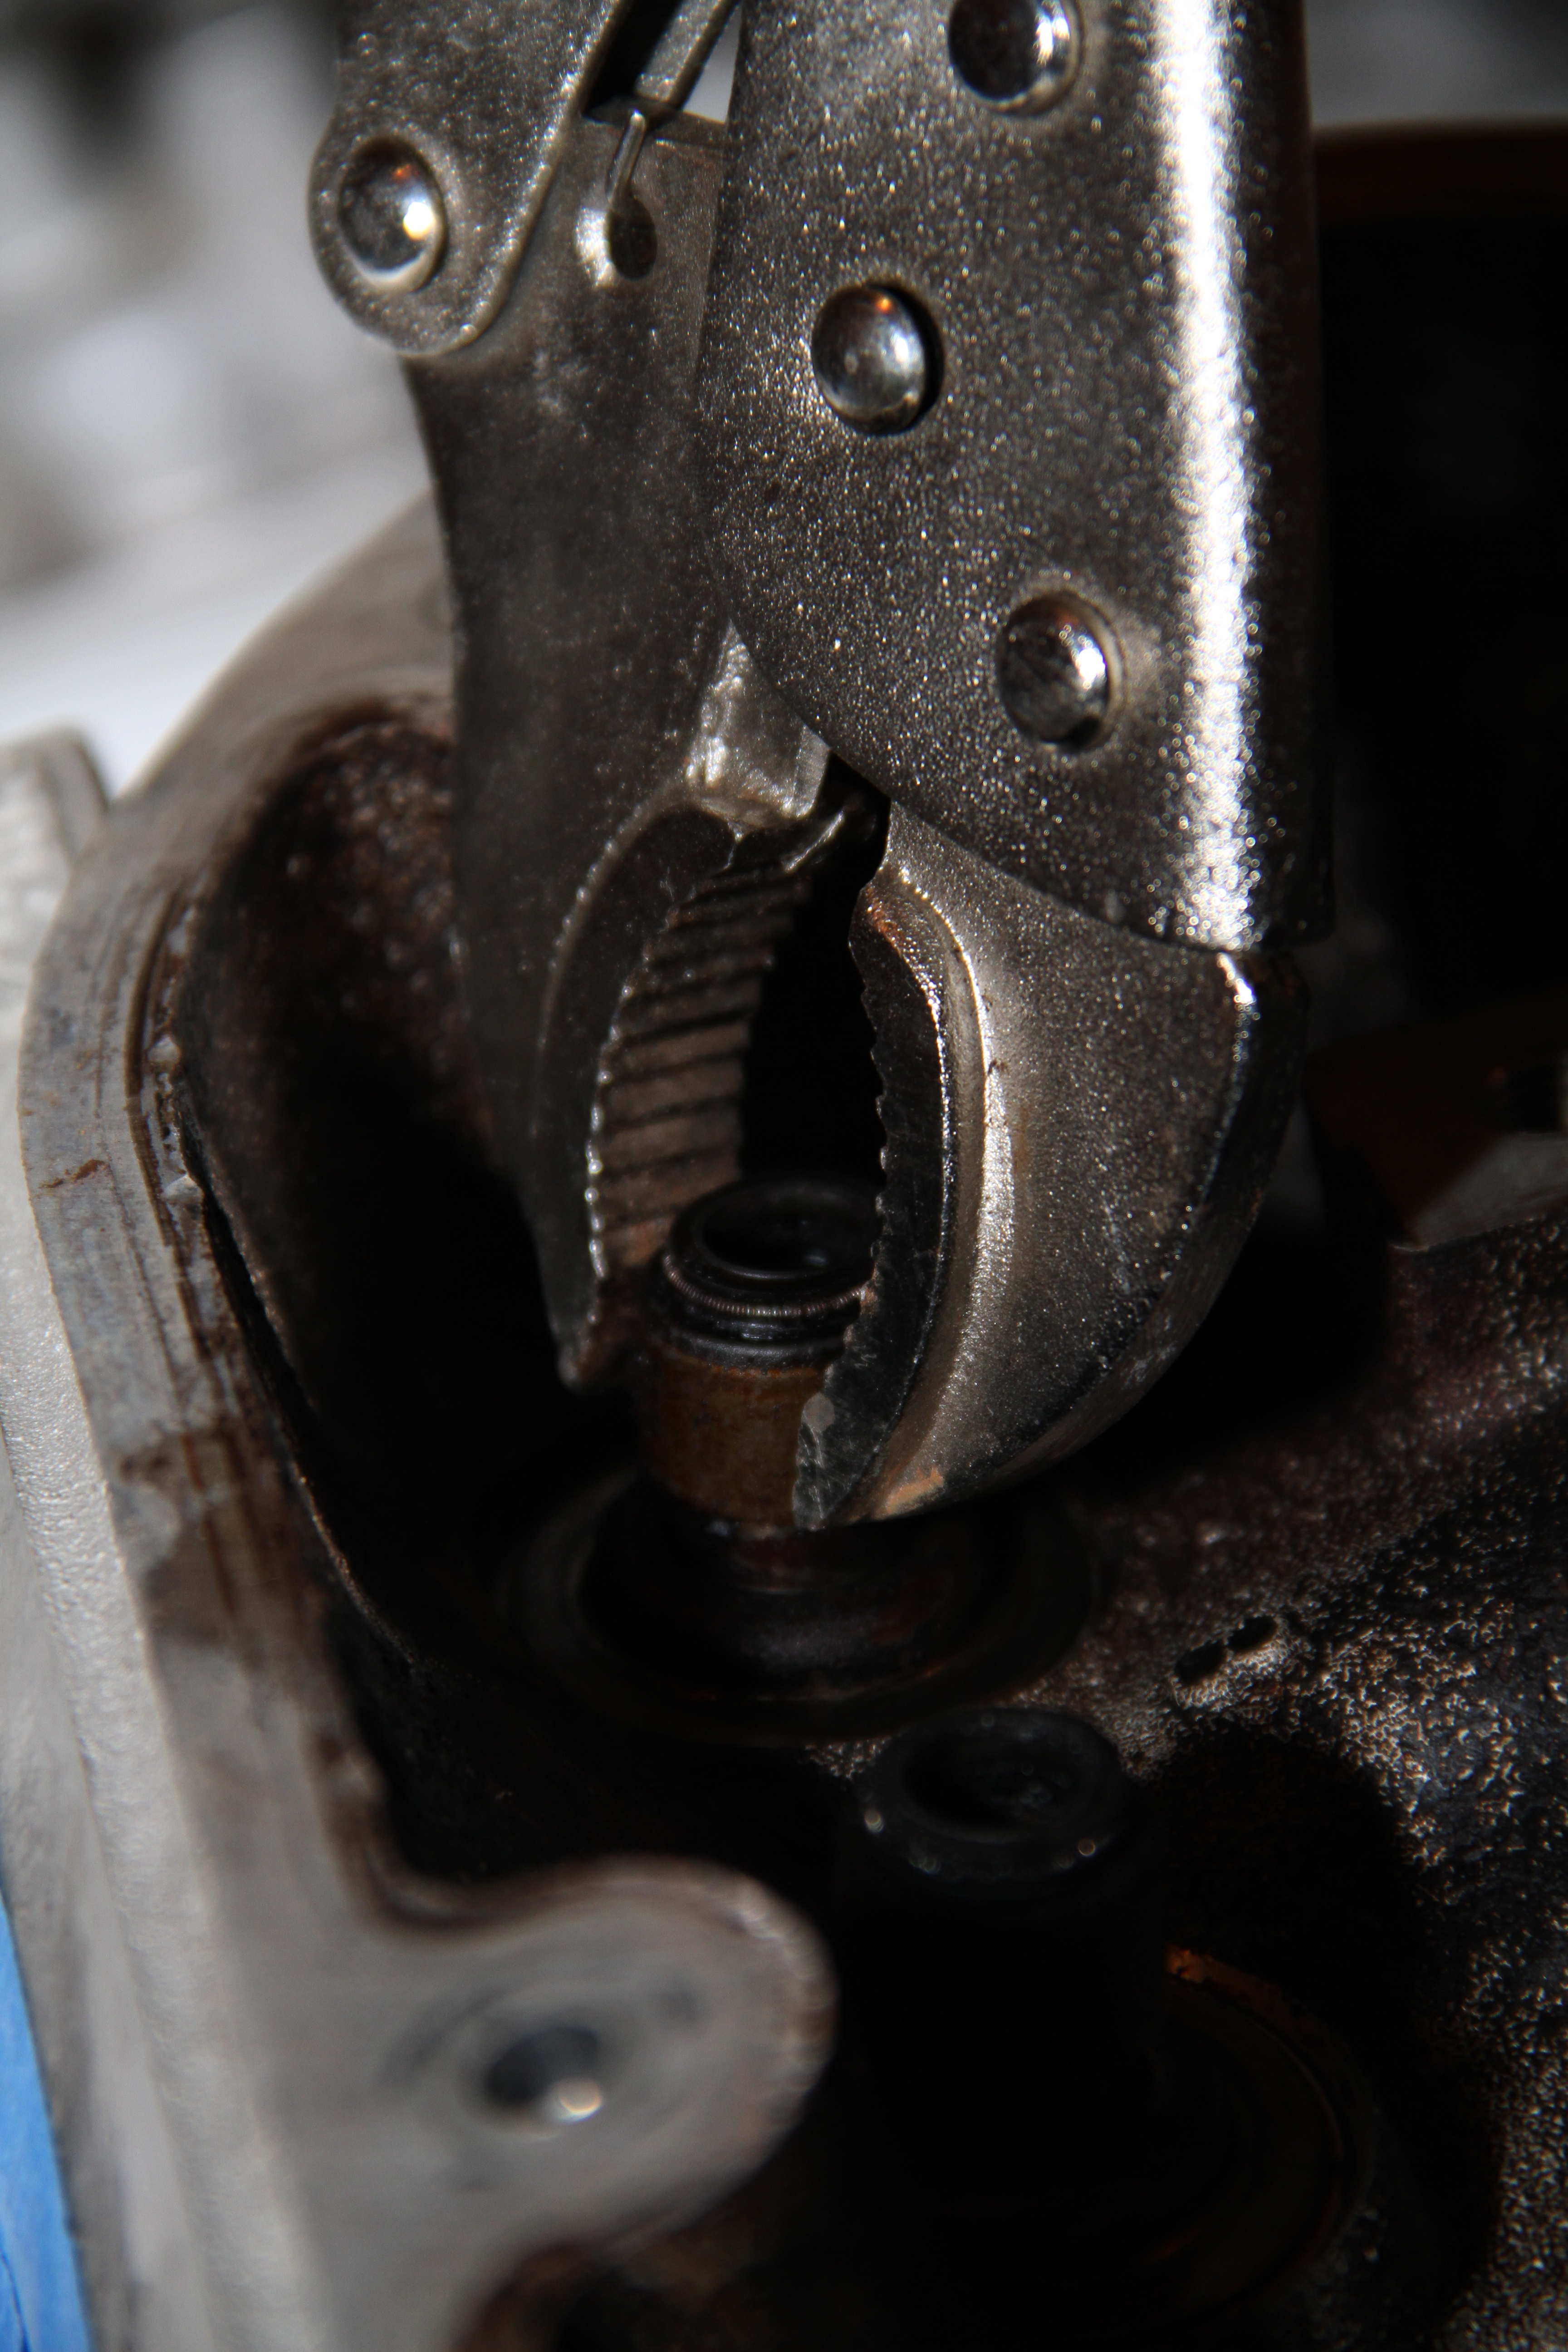
next is getting these damn Valve seals out.. Just use pliers and a lot of force..
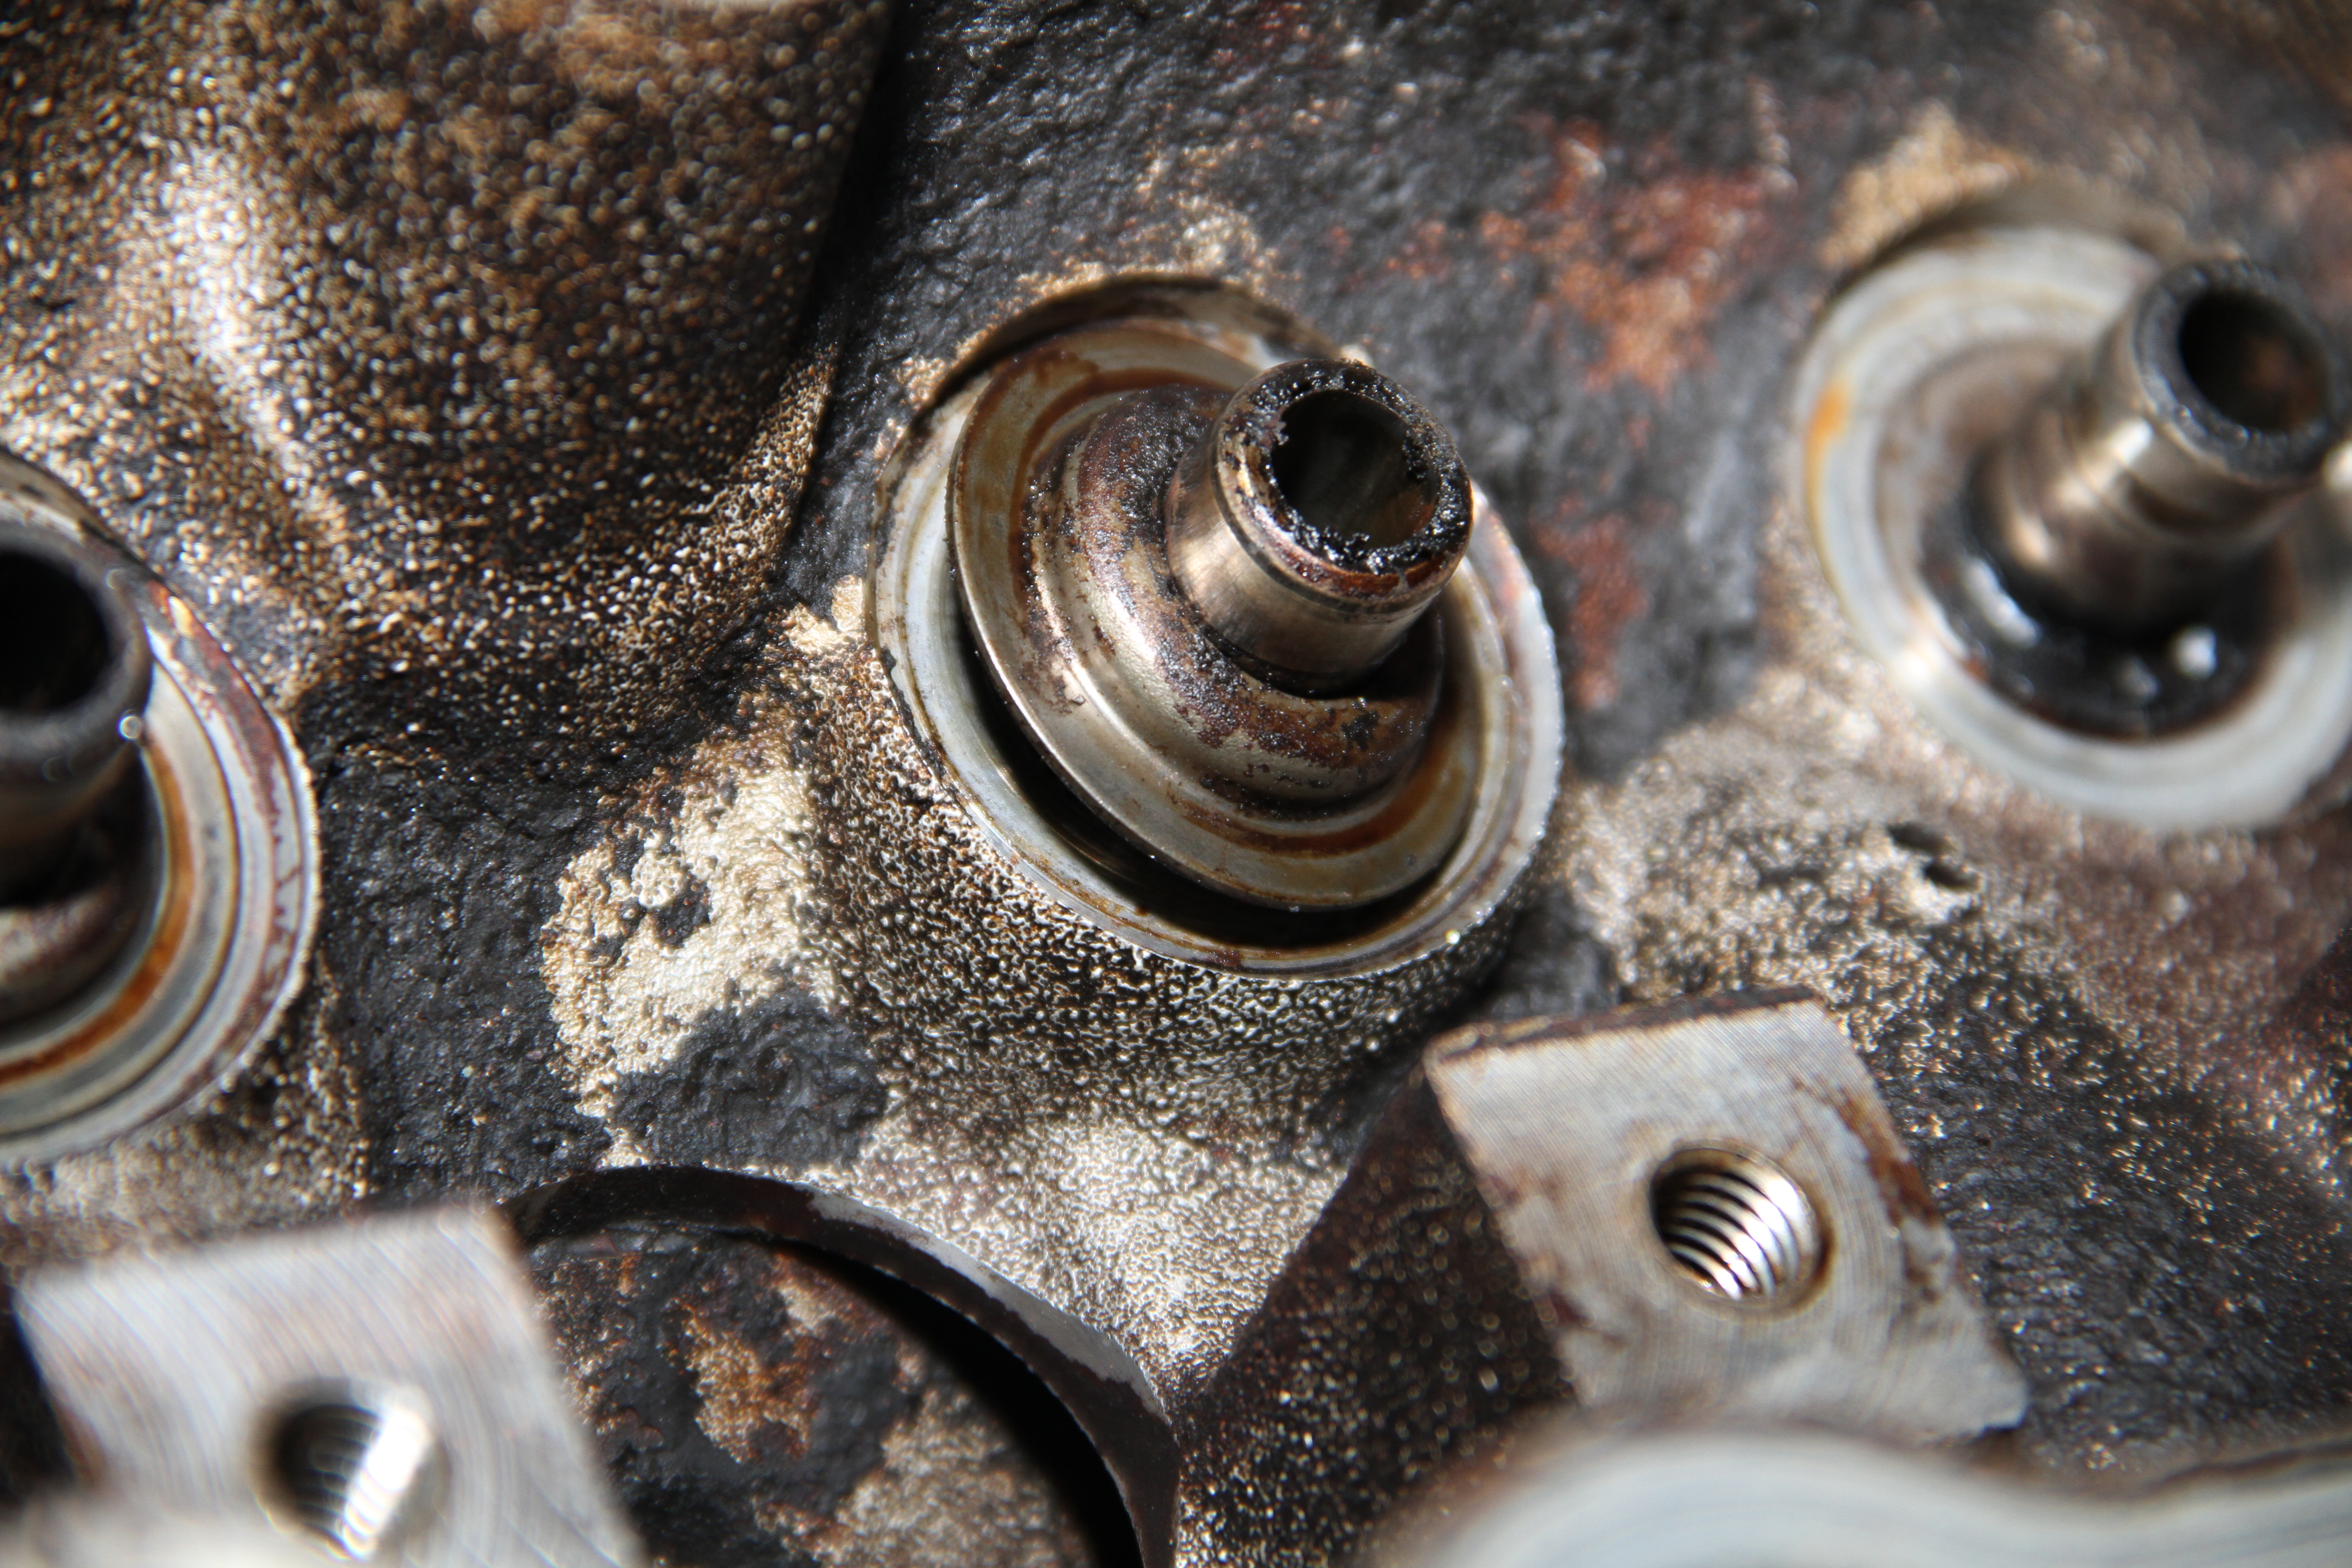
Then remove the retainers...
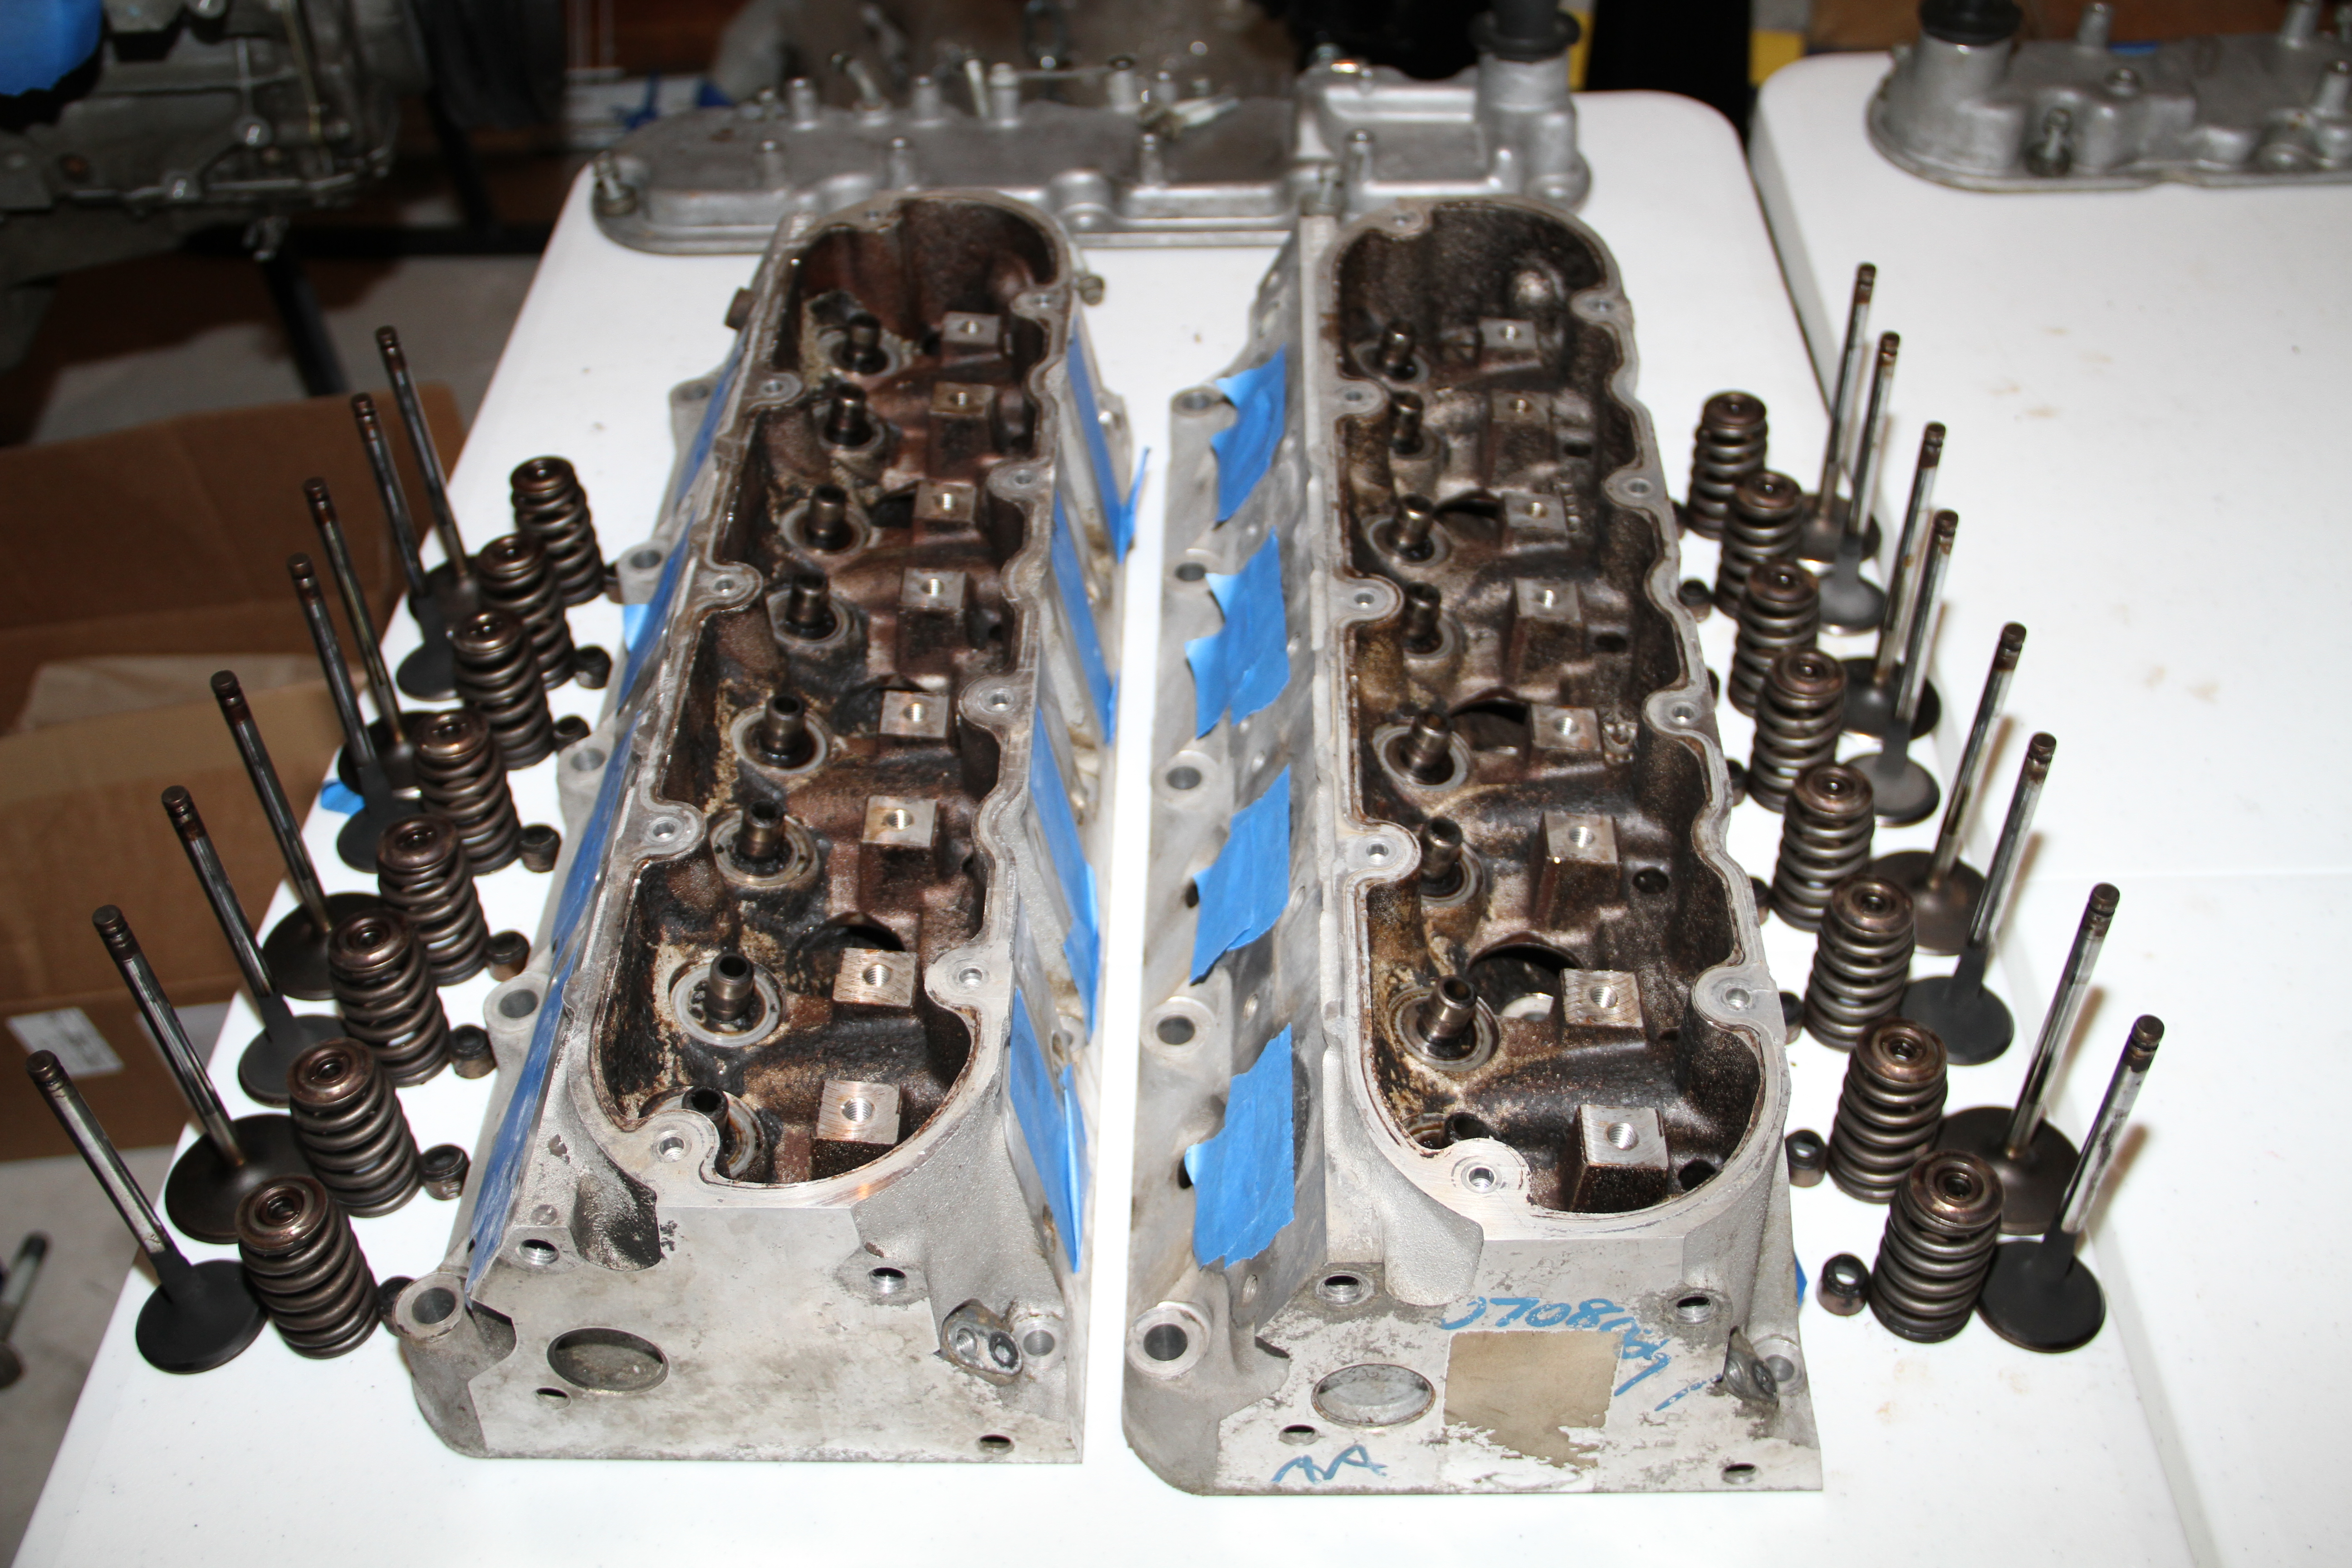
Bam!!! everything is all done and ready to send to machine shop..
......
...
..
.
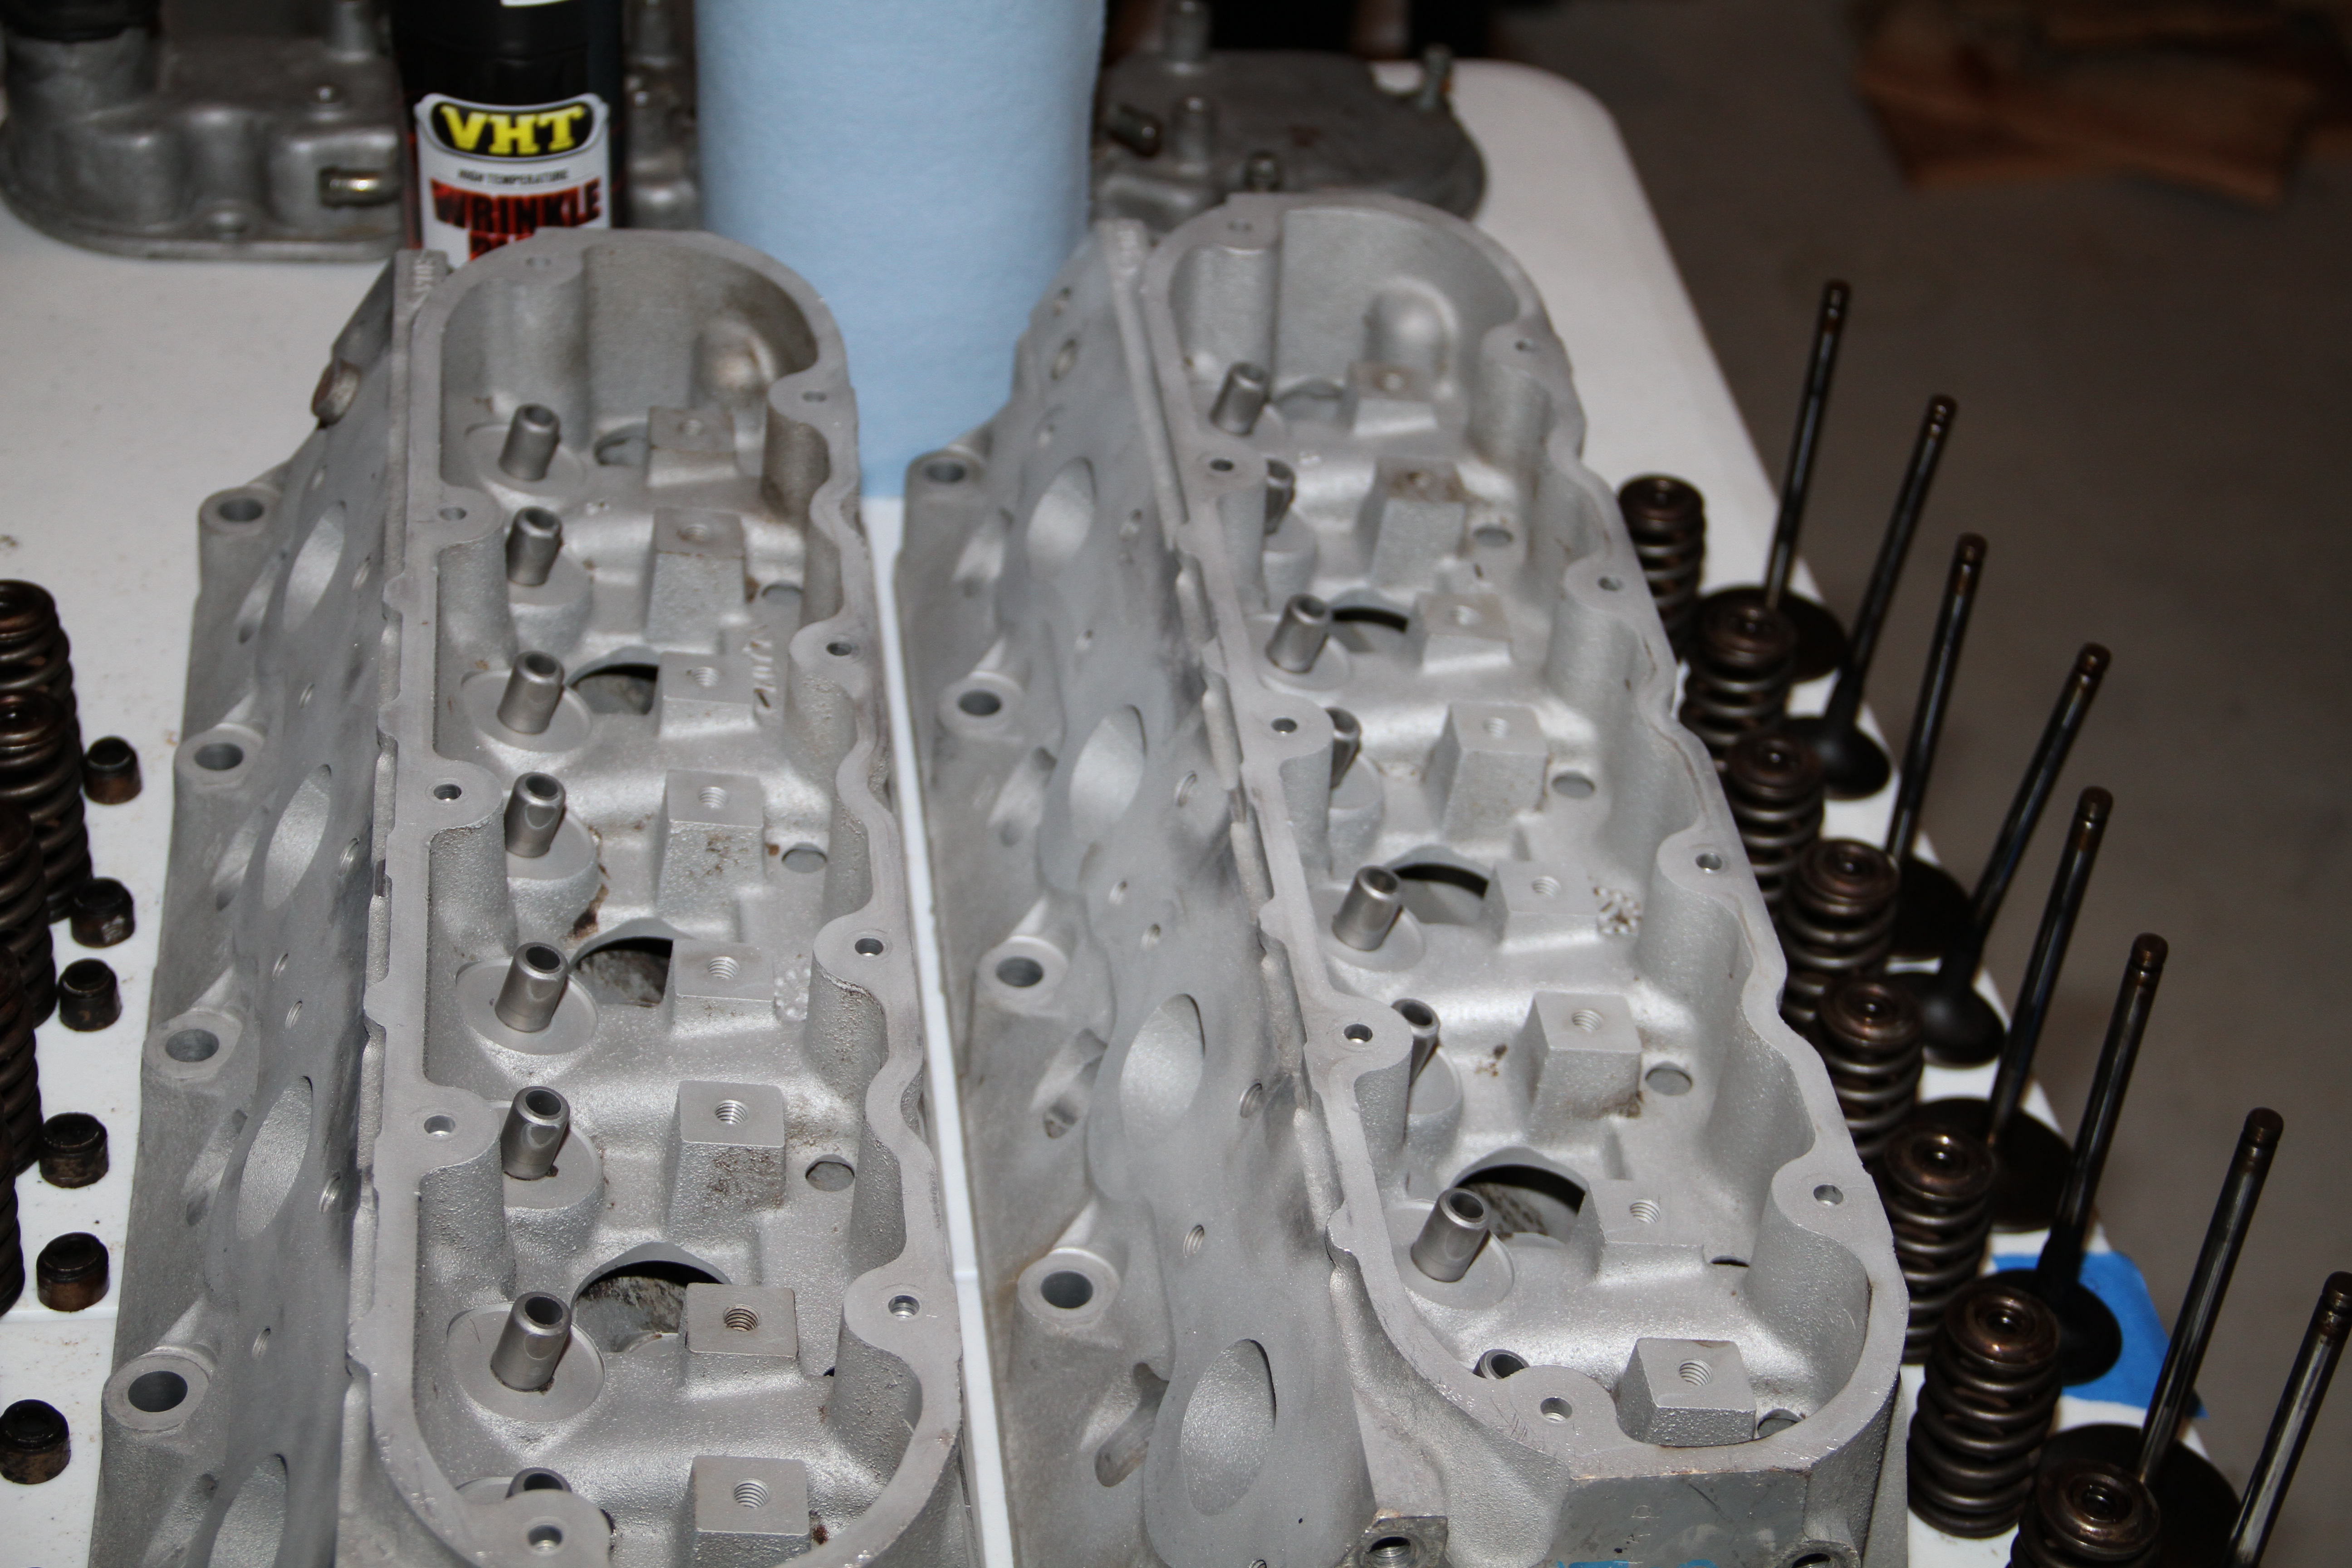
Okay got them back from the machine shop from their bath.. and man does it look so much better.. Price of this service is only $25 a head...
So Build total so far is $1550
Next week: STAGE 1: Phase 2 'Cam/Pulley Install'
 So lets get started!!
Wanted to post this pic here.. Some of you know my car and some of you don't. but it has been through so many wheels/looks its not funny.. But it will not look like this any more and hopefully the last change.....
STAGE 1: Phase 1...'Engine tear down and clean up'

Let's start this with the beer of the week.. One of my Favs 'DogFish Head 90 Min' Good stuff

First thing was the purchase of this LS1 longblock that I got off of LS1tech.com. You can find a lot of useful info on there so def check it out..

A little dirty but that will all change. Had 38k on it and the owner had the Bottom end torn down by a local machine shop (to check the condition of it which was great still) and had all the bearings replaced, ls6 oil pump installed, ls2 timing chain, ARP rod bolts.. All this for the price of $1500

In my opinion not a bad purchases since I plan on changing and adding a lot of aftermarket parts..

First thing I saw was this little chip on the crank balancer pulley.. a no go in my book and will get replaced...

Now lets crack open these heads and see what we have.. To do so you will need a 10mm to unbolt all the head bolts.

Nasty

To have the heads ready for the machine shop, I went to Advance Auto parts to rent out there Valve Spring Compressor. This is a free service through them and you guys should def take advantage of it.. Just leave a deposit and you get it back when you return it..

Comes with everything you need to get the job done.. It is kind of like a big *** C clamp

I placed a little rubber cap over the end of the compressor so it would not F up the valves..

Lets do this... Gloves are


This is how you use this tool for those that don't know. The Heads have to be off the engine to use this tool.

Placement of the tool

next is getting these damn Valve seals out.. Just use pliers and a lot of force..

Then remove the retainers...

Bam!!! everything is all done and ready to send to machine shop..
......
...
..
.

Okay got them back from the machine shop from their bath.. and man does it look so much better.. Price of this service is only $25 a head...
So Build total so far is $1550
Next week: STAGE 1: Phase 2 'Cam/Pulley Install'
Trending Topics
#8


