
Another LS Build


I'm hitting the track this weekend so more to come. I just finished throwing on 275/35/18 front tires and 295/30/18 rears. Go pro is mounted and the DSLR is charged.
Well I have to say for the 1st outing on the track, I think I found every issue with the car hah. It was very frustrating for me though. First some photos.
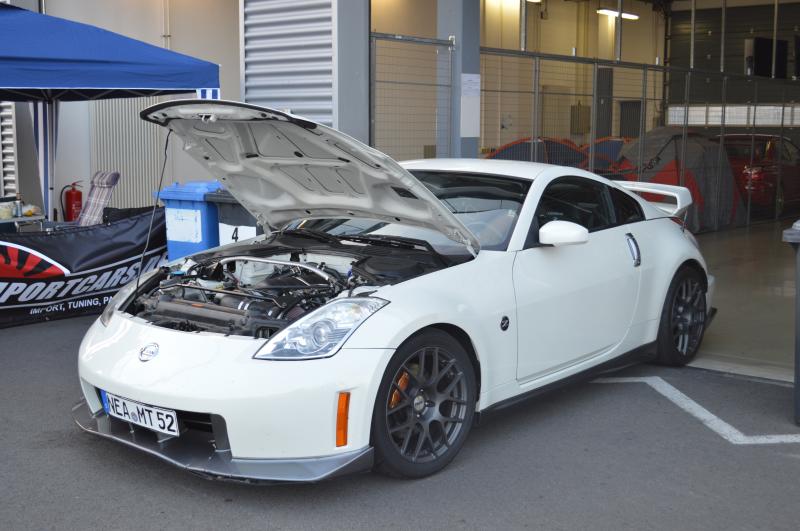
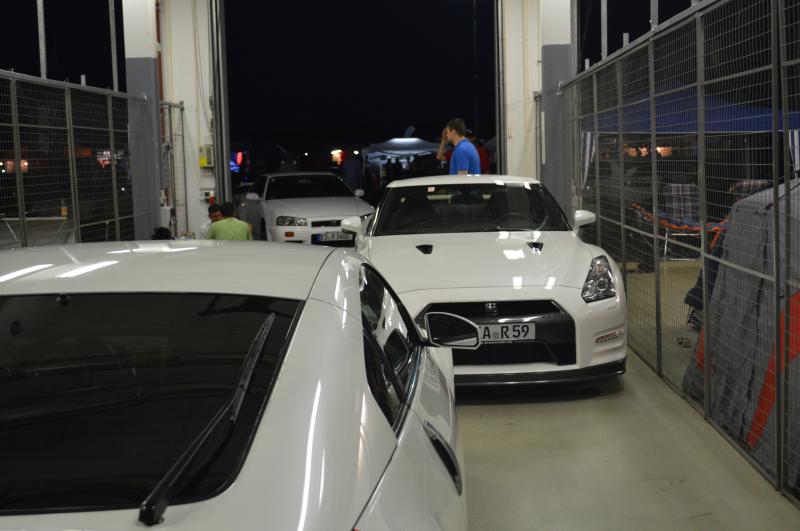
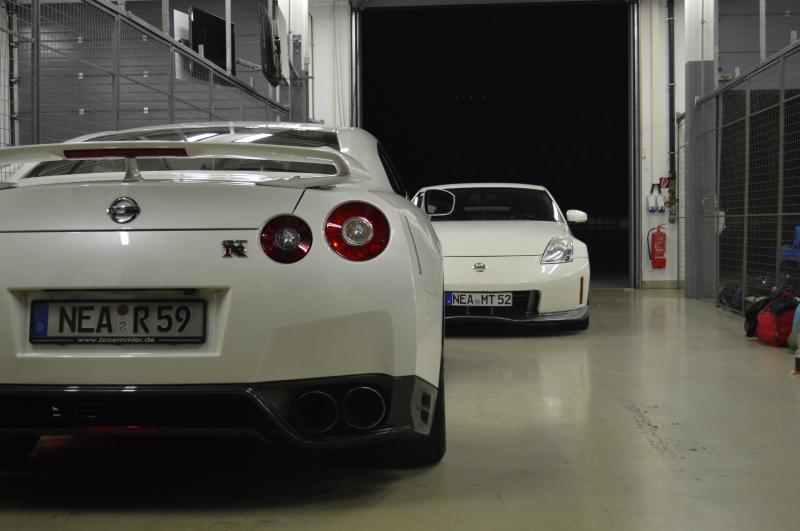
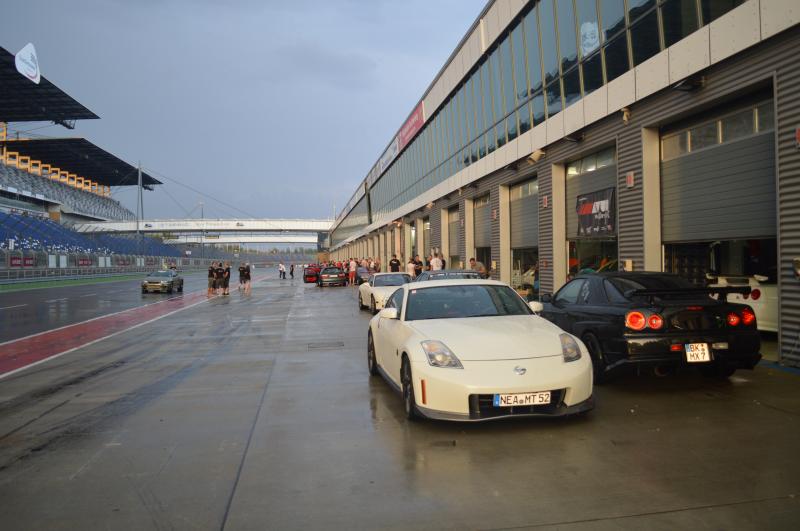
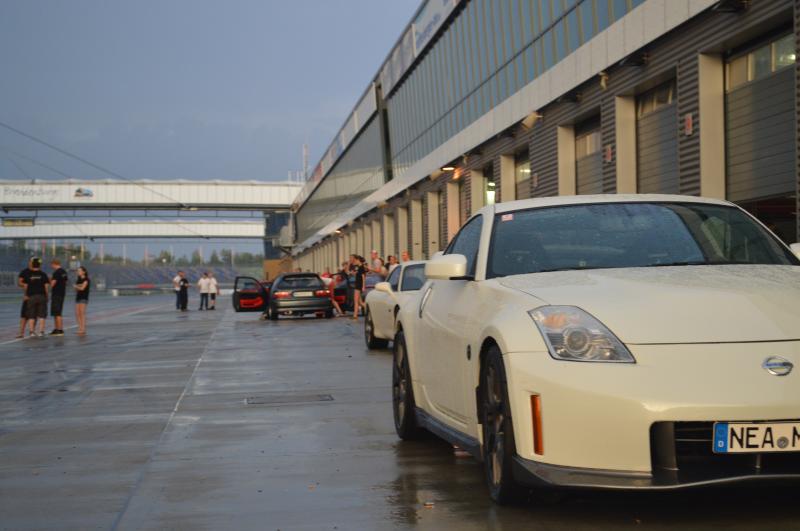
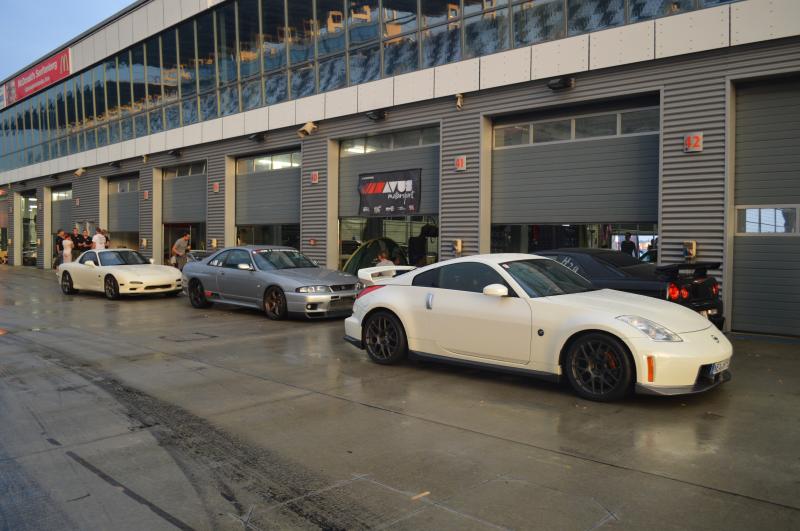
So while I wait for the videos to convert and upload a brief synopsis.
The powerband with a bolt on LS3 is great and more than enough for now. With the extra power however it brought out the worst in the car. On the first outing the brakes failed on me, it boiled the fluid which was an off the shelf dot 4 fluid. The brakes on it are stoptech slotted rotors, factory brembos, SS lines, Ferodo DS3000 and DS2500 F+R pads. I had a feeling they wouldnt last but I was not suspecting such an abrupt an immediate failure. It went from great pedal feel to nothing from one turn to the other.
Sooo.... I grabbed a botle of ferodo 5.1 fluid and flushed the system and once more back out onto the track.
The next session went a lot better, I got to know the track a bit more and start working into the car. Then disaster struck, on of the nissan plastic heater hose joints broke and dumped all my coolant. Luckily The car could be coasted into the pits and the engine is as of now unharmed.
I'll post the videos as I get them uploaded.
<object width="420" height="315"><param name="movie" value="//www.youtube.com/v/H6MztN712Hk?hl=en_US&version=3"></param><param name="allowFullScreen" value="true"></param><param name="allowscriptaccess" value="always"></param><embed src="//www.youtube.com/v/H6MztN712Hk?hl=en_US&version=3" type="application/x-shockwave-flash" width="420" height="315" allowscriptaccess="always" allowfullscreen="true"></embed></object>
or
or
The process of finding weak points and improving them is pretty normal when taking a factory street car and tearing it's V6 heart out and transplanting a new one in and then taking it to the track, but it sounds like it is more trivial stuff anyway.
So to fix the issues found last season the car is going back into the garage for some work. I spent today making up the coolant heater hardlines. I used 3/4 inch aluminum tubing. I ended up using a coil spring set of benders from eastwood.
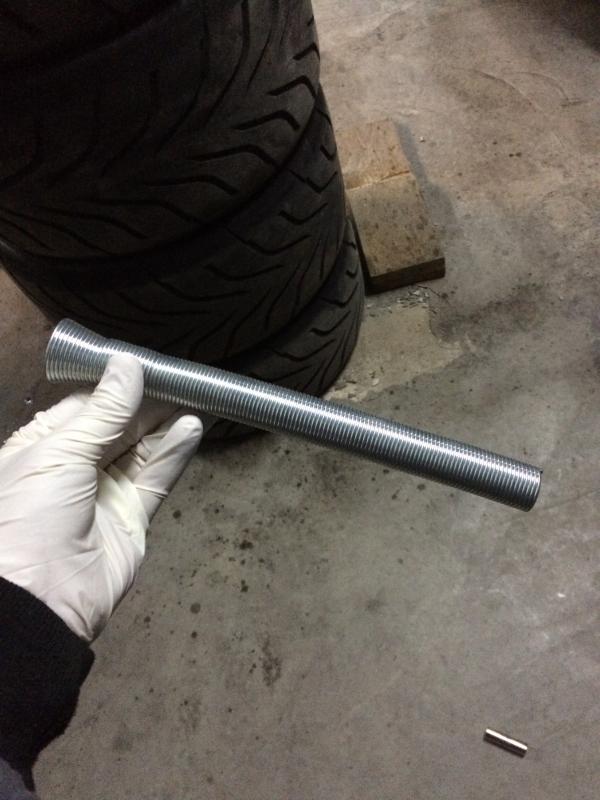
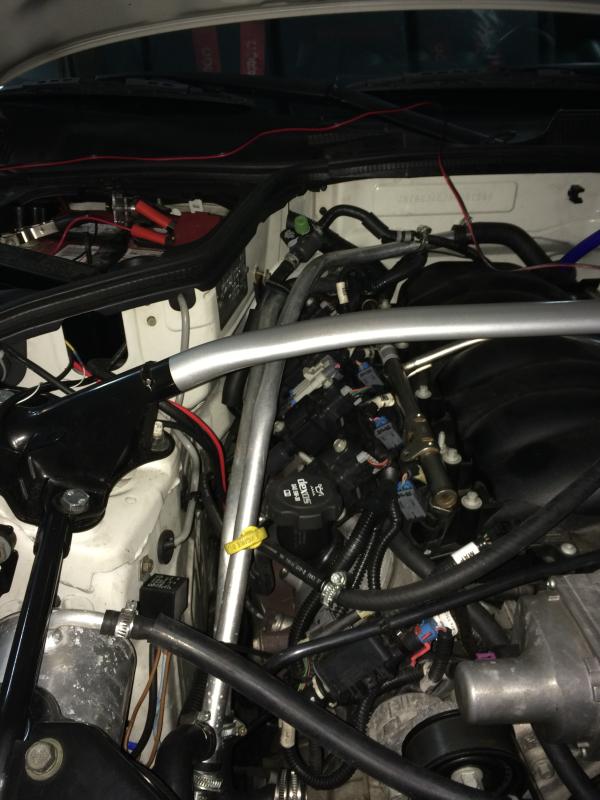
If anyone is thinking of it, don't buy these, they are not worth the pain. Someone posted on here about using a conduit bender and that would be exactly how I would do it next time. Here are the lines installed.
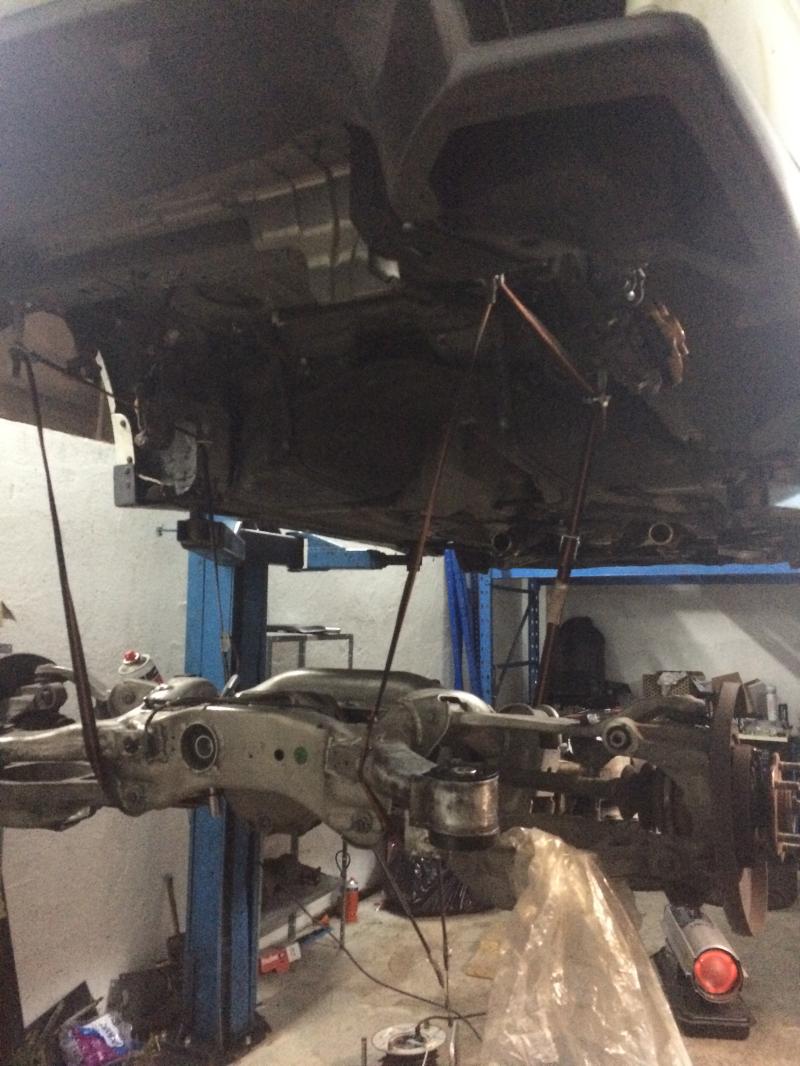
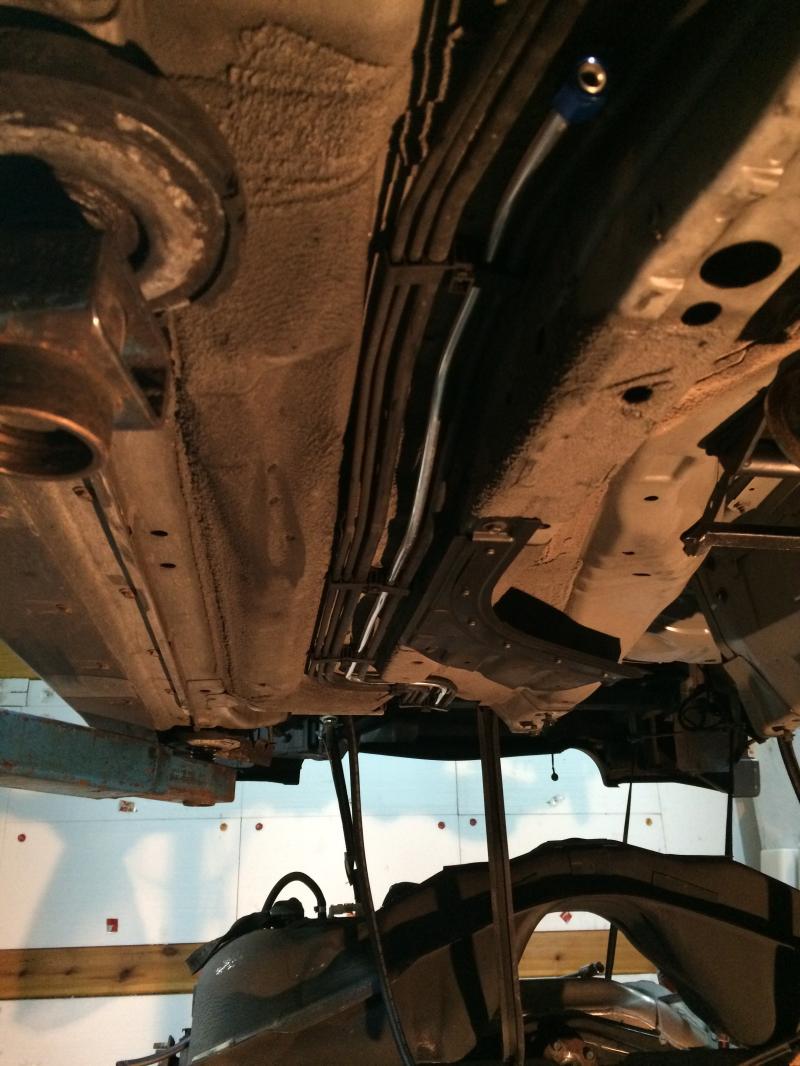
One of my other winter projects on the car is to run a better setup for the fuel system. Since the Z has a returnless fuel system from the factory my surge tank currently sits behind the plastics behind the seats and puts a bit of fuel smell in the car if it sits for long periods. I'm going to drop the fuel tank and run a return fuel line to the engine bay. After that i'm going to relocate the battery to the back of the car and locate the surge tank where the battery was. Halfway through dropping the subframe my trans jack blew a seal so I had to get creative on how to support the subframe until I could get it on the ground.

If anyone is thinking of it, don't buy these, they are not worth the pain. Someone posted on here about using a conduit bender and that would be exactly how I would do it next time. Here are the lines installed.

One of my other winter projects on the car is to run a better setup for the fuel system. Since the Z has a returnless fuel system from the factory my surge tank currently sits behind the plastics behind the seats and puts a bit of fuel smell in the car if it sits for long periods. I'm going to drop the fuel tank and run a return fuel line to the engine bay. After that i'm going to relocate the battery to the back of the car and locate the surge tank where the battery was. Halfway through dropping the subframe my trans jack blew a seal so I had to get creative on how to support the subframe until I could get it on the ground.

Last edited by armt350z; Jan 18, 2015 at 03:12 AM.
At least it didn't fall, but I like it.
It is just aluminum tubing right?? I would have used a cheapo hydraulic tubing bender.
I always wanted to replace a lot of hose with some super clean hard lines, looks so good
It is just aluminum tubing right?? I would have used a cheapo hydraulic tubing bender.
I always wanted to replace a lot of hose with some super clean hard lines, looks so good
Its just normal Aluminum tubing, fairly thin wall. I was able to bend it using just a bit of muscle. I wish I had a hydraulic tube bender but it was not cos effective for just 2 heater lines.
I'm not 100% sold on the hard line to be honest. I think I would use something like this: http://www.semiconduits.com/hoseend.html and could make it look just as good. Its going to be hard transitioning every other hose to hard line in the engine bay is why I say that.
I'm not 100% sold on the hard line to be honest. I think I would use something like this: http://www.semiconduits.com/hoseend.html and could make it look just as good. Its going to be hard transitioning every other hose to hard line in the engine bay is why I say that.
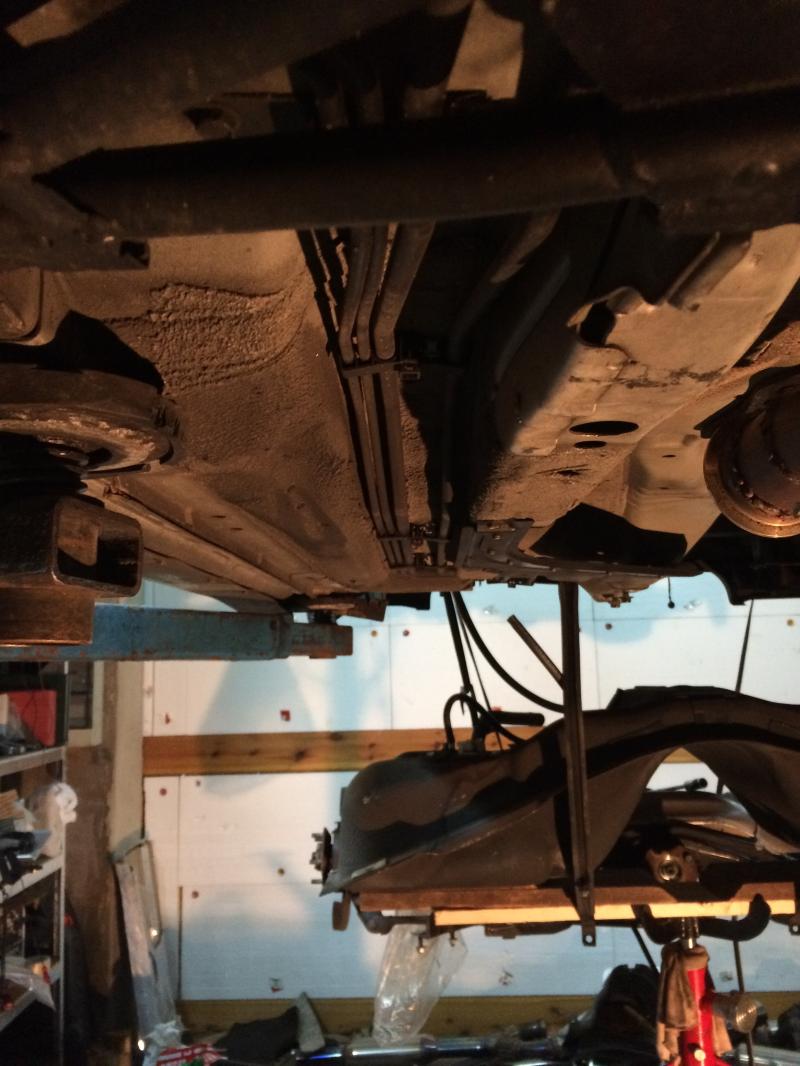
I got the fuel tank out today after repairing the seal on the trans jack. I fabbed up the first half of the line, I'll be breaking it up into 2 sections joined by an AN - 6 fitting. I used 3/8 inch hard line tubing since it will allow for upgrading the fuel system if I go FI later on.
Here is where i'm going to route the line. its like Nissan knew it should have a return style and made the space to upgrade.
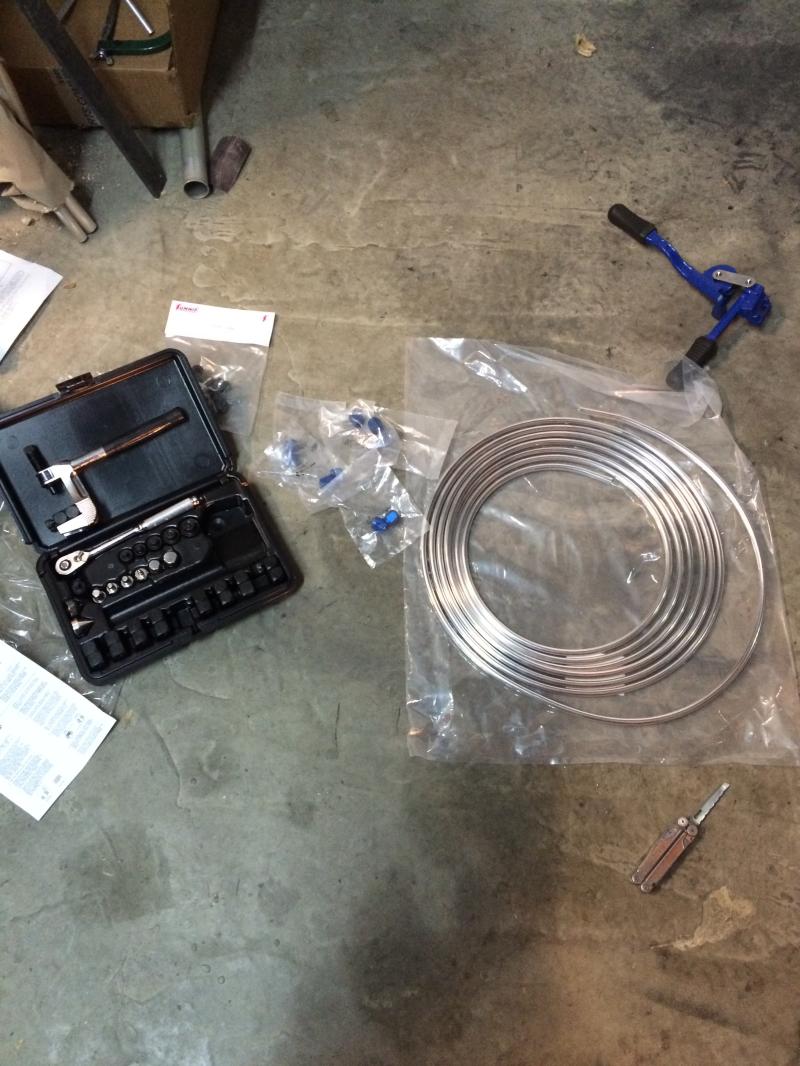
Raw materials and tools, 3/8 in OD hardline, tubing bender, swage kit/flaring tool.
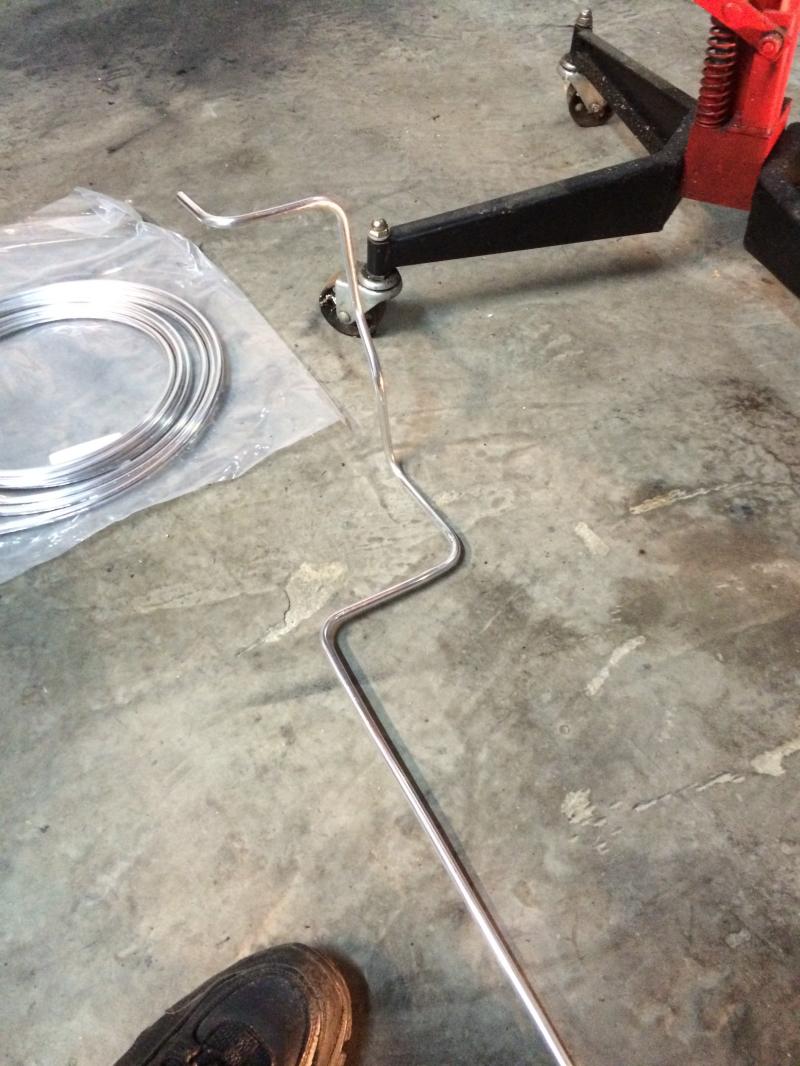
Here is the finished product
And finally installed in the car
After that I reassembled the back end and put the fuel tank back up and the rear subframe back on. Here is a little bit of a teaser for whats coming next.
Here is where i'm going to route the line. its like Nissan knew it should have a return style and made the space to upgrade.

Raw materials and tools, 3/8 in OD hardline, tubing bender, swage kit/flaring tool.

Here is the finished product

And finally installed in the car

After that I reassembled the back end and put the fuel tank back up and the rear subframe back on. Here is a little bit of a teaser for whats coming next.

In my old 350Z, I slapped in some stillen sway bars, and what a difference it made, it really helped the car stick, or not stick if I wanted it to go sideways depending on what adjustment I made. The factory brembos are ok, but are not up to track abuse, I hope the stop techs work better.
Also, that fuel line looks SOOO much better
Also, that fuel line looks SOOO much better
I think I could make the brembos work at the current power level with proper ducting. But i'm trying to build the brakes and suspension to support much more power. I'm going to do some ducting with the brakes and proper pads to back it all up. Probably Pagid RS29's on the front.
The new line should support up to at least 700 hp, one less thing to worry about.
The new line should support up to at least 700 hp, one less thing to worry about.
More work on the car today, I'm still chipping away at the next weak part of the car. The overheating on the track just wouldn't do so first up is a new radiator. A CSF dual pass unit should do. New vs OEM.
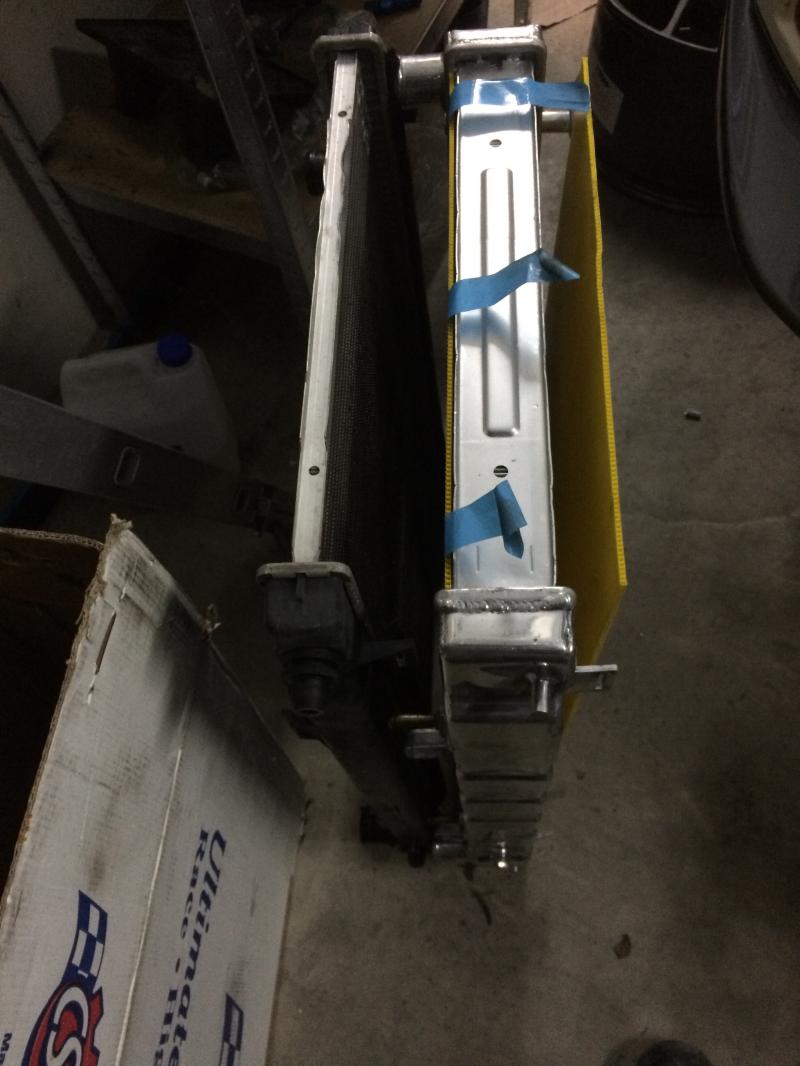
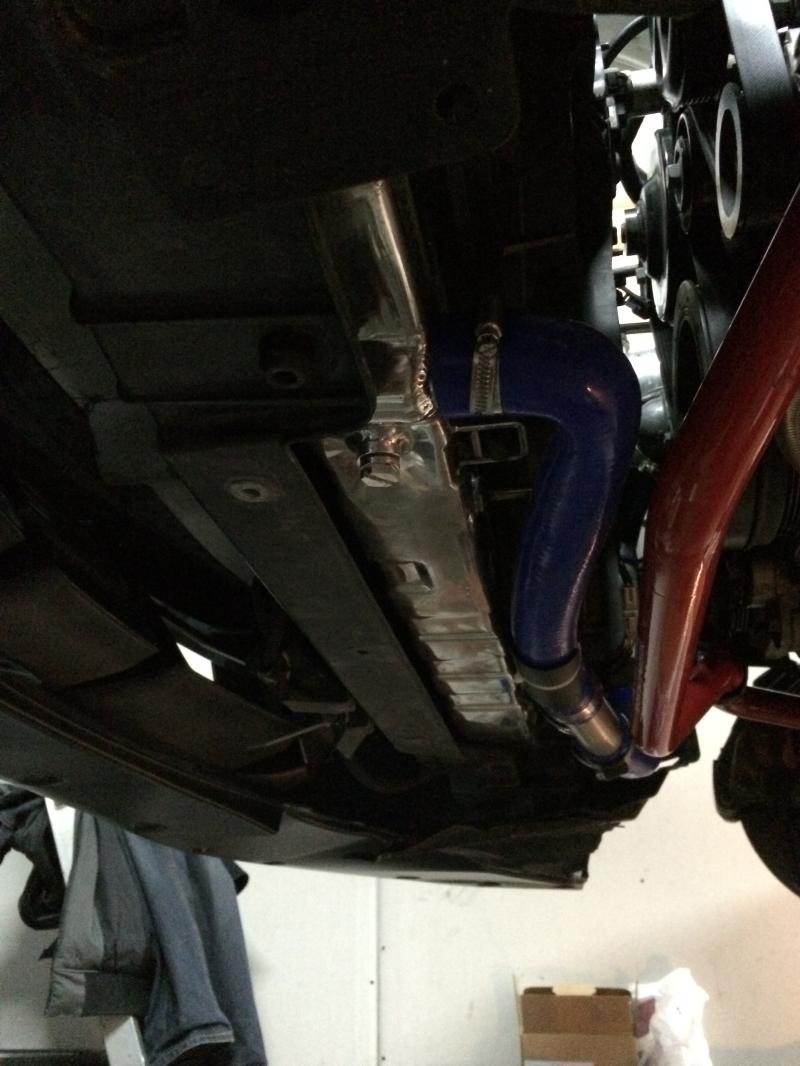
I forgot just how thin and flimsy the OEM rad was. Its no wonder that it wasn't meeting the demand. Here it is in its new home.
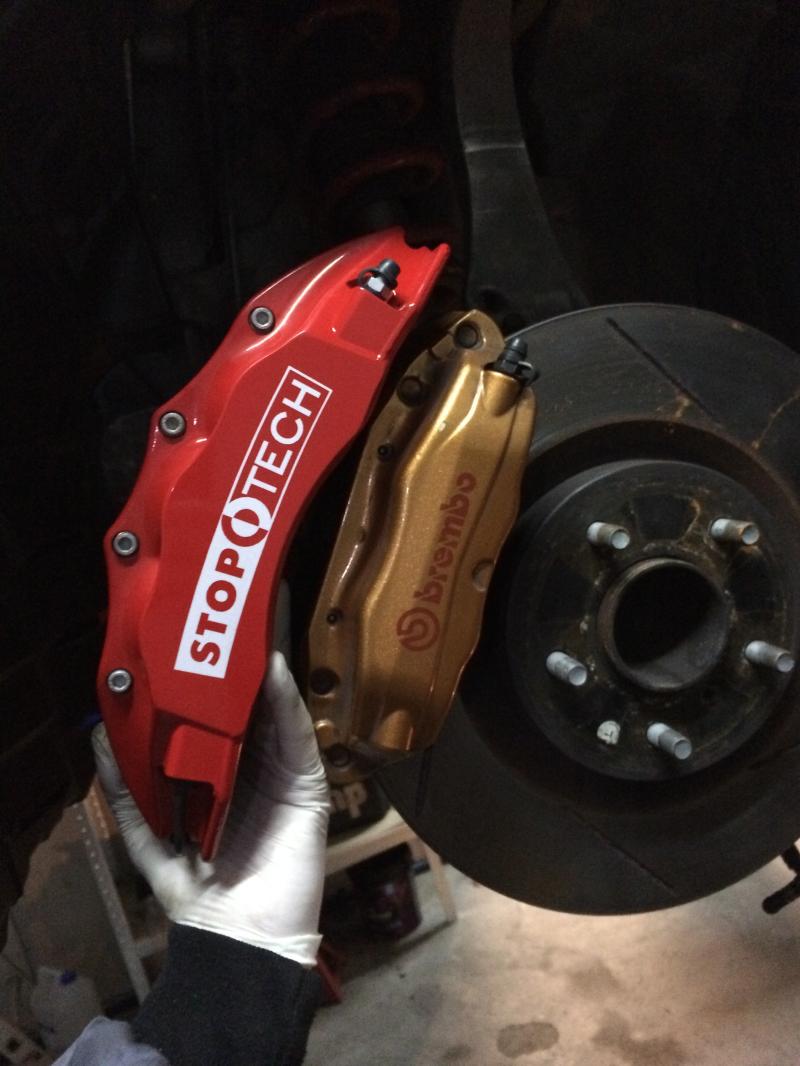
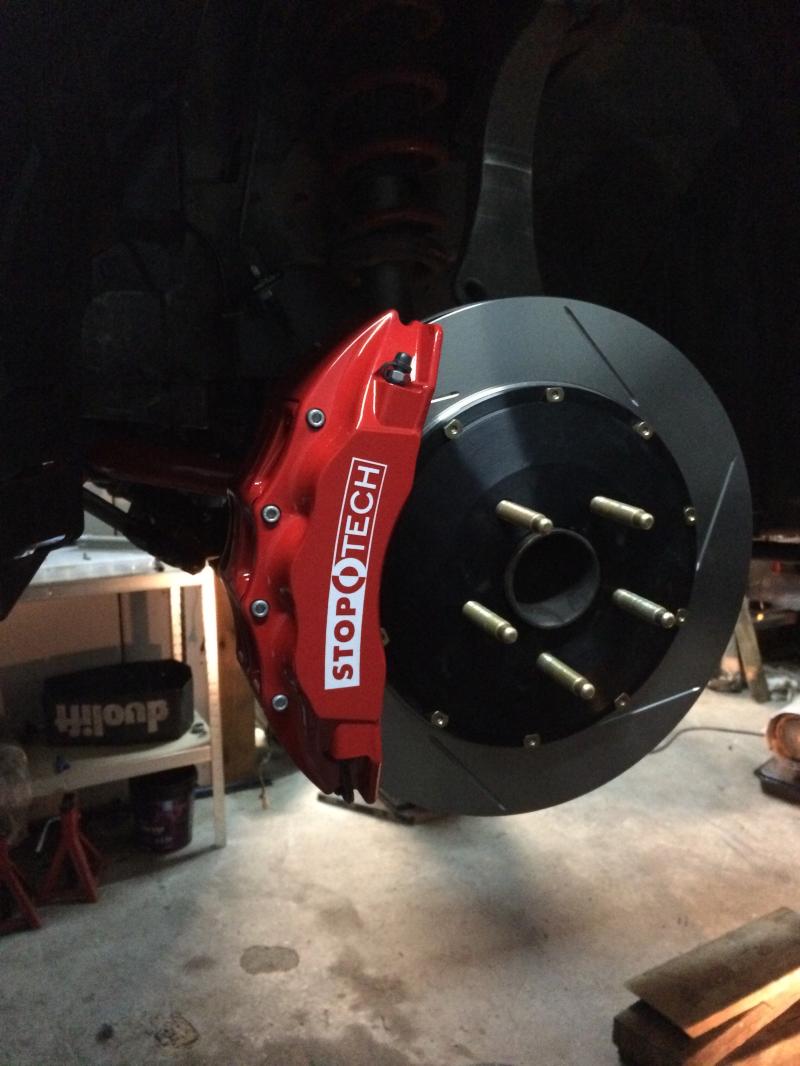
Next was the brake fade/failure. A set of Stoptech 6 pots should be just what the doctor ordered.
I also took the time to throw on some ARP extended lugs as well.
I've got another trick I'm working on for the brakes but I have to wait and see if it pans out. Maybe more on that later.
Moving onto the handling, The car is well mannered but its not confidence inspiring near the limit. The coilovers and various camber arms have not arrived yet but I went ahead and threw on the sway bars.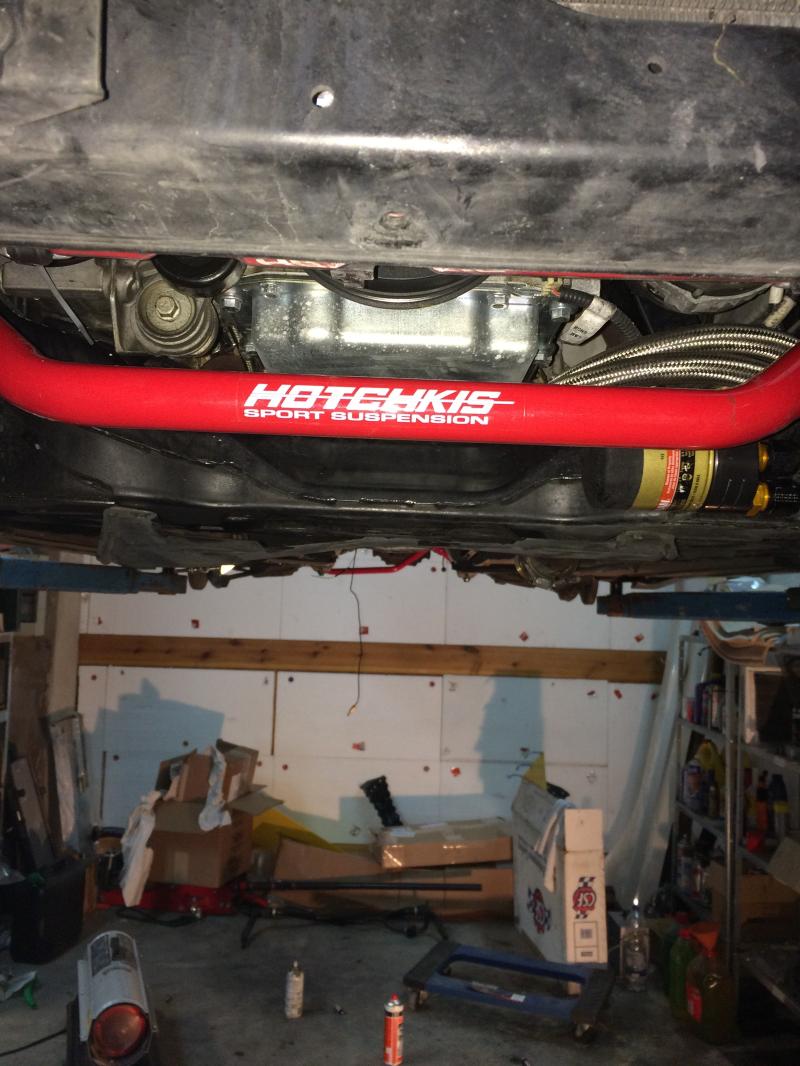
I've got loads more to do but time is running short before the cars winter hibernation needs to end. Its this way every year it seems but I somehow always end up with the same problem.

I forgot just how thin and flimsy the OEM rad was. Its no wonder that it wasn't meeting the demand. Here it is in its new home.

Next was the brake fade/failure. A set of Stoptech 6 pots should be just what the doctor ordered.

I also took the time to throw on some ARP extended lugs as well.

I've got another trick I'm working on for the brakes but I have to wait and see if it pans out. Maybe more on that later.
Moving onto the handling, The car is well mannered but its not confidence inspiring near the limit. The coilovers and various camber arms have not arrived yet but I went ahead and threw on the sway bars.

I've got loads more to do but time is running short before the cars winter hibernation needs to end. Its this way every year it seems but I somehow always end up with the same problem.

Thanks!
I was not too surprised with the failures. The stock radiator is a truly pitiful thing. The brake failure was a bit surprising only in the speed at which it failed. The Z's brakes are known for running hot on track so I kind of expected them to start to fade even with the pagid pads and motul RBF 600 fluid.
I was not too surprised with the failures. The stock radiator is a truly pitiful thing. The brake failure was a bit surprising only in the speed at which it failed. The Z's brakes are known for running hot on track so I kind of expected them to start to fade even with the pagid pads and motul RBF 600 fluid.
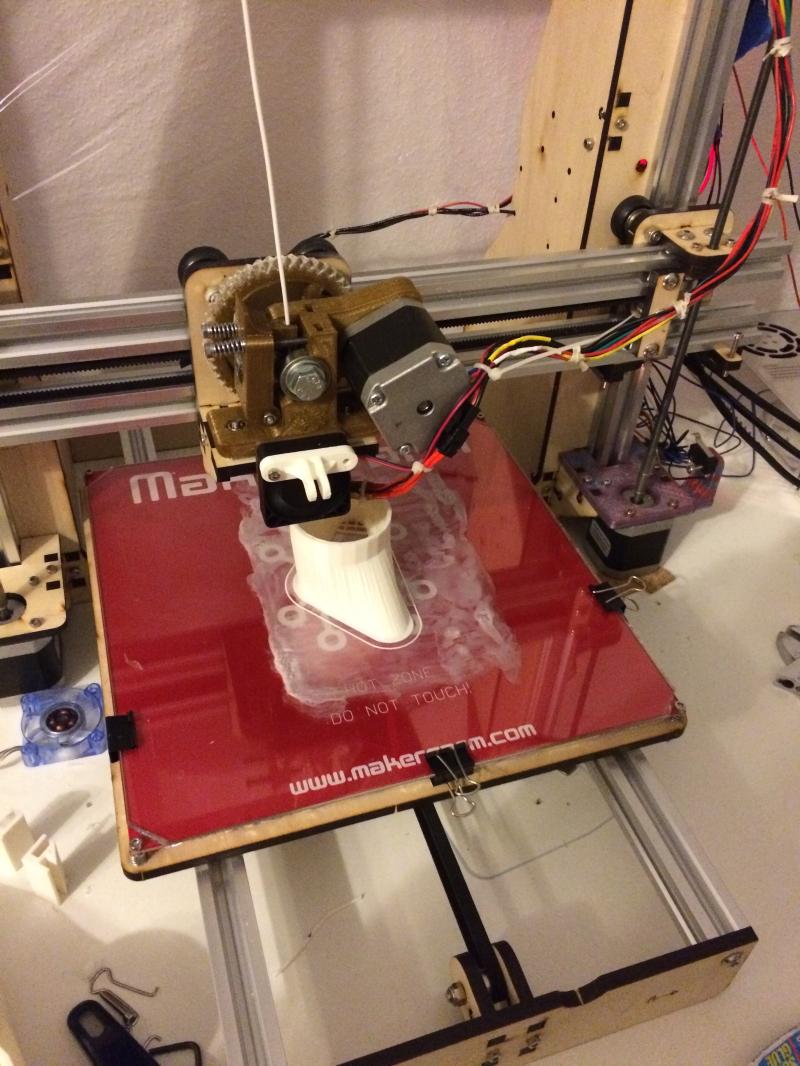
Continuing to improve the the braking system has led me to make a set of brake ducts for the car. I was not thrilled with the selection of off the shelf brake duct kits for the car so I decided to use my 3d printer I just built and rapid prototype a set specifically fitting the Nismo front bumper. I designed the parts in sketchup. While not as advanced as the solidworks suite I have at work, its a lot easier on the hardware and simple to use.
Here is the first duct printing out
Now for the test fit with a quick bracket
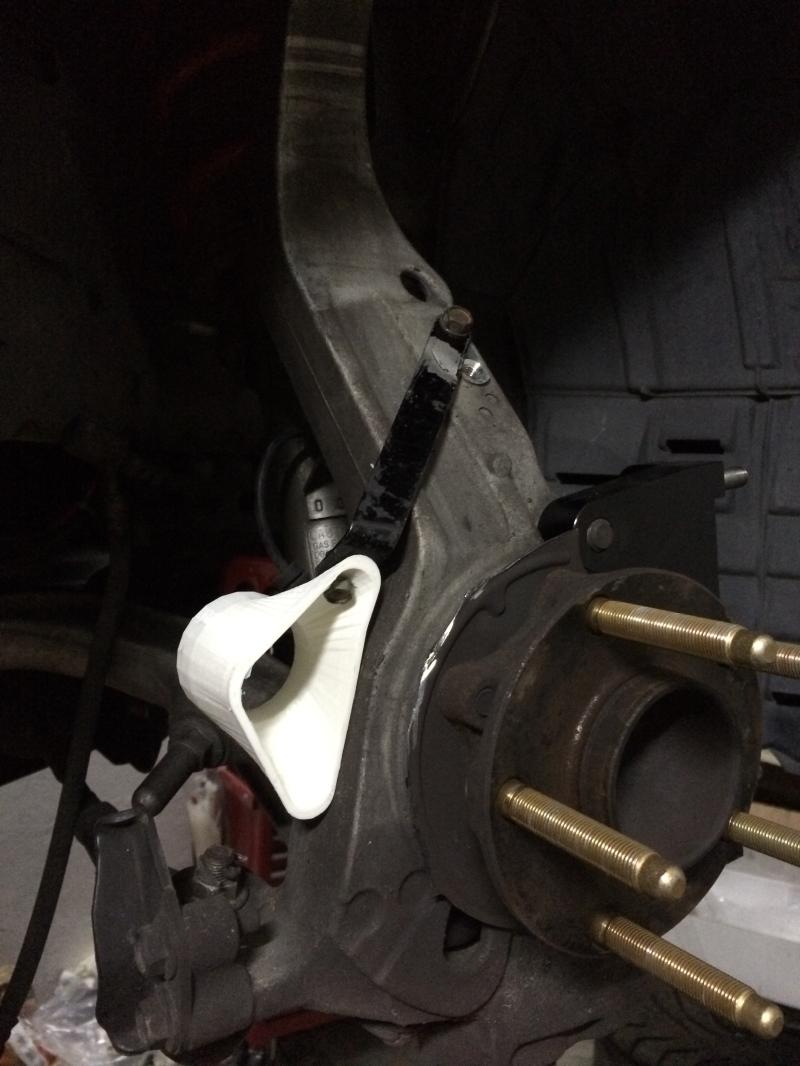

The plastic will likely not withstand the radiated heat at a standstill so at a later point i'm going to use the plastic printed parts to make a mold and then fab some out of carbon fiber.
The front bumper is made to fit the left and right opening and I will likely keep those plastic since there is not close source of heat.
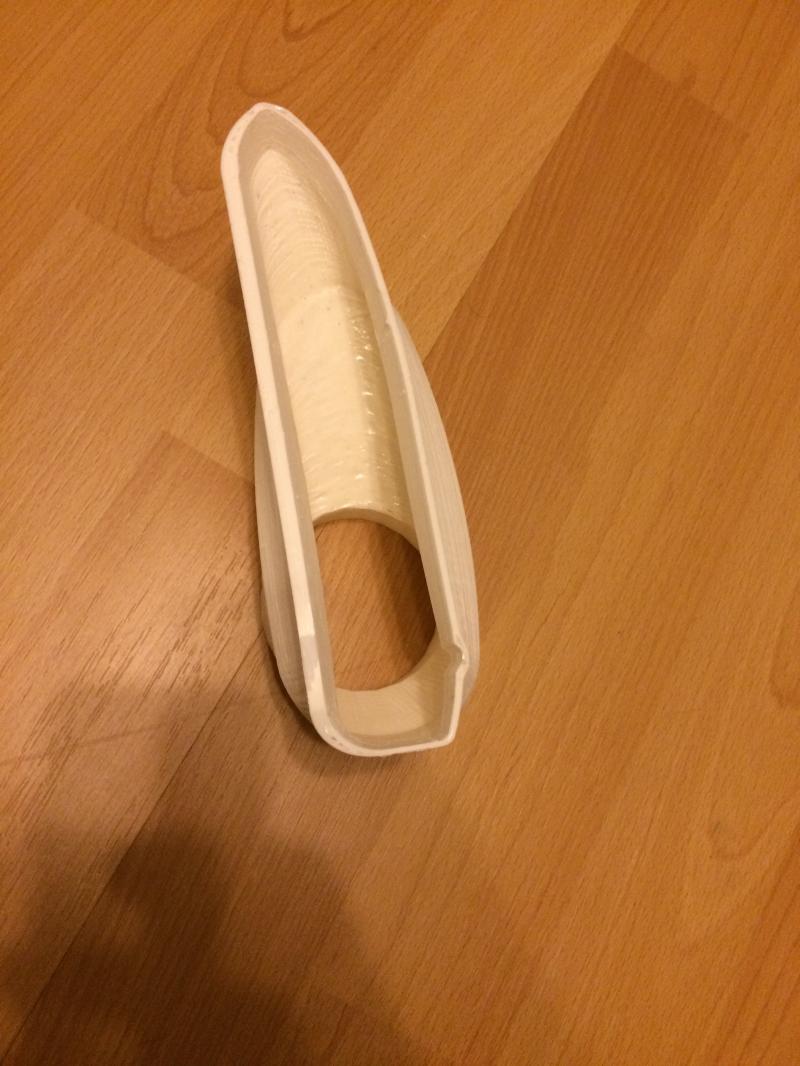
They slide directly over the 2 opening and can be fixed on with either good 2 sided tape or with rivets or screws.
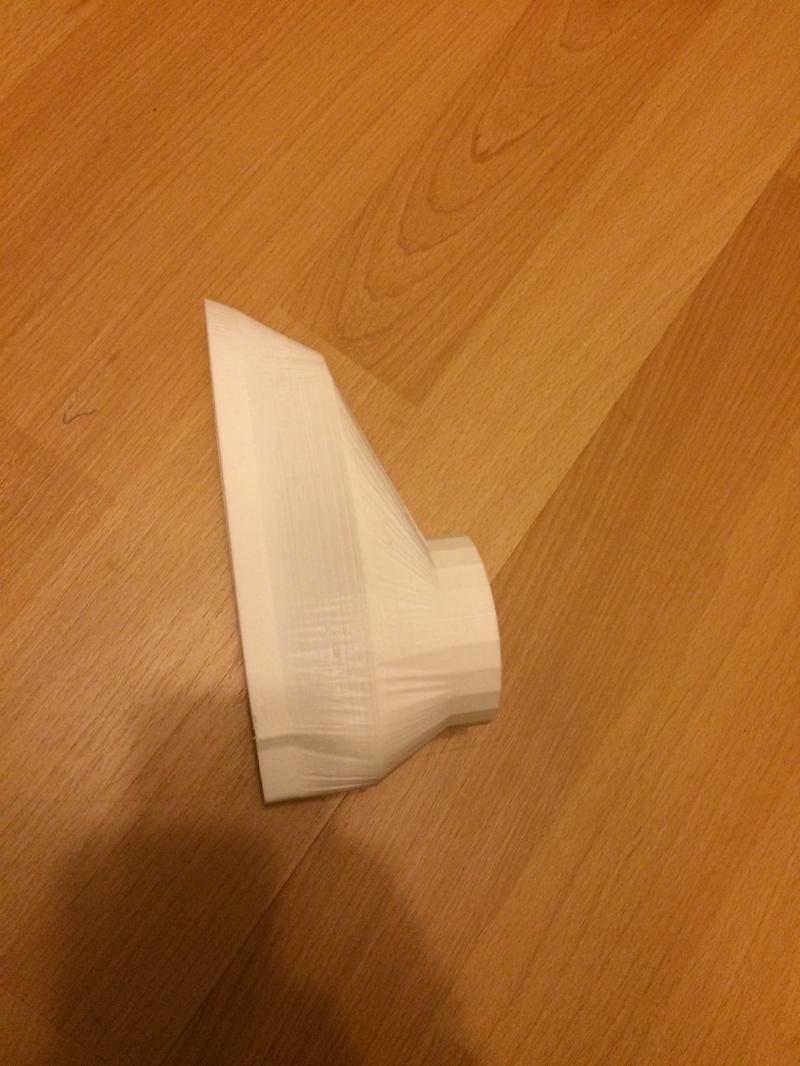
The entire system is based around 2 inch tubing. let me know what you thing or any ideas to improved them.
Here is the first duct printing out

Now for the test fit with a quick bracket


The plastic will likely not withstand the radiated heat at a standstill so at a later point i'm going to use the plastic printed parts to make a mold and then fab some out of carbon fiber.
The front bumper is made to fit the left and right opening and I will likely keep those plastic since there is not close source of heat.

They slide directly over the 2 opening and can be fixed on with either good 2 sided tape or with rivets or screws.

The entire system is based around 2 inch tubing. let me know what you thing or any ideas to improved them.

Registered User
Joined: Aug 2011
Posts: 995
Likes: 1
From: coopercity, FL
awesome build man. Would love to do an LS build but from the looks of it engine and labor would run atleast 10 grand lol. Did you need to buy a swap kit also or only thing needed is engine and trans? just wondering
My engine and trans alone came out to $9,000. But that was due to the LS3 EROD crate motor and the t-56 magnum transmission. It could be done A LOT cheaper but I wanted CARB legal swap and that was really the only way to do it. The car is running a fueled racing mount kit.
