
Question about bodykit fitment (pics included)


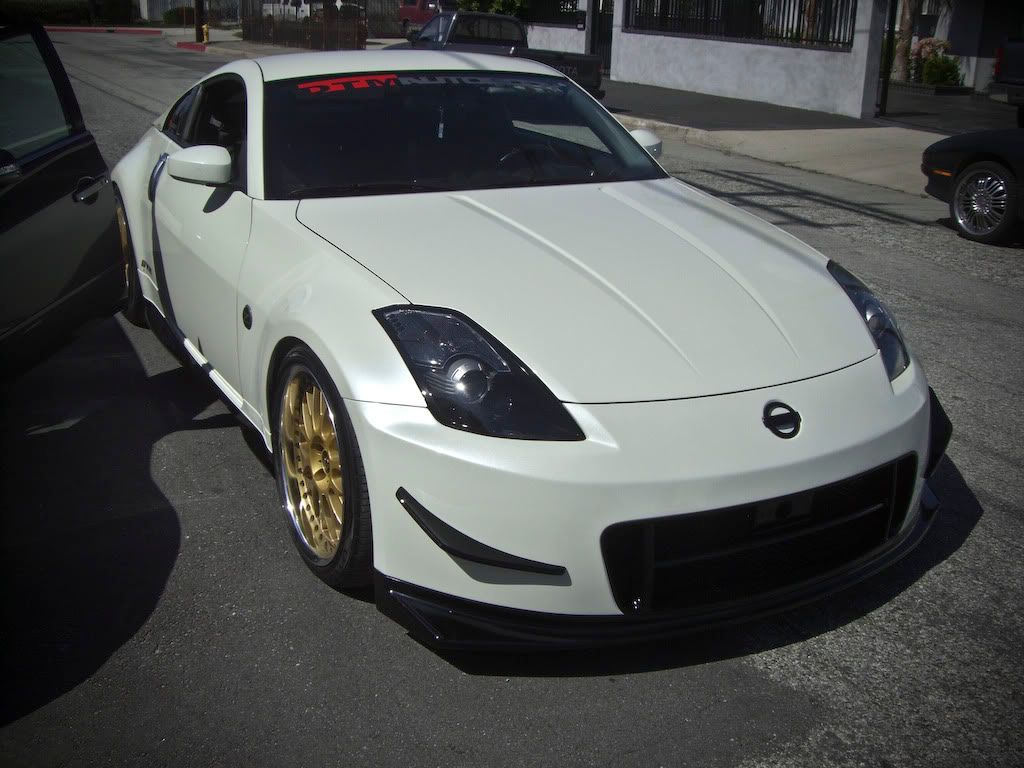
That's close to being installed correctly. You must remove the white plastic screw tabs on the underside of the front of the fender, put two bolts in their place, and draw them tight to make it sit flush with the front bumper. Now, you could Dremel or drill out the holes in the bumper itself so the tabs fit down in the holes, but those plastic tabs strip out very easily so I'd replace them with bolts anyway. Whoever did that just painted it, slapped it on, and took your money from the way it looks. It's a very easy fix, and shouldn't take more than a half an hour at the most to do it yourself.
Last edited by Hexxus; Feb 16, 2010 at 03:25 PM.

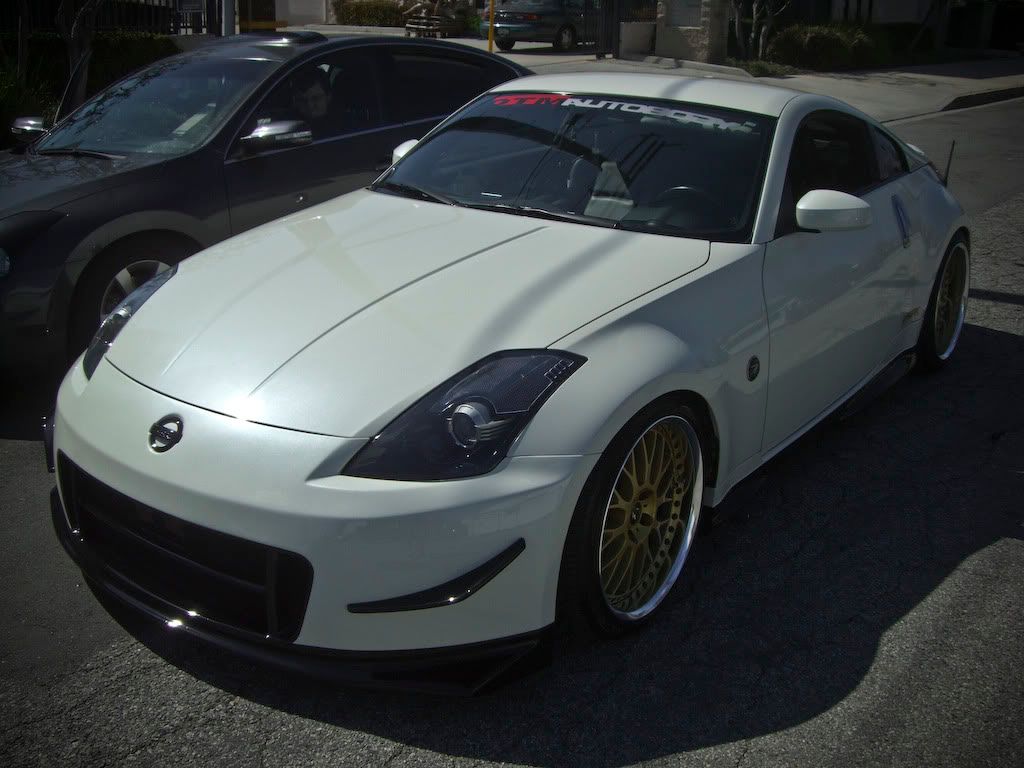
The paint shop just emailed me these pictures yesterday  . They just need to polish the bumper and sides and put on the canards. I should have installed pictures in 2 or 3 days. I'll update the thread again later to show the fitment.


. They just need to polish the bumper and sides and put on the canards. I should have installed pictures in 2 or 3 days. I'll update the thread again later to show the fitment.

yea i think most replicas have that gap.. I have that gap, I was also concerned about it but i couldnt justify paying "X" amount of money for a nitpick like someone said it is fixable but it wont be easy...
I talked to shine a while back and they said all V2 have that gap so it might be just how the manufactured it
I talked to shine a while back and they said all V2 have that gap so it might be just how the manufactured it


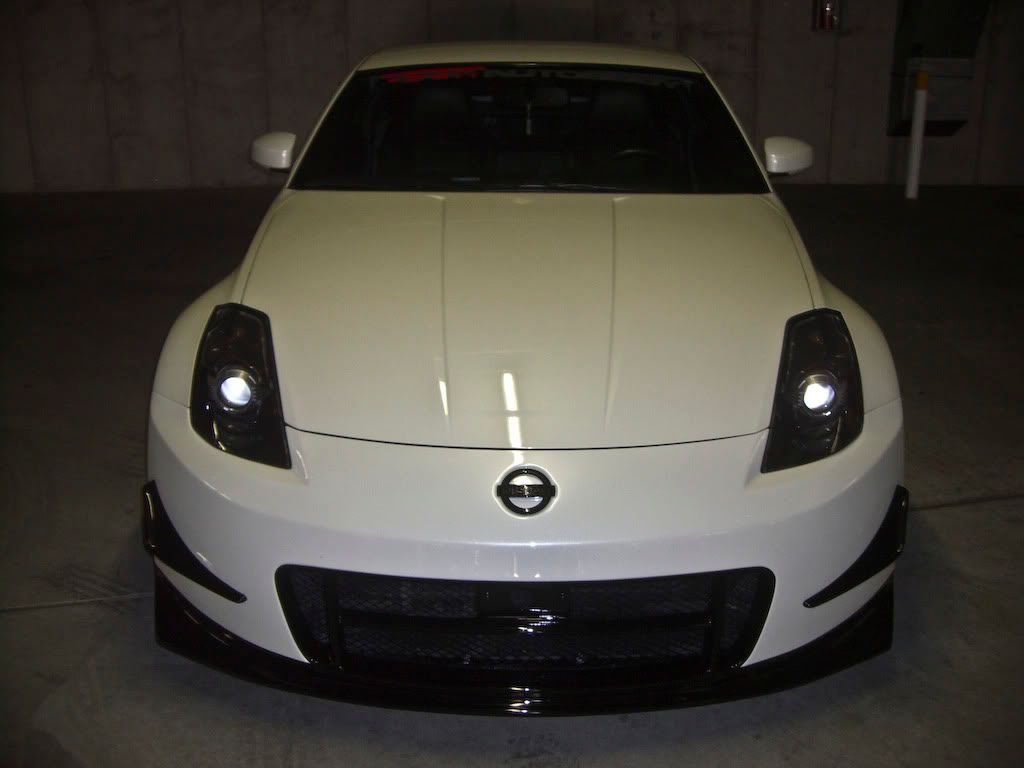
I just got back home with my car. As far as I can tell, the paint match is dead on. I need to inspect it closely in a few different lightings but so far it looks really good. I'm happy they fixed the little gaps around the headlights. I let my friend borrow my DSLR camera so I won't have any good pictures for about a month, but here are a few pics I took with my mom's point and shoot camera. And also a short video to show the fitment. I feel like I have a brand new car again 
http://www.youtube.com/watch?v=fz7Ar7R5ENY
http://www.youtube.com/watch?v=fz7Ar7R5ENY


Ya I was really worried about the paint match since PPW is so hard to match, but DTM did a really good job with it. It wasn't the cheapest paint job, but I'm just glad it came out looking good.
And no, you can't have my wheels :P
And no, you can't have my wheels :P


Thanks!! I honestly didn't expect it to come out this good. At first I was really worried about the fitment since it's a replica and then I started worrying about the paint match since PPW is really hard to match from what I hear. But luckily both the fitment and paint came out much better than I expected.
). It's looking like I'm going to use Intense's in house bodyshop and hope for the best. Should know how it turns out in a couple months.Again, really nice job calin. I'd be proud of it!
That's what I worry about with my PPW when I get the C-West long nose painted and installed (the color match part, not the replica part ). It's looking like I'm going to use Intense's in house bodyshop and hope for the best. Should know how it turns out in a couple months.
Again, really nice job calin. I'd be proud of it!
). It's looking like I'm going to use Intense's in house bodyshop and hope for the best. Should know how it turns out in a couple months.Again, really nice job calin. I'd be proud of it!
 . Make sure to post some pictures when you get your long nose installed, I want to see it on PPW