
Trackday front wind splitter build.


Thread Starter
Registered User
Joined: Feb 2007
Posts: 908
Likes: 5
From: UK
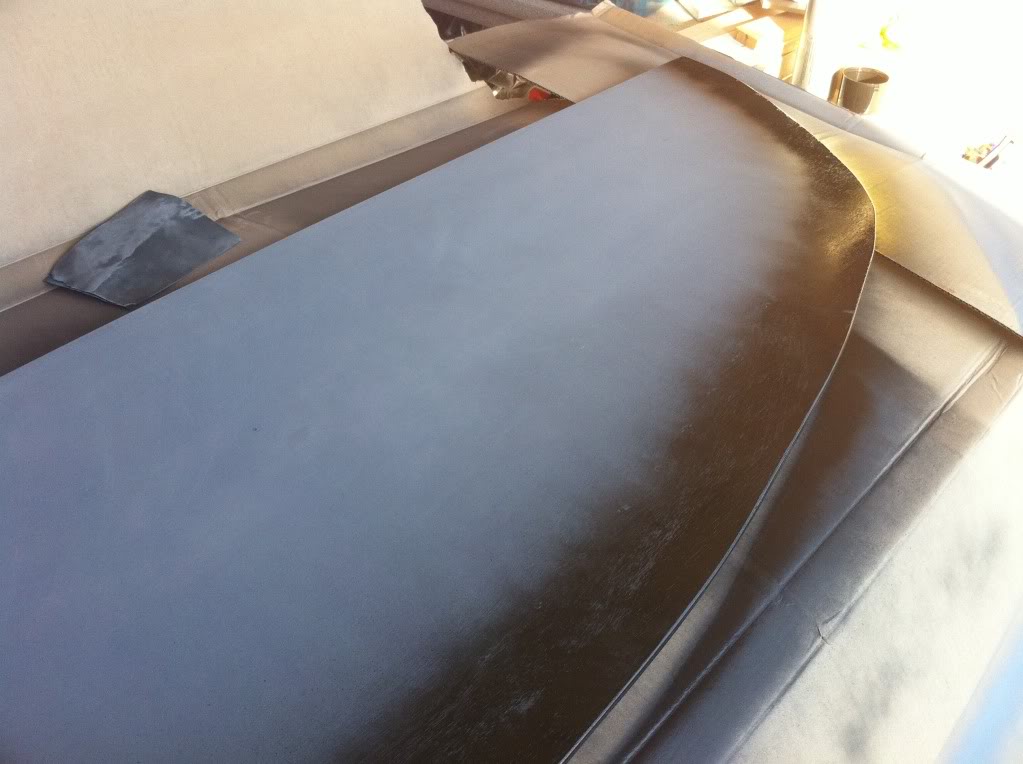
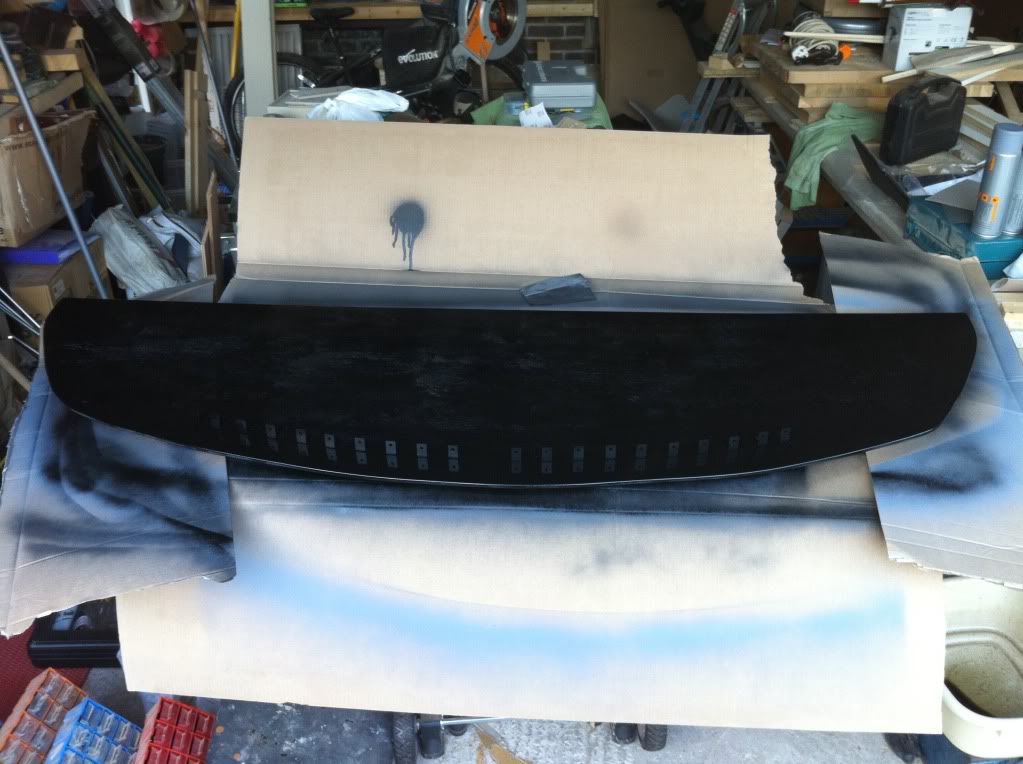
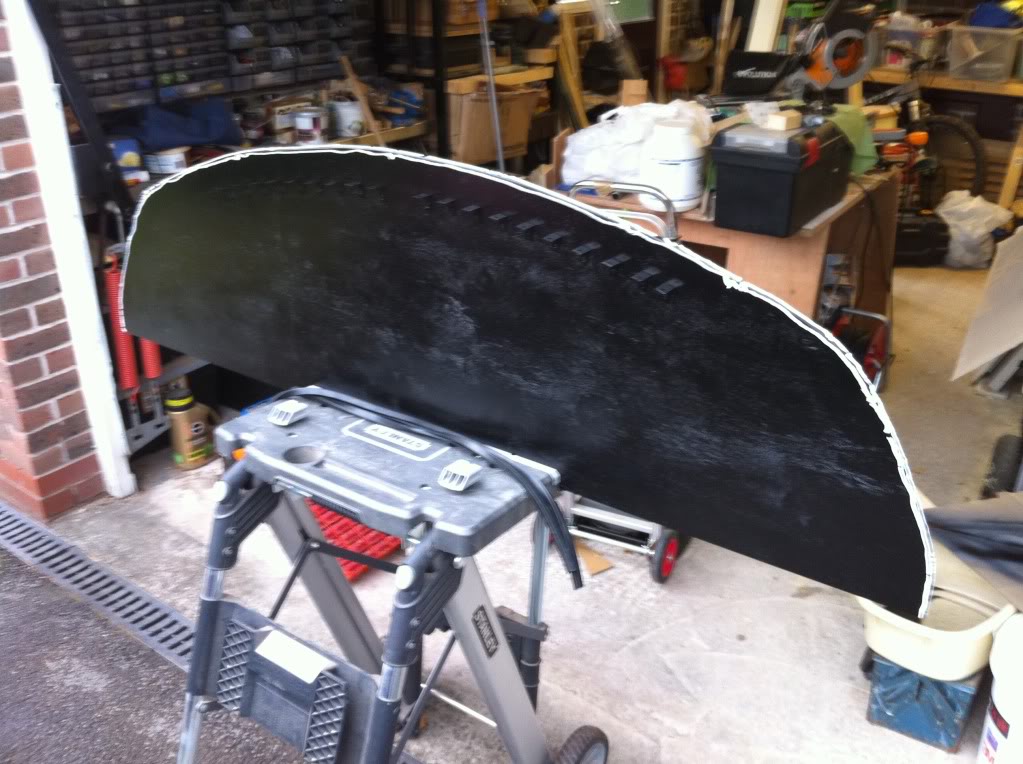
Got on with a bit of painting today.
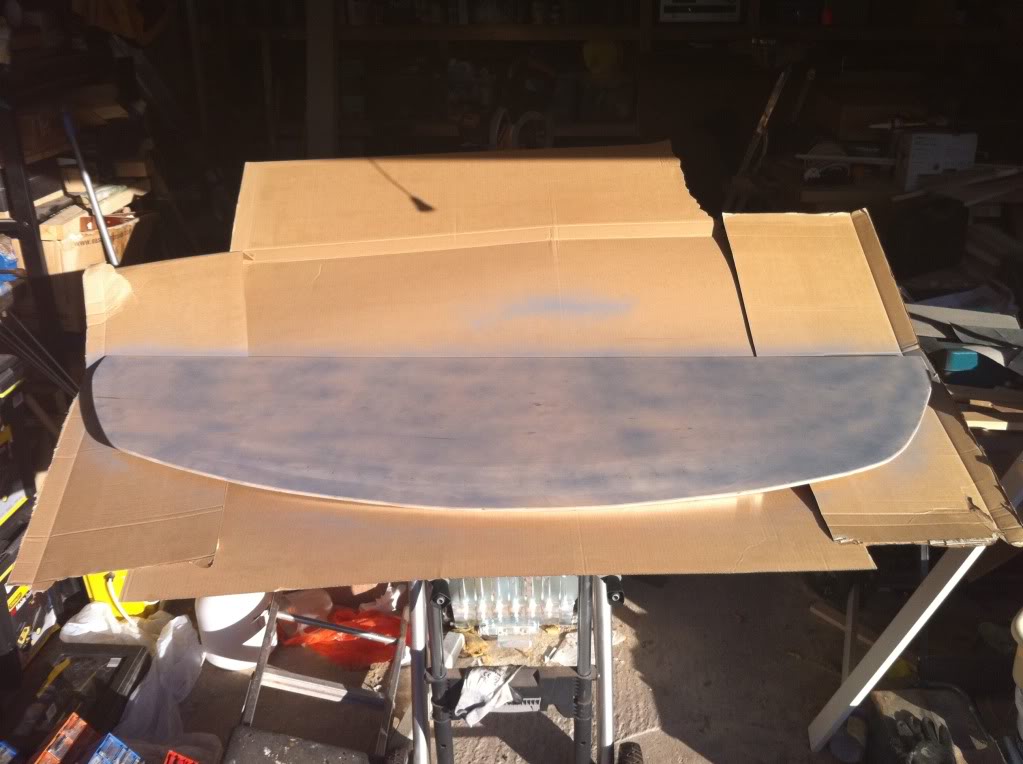
Grey primer base, gloss back colour and a few coats of clear. Still not done yet as I ran out of clear coat for the underside.
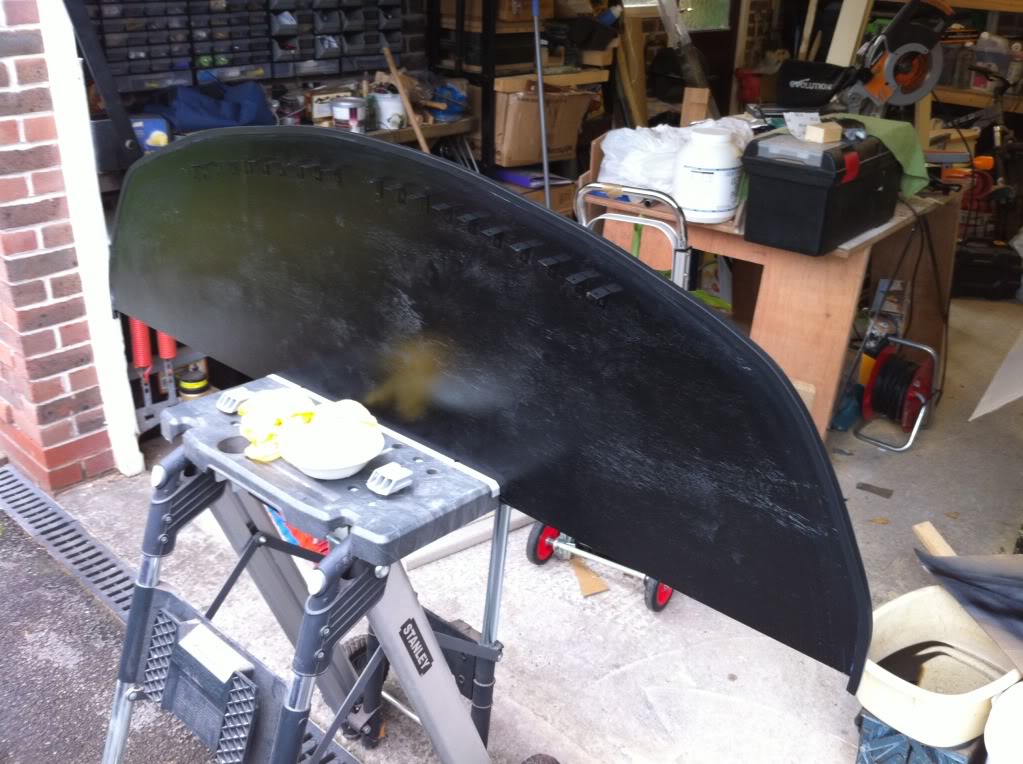
1st coat of primer.
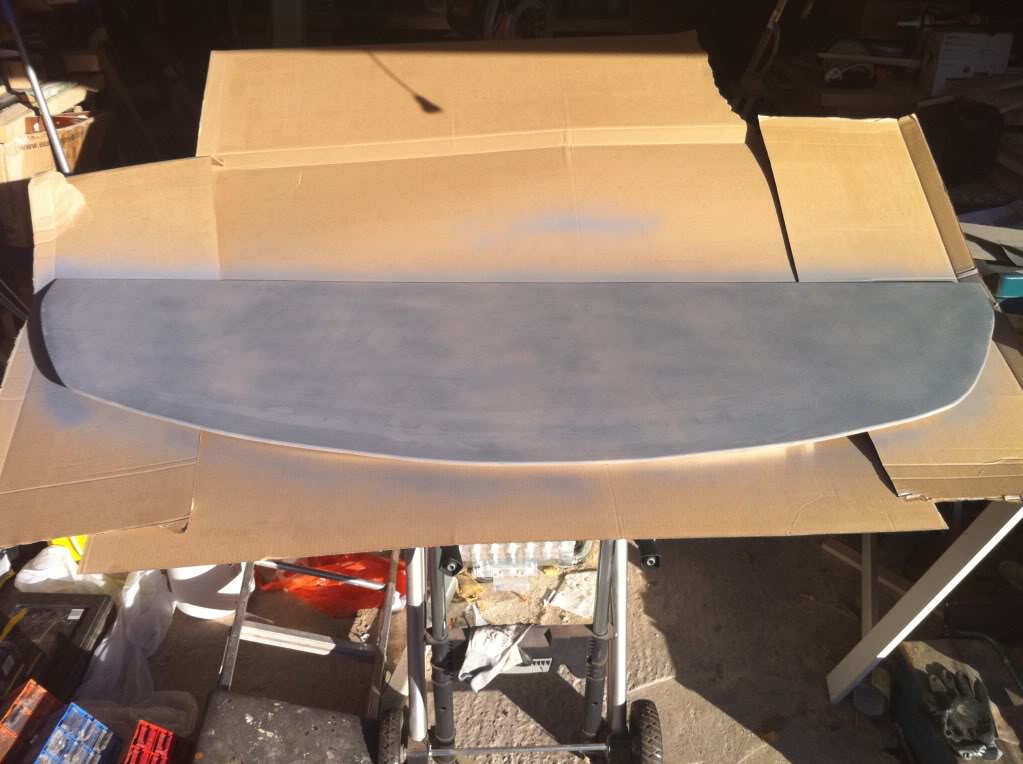
2nd coat of primer.
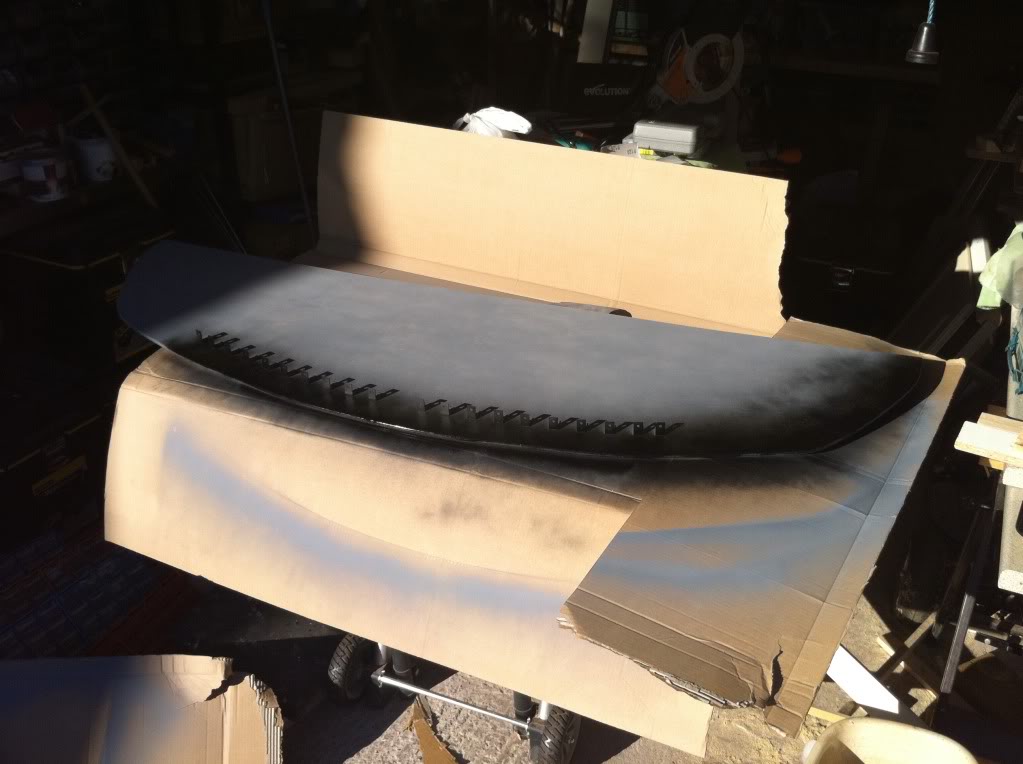
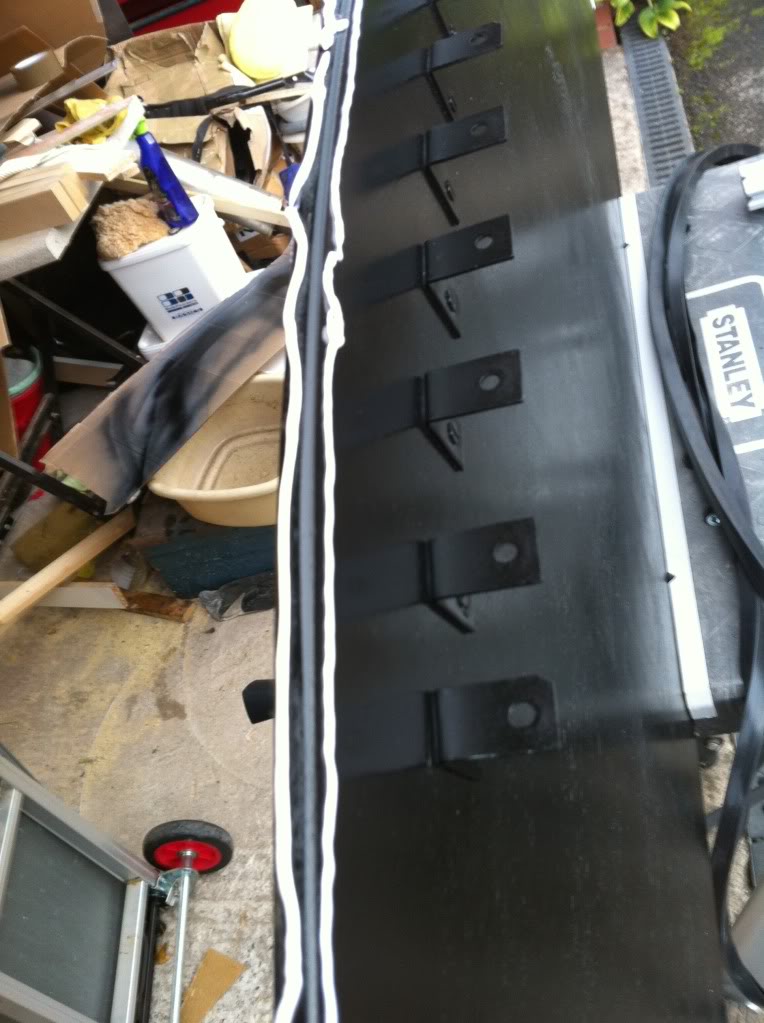
sealing the edges top and bottom with colour first.
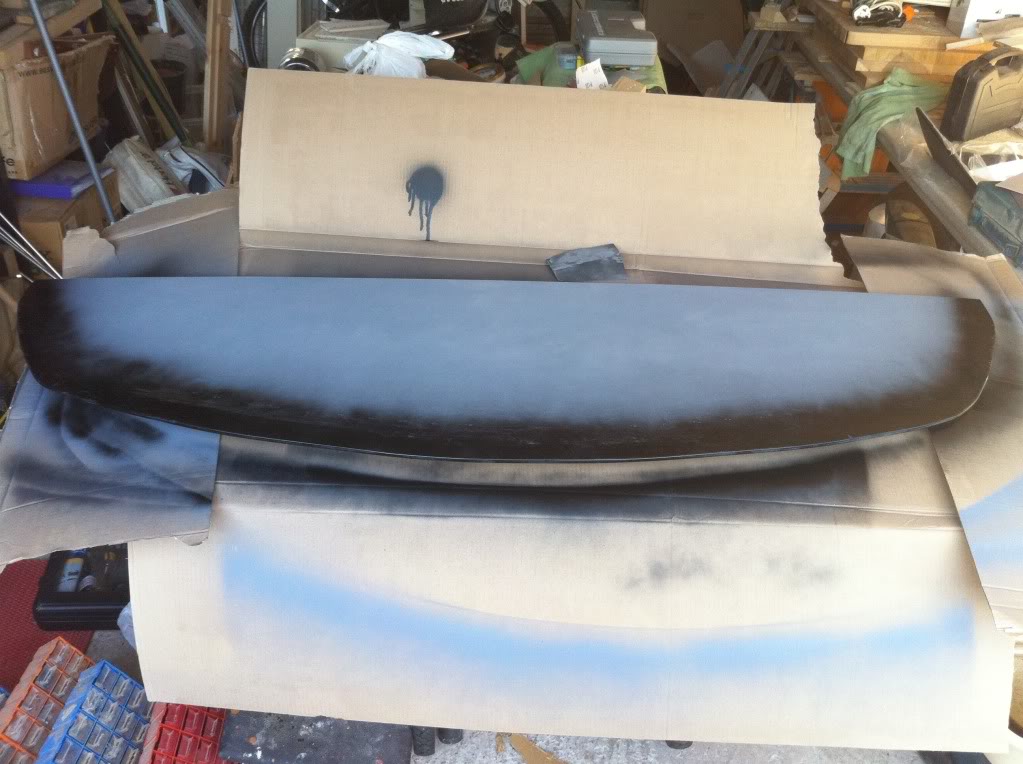
Thats all the pic's I have for today. I really wanted to get the mounting points sorted today but the hassle of getting the front bumper off in this cold weather put me off :thumbdown:
Im going to get the bumper off and change out the air filters and sort out the brackets all at once. May be a job for next week.
Im really finding it hard to find some edging strip for the leading edge. Im after some push fit "U" shape rubber molding to neaten the front edge up. Any one know where I can get some from?
Grey primer base, gloss back colour and a few coats of clear. Still not done yet as I ran out of clear coat for the underside.
1st coat of primer.
2nd coat of primer.
sealing the edges top and bottom with colour first.
Thats all the pic's I have for today. I really wanted to get the mounting points sorted today but the hassle of getting the front bumper off in this cold weather put me off :thumbdown:
Im going to get the bumper off and change out the air filters and sort out the brackets all at once. May be a job for next week.
Im really finding it hard to find some edging strip for the leading edge. Im after some push fit "U" shape rubber molding to neaten the front edge up. Any one know where I can get some from?

Awesome work mate, looks really well done.
Ill be doing the same thing this winter, about the same size although mine will stick out 4in across, go back as far as the axles, sit 1/2 down with an air dam (like yours) and be wrapped in CF. Going to make 3 or 4 of them, as they are disposable as far as Im concerned. The goal with mine is to be strong enough to stand on, I want no flex at high speeds.
Headers are not a concern, but oil is. With this sitting under the oil pan, it will be easily soak up anything that drips off, so its just something to be aware of.
and I know you have this planned, but make sure the thing is securely attached! I have heard upwards of 80lbs of downforce at 80mph with a diffuser that size, so imagine what forces will be pushing down at 130! I really wouldn't mount anything to the bumper/fascia itself, and only to the frame/bumper supports/rad supports/etc.
really interested to see what you come up with, as I plan to spend a week in the garage in January doing the same thing haha.
really interested to see what you come up with, as I plan to spend a week in the garage in January doing the same thing haha.


Thread Starter
Registered User
Joined: Feb 2007
Posts: 908
Likes: 5
From: UK
Got my rubber edging in the post today so I've just fitted the front edge.
Lots of no nails to hold it on!
Still needs to be cleaned up after its dry.
Looks a little neater and should help seal the wood ply.
And a quick pic of my current ride!
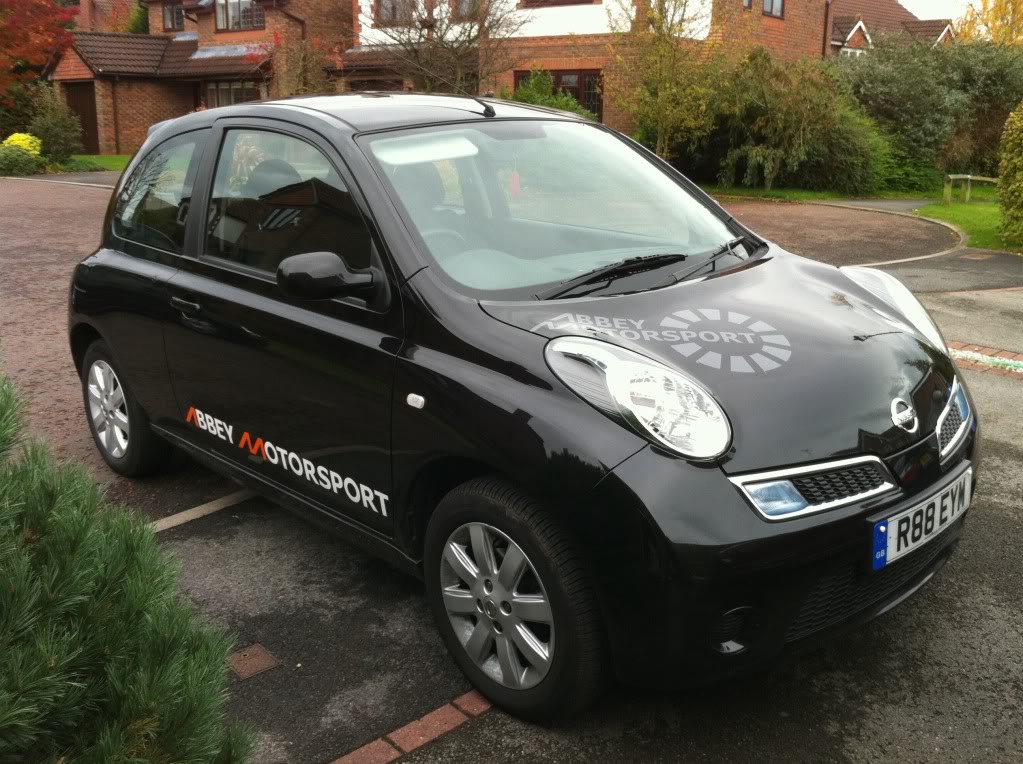

Fitted with a RB26 with large single turbo! :blush: (I wish)
Lots of no nails to hold it on!
Still needs to be cleaned up after its dry.
Looks a little neater and should help seal the wood ply.
And a quick pic of my current ride!
Fitted with a RB26 with large single turbo! :blush: (I wish)


Thread Starter
Registered User
Joined: Feb 2007
Posts: 908
Likes: 5
From: UK
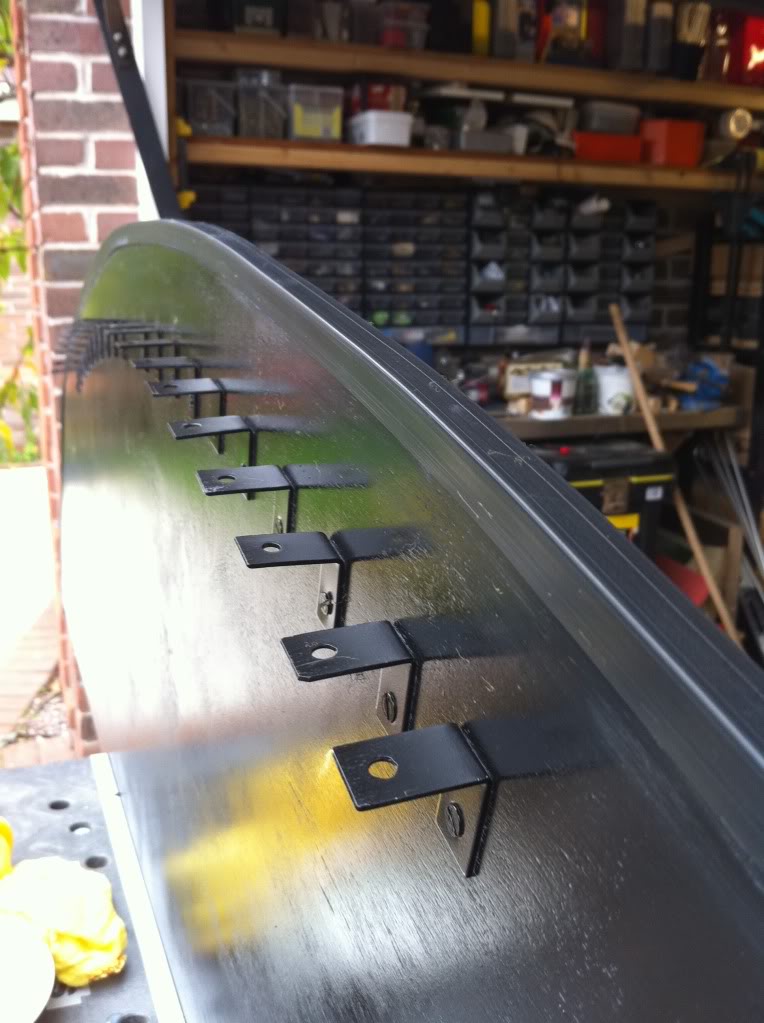
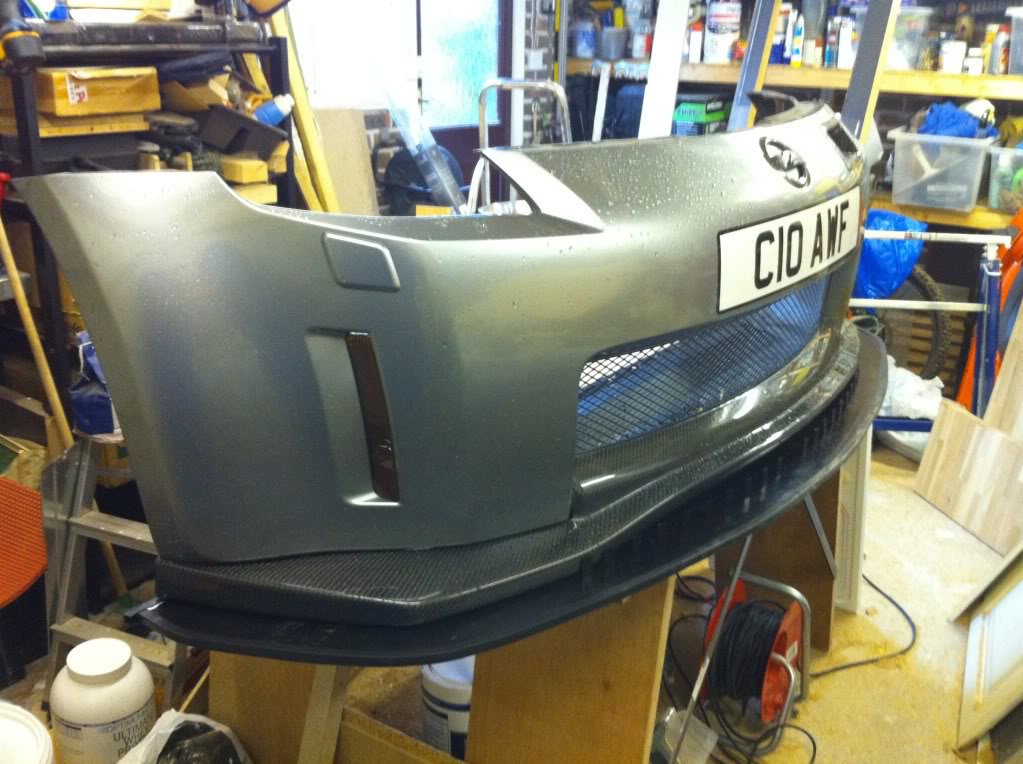
While the bumper was off I took some time (in the pissing rain! lol) to look at mounting my front splitter.
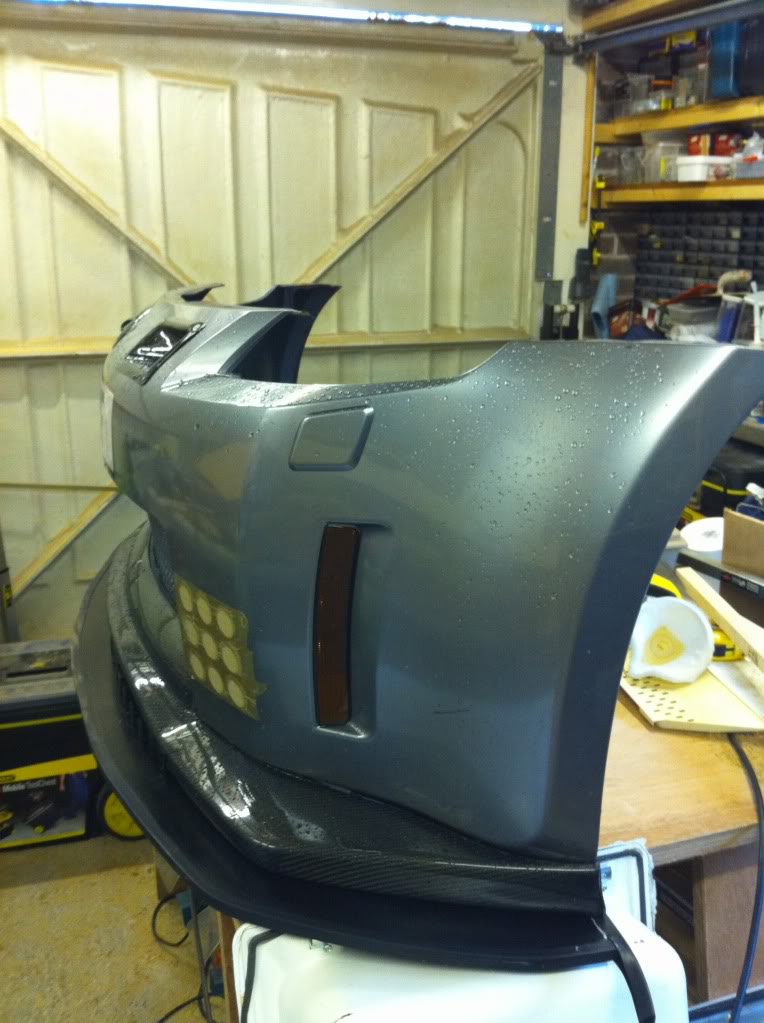
Its just mocked up in these pic's but looks to be a good fit.
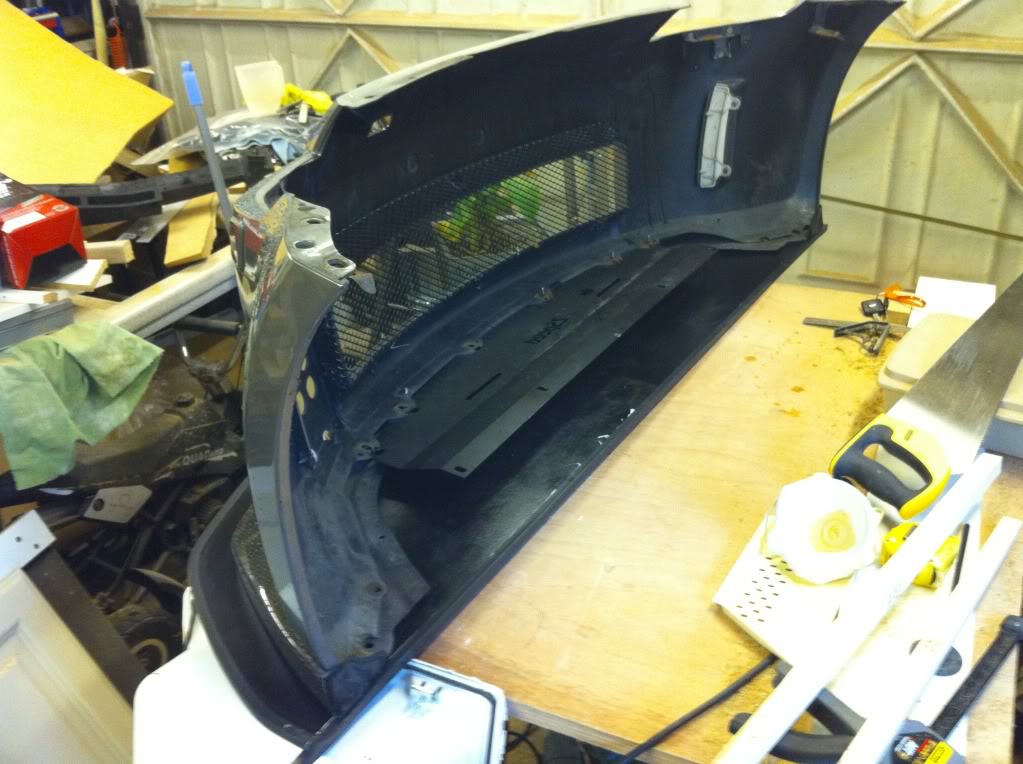
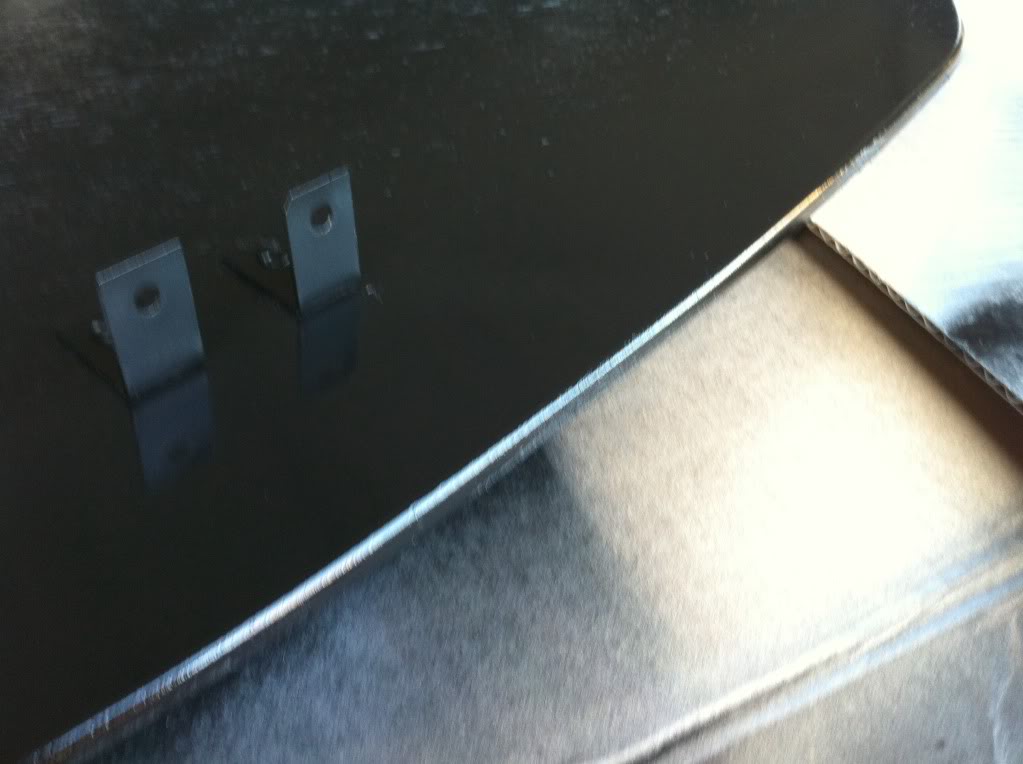
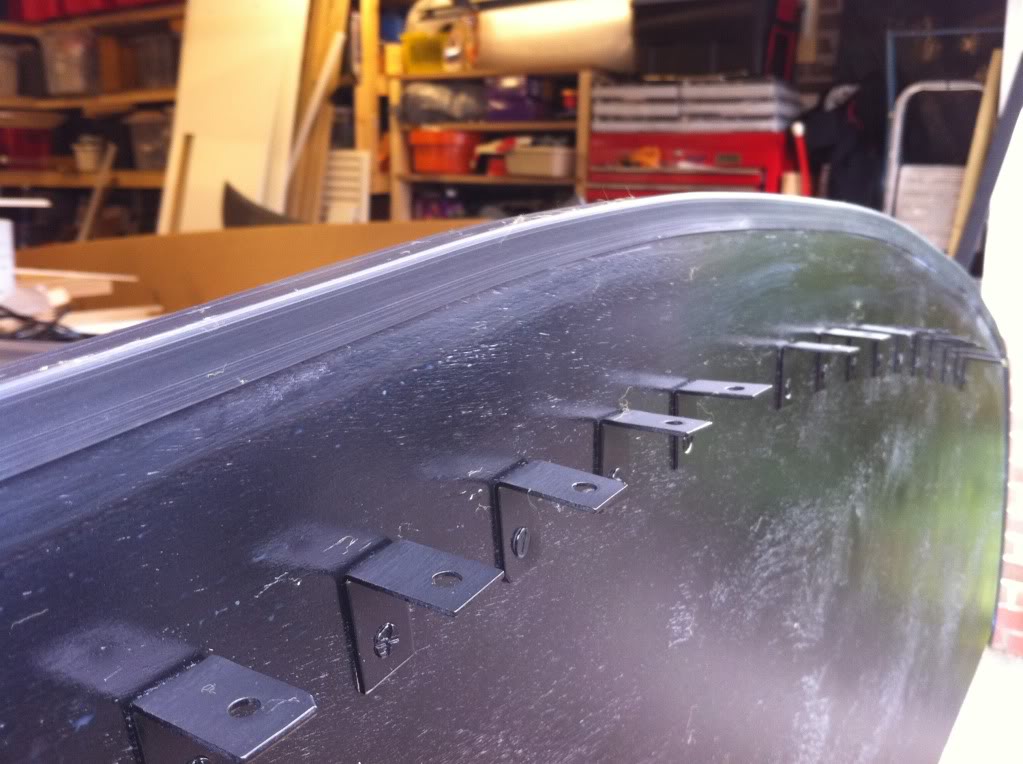
Took a while trying to workout where the mounts should go. Its hard to find space around the intercooler pipe work so Im using some OEM bolt holes on the Rad support frame. The front tie rods will take most of the downforce and these will be fixed to the crash brace to be nice and strong.
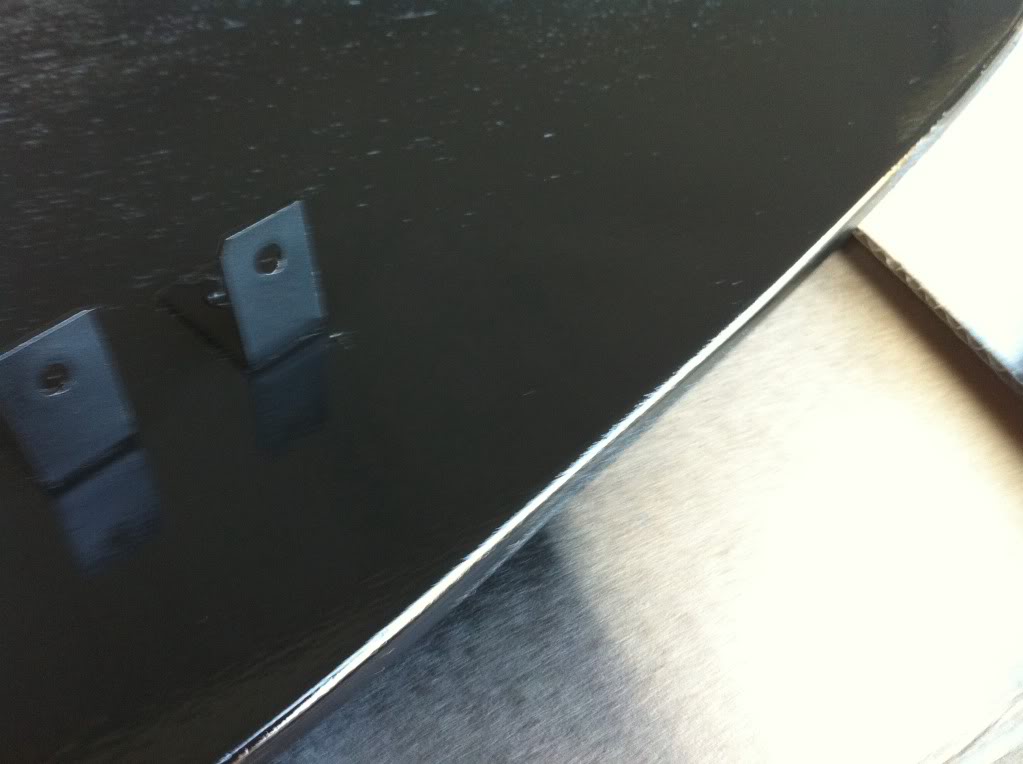
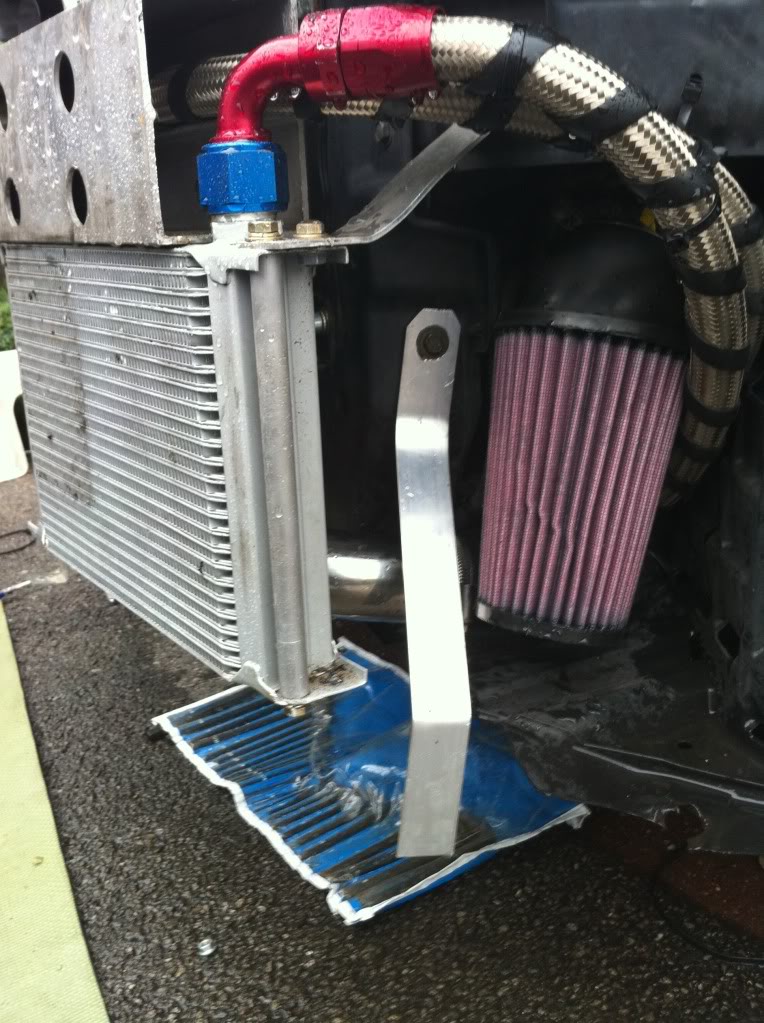
Passenger side Alu mount in place.
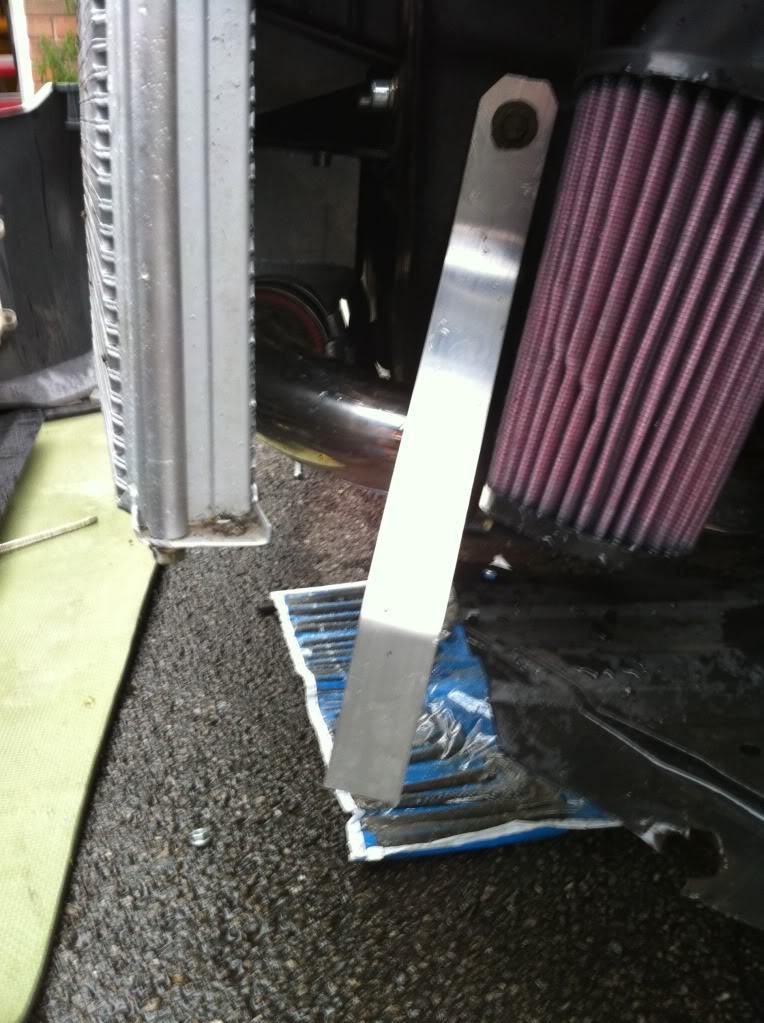
Driver side mount in place.
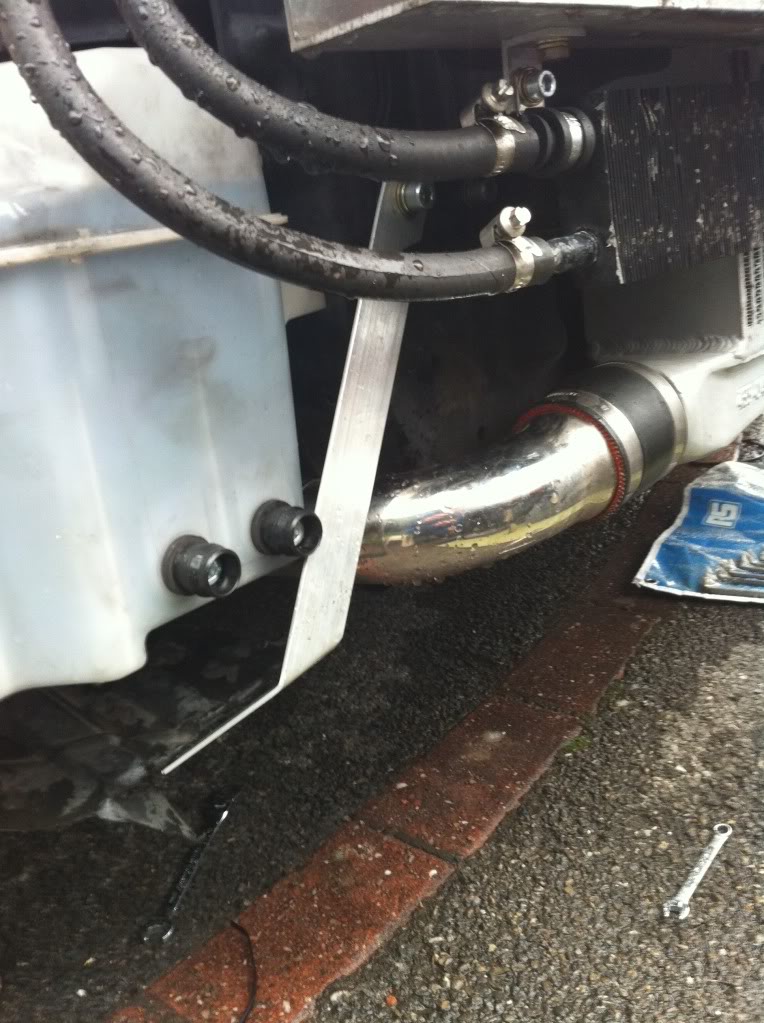
The cars back together now so the next job will be mocking up the splitter on the car and sorting out more mount points.
My bodies sore now from working on my back for too long :blackeye:
Its just mocked up in these pic's but looks to be a good fit.
Took a while trying to workout where the mounts should go. Its hard to find space around the intercooler pipe work so Im using some OEM bolt holes on the Rad support frame. The front tie rods will take most of the downforce and these will be fixed to the crash brace to be nice and strong.
Passenger side Alu mount in place.
Driver side mount in place.
The cars back together now so the next job will be mocking up the splitter on the car and sorting out more mount points.
My bodies sore now from working on my back for too long :blackeye:
Thread Starter
Registered User
Joined: Feb 2007
Posts: 908
Likes: 5
From: UK
I'm looking at running a good size GT wing aswell mate. The splitter will be used for track and some road use but most of the time I'll just use the varis CF one.
APR wing and this front splitter + the full flat under body I'm going to make should help a little.
APR wing and this front splitter + the full flat under body I'm going to make should help a little.

National Z Club President
iTrader: (15)
Joined: Sep 2008
Posts: 9,950
Likes: 2
From: the coolest place on earth
Please update us about this venture.
Try getting the raisers so you can get clean air with the wing, the APR stuff sits sort of low IMO. Post pictures when you get the wing on. Have you thought about extending the splitter out a bit for more surface area? You can add front support brackets as well.

Looks Clean...
If you think about it, wood is a good idea.
Cheap, easy to make, and when it flys off you dont have to worry about it slashing your tires or a fuel line or etc...
Good WORK!!!
If you think about it, wood is a good idea.
Cheap, easy to make, and when it flys off you dont have to worry about it slashing your tires or a fuel line or etc...
Good WORK!!!


