
Spoiler install help


Hey guys so last week finally purchased a OEM spoiler used, the guy who sold it to me gave me everything except a template, i was wondering where i could get one offline, if not can someone please send me exact locations to drill and send me pictures or their OEM spoiler inside and out. Thanks


hey bro just wondering, when i opened up the pdf, the 1 inch gap, am i suppose to take that all off or just cut off it till the little line? thank you so much
Trending Topics
This is how i cut it
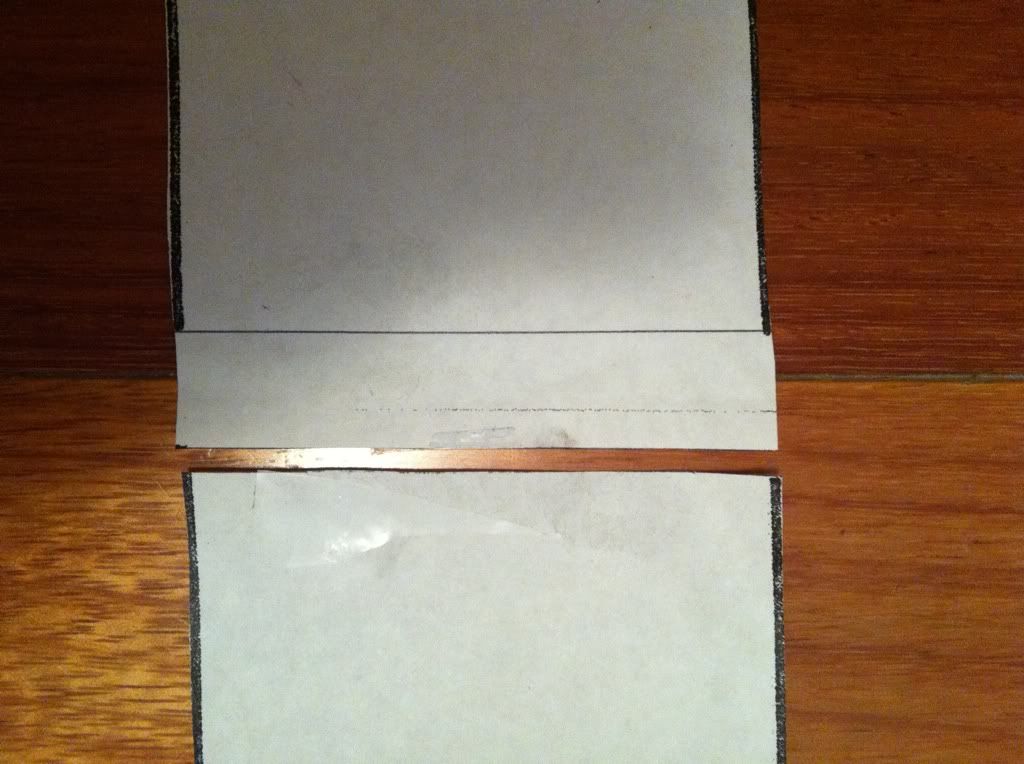
This is how i did it the first time, and it seemed as if it was a little too short, i just connected it and overlapped the gap on top of each other
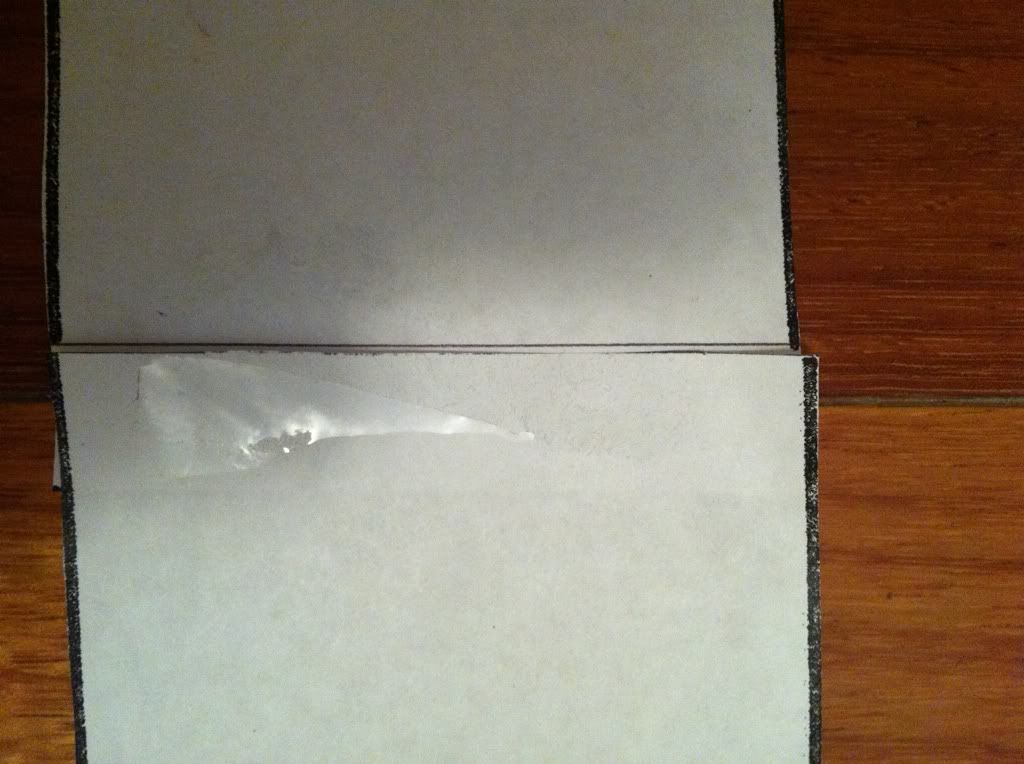
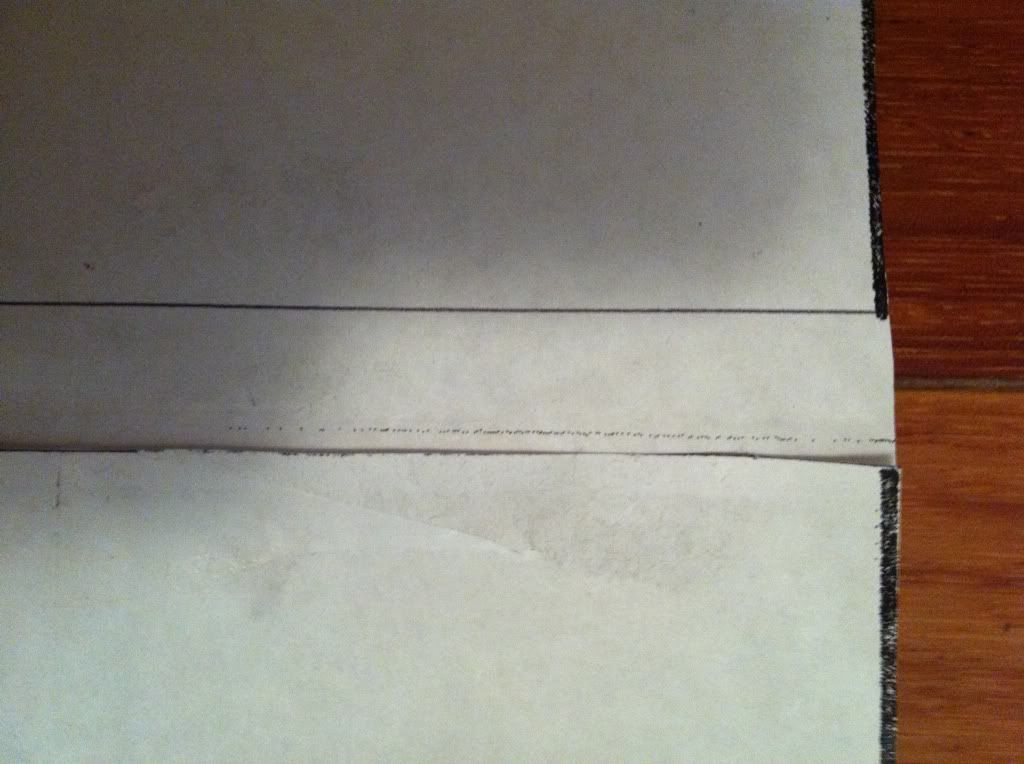
Or am i supposed to do it like this? cut it like i did and connect it to this little line?
This is how i did it the first time, and it seemed as if it was a little too short, i just connected it and overlapped the gap on top of each other
Or am i supposed to do it like this? cut it like i did and connect it to this little line?
The template is huge & was scanned in 2 pieces, just make the 2 parts touch (or connect pieces & eliminate the gap) and you have the template, easy enuFF. I think I still have the original template around someplace.
 lol still having trouble with my template, will get it figured out this week, thanks alot bro, really aprreciate it
tellin ya, zero reason to drill your car..
as a guy who has paid to have holes welded once already, you'll never catch me driling holes for a wing again, especially that has zero effect on downforce.. tit purely aesthetic ( or may cut turbulence behind the car er something, dunno...) its cool you got a template, nice job ppl w helping out for sure.....but you just dont need to do that man.. I wouldnt say it so emphaticaly if i wasnt trying to save you several hours and the possibility of damaging your car.
daimond bit on a dremel and 10 minutes and those posts are toast.. surface prep car...then hold it to the car where you want it to sit, mark the edges w blue painter tape.. peel back your 3m tape and re align... add pressure, sit it in the sun, DONE.
Wana get rid of it?
Heat it up, pull it off, spray wd40, clean, maybe buff a little...
voila.. back to OEM. Sell wing for same price you paid.

Thread
Thread Starter
Forum
Replies
Last Post
Gruppe-S
Body Interior
13
May 16, 2016 10:42 PM

