When you click on links to various merchants on this site and make a purchase, this can result in this site earning a commission. Affiliate programs and affiliations include, but are not limited to, the eBay Partner Network.
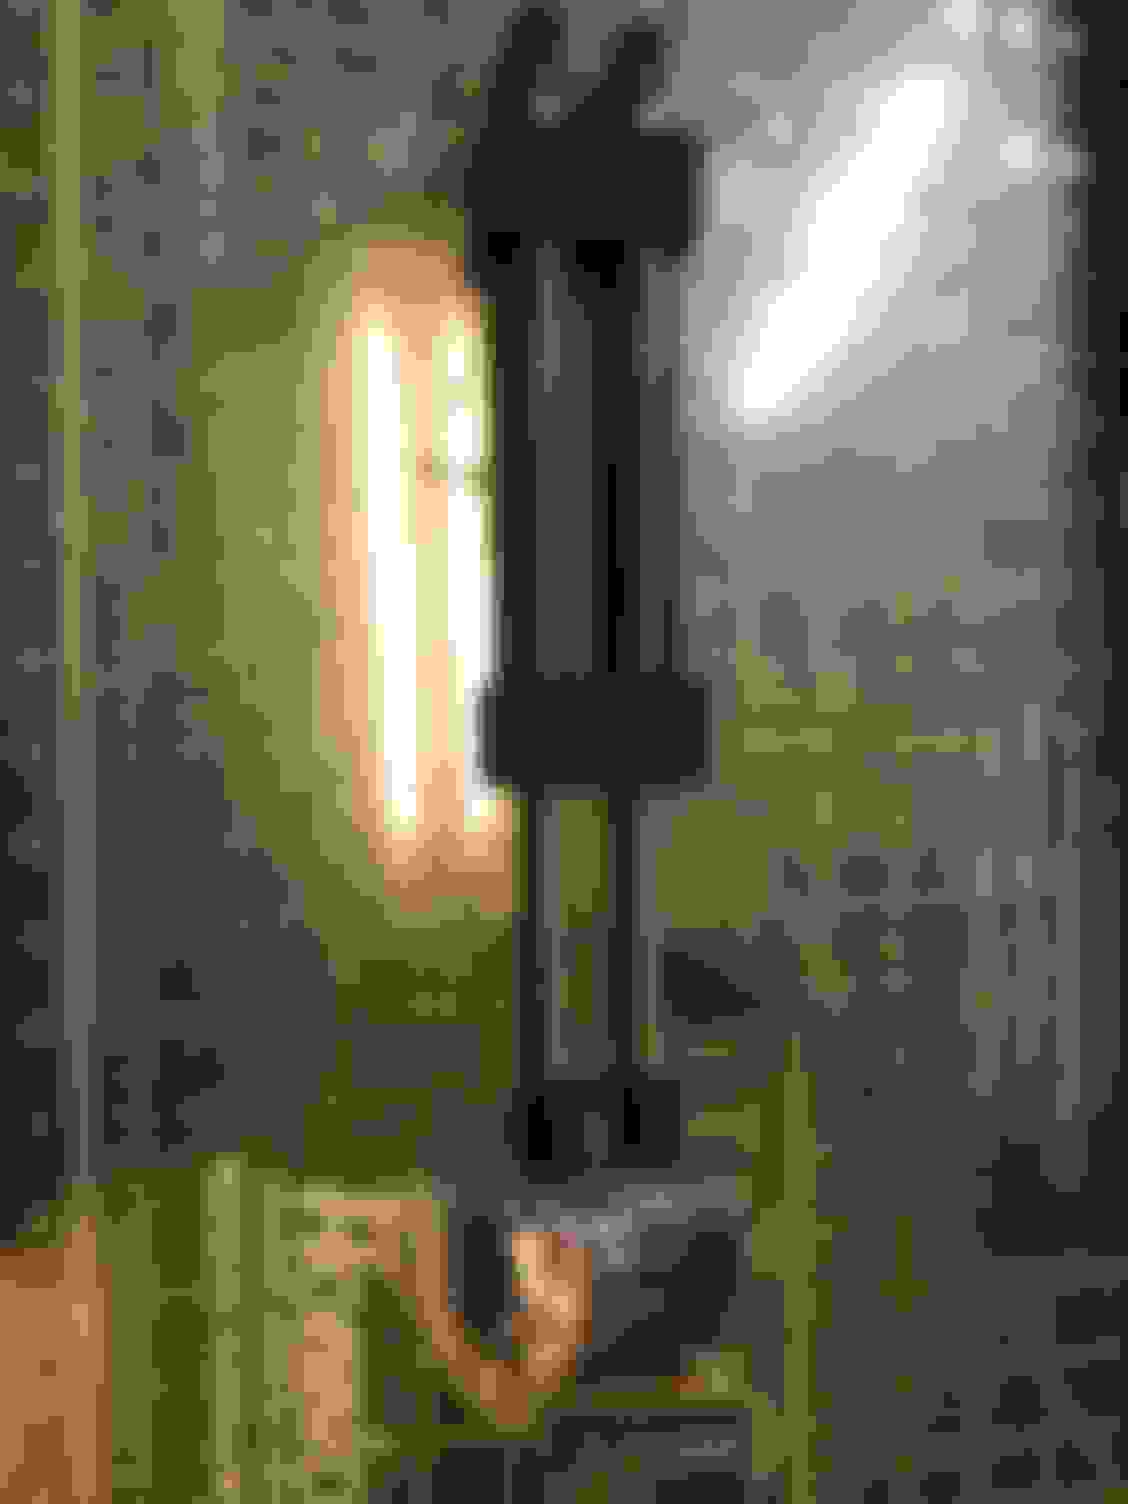
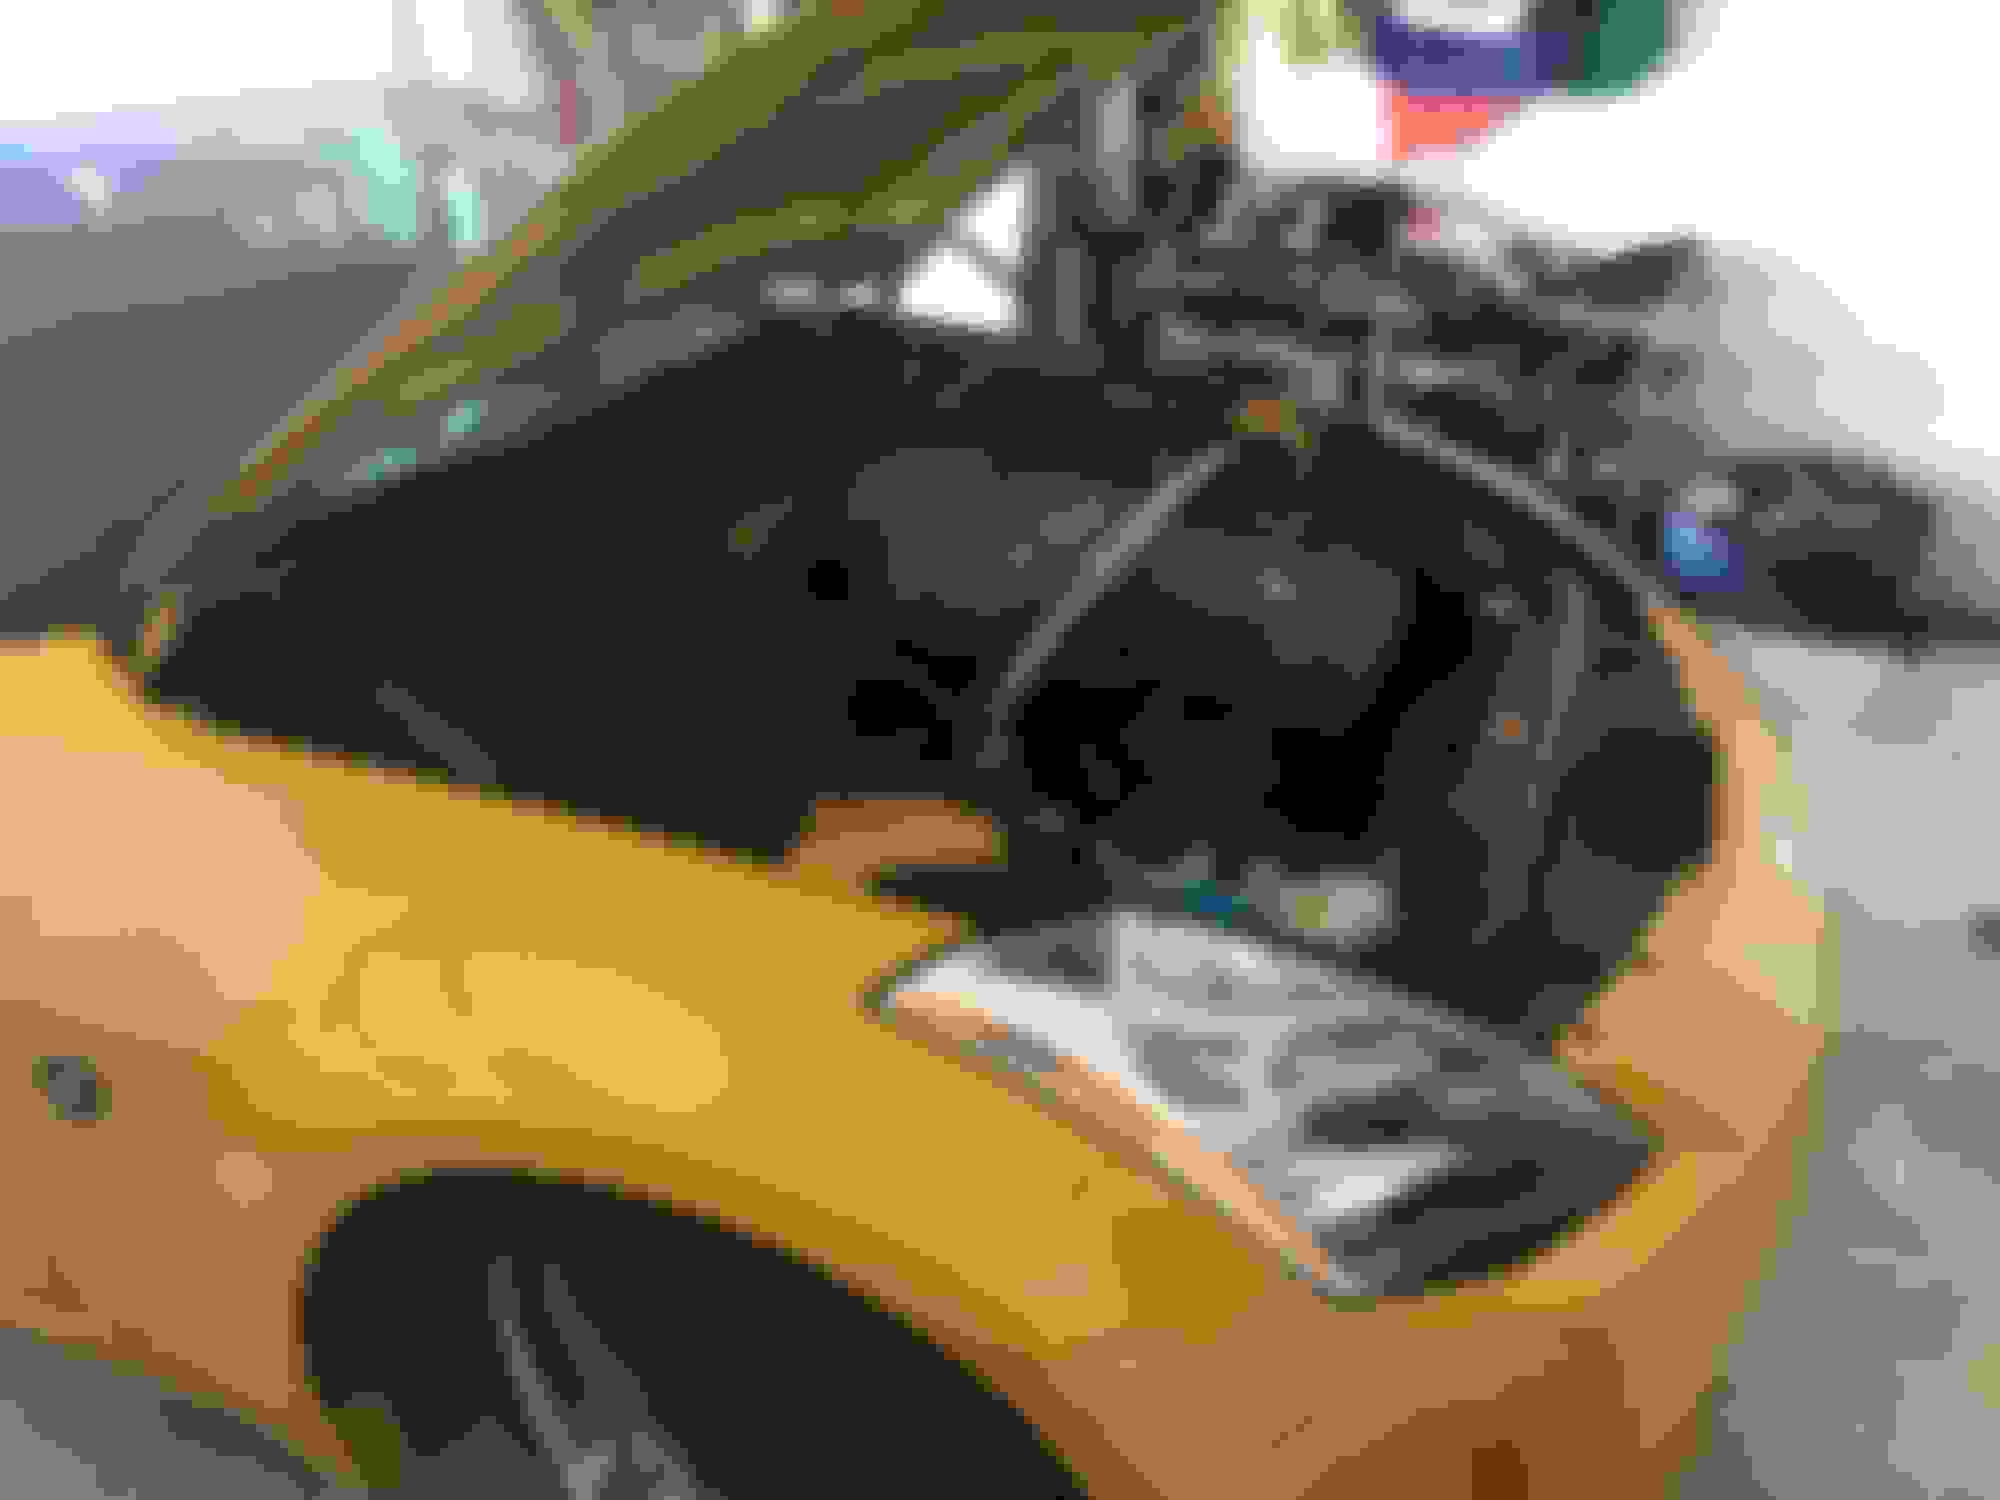
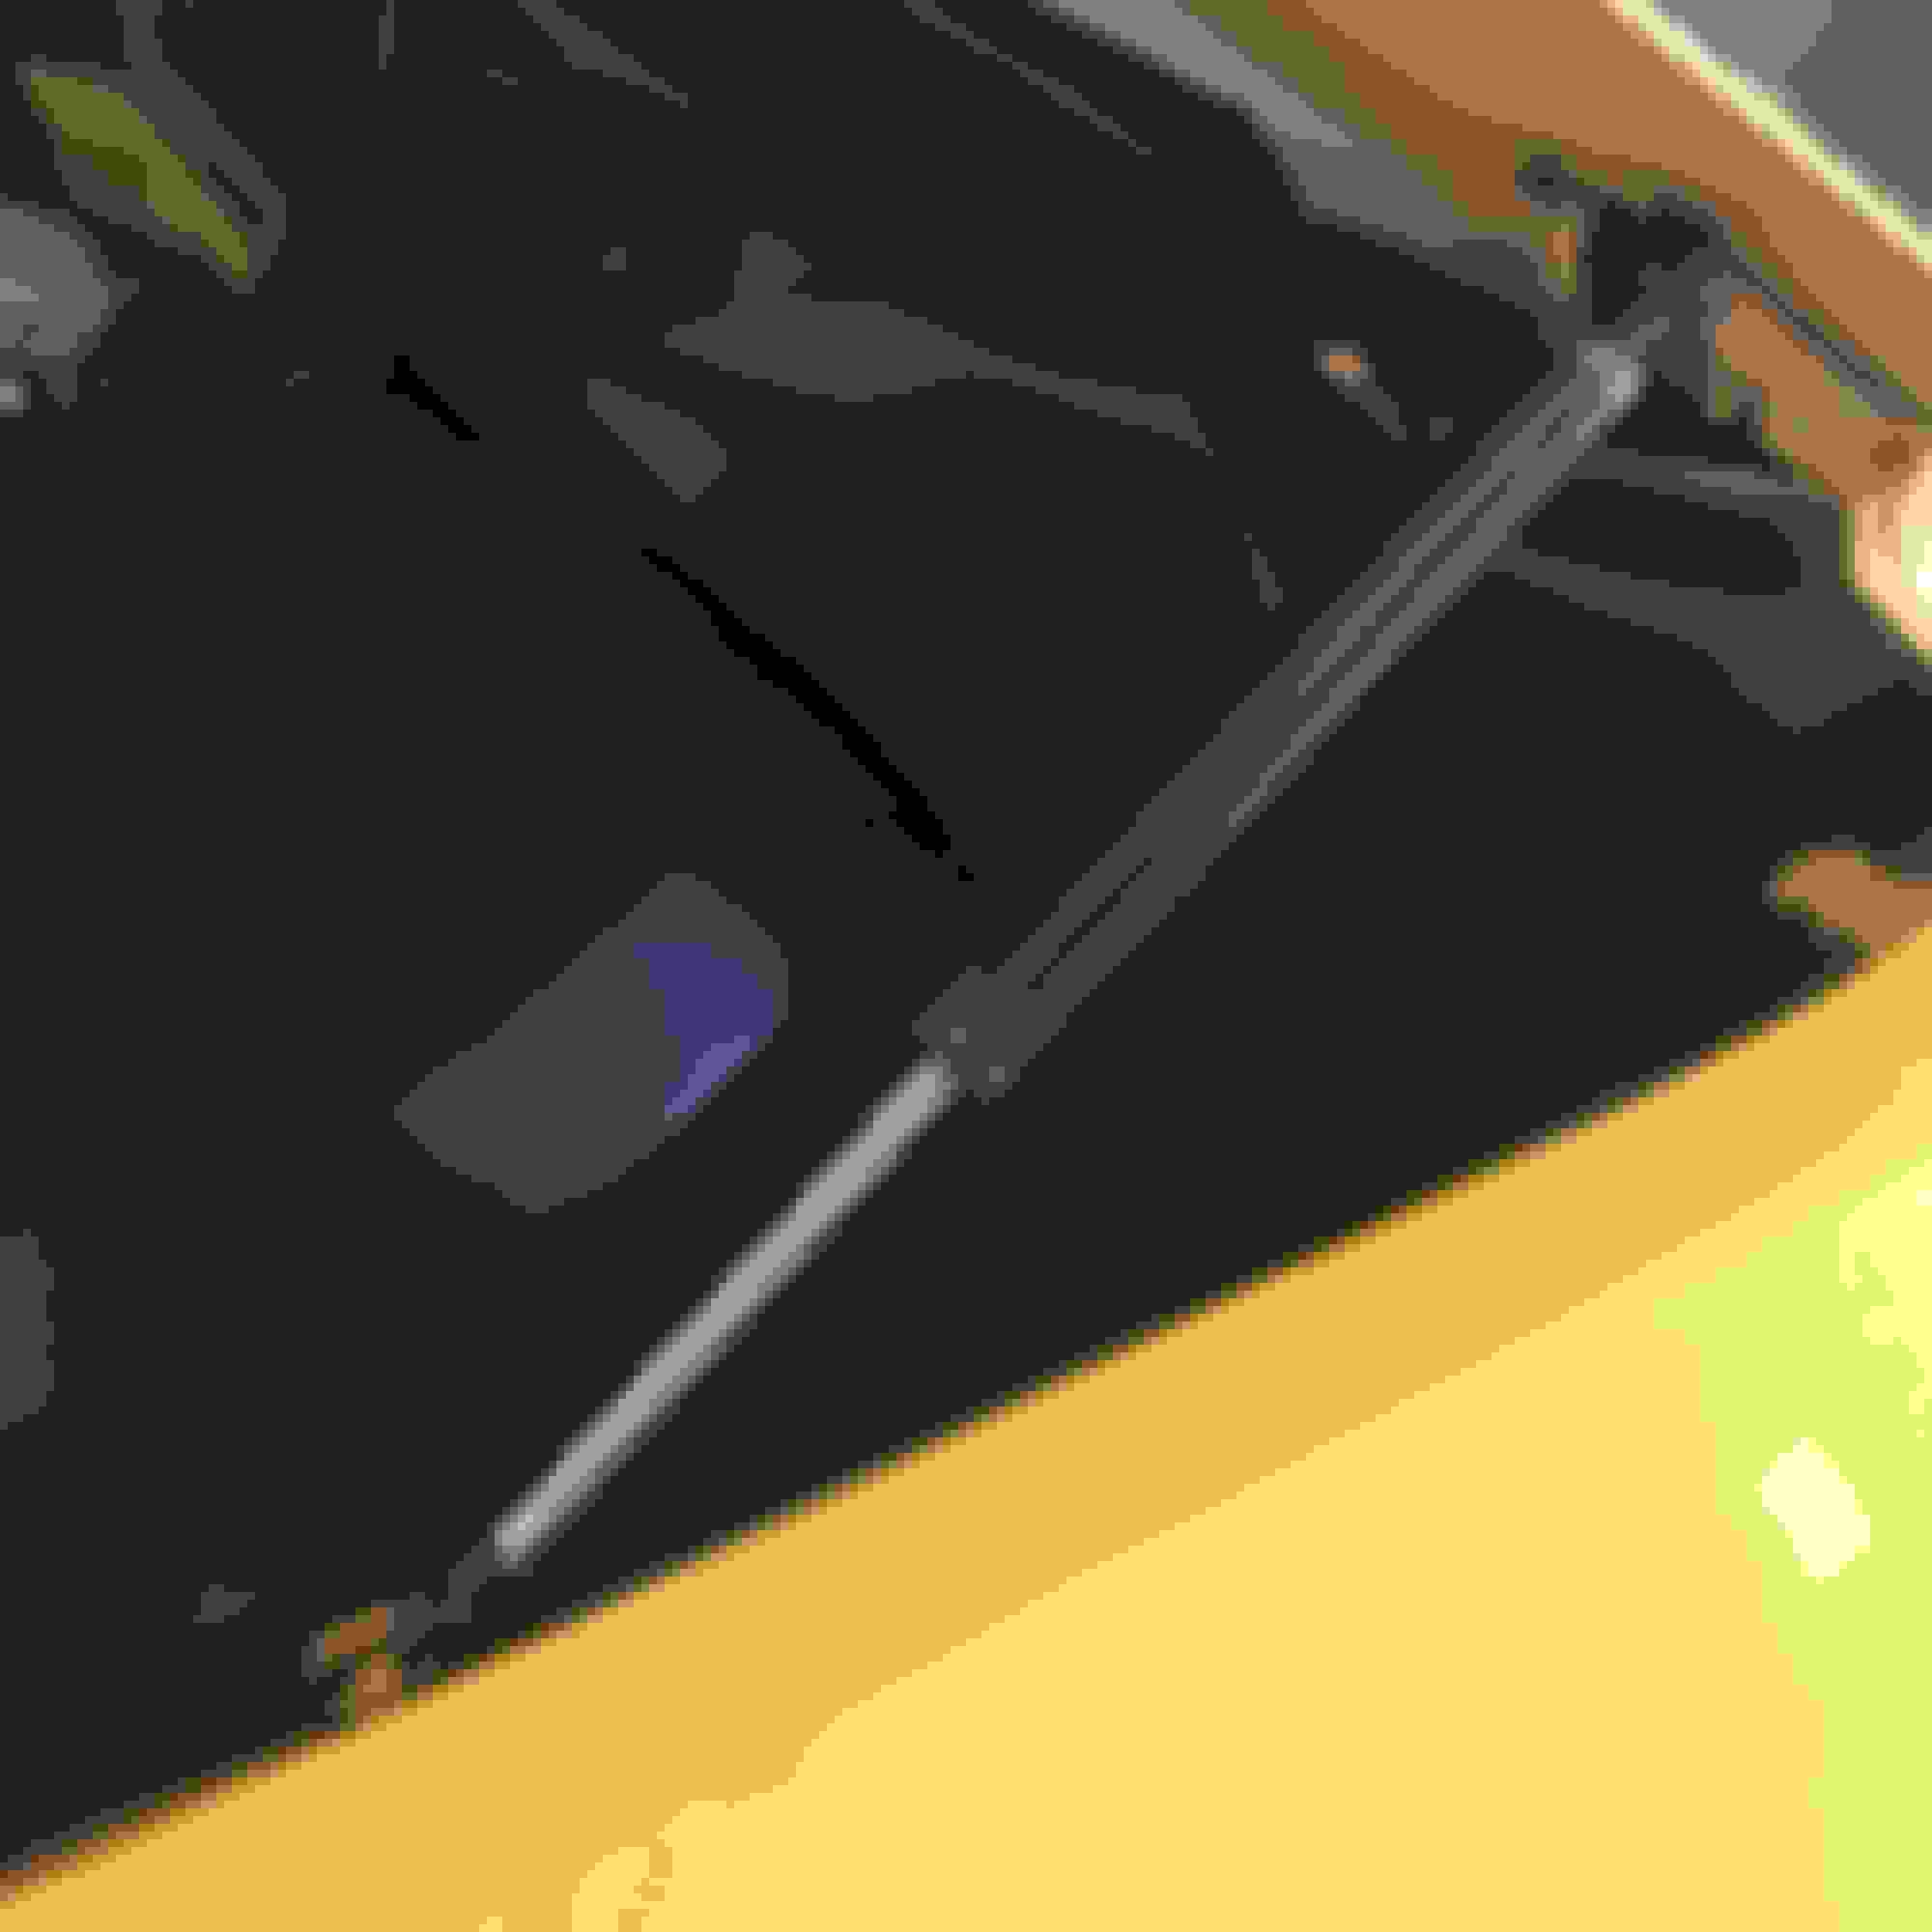
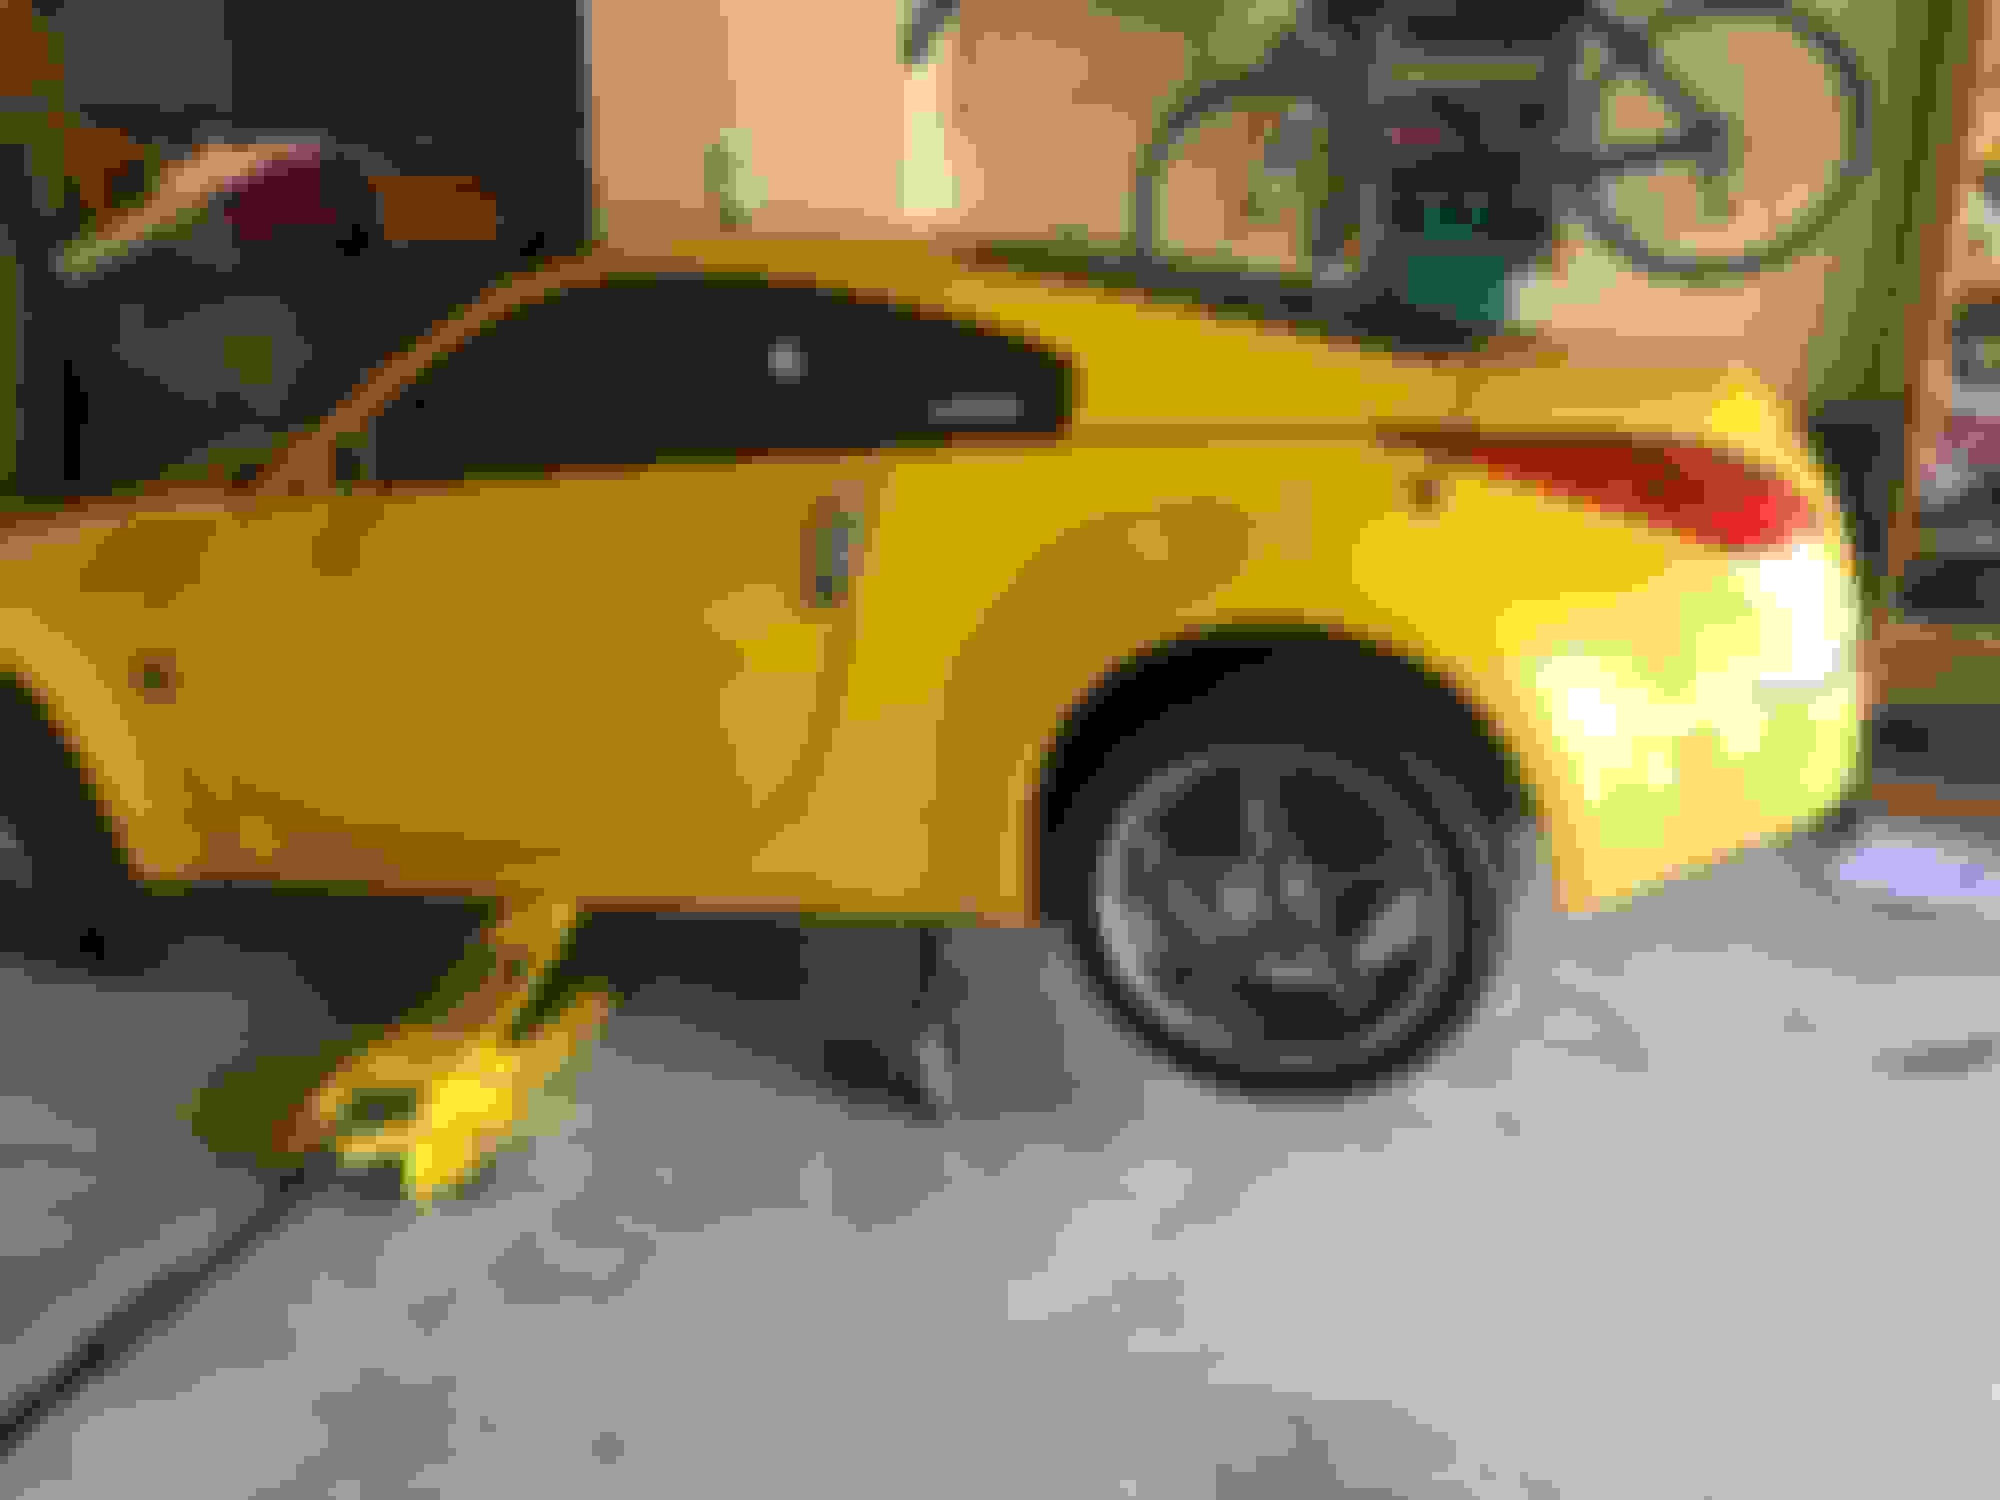
Since I don't quite have all the parts to put in the new exhaust I went ahead and installed these carbon fiber struts. They went in pretty easy and I am happy to no longer be working around a pole. Always think I am going to knock that thing loose and the hood is going to come down on me. Well, I took a stab at getting that driver airbag light out again. I tried another used airbag, cleared the codes etc and no luck. So, then I went in and replaced the Clock spring behind the steering wheel. No dice. Still getting the error code. At this point it's either the wiring harness or the computer. My bet is on the computer. I am going to take it in to the Nissan dealership(had the Z shop try last time) and see if they can clear it and/or give me some direction on what it is. Replacing the Clock Spring took a lot of time, but really was not too bad. Found a great video on it and between that and the FSM it went pretty smoothly.
It is probably better or worse, we will see, that I could not do the exhaust today. Decided if I was going to remove the exhaust I might as well go after the bushing issue and make a few improvements on the differential and outer bushings. I went ahead and got the following.
1. https://www.z1motorsports.com/z1-pro...it-p-7026.html This is a kit, bushing, nicer differential cover, and fluids
2. https://www.z1motorsports.com/z1-pro...s-p-12008.html (This one was intriguing. Watch the video on it.) My plan is to get some better shocks(maybe coilovers) and roll bar in the near future. Still moving towards a mostly fun driver, but able to take it the track every now and then.
3. https://www.z1motorsports.com/transm...7-p-11086.html (I have seen the drill and cut video's and I could always do that, but why not try this tool to get that bushing out.)
Last edited by Jim Stephens; 11-16-2019 at 03:13 PM.
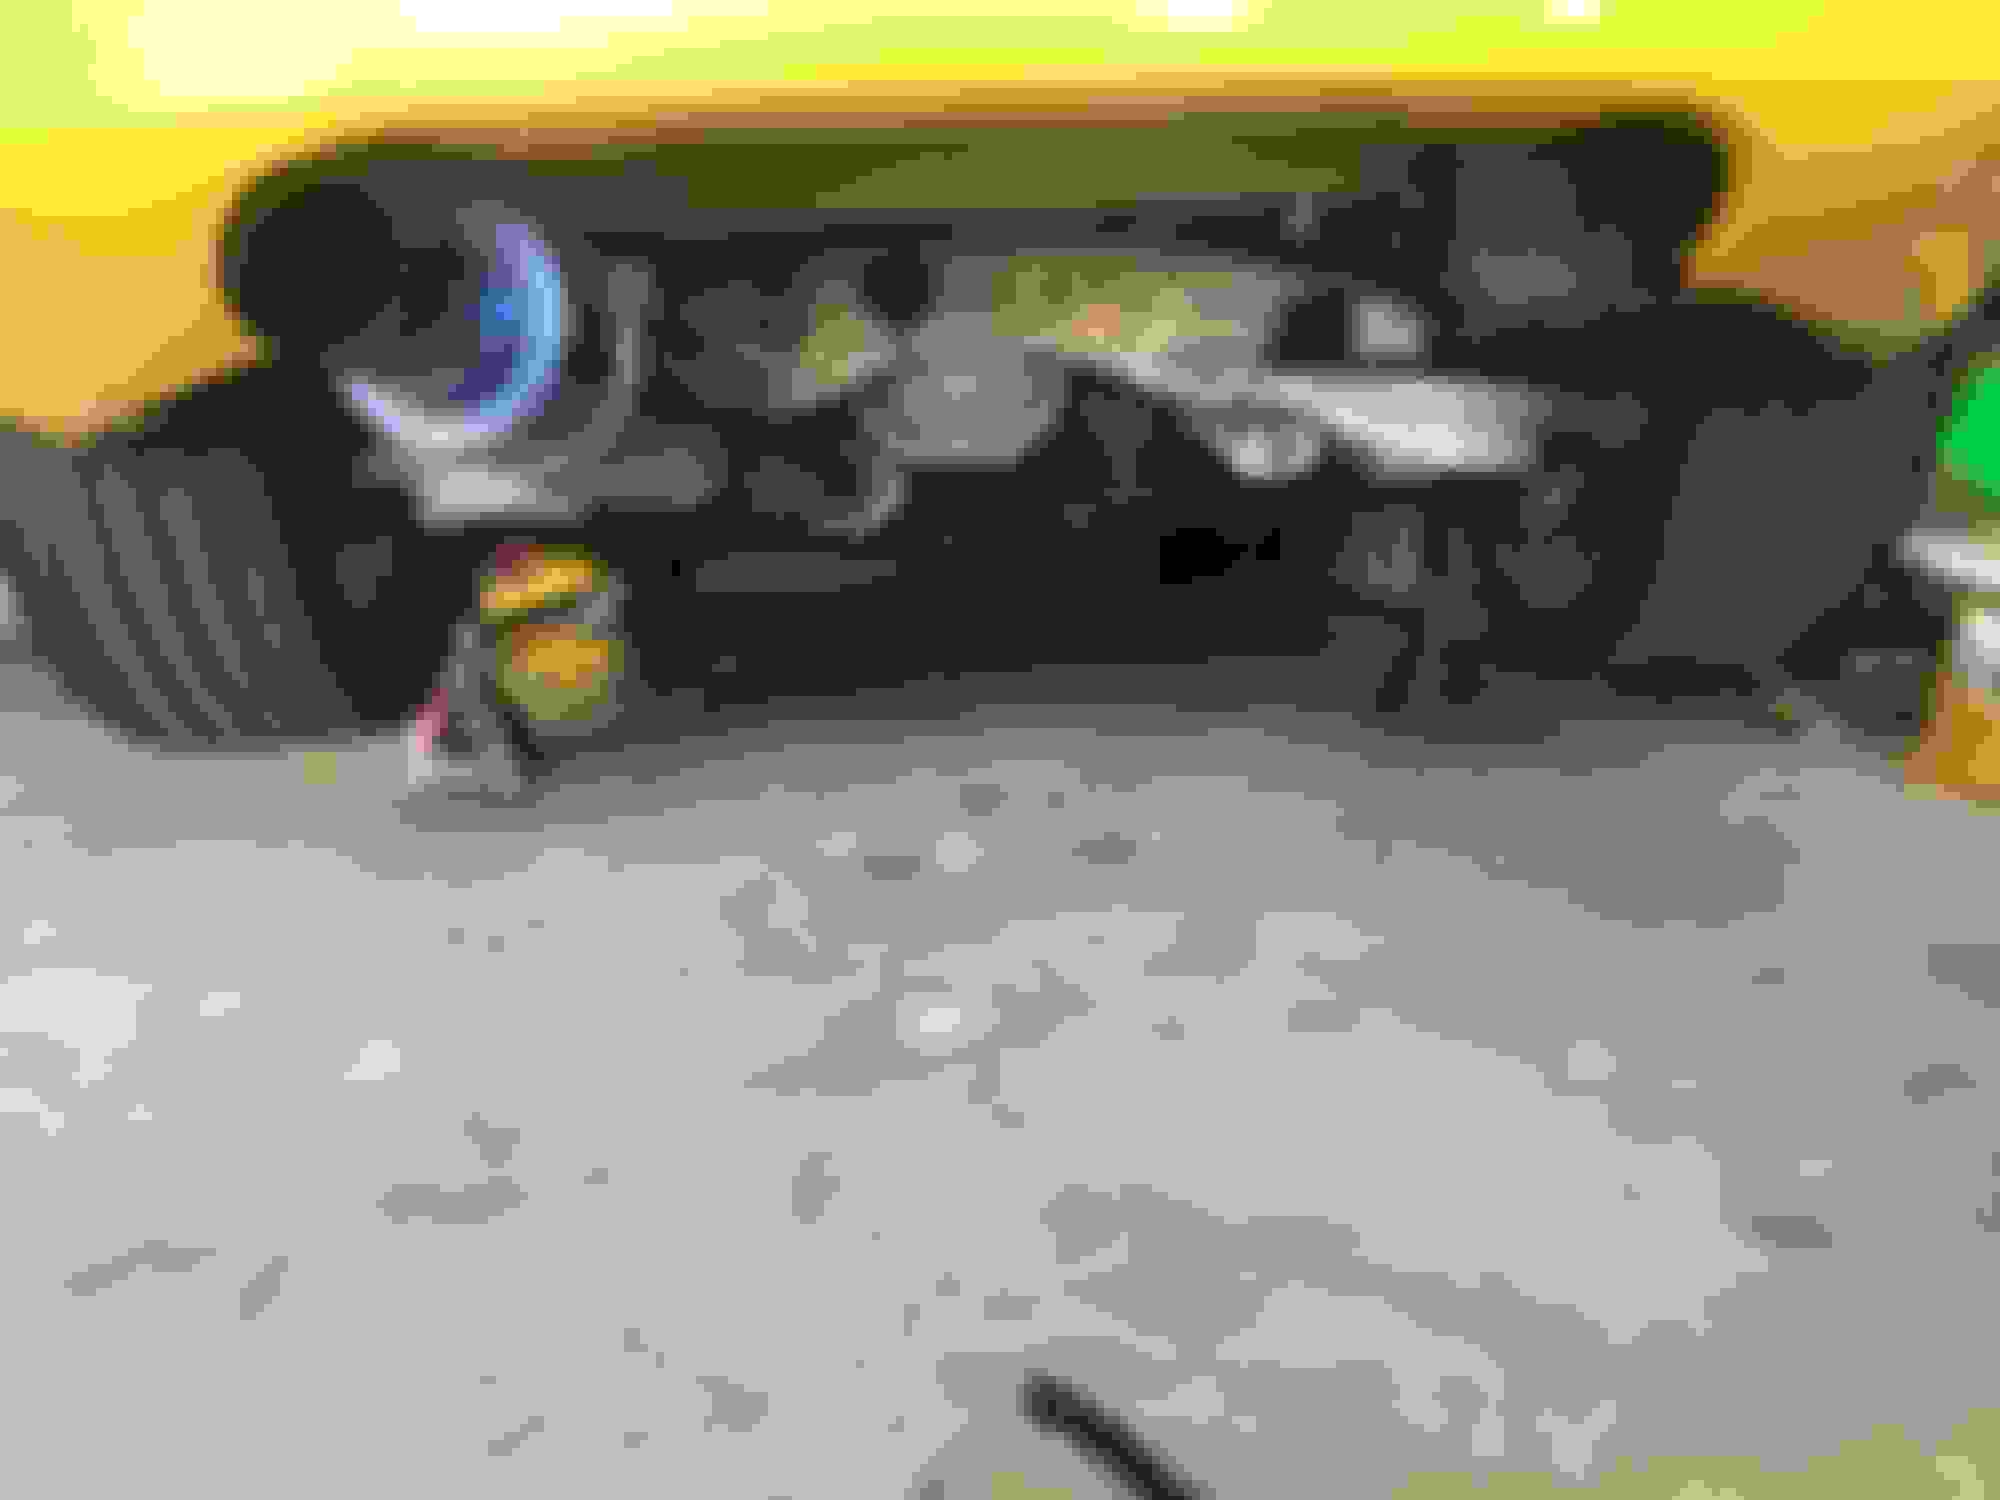
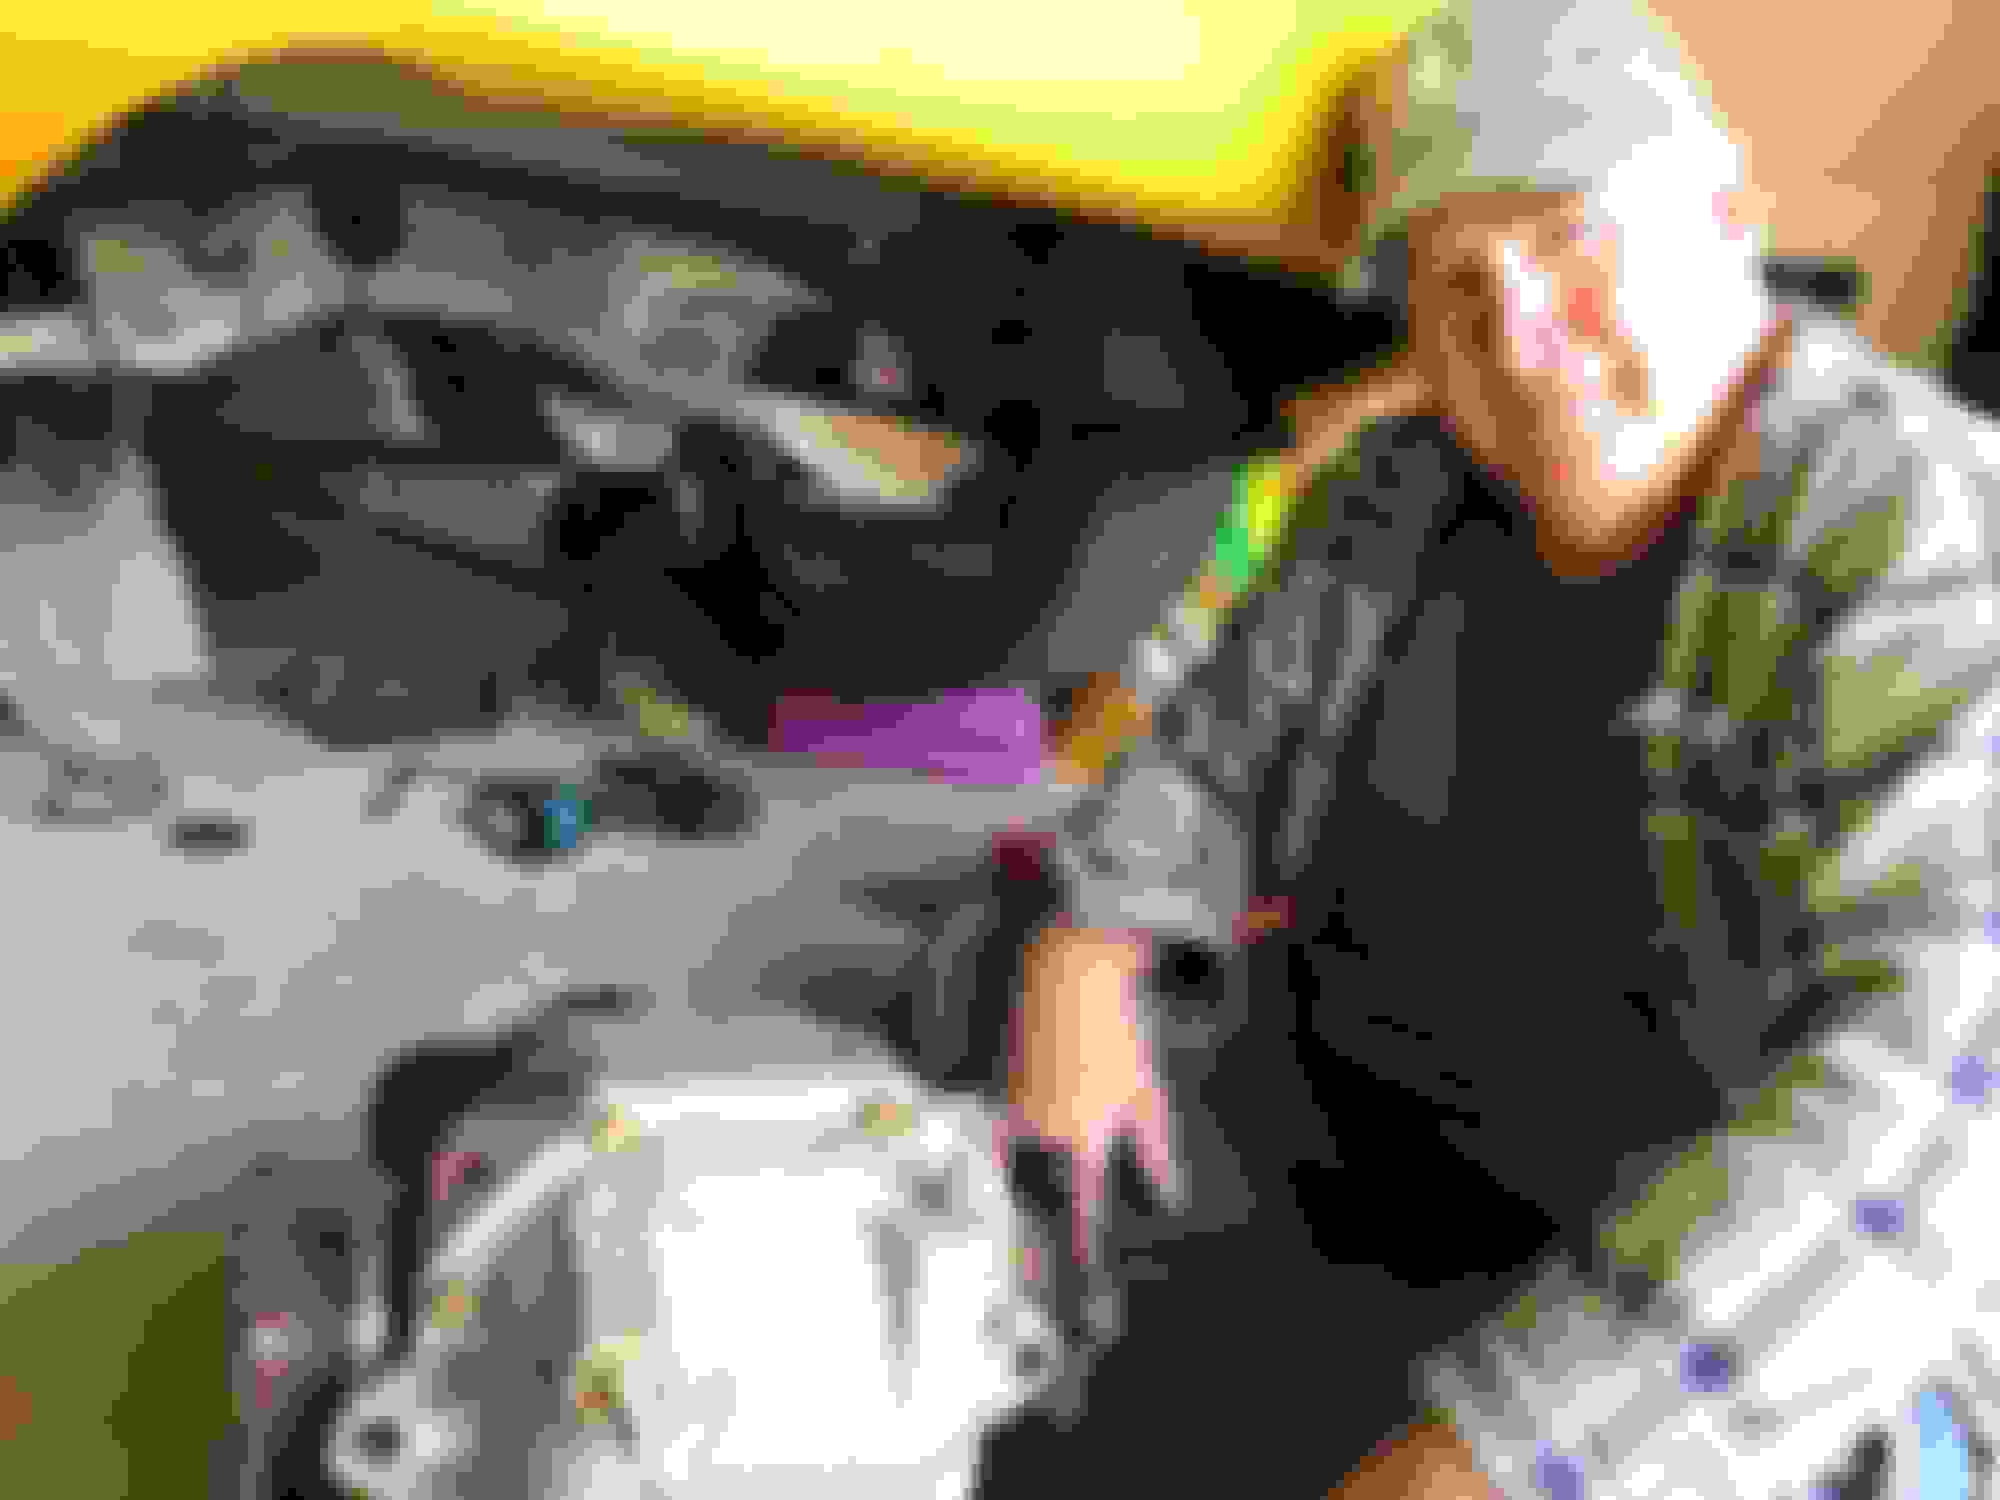
The project has started. Over the past couple of days my son and I got the old exhaust removed and the Differential removed. Learned I love breaker bars, electric impact wrenches, and why 6 point sockets are better. Learning a lot. So far so good. Next to press out the bushing, put in new Diff cover, new bushing inserts for the sub frame. Going to just do a little at a time. My son was able to remove quite a bit on his own after I broke it free. Very tight in there getting the axle bolts off.
What is the best way to remove the "wing" bushings? Not really sure what the approach is? Do you get a socket and hammer out the inner metal tube? Saw a few videos where they burn the rubber out. I could take a dremal and cut the rubber out. Looking for the best way or at least an explanation on it? Thanks
I used harbor freight drill bit saws to remove the rubber, then sawzall to cut out the bushing race. Fairly easy and fast to do. Never used the Z1 collars but heard they make a difference and much easier to install then the prothane subframe bushings that i installed. Using the collars you won't have to remove the subframe bushings, may not even have to do a full drop on the subframe. Drop just enough to set the collars in place. https://www.harborfreight.com/high-s...-pc-61554.html
The ear bushings I had a big socket and a bfh, hammered the crap out of it
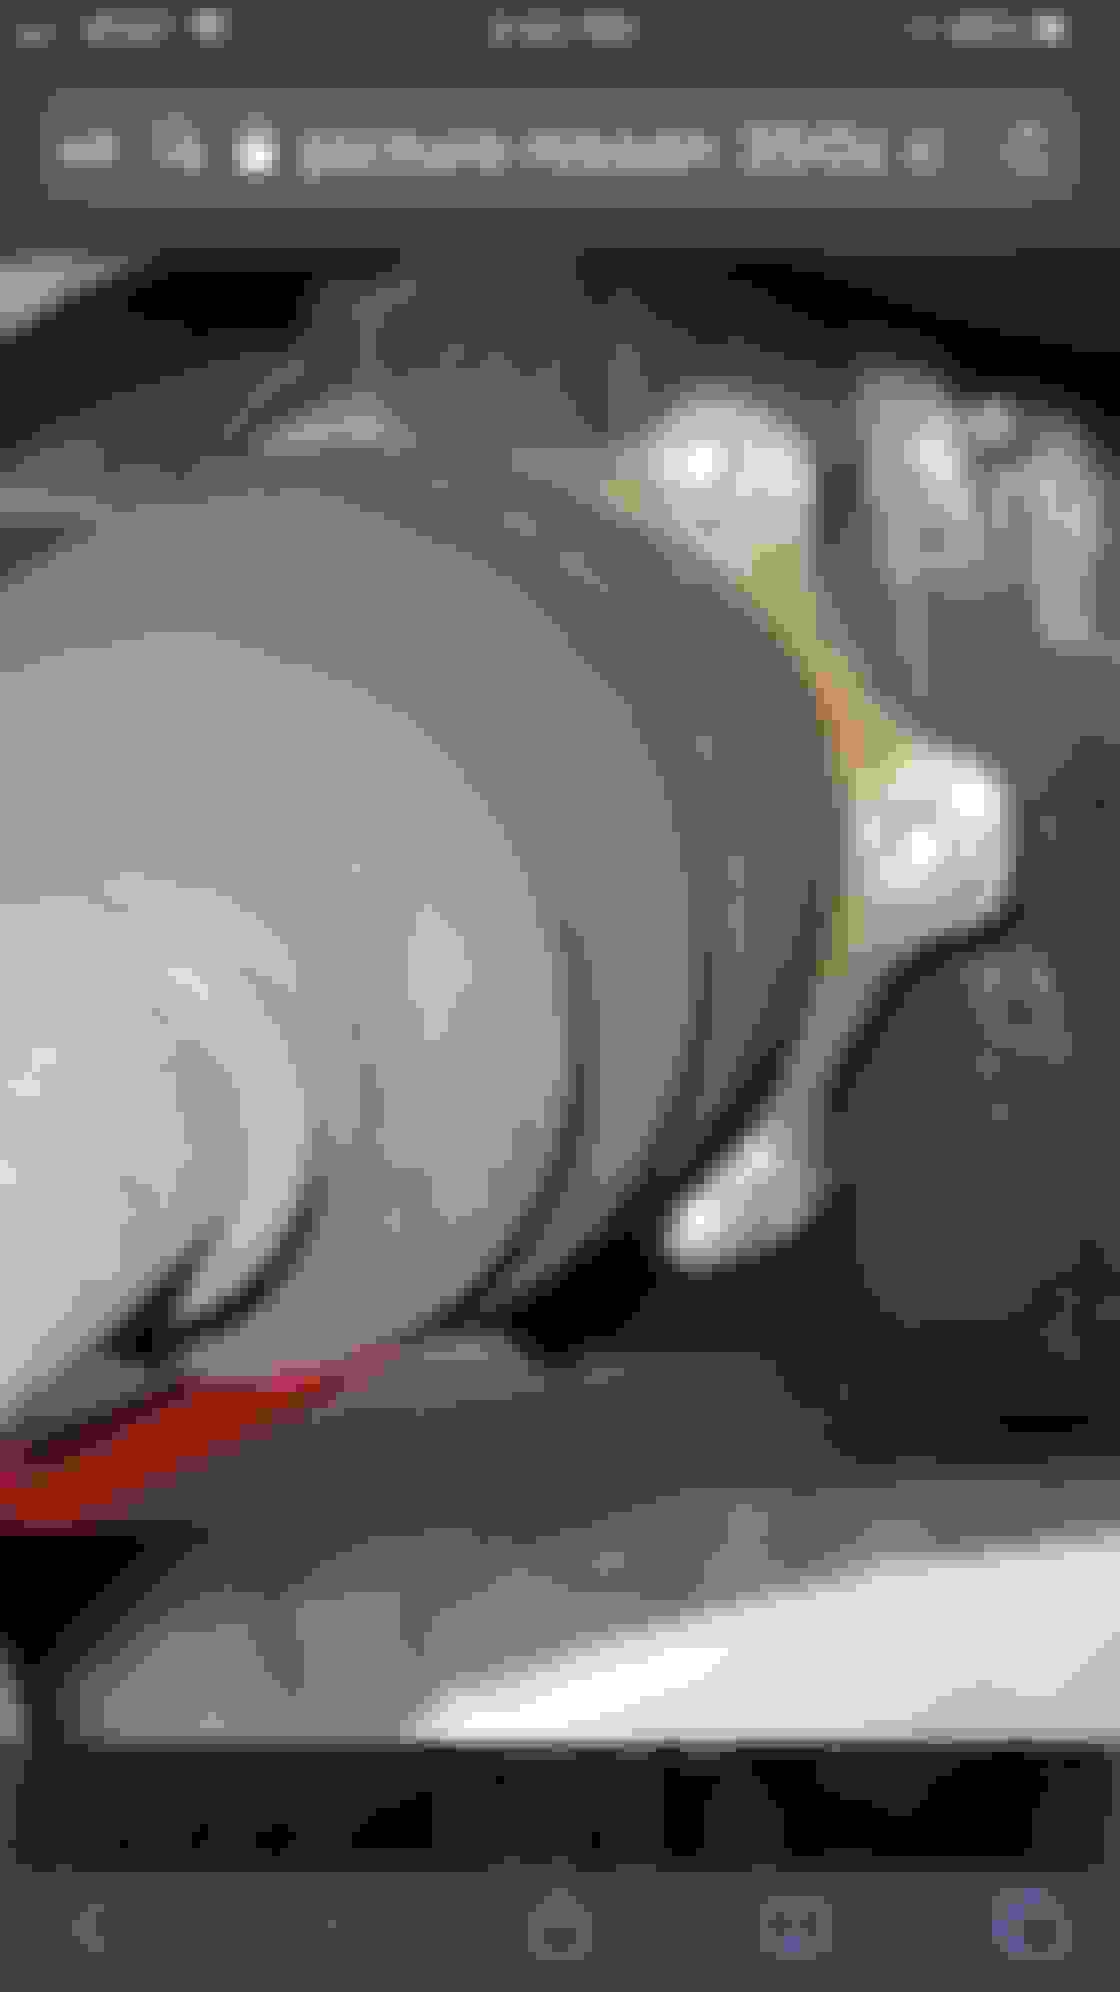
Yeah, after combing the youtube world I finally got a visual on what the heck to do. All the video's focus on that main Diff. bushing in the back. In the video, the guy flips the diff. upside down, gets a socket that goes all the way to edge of the hole to catch the metal ring on the bushing and then pounds the crap out of it to get it out(like you said). The key is, having never done this, I was wondering which way the bushing slid out so I pounded on the right side! LOL. I understand it now. Thanks. Why the heck are people burning the bushing? What good would that do as you are just pounding that metal ring out? I guess you want to get rid of the rubber if you are going to cut it out?
Last edited by Jim Stephens; 11-25-2019 at 05:09 AM.
By the way, I feel like I have an army of knowledge around me. LOL. Between the people helping me out in this forum and a circle of friends who work on cars it's saving me from a lot of mistakes and answering the questions I need. I was talking to my older brother last night (Mechanical Engineer and Oil guy) and he says, "hey, you might want to replace all those driveshaft and CV bolts while you are in there". I think, hmm, let me check that, and sure enough I see in the FSM you are in fact supposed to replace all of those bolts. WOW. Pretty sure every video I have ever seen no one mentions that and I am certain they are just using the original bolts. Now, I doubt that is the end of the world to do that, but I mean FSM and my BROTHER say I should do it, so probably it would be a good idea. LOL. As I work on the car, I not only want to "fix" it, but while I am in there make it a little better. Today, I am working so, nothing happening on the car. My plans for tomorrow are pounding out the front bushings and also removing the dreaded main bushing. I have the Z1 tool, so hopefully with a breaker bar and some hard pulling I will get that out. I am breaking the work on the car into 2 to 4 hours chunks so my son stays interested. Luckily, we are in no particular rush on the project. I do have to restrain myself, because if it was me, I would just start at 7am and go on it all day.
I used harbor freight drill bit saws to remove the rubber, then sawzall to cut out the bushing race. Fairly easy and fast to do. Never used the Z1 collars but heard they make a difference and much easier to install then the prothane subframe bushings that i installed. Using the collars you won't have to remove the subframe bushings, may not even have to do a full drop on the subframe. Drop just enough to set the collars in place. https://www.harborfreight.com/high-s...-pc-61554.html
Yes, the information is a bit sketchy for me (putting in the Z1 subframe inserts) as I have never even seen a sub-frame before a few weeks ago. So, as best I can tell from the video and other sources, there are four main bolts that hold the sub frame. The general idea is to loosen those a bit and that will cause the sub-frame to drop enough to slide the top one in. Not sure if I need to remove the "W" brace under there first? That sucker is holding my axle up at the moment, so I would need to get it some support if i remove the W. I am also guessing I should roll a jack under there to support the subframe, then loosen all four subframe bolts and then let the frame down a bit. Then reverse order, sub frame up and torque the bolts. I need to get under there and study it a bit I have not done that yet as I was focused on getting the Diff removed. Having the Diff removed should make this subframe a bit lighter to deal with. The key question is, really there are just four bolts involved to be loosened to get those top collars in. Right?
Seems like I may be able to just loosen the two front bolts first and it may flex enough downward to get the collars in then tight them back up and go to the back and repeat? hmm... Not sure that is possible or I just have to go all the way around and loosen it up.
Last edited by Jim Stephens; 11-25-2019 at 05:05 AM.
Yeah, after combing the youtube world I finally got a visual on what the heck to do. All the video's focus on that main Diff. bushing in the back. In the video, the guy flips the diff. upside down, gets a socket than goes all the way to edge of the hole to catch the metal ring on the bushing and then pounds the crap out of it to get it out(like you said). The key is, having never done this, I was wondering which way the bushing slid out so I pounded on the right side! LOL. I understand it now. Thanks. Why the heck are people burning the bushing? What good would that do as you are just pounding that metal ring out? I guess you want to get rid of the rubber if you are going to cut it out?
the bushing will come out in the ring, the people that burn them out (my understanding) do it to get the rubber out and score the metal outside... then after it is scored take a chisel and hammer, whack at it until it caves in on the score and get it out. that is the way i did my subframe, back then Z1 didnt have the tool (to my knowledge)
Yeah the W brace will have to come out as well as 2 kidney braces and some plastic shields. If you are using an impact everything will come apart quick. Just be careful when putting back together with an impact. Some bolt torques are low and don't want to strip out the pocket nuts in the unibody.
A couple bad things about burning them out: 1- can weaken the metal by changing the temper 2- toxic fumes can make you very sick. In the past have always prefered to press out the bushings. Some bushings are just easier to grind out with a saw bit then cut the races. Just depends on your tool set up and wether you have extra hand to help or not on bigger items. Most of the time am working by myself. When i did the subframe i hade the dif in and used a trans jack under the dif to lower the subframe. Makes things really easy that way.
By the way, I feel like I have an army of knowledge around me. LOL. Between the people helping me out in this forum and a circle of friends who work on cars it's saving me from a lot of mistakes and answering the questions I need. I was talking to my older brother last night (Mechanical Engineer and Oil guy) and he says, "hey, you might want to replace all those driveshaft and CV bolts while you are in there". I think, hmm, let me check that, and sure enough I see in the FSM you are in fact supposed to replace all of those bolts. WOW. Pretty sure every video I have ever seen no one mentions that and I am certain they are just using the original bolts. Now, I doubt that is the end of the world to do that, but I mean FSM and my BROTHER say I should do it, so probably it would be a good idea. LOL. As I work on the car, I not only want to "fix" it, but while I am in there make it a little better. Today, I am working so, nothing happening on the car. My plans for tomorrow are pounding out the front bushings and also removing the dreaded main bushing. I have the Z1 tool, so hopefully with a breaker bar and some hard pulling I will get that out. I am breaking the work on the car into 2 to 4 hours chunks so my son stays interested. Luckily, we are in no particular rush on the project. I do have to restrain myself, because if it was me, I would just start at 7am and go on it all day.
8
By the way, I spoke with my brother and he gave me a little more knowledge on these drive line bolts. He said most likely they are TTY bolts. Total Torque Yield. If they are, what happens, as you torque them up to the amount they slightly deform as the metal starts to yield. What this does is create an even pressure across all the bolts as you torque them down as they each yield at about the same point. Pretty cool stuff. The problem is, if you re-use them they are also are more brittle as they have stretched from the initial time and thus they are more likely to fail or break off. Not surprisingly, this did not come up in any of the youtube video's. Chuckle.
Last edited by Jim Stephens; 11-25-2019 at 11:58 AM.
Yeah the W brace will have to come out as well as 2 kidney braces and some plastic shields. If you are using an impact everything will come apart quick. Just be careful when putting back together with an impact. Some bolt torques are low and don't want to strip out the pocket nuts in the unibody.
A couple bad things about burning them out: 1- can weaken the metal by changing the temper 2- toxic fumes can make you very sick. In the past have always prefered to press out the bushings. Some bushings are just easier to grind out with a saw bit then cut the races. Just depends on your tool set up and wether you have extra hand to help or not on bigger items. Most of the time am working by myself. When i did the subframe i hade the dif in and used a trans jack under the dif to lower the subframe. Makes things really easy that way.
Thanks, yes, I was thinking it might be easier to get the Differential reinstalled first and then do these subframe bushing inserts before I put the exhaust back? Then I just use the diff as the central jack point to raise and lower the sub-frame. Right now I do not have a great jack point to evenly raise or lower the sub frame without the diff. Agree?
Last edited by Jim Stephens; 11-25-2019 at 12:00 PM.
yeah without the dif in there isn't really a good jack point to drop the subframe, can still be done just alot more wobbly. As far as checking the ujoints, just check to see if there is any play in the joint or binding. Mine were very stiff and binding up. Bad thing is you can't just change the ujoints. I went with a Inland Empire driveshaft that has serviceable spicer u-joints so i can replace later down the road if needed. Plus the aluminum shaft was 2lbs lighter than the factory carbon shaft, also opted for the 20$ foam fill to keep nvh limited. Aluminum hollow shafts can make quite a bit of noise if you have a noisey dif or trans.
By the way, I feel like I have an army of knowledge around me. LOL. Between the people helping me out in this forum and a circle of friends who work on cars it's saving me from a lot of mistakes and answering the questions I need. I was talking to my older brother last night (Mechanical Engineer and Oil guy) and he says, "hey, you might want to replace all those driveshaft and CV bolts while you are in there". I think, hmm, let me check that, and sure enough I see in the FSM you are in fact supposed to replace all of those bolts. WOW. Pretty sure every video I have ever seen no one mentions that and I am certain they are just using the original bolts. Now, I doubt that is the end of the world to do that, but I mean FSM and my BROTHER say I should do it, so probably it would be a good idea. LOL. As I work on the car, I not only want to "fix" it, but while I am in there make it a little better. Today, I am working so, nothing happening on the car. My plans for tomorrow are pounding out the front bushings and also removing the dreaded main bushing. I have the Z1 tool, so hopefully with a breaker bar and some hard pulling I will get that out. I am breaking the work on the car into 2 to 4 hours chunks so my son stays interested. Luckily, we are in no particular rush on the project. I do have to restrain myself, because if it was me, I would just start at 7am and go on it all day.
It's refreshing to see someone who is going hands-on, doing their research, and then asking well thought out questions to fill in the gaps, not asking for us to do their research for them.
Keep up the great work, Jim!
BTW, maybe I missed it but are you going with OEM bushings for your differential or polyurethane?

 11-16-2019, 02:42 PM