
UK Vortech Build Log *Pic Heavy*


I am now in possession of str8dum1's vortech Supercharger kit. Got it delivered last week to my home here in the UK. Im not one to hang around so here is my build to date 
I am carrying out all my work my self....having never done anything like this before
Kit Contains:
Vortech V-3 self contained supercharger with SI trim impeller upgrade
UTEC EMS with MAP sensor
Deatschwerks 600cc injectors
Monster 24x12x4" Core Intercooler
Vortech Race Bypass valve
Extra's
Walbro 255 Fuel Pump
Plenum Spacer
100cell Race Cats
AAM Stage 1 Fuel Return System Inc Fuel Rails
Hel Oil Cooler
Spark Plugs
Boost Gauge
AEM wideband Gauge
Motul Oil
Oil Filter
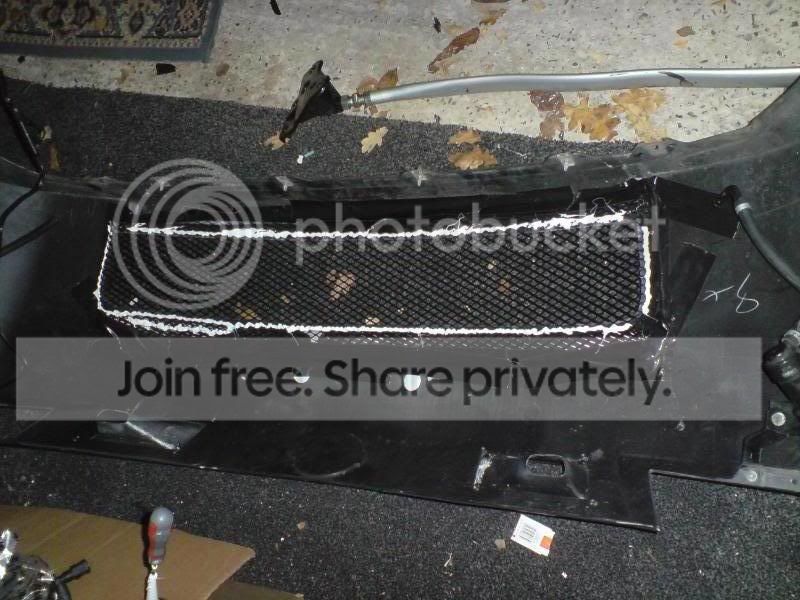
Grill Mesh
Mishimoto Radiator
AAM Throttle Body Spacer
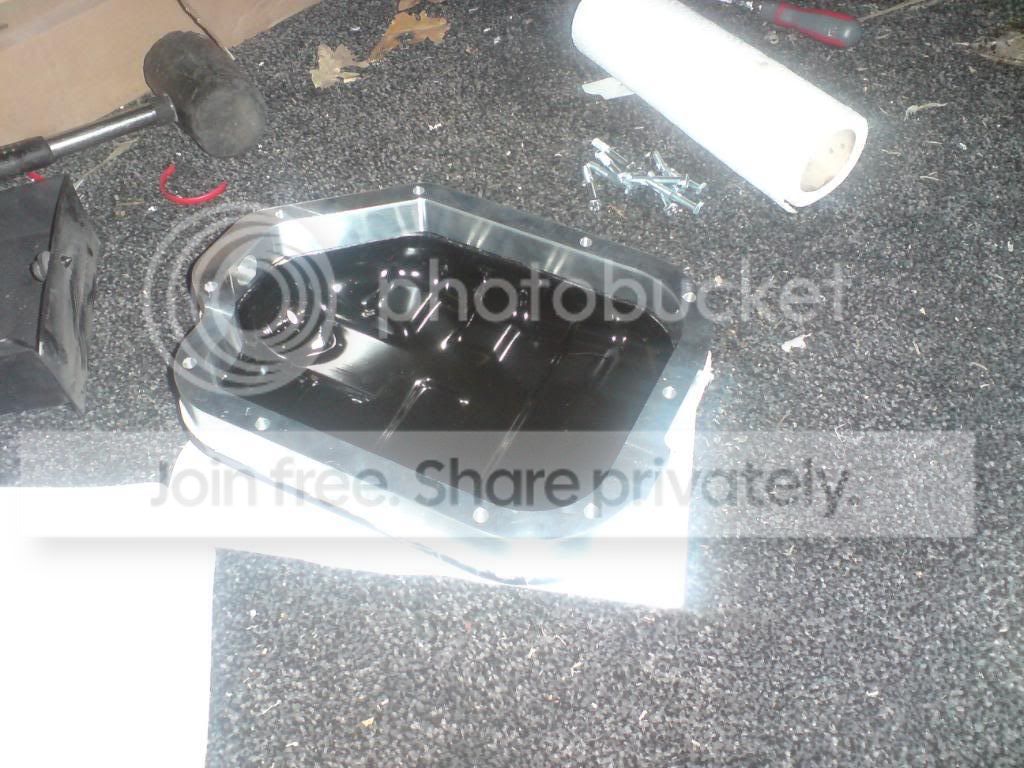
AAM Oil Pan Spacer
Oil Catch Can
Breather Filter
Dual Exhaust
10l of Motul Radiator Fluid


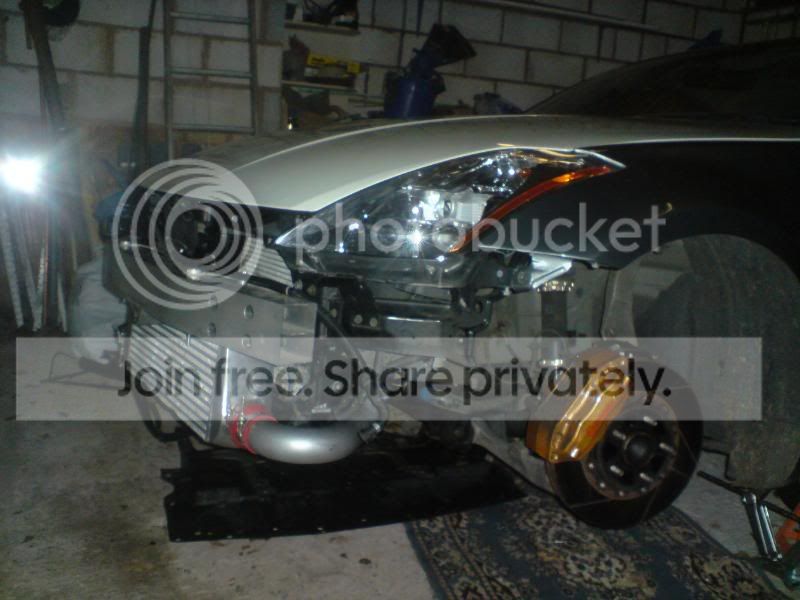
Awaiting the arrival of my fuel return kit for next stage....Just happy i got all the piping in....such a pain in the *** getting it through the engine bay
I am carrying out all my work my self....having never done anything like this before
Kit Contains:
Vortech V-3 self contained supercharger with SI trim impeller upgrade
UTEC EMS with MAP sensor
Deatschwerks 600cc injectors
Monster 24x12x4" Core Intercooler
Vortech Race Bypass valve
Extra's
Walbro 255 Fuel Pump
Plenum Spacer
100cell Race Cats
AAM Stage 1 Fuel Return System Inc Fuel Rails
Hel Oil Cooler
Spark Plugs
Boost Gauge
AEM wideband Gauge
Motul Oil
Oil Filter
Grill Mesh
Mishimoto Radiator
AAM Throttle Body Spacer
AAM Oil Pan Spacer
Oil Catch Can
Breather Filter
Dual Exhaust
10l of Motul Radiator Fluid
Awaiting the arrival of my fuel return kit for next stage....Just happy i got all the piping in....such a pain in the *** getting it through the engine bay
Last edited by nurrishd; Jan 25, 2010 at 01:00 AM.

Registered User
Joined: Aug 2009
Posts: 1,671
Likes: 0
From: The cold


Joined: Mar 2007
Posts: 5,311
Likes: 0
From: Dallas/NewYork/Michigan/Korea
Why he shipped his ugly filter?? LOL
Congrat!! you better get a bigger tires!! You will luv it!
Edit: why you gotta mount that bracket first? put the pipes first.
Congrat!! you better get a bigger tires!!
You will luv it!Edit: why you gotta mount that bracket first? put the pipes first.
Last edited by Chef-J; Dec 12, 2009 at 04:19 PM.


Joined: Mar 2007
Posts: 5,311
Likes: 0
From: Dallas/NewYork/Michigan/Korea
I actually did try and fit the pipe without the blower in place...but once the pipe was in the blower would be incontact with it....No matter what i did every time i came to put the blower in it was in the way of the pipe....so at least with the blower in place i knew exactly where the pipe had to go where it wouldn't obstruct. A bit of jiggery pokery and a few bashes with a mallet and bobs your uncle! nice tight fit 
Trending Topics
Joined: Mar 2007
Posts: 5,311
Likes: 0
From: Dallas/NewYork/Michigan/Korea
That's funny, I've took off and put back on blower many times with out any trouble with pipes.( expect one pipe goes between bracket and radiator.) btw, before you finish install, go get a heat wrap and wrap pipes around blower to protect your a/c line. Check out my other thread, I burn my A/C line.


looking real good. it will be alot of fun!
looks like you have some sort of CAI, you can mod that to fit on the vortech as well with the proper sized silicon coupler.
Thats what I did, but I am reusing that so you got that stock vortech filter.
looks like you have some sort of CAI, you can mod that to fit on the vortech as well with the proper sized silicon coupler.
Thats what I did, but I am reusing that so you got that stock vortech filter.

Registered User
Joined: Dec 2009
Posts: 1
Likes: 0
From: Japan, USA
Great Post! Not many people take detailed pics when doing their installs. I know when i was installing the same kit on my cousins Z it would have been great to have a reference like this.
Here are a few things that we ran into that you might want to look into after you get your car tuned.
Other than the total ***** of a install and the shitty install manual which more or less stated "step 1- install blower head unit with the supplied parts in package 3. Step 2- after you install the head unit install pipe 1-3 from the head unit to intercooler and from intercooler to TB." I am sure they have changed it by now, but let me tell you it totally sucked. By the time we were done the Nissan Dealer hated me!!! LOL
Anyway, after the initial install and tune we had a tone of heat issues due to the poor performance of the intercooler. We tried everything from a e-bay special to the best that pro-charger had to offer with just about the same results. You may not have these same problems if you are only running 6psi but if you decide to up the boost just be prepared to have your ECU start pulling timing like crazy! We estimated that the ECU pulling timing pulled about 13hp per degree of timing taken out. (again this was a higher HP application so it may not apply to you) So at our 7500rpm redline we estimated that we were making around 150hp less than we should have been due to the timing issue. We did solve the issue after about a year or so of ****ing around with different intercoolers and meth. The Meth system did help but the pump had a mind of its own and just about blew the engine on 3 separate occasions (snows performance crap) We did replace the pump but it kept doing the same **** so we trashed it. I ended up ordering a Custom Intercooler from www.VelocityTurboSystems.com, they claimed that their A/A FMIC's would give us 98% efficiency (that was questionable to say the least). So we got it in and installed it and sure enough our IAT's were only 2 degree's above outside temperature at boost levels ranging from 12-15psi on our YSI. So it more or less eliminated our ECU Timing issue and allowed us to run even more boost then we had originally planned.
The other issue that we ran into was with the oil lines and drain. None of the lines were long enough and we ended up having to make our own lines. The lines would have worked I guess but I didn't think that the lines should have tension on them when they were installed. The feed line could have doubled ad a damn bass string for god sake.
Other than those 2 issues everything else went smoothly (considering).
I hope for your sake they fixed the line issues and install instructions! As for the intercooler, well if you need one like we did the address is there for you.
I hope everything works out for you buddy, good luck and have a merry christmas!
Jim
Last edited by KillerSVT; Dec 24, 2009 at 10:30 AM. Reason: Because I felt like it, What you going to do about it!


Quick update with my progress....Nearly finished
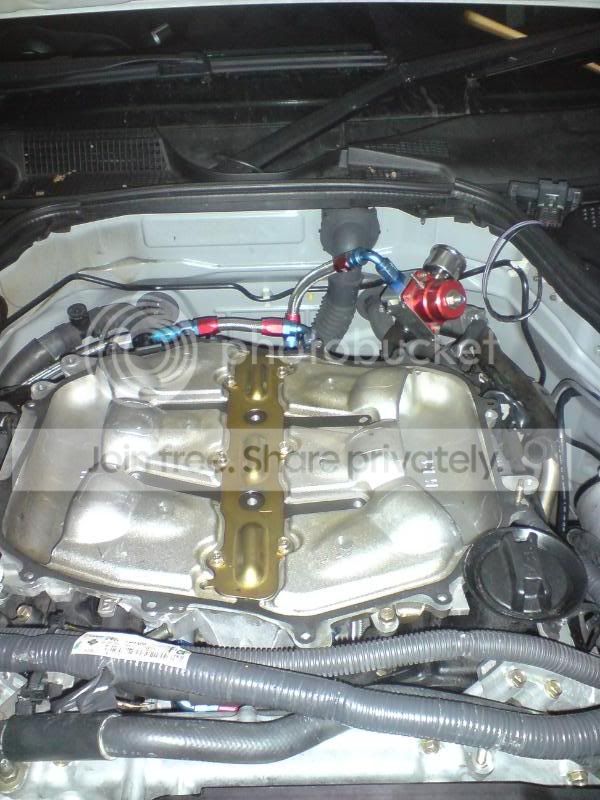
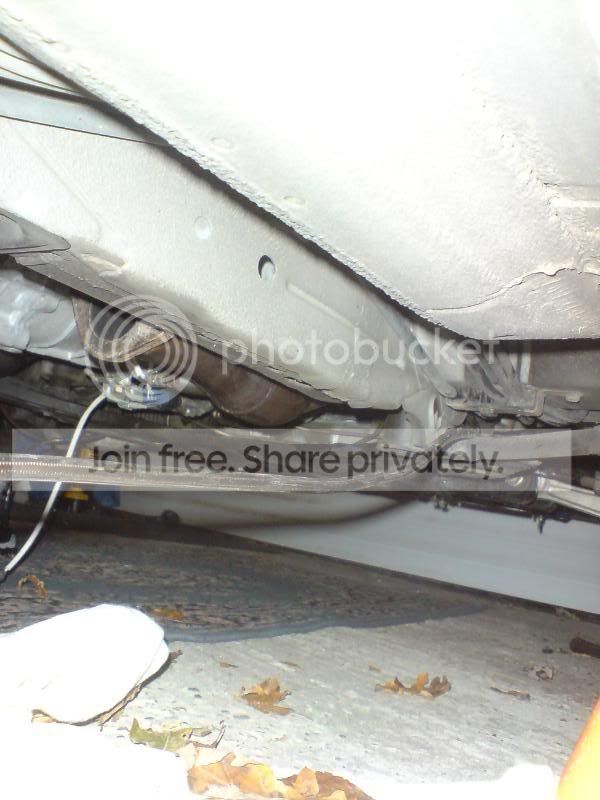
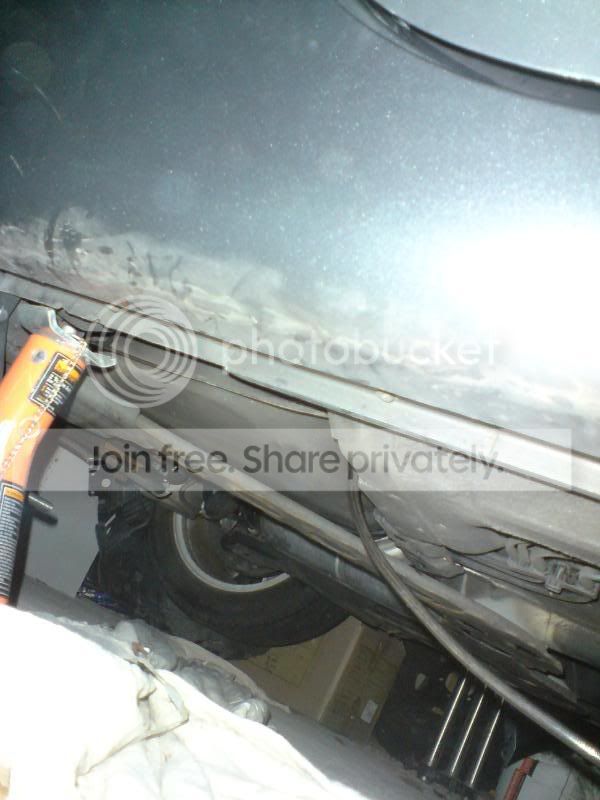
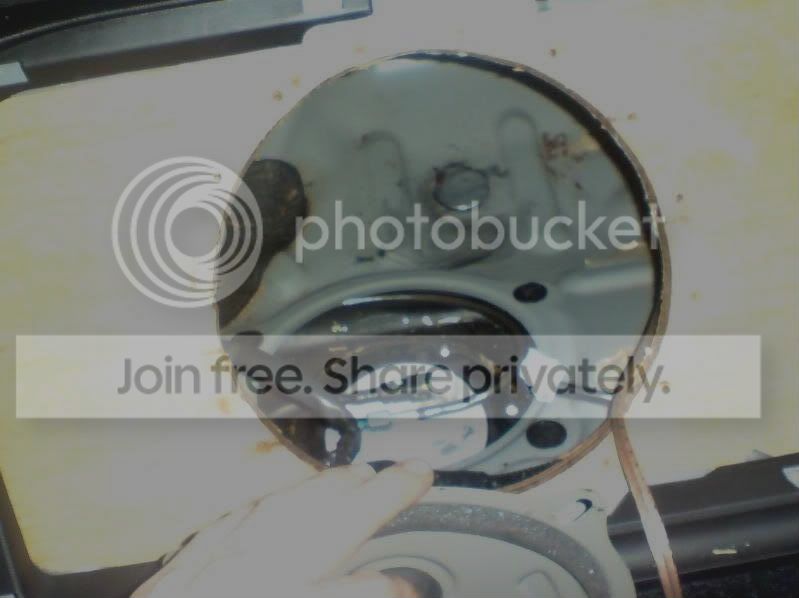
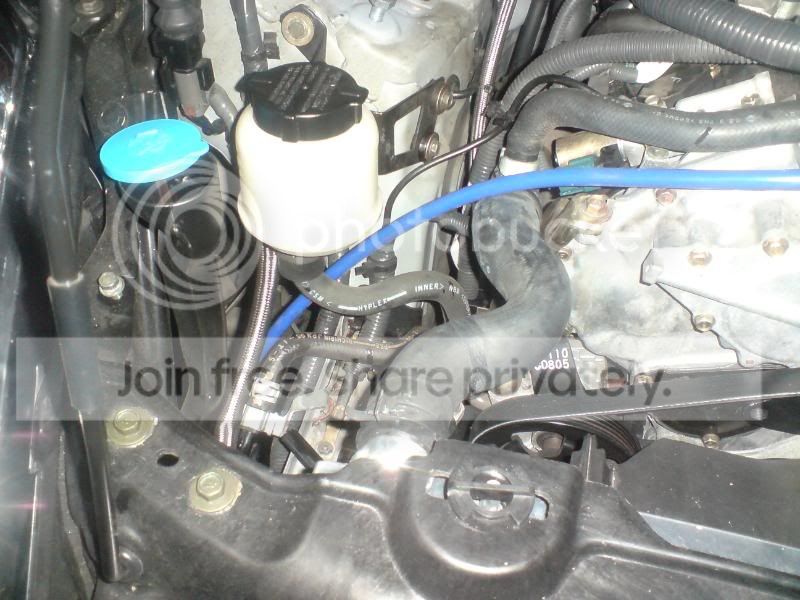
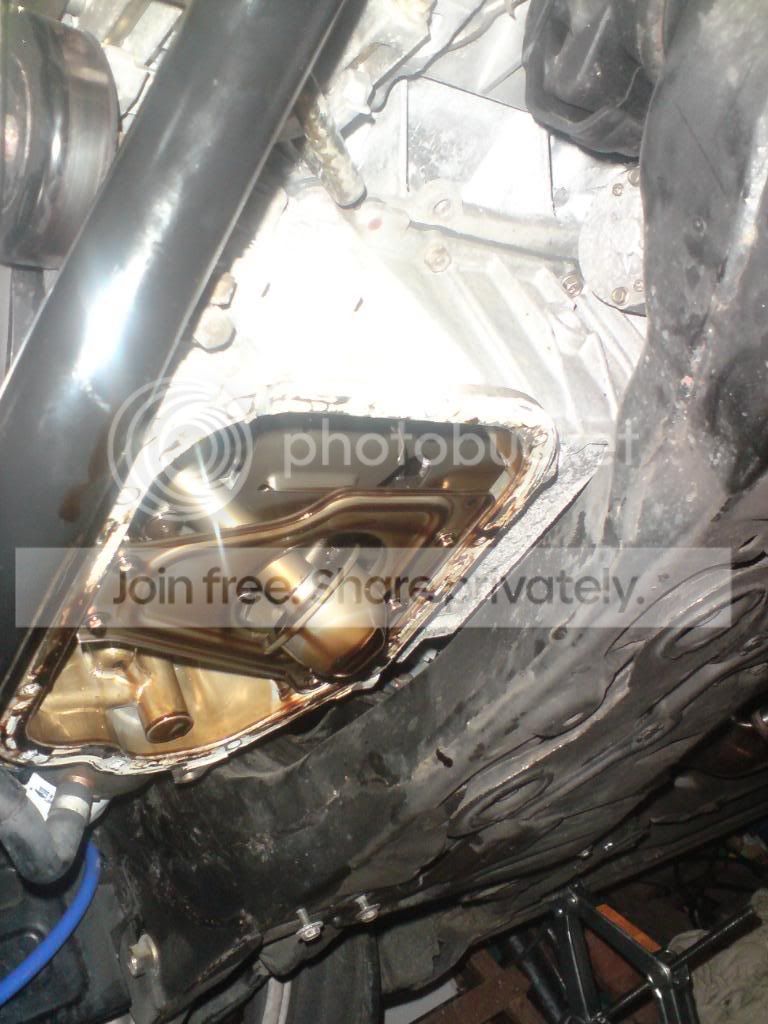
Finally got done the job is was dreading........Replacing fuel pump and fed my return fuel line in :scare:
Real messy smelly job!! would not recommend doing it! But its done now so i can tick that job off my list :yahoo:


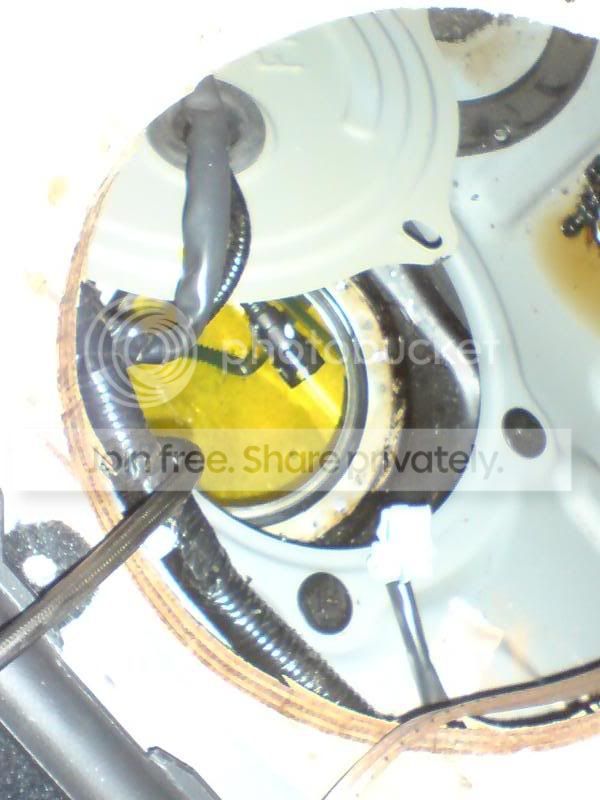
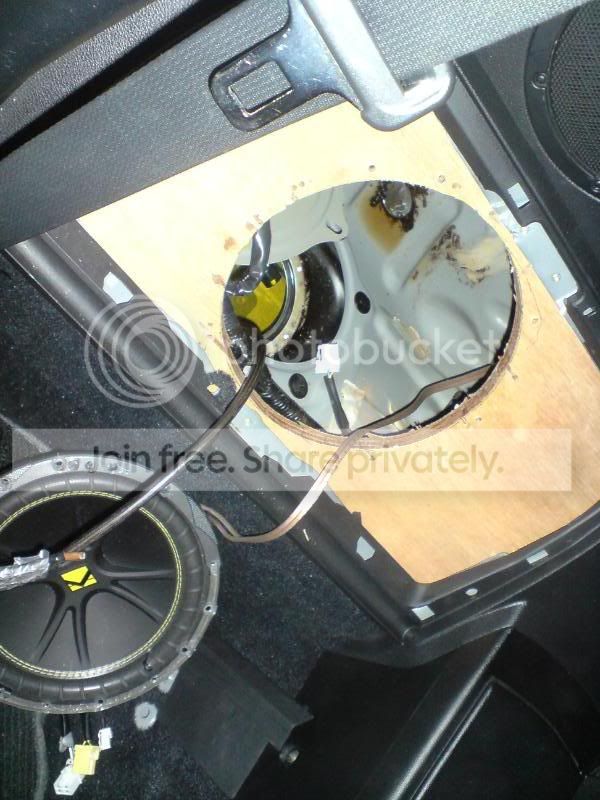
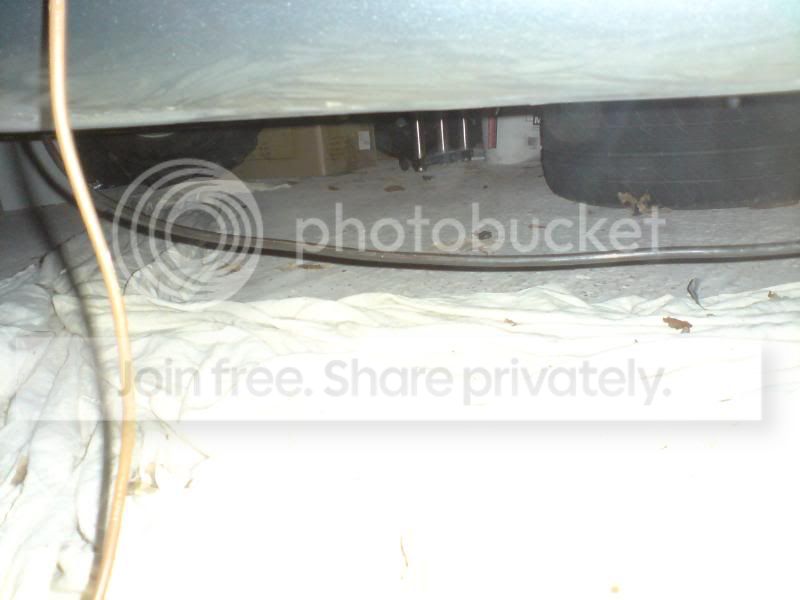
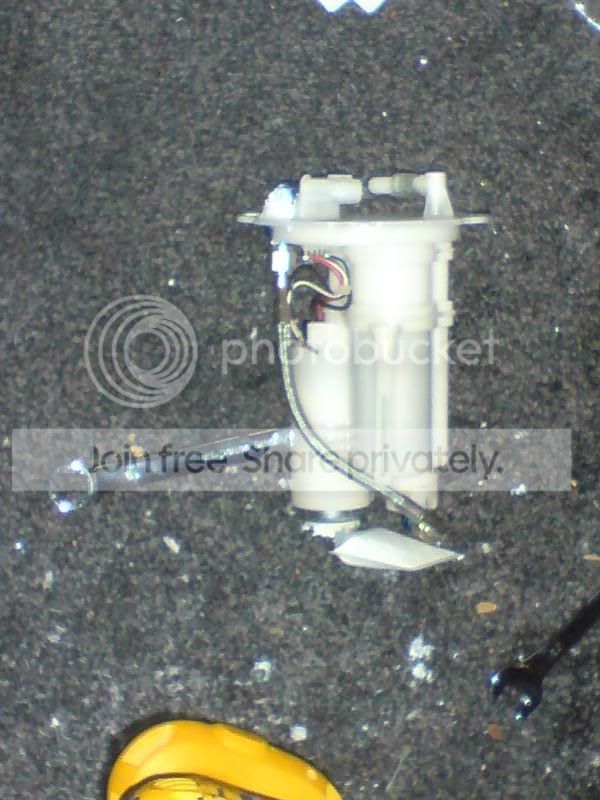
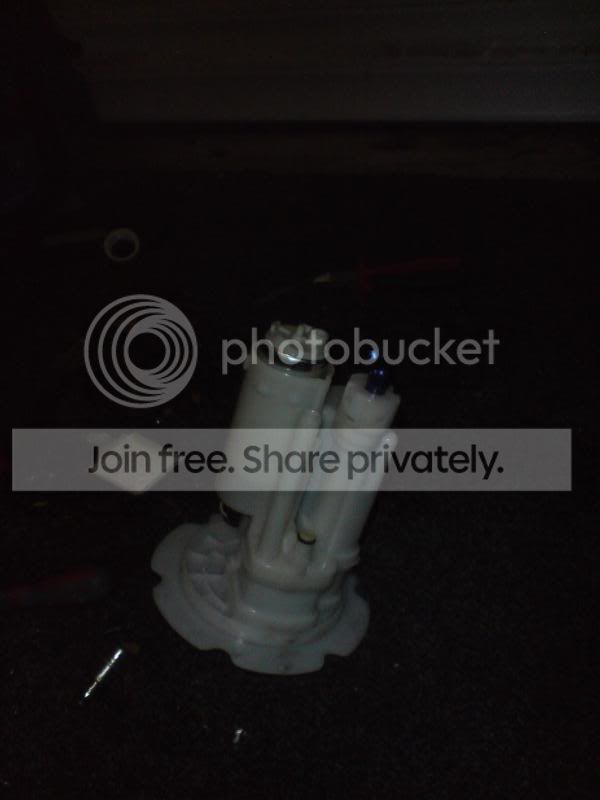
Here is a pic of the installed fuel assembly
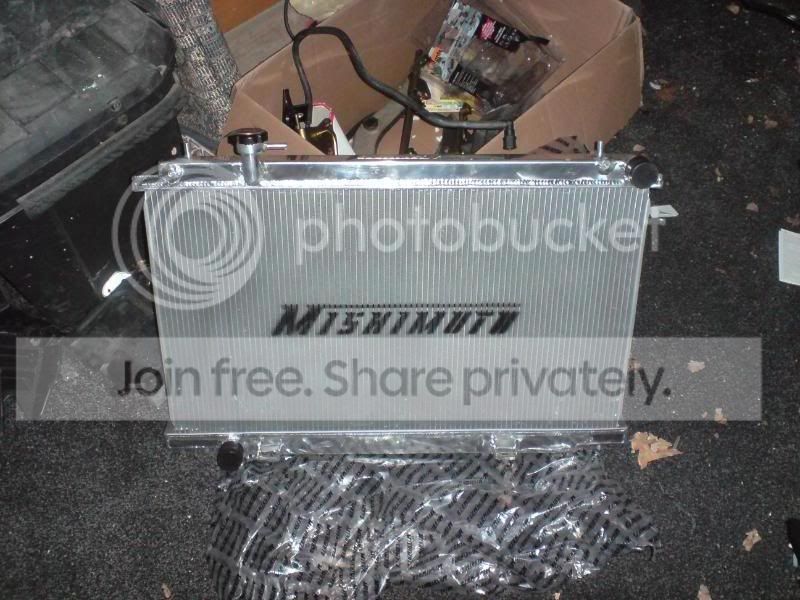
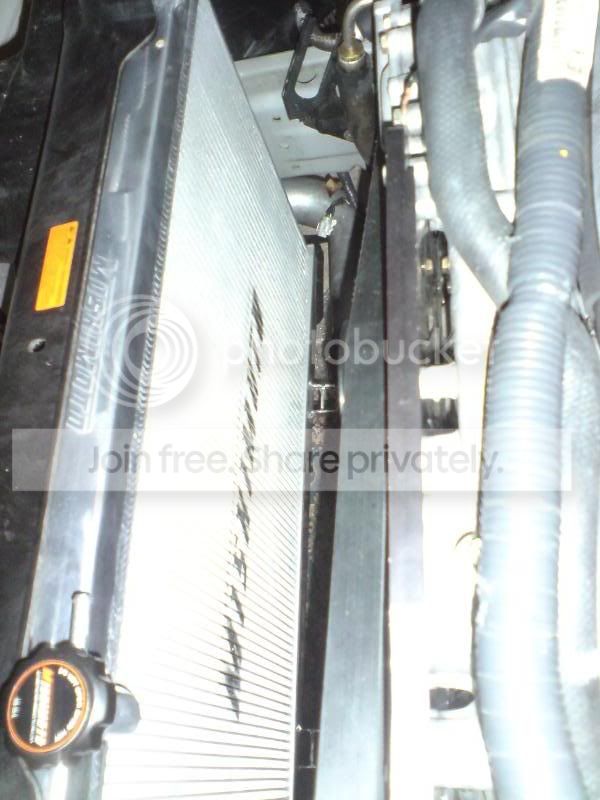
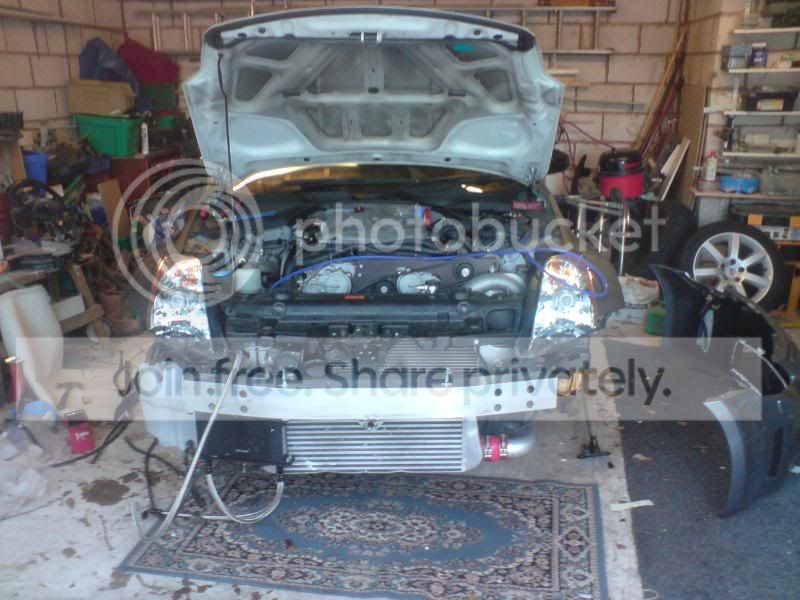
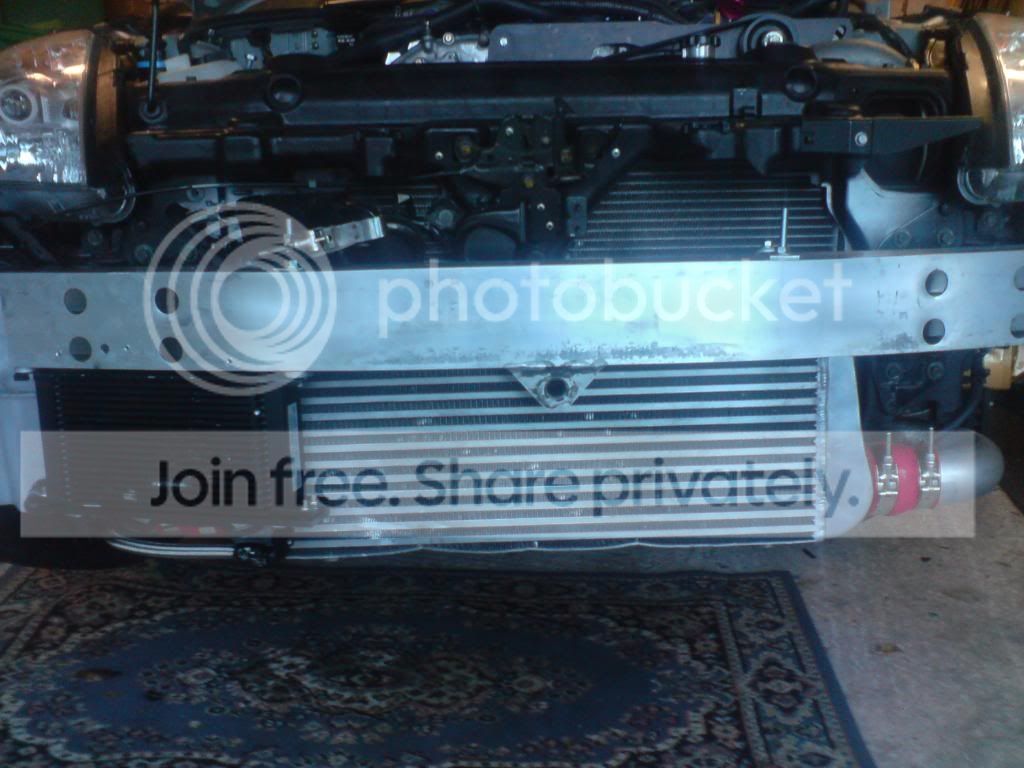
Soooooo got my radiator in..... :teeth:
Ordered from Alex yesterday....arrived today at 12:30.....just finished putting it in :yahoo:
Would of been a hell of alot easier if i fitted it before fitting the S/C blower Then i had an a*** of a job trying to refit my cooler pipes!!! had to hack away at the fan assembly....but its done now :teeth:

Finally got done the job is was dreading........Replacing fuel pump and fed my return fuel line in :scare:
Real messy smelly job!! would not recommend doing it! But its done now so i can tick that job off my list :yahoo:
Here is a pic of the installed fuel assembly
Soooooo got my radiator in..... :teeth:
Ordered from Alex yesterday....arrived today at 12:30.....just finished putting it in :yahoo:
Would of been a hell of alot easier if i fitted it before fitting the S/C blower
Then i had an a*** of a job trying to refit my cooler pipes!!! had to hack away at the fan assembly....but its done now :teeth:


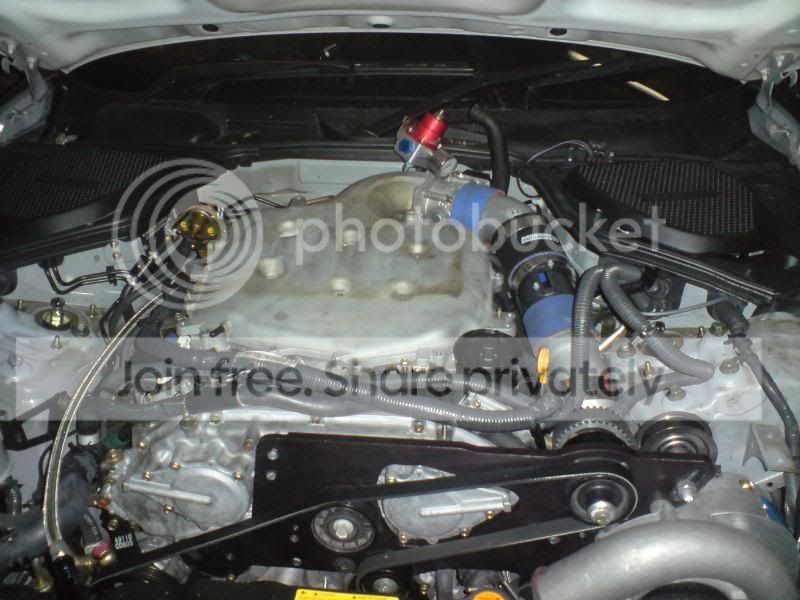
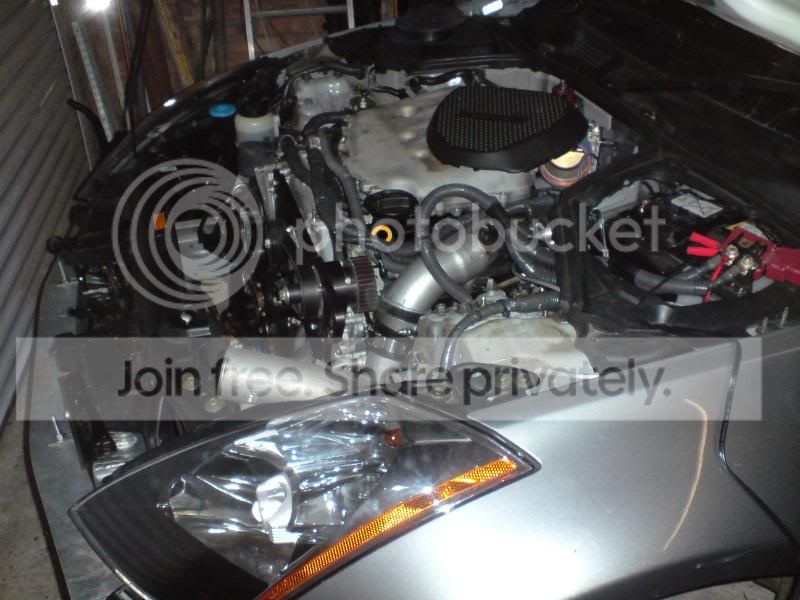
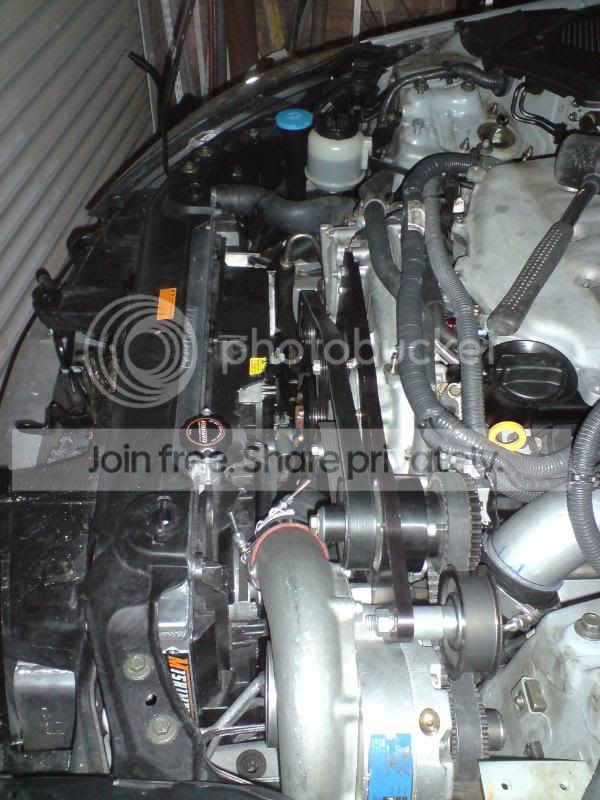
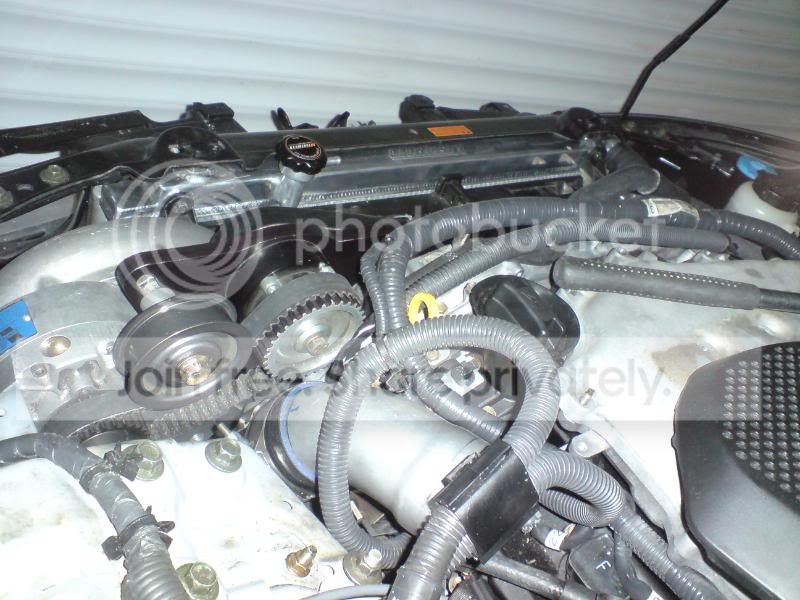
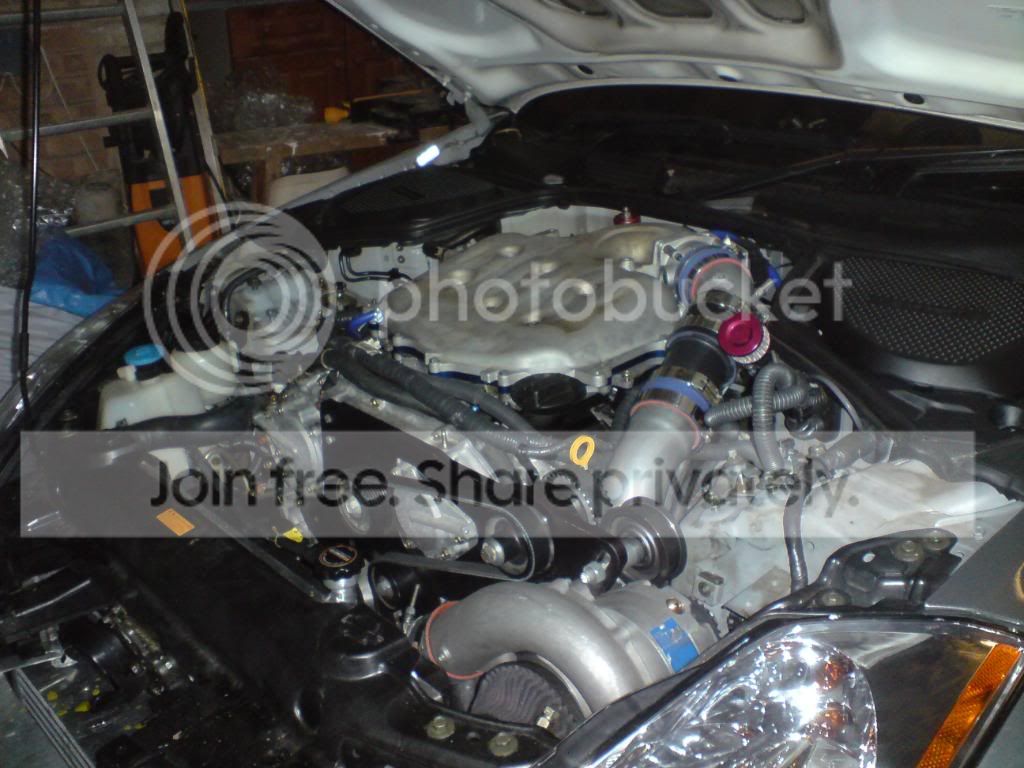
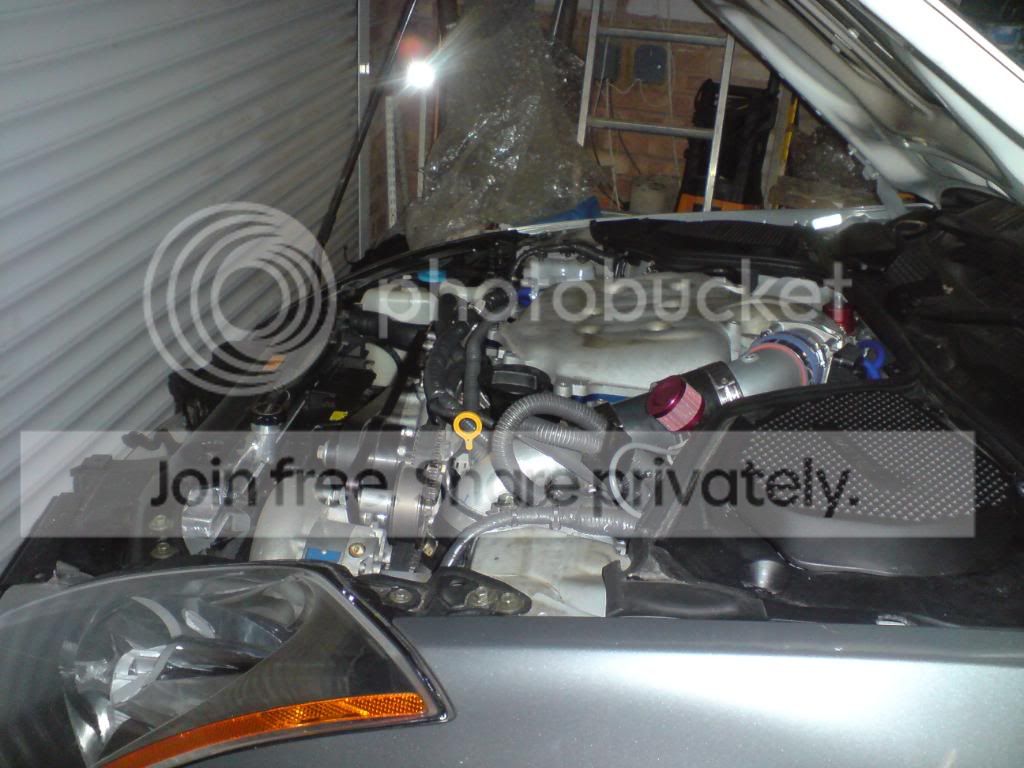
Have now finished my build....
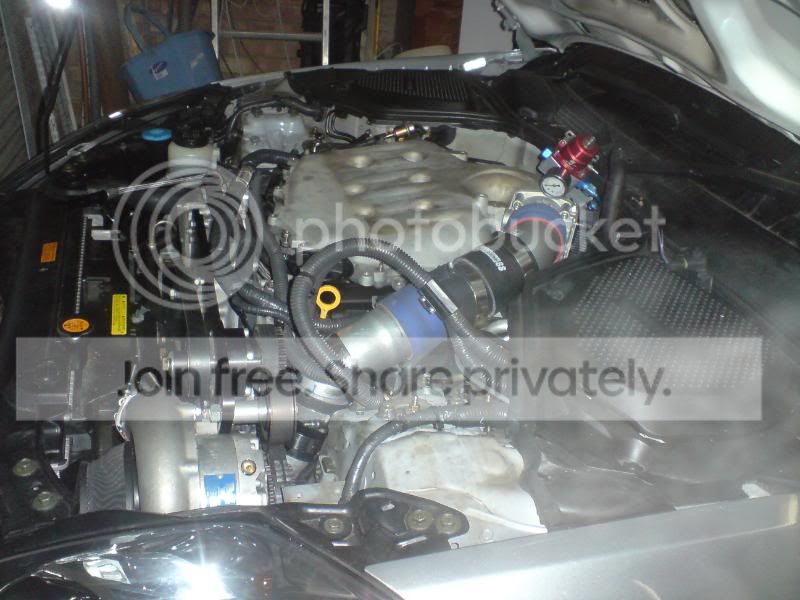
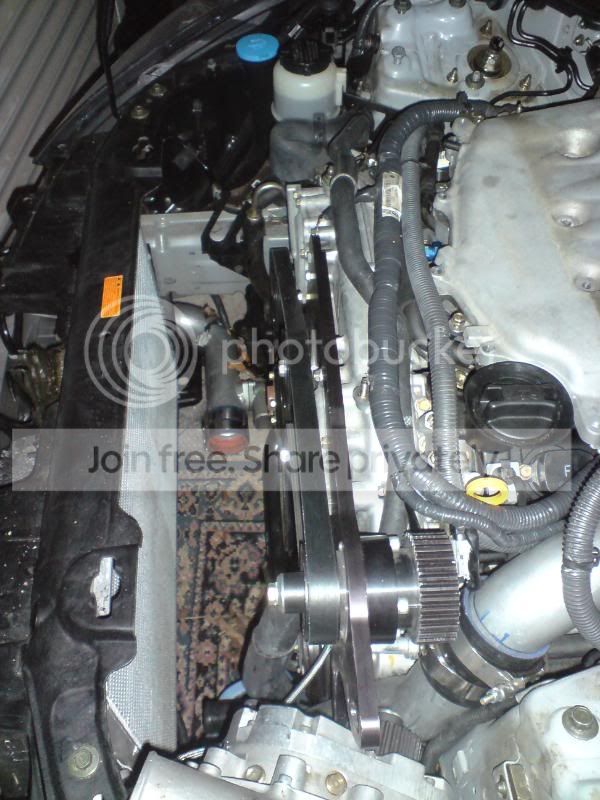
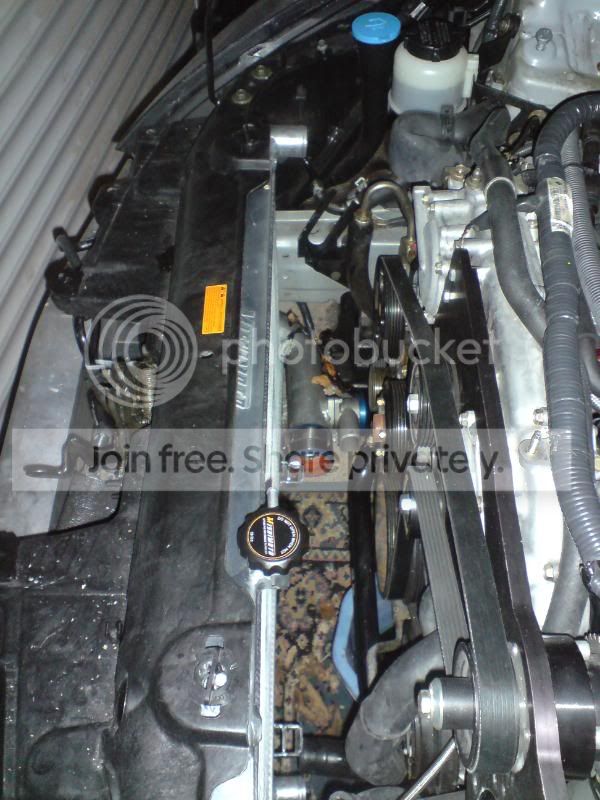
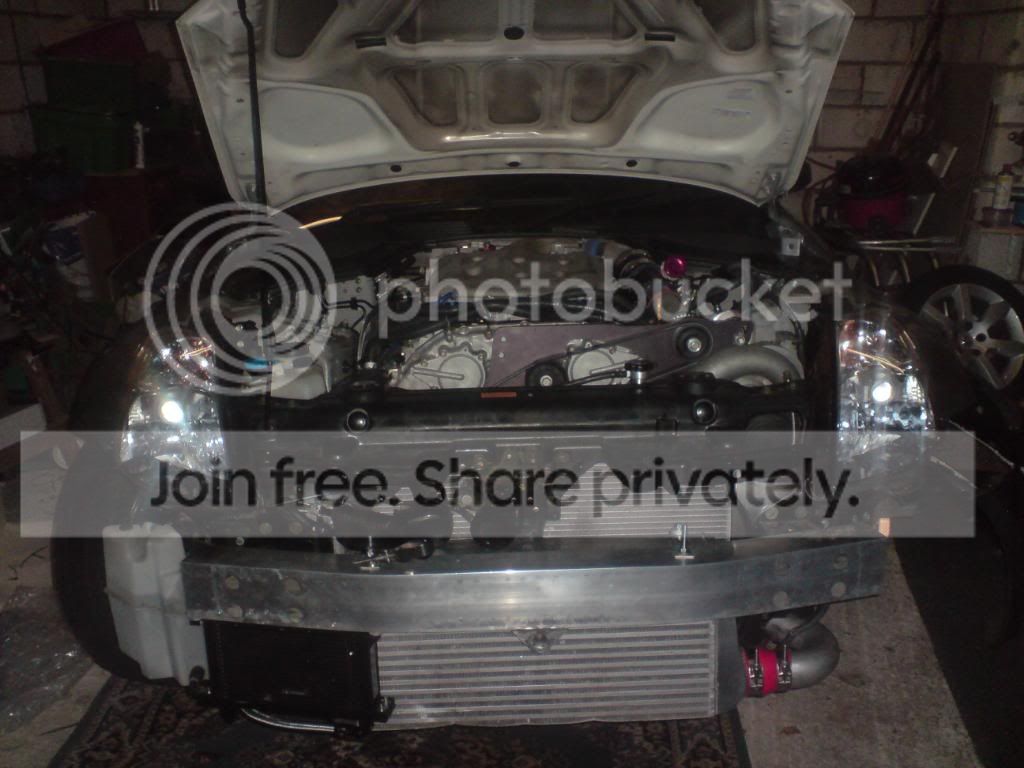
A few pics of whats been done since...I have relocated the power steering rad plus ran a new pipe to it. The blue hose is connecting my the vortech BOV to my plenum and i have tightened the filter to the blower
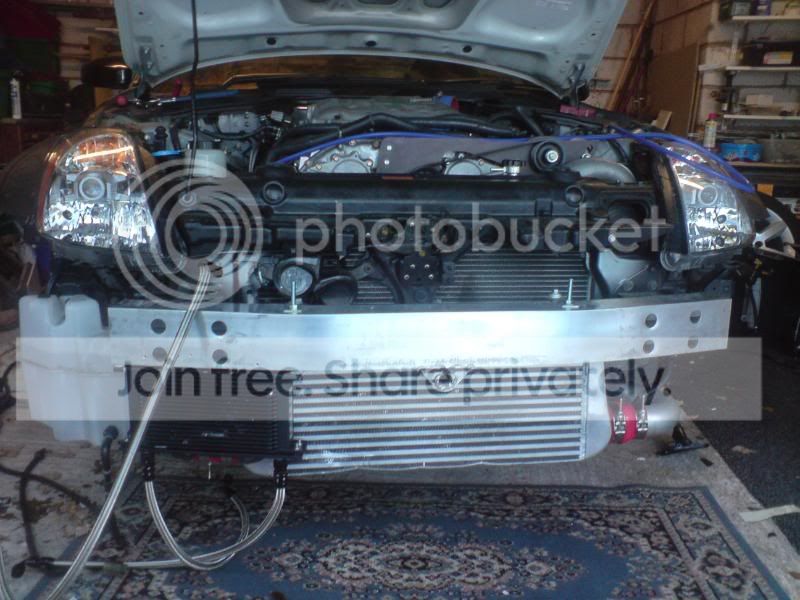
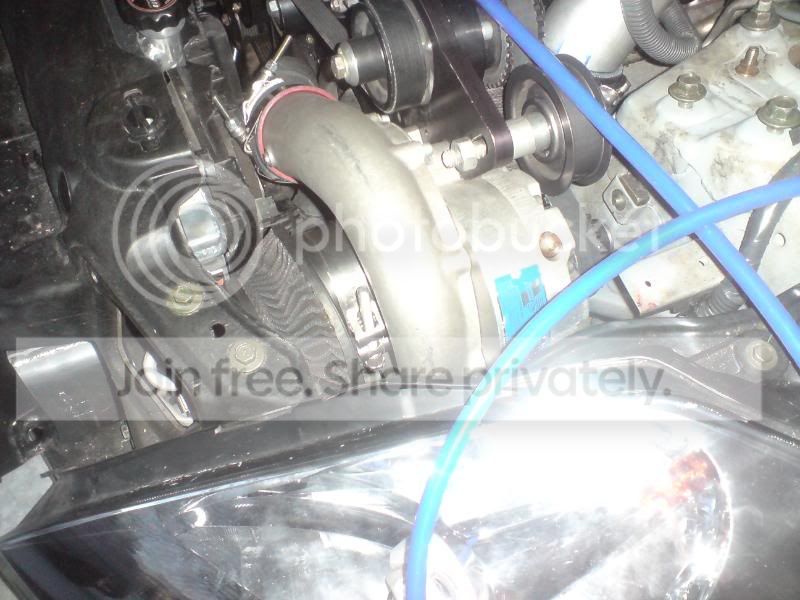


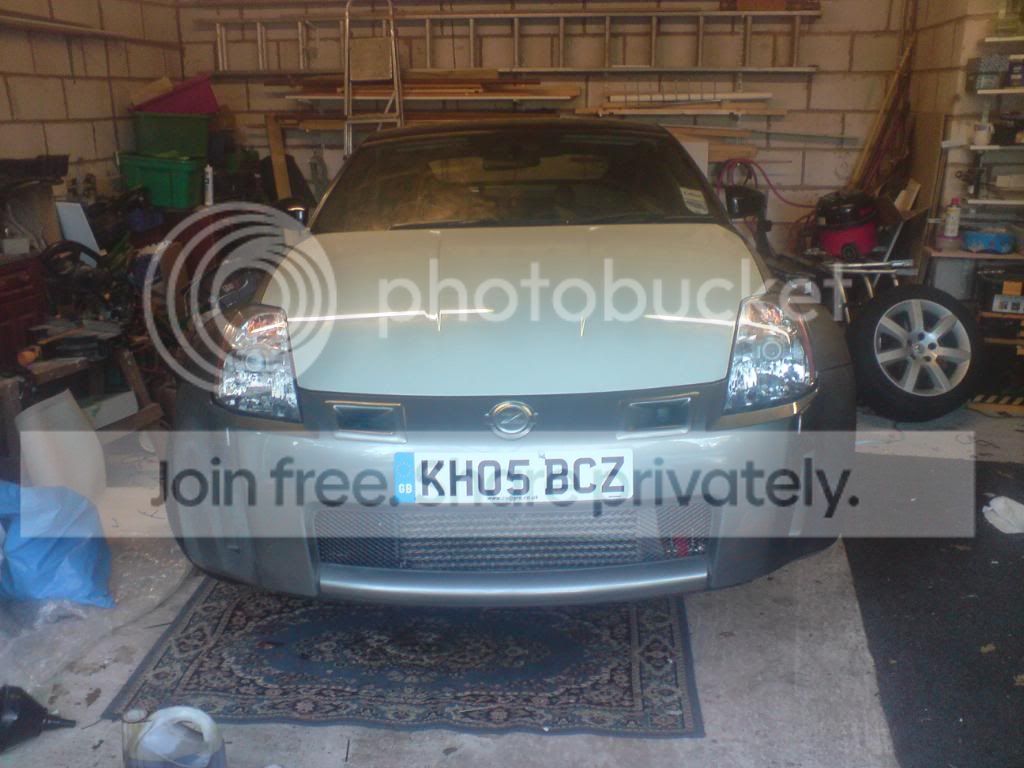
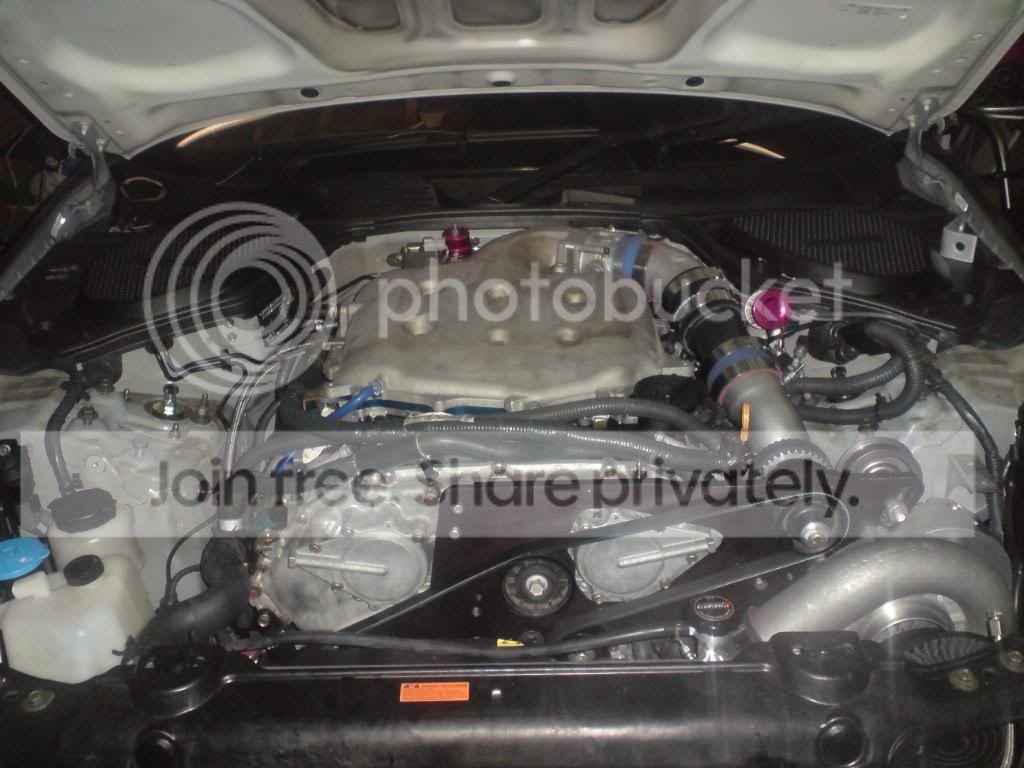
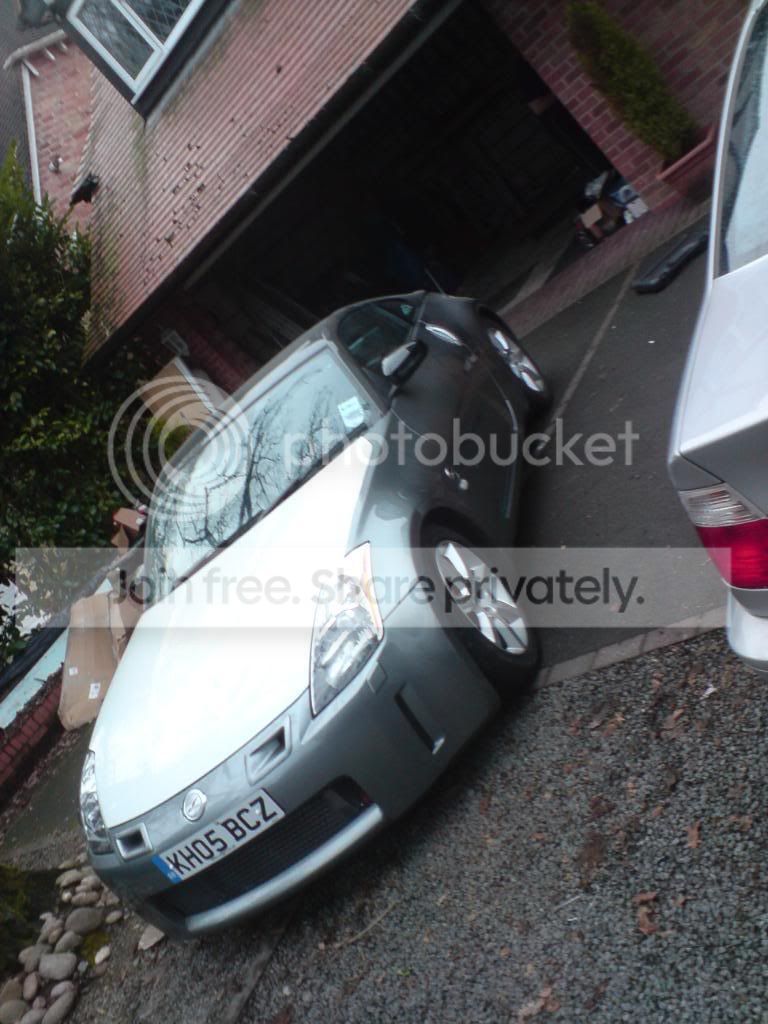
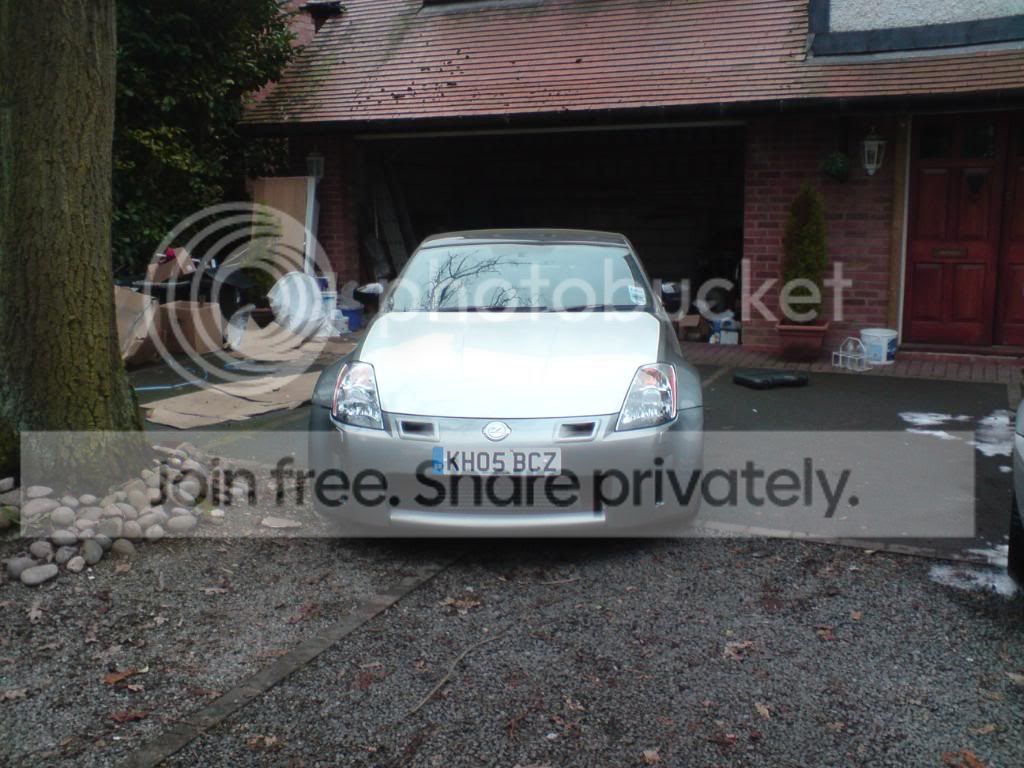
The reason for the gay wheels and bonnet is that i needed to raise some cash to buy the s/c.....now that its in i will be buying some nice wheels...so stay tuned

And here is a video

A few pics of whats been done since...I have relocated the power steering rad plus ran a new pipe to it. The blue hose is connecting my the vortech BOV to my plenum and i have tightened the filter to the blower
The reason for the gay wheels and bonnet is that i needed to raise some cash to buy the s/c.....now that its in i will be buying some nice wheels...so stay tuned
And here is a video
Last edited by nurrishd; Jan 25, 2010 at 12:57 AM.