
QuintonC's 350Z Build


Thread Starter
Registered User
iTrader: (2)
Joined: Mar 2012
Posts: 1,074
Likes: 105
From: Indianapolis, Indiana

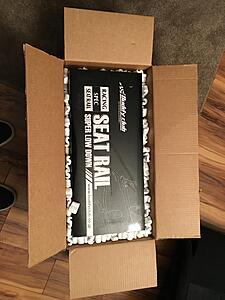
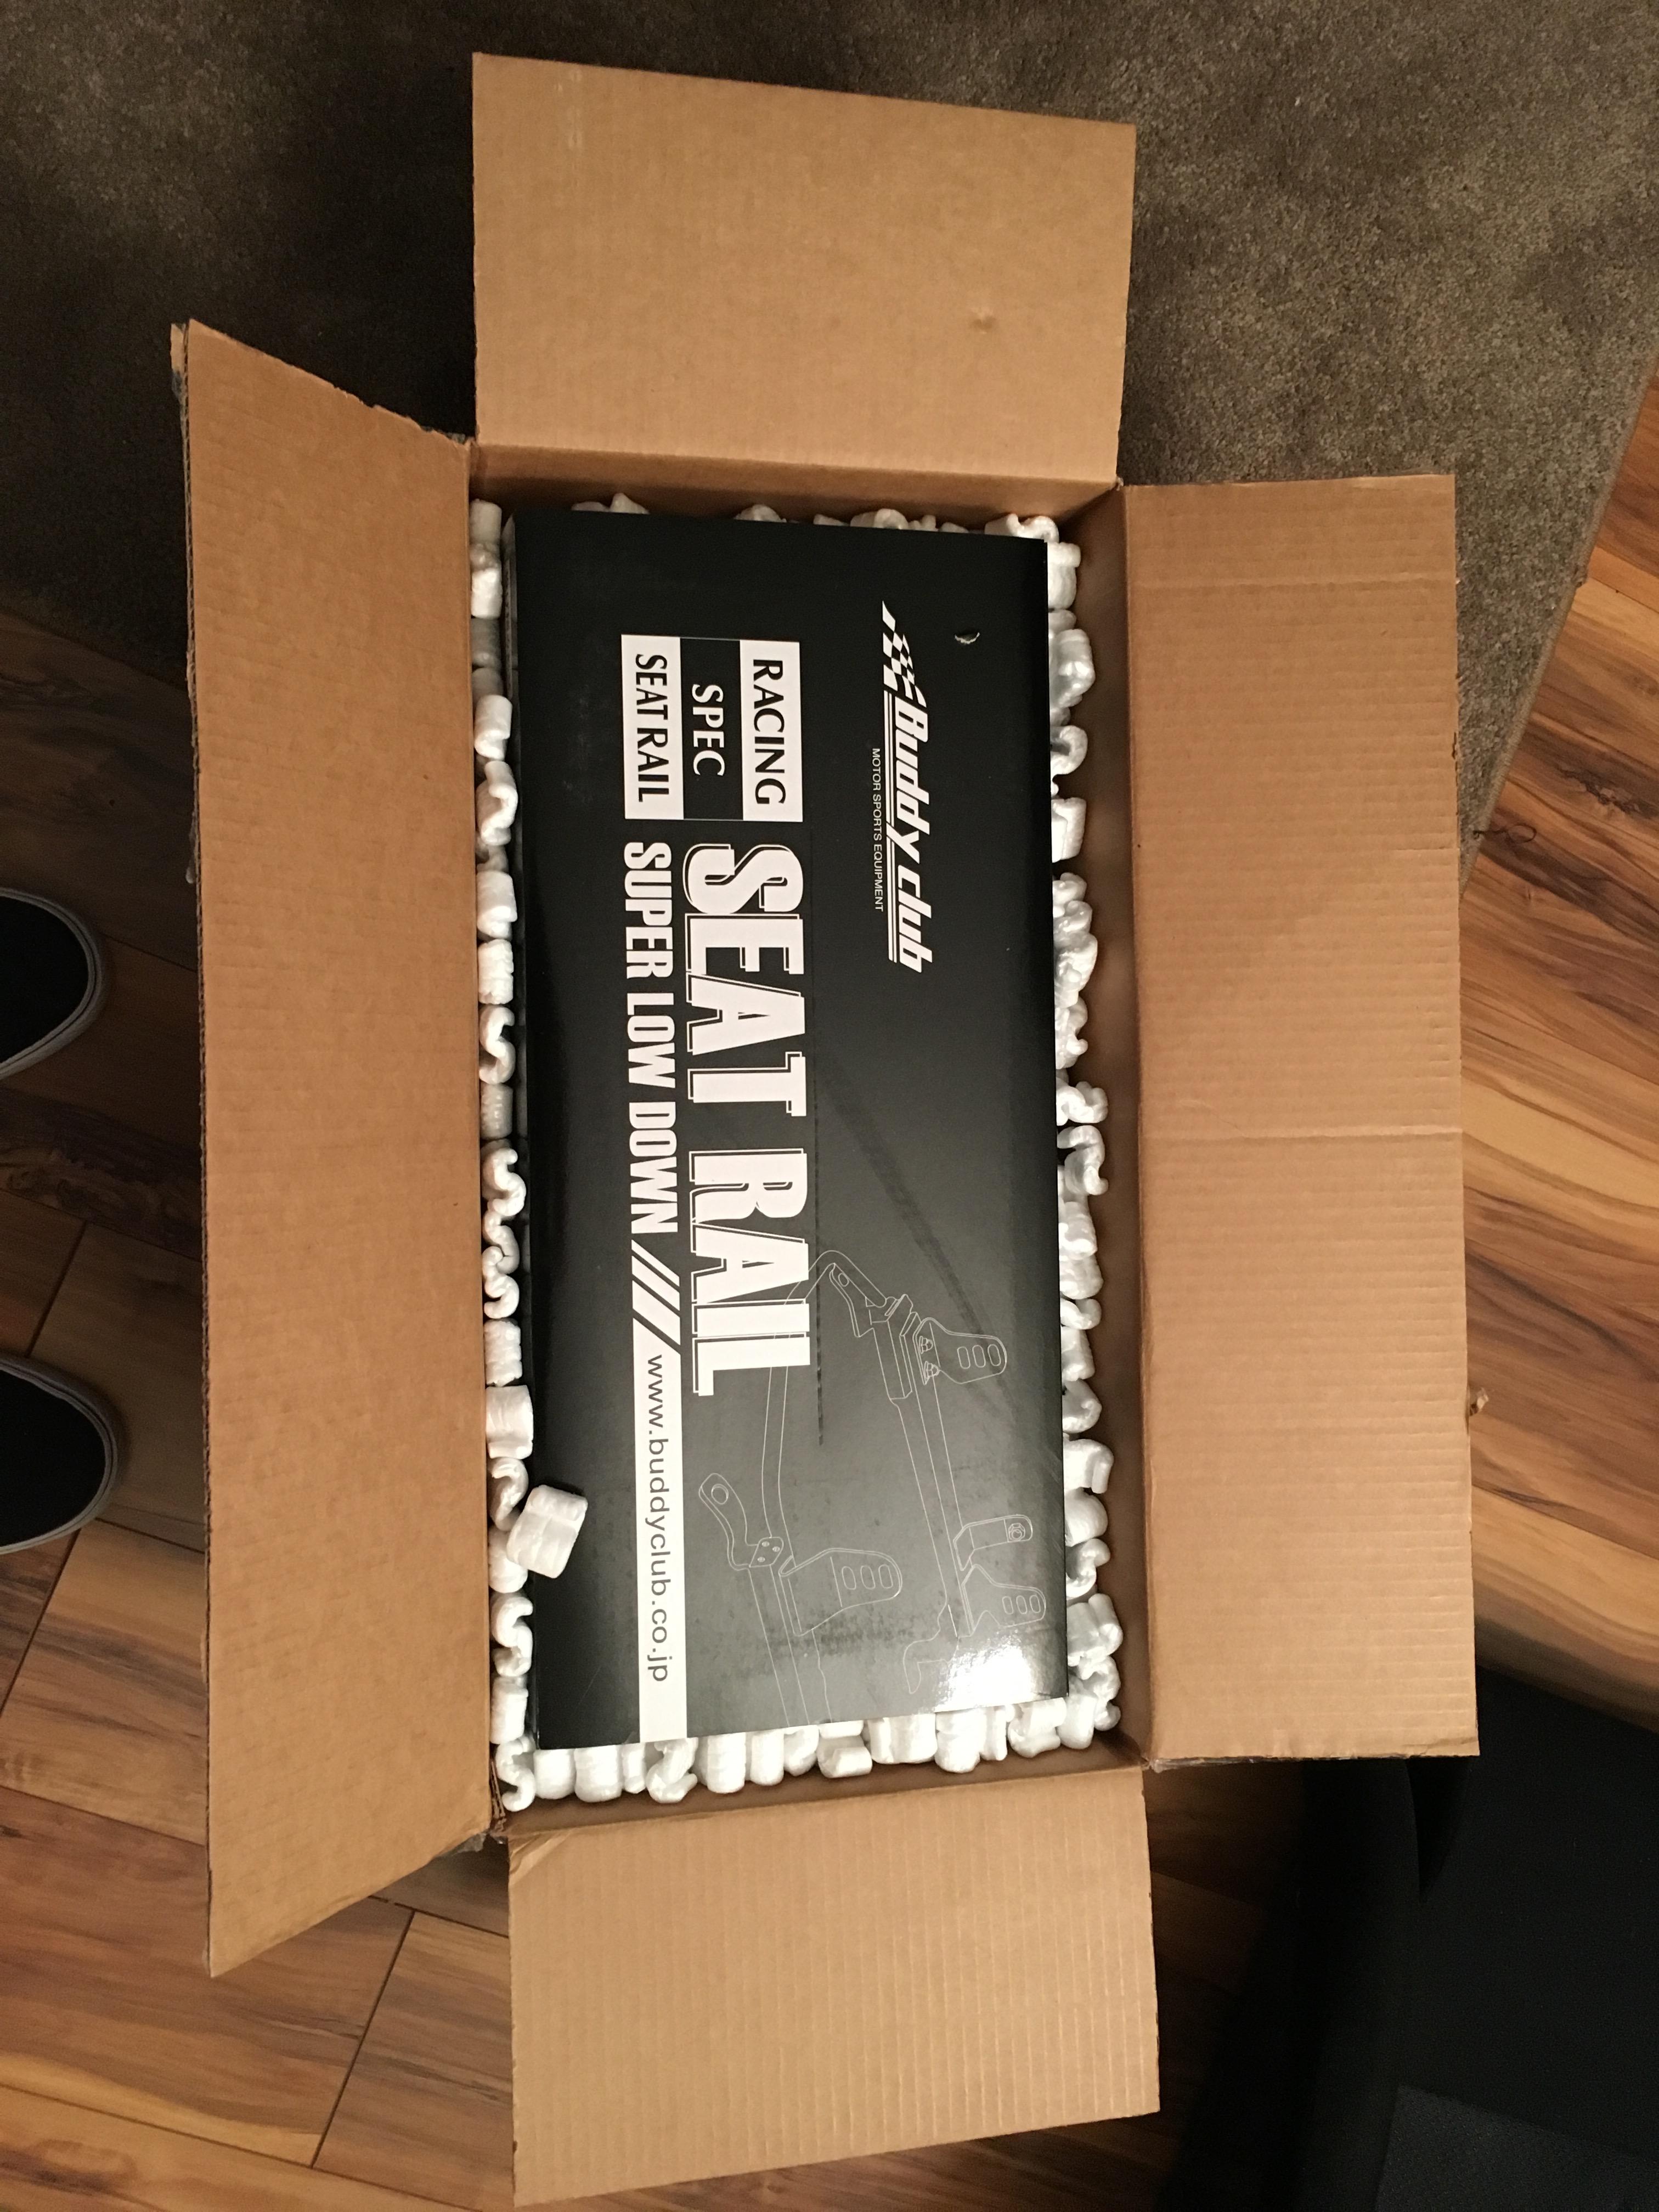
Pass. side seat rail came in yesterday. Picking up some resistors today, driver side seat rail should be here this week sometime, as well as ARP studs. Should be an eventful weekend

Thread Starter
Registered User
iTrader: (2)
Joined: Mar 2012
Posts: 1,074
Likes: 105
From: Indianapolis, Indiana
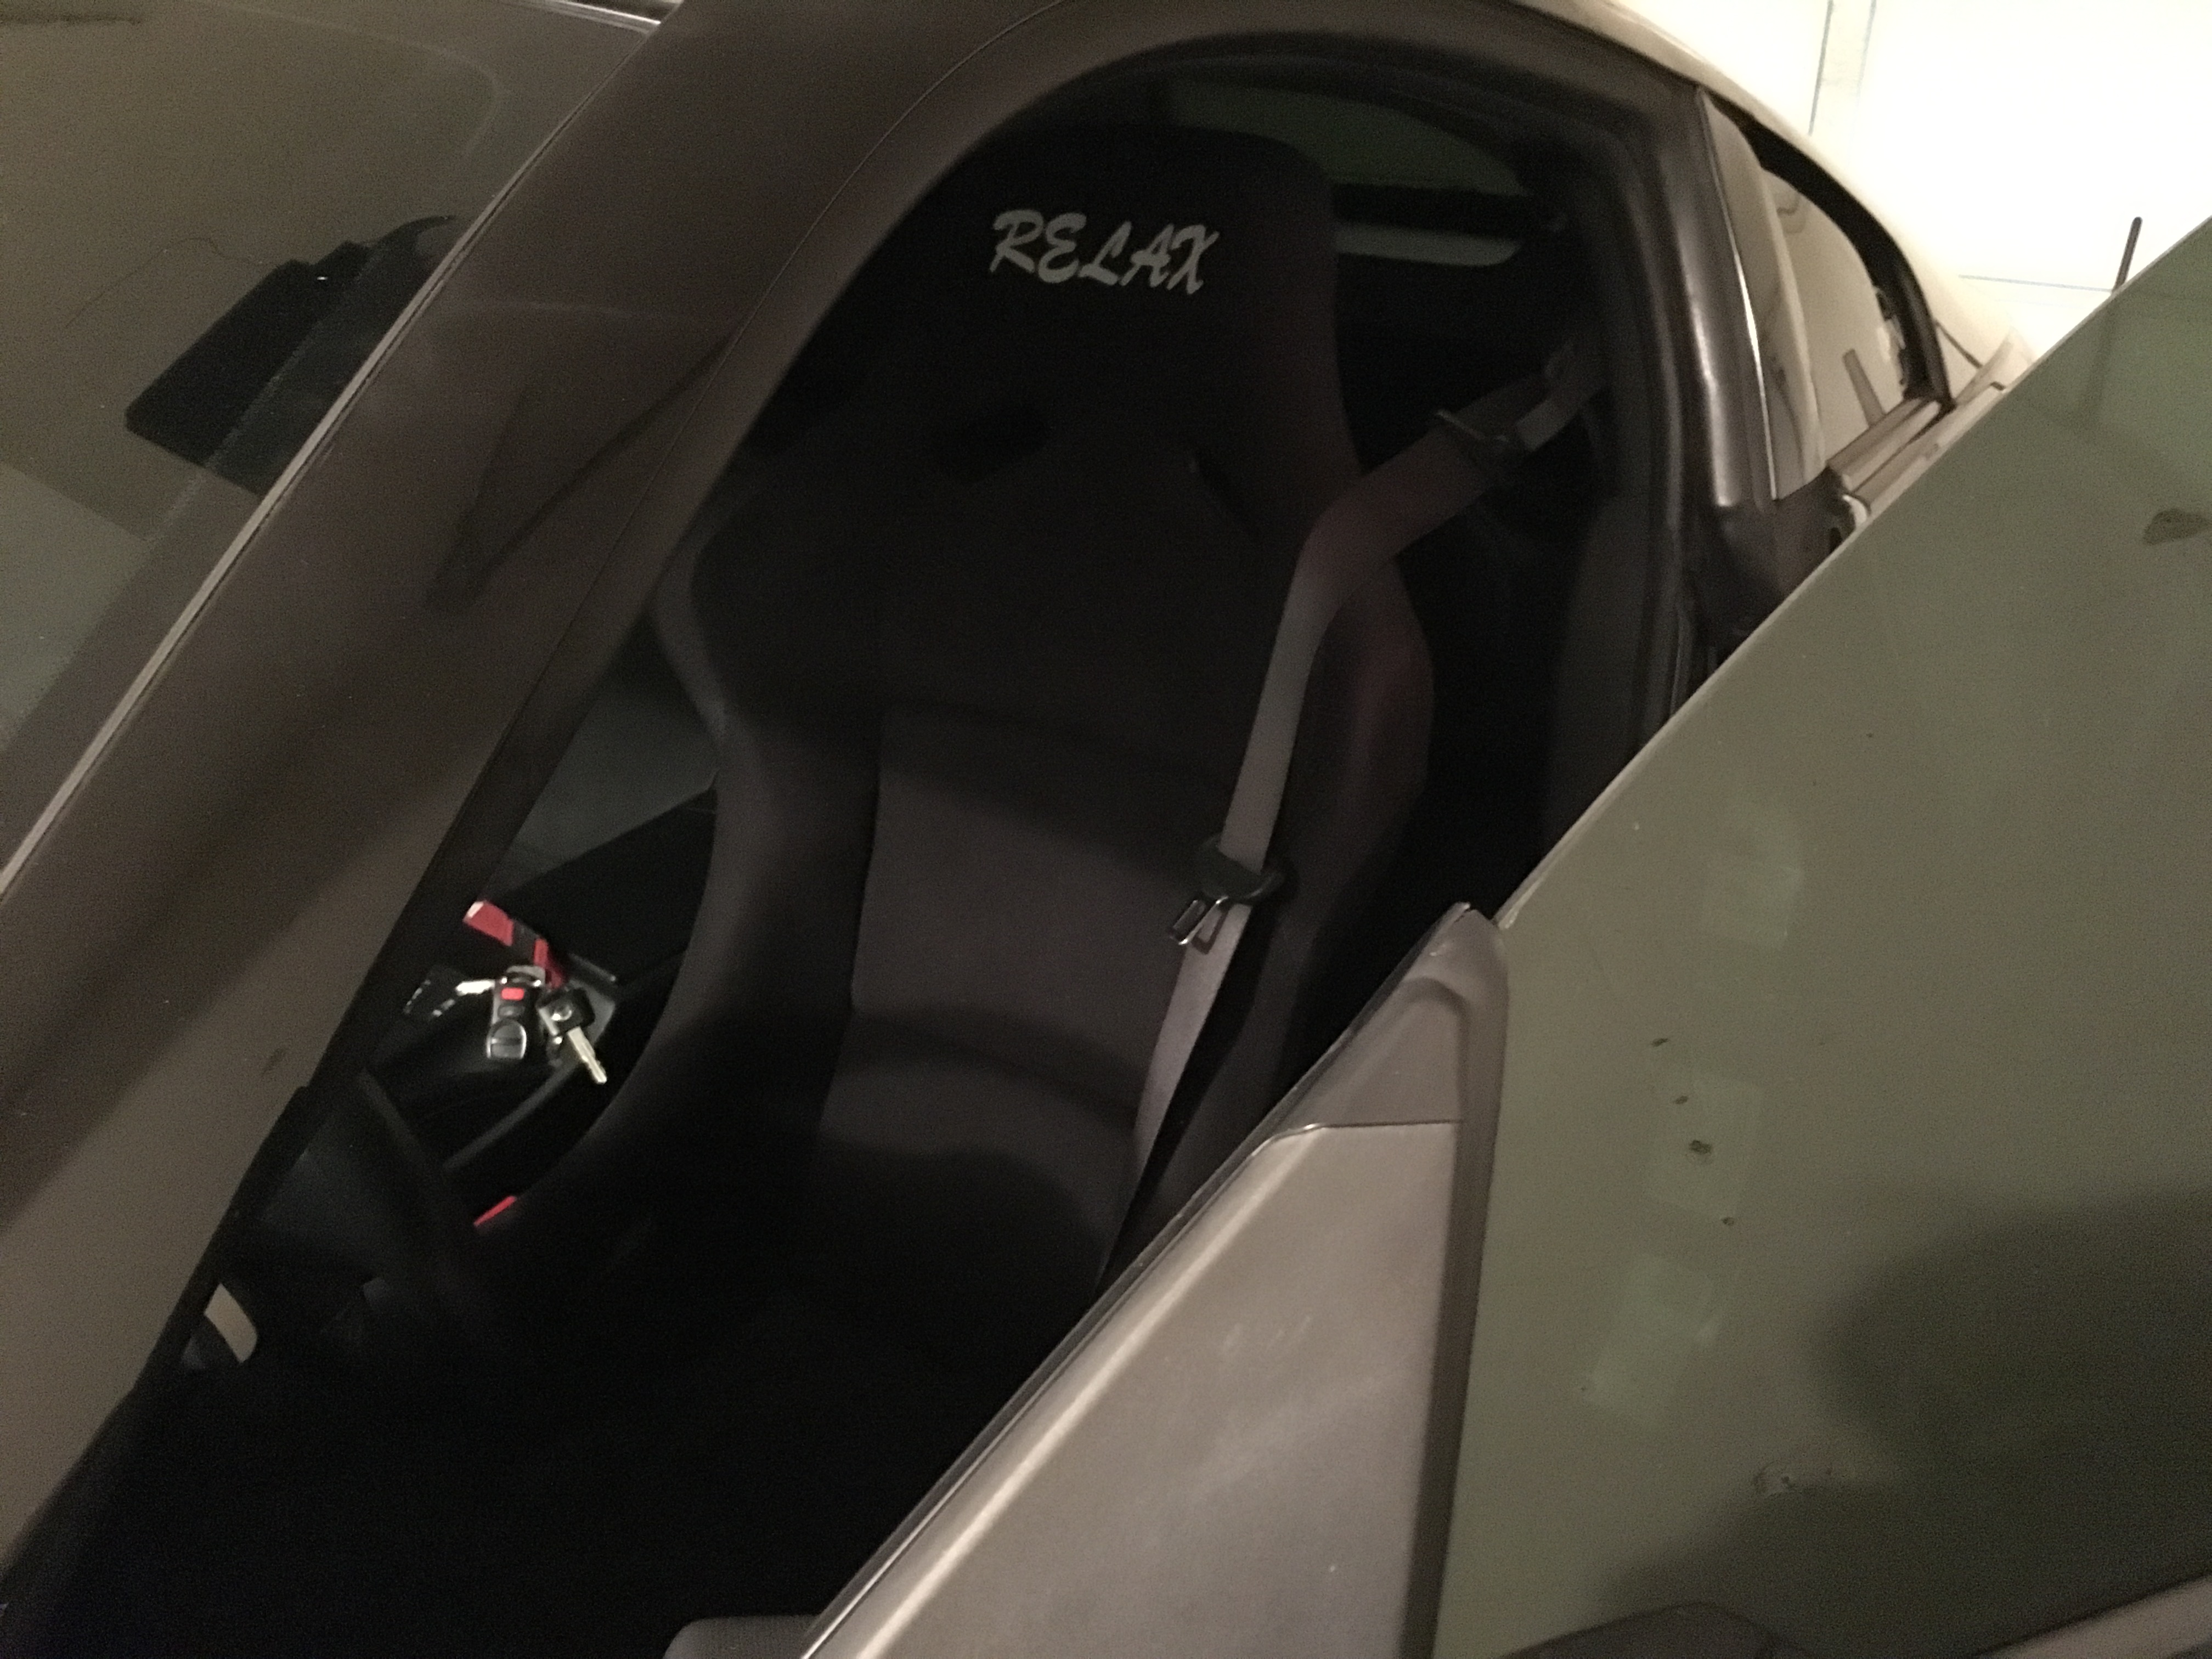
So I finally got around to getting the driver's seat installed. I actually had it installed a few days ago, but I had to adjust the front up one notch so I could use the slider bar to get adjusted (it was hitting the seat when I tried to use the sliders). So I adjusted that this morning as well as got the airbag resistors in and did a few other small things. Washers on the seat bolts, ran the stock seatbelt through the harness hole on the seat (using the stock belts for a little while longer), and just a few other really small things.
Also, when I unboxed the passenger side seat bracket, I found out that the PO had cut off the belt buckle mounting tab. So I now have to return that bracket and order a new one. Still waiting on my ARP studs (friend's mom is bringing them down this weekend). Once I get those on, time to throw the rear brakes on the car, put the new fluid in, bleed brakes, throw the wheels on, charge the battery (somehow it died... Optima yellow top, not even a year old), tighten up a few things underneath (turbo oil return), change endlink positions on the sway bars, and then put the ECU back in and cross my fingers haha.
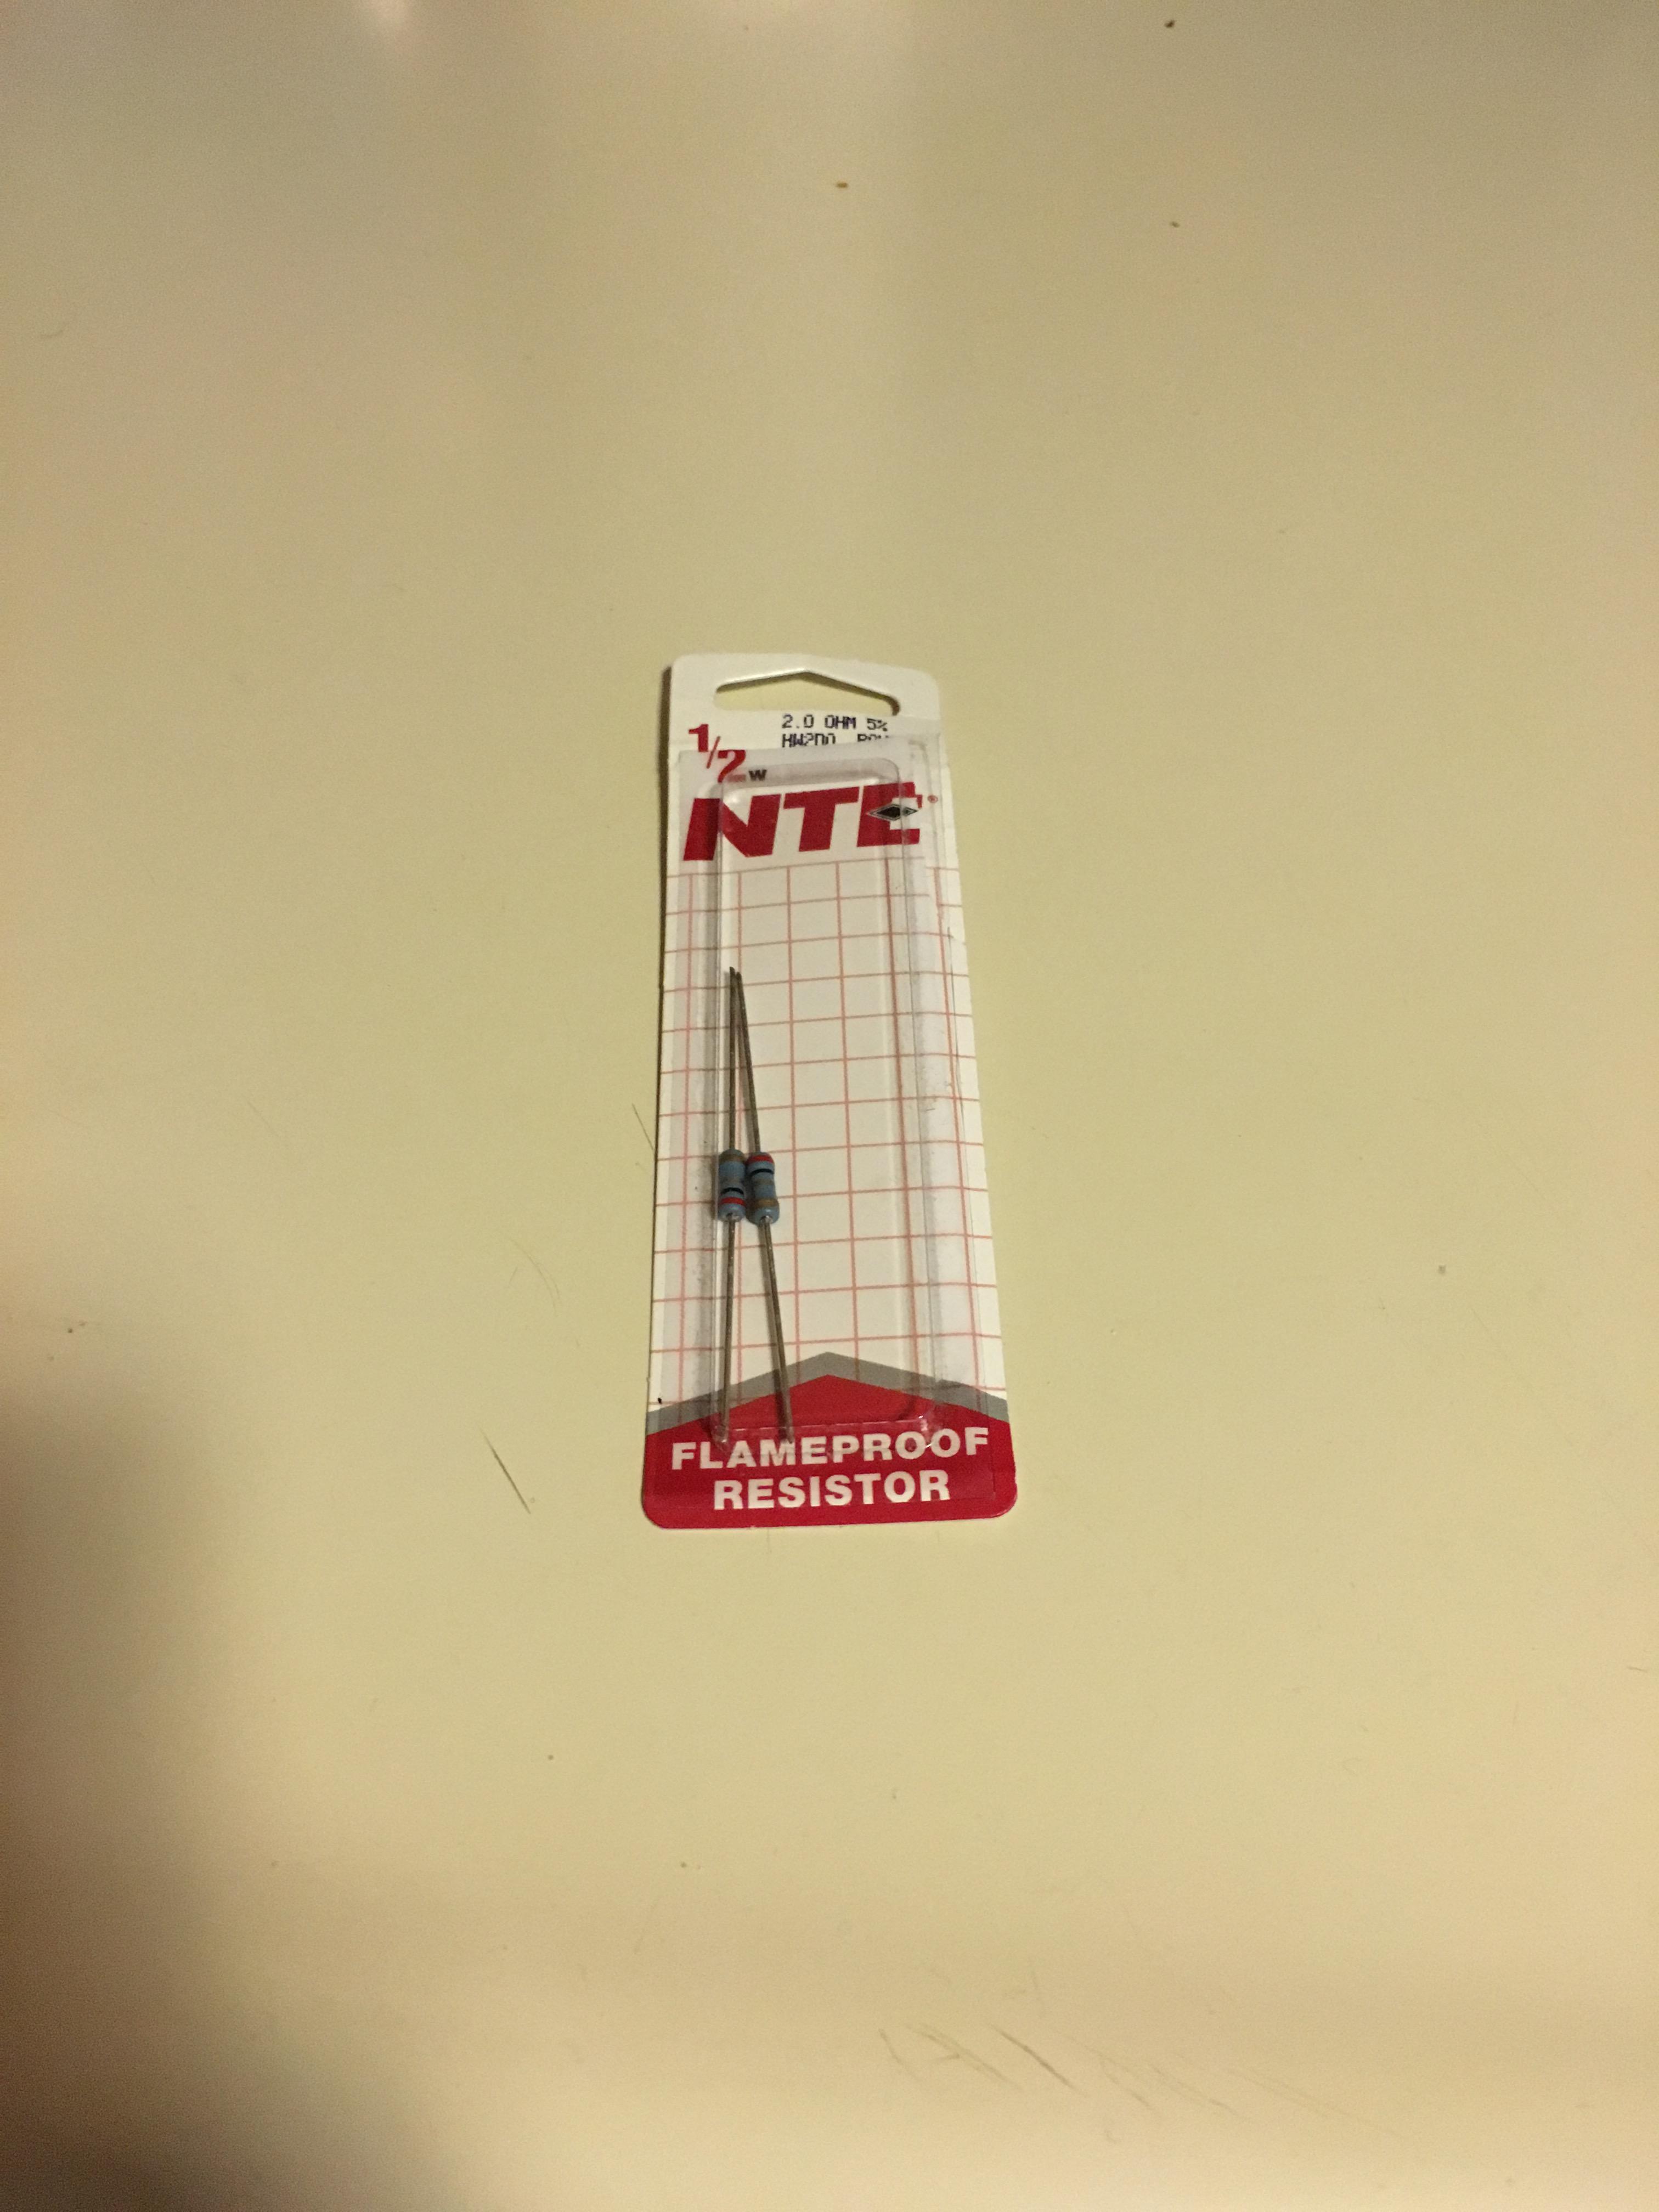
I took pictures of the process of making the resistors, just in case anyone else needs assistance on how they're done, etc.
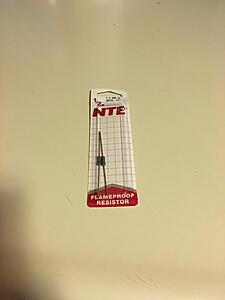
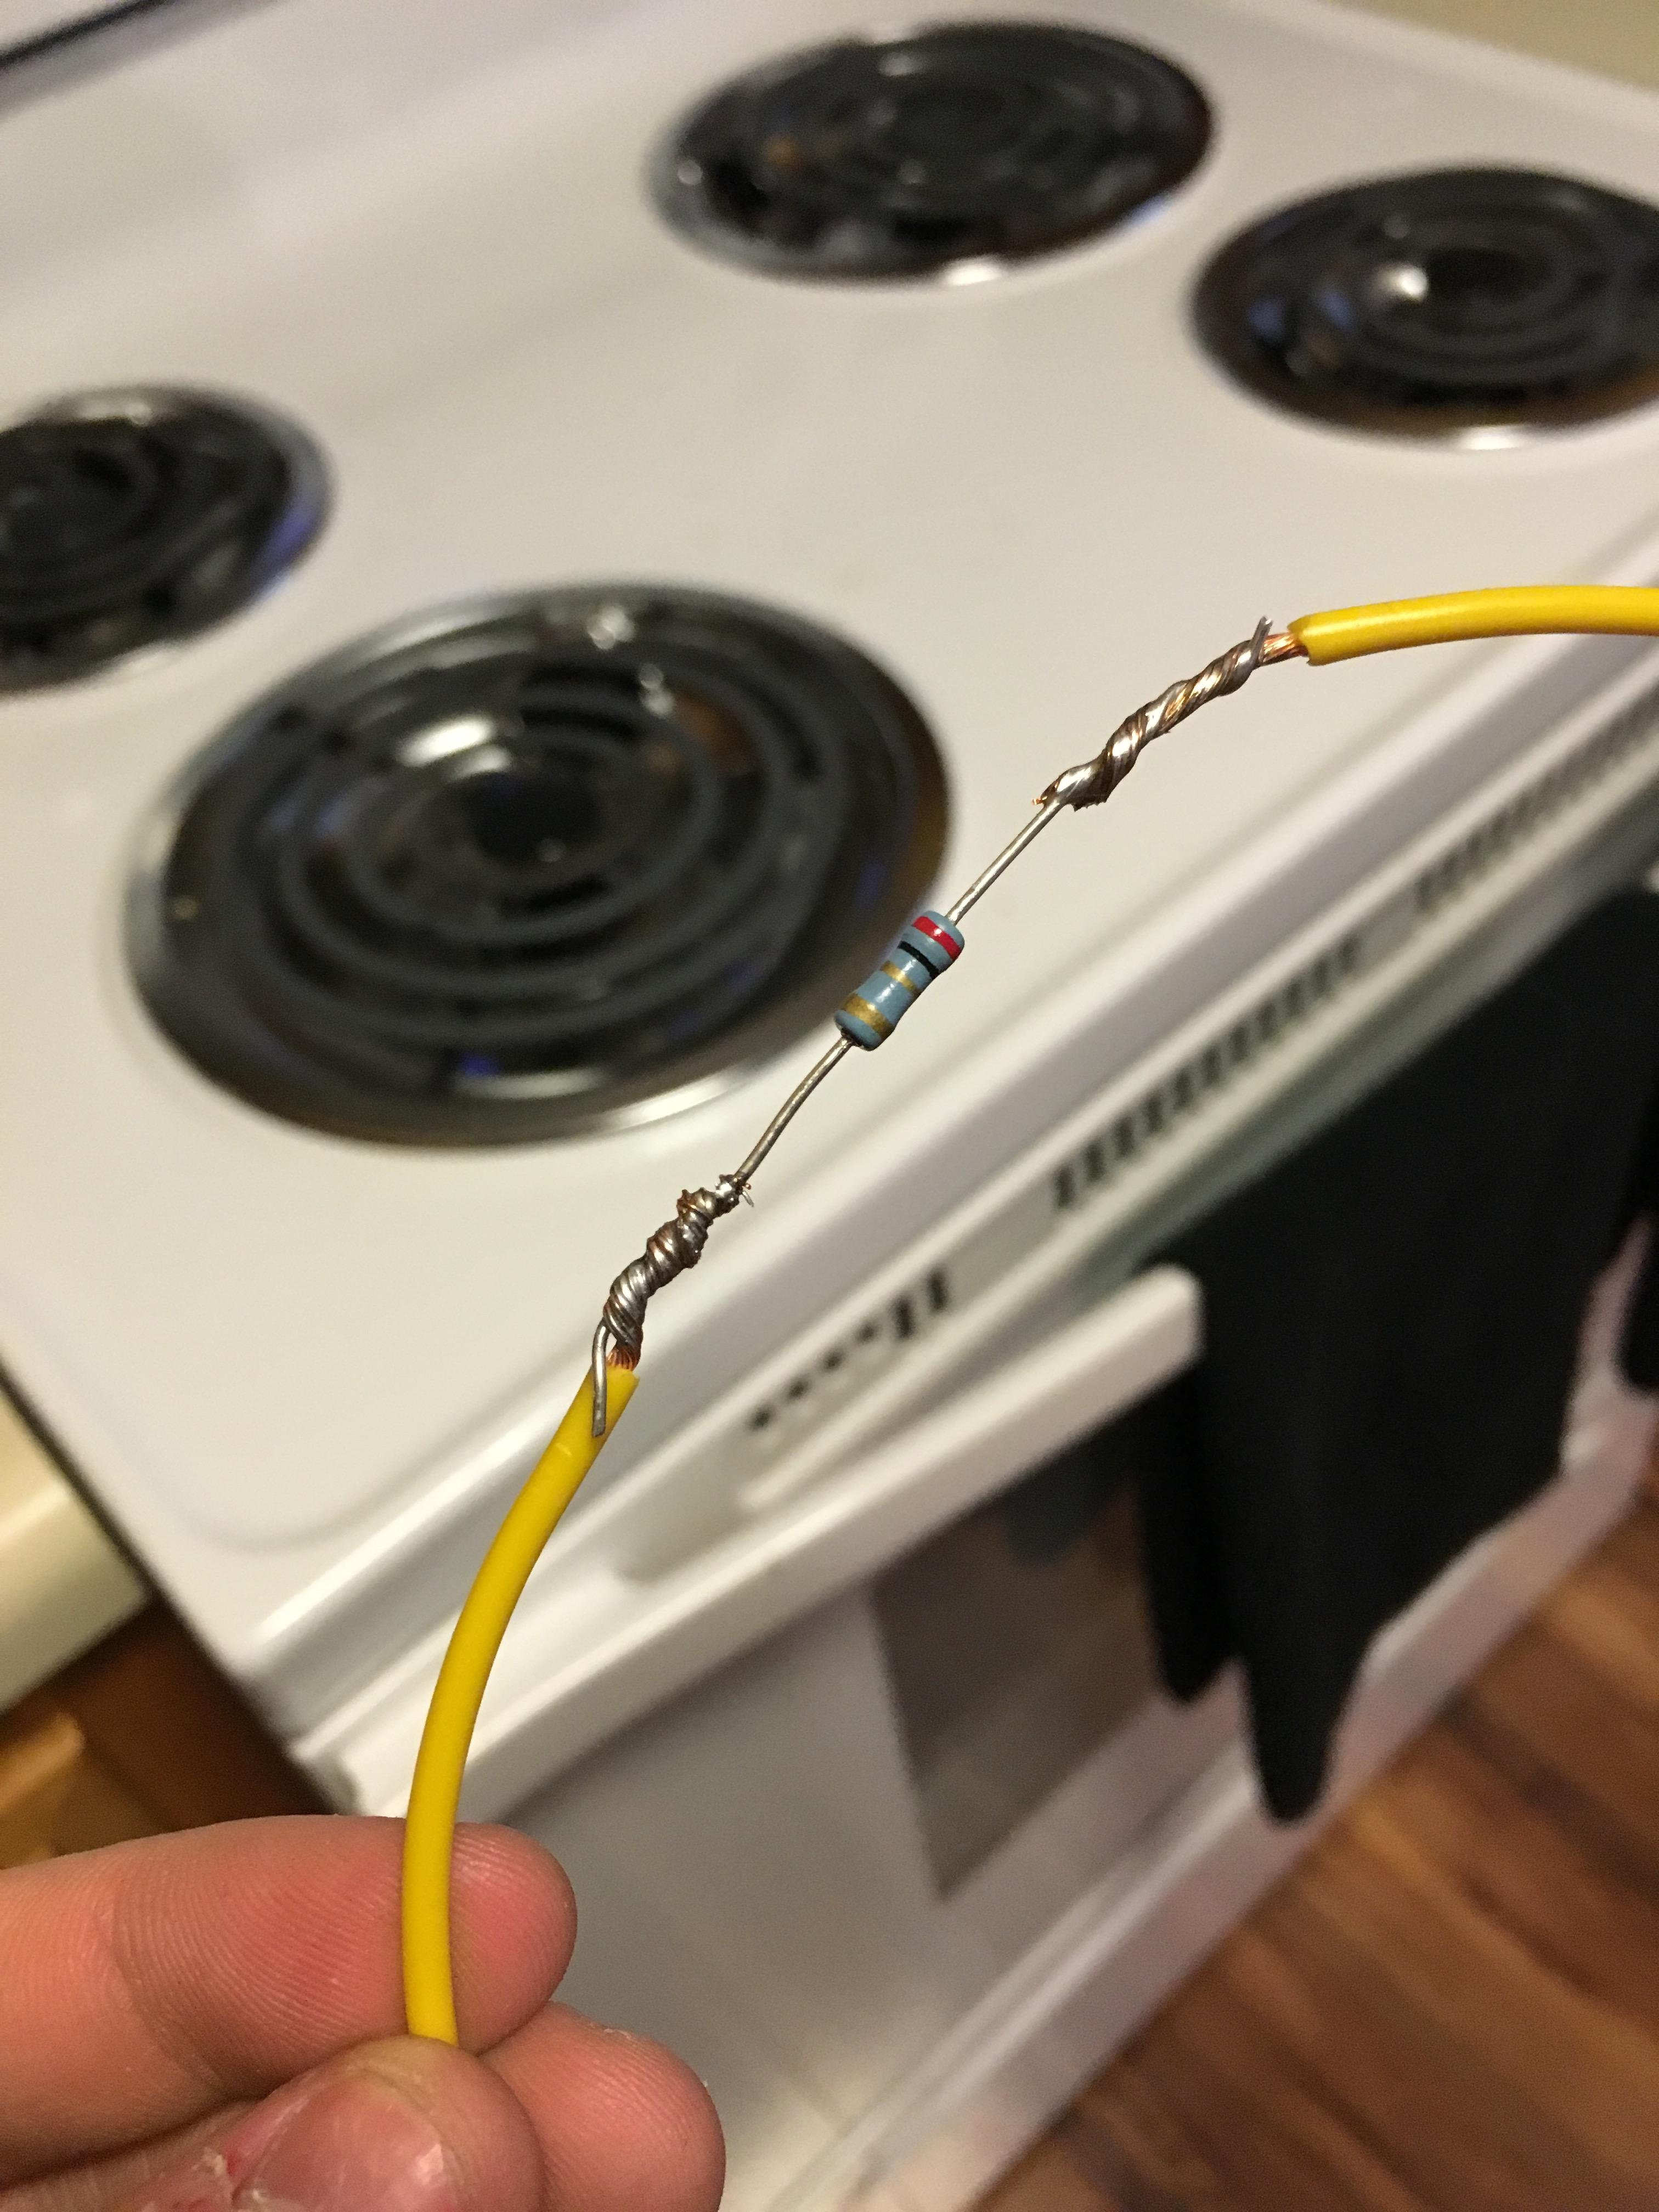
So I purchased this 2 pack of 1/2" 2.0ohm resistors.
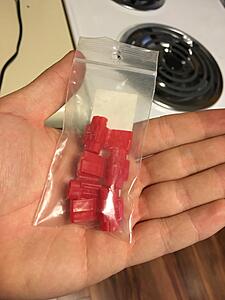
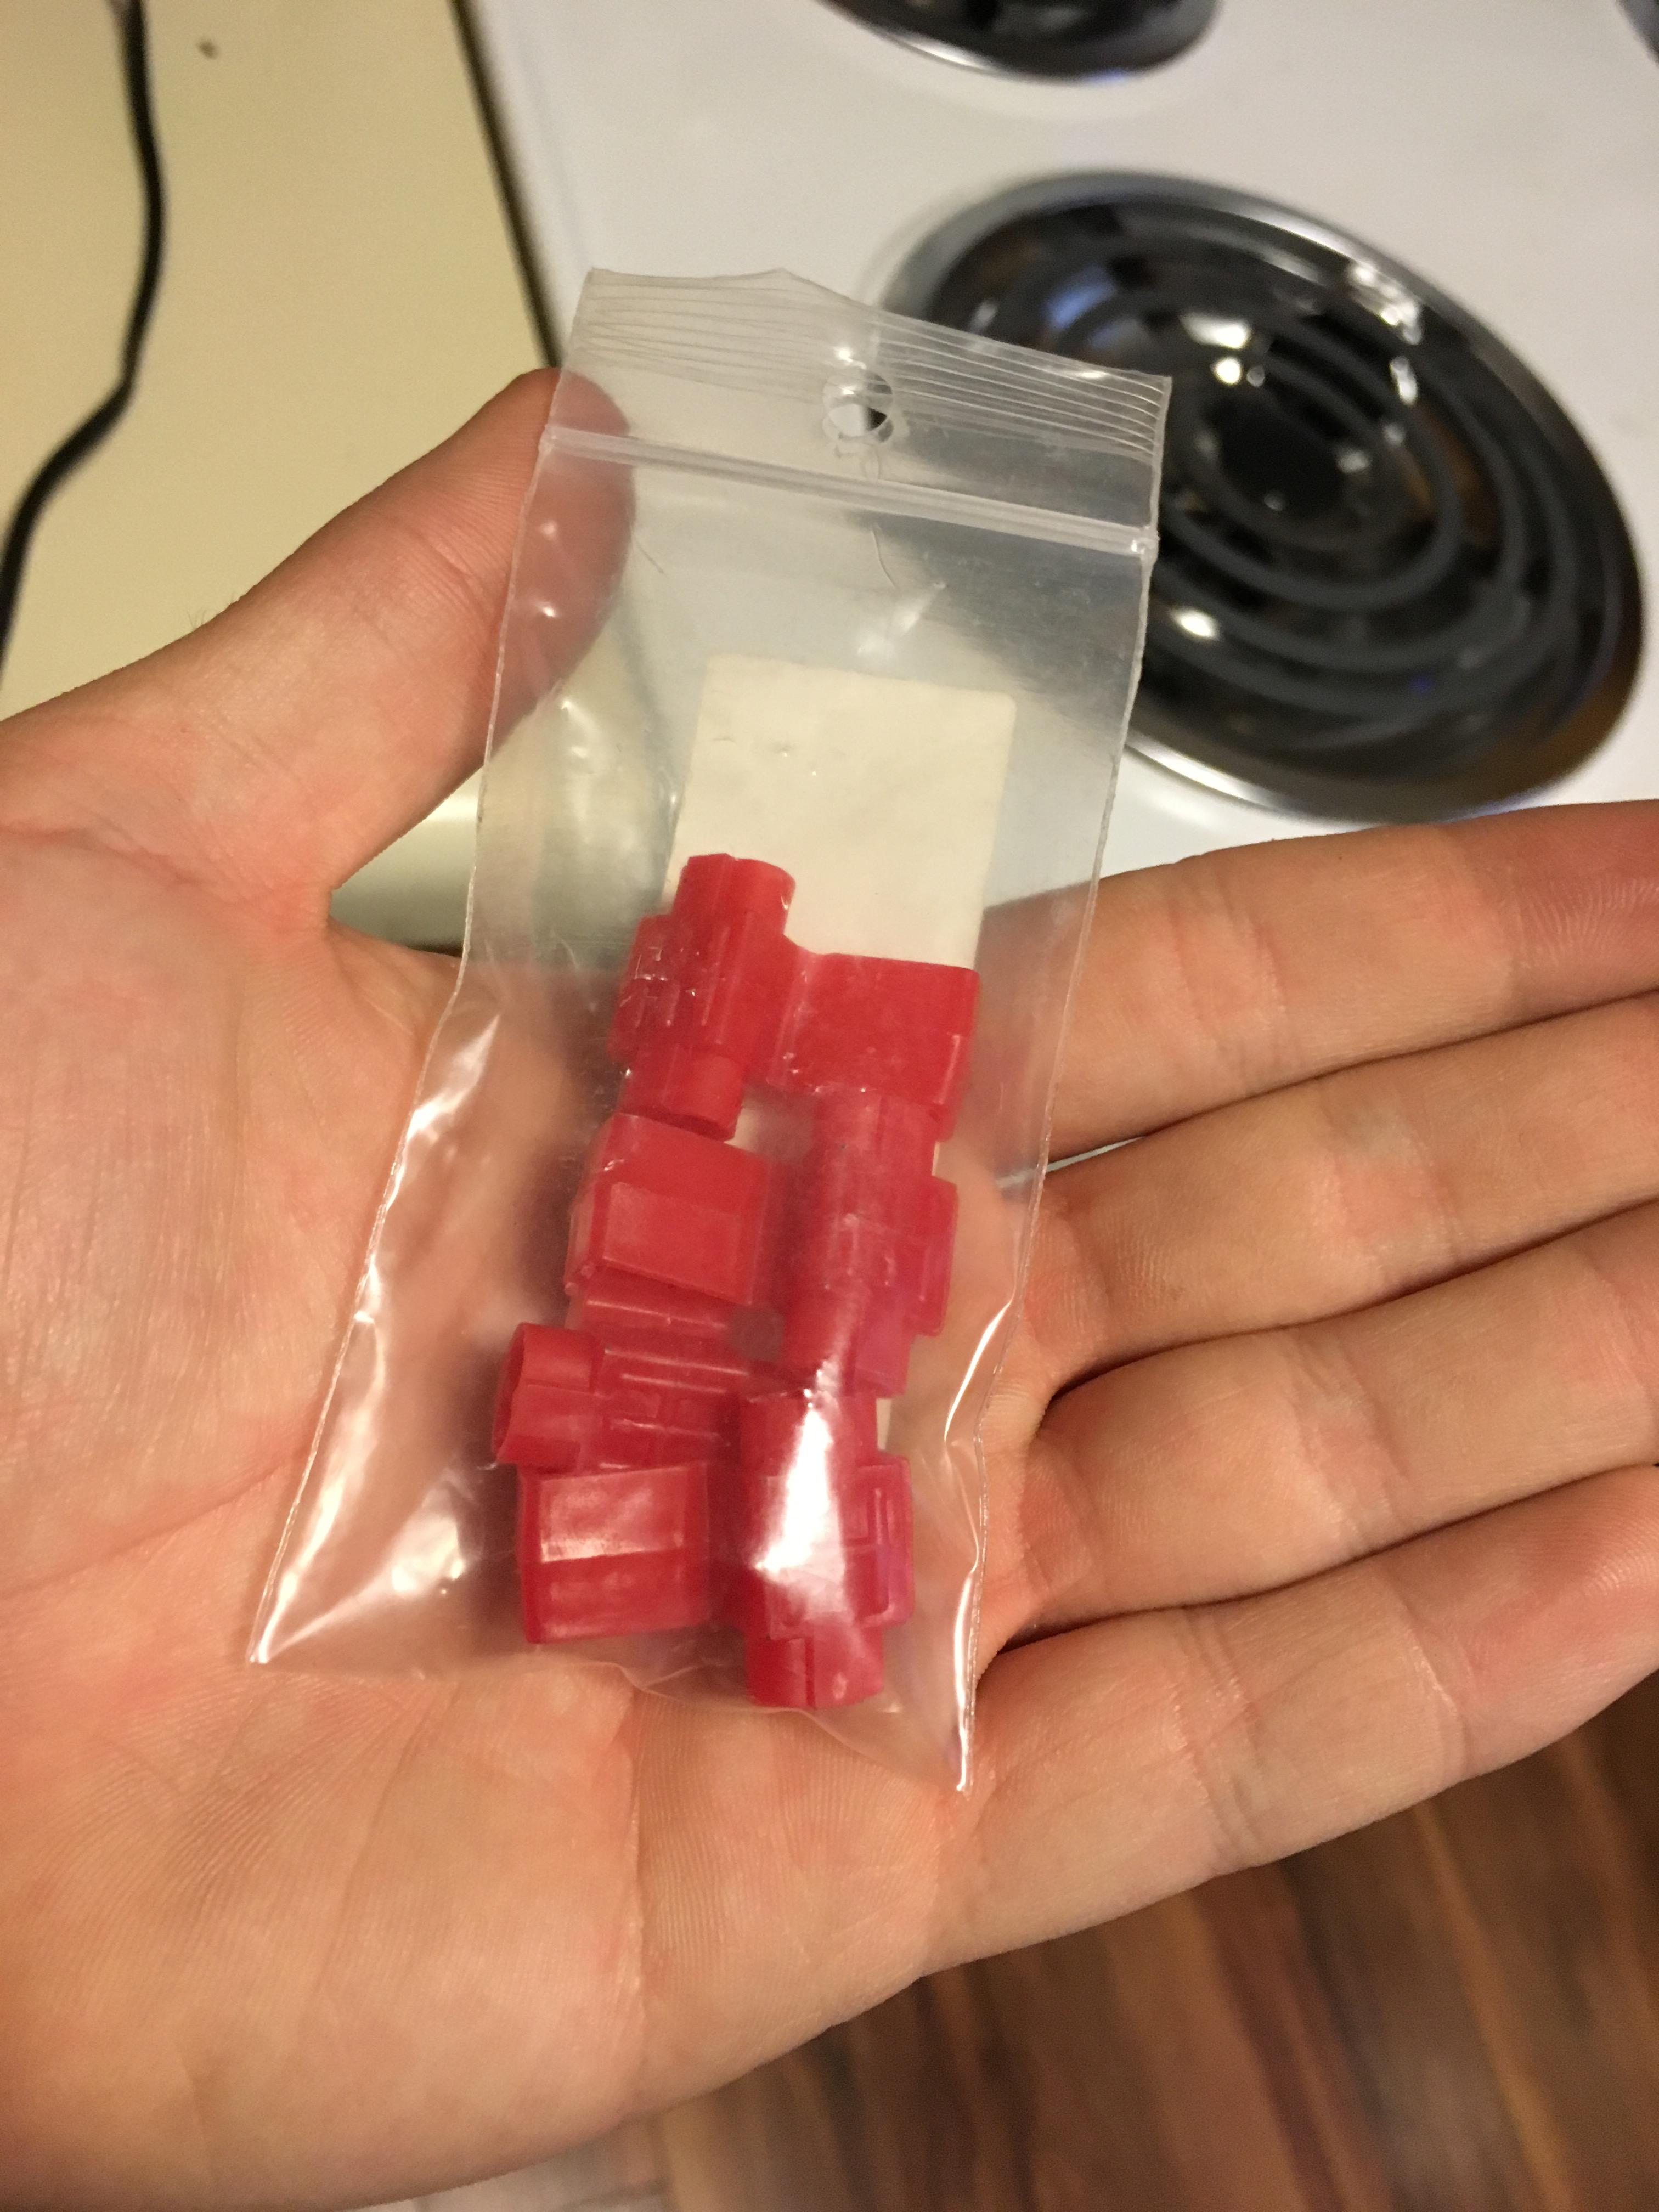
Also picked up these quick splices. Only two of these were actually good enough to be used. The others had plastic in the secondary hole, so I couldn't use all 4. Going to buy another pack to get the passenger side put in.
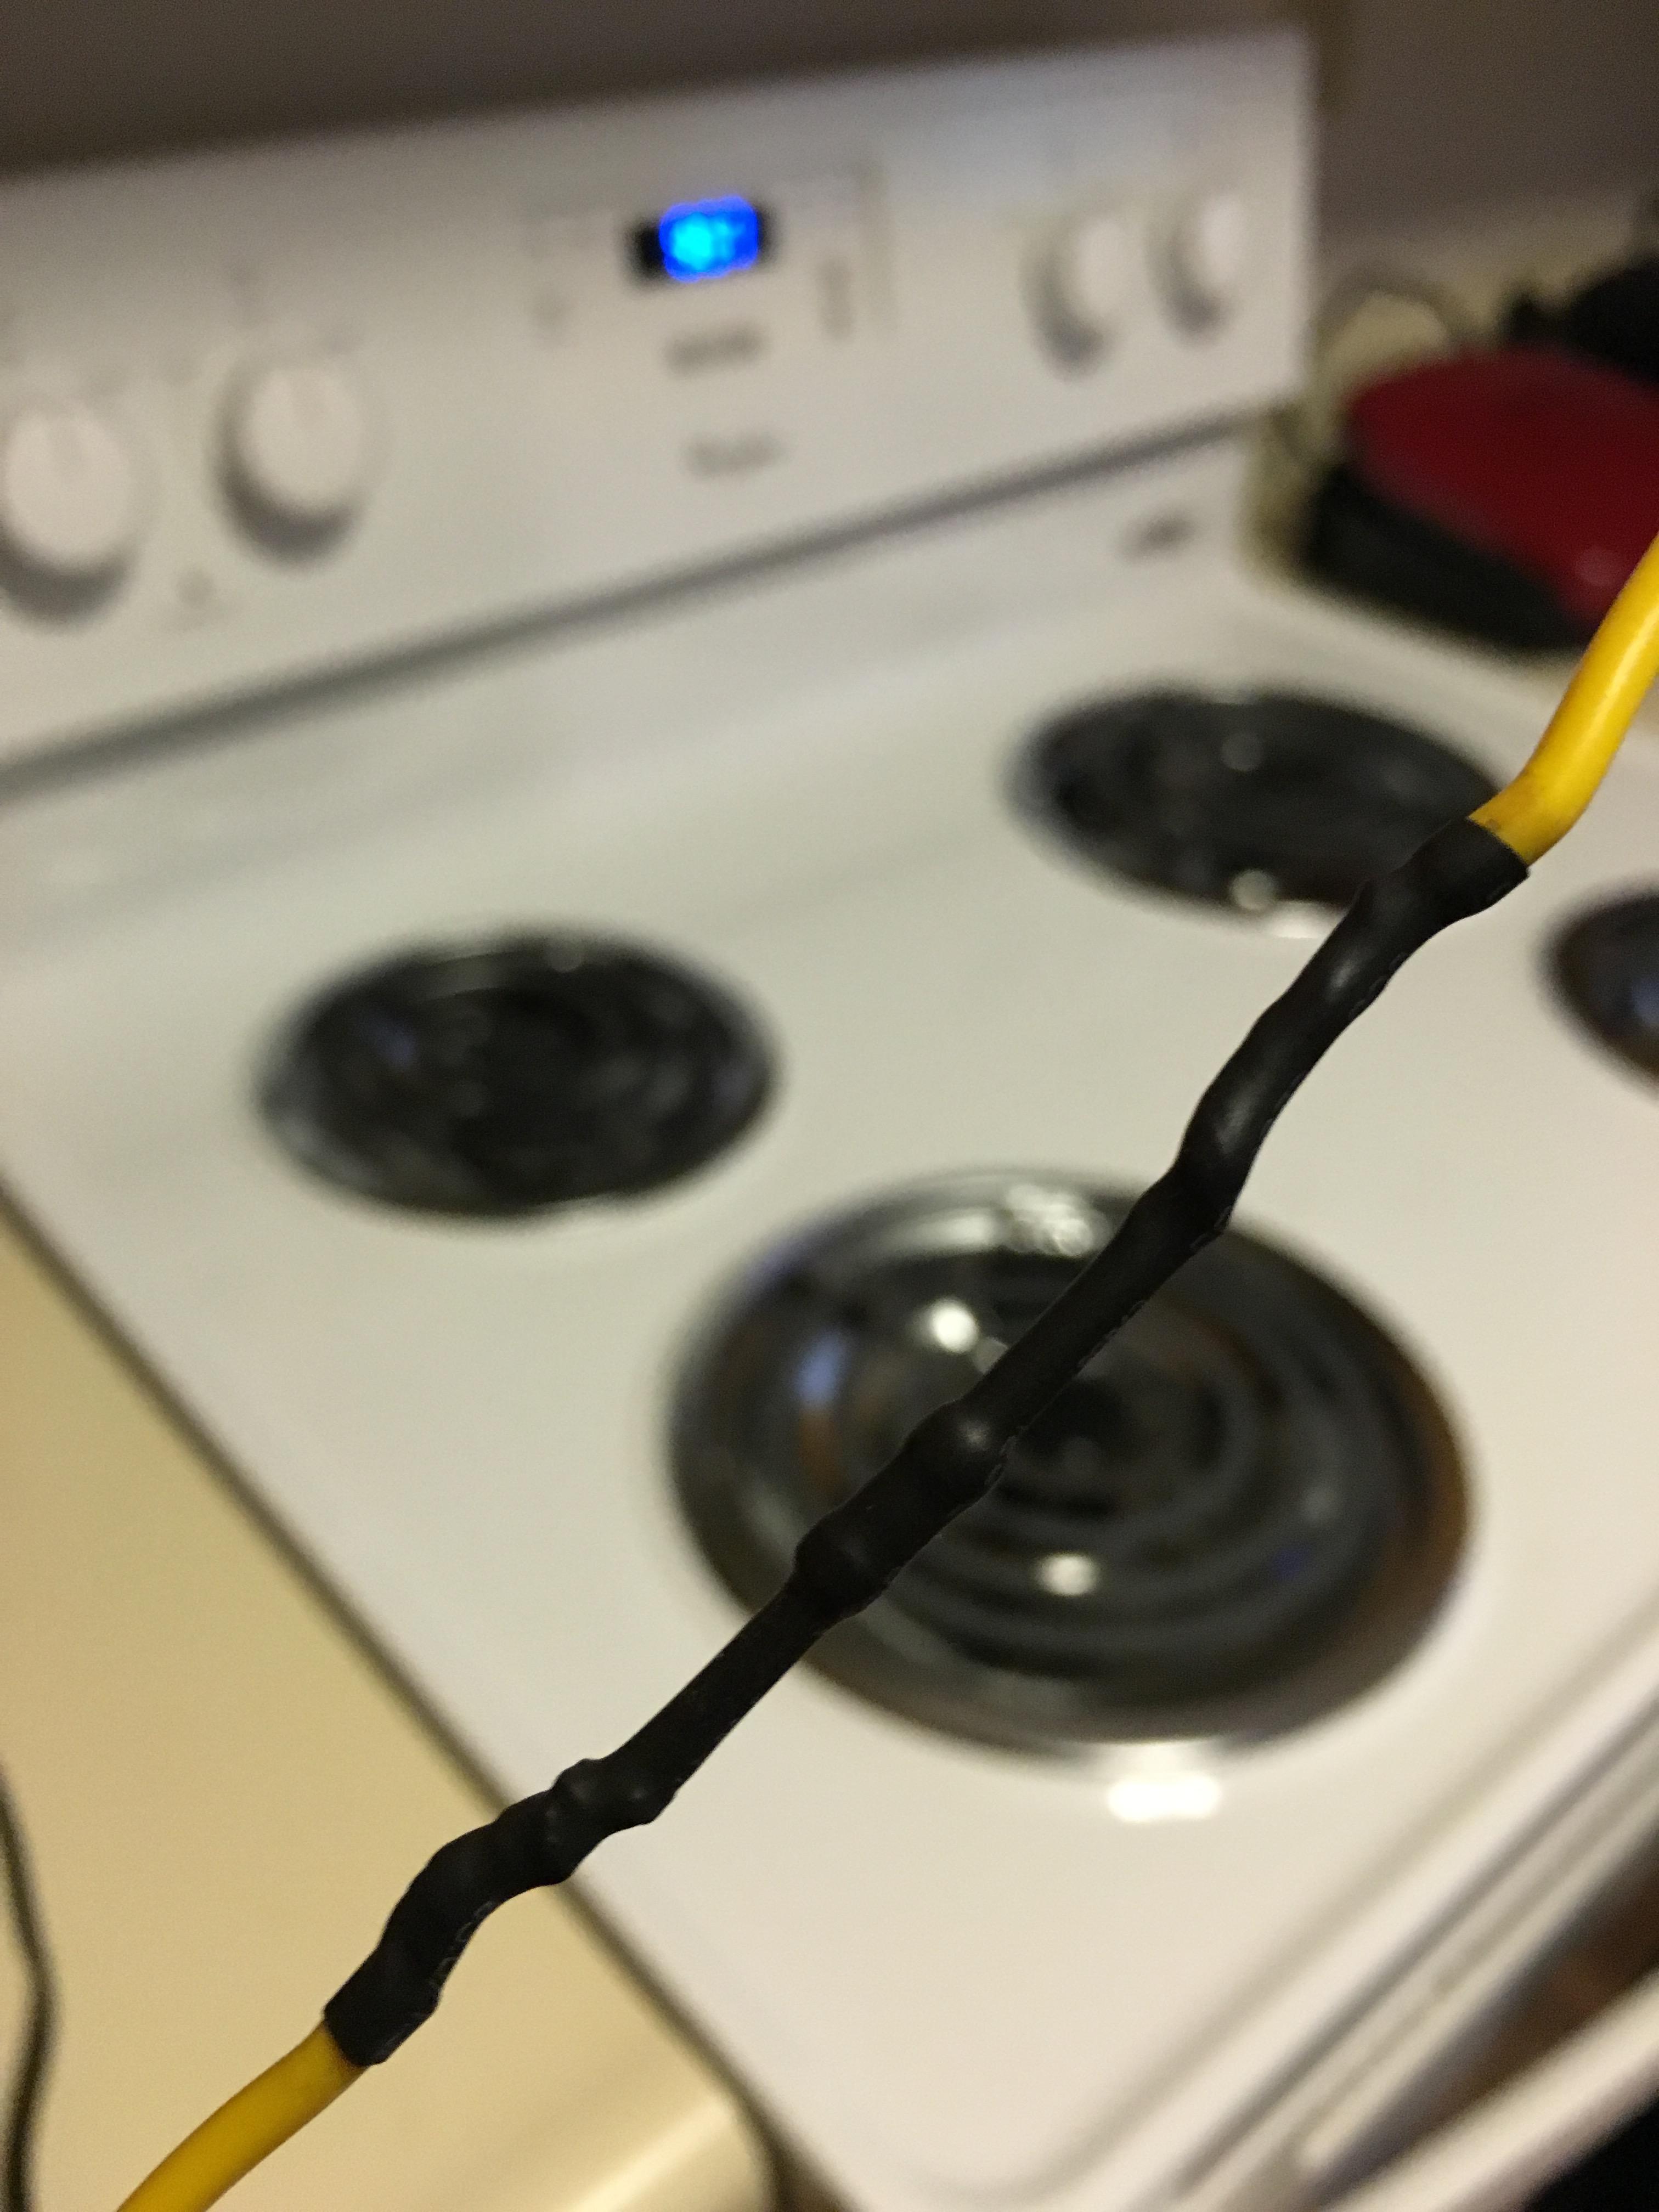
So it was just as simple as grabbing some 16awg wire, stripping the end on one side, and then soldering it onto the resistor, then heatshrinking the wire.
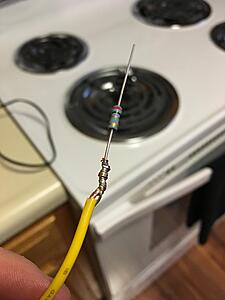
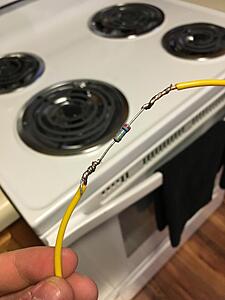
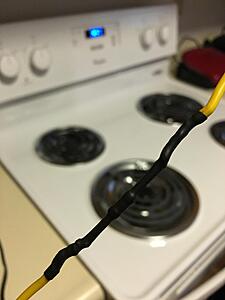
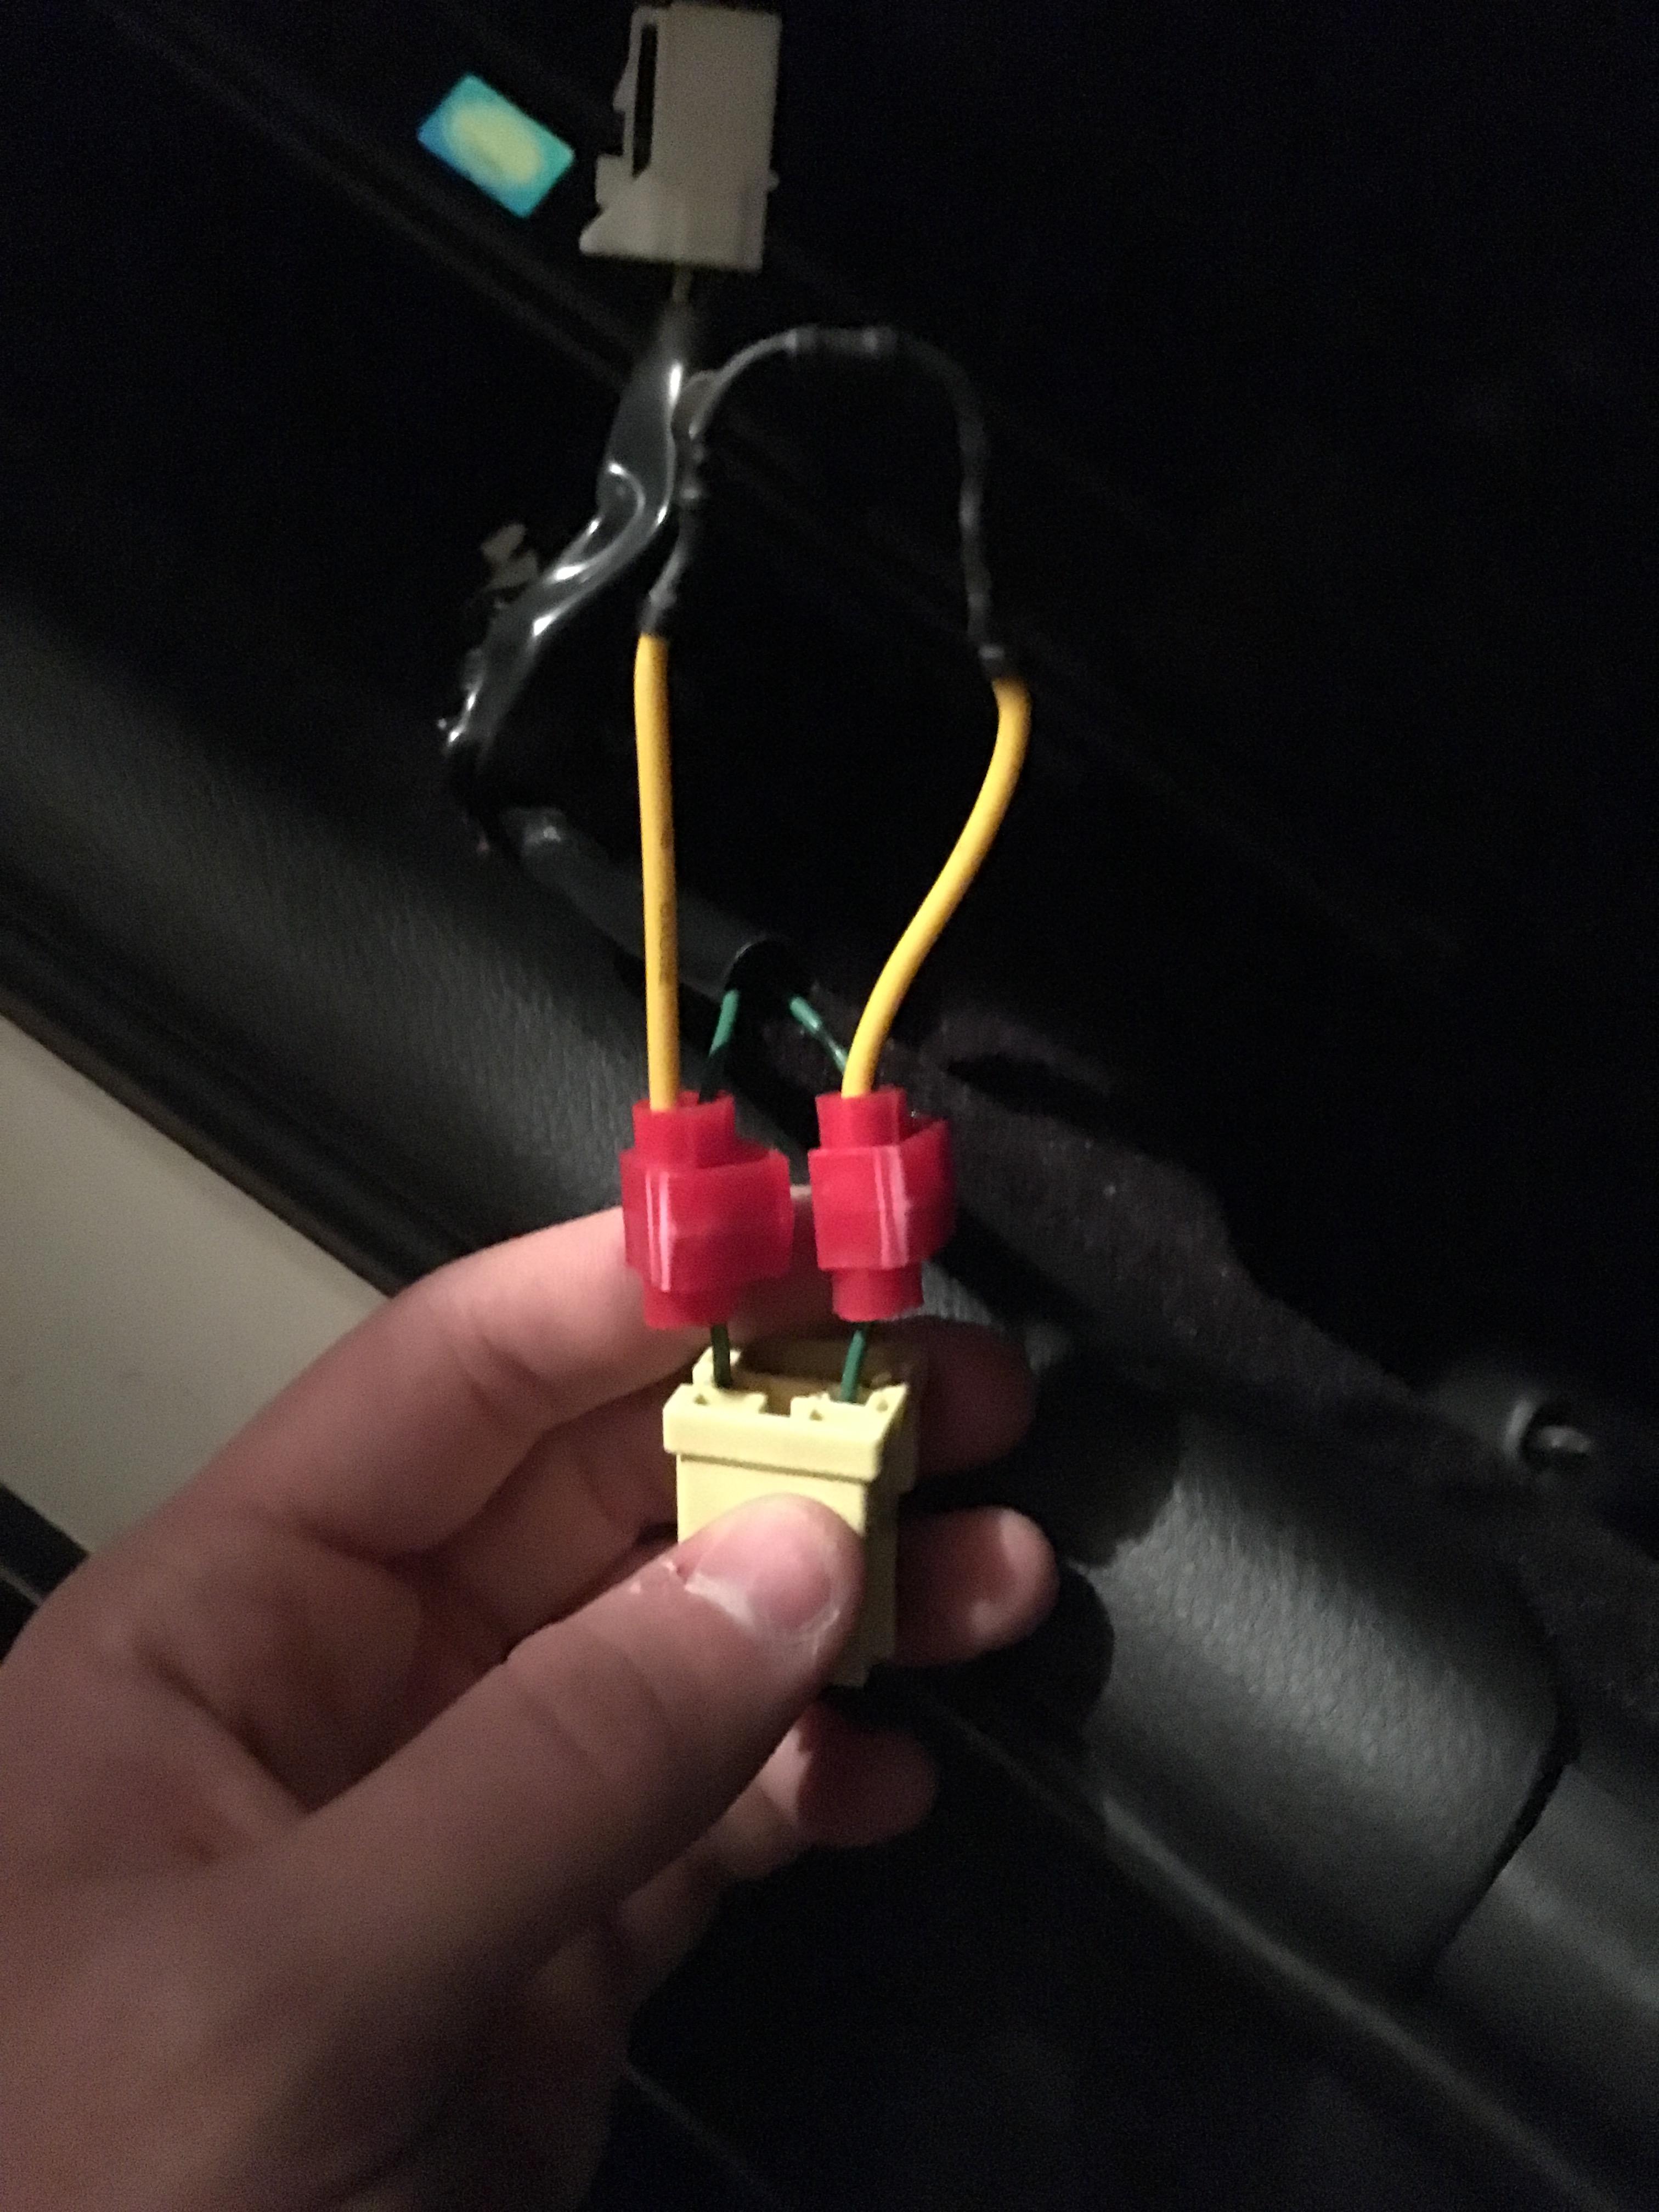
Use the quick splices and you're done!

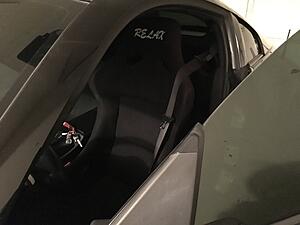
Pictures of the seat installed.
Also, when I unboxed the passenger side seat bracket, I found out that the PO had cut off the belt buckle mounting tab. So I now have to return that bracket and order a new one. Still waiting on my ARP studs (friend's mom is bringing them down this weekend). Once I get those on, time to throw the rear brakes on the car, put the new fluid in, bleed brakes, throw the wheels on, charge the battery (somehow it died... Optima yellow top, not even a year old), tighten up a few things underneath (turbo oil return), change endlink positions on the sway bars, and then put the ECU back in and cross my fingers haha.
I took pictures of the process of making the resistors, just in case anyone else needs assistance on how they're done, etc.
So I purchased this 2 pack of 1/2" 2.0ohm resistors.
Also picked up these quick splices. Only two of these were actually good enough to be used. The others had plastic in the secondary hole, so I couldn't use all 4. Going to buy another pack to get the passenger side put in.

So it was just as simple as grabbing some 16awg wire, stripping the end on one side, and then soldering it onto the resistor, then heatshrinking the wire.

Use the quick splices and you're done!
Pictures of the seat installed.

Thanks for that mini-write up, I'm going to have to do that to fix my airbag light shortly (thought I could live with it...but my OCD hurts). I'll have to look at the quick splices more to see how they work as I am a complete noob when it comes to electrical. Thanks though!
Thread Starter
Registered User
iTrader: (2)
Joined: Mar 2012
Posts: 1,074
Likes: 105
From: Indianapolis, Indiana
No problem! I need to get the other seat in and go through the process of cancelling the lights or whatever it is as well I believe.

Thread Starter
Registered User
iTrader: (2)
Joined: Mar 2012
Posts: 1,074
Likes: 105
From: Indianapolis, Indiana
I'm sending back the passenger side seat bracket on Monday, should be getting paid for another website at some point this week and should be able to pick up all of the materials for a DIY oil cooler this weekend.
I'll probably post a DIY guide when I get all of that stuff as well. Car is coming closer and closer to being where I want it for the track. Still a load of work to do of course.

Thread Starter
Registered User
iTrader: (2)
Joined: Mar 2012
Posts: 1,074
Likes: 105
From: Indianapolis, Indiana
So, the passenger side seat bracket finally arrived. I had purchased a used set of brackets for the passenger side, but they had cut the seatbelt bracket off. Finally got this set in and now I get to ship the used one off and get my money back haha.
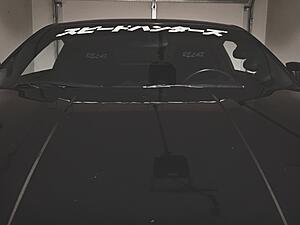
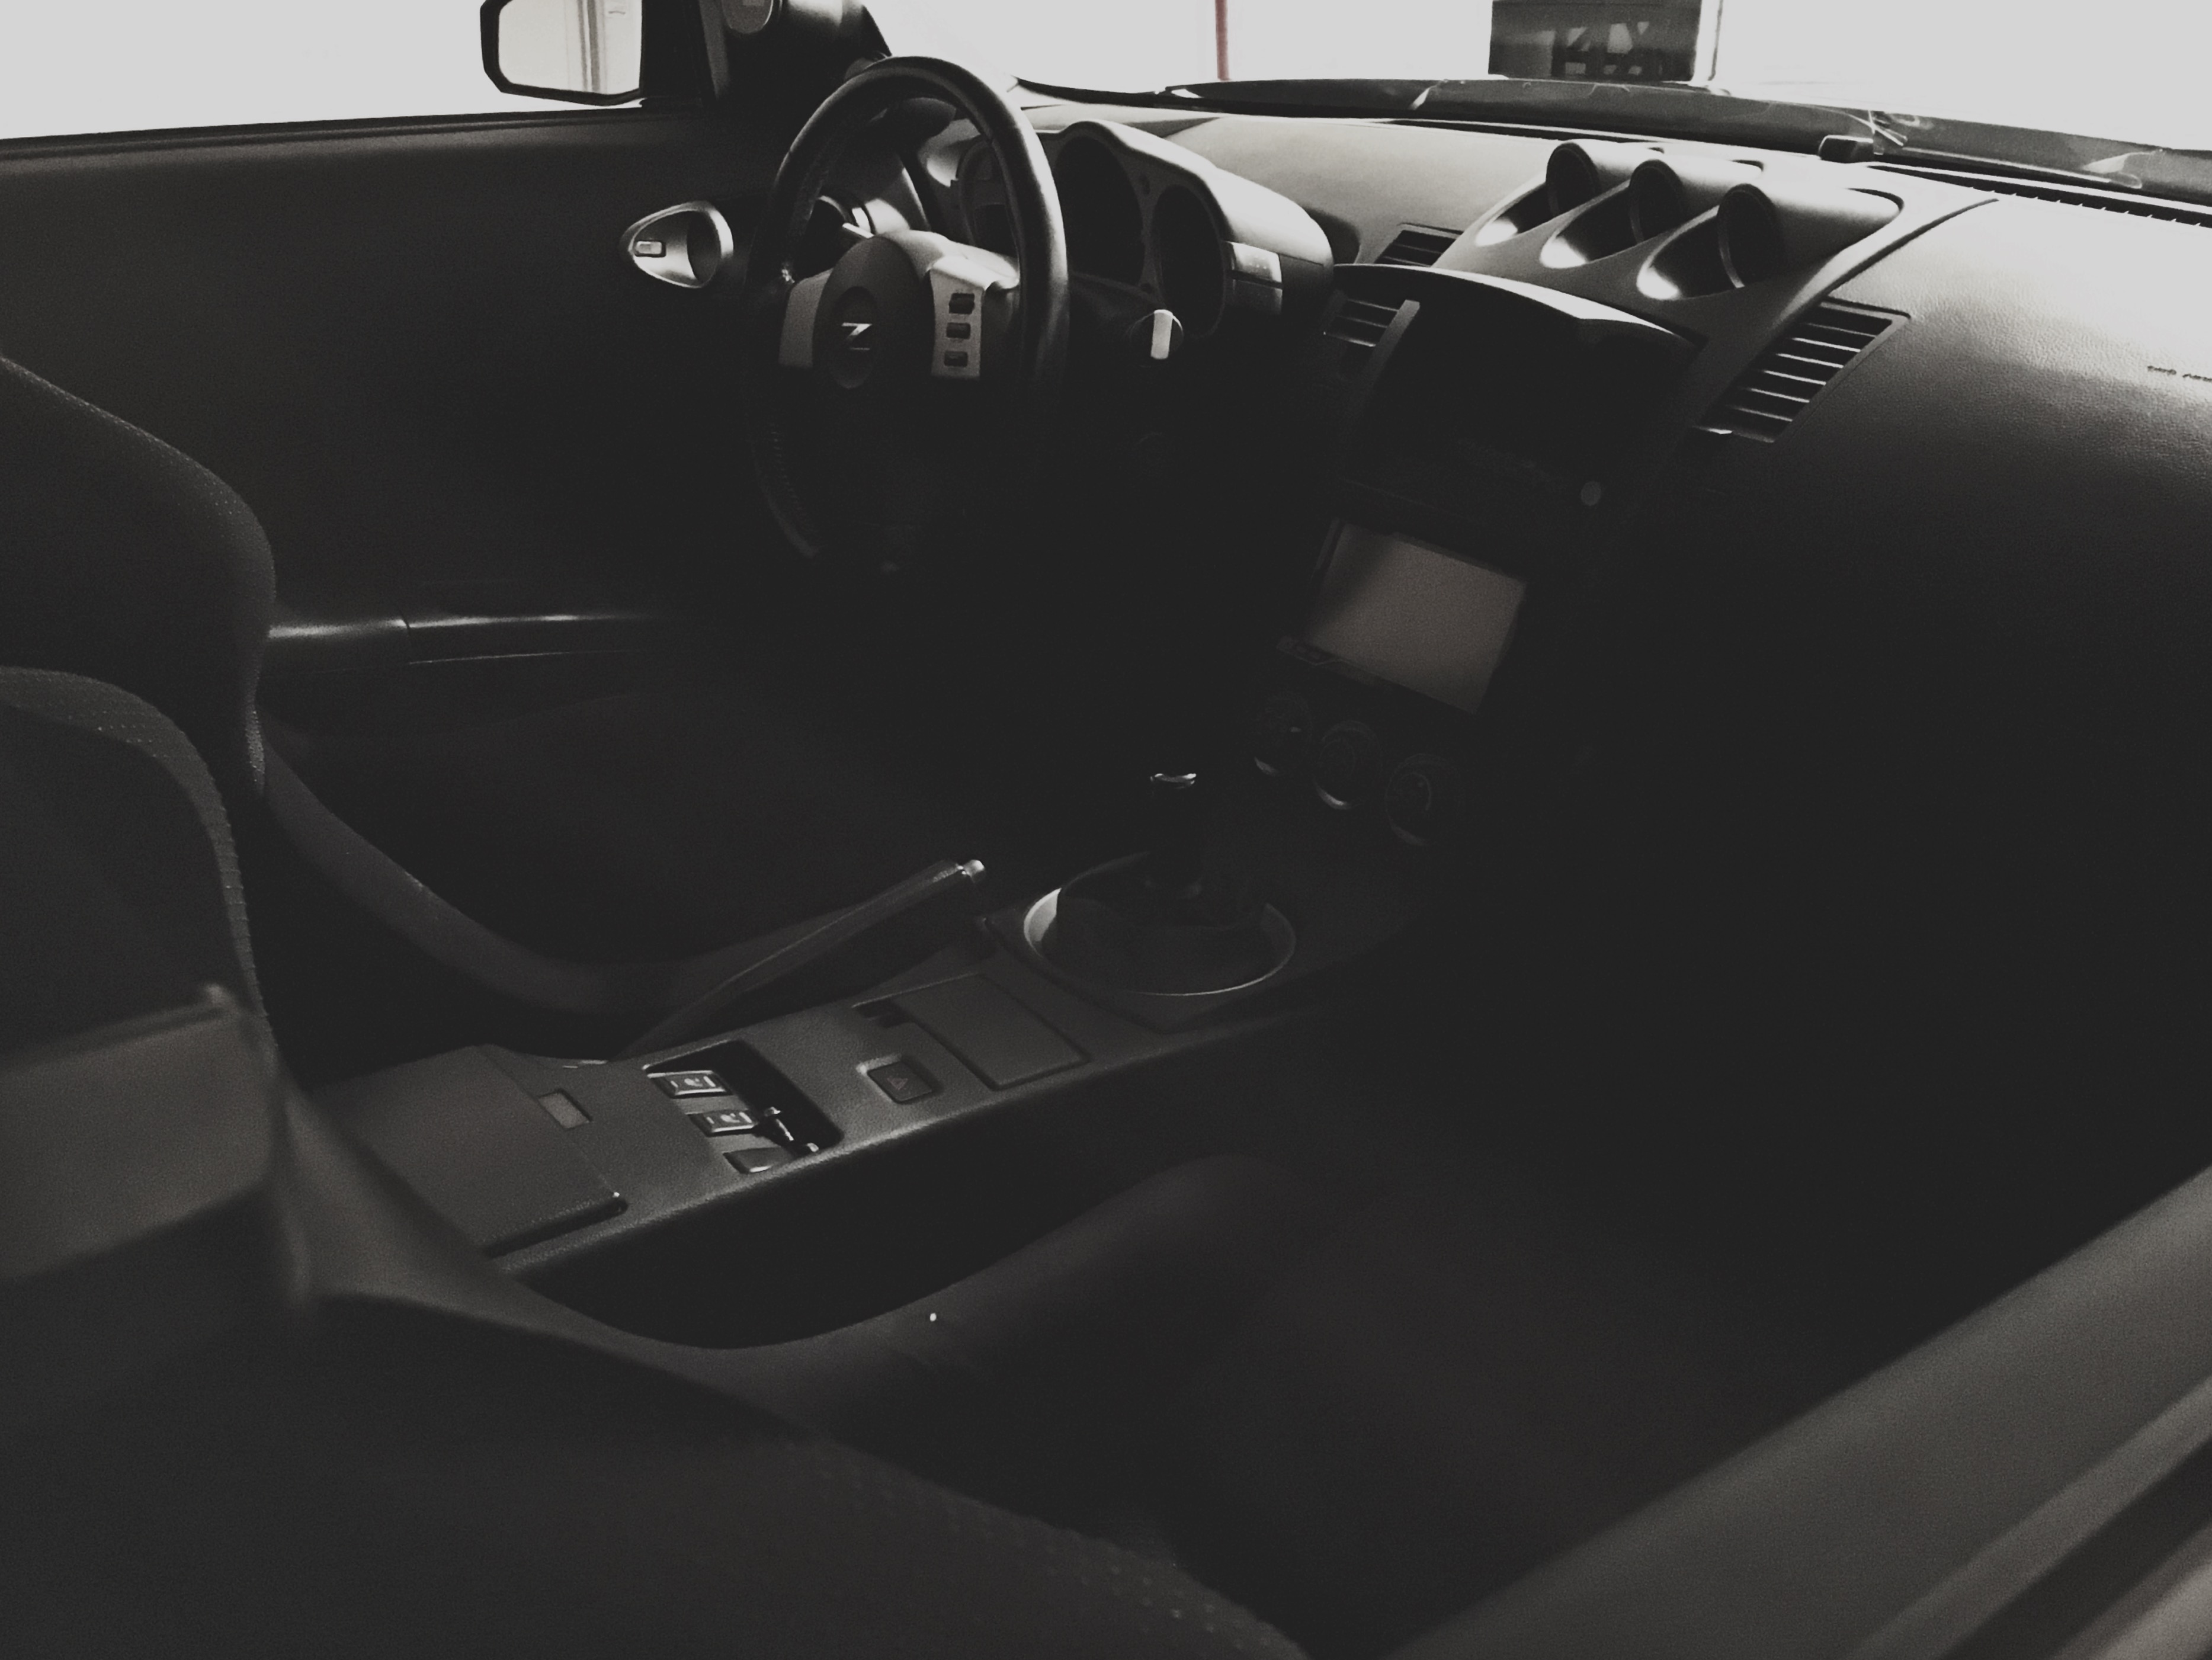
Just an interior shot with all of the interior back in the car.
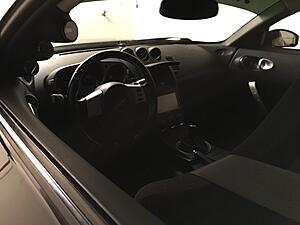
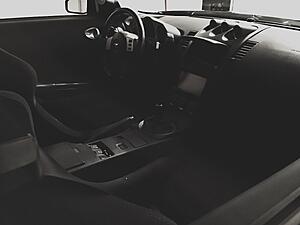
I also took the time to install the katakana speedhunters banner on the front of the car, I actually think it looks pretty cool.
Picking up my rear ARP wheel studs on Friday morning, and then picking up another 14 of them from a club member for $60 as well. So I'm getting 24 studs for $90, can't complain.
Ran into another ECU problem... lol. Almost laughable at this point to be honest. I contacted the company who worked on the ECU and they said that they'd look into helping out on the cost if I managed to lose my license or the tune. The car runs on all 6 cylinders, but bogs down and tries to die after letting off of the gas pedal, and the AFRs weren't anywhere near in the right range. Soo, looks like I'll be mailing the ECU back to Dynosty to see what's going on.
I still need to get my AC line back into the car, so I suppose I should probably visit NAPA on Friday to go pick up the stuff for my AC line and work on getting that back into the car before I have to take it apart later on down the line.
Also to come is oil cooler, and oil catch can. Need to tighten up my oil return on the turbo, it has a small leak that I would like to address before getting the car rolling. As for the oil cooler build, here is a parts list from Earl's and of course Mishimoto for the sandwich plate:
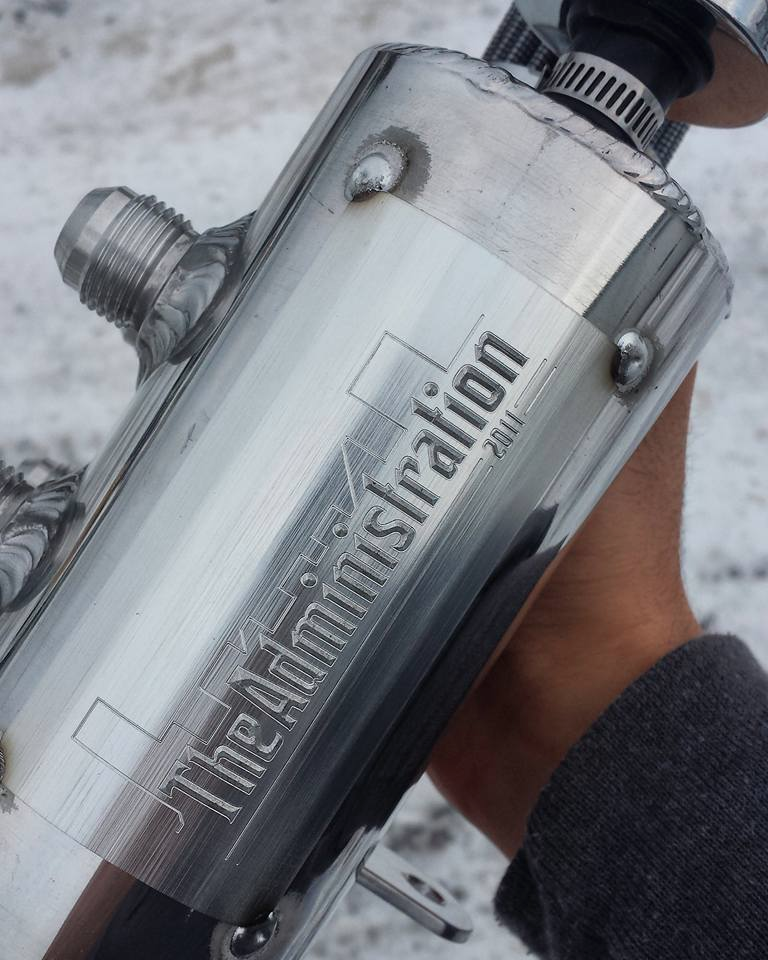
Along with that, working on a new oil catch can with Admin Tuning. Here is a picture of what we've got so far. He'll be sending me a prototype here soon to test out the mounting with some extra brackets, etc. We're trying to get it mounted between the cam covers as center as possible. Each bank has its own catch can, baffled and vented. Should be good!

Aside from all of this stuff, still waiting to hear from APT on the new front bumper and the sponsorship status. Hopefully things work out and I'm able to work with them.
I'll be replacing my belts soon as well as looking for a ZSpeed Undertray, and adding a rear wheel spacer to flush up the back just a little bit. I think once that happens, I will be much happier with the car overall.
Also found a lead on a cage, still working that out. Car progress is coming along slowly but surely. Baby steps!
Just an interior shot with all of the interior back in the car.

I also took the time to install the katakana speedhunters banner on the front of the car, I actually think it looks pretty cool.

Picking up my rear ARP wheel studs on Friday morning, and then picking up another 14 of them from a club member for $60 as well. So I'm getting 24 studs for $90, can't complain.
Ran into another ECU problem... lol. Almost laughable at this point to be honest. I contacted the company who worked on the ECU and they said that they'd look into helping out on the cost if I managed to lose my license or the tune. The car runs on all 6 cylinders, but bogs down and tries to die after letting off of the gas pedal, and the AFRs weren't anywhere near in the right range. Soo, looks like I'll be mailing the ECU back to Dynosty to see what's going on.
I still need to get my AC line back into the car, so I suppose I should probably visit NAPA on Friday to go pick up the stuff for my AC line and work on getting that back into the car before I have to take it apart later on down the line.
Also to come is oil cooler, and oil catch can. Need to tighten up my oil return on the turbo, it has a small leak that I would like to address before getting the car rolling. As for the oil cooler build, here is a parts list from Earl's and of course Mishimoto for the sandwich plate:
- Earls 25 Row Oil Cooler - Grey
- -10 AN cooler Adapter
- 5/8" ID Black Pushlock Hose
- #10 Push Lock End 90 (Black)
- #10 to 1/2 MPT, Straight Adapter (Black)
Along with that, working on a new oil catch can with Admin Tuning. Here is a picture of what we've got so far. He'll be sending me a prototype here soon to test out the mounting with some extra brackets, etc. We're trying to get it mounted between the cam covers as center as possible. Each bank has its own catch can, baffled and vented. Should be good!

Aside from all of this stuff, still waiting to hear from APT on the new front bumper and the sponsorship status. Hopefully things work out and I'm able to work with them.
I'll be replacing my belts soon as well as looking for a ZSpeed Undertray, and adding a rear wheel spacer to flush up the back just a little bit. I think once that happens, I will be much happier with the car overall.
Also found a lead on a cage, still working that out. Car progress is coming along slowly but surely. Baby steps!
Thread Starter
Registered User
iTrader: (2)
Joined: Mar 2012
Posts: 1,074
Likes: 105
From: Indianapolis, Indiana
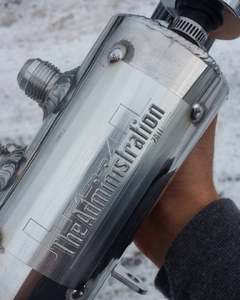
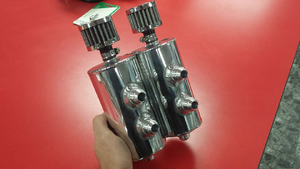
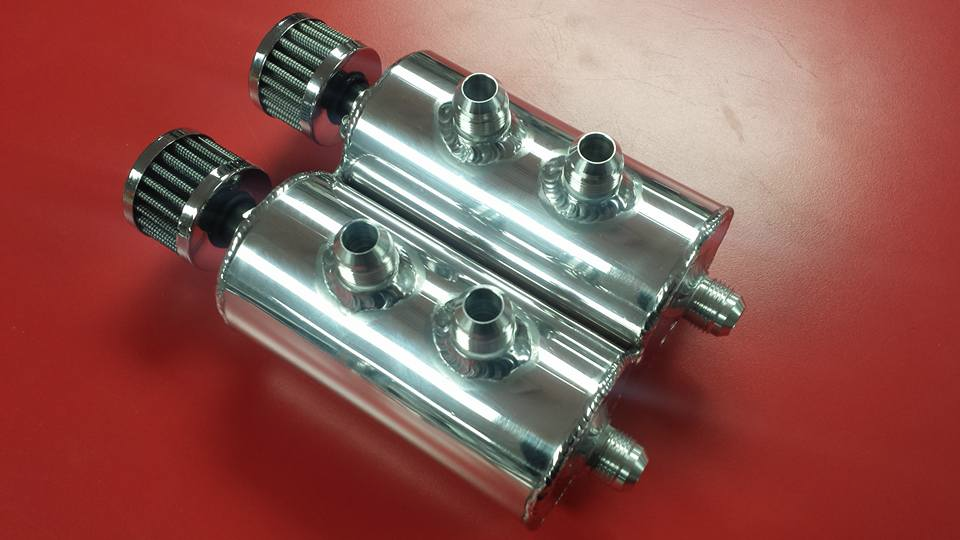
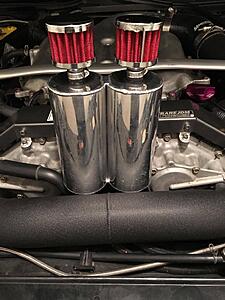
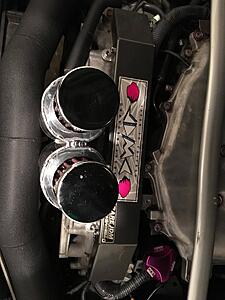
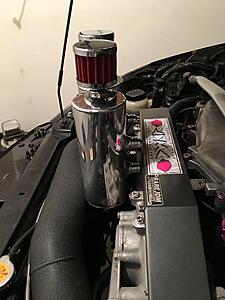
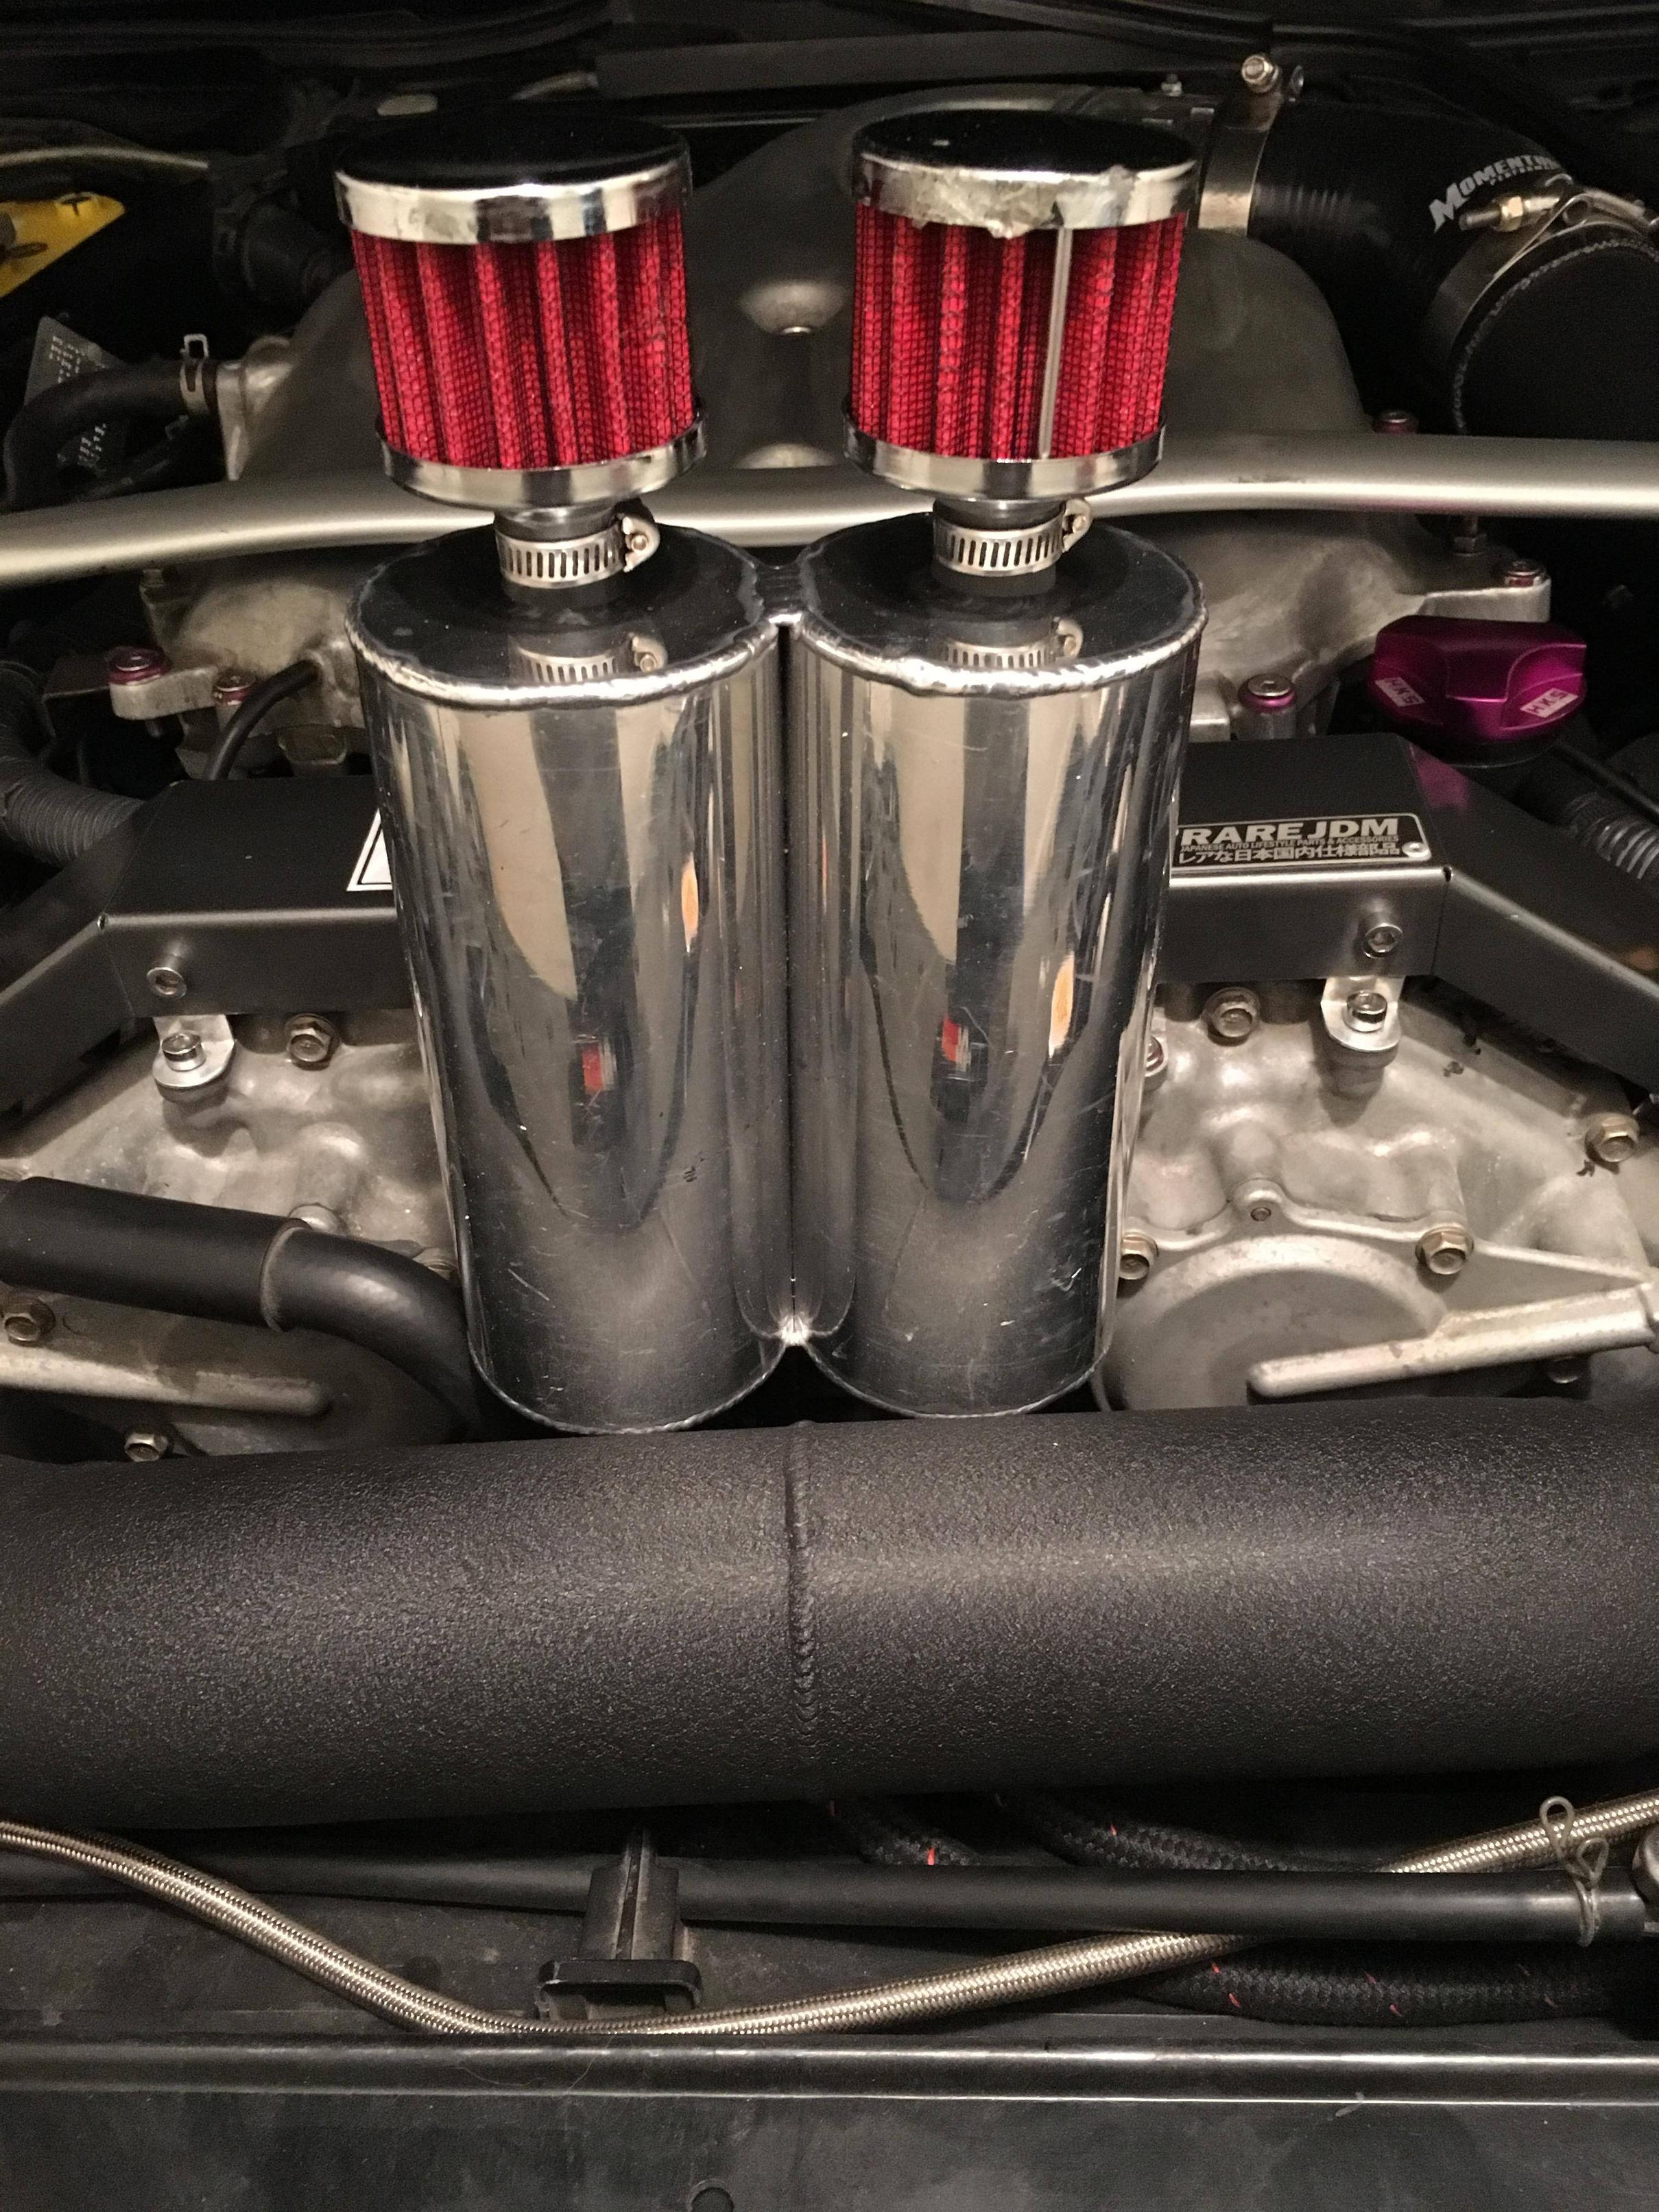
Catch can came in today for mockup.
Unfortunately, it looks like I won't be able to mount this between the cam covers since my crossover pipe sits in the way. Even without the crossover, I don't believe that I would be able to mount it there due to the bungs for the hoses.
So it's time to improvise. Thinking somewhere along the firewall should suffice. Thoughts?


Thread Starter
Registered User
iTrader: (2)
Joined: Mar 2012
Posts: 1,074
Likes: 105
From: Indianapolis, Indiana
Small update:
Catch cans are being shipped back and we're working smaller cans to mount on the firewall.
ECU was fine apparently as far as the tune being on it. So now to find out why the car was running funny when I got the ECU back.
Getting the ECU back from Dynosty either tomorrow or the following day. Should be purchasing my cage within the next few days. Picking up my AC line Friday morning and getting the new bungs welded on, then I have to mock the lines for fitment prior to crimping.
Oil cooler will be purchased this weekend most likely, and then harnesses, finish installing the ARP studs and rear Wilwoods and ill be good to go.
Some things will wait a little bit (front bumper, side splitters), until the functional stuff is dialed down.


Thread Starter
Registered User
iTrader: (2)
Joined: Mar 2012
Posts: 1,074
Likes: 105
From: Indianapolis, Indiana
Thread Starter
Registered User
iTrader: (2)
Joined: Mar 2012
Posts: 1,074
Likes: 105
From: Indianapolis, Indiana
So a LOT of crazy news going on, things are really starting to pick up.
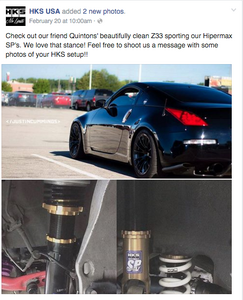
This past Saturday, HKS USA posted a picture of my car which is HUGE for me. I would have never imagined that my favorite performance company would have posted my car. So that was a bit of a milestone for me.
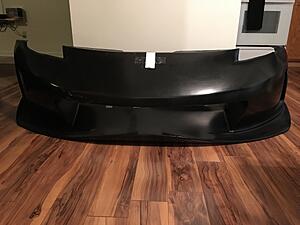
Also, other crazy news! I landed a sponsorship with KBD Bodykits and will be showcasing their APT N-3 Bumper on the car. This will present the car with a much more aggressive, yet sleek style than the current OEM 06 bumper. As soon as I get the bumper, I will have to trim it a bit to fit the intercooler and then I will be test fitting and writing up a review for the bumper's overall fit and quality. Super stoked to be working with KBD on bringing high quality photos of their product!
Another awesome thing happened. I was looking for a roll cage so I could just go ahead and get it done. I had done a lot of research on the Cusco cages and decided that I really just didn't want to go that route. So I continued to look for a cage that I wanted to run and I stumble across the Autopower cage. After looking around for a good price on the cage for a while, I finally called TF-Works. I'm unsure why it took me so long to give them a call, but I'm really glad I did. They had the cage much cheaper than anyone that I had found online or that I had called. So I'll be travelling up there in about two weeks or so once the cage arrives.
I've done a lot of work on the car since the last update as well.
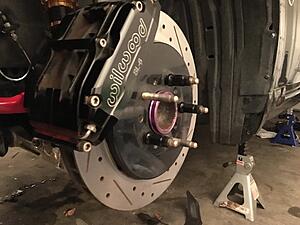
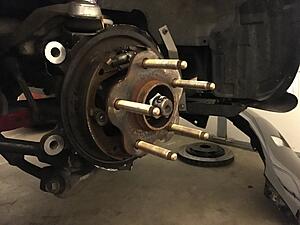
For starters, went ahead and ended up doing all of the ARP studs all around, it just made more sense to do it that way. After getting the ARPs on front and rear, it was time to get the brakes on all around. The fronts have been on for a bit, but just got the back ones on today. The mounting ears for the rear had to be trimmed down a little bit to get the caliper bracket to fit, no big deal.

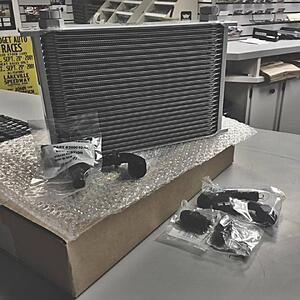
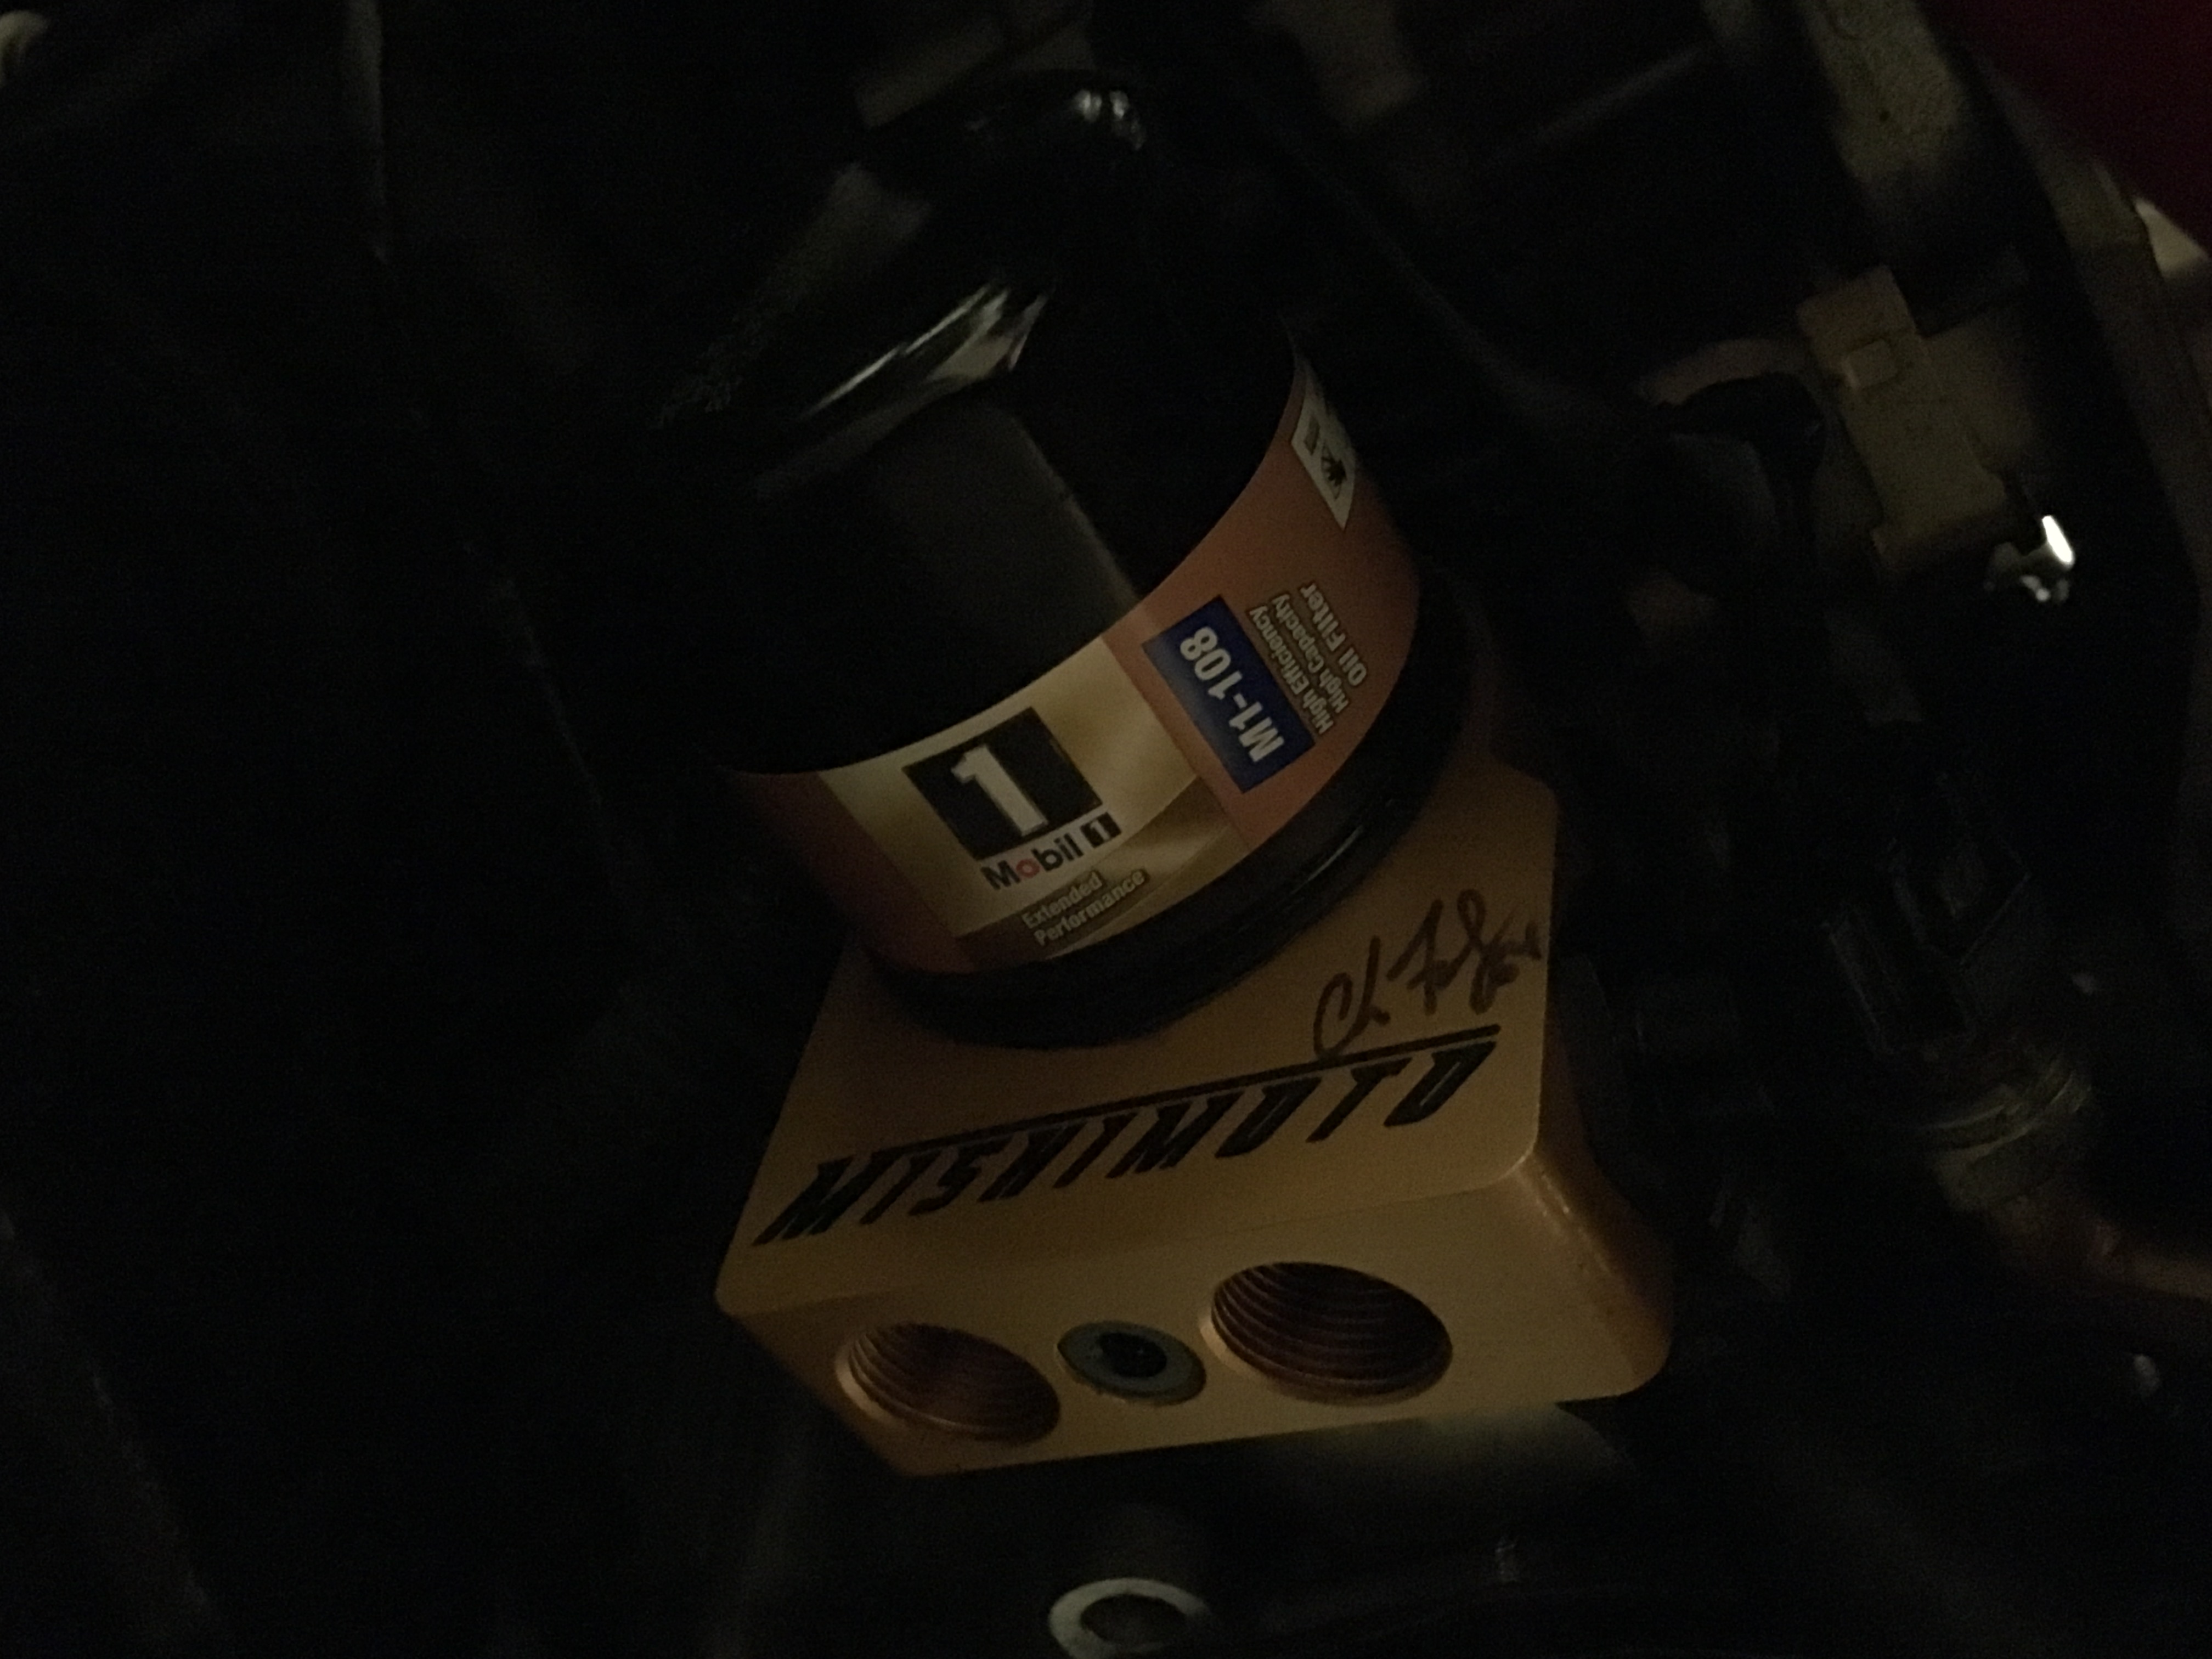
After getting the brakes finished up, it was time to work on the oil cooler setup. Here's a picture of some of the stuff that I picked up from Earl's (parts listed beneath the picture). I initially picked up a few of the incorrect fittings and also needed to pick up one other fitting.
Parts from Earl's:
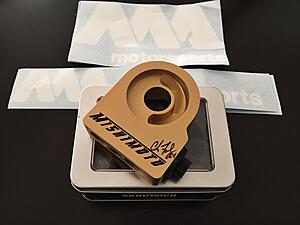
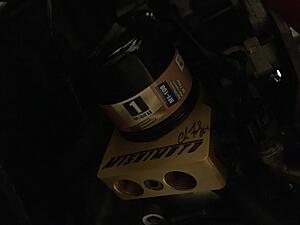
Pics of the sandwich plate from MA Motorsports. Chris Forsberg even took the time to sign it,
Installed the sandwich plate, just need to finish up doing the plumbing for the oil cooler and then mount the cooler. Took me a while, but I finally decided on a location for the oil cooler as well.

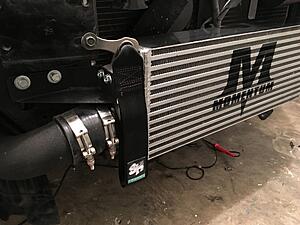
Also decided where I was going to put the front tow strap. I'm going to be mounting it right here, but will probably need to make some sort of reinforcement for it as well. I'm not going to be running the OEM crash bar, but have found a bash bar that I will be running instead. The bash bar should also allow for better cooling up front since it won't block as much of the intercooler/radiator.
This past Saturday, HKS USA posted a picture of my car which is HUGE for me. I would have never imagined that my favorite performance company would have posted my car. So that was a bit of a milestone for me.

Also, other crazy news! I landed a sponsorship with KBD Bodykits and will be showcasing their APT N-3 Bumper on the car. This will present the car with a much more aggressive, yet sleek style than the current OEM 06 bumper. As soon as I get the bumper, I will have to trim it a bit to fit the intercooler and then I will be test fitting and writing up a review for the bumper's overall fit and quality. Super stoked to be working with KBD on bringing high quality photos of their product!
Another awesome thing happened. I was looking for a roll cage so I could just go ahead and get it done. I had done a lot of research on the Cusco cages and decided that I really just didn't want to go that route. So I continued to look for a cage that I wanted to run and I stumble across the Autopower cage. After looking around for a good price on the cage for a while, I finally called TF-Works. I'm unsure why it took me so long to give them a call, but I'm really glad I did. They had the cage much cheaper than anyone that I had found online or that I had called. So I'll be travelling up there in about two weeks or so once the cage arrives.
I've done a lot of work on the car since the last update as well.
For starters, went ahead and ended up doing all of the ARP studs all around, it just made more sense to do it that way. After getting the ARPs on front and rear, it was time to get the brakes on all around. The fronts have been on for a bit, but just got the back ones on today. The mounting ears for the rear had to be trimmed down a little bit to get the caliper bracket to fit, no big deal.


After getting the brakes finished up, it was time to work on the oil cooler setup. Here's a picture of some of the stuff that I picked up from Earl's (parts listed beneath the picture). I initially picked up a few of the incorrect fittings and also needed to pick up one other fitting.
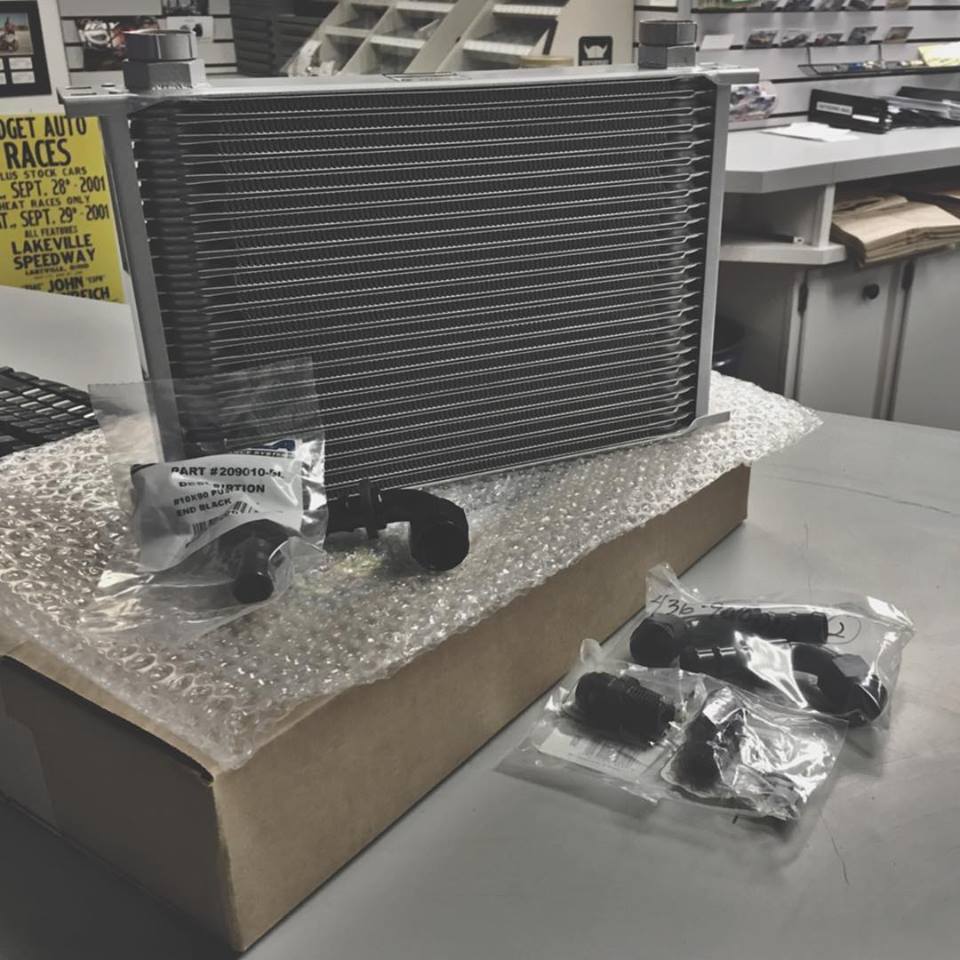
Parts from Earl's:
- Mishimoto Thermostatic Gold M20 Oil Sandwich Plate (MA Motorsports MMOP-SPT)
- 25 Row Oil Cooler Core Wide Grey (EAD 42500)
- Oil Adapter Fitting (For the sandwich plate) There isn't actually a part number for this, I had to have a different part lathed down so that it fit the plate.
- #10 x 20 x 1.5 Black Adapter (EAD 461008-BLFRA)
- -10 AN Cooler Adapter, Set of 2 (EAD 585110)
- #10 Black 90 Degree Push Lock Ends (EAD 209010-BLFRA)
- 5/8ID Black Pushlock Hose (EAD 801-10BLK)
Pics of the sandwich plate from MA Motorsports. Chris Forsberg even took the time to sign it,
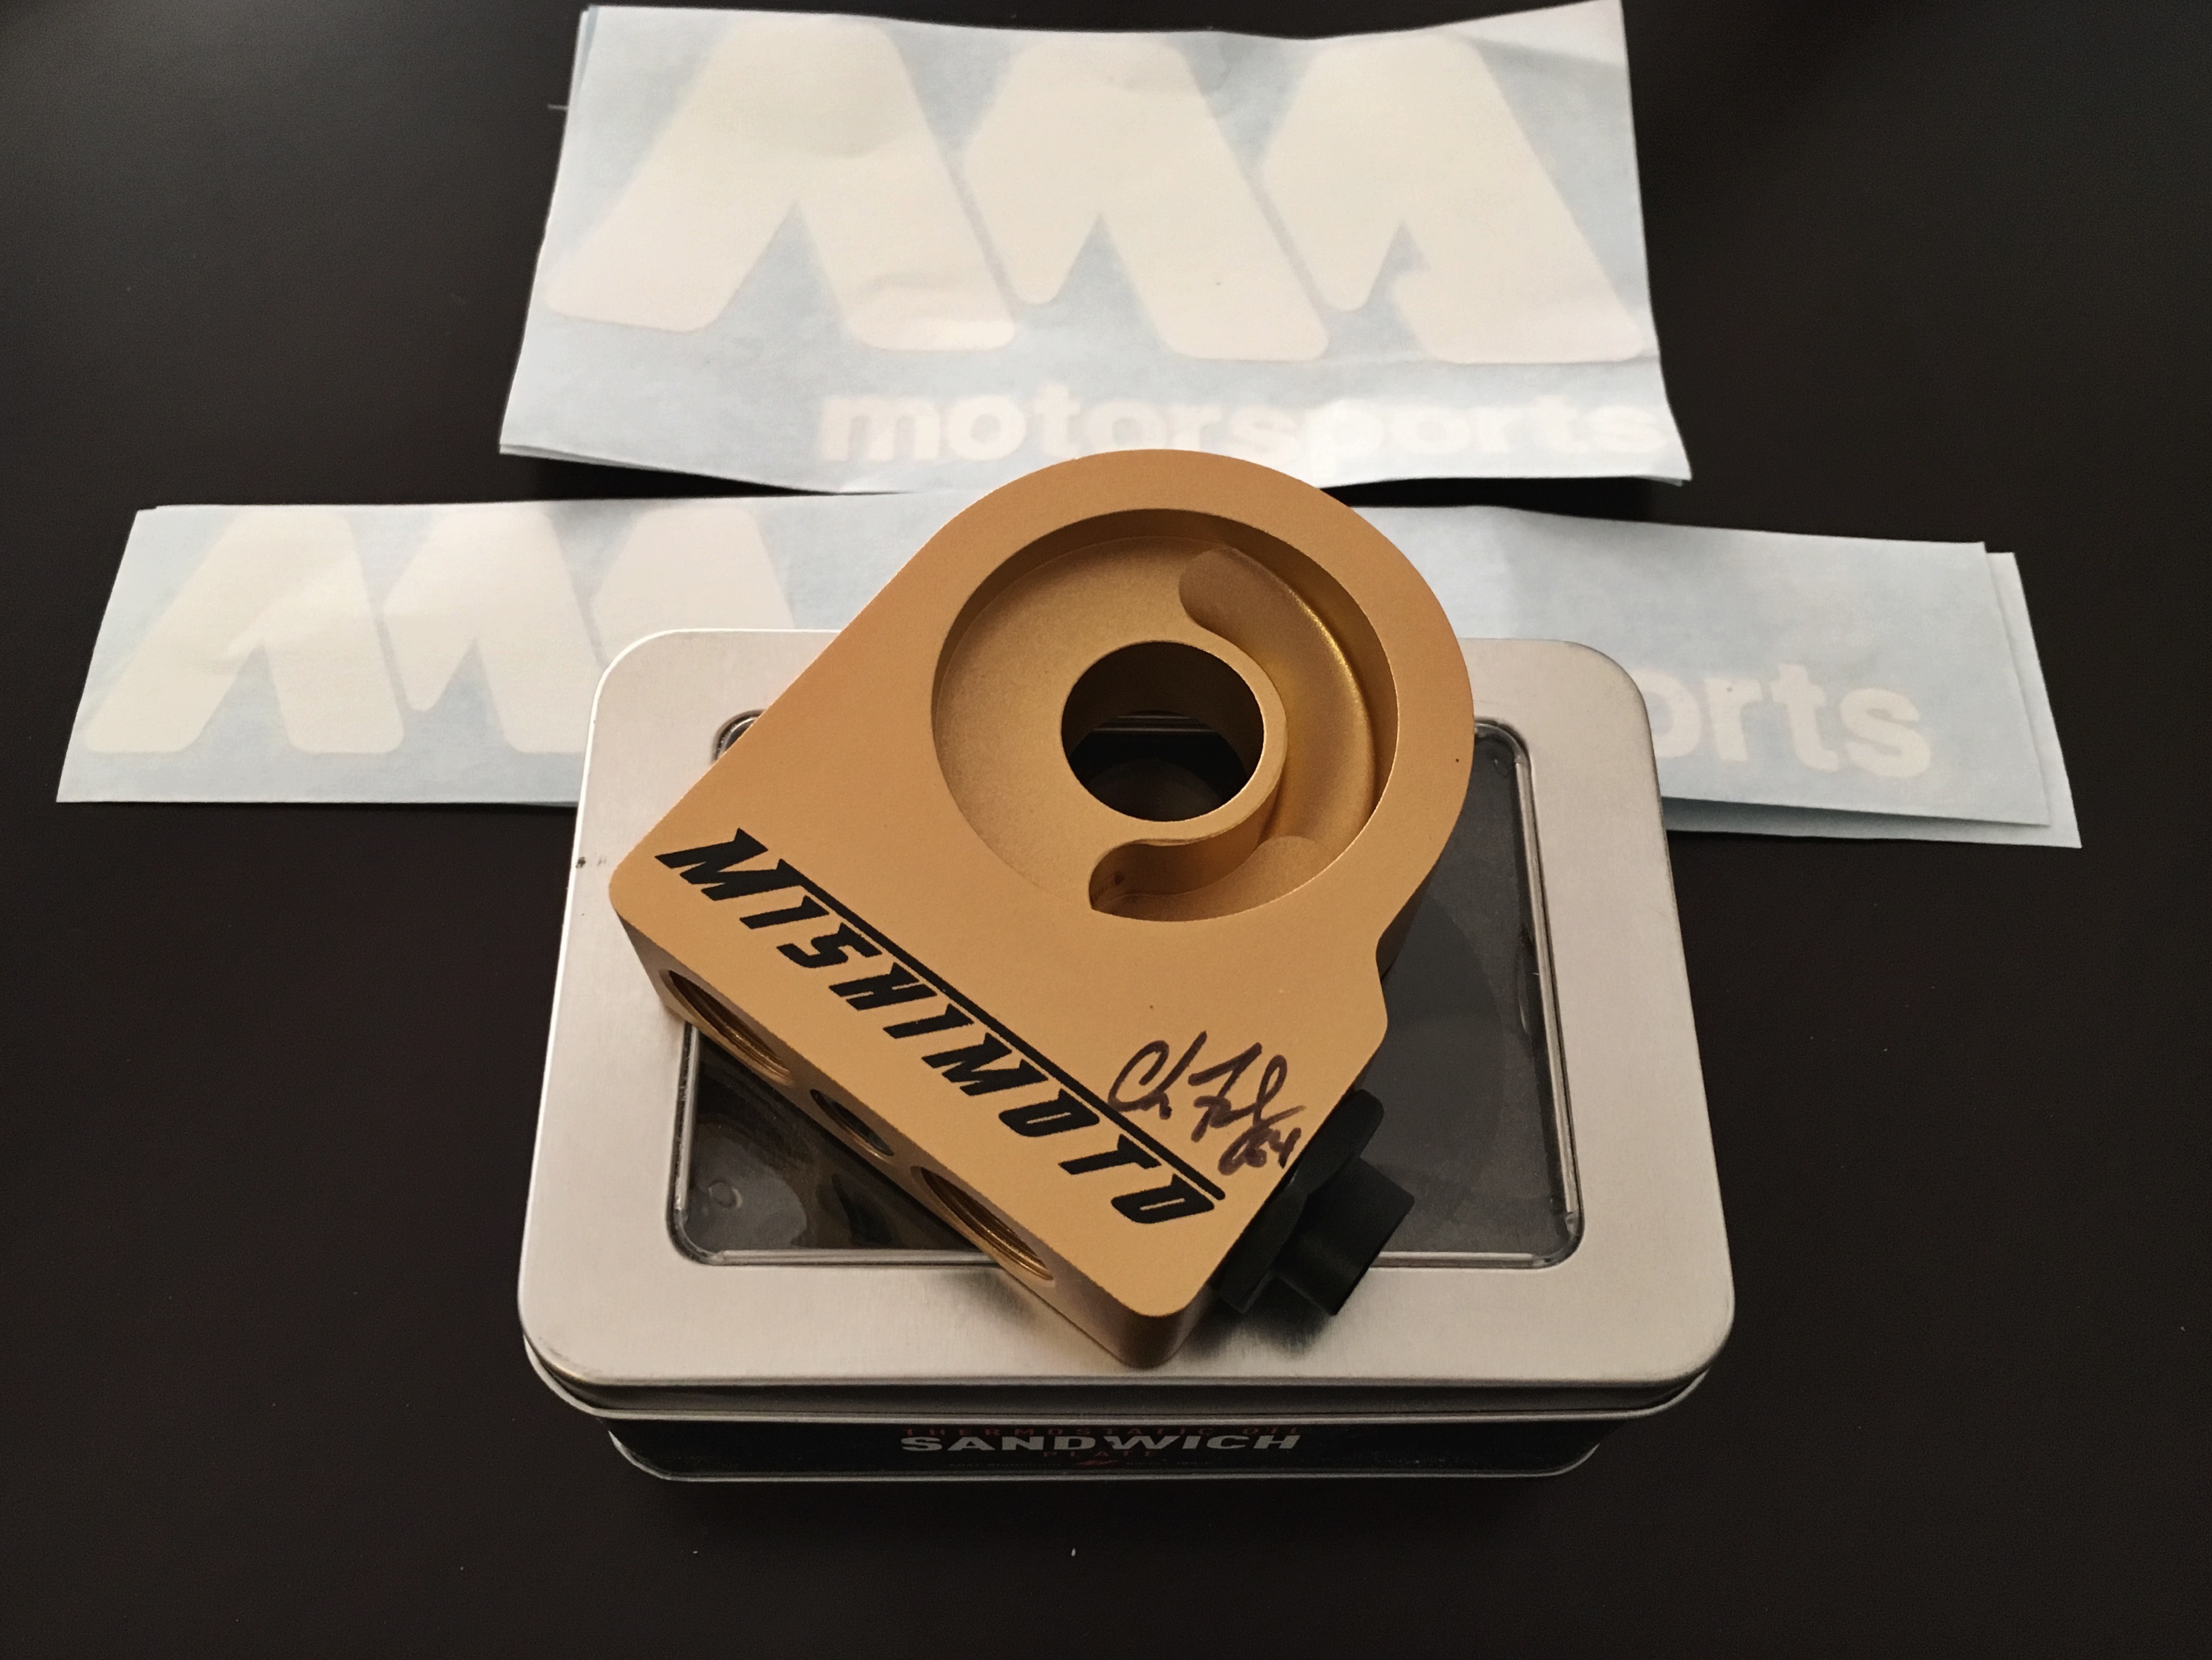
Installed the sandwich plate, just need to finish up doing the plumbing for the oil cooler and then mount the cooler. Took me a while, but I finally decided on a location for the oil cooler as well.
Also decided where I was going to put the front tow strap. I'm going to be mounting it right here, but will probably need to make some sort of reinforcement for it as well. I'm not going to be running the OEM crash bar, but have found a bash bar that I will be running instead. The bash bar should also allow for better cooling up front since it won't block as much of the intercooler/radiator.

Last edited by QuintonC; Feb 25, 2016 at 04:23 PM.

Thread Starter
Registered User
iTrader: (2)
Joined: Mar 2012
Posts: 1,074
Likes: 105
From: Indianapolis, Indiana

Super excited to have gotten the sponsorship with them and to give you all pictures of the bumper once comes in and I get it mounted.
Congrats on everything! Still waiting to hear back from APTech and KBD on either a sponsorship or quote in general.
Also using your write-up on the airbag resistors this weekend. You haven't had any issues with lights yet I'm presuming?
Also using your write-up on the airbag resistors this weekend. You haven't had any issues with lights yet I'm presuming?
Thread Starter
Registered User
iTrader: (2)
Joined: Mar 2012
Posts: 1,074
Likes: 105
From: Indianapolis, Indiana
No issues yet with the airbag lights at all. The car has ran for up to five minutes given the ECU issues (getting fixed now as well, forgot to mention that in the update.) But I've not seen a light come on, but unsure if the car has to move in order for a light to potentially come on or not.
Thread Starter
Registered User
iTrader: (2)
Joined: Mar 2012
Posts: 1,074
Likes: 105
From: Indianapolis, Indiana
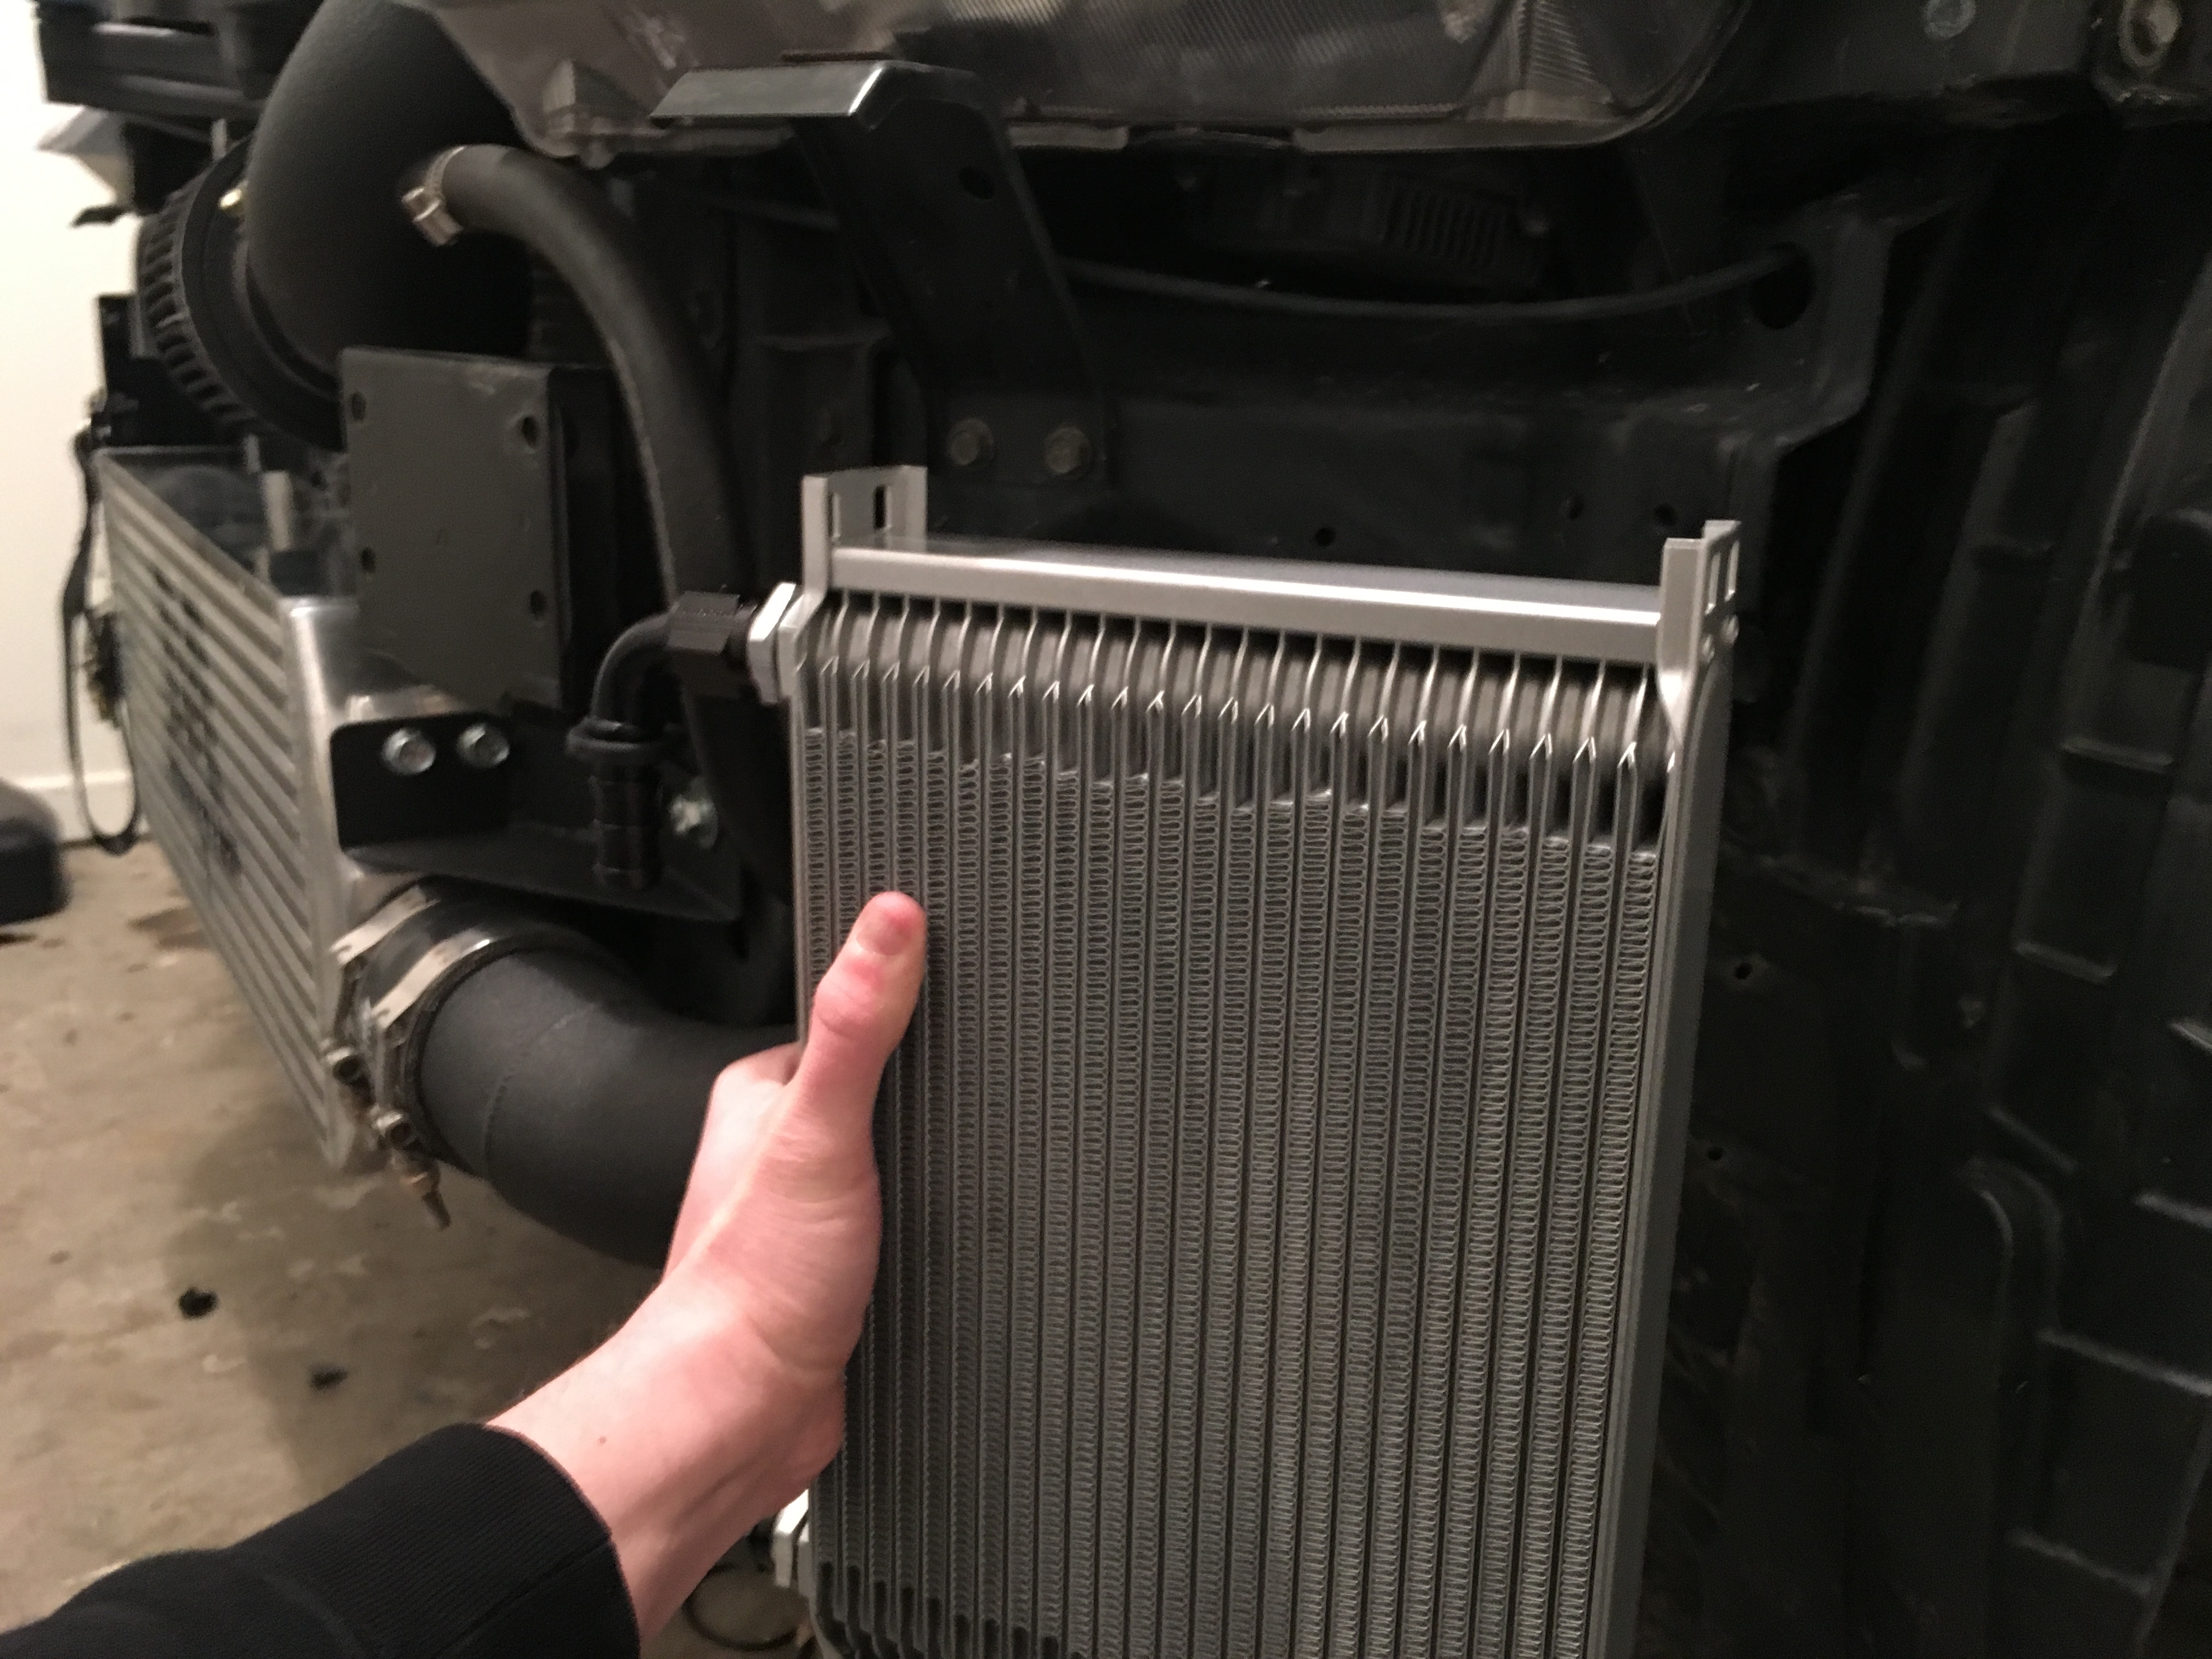
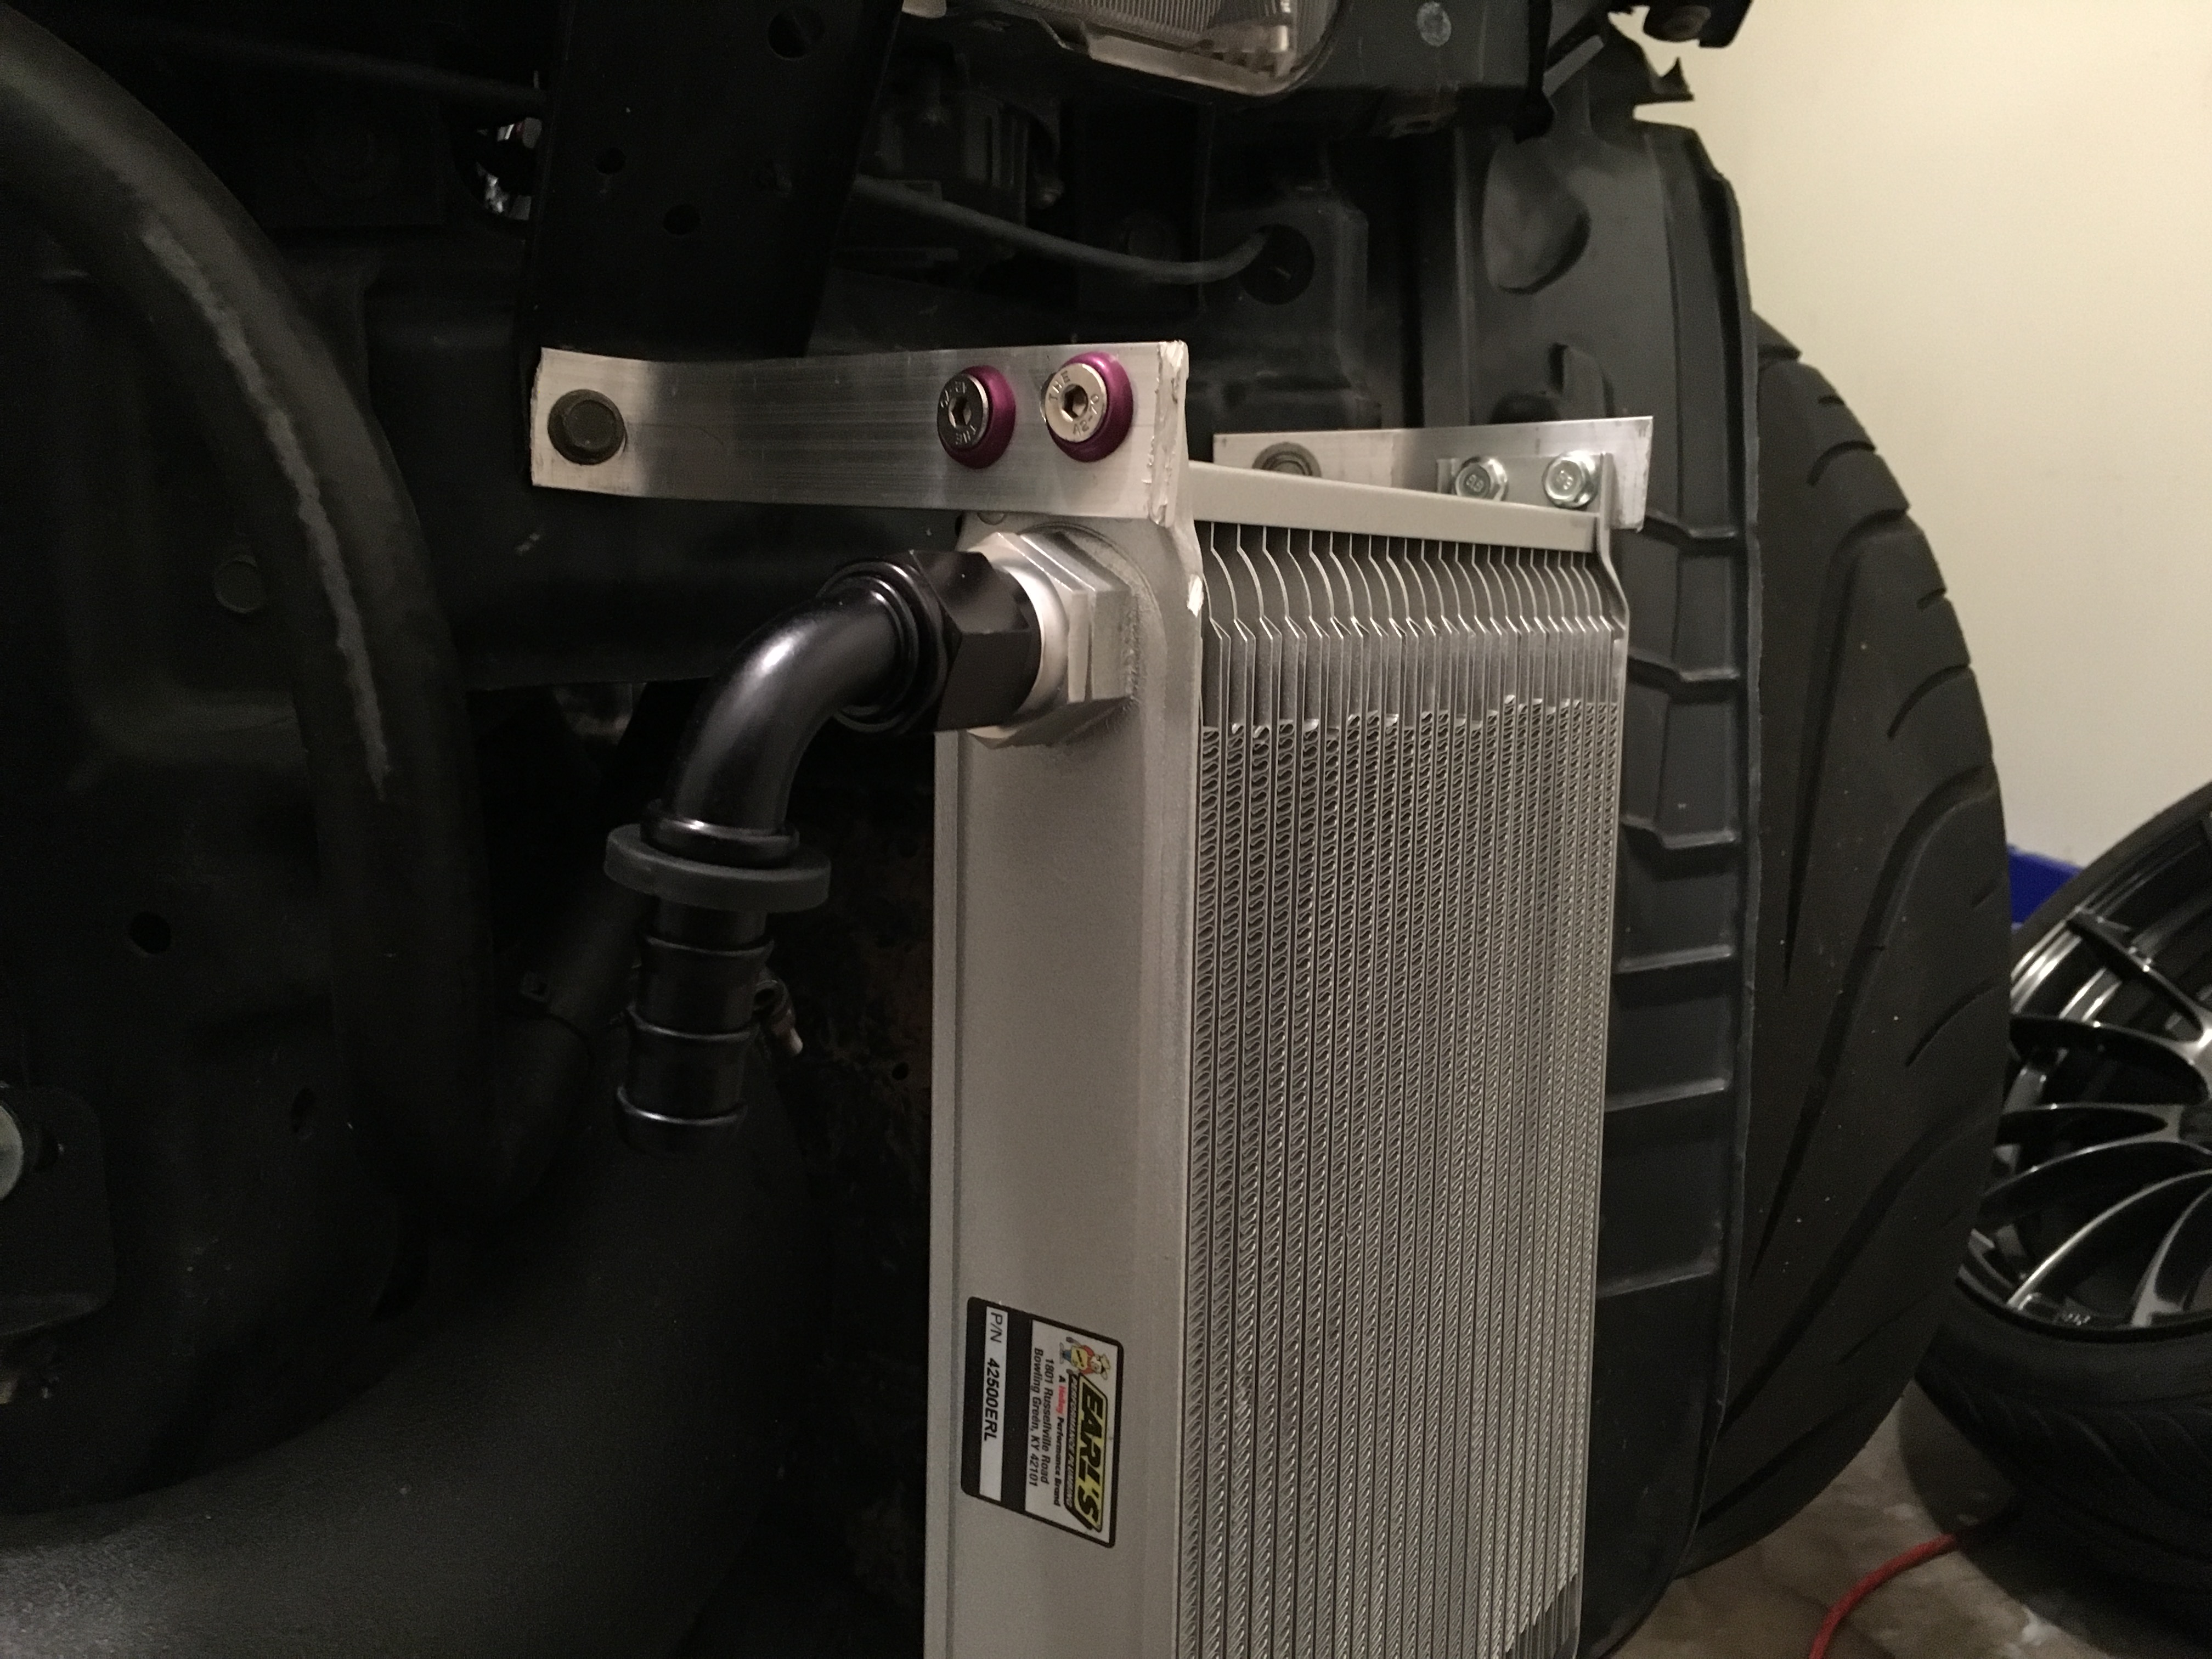
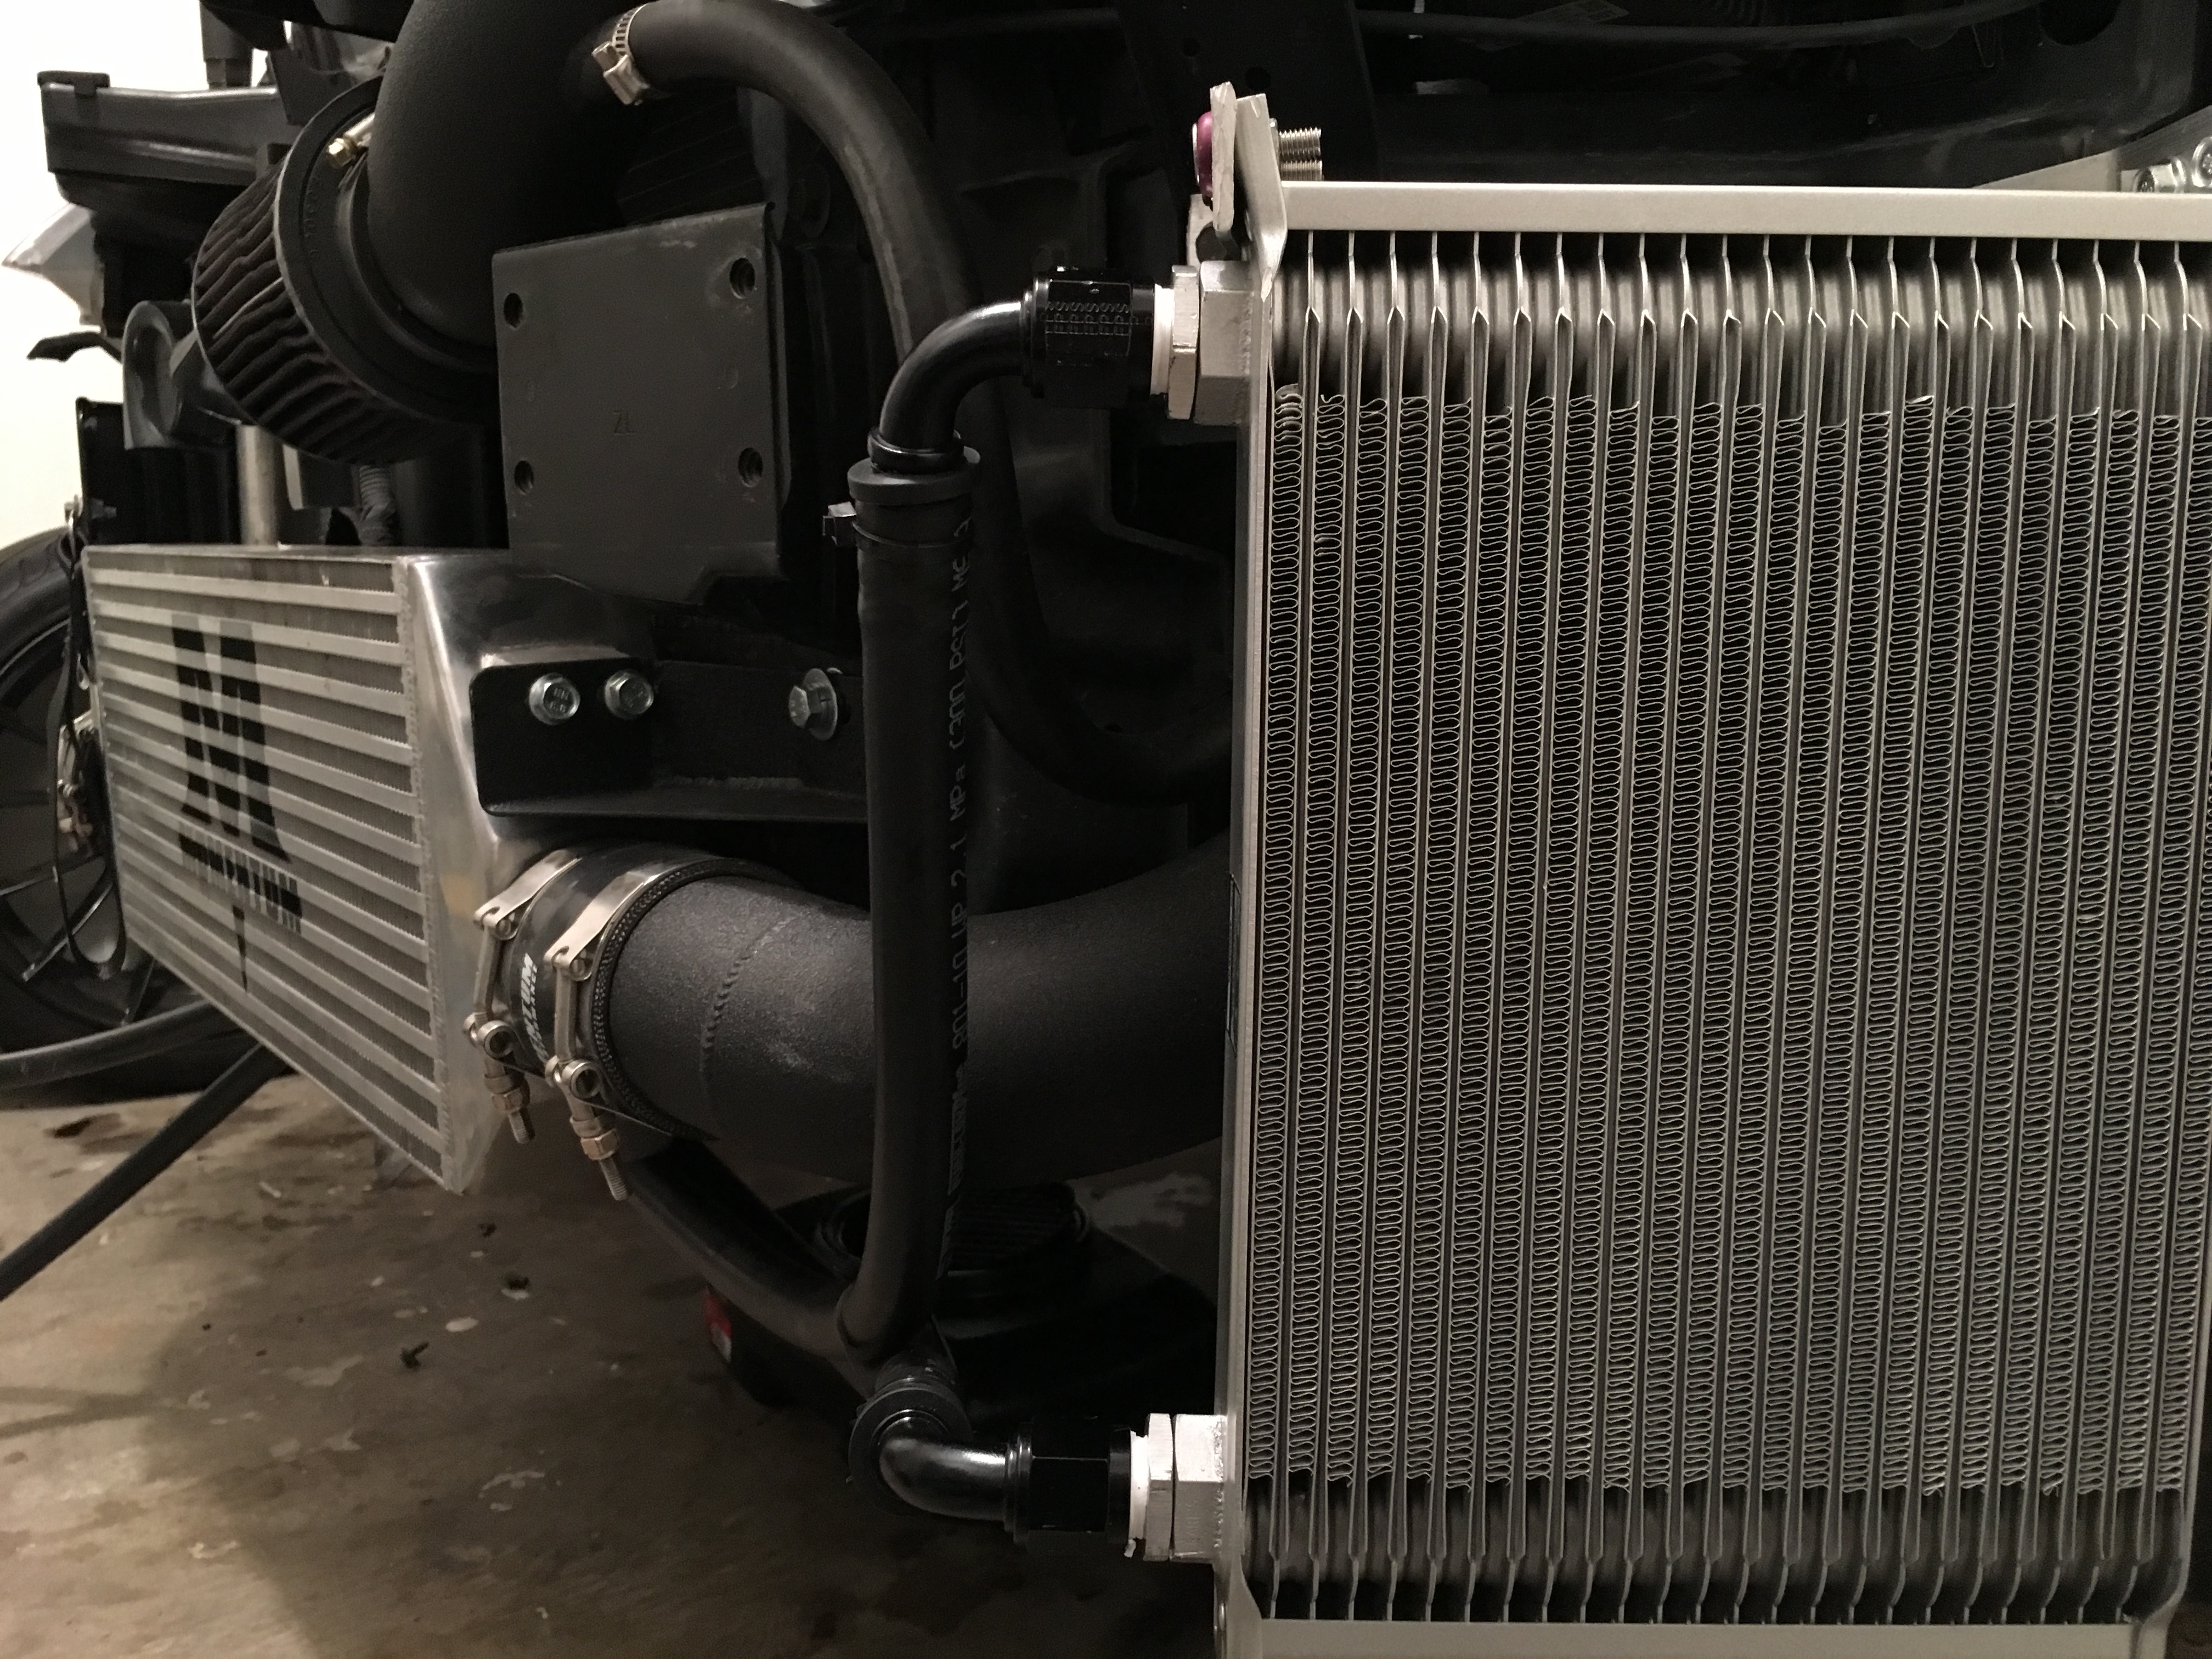
Update for everyone, the bumper has arrived, and the oil cooler is mounted.
I started off by deciding where I was going to mount the oil cooler and went from there. I bought some aluminum stock from Lowes and drilled holes into it, then mounted it up and bent it to the appropriate angle where the oil cooler would be mounted at, and slowly worked it into the proper location so that it would fit with the bumper. I was a bit scared at first because I was unsure if the cooler would fit with the bumper since it did not fit with the OEM bumper due to the reflectors. But since the new bumper does not have reflectors, I was fine.


I'm still waiting on two fittings from Earls so that I can finish up the oil cooler and put oil back into the car. Also waiting on my new ECU to come back from Dynosty so that I can plug it into the car and get it running again.
I ordered my harnesses for the cage last night, and I believe I will be able to pick up the cage this upcoming weekend, so things are starting to really come into play finally.
While working on the car on Friday, I noticed that I had a boost leak and that the ECU may have actually have been fine, and that I just had a severe boost leak. I won't really have a way of telling now unless I leave that boost hose unplugged and see if it runs the same as it previously was, if so - then it was indeed a boost leak. So I may have just wasted money on another ECU, but then again, I suppose I have a backup ECU now
But, I also managed to get the AC line back into the car and route everything accordingly. I had to have the AC line re-welded and have a new hose put on since I had tried to replace the AC line with another one from a Z, and when bending it to fit around the turbo, I snapped the line. So now I should be able to have AC again for when I'm cruising around the streets, and to keep the lady happy.
From there, it was time to play around with the bumper and work on it to get it to fit. I'll have a large write-up and test-fit pictures coming soon, but for now these are some of the first impressions. The bumper is super nice quality for poly, very high quality construction, and I can see that this will definitely be a sturdy bumper. I did have to trim it quite a bit to fit with the intercooler, but after doing that, I had no issues at all getting it to fit. I still have to drill the holes a bit more on the sides where the bumper mounts to the fender so that I can mount it fully, but I'm really close to having the fit perfect.
These are the pics that I have for now.
I started off by deciding where I was going to mount the oil cooler and went from there. I bought some aluminum stock from Lowes and drilled holes into it, then mounted it up and bent it to the appropriate angle where the oil cooler would be mounted at, and slowly worked it into the proper location so that it would fit with the bumper. I was a bit scared at first because I was unsure if the cooler would fit with the bumper since it did not fit with the OEM bumper due to the reflectors. But since the new bumper does not have reflectors, I was fine.

I'm still waiting on two fittings from Earls so that I can finish up the oil cooler and put oil back into the car. Also waiting on my new ECU to come back from Dynosty so that I can plug it into the car and get it running again.
I ordered my harnesses for the cage last night, and I believe I will be able to pick up the cage this upcoming weekend, so things are starting to really come into play finally.
While working on the car on Friday, I noticed that I had a boost leak and that the ECU may have actually have been fine, and that I just had a severe boost leak. I won't really have a way of telling now unless I leave that boost hose unplugged and see if it runs the same as it previously was, if so - then it was indeed a boost leak. So I may have just wasted money on another ECU, but then again, I suppose I have a backup ECU now
But, I also managed to get the AC line back into the car and route everything accordingly. I had to have the AC line re-welded and have a new hose put on since I had tried to replace the AC line with another one from a Z, and when bending it to fit around the turbo, I snapped the line. So now I should be able to have AC again for when I'm cruising around the streets, and to keep the lady happy.
From there, it was time to play around with the bumper and work on it to get it to fit. I'll have a large write-up and test-fit pictures coming soon, but for now these are some of the first impressions. The bumper is super nice quality for poly, very high quality construction, and I can see that this will definitely be a sturdy bumper. I did have to trim it quite a bit to fit with the intercooler, but after doing that, I had no issues at all getting it to fit. I still have to drill the holes a bit more on the sides where the bumper mounts to the fender so that I can mount it fully, but I'm really close to having the fit perfect.
These are the pics that I have for now.


Thread Starter
Registered User
iTrader: (2)
Joined: Mar 2012
Posts: 1,074
Likes: 105
From: Indianapolis, Indiana
Hey guys, a bit of an update on the car and then some other miscellaneous information that I'll be dropping.
I've been looking a lot at information on the forums and around the rest of the internet here recently, and sought some help for an issue that has been bothering me a lot since I boosted the car.
So, cage will be here in a couple weeks according to TF. Either next Friday the 18th, or the following Friday the 25th. Harnesses will be here Monday, and my new Gates blue belts will be here either Friday as well.
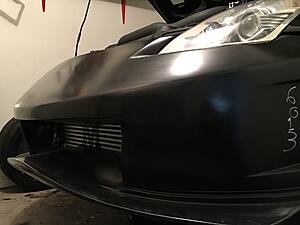
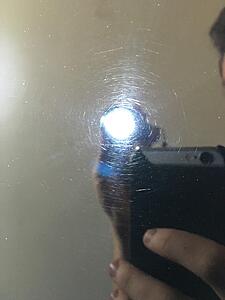
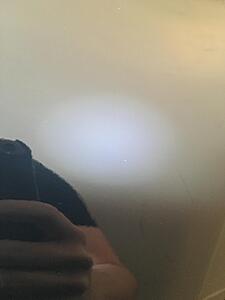
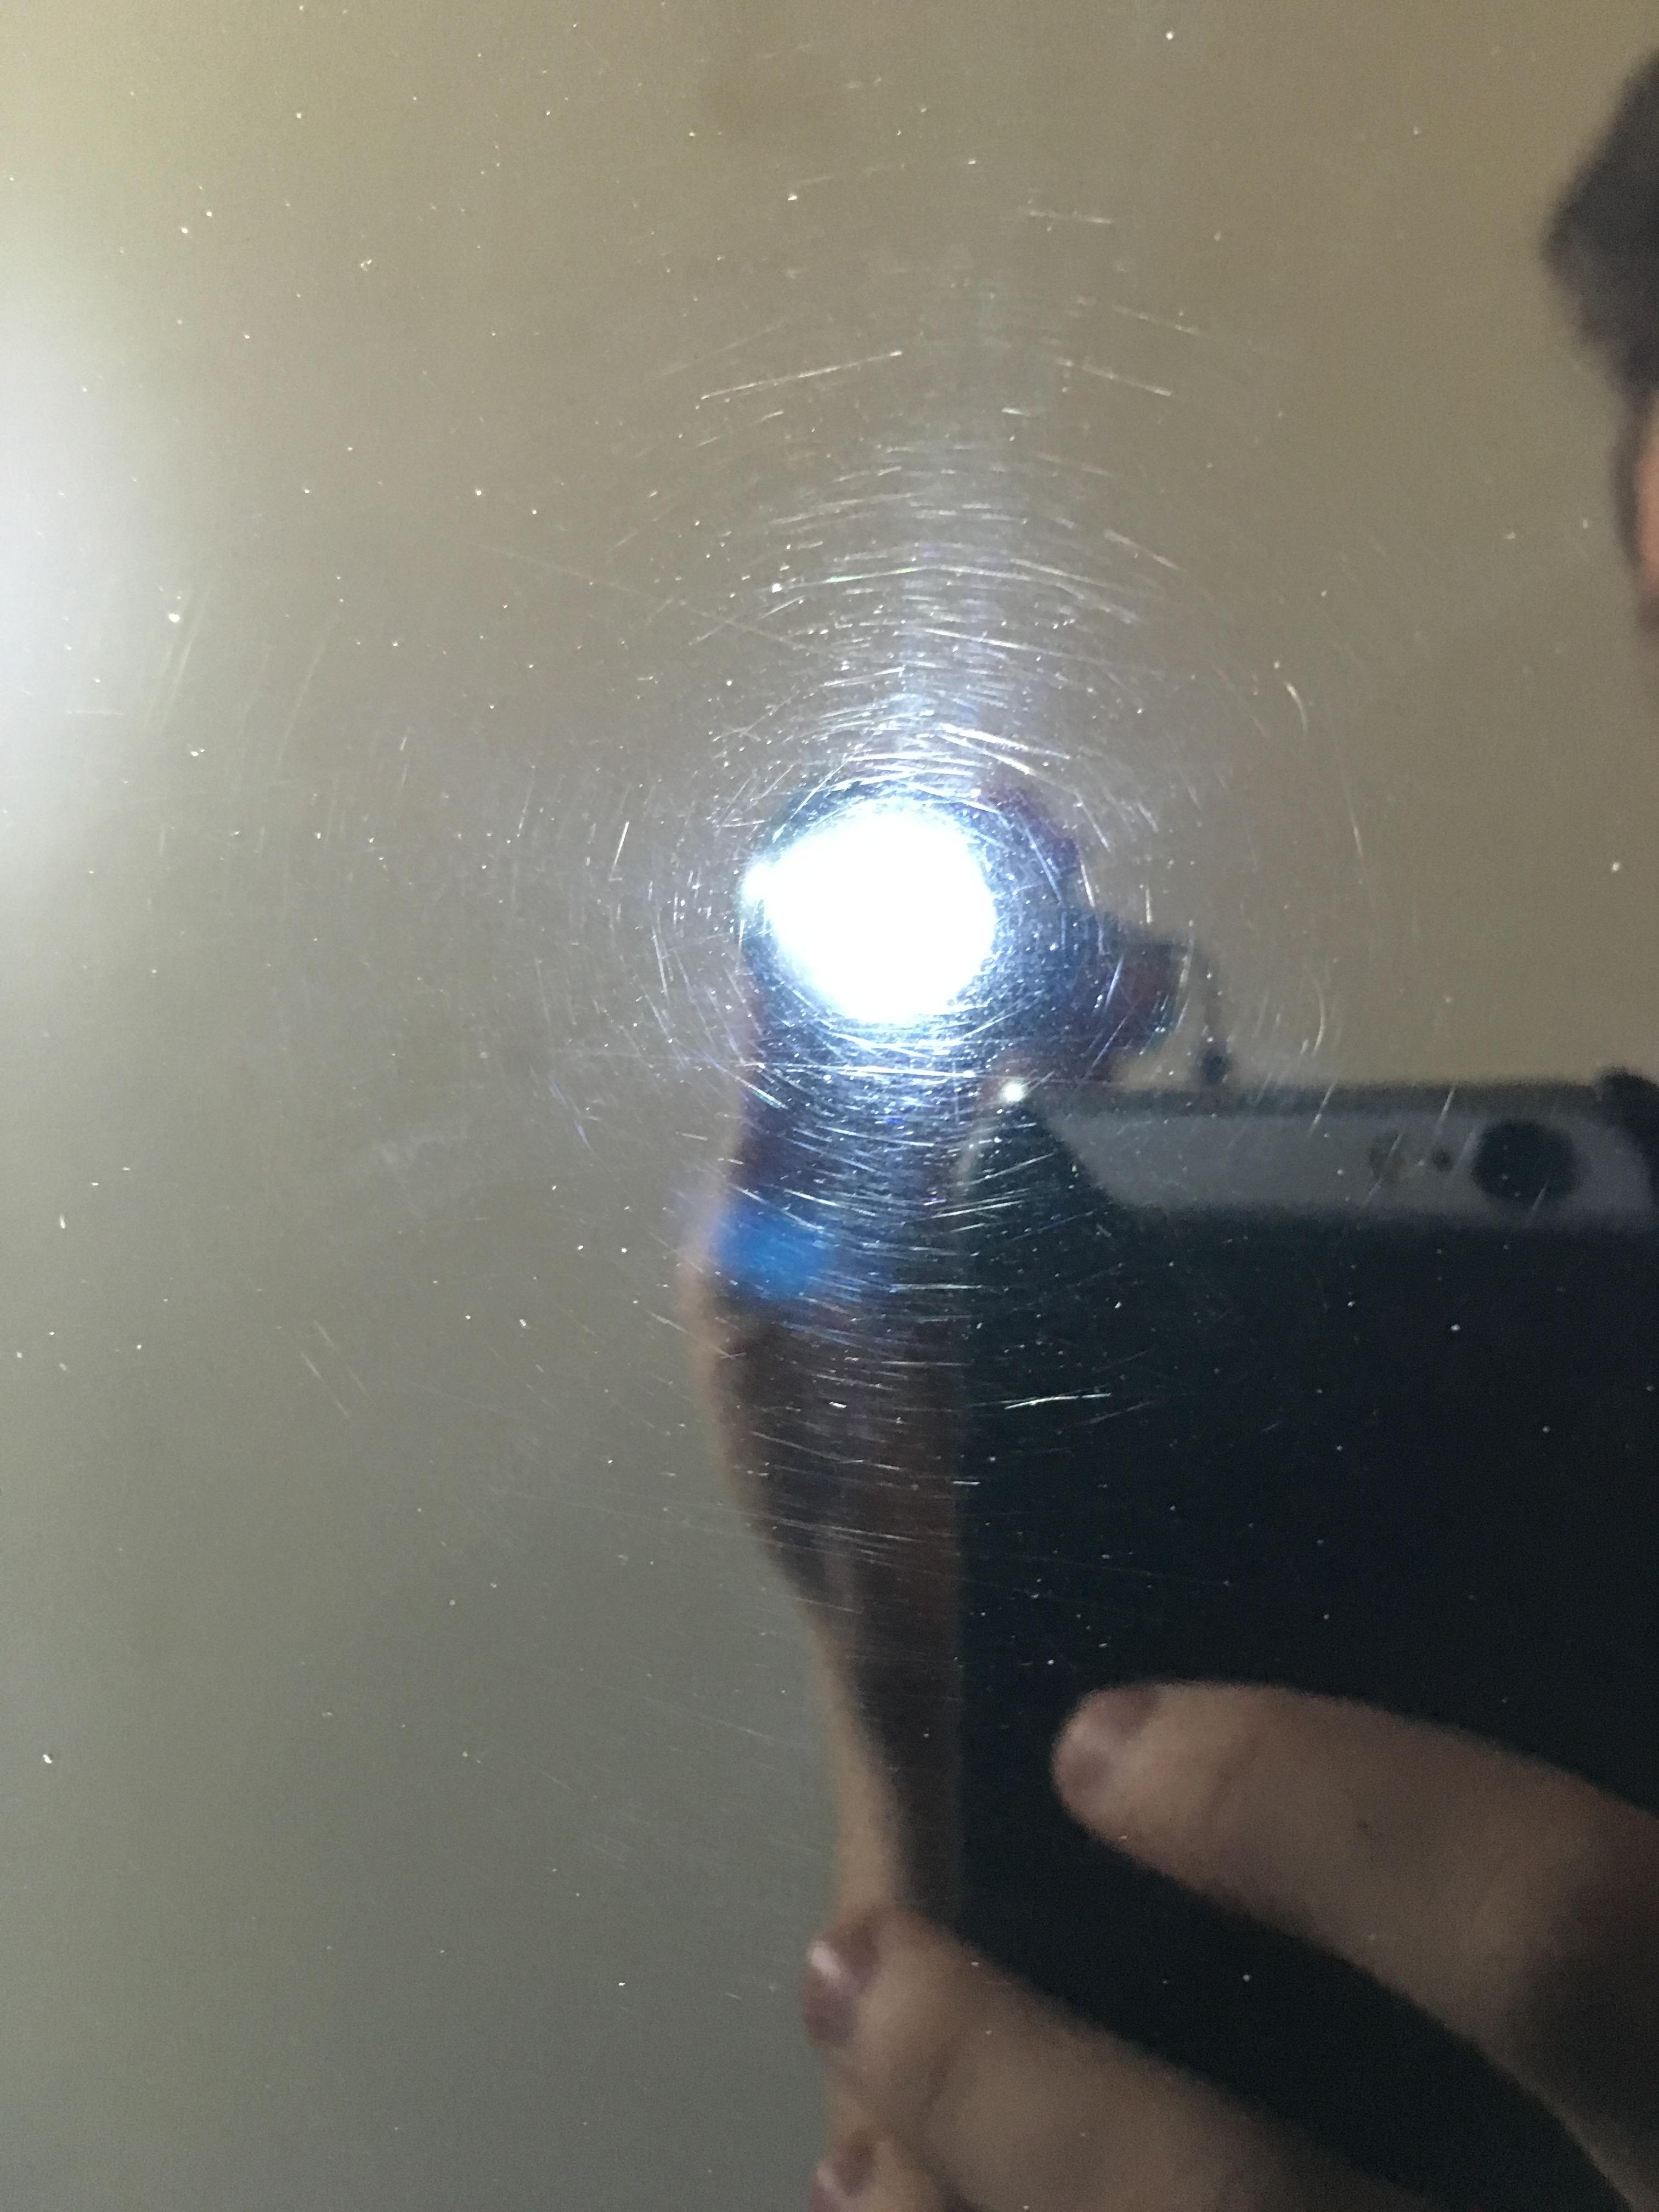
The other day I started on doing a paint correction on the Z. I was a bit wary at first, but I figured I'd take my stab at it and see how it worked out. The first picture is before working on the paint correction, and shining an LED flashlight on the car while capturing a picture obviously. The following picture is shining an LED flashlight while capturing a picture on the area that had been corrected. For those interested, I used the v-line polishes starting with 34 and orange hex-logic pads on the next step as well. I then followed up with the white pad and 38, then touched it with a blue pad and blacklight glaze then sealed it off with a black pad and Jetseal.
Another thing I did recently was getting the AC line installed again. I know, I know... racecars don't have AC *blah*. But when you're rolling around in 100 degree temps driving on the street and strapped in, the worst thing to do is make the lady miserable. So it was time to get that finished up and installed (what a chore). Now all I have left to do is get the downpipe mated back up (just have to pry it from behind so that we can press it close enough that the vband can hold it to the hotside of the turbo again.
Also bought some bumper quick releases to help with taking the bumper off a bit faster for future reference whenever it needs to come off since the car is still a little bit on the low side.
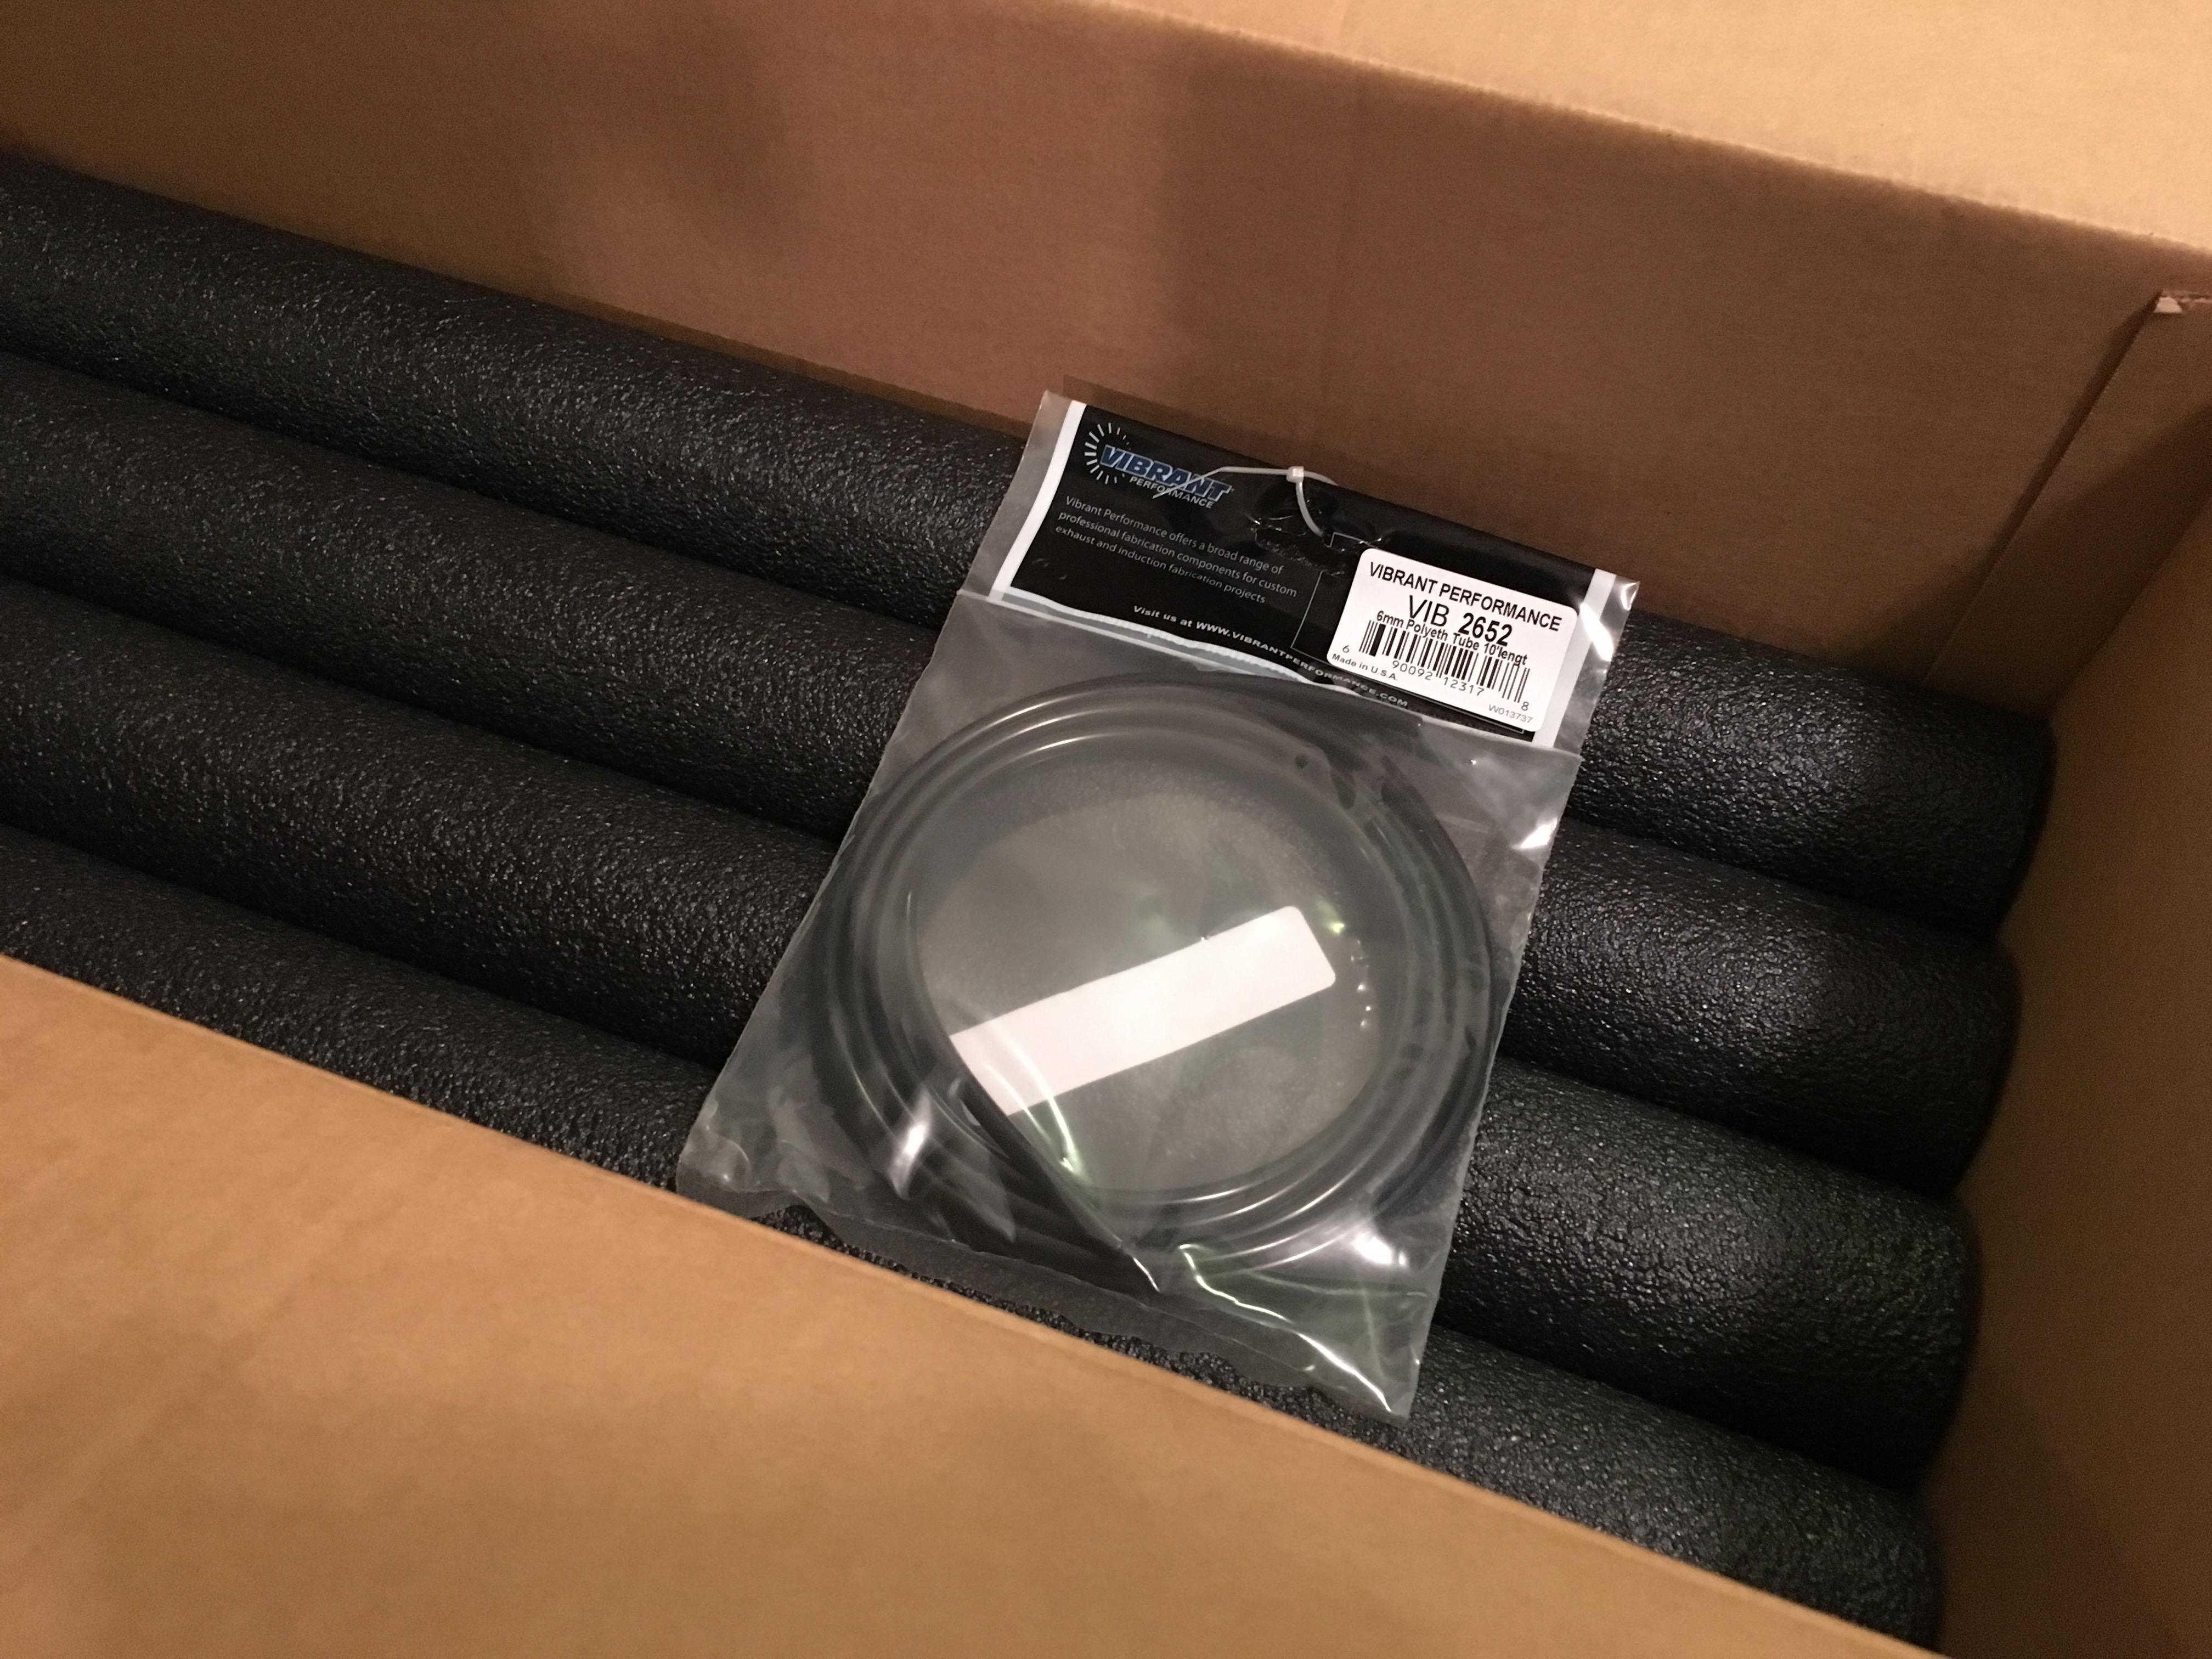
I also went ahead and ordered my roll cage padding so that I can get that padding installed as soon as I get the cage here and installed. Also picked up some more polyethylene vacuum tubing in case I need to replace it since I'm using press fit fittings on the wastegate/bov.

Now, onto the thing that's been bothering me... my gas gauge level not reading properly. I took the time to read through CJM's website and look at their information and found something that peaked my interest. So I emailed Charles asking if he had any ideas as to what might be the issue, and he gave some insightful information which may aid in solving the issue.
This is what charles sent to me:
"It sounds like your fuel level sensor has gone bad. You would need to test its resistance sweep with an ohm meter to confirm.
It would be best to remove the fuel sending unit to test it manually. I have attached a page from the Nissan service manual (Property of Nissan Motor CO) *image below*.
It provides you with the proper resistance readings at full and empty position for both the main and sub sensor. The sub sensor is in the same position as the main, only on the other side of the tank, behind the drivers seat in a LHD vehicle.
I would also check for a clean reading throughout the sweep. Sometimes they develop dead spots in the sweep."
Also, links to the new parts on Courtesy Parts if replacing the levels is necessary.
Here is the level sensor if the part needs to be replaced:
http://www.courtesyparts.com/nissan/...e=level-sensor
And the Fuel Gauge Sending Unit:
http://www.courtesyparts.com/nissan/...e-sending-unit
I've been looking a lot at information on the forums and around the rest of the internet here recently, and sought some help for an issue that has been bothering me a lot since I boosted the car.
So, cage will be here in a couple weeks according to TF. Either next Friday the 18th, or the following Friday the 25th. Harnesses will be here Monday, and my new Gates blue belts will be here either Friday as well.
The other day I started on doing a paint correction on the Z. I was a bit wary at first, but I figured I'd take my stab at it and see how it worked out. The first picture is before working on the paint correction, and shining an LED flashlight on the car while capturing a picture obviously. The following picture is shining an LED flashlight while capturing a picture on the area that had been corrected. For those interested, I used the v-line polishes starting with 34 and orange hex-logic pads on the next step as well. I then followed up with the white pad and 38, then touched it with a blue pad and blacklight glaze then sealed it off with a black pad and Jetseal.

Another thing I did recently was getting the AC line installed again. I know, I know... racecars don't have AC *blah*. But when you're rolling around in 100 degree temps driving on the street and strapped in, the worst thing to do is make the lady miserable. So it was time to get that finished up and installed (what a chore). Now all I have left to do is get the downpipe mated back up (just have to pry it from behind so that we can press it close enough that the vband can hold it to the hotside of the turbo again.
Also bought some bumper quick releases to help with taking the bumper off a bit faster for future reference whenever it needs to come off since the car is still a little bit on the low side.
I also went ahead and ordered my roll cage padding so that I can get that padding installed as soon as I get the cage here and installed. Also picked up some more polyethylene vacuum tubing in case I need to replace it since I'm using press fit fittings on the wastegate/bov.
Now, onto the thing that's been bothering me... my gas gauge level not reading properly. I took the time to read through CJM's website and look at their information and found something that peaked my interest. So I emailed Charles asking if he had any ideas as to what might be the issue, and he gave some insightful information which may aid in solving the issue.
This is what charles sent to me:
"It sounds like your fuel level sensor has gone bad. You would need to test its resistance sweep with an ohm meter to confirm.
It would be best to remove the fuel sending unit to test it manually. I have attached a page from the Nissan service manual (Property of Nissan Motor CO) *image below*.
It provides you with the proper resistance readings at full and empty position for both the main and sub sensor. The sub sensor is in the same position as the main, only on the other side of the tank, behind the drivers seat in a LHD vehicle.
I would also check for a clean reading throughout the sweep. Sometimes they develop dead spots in the sweep."
Also, links to the new parts on Courtesy Parts if replacing the levels is necessary.
Here is the level sensor if the part needs to be replaced:
http://www.courtesyparts.com/nissan/...e=level-sensor
And the Fuel Gauge Sending Unit:
http://www.courtesyparts.com/nissan/...e-sending-unit
Last edited by QuintonC; Mar 9, 2016 at 07:38 PM.