
My Nitrous Install


My nitrous install is just about finished so I thought I should post up the pictures. I am not new to the nitrous world, I had a couple systems in the past and one was in a 1986 Pontiac Fiero 
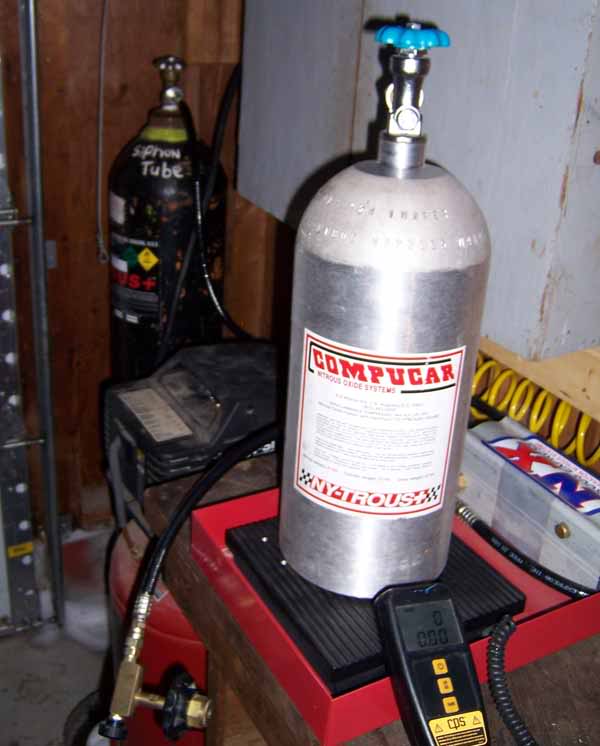
I have my own NX refill station, and my favorite equipment is indeed NX. I used to be into NOS brand, but I think NX equipment is much better.
If anyone is interested in buying any particular nitrous parts, let me know. I usually stock a few kits at a time, and I'm not afraid to ship.

Anyways, here's my install:
1 Step Colder NGK spark plugs
Dynotune digital pressure gauge
Dynotune 52mm switch center
FJO Progressive controller
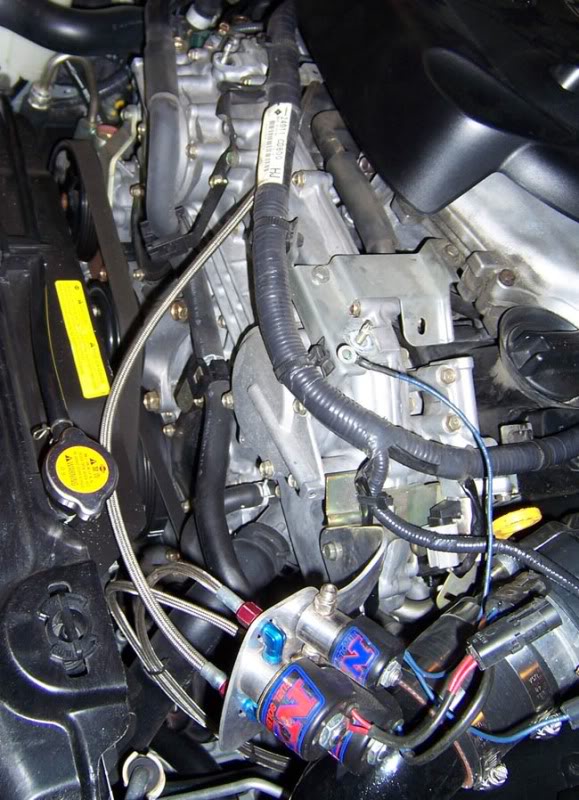
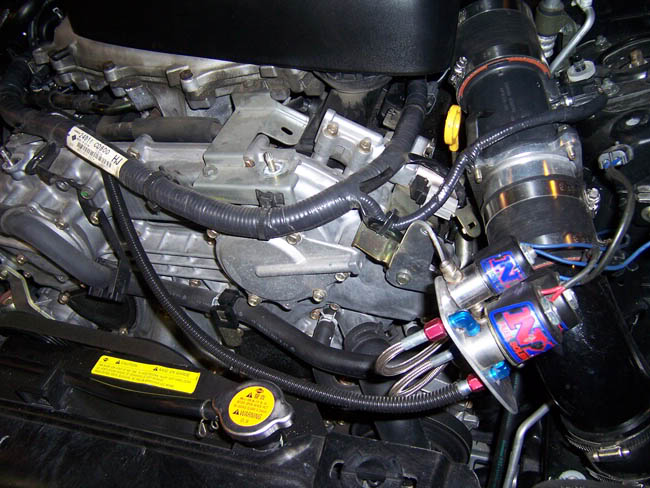
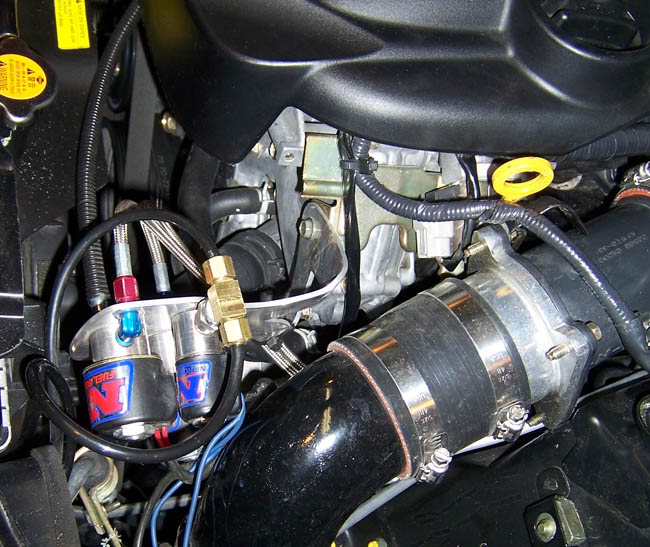
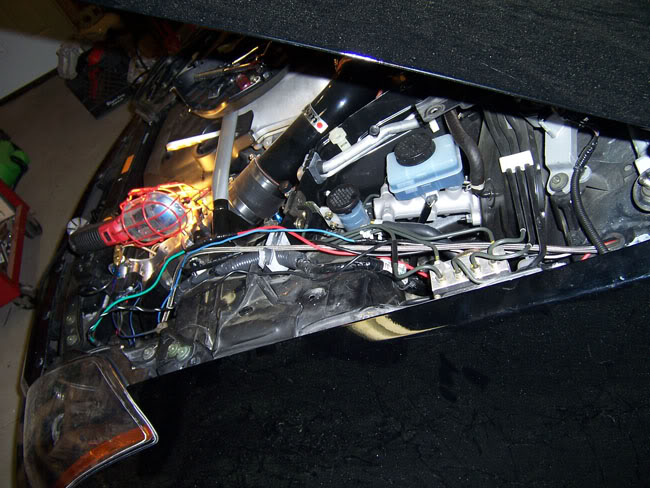
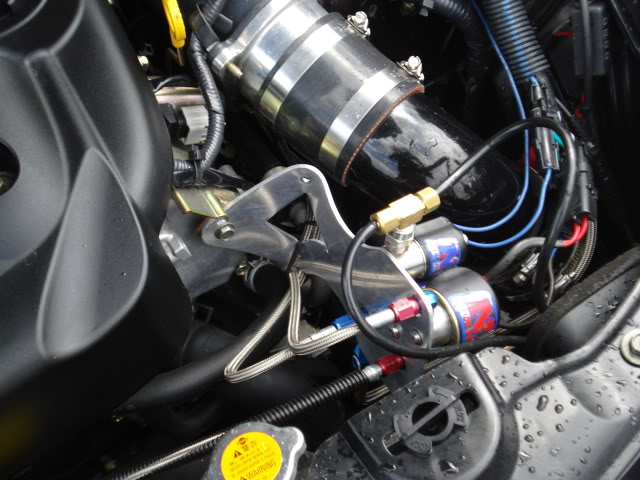
NX Fuel/Nitrous/Purge Solenoids
Dual purge kit from Dynotune - mounted at front bumper
Dynotune fuel block adapter
NX 15lb carbon fiber bottle
NX remote bottle opener
NX bottle heater with automatic pressure switch
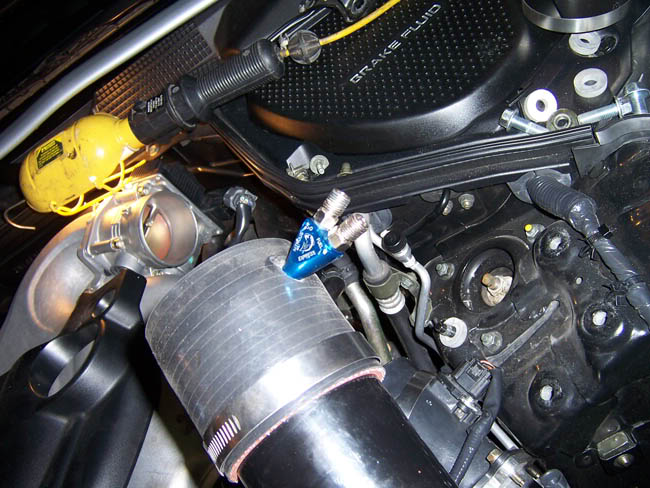
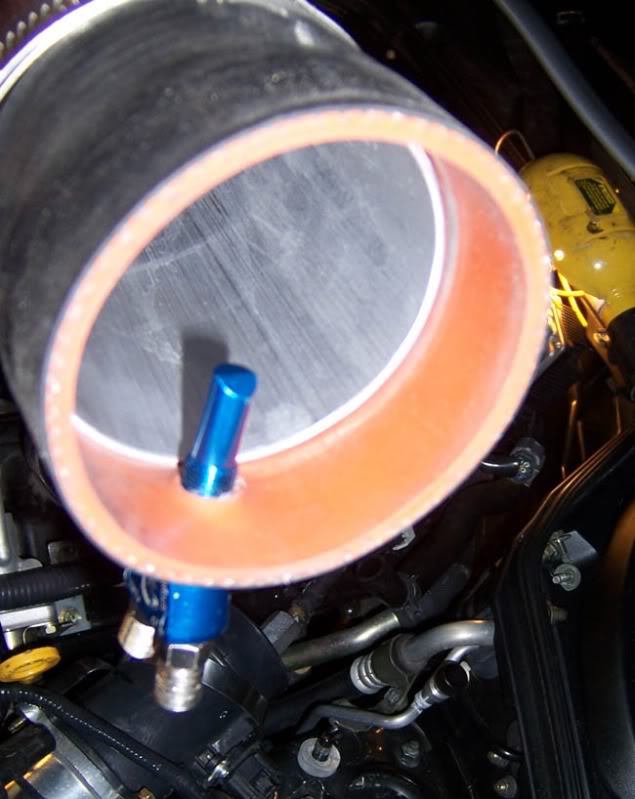
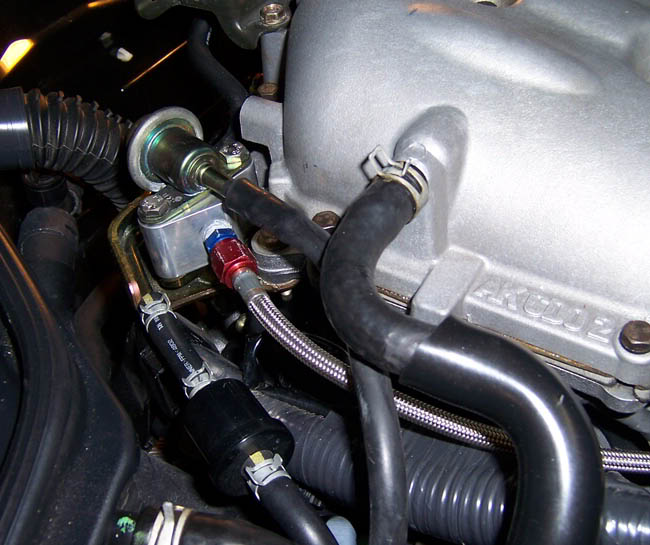
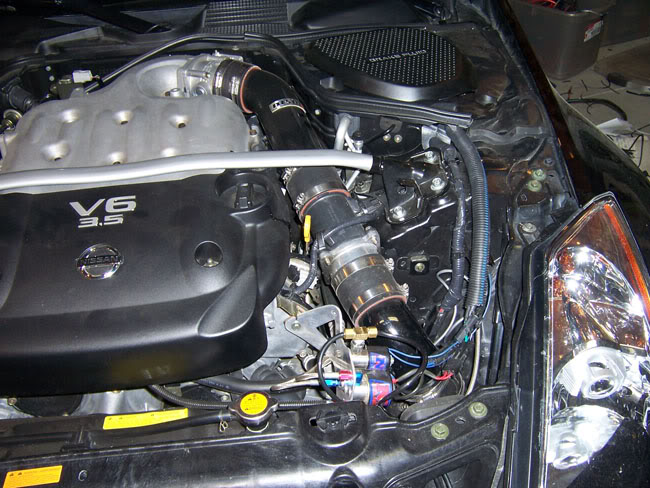
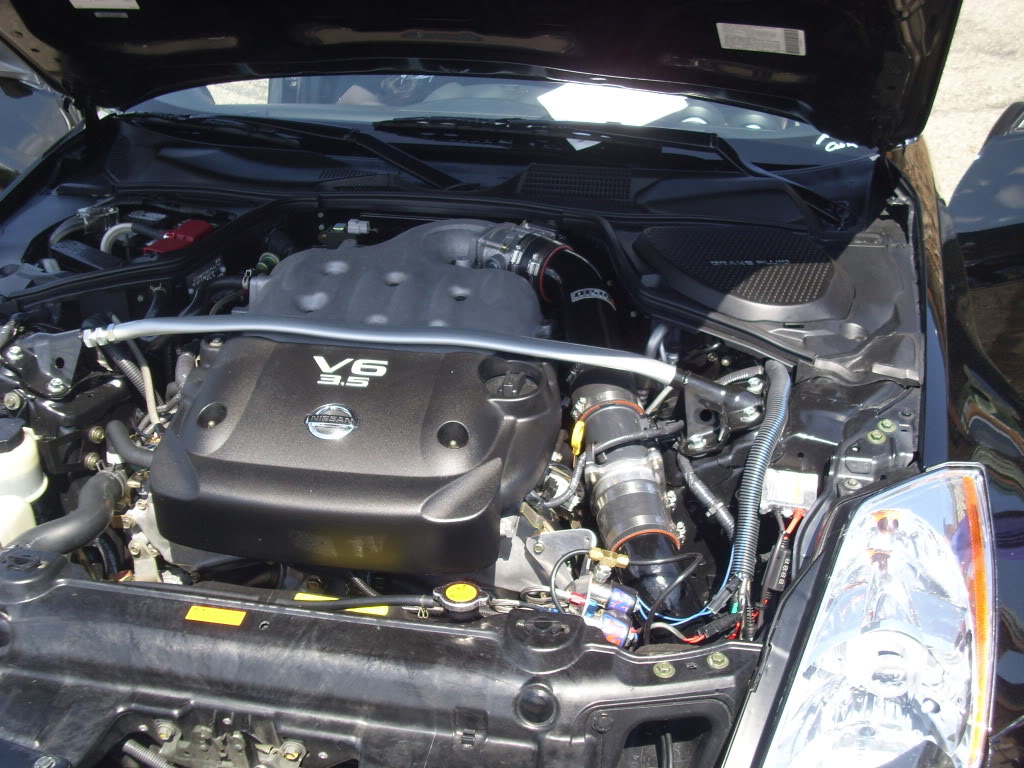
NX Shark single fogger nozzle
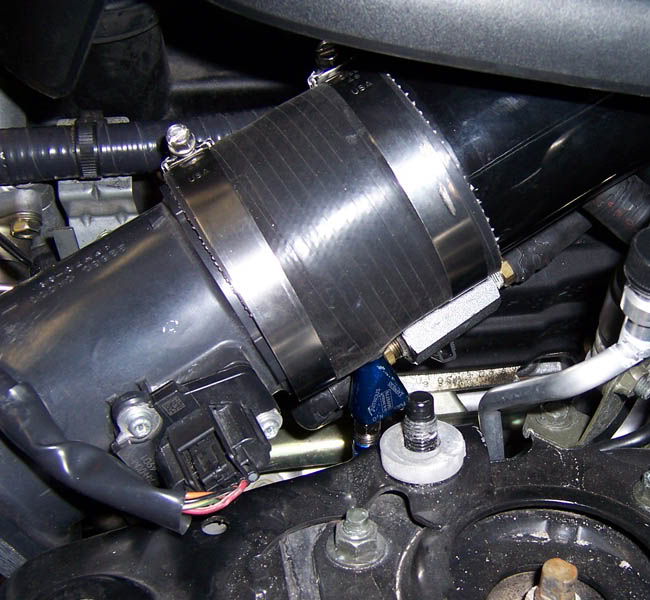
I have mounted the fogger nozzle to the silicone coupler on my Nismo intake pipe, but I plan on hard mounting it to the actual metal pipe soon.

I have my own NX refill station, and my favorite equipment is indeed NX. I used to be into NOS brand, but I think NX equipment is much better.
If anyone is interested in buying any particular nitrous parts, let me know. I usually stock a few kits at a time, and I'm not afraid to ship.
Anyways, here's my install:
1 Step Colder NGK spark plugs
Dynotune digital pressure gauge
Dynotune 52mm switch center
FJO Progressive controller
NX Fuel/Nitrous/Purge Solenoids
Dual purge kit from Dynotune - mounted at front bumper
Dynotune fuel block adapter
NX 15lb carbon fiber bottle
NX remote bottle opener
NX bottle heater with automatic pressure switch
NX Shark single fogger nozzle
I have mounted the fogger nozzle to the silicone coupler on my Nismo intake pipe, but I plan on hard mounting it to the actual metal pipe soon.
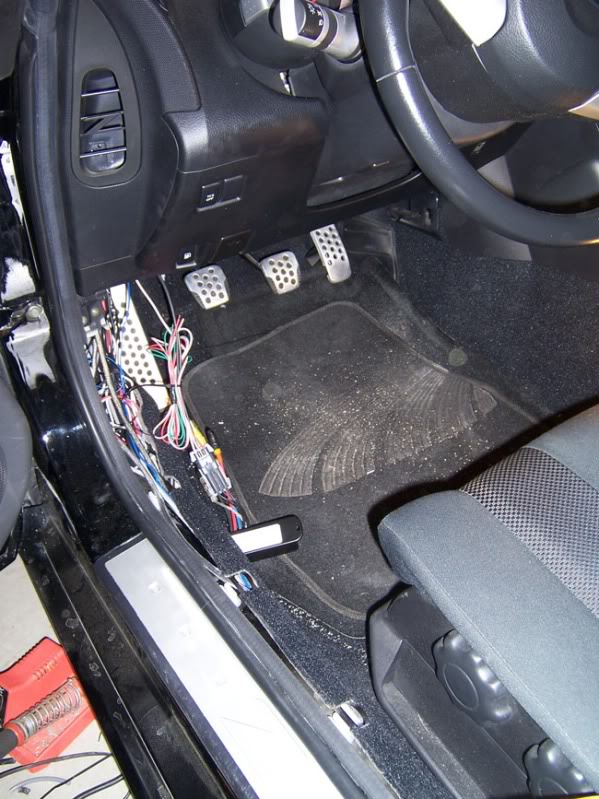
The wiring was a nightmare because of all of the electrical components I am using for this system. Of course, after it was all put back together it is very nice looking, and you can't see any of it, even if you stick your head under the dash. 

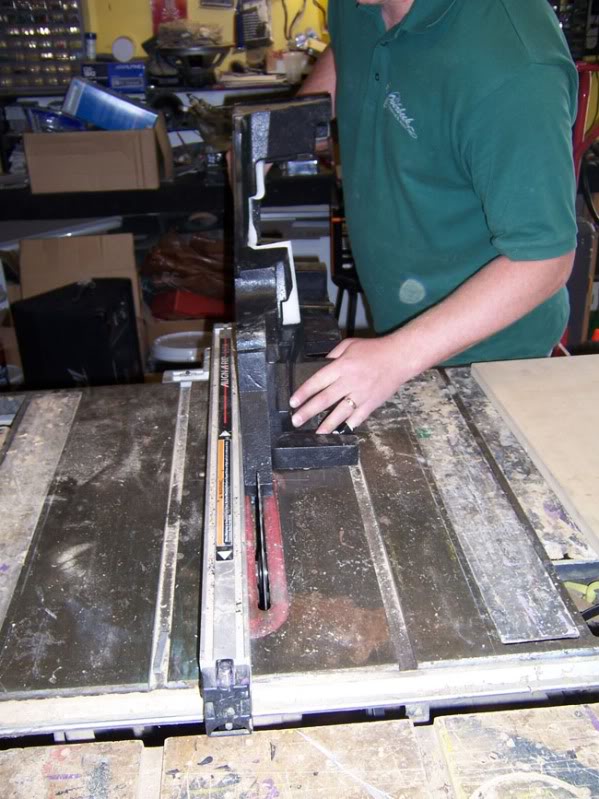
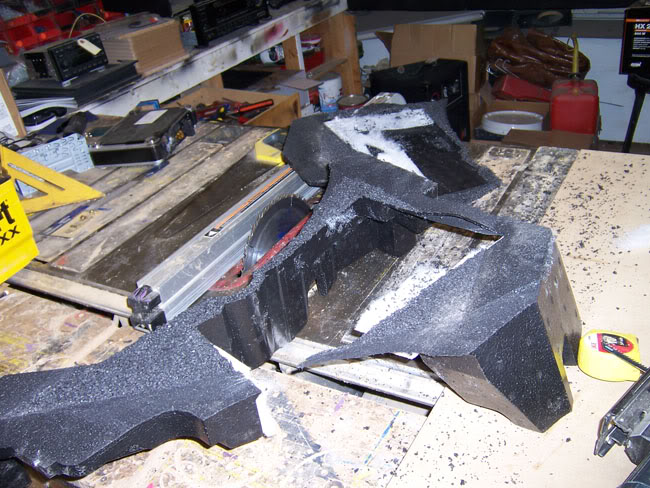
We built a new base in the back of the car to mount the nitrous brackets to, by removing the foam stanchion on the drivers side in the trunk and fabricating a piece of MDF to it so that it looks factory when all put back together:
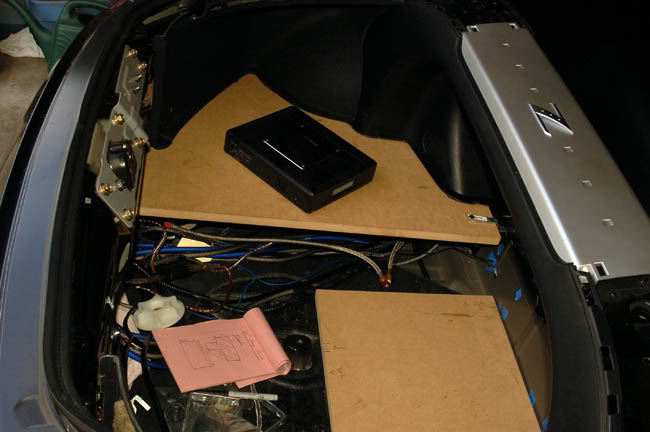
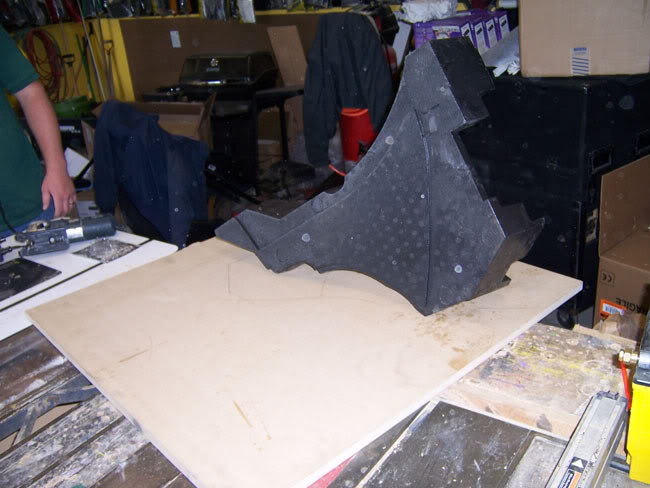
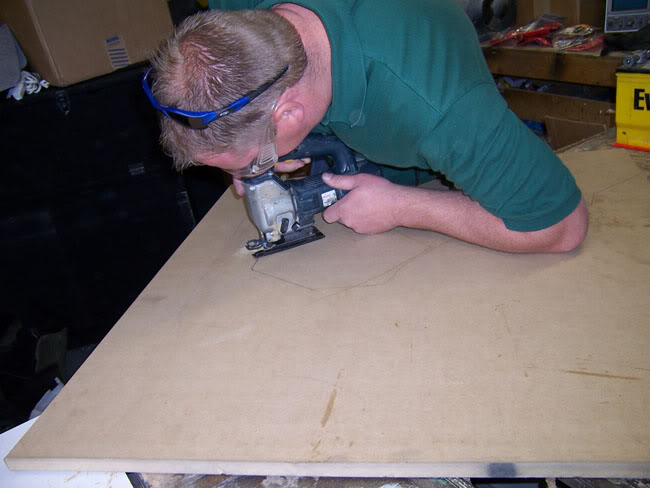
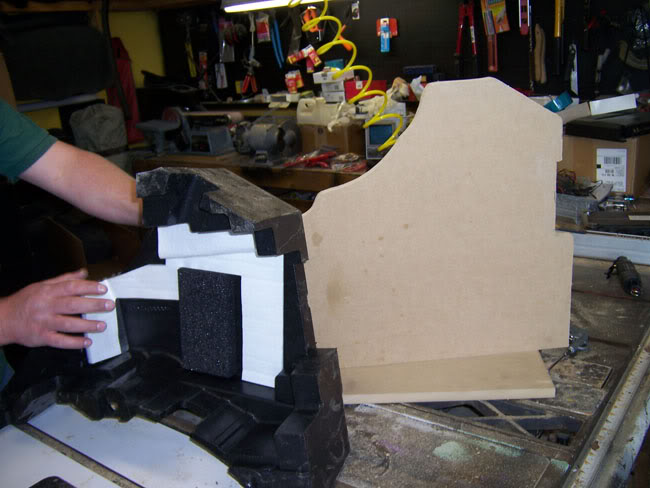
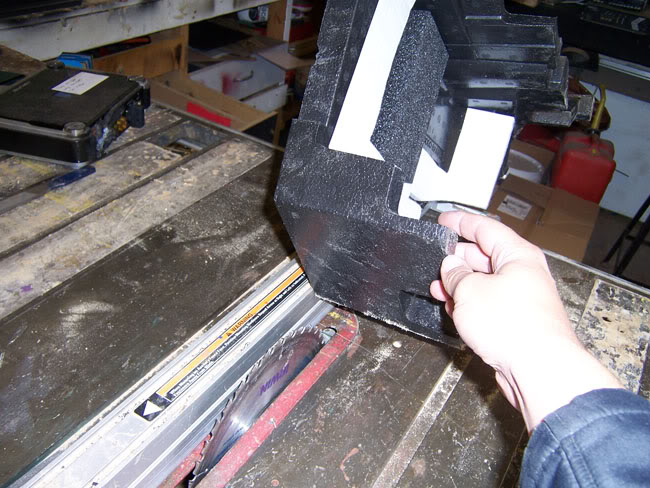
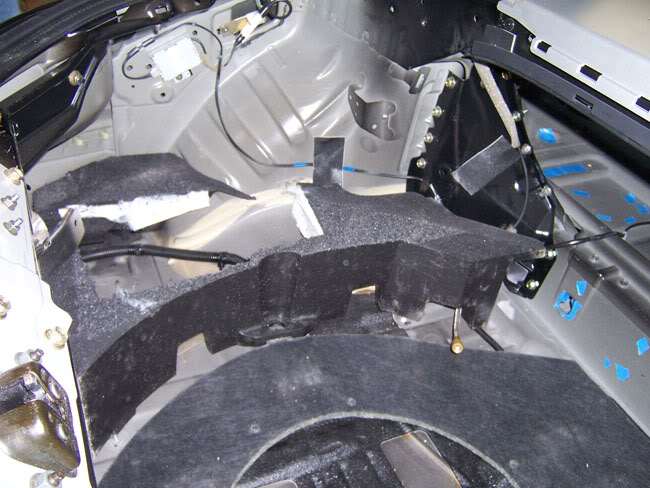
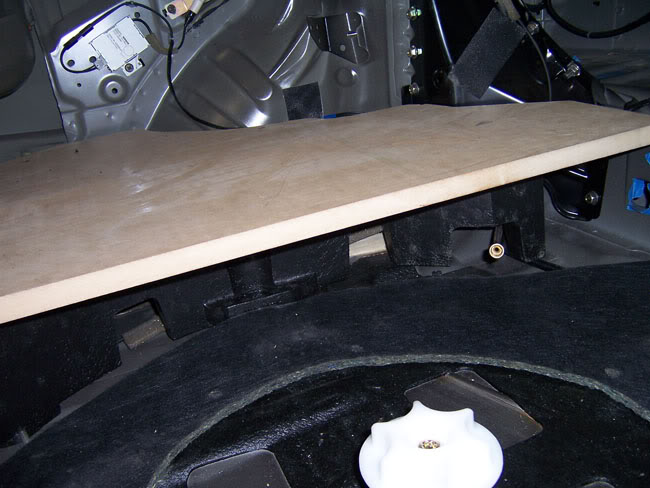
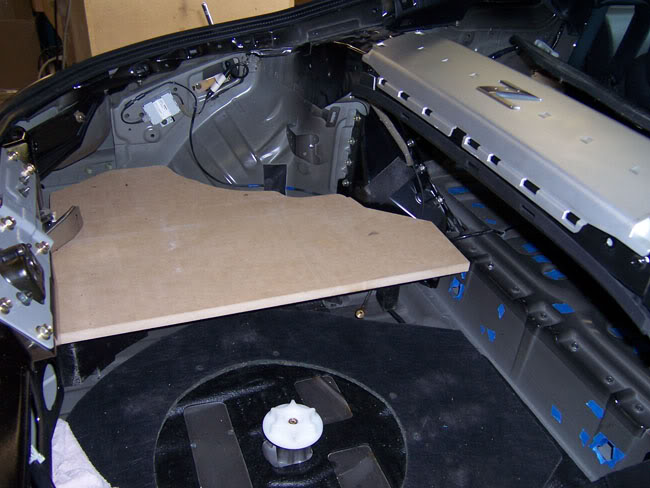
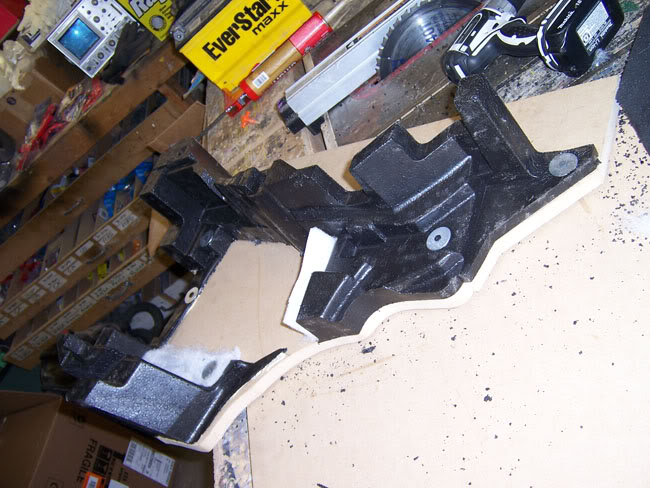
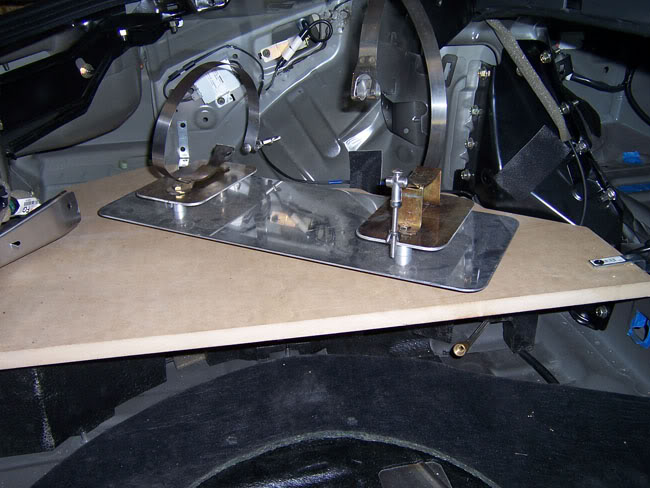
The way it was designed, the nitrous brackets can be removed from the car in a minute or two but doesn't look like it when it's all finished. This allows to utilize as much storage space as possible.
The way it was designed, the nitrous brackets can be removed from the car in a minute or two but doesn't look like it when it's all finished. This allows to utilize as much storage space as possible.


Nice install, although I personally don't like the solenoid location nor the purge exits. I definitely like the customization for the bottle, though.
Is there a reason why I see nitrous purge coming from the solenoid area?
Also, the way you have positioned your fogger isn't safe, not to mention the fact that it seems a bit far from the manifold. Nitrous is under pressure at around 1000psi and the fuel at 51psi, I believe. Unless you triple checked to see that it's secure while on the spray, I wouldn't even think about spraying.
Lastly, don't test out the nitrous for the first time at the track. Do it some place close to home so you can remedy any issues that may arise. And be sure to use a small shot for your testing.


Trending Topics

Nice. The wiring part is a nightmare, many hours sent analyzing and over analyzing it, lol. As 3hree said, it looks like your nozzle can easily blow out. Everything is a little too exposed for my taste, but thats just me, sleeper ftw! Thats awesome you have your own refill station!
As for the mounting of the solenoids, I like them there - I'm not afraid to show off what I'm using.
Also, the dual purge kit from Dynotune doesn't seal very well. I just have to take it apart and re-seal it with new couplers.
Like I said in the first post, the rubber mount is only temporary. I needed to mount it SOMEWHERE to finish the install for a few car shows. I'm going to try and use the nut/bolt style mount inside the metal piping.
As for the mounting of the solenoids, I like them there - I'm not afraid to show off what I'm using.
Also, the dual purge kit from Dynotune doesn't seal very well. I just have to take it apart and re-seal it with new couplers.
As for the mounting of the solenoids, I like them there - I'm not afraid to show off what I'm using.
Also, the dual purge kit from Dynotune doesn't seal very well. I just have to take it apart and re-seal it with new couplers.

For me, I don't like to disclose what I have, since I feel that I have no need to show off my car. I'm not a show person and I let the car do the talking. Plus, it's so much more fun when you see somebody talking smack about your car get raped down the track by it.
It's funny how you say that the Dynotune solenoid doesn't seal well. I've experienced similar issues, too, with 2 solenoids actually. My nitrous solenoids (1st one that I returned and the 2nd I got) leaked, but my purge solenoid seems to be fine.
 I just used a lot of teflon tape in the connections (teflon paste is highly recommended) and it slowed down the leak greatly. I still have a very minimal leak, but I actually like that there since it gradually clears the line pressure for me.
Sorry no, I meant that I am using the Dynotune dual purge kit.
I have NX solenoids, and none of them leak. The connection between the nylon purge line, and the twin line adapter leaks because all it uses is crush-couplers.
Also, at this point in time I can not accidentally push the button and make it go because it is all automated, but I have yet to hook the FJO controller up to the computer.
There is no "go baby go" push button in the car. Arm the system, then at wide open throttle, between 3K and 6.2K rpm the system will spray. I do not currently have the controller connected to the tach or throttle switch wires at the ECU yet, so the actual injection system is currently dead.
When I get to permanently mounting the fogger nozzle, I will be finishing the wiring on the FJO controller as well. At that point the system will be ready to go.
As far as shows go, I think people like to see the equipment installed on the car so that's why I put them where I did. I like looking at them, and so do other people. I do a lot of car shows, and I want to have something to show.
Cool. That all makes sense. I just like having a sleeper, that's all. When it's time to change your solenoids, you'll be done a whole lot faster than I will be, I'll give you that. 

Especially these days with law enforcement looking for bottles hooked up in cars, and jerks out there that will turn you in for it just to be a jerk.
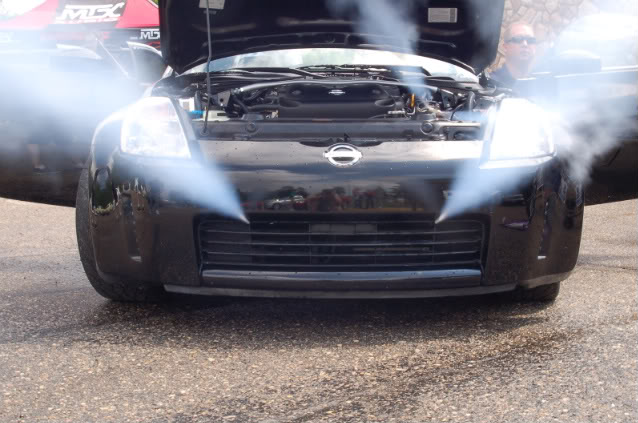
My purge is behind the front wheel so no one sees it.
I just took mine in to UnNatural for the Dyno Day they had this weekend.
If I hadn't of told him it had nitrous, the only way they knew I had it was from the smell of the exhaust (and the numbers).
He smiled and said "I know that smell! I love it!" LOL!
I like your bottle. Sweet paint job!

Agreed. The solenoids on my Cobalt were under the intake down by the ABS module, you couldn't see them for ****, but I couldn't reach them for **** once installed either. Having to change out the nitrous one twice after the inital install, I started to regret putting them there. Anyone I know already knew the car was on bottle, and anyone else could go **** themselves if they wanted to look under the hood, I don't open the car up out at race spots unless there is something major wrong.
It's jetted for a 75hp shot according to NX instructions, so we'll see how it goes. I think I'll up it to a 100hp shot later after we get it all working.
You don't hear about many problems around where I live about cops busting people for nitrous. Not many people use it, and most cops don't know a damn thing about racing parts anyways. Besides, they gotta catch you before they can check for nitrous, right?
You don't hear about many problems around where I live about cops busting people for nitrous. Not many people use it, and most cops don't know a damn thing about racing parts anyways. Besides, they gotta catch you before they can check for nitrous, right?

You need to place the nitrous nozzle placement 6” to 18” from the throttle body so the fuel and nitrous can mix! Hope you change the location before you use it! Good luck! Like the custom trunk area!
Last edited by VS 350Z; Jun 22, 2009 at 10:15 PM.
Originally Posted by VS 350Z
You need to place the nitrous nozzle placement 6� to 18� from the throttle body so the fuel and nitrous can mix! Hope you change the location before you use it! Good luck! Like the custom trunk area!
Originally Posted by ChrisNelson
Thanks for the comment, but it's not painted. The bottle is a lightweight carbon fiber composite bottle. That is just what the material looks like. It is only clear coated.
