Louisiana Z/Import cookout April 29th *Lakefront*


 11-22-2008, 07:11 PM
Registered User
iTrader: (27)

Join Date: Jun 2006
Location: Lafayette, LA
Posts: 5,397
Likes: 0
Received 0 Likes
on
0 Posts
11-22-2008, 11:40 PM
New Member
iTrader: (21)
Join Date: Jul 2006
Location: low/ez/anna
Posts: 4,632
Likes: 0
Received 0 Likes
on
0 Posts
I asked the same question you did.

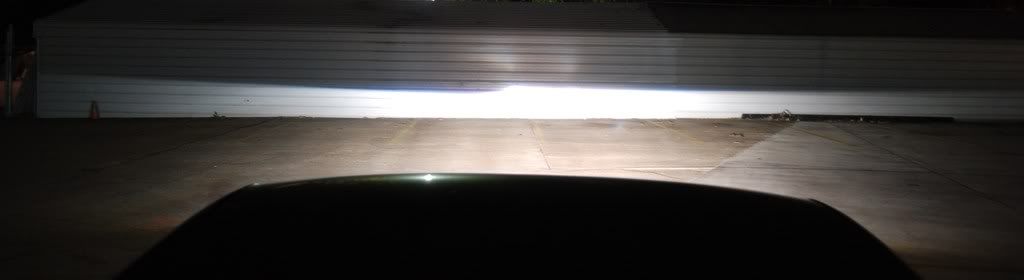
Yeah, lol. It was the darkest place I could find along E. 70th with a big wall.
11-23-2008, 12:09 AM
Registered User
iTrader: (65)
Join Date: Jan 2006
Location: Arkansas/Nebraska
Posts: 7,538
Likes: 0
Received 0 Likes
on
0 Posts
I need to adjust mine up? i dunno if its cause im lowered or what. the brights are bad ***. the cutoff def takes a lil gettting used to though. i think adj them isnt to bad though is it? I would like to have the light reach out another foot or two if that makes sense.
11-23-2008, 06:20 AM
New Member
iTrader: (21)
Join Date: Jul 2006
Location: low/ez/anna
Posts: 4,632
Likes: 0
Received 0 Likes
on
0 Posts
It wasn't bad at all adjusting them. Get a long Philips screw driver (longer than a foot).
Here's the 'official' method. You can guestimate to your liking.
Here's the 'official' method. You can guestimate to your liking.
1. Align your car dead center in your driveway....the front and back of your car need to be perfectly aligned in the center..
2. Pull your car up to the garage door...as close as you can get w/o hitting the door..dead center in the middle of the garage door / driveway.
3. Put a piece of tape where the headlight beams hit the garage door. This should only be smal dot of light...
4. Pull you car back 25'. Your Projector lens should be 25' away from the garage door...not your tires or your bumper...your headlights. DEAD CENTER IN THE DRIVEWAY
5. With tape Place a VERTICAL line that intersects each piece of tape that you put on the garage where your headlight beams hit. Use a yardstick or a straight edge t make it perpendicular to the driveway. This is important for aiming your lights right to left....this is just as important as up and down because if your lights are aimed to far left you will still be shining omcoming traffic in the eyes and if they are aimed too far right your not getting the most out of your light.
6. With tape place a horizontal line along the garage that intersects each piece of tape that you put on the garage where your headlight beams hit. They should oth be the same height off the driveway.
7. With tape place a horizontal line along the garage that is 2.1" lower than the tape you placed on the garage in instruction #6. This line should be parallel with the line in #6...just 2.1" lower.
8. Cover up the passenger side headlight with a thick towel.
9. Turn on your lights
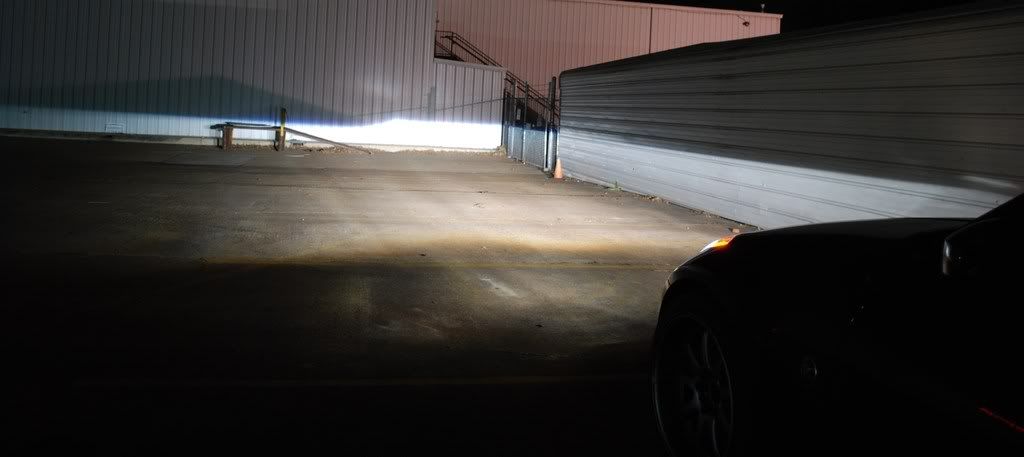
10. Drivers Side UP/Down: Bring the lower step of the cutoff to or below the tape line that is 2.1" lower than your headlights...Dot Spec is 2.1" to 2.5" drop over 25'
11. Drivers Side Right / Left: The Vertical line on the drivers side of the garage should intersect the middle of the slant on the cutoff. Move the beam pattern until this is the case.

source
2. Pull your car up to the garage door...as close as you can get w/o hitting the door..dead center in the middle of the garage door / driveway.
3. Put a piece of tape where the headlight beams hit the garage door. This should only be smal dot of light...
4. Pull you car back 25'. Your Projector lens should be 25' away from the garage door...not your tires or your bumper...your headlights. DEAD CENTER IN THE DRIVEWAY
5. With tape Place a VERTICAL line that intersects each piece of tape that you put on the garage where your headlight beams hit. Use a yardstick or a straight edge t make it perpendicular to the driveway. This is important for aiming your lights right to left....this is just as important as up and down because if your lights are aimed to far left you will still be shining omcoming traffic in the eyes and if they are aimed too far right your not getting the most out of your light.
6. With tape place a horizontal line along the garage that intersects each piece of tape that you put on the garage where your headlight beams hit. They should oth be the same height off the driveway.
7. With tape place a horizontal line along the garage that is 2.1" lower than the tape you placed on the garage in instruction #6. This line should be parallel with the line in #6...just 2.1" lower.
8. Cover up the passenger side headlight with a thick towel.
9. Turn on your lights
10. Drivers Side UP/Down: Bring the lower step of the cutoff to or below the tape line that is 2.1" lower than your headlights...Dot Spec is 2.1" to 2.5" drop over 25'
11. Drivers Side Right / Left: The Vertical line on the drivers side of the garage should intersect the middle of the slant on the cutoff. Move the beam pattern until this is the case.
source
11-23-2008, 08:22 AM
Registered User
iTrader: (65)
Join Date: Jan 2006
Location: Arkansas/Nebraska
Posts: 7,538
Likes: 0
Received 0 Likes
on
0 Posts
sweet u have a pic of where the adjuster screw is? or a link of all this info i can print off on my printer that line looks correct i just think it all needs to come up some.
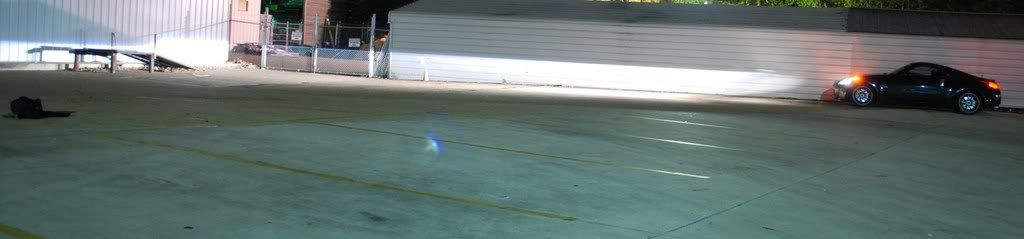
that line looks correct i just think it all needs to come up some.
11-23-2008, 08:41 AM
I will see if I can find the thread on adjusting the headlights. I have mine adjusted also and its perfect.
11-23-2008, 10:37 AM
New Member
iTrader: (21)
Join Date: Jul 2006
Location: low/ez/anna
Posts: 4,632
Likes: 0
Received 0 Likes
on
0 Posts
The pictures show the 2003-05 headlamps, but the adjustment method is the same.
Hope that helps.
Last edited by cow; 11-23-2008 at 10:46 AM.
11-23-2008, 12:26 PM
Z-GiRL
iTrader: (7)
Join Date: May 2007
Location: shreveport, la
Posts: 3,677
Likes: 0
Received 0 Likes
on
0 Posts
hey if any of you guys or someone you know is interested in moving into an apartment in early january, i'm looking for a roommate. so please let me know. money is pretty tight right now and having a roommate would cut costs almost in half.
i would prefer a girl. but due to circumstances. i would room with a guy. lol
i would prefer a girl. but due to circumstances. i would room with a guy. lol