When you click on links to various merchants on this site and make a purchase, this can result in this site earning a commission. Affiliate programs and affiliations include, but are not limited to, the eBay Partner Network.
So last year finally pulled the trigger and started my TT build over last winter. Plan was to do it right once. Didn't quite turn out that way, but should be straightened out this year.
Last years plan:
Engine Build:
IPP Stage 3 long block:
Carillo Rods
CP pistons
Custom 9:1 compression
JWT C2 Cams
ARP L19 head and main studs
Ceramic/Moly Coating
Rev-Up Oil Pump
HR Headgasket Mod
Fuel System:
CJM Stage 2 Fuel return
Aeromotive 340 pump
Aeromotive regulator
Bosch 800cc Injectors
Engine Management:
Haltech PNP
4 Bar MAP sensor
Fuel and Oil Pressure sensors
Oil Temp sensor
Gauges are displayed on the car pc screen from Haltech software
Koyo Rad
Red painted front timing and cam covers
Setrab oil cooler
All new seals and sensors
New lines and Valve covers
New thermostat
ATI underdrive damper
AAM TT kit
Car already has a full suspension, brakes, exhaust and car PC installed. More on that here.
All of the new parts:
Built engine arrives (in the ark crate):
On to the stand:
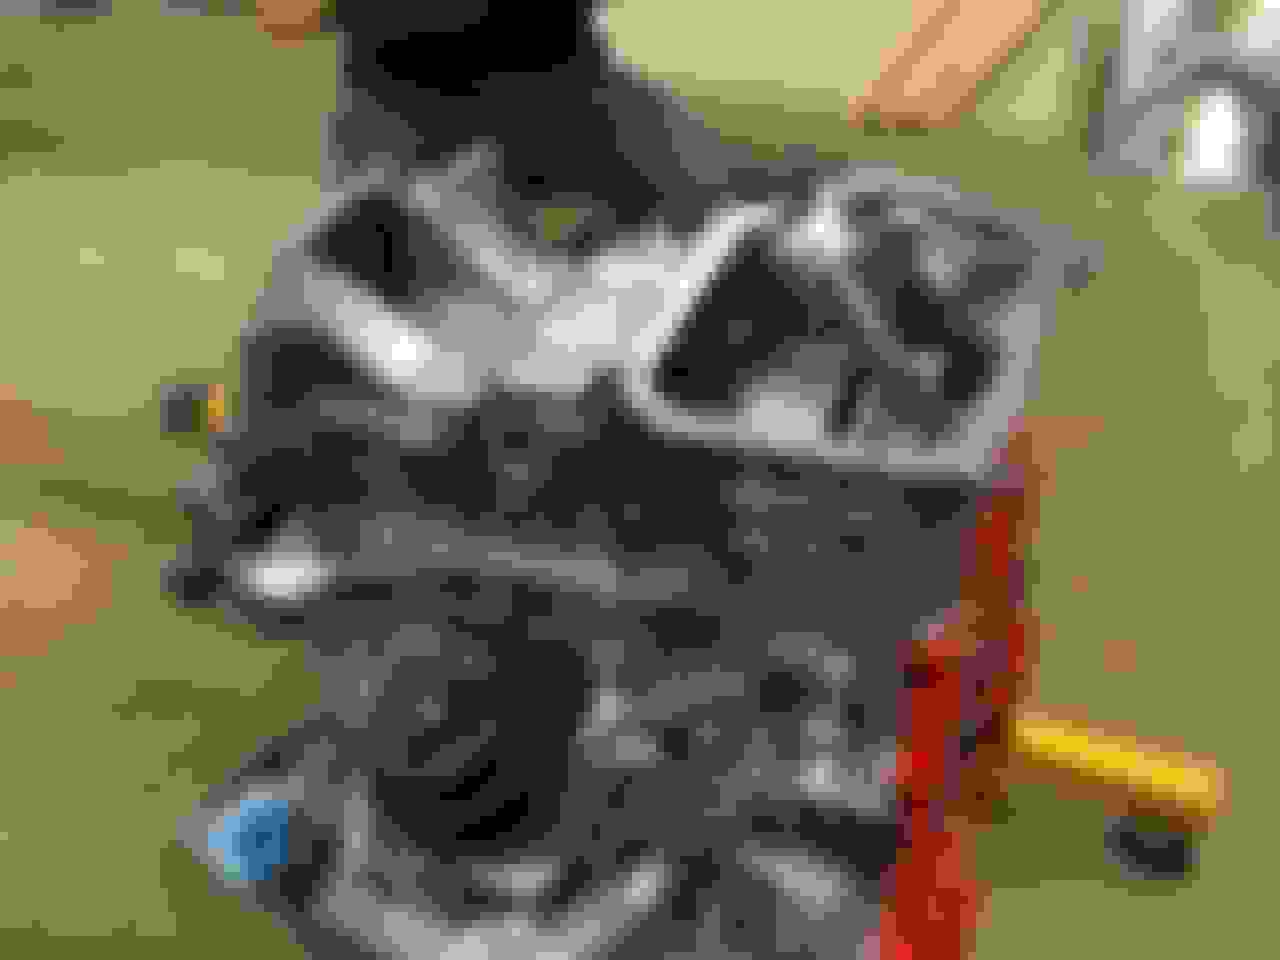
The new bottom end:
Start of engine assembly. Secondary chain tensioners and rear of the timing chain case:
Cam gears and timing chains on:
My newly painted red front timing cover on and engine flipped. Installed the oil tray and oil pickup tube with the spacer for new pan that will be spaced for turbo oil returns:
Upper oil pan installed:
Spacer and lower pan installed. Tee for turbo oil also installed:
New injectors and return fuel rails installed:
More in next post.
Last edited by aarrgghh; 12-22-2017 at 01:23 PM.
Reason: restore pics
Passenger turbo mock up. Moved the outboard coolant line up to the higher fitting. Borg Warner recommends the coolant enter low on one side and exit upper on the other. Kit instructions have both on the lower ports.
Had to delete the factory block heater (I'm in Canada and it's cold up here) and replace with the US spec plug for driver turbo clearance:
Copper lock nut too high for the one driver stud. I ended up grinding it down to fit:
I pressure tested all coolant lines. The turbo banjo's felt tight, but didn't seal. Pulled them out, you can see why now, they bottom out in the turbo's on the side right at the bottom and it's damaged the aluminum threads. Ground those down, still couldn't get a good seal on all four. While incrementally tightening, one broke at the thinner section at the top where the hole is. Did some research, the factory 300ZX turbo coolant banjo bolts fit with a little grinding down to shorten the length. These are steel, have a smaller hex head on them (which makes it much easier to tighten up) plus have a slightly larger area that presses on the copper washer. Sealed all four first try:
Passenger side with new bolts. Kit includes a new engine mount bracket for this side so no modification of the factory one is needed. Nice touch:
Both turbo's mounted up and coolant lines run:
Coolant hard and soft pipes on:
Turbo oil feed hooked up:
Plenum mods. One new fitting for the MAP sensor, another for the rising rate fuel pressure reg:
Wastegate solenoids. I fabbed up little bracket for them. Vacuum lines run. Wastegate vacuum is direct from one of the turbo compressor housings for the fastest response:
Engine is now ready to go in.
Last edited by aarrgghh; 12-22-2017 at 01:29 PM.
Reason: restore pics
Cleaned ten years of crud off the engine bay and cross member:
All accessories and ECU harness moved to new engine:
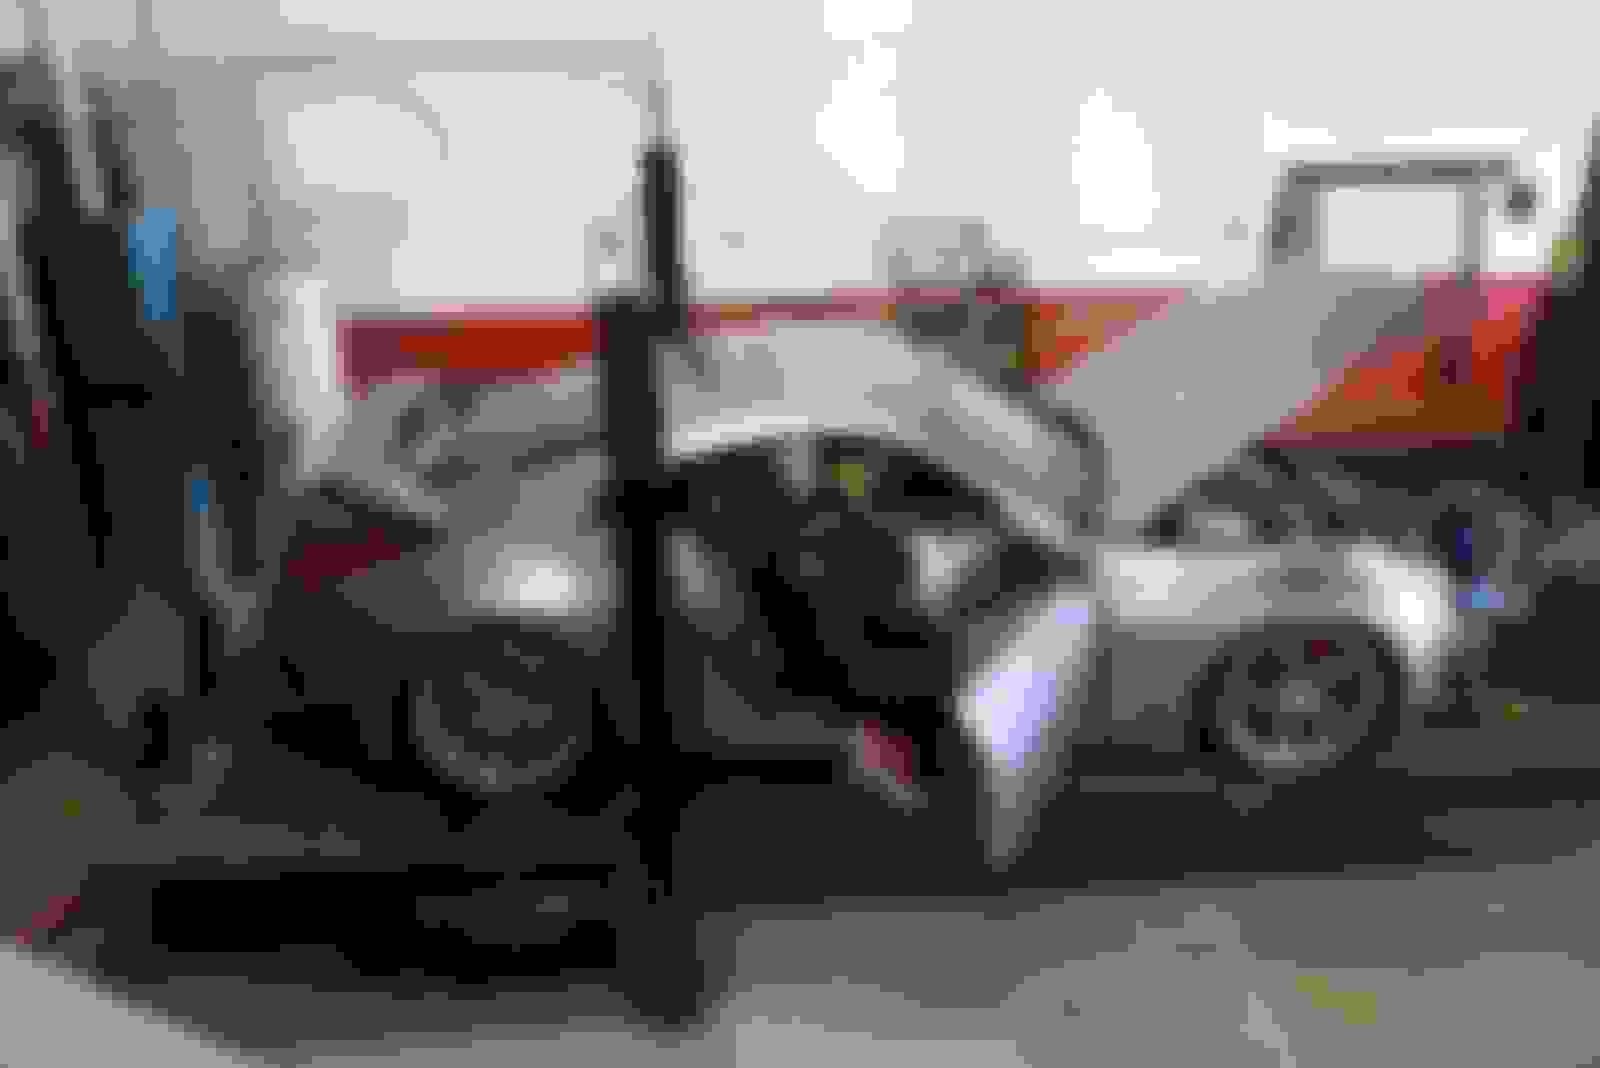
Dropping it in:
Had to roll it out for a bit to make space for another job:
Trans mounted up, but can't get v-band clamp on the turbo outlet driver side as it hits the turbo. AAM seems to install the turbo with the trans mounted (out of the car), they must have the clamp on when bolting up the turbo. We decide to make space on the bell housing so we can pull the clamp and trans in the future:
After four or five trans stabs with grinding adjustments latter (that seriously sucked):
Driver inlet piping and PCV installed:
MAP sensor mounted:
Passenger compressor outlet pipe (driver is done later from under the car). This pipe is tight!:
Passenger intake. Minor power steering plumbing mods needed:
Ready for the front:
Last edited by aarrgghh; 12-22-2017 at 01:36 PM.
Reason: restore pics
Downpipe on driver side. We also had to get a new coolant line for the passenger side as moving it up made it too short. It's the orange line. If you're doing the engine without the trans as we did (cross member was too wide for the the four post lift we have) all of the turbo coolant lines could be around 4 to 6 inches longer, with the coolant riser to tee'd heater core lines shorter. This would make it a lot easier to stab the trans as at the current length they tend to interfere with the bell housing. Also, deleted the two bolt oil drain adapter supplied on the passenger side and sourced the right fitting to go directly from the threaded turbo outlet to the AN line. This saves about an inch of space and makes dealing with the starter a ton easier:
New fuel pump:
New return line and bigger feed hardline:
Fuel pump buttoned up. Doing this sucked:
Found space for the oil cooler (just) between the intercooler and the AC condenser (that's the old one, I left it in for mock up so I didn't bend up the new one). Had to remove a far bit of plastic on the rad support, but it worked out great:
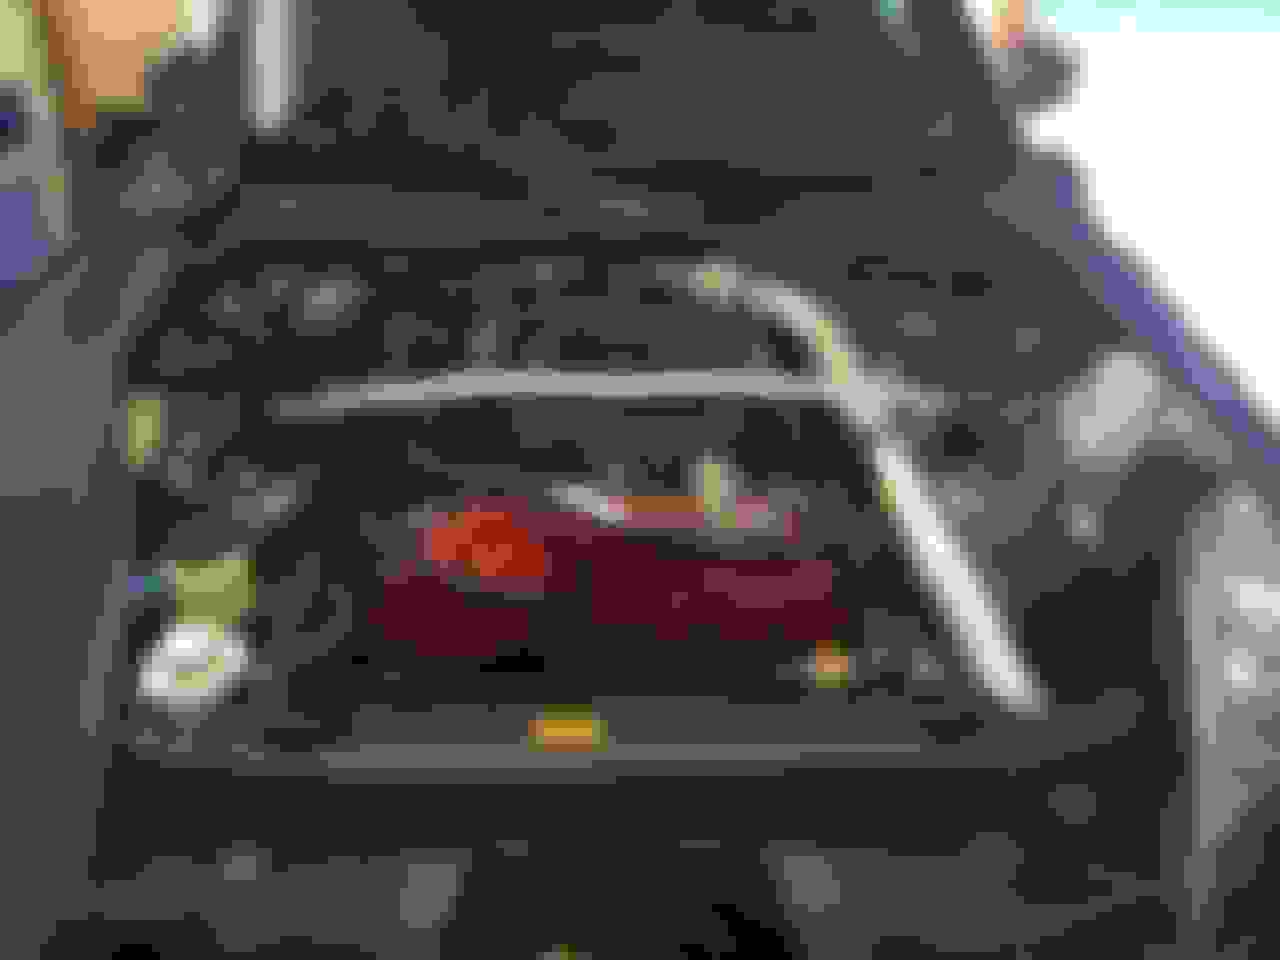
Intercooler, piping and horns installed. I had the intercooler heat dispersion coated, and now it's black. With the gauges on the tv under the nav door and the intercooler black, it's not obvious the car is TT unless you're looking close:
Front crash bar back on.
All buttoned up and ready to fire. Yay!:
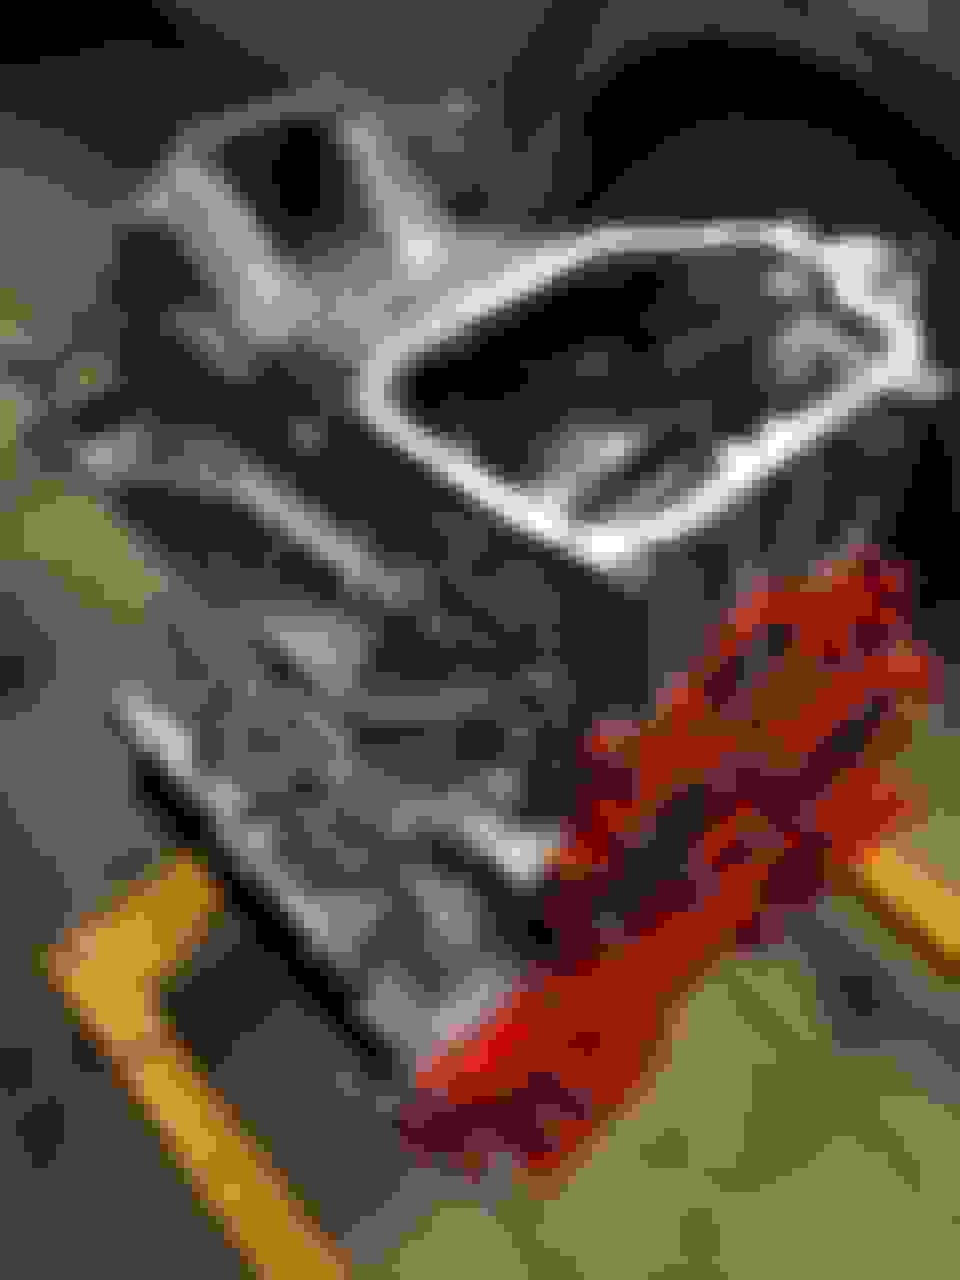
And now the bad news. After spending a morning tracking down a dripping coolant leak finally found it. The built long block is leaking at the head gasket.
Last edited by aarrgghh; 12-22-2017 at 01:40 PM.
Reason: restore pics
So after much swearing, and with 3 weeks to go until Greg and Seb from Specialty Z are up to tune many cars, we switch to plan B. To pull the heads on the built motor means stripping it down to how it arrived. No time, so the race is on to pull the built motor, move the TT kit to the factory engine and reinstall.
In around four hours the same Saturday we narrowed down the leak:
Everything is out, and I stopped wasting time taking photos. During the weekdays we moved the turbo kit, the accessories and everything else onto my factory engine.
In a marathon day next weekend and with many people helping (in shifts as it worked out) the entire car was reassembled, fluids filled (again) and fired. My many thanks to all who helped out and made this possible.
Car on the dyno:
We limited the tune to less than 400 ft/lbs. Ended up with 446 HP, and 398 ft/lbs.
Overall very happy with the TT kit. We did a GTM TT kit on a another 350Z a year before and in this kit addresses all of the weak spots I felt the GTM kit had. Grinding the passenger engine mount, the fact that one turbo coolant outlet feed the next turbo, the use of pipe threaded connectors into thin wall aluminum for the oil returns and the PCV line on the intake.
The AAM manifolds and intercooler are very nice. Having mounting points for the horns and power steering cooler was good.
Ran into a few issues with the AAM, but nothing major. I had an early adopter kit so the instructions are a little thin.
The GTM kit car and mine are both on stock motors and have almost identical dyno charts. Interestingly, the two cars couldn't be more different to drive. On middle of the road summer tires his doesn't really break the tires in second. You have to bury it to get the boost up. On mine, I was spinning up R compounds in second and my RA11's in third. The off to on boost transitions come on hard, enough to slip on the dyno at these levels. I would have sworn my chart would show much more low end torque after driving them back to back, but dyno's don't show the whole story.
Last edited by aarrgghh; 12-22-2017 at 01:45 PM.
Reason: restore pics
So given the leak, that put my build back a full year.
So in the mean time after the dyno and in fall, the built block got stripped back down and shipped back to the builder. It's been redecked and resurfaced and it's now back home.
Over the last several weeks I've been reassembling it.
Start of second build:
Timing done again:
Front cover back on:
Cam covers and valve covers:
And the upper oil pan:
Last edited by aarrgghh; 12-22-2017 at 01:47 PM.
Reason: restore pics
So the heads have been ported and polished to the diameter of the intake gasket by the engine builder. So I decided to port match and polish the intake runners. Before:
After:
Next a cooling mod. I'm deleting all coolant loops that bypass the rad. There's a main bypass that allows the thermostat to open (and cut's right across the front of my nice red cover). One to warm up the throttle body/plenum (the last thing I need on a boosted car), one to pretend to cool the oil, and another line that leaves and reenters the same hard pipe (the line to no where!). I don't need any of these as the turbo coolant lines bypass the rad and I've got an actual proper oil cooler. So I had a local shop delete the eight fittings for the four lines.
Built a bodge job rig from the stock lines and some scrap aluminum from the shop at the office to make block out plates so I could pressure test the changes:
Found one weld on the thin wall pipe leaking, so it went back and was fixed (free). All good now and the two steel pipes are over getting powder coated black.
One final change is I'm switching to a Specialty Z high 5 clutch and lightweight flywheel from my JWT one. It's a 5 puck clutch with solid disk (no springs) and its very light to allow high rpm/load shifts. Plus the tuners felt my JWT may not hold. We'll see how that works out.
Last edited by aarrgghh; 12-22-2017 at 01:49 PM.
Reason: restore pics
Super write up - and congrats on the new TT set up with the BW turbos. You didn't have to change the (bulky) stock engine mounts to fit the piping?
Unacceptable number of issues with IPP blocks reported on these forums over the last 10 years. Not sure why they are so popular. Hope he helped you out but there is no getting a year's worth of driving time back.
They are popular because they seem to be the most inexpensive...
Originally Posted by rcdash
Super write up - and congrats on the new TT set up with the BW turbos. You didn't have to change the (bulky) stock engine mounts to fit the piping?
Unacceptable number of issues with IPP blocks reported on these forums over the last 10 years. Not sure why they are so popular. Hope he helped you out but there is no getting a year's worth of driving time back.
Kyle dealt with it well. Problems happen, it's how companies deal with it when it does that makes the difference. The main reason for my delay in posting this up was giving Kyle the time to fix it.
I've got the TT on the stock motor with a lot more hp, so it's not like the cars been down for the time, just my goal was delayed.
I'm eager to see what the EFR's will do on the built motor. I'll post it up was I get there. Engine swap is probably Apr/May, dyno weekend is June 24. (Edmonton Z car club typically tunes 10-12 cars over the weekend plus an extra day or so).
This was one of the first batch of kits, so I expected the odd issue. Still a ton better than the GTM kit we did. Hopefully they take the feedback and make a few tweaks.
If you know about the trans v-band clamp thing in advance you could probably just make sure to rotate the turbo so the end is as far away as possible for the most clearance while bolting it up. We didn't notice it until the trans was in, buy then loosening the turbo bolts to adjust the turbo would need the engine back out.
FYI, the headlights (and more) have a thick 3M film on them from the first 5 to 6 years of winter driving. I plan on pulling it all off, but I'll wait until we're done doing engine pulls, etc as the film is protecting the parts from accidents for the moment.
Super write up - and congrats on the new TT set up with the BW turbos. You didn't have to change the (bulky) stock engine mounts to fit the piping?
Unacceptable number of issues with IPP blocks reported on these forums over the last 10 years. Not sure why they are so popular. Hope he helped you out but there is no getting a year's worth of driving time back.
Unlike the GTM kit where we spent and hour or two grinding down the passenger engine mount bracket (in the car, got aluminium everywhere), AAM provides a very nice laser cut and welded stainless steel engine bracket. You can see it in the passenger turbo mock up photo above. You just swap over the factory rubber mount and bolt up and go. Driver side clears fine with any changes (charge pipe goes under it between the block and the mount).
Its nice to see that someone with the means to pay a shop to do the work..actually doing the work instead. You know so much more than the checkbook guys.
Nice toys in the garage and some good tools.
Love the red FTC
Cannot wait to see the built motor go in and the power it makes.
Its nice to see that someone with the means to pay a shop to do the work..actually doing the work instead. You know so much more than the checkbook guys.
Nice toys in the garage and some good tools.
Love the red FTC
Cannot wait to see the built motor go in and the power it makes.
Thanks guys.
I feel if you're going to have a heavily modified car, it's better to know it well for the inevitable issues down the road. Otherwise every little thing is an open up your wallet and say aahh. Plus it's a nice hands on hobby.
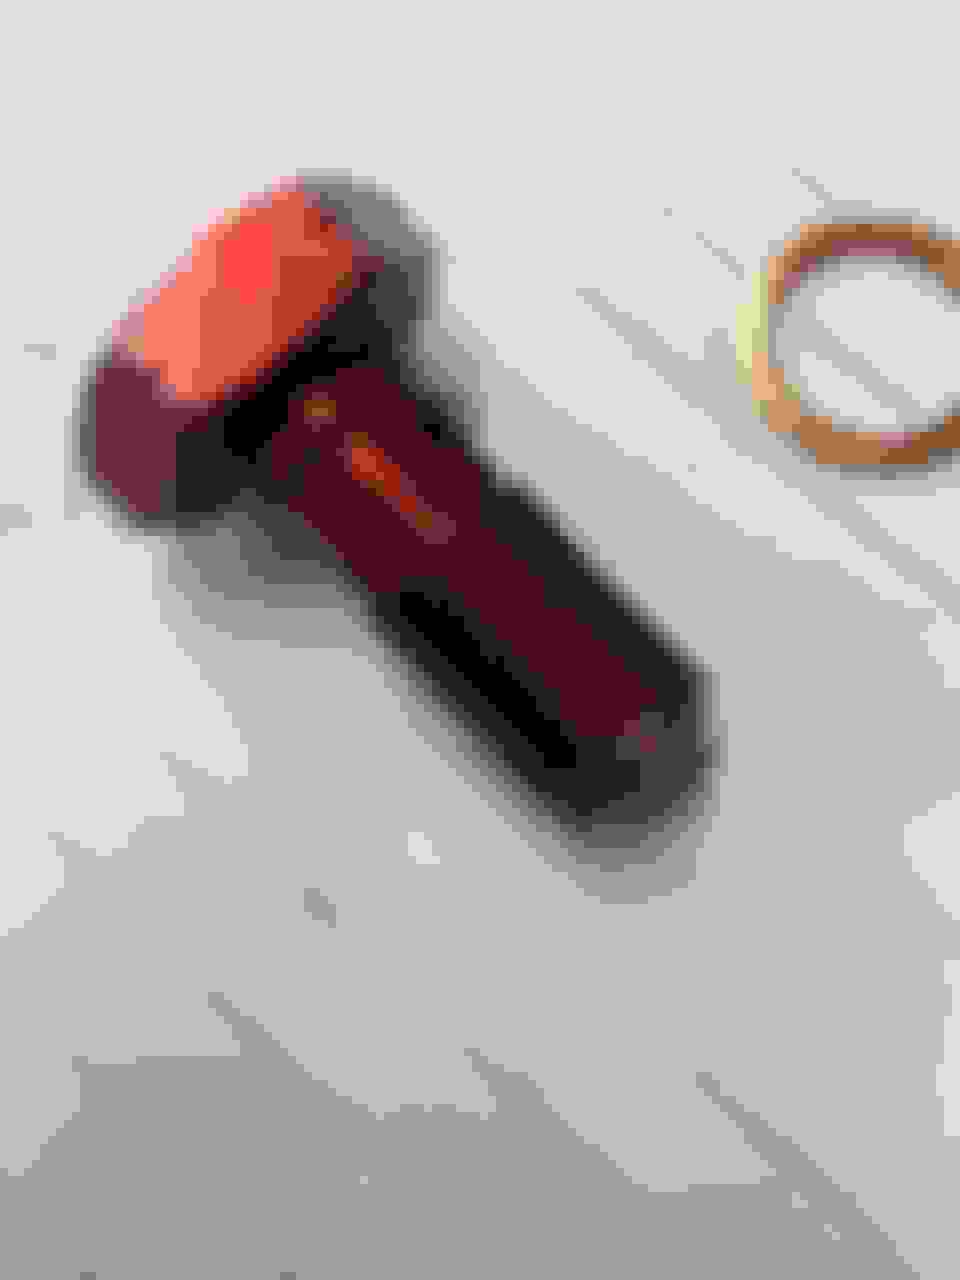
The red turned out good. Just to **** off the two members of the local Z club who (jokingly) argue over the best Z32 red, I picked a red from the Jaguar line. Mostly though I wanted a reasonable match to the stoptechs.
 01-21-2016, 06:27 PM


 She will be born again


