ExoticAir 4wheelcup suspension install, oem rear location, pics n details!
 06-24-2012, 02:27 PM
#1
hatersgonnahate

Thread Starter
iTrader: (162)
I have been wanting an air cup suspension for years now. I was drooling over the Top Secret Roberuta kits for a long time. Price was kinda high and being JDM made it hard to get technical answers. I have looked at Platinum VIP, Phantom, Umbrella VRH and finally bought my ExoticAir kit.
Why did I choose ExoticAir since it was not the most affordable of the kits available?
In terms of price, Roberta was the most expensive and Phantom the least. Platinum was well priced but hard to get a hold of the sellers. EA was easy to get a hold of, stateside and the price was well within reach. The cups look better, The finish is much better than the raw aluminum the others provide.
The EA kits also do not use the shock shaft for a seal which was my #1 reason. Good luck getting anything out of Phantom or PlatinumVIP. It has already been said that Ravi from Umbrella can be a pain to deal with.
I cannot say enough about Solomon from ExoticAir. We probably exchanged over 100 emails over the past 2 months. He even helped with some test fits and going of the technical aspects of getting the OEM rear to work.
RAvi from Umbrella would not even entertain the idea of making the OEM 350z rear setup work. The problem with the rear of the 350z is that to put a cup on the coil you are going to have to modify the rear unibody some and then get the correct KG spring...close to a 5kg for me. I do not want an true type rear coilover system.
The plan was to use:
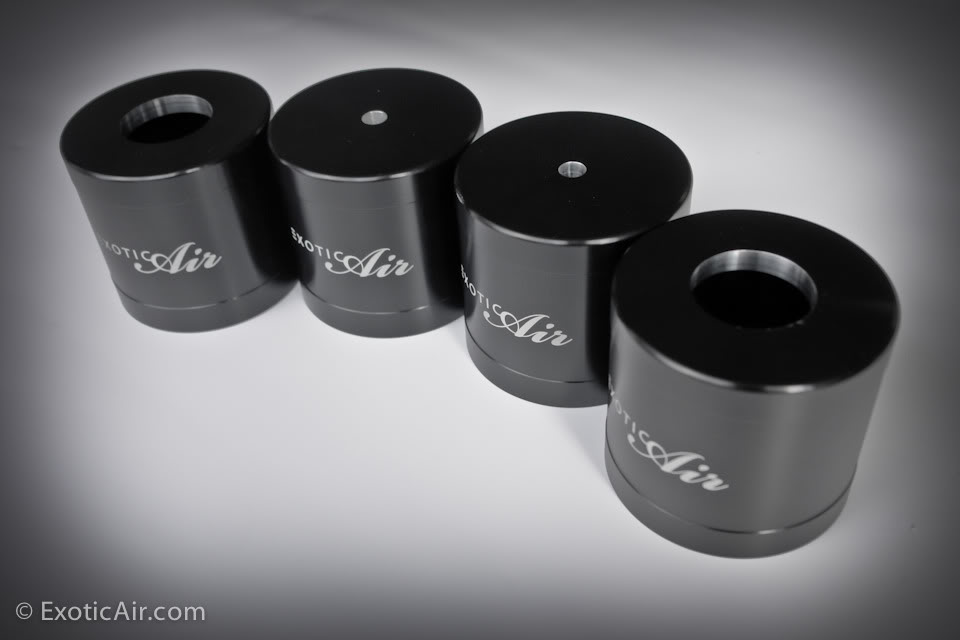
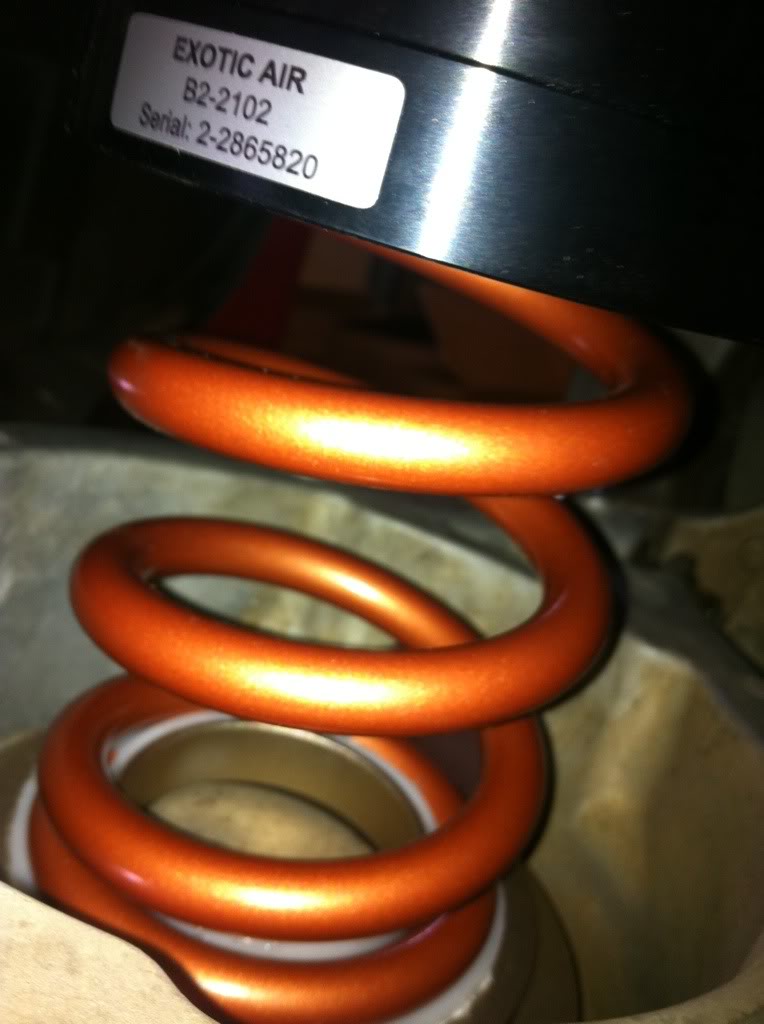
4 wheel cup kit by EA
Rear cup bored out to 50mm to accept the rear BC spring perch
SPL rear mid titanium links ( not used afterall)
10kg, 180mm, 65mm id front swift springs
8kg, 200mm, 65mm id rear swift springs
BC BR coilovers, non true style
3 Gallon tank and compressor will be installed in the rear cubby area.
I will be making my own microcontroller system to inflate/deflate the cups, monitor the pressures and controller the compressor cycling
Note, there are a few things about my car that made this install a breeze that most others may not be able to take advantage of.
1. I do not have an oem hood latch. Also do not have a release cable for it. This gave me a grommet on the driver side to pass the front left air hose through. It is only 1/4"od so it was easy to run.
2. I do not have the oem rear washer system. this gave me a grommet on the passenger side to run the front right air hose through.
3. I do not have the oem rear exhaust. I have the ARC dual titanium, twin canister exhaust. I have removed the heat shield as well which let me run the air hose for the rear cups right out of an existing grommet. I also do not have a spare tire either.
4. Gutted the rear bose sub.......pos!
Front install:
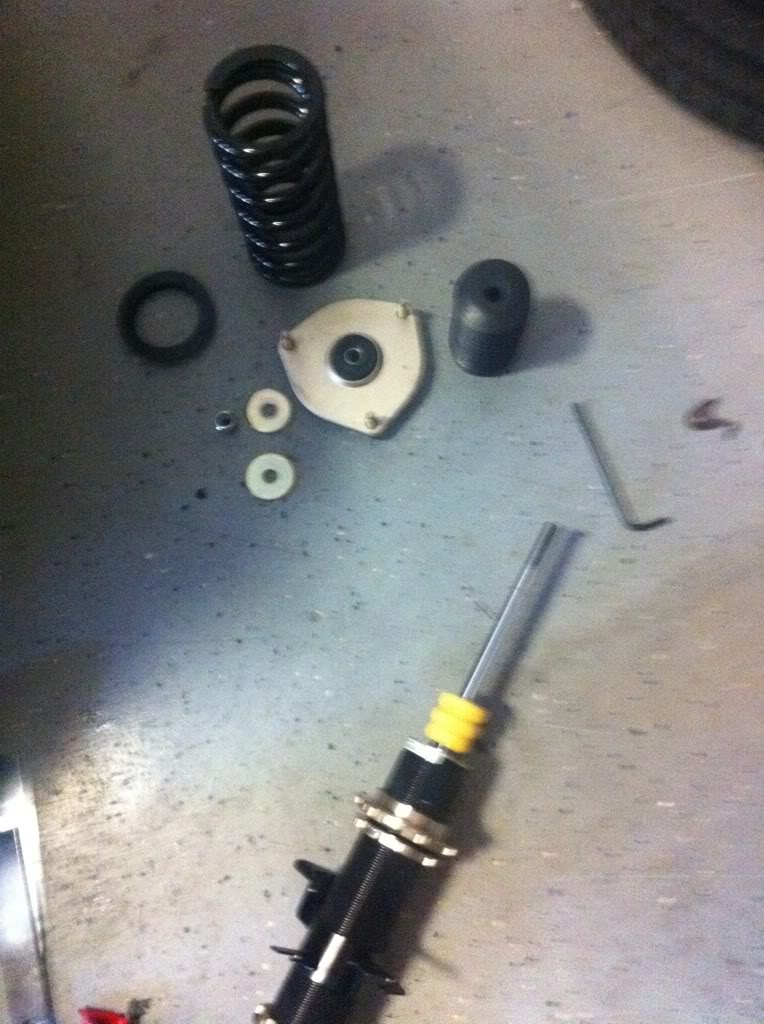
Remove the stock strut. Search for the DIY on those. (real quick, i remove the nut from the upper control arm to the front spindle, remove the top 3 nuts holding the strut, the bottom bolt and remove, real simple)
Before I removed my Bc strut I loosened all the collars for height and pre-load adjustment. This is a lot easier to do on then car than off.
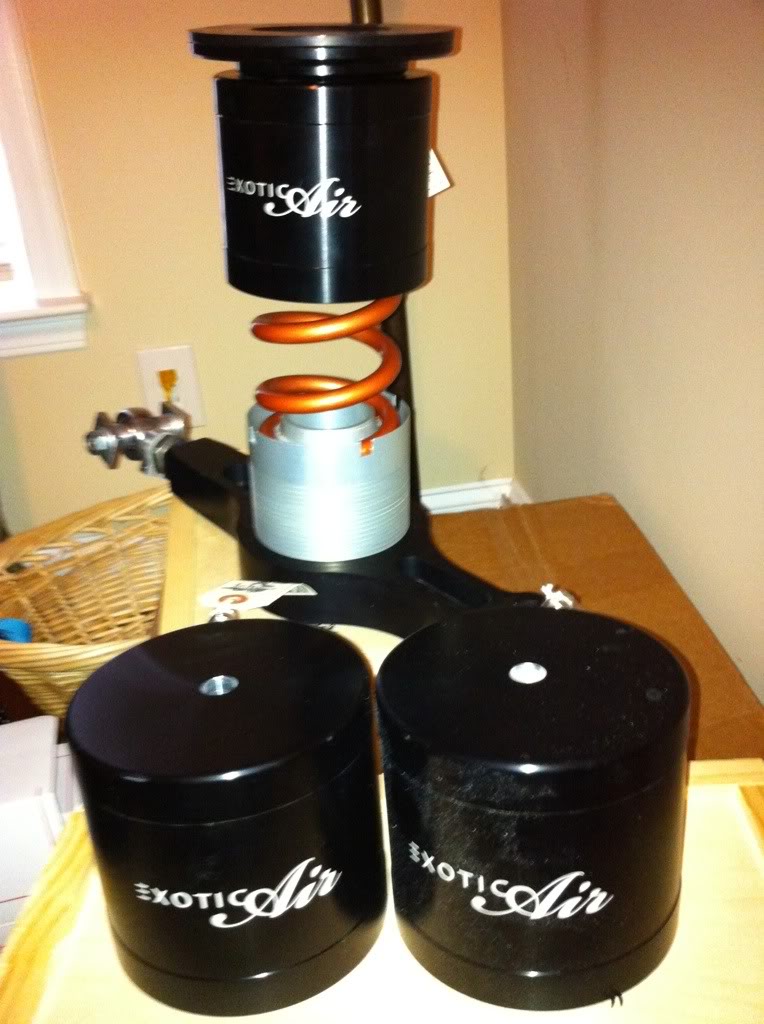
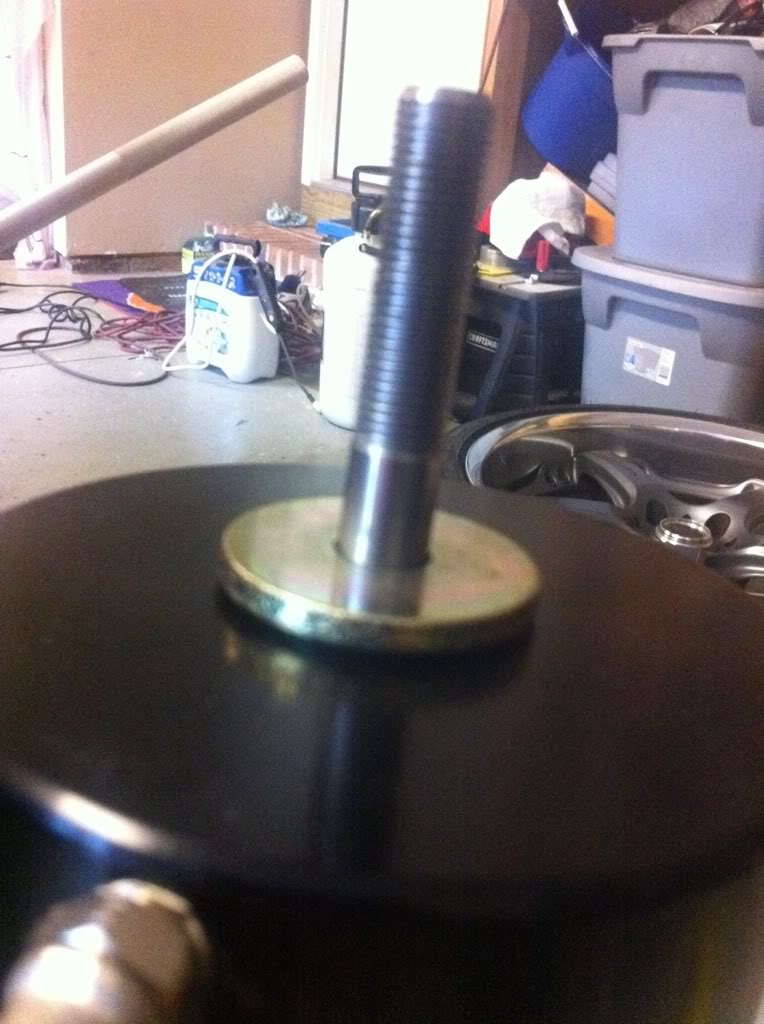
Once you get the spring off you also have to get the washer that is sitting on the shaft perch off. Install the cup between the perched washer and spring. Top hat and hardware should go back on just like stock.
If you want to lower your car some more, now is the time. I did another .5" on the front. Loosen up the lower lock collar and raise it .5" as well as the fork. Re-tighten.
Get everything installed back in place(much easier to get back in with the shortened strut):
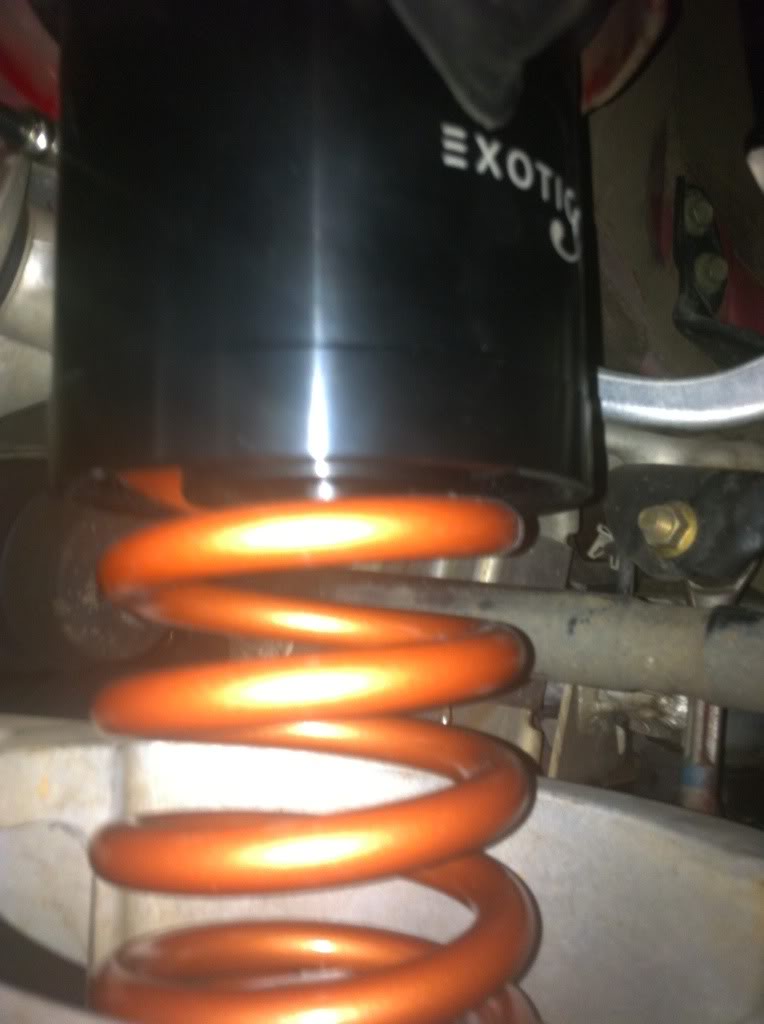
Set the spring preload so that the spring is not loose. Be sure to keep the cup oriented where you can see the logo.........oh and keep the air fitting in a convenient spot. I had both the front air fittings pointing to the ground and at the rear of the cup so that I could route the hose up to them against the unibody.
Like I said above, i installed the air hose in oem grommet locations. I routed the hose behind the fender liners and used some zip-tie pads to keep them in place(not shown).
Rear:
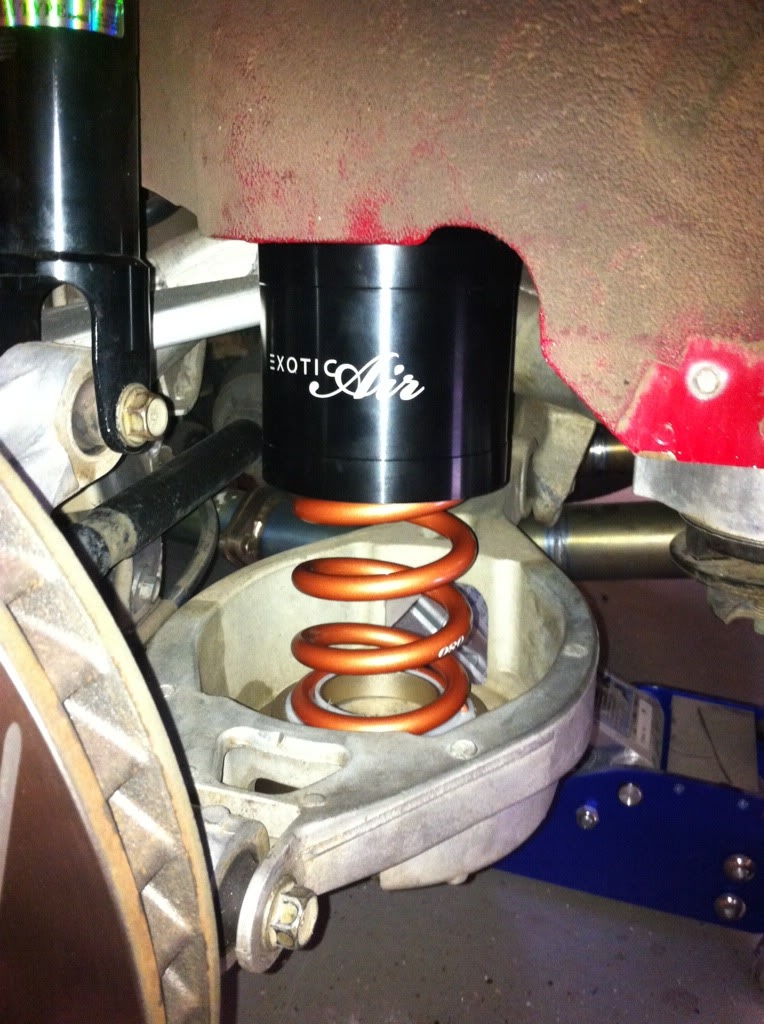
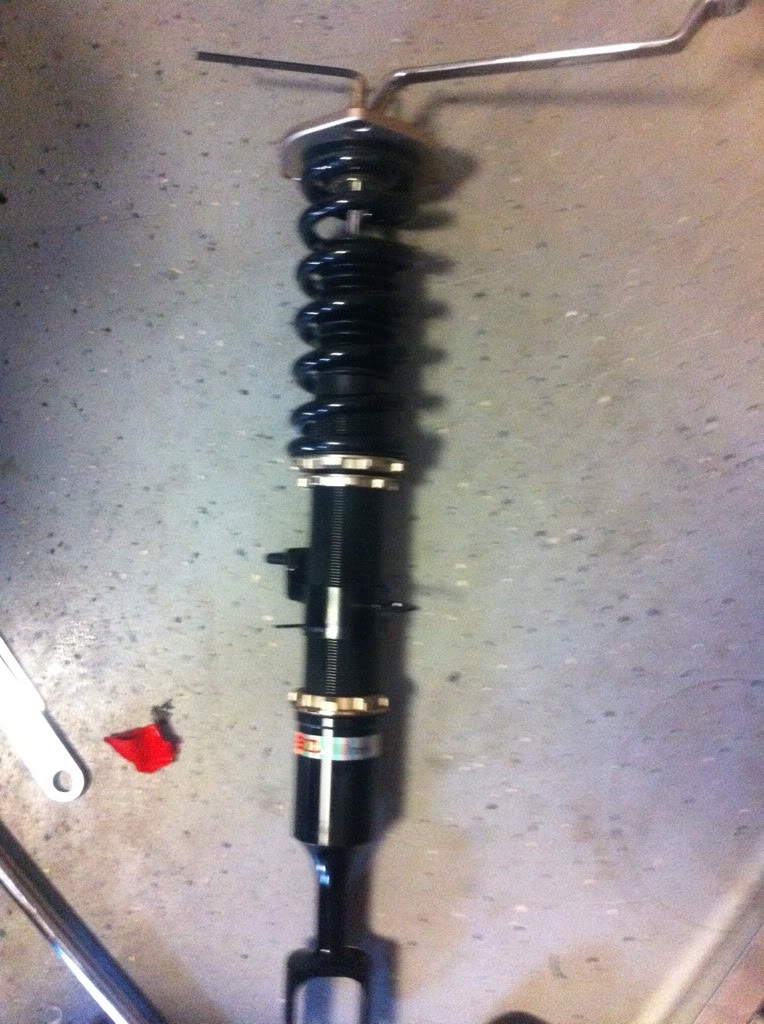
Rear swaps in much easier, as long as bolts don't shear, fml. Only 1 bolt per side. You have to remove the bolt that is holding the spring bucket to the knuckle. I had attempted to use the SPL's but aborted since I had such a long spring and the spl does not set the base of the spring in the exact vertical location of oem bucket. I may swap back to the spl's and a 10kg, 160mm spring.
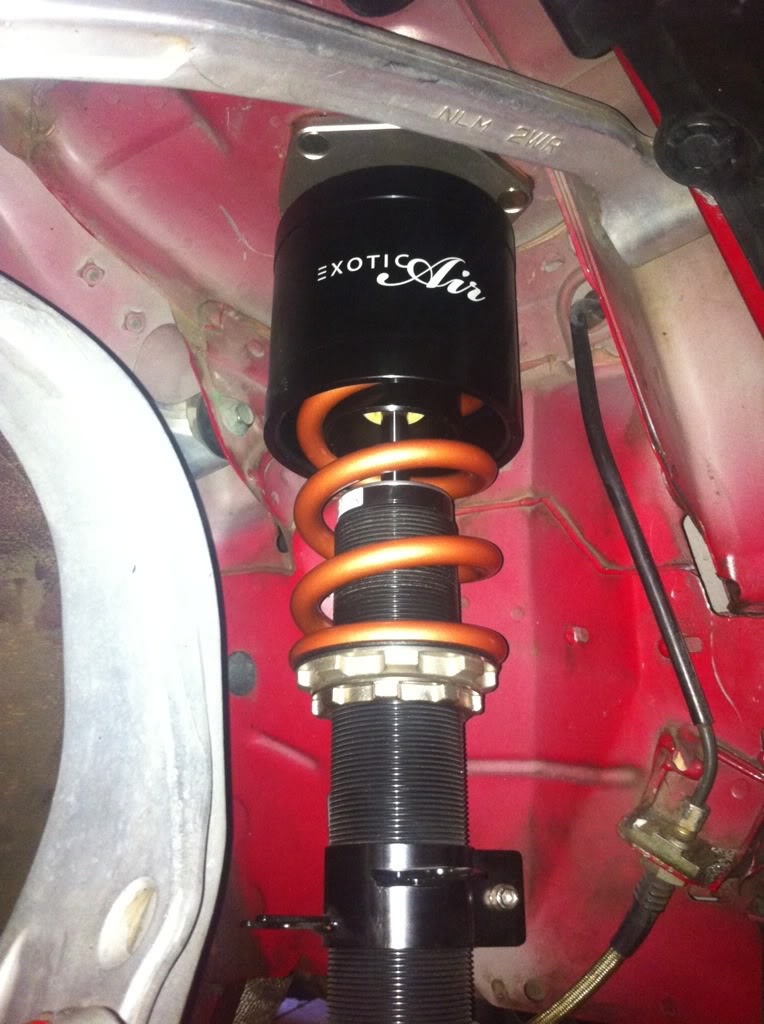
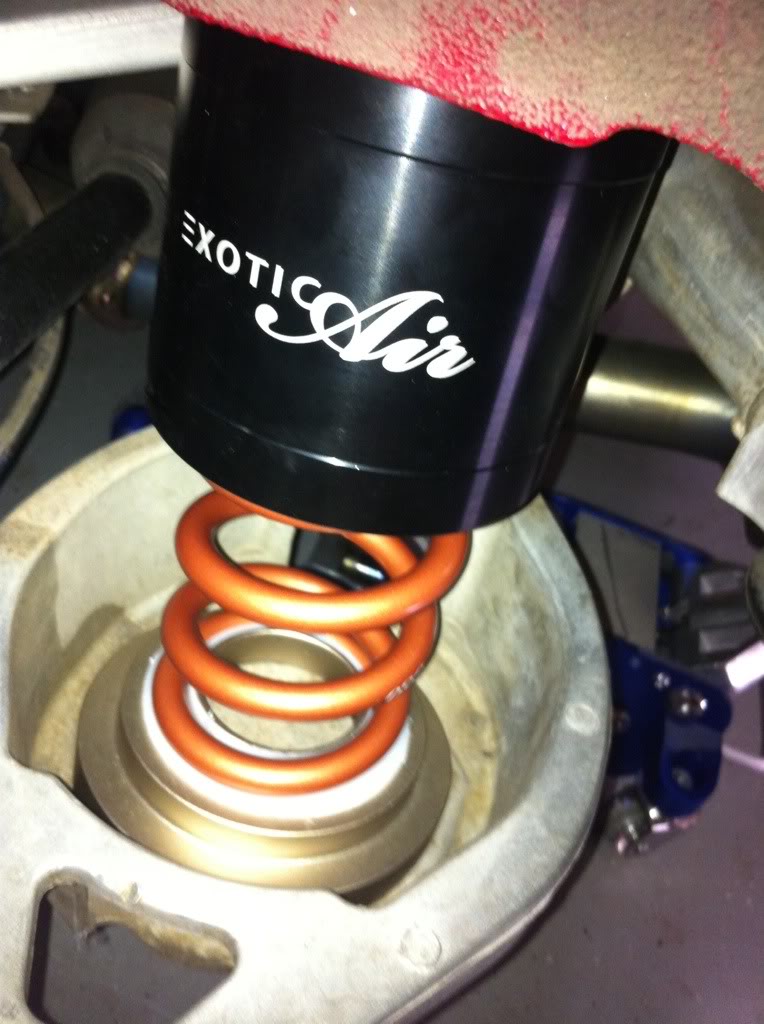
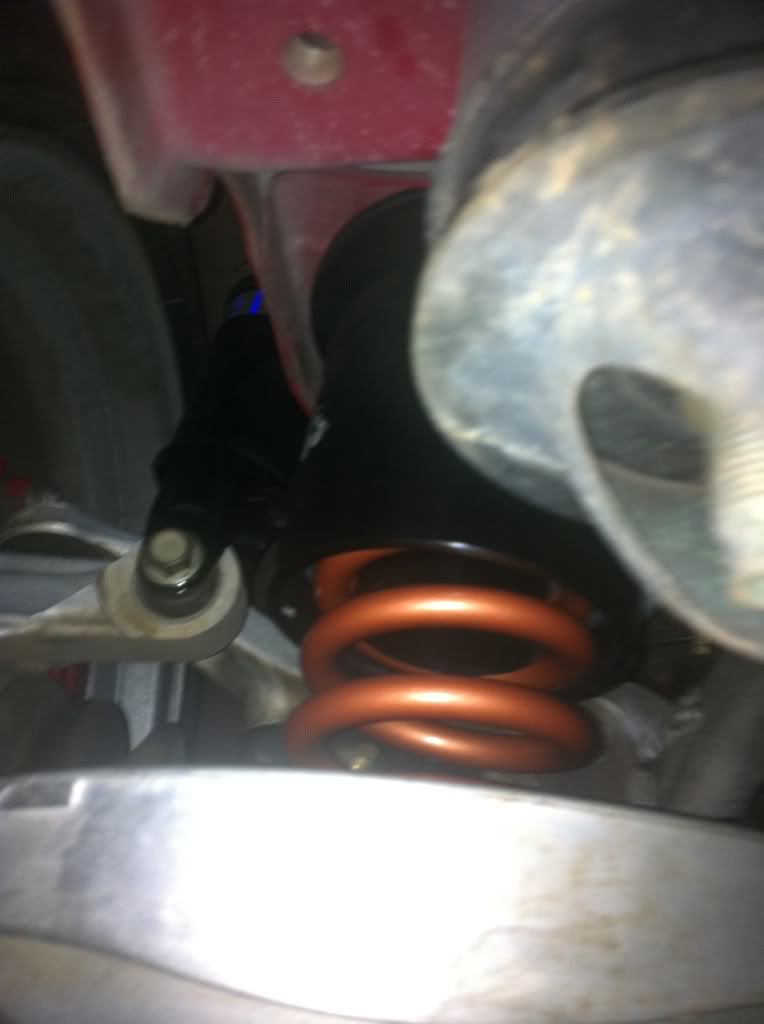
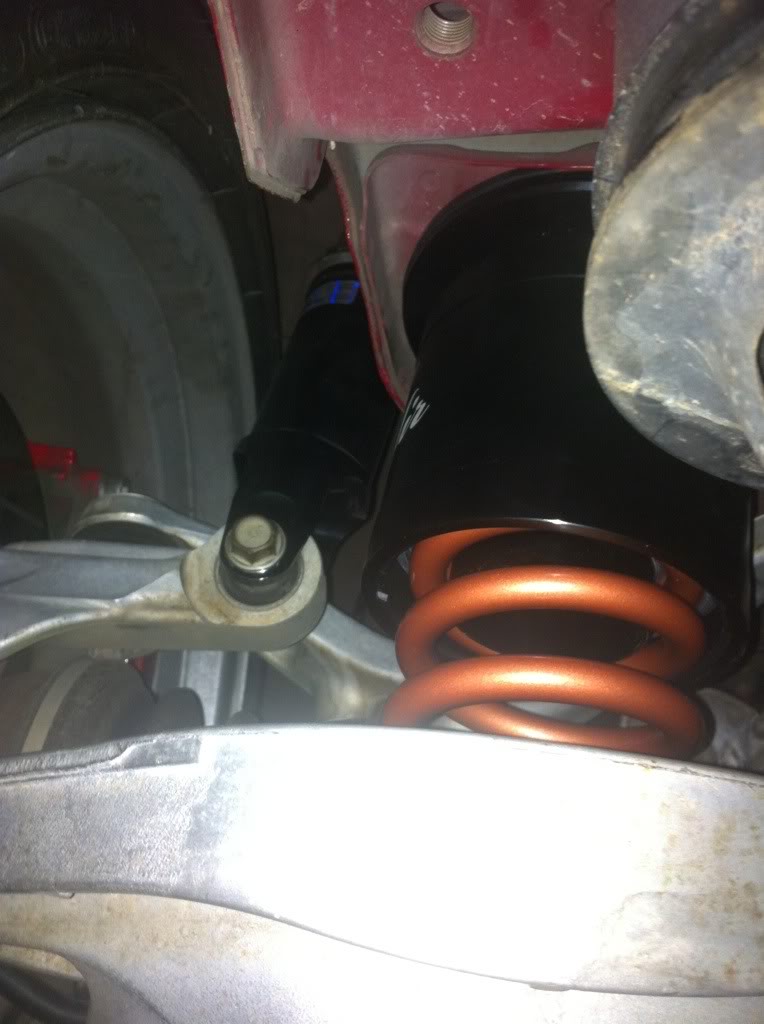
I put the cup on the BC spring perch, install spring and lower mount and put the spring bucket bolt back in.


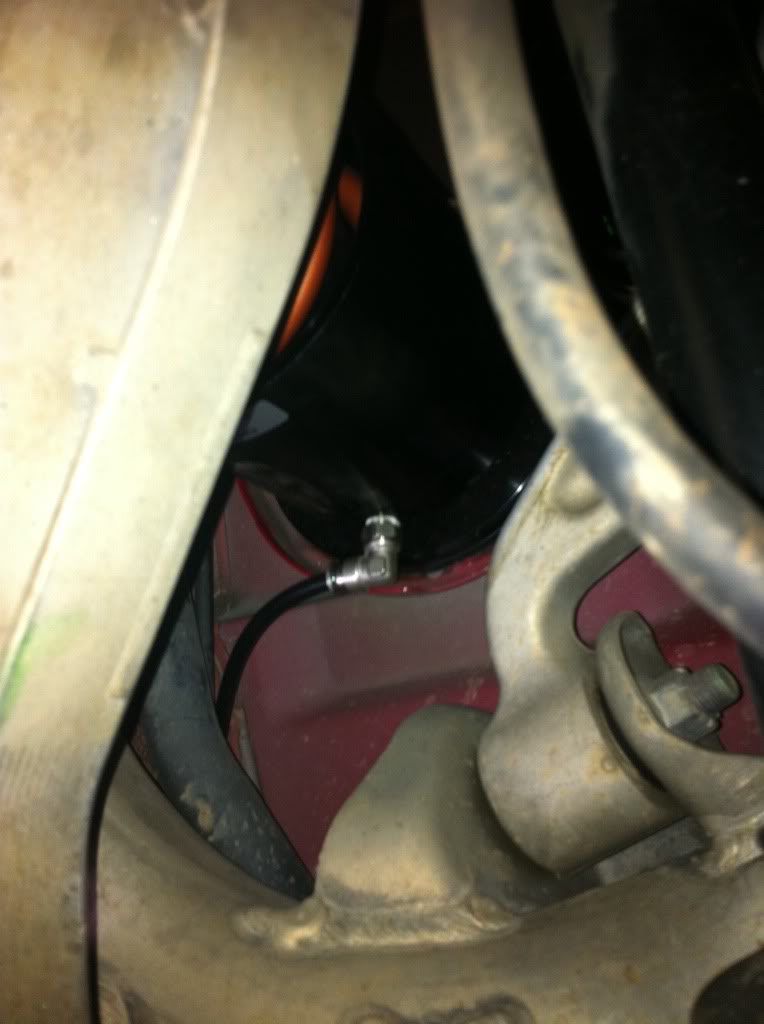
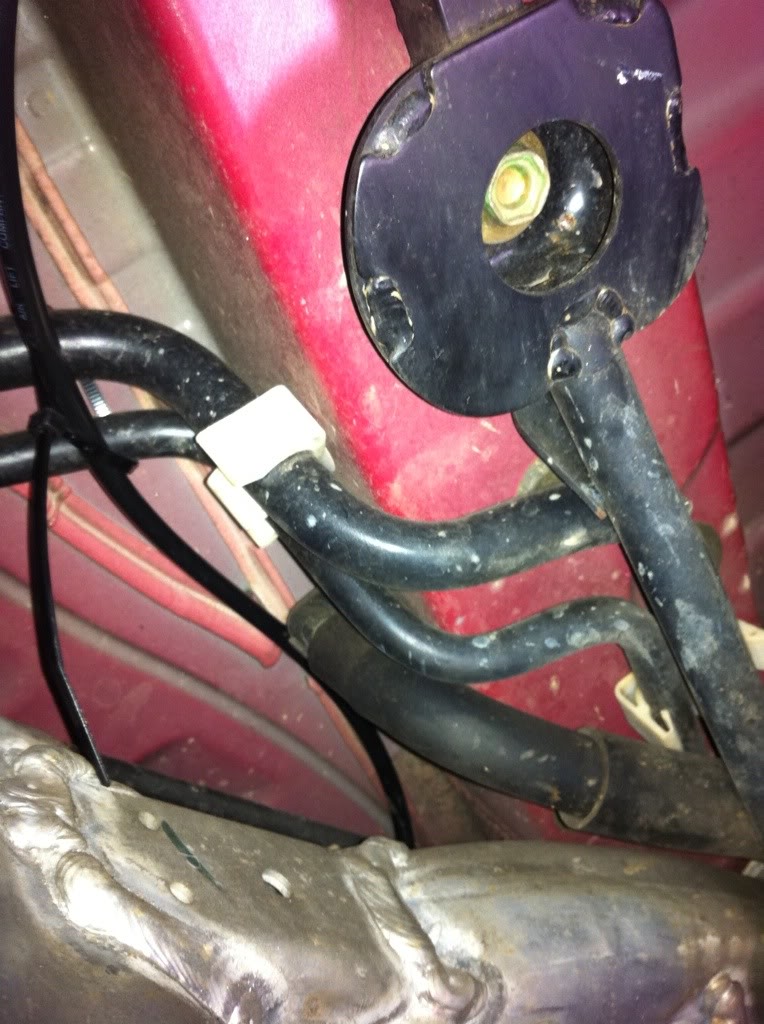
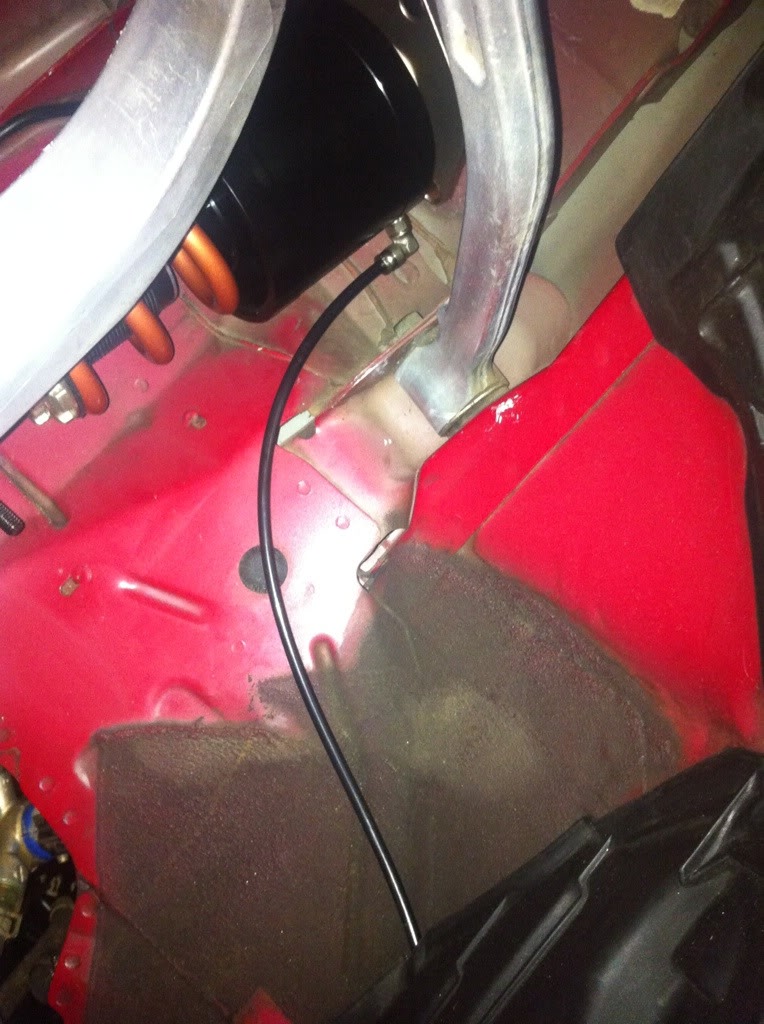
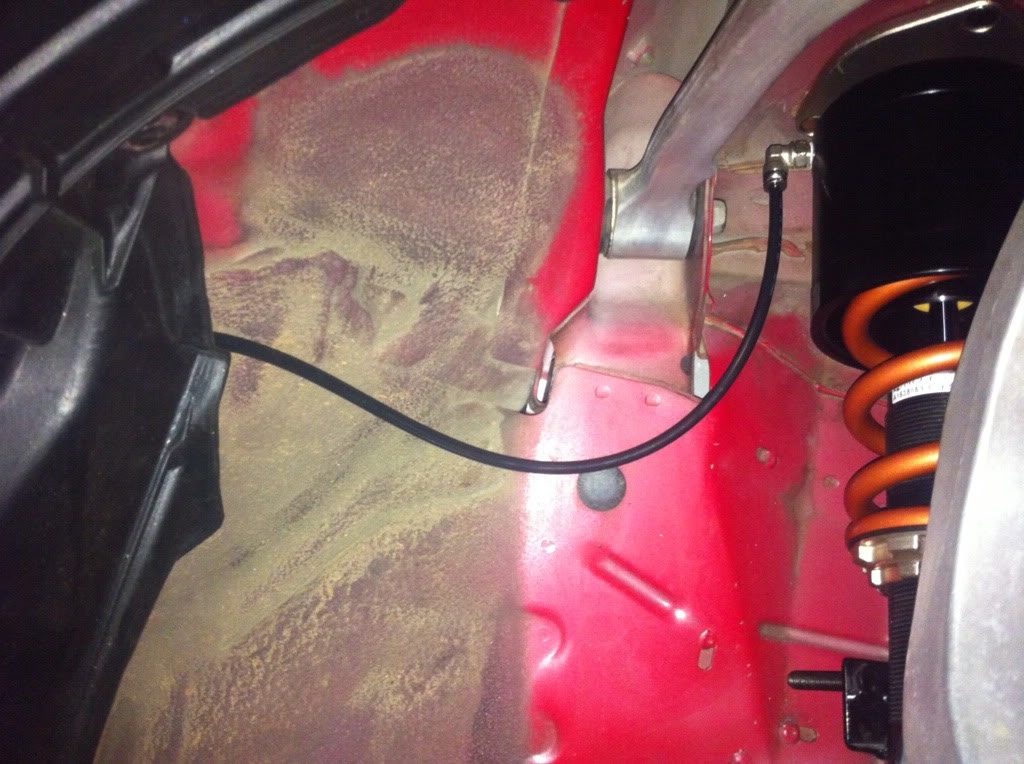
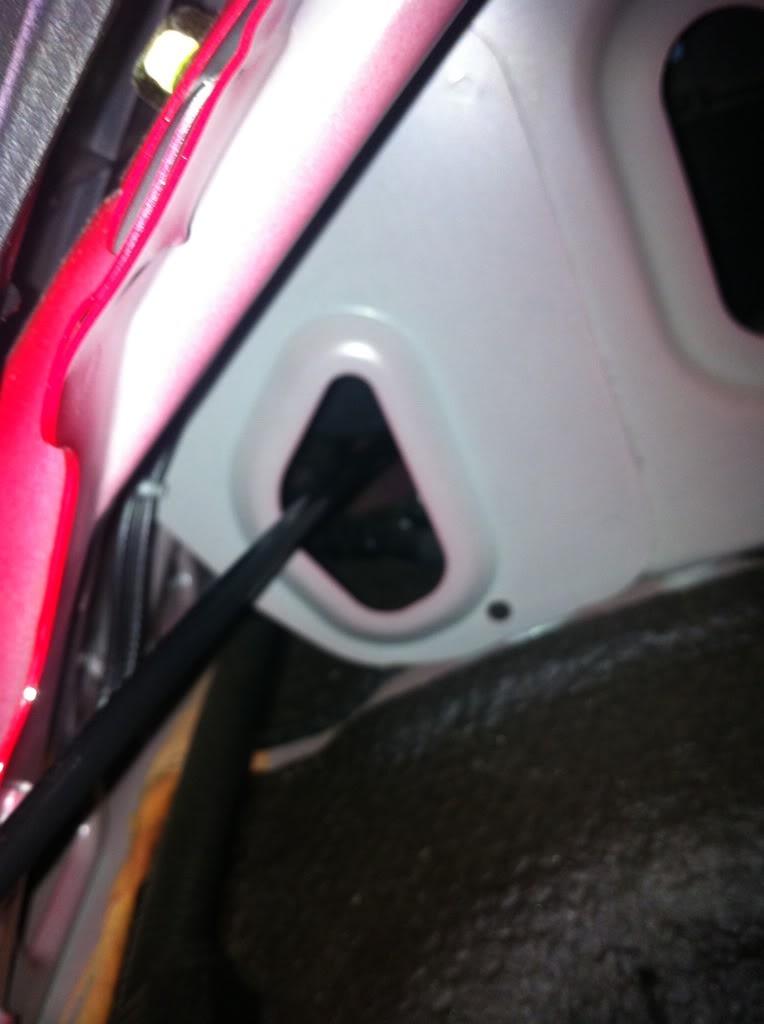
I routed the air hoses through the grommet in the rear hatch area, over the rear crossmember and over to the cups. For the rears, i let the swivel fitting sit parallel to the ground unlike the fronts. This was to accommodate the bend radius of the hose coming from the center of the car. This also keeps the hose tucked near the car body and away from moving parts and heat.
A shot from below the car:
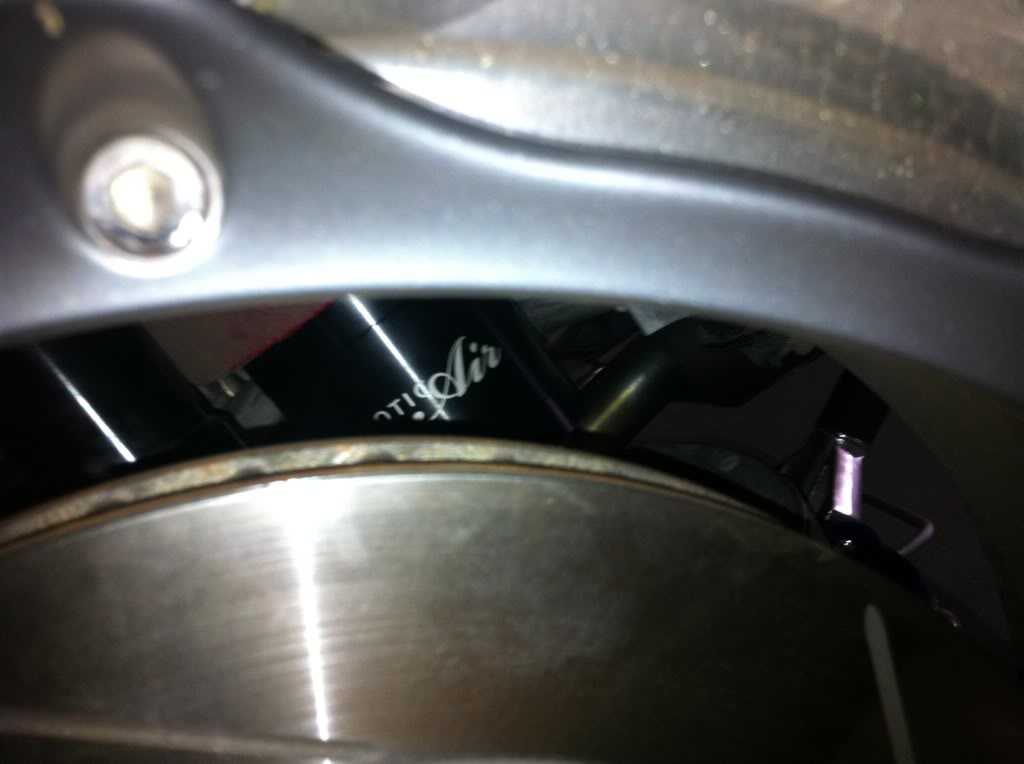
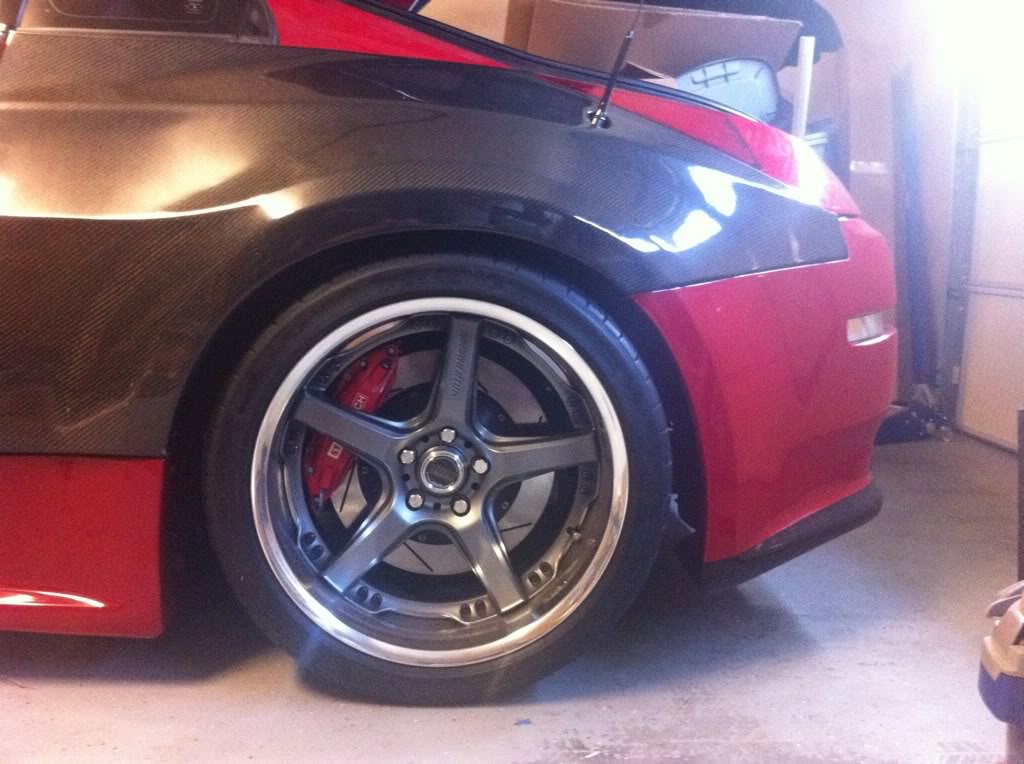
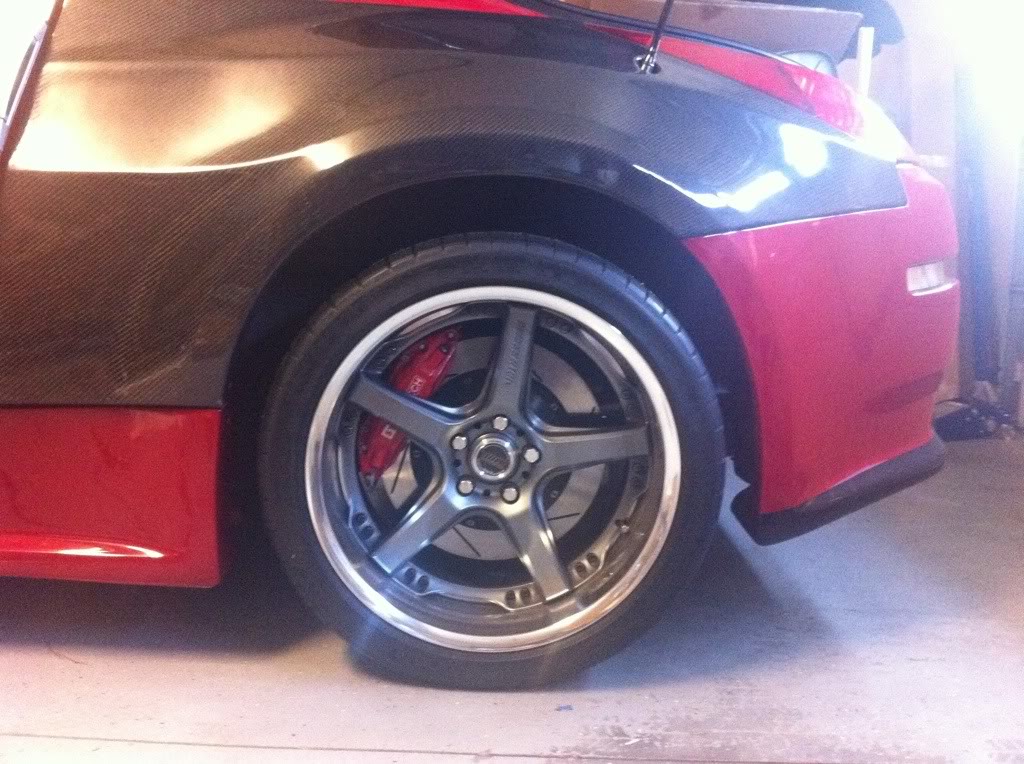
Through the spokes/rotor:
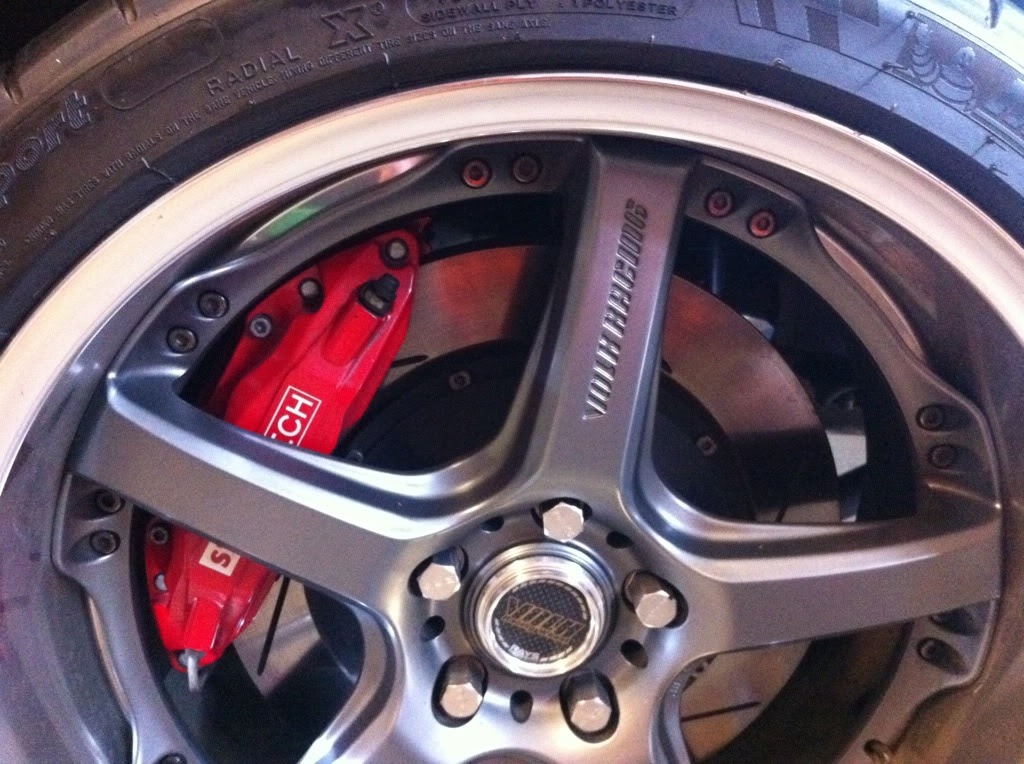
Front outside looking in:
Next up will be installing the compressor in the cubby, routing the hoses and solenoids.
I purchased 8 2way solenoids and 4 pressure transducers( 0 -200psi) to use with this system. My microcontroller will let the user turn the compressor on, choose front, rear, left, right, up/down and show the status/pressures. It is a fun little project and not necessary for the kit. ExoticAir provides what you need ( some real nice metal push to connect fittings too!) for the install.
Update Jun 25, 2012:
More install progress and testing of the rear cups:
down: (yes, i will be ordering different springs to go lower)
up: (not at 200psi, got tired of waiting for the compressor and without a pressure gauge i did not trust the pressure switch 100%. At 200psi the rear will be higher)
Not bad! That will definitely clear many obstacles and speed bumps.
Shots of the cups from under the car with the cups extended:

More install pics:
Hose routing:
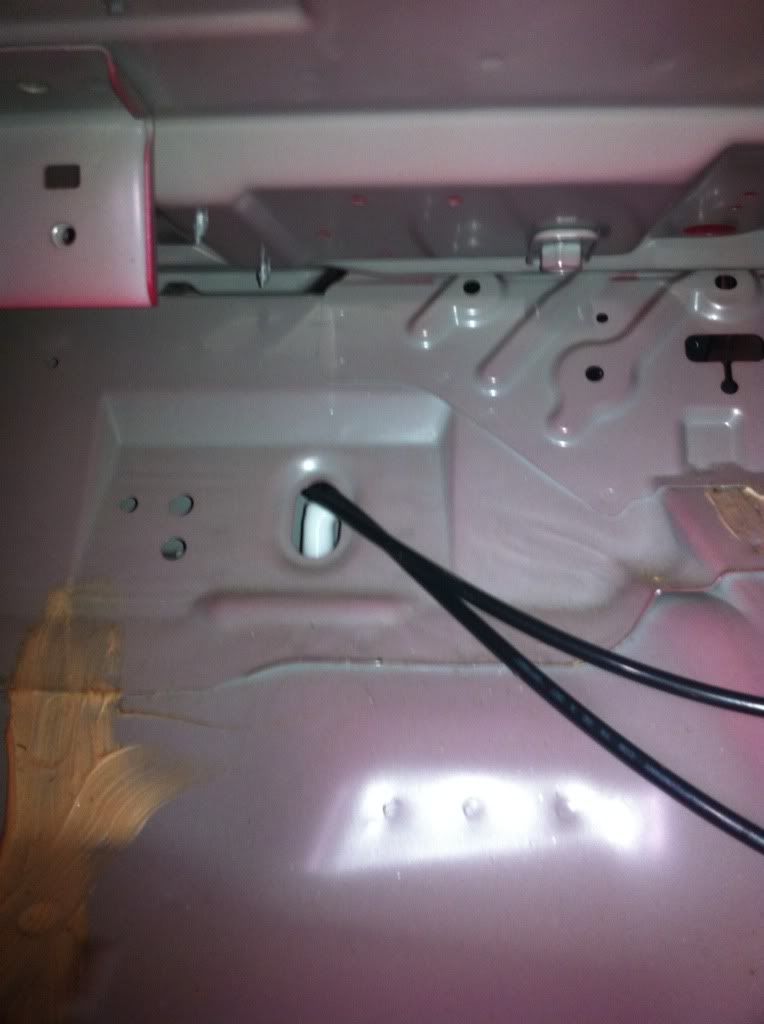
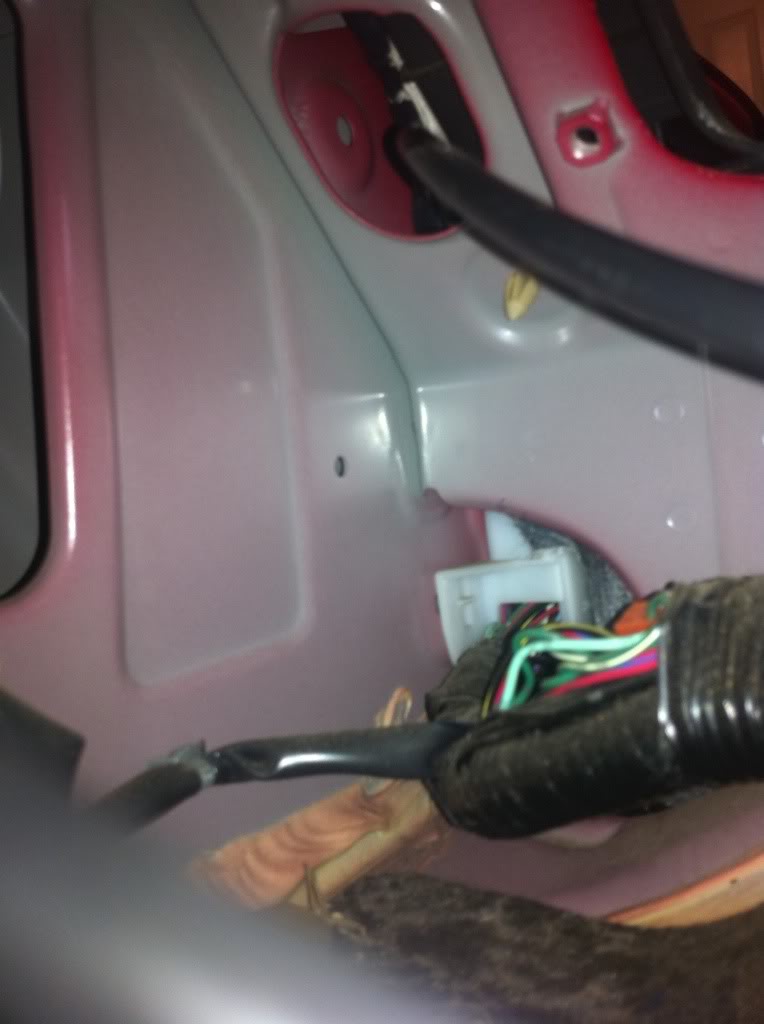
The fronts come through the firewall and then run up by the kickplates under the carpet and enter the rear cubby area from the sides. The rears come up in the hatch area and then enter the rear cubby from an access hole. I put a silicone cap over a thread stud that was blocking the hole a bit. You can see it in the pic above, its white.
Air tank behind the drivers seat:

UPDATE: 6-13-2014
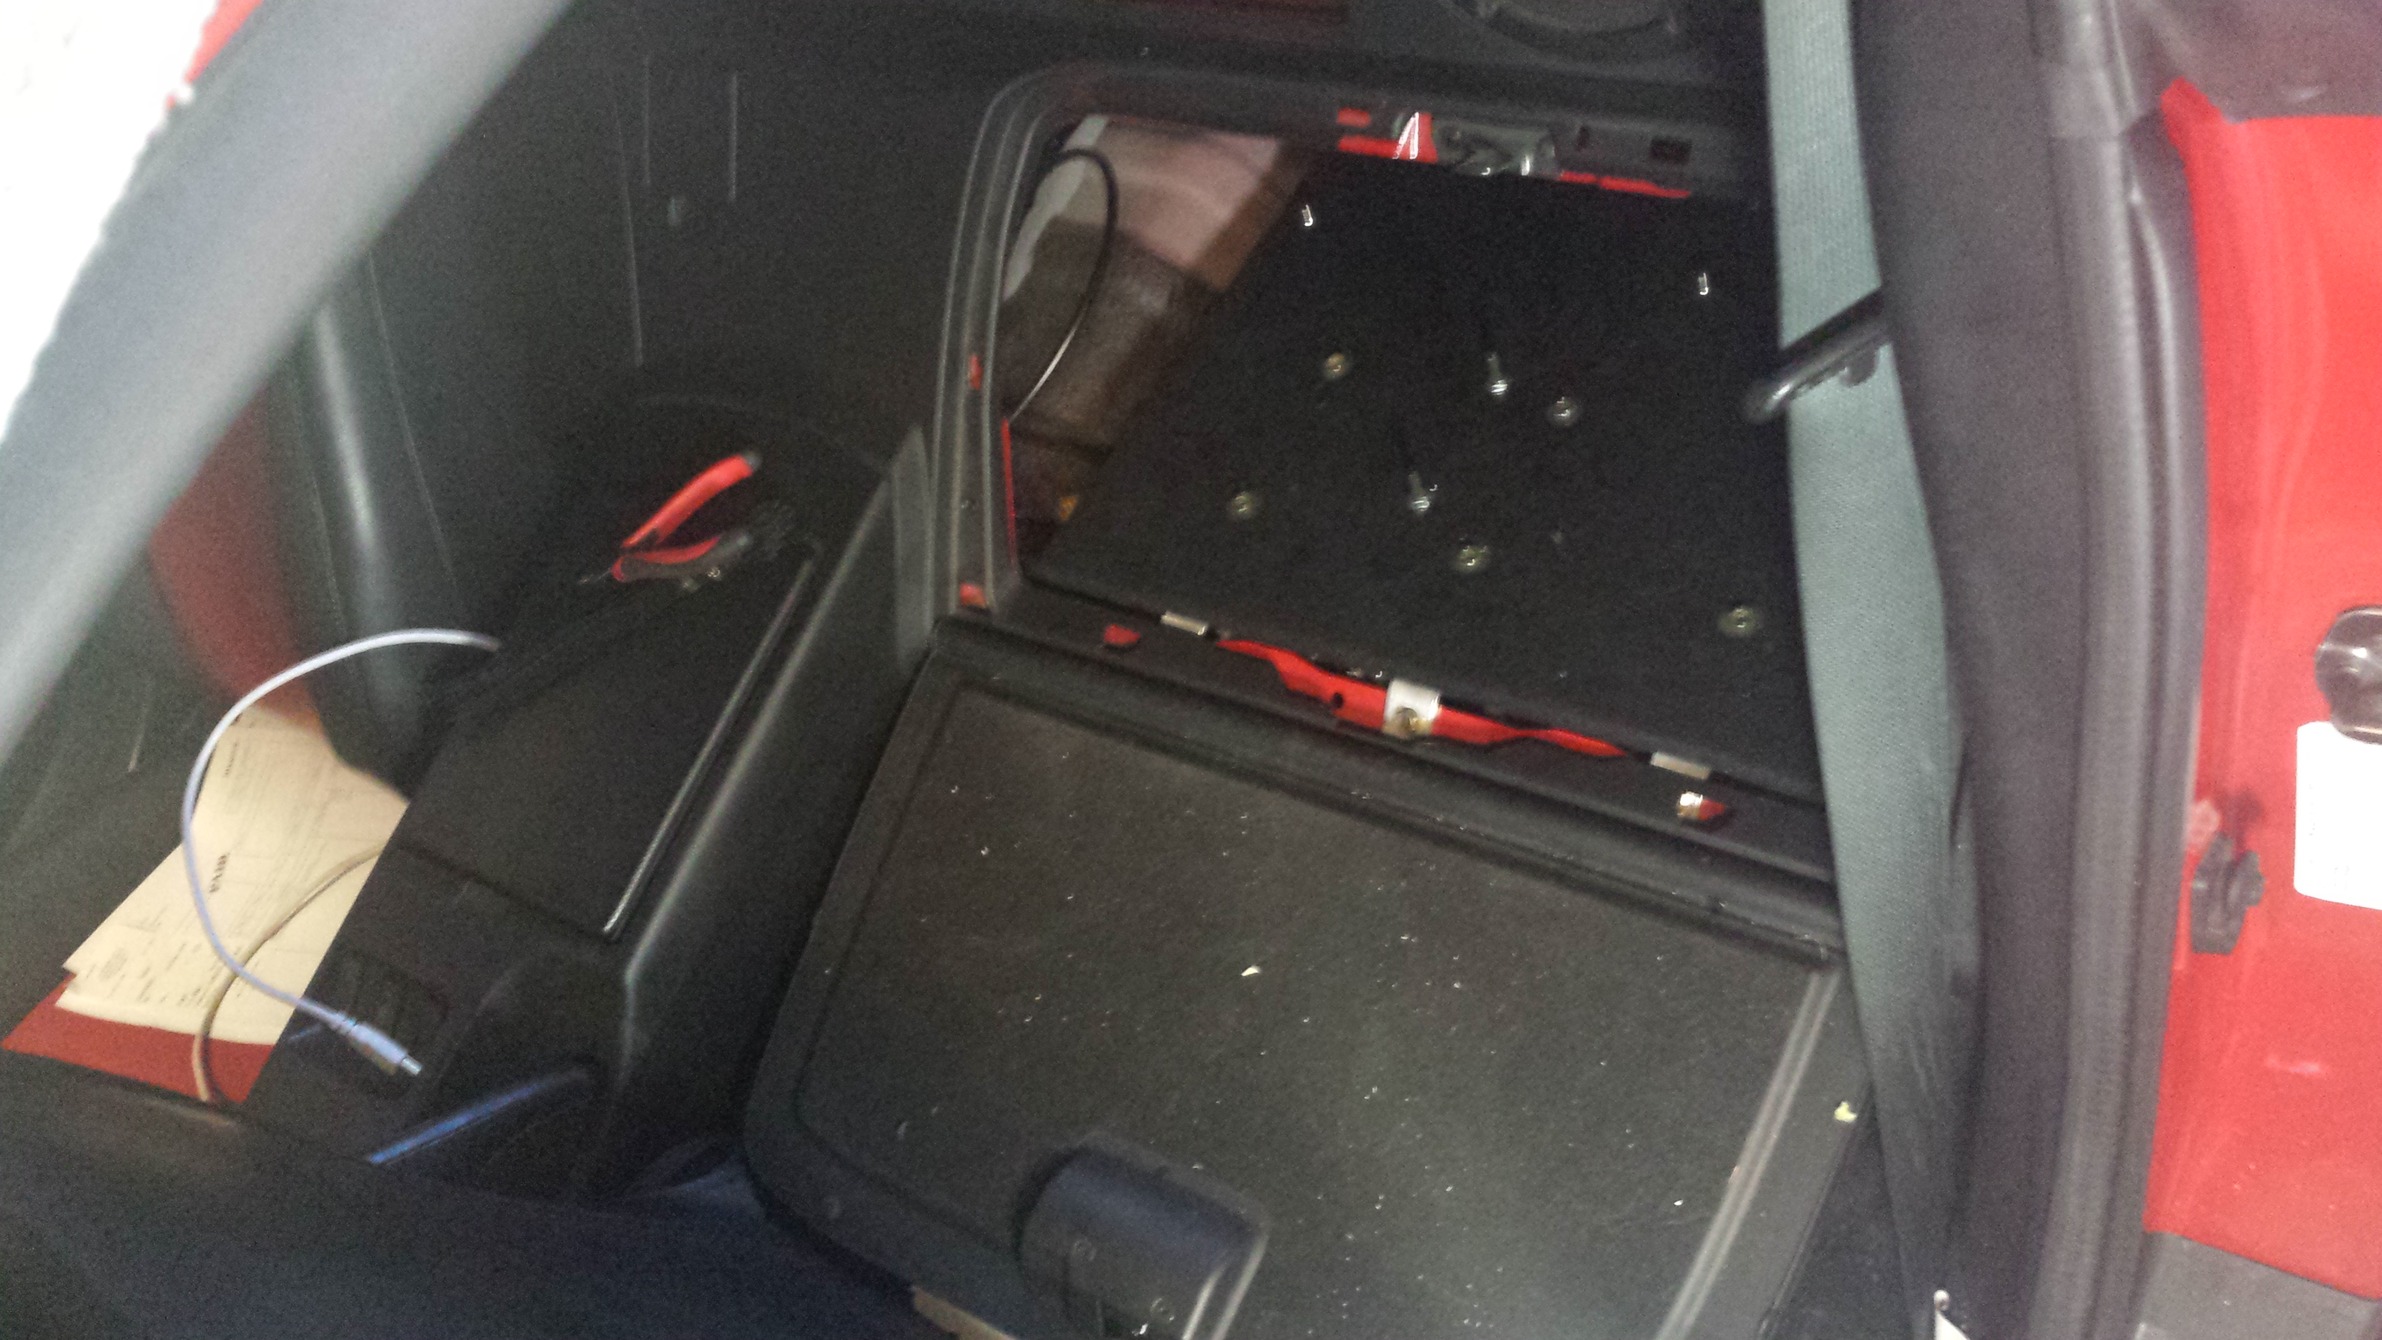
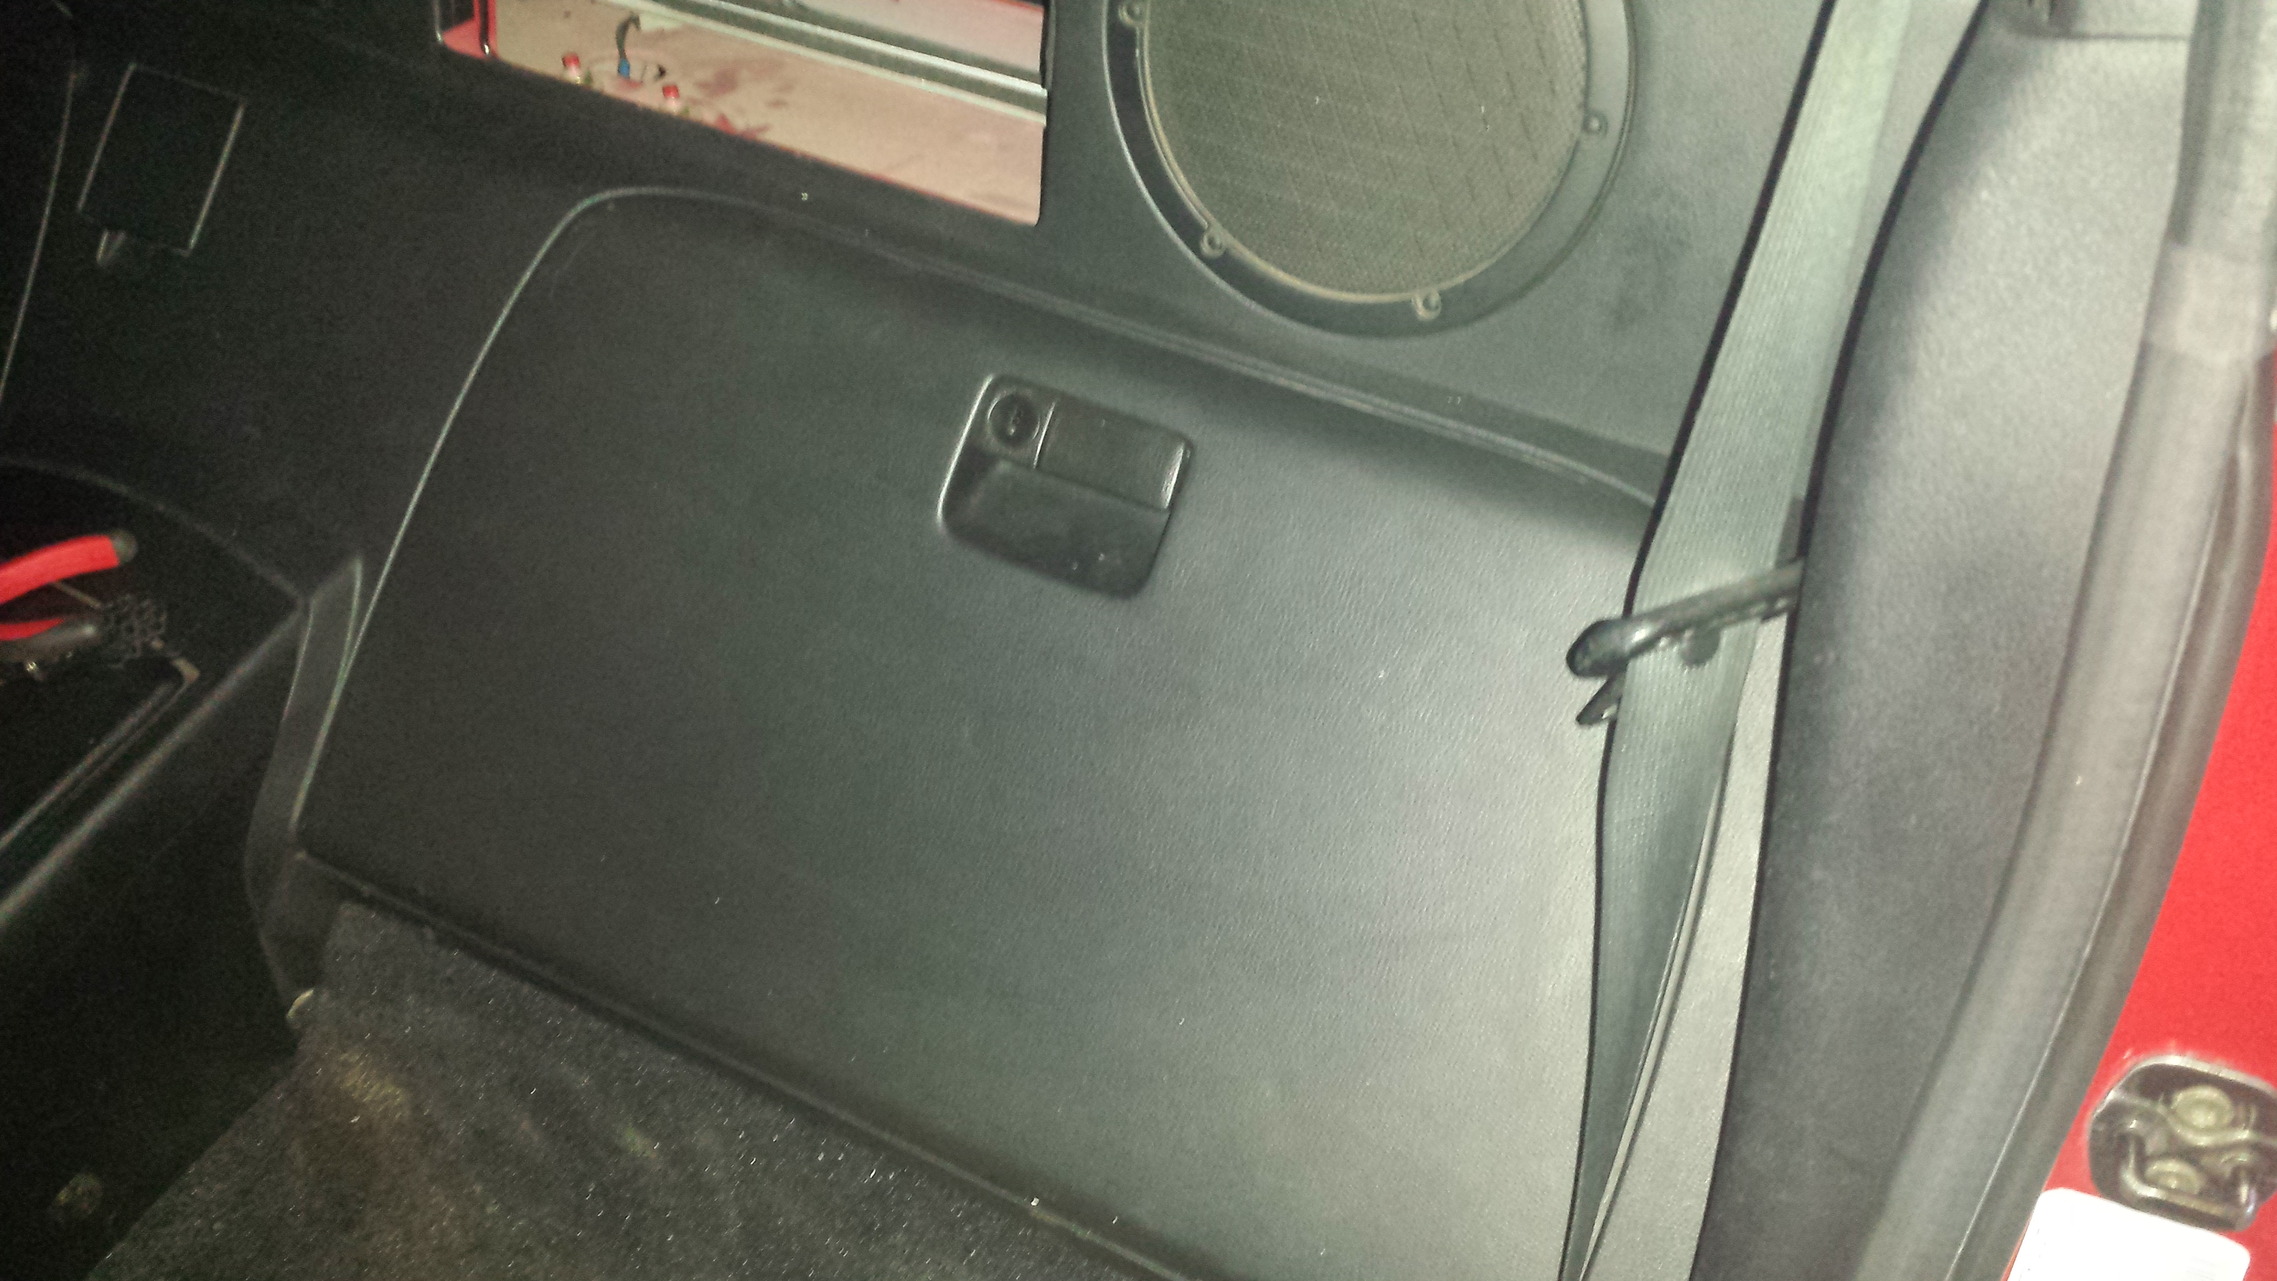
I am a glutton for punishment. After doing previous installs of NO2 inside the cubby, the first version of the Air Tank/Compressor I decided to redo it. I wanted something that looked a bit more clean and easier to use. I installed a false floor in the drivers side cubby (yes, i have door on my drivers side too and yes its lockable )
)
In total it has taken about 8-10hrs to build. From removal of the old system, mock ups, test fits, drill/taps measure and re-install. A lot of work for a simple piece.
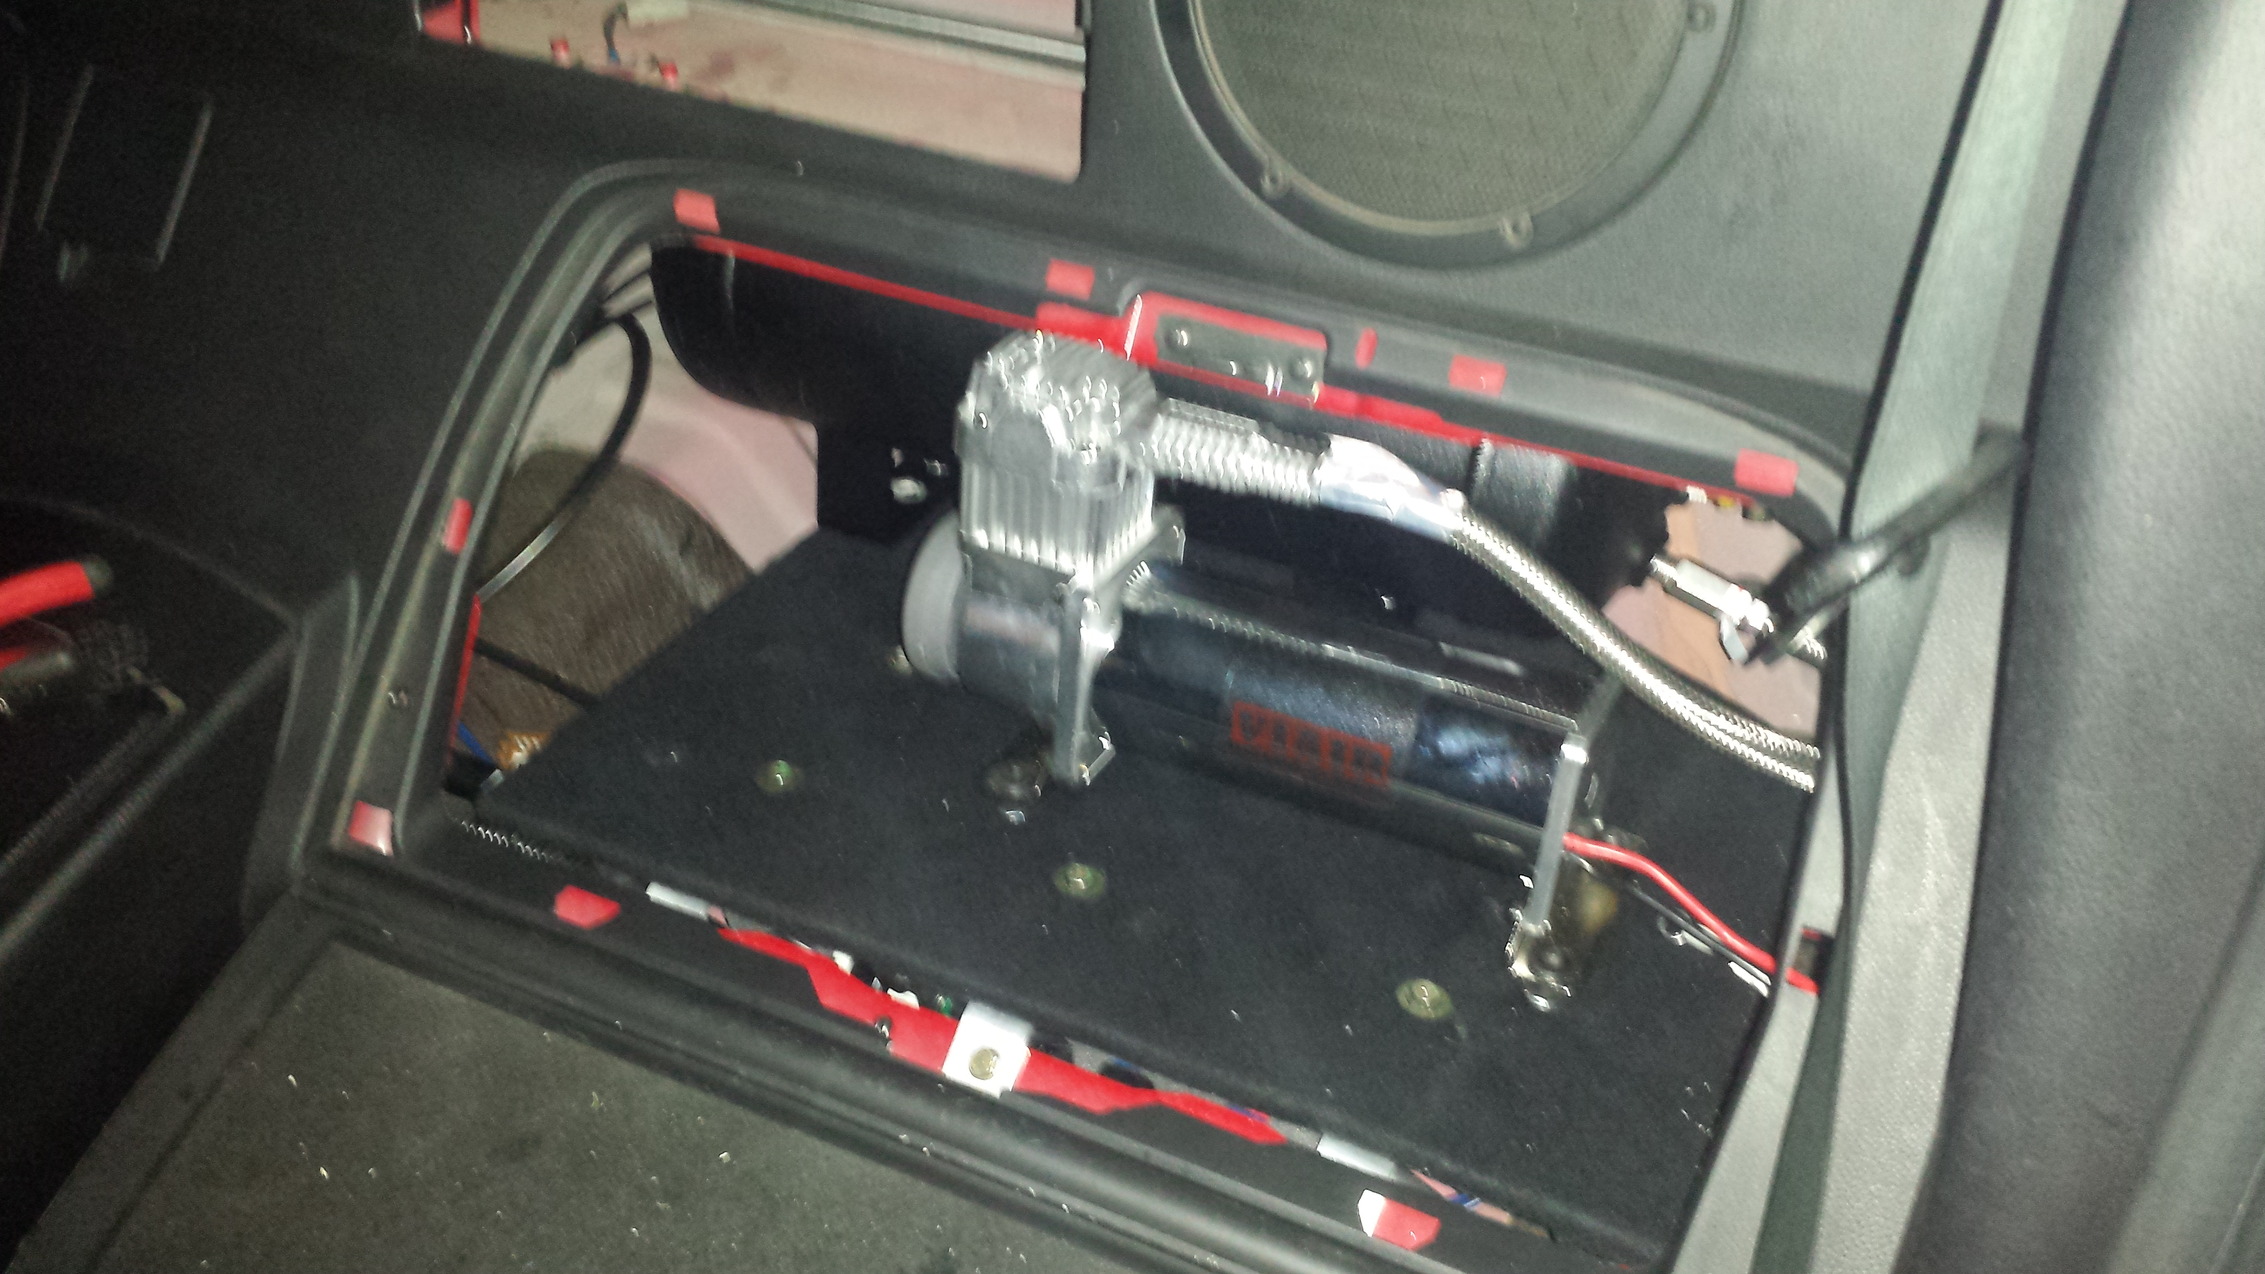
False floor reinstalled. It sits on some foam padding for noise and vibration alleviation. The base support is aluminum that attaches at the front. I have to install the tank and compressor onto the floor once the floor is inside the cubby. What a PITA but its a tight fit. Floor is 1/4" plywood covered in felt. Matches the oem interior very well.
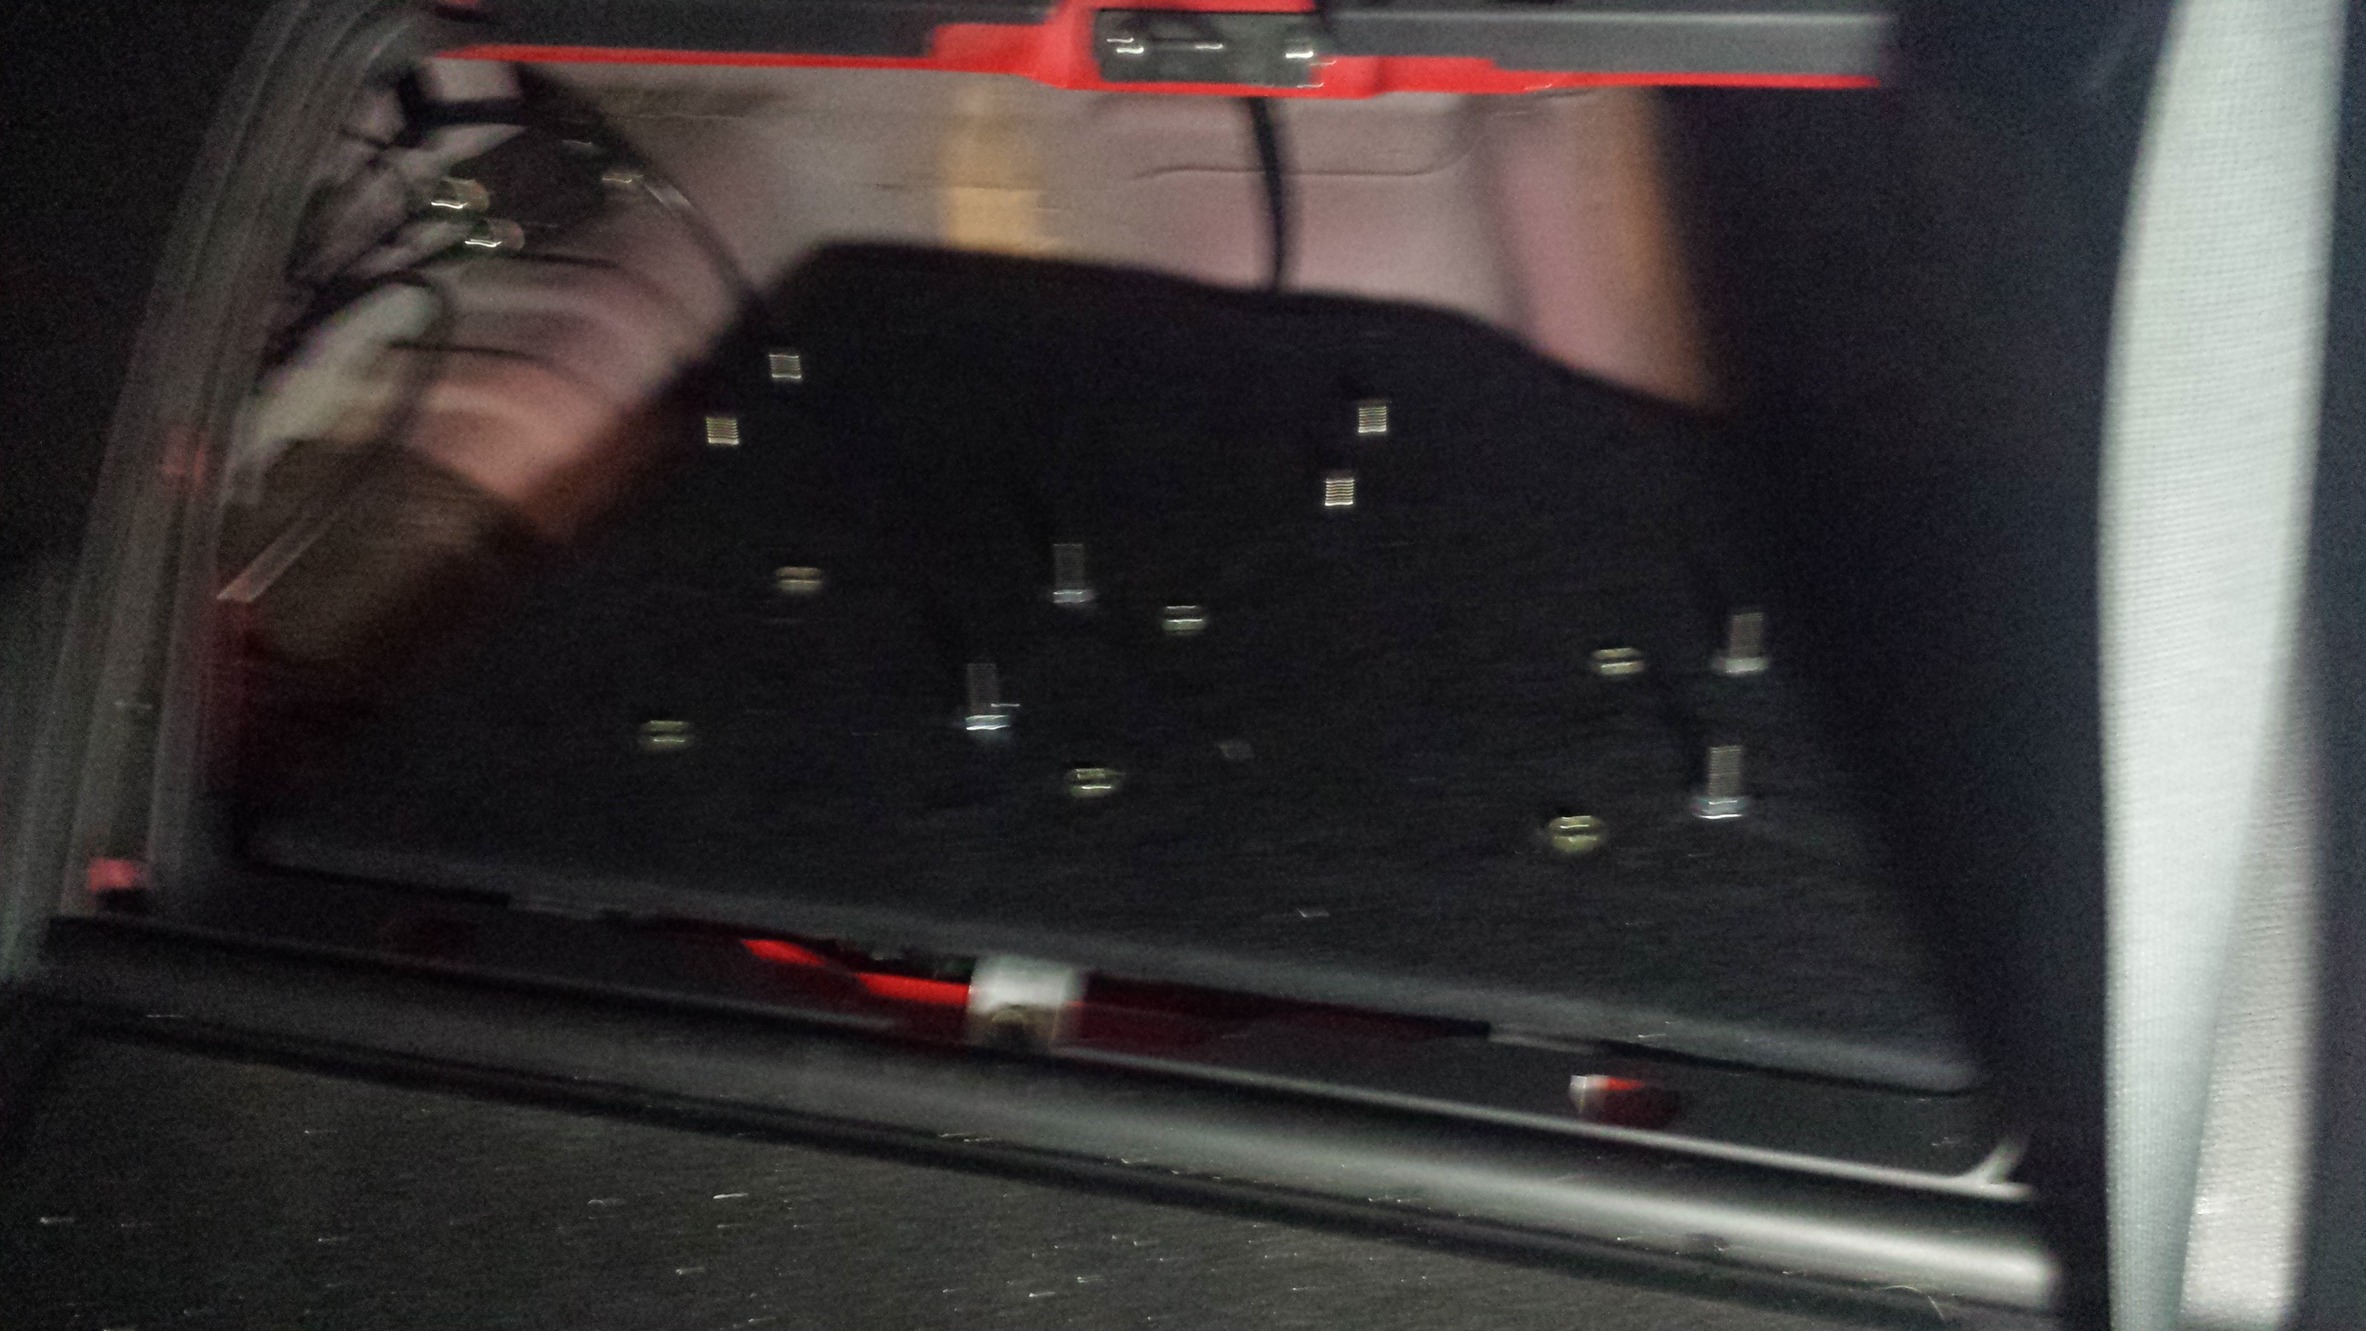
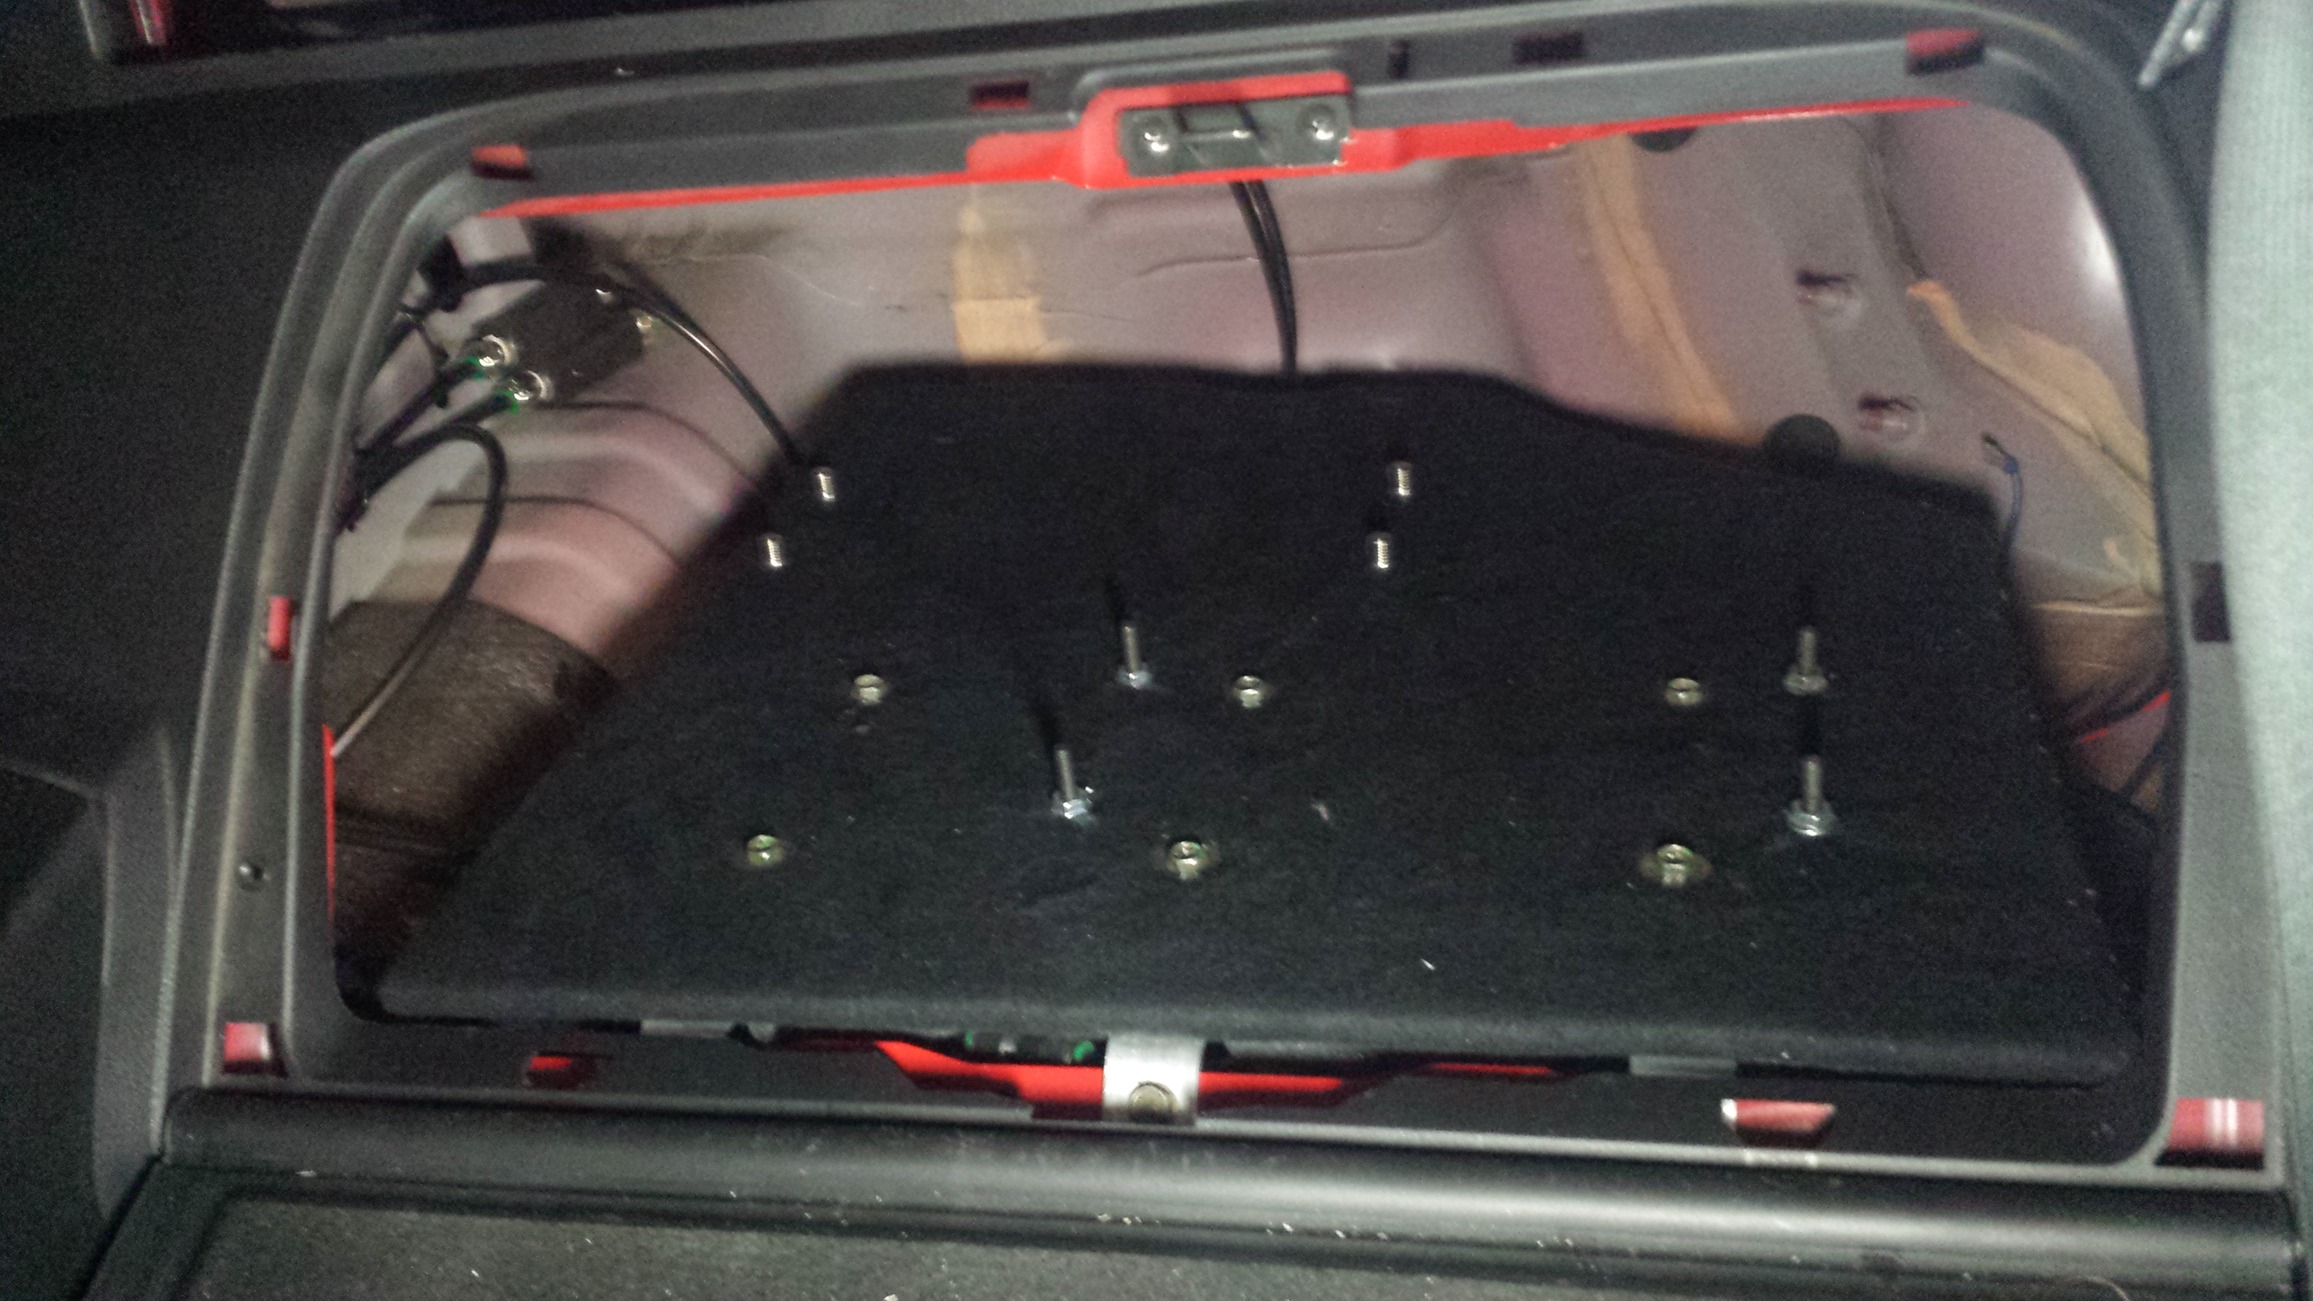
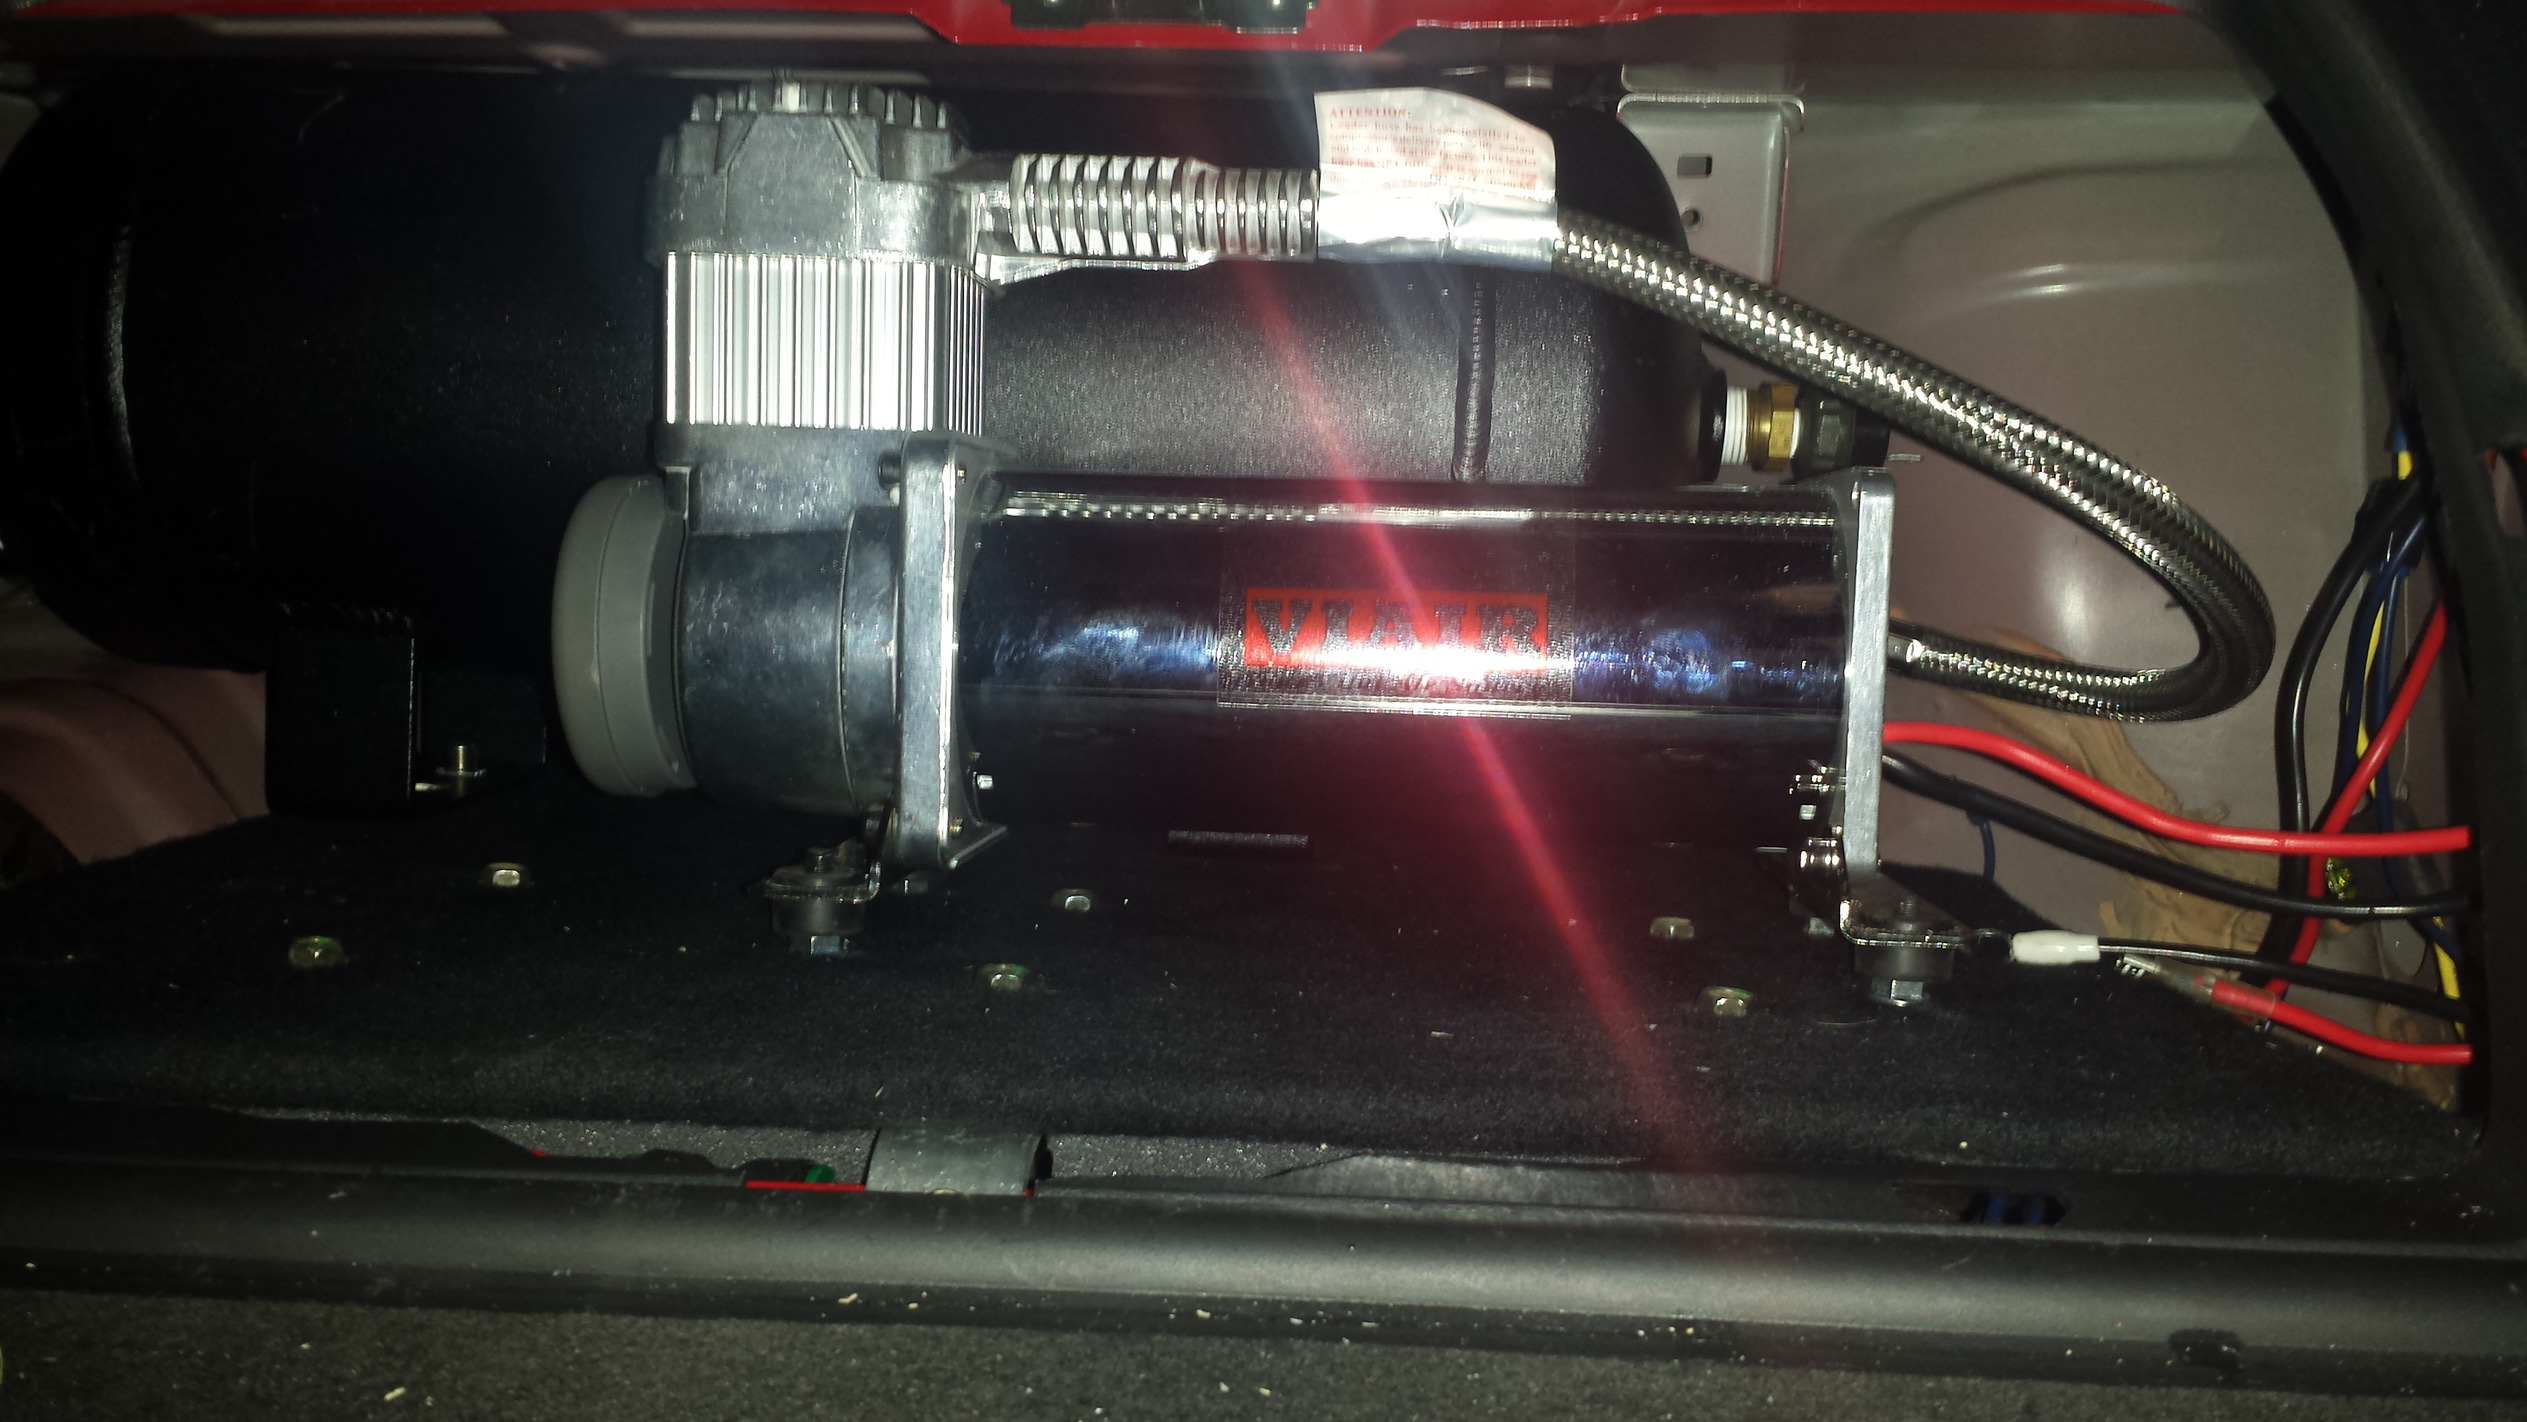
I installed 4 studs to hold the tank and 4 studs to hold compressor.
Why did I choose ExoticAir since it was not the most affordable of the kits available?
In terms of price, Roberta was the most expensive and Phantom the least. Platinum was well priced but hard to get a hold of the sellers. EA was easy to get a hold of, stateside and the price was well within reach. The cups look better, The finish is much better than the raw aluminum the others provide.
The EA kits also do not use the shock shaft for a seal which was my #1 reason. Good luck getting anything out of Phantom or PlatinumVIP. It has already been said that Ravi from Umbrella can be a pain to deal with.
I cannot say enough about Solomon from ExoticAir. We probably exchanged over 100 emails over the past 2 months. He even helped with some test fits and going of the technical aspects of getting the OEM rear to work.
RAvi from Umbrella would not even entertain the idea of making the OEM 350z rear setup work. The problem with the rear of the 350z is that to put a cup on the coil you are going to have to modify the rear unibody some and then get the correct KG spring...close to a 5kg for me. I do not want an true type rear coilover system.
The plan was to use:
4 wheel cup kit by EA
Rear cup bored out to 50mm to accept the rear BC spring perch
SPL rear mid titanium links ( not used afterall)
10kg, 180mm, 65mm id front swift springs
8kg, 200mm, 65mm id rear swift springs
BC BR coilovers, non true style
3 Gallon tank and compressor will be installed in the rear cubby area.
I will be making my own microcontroller system to inflate/deflate the cups, monitor the pressures and controller the compressor cycling
Note, there are a few things about my car that made this install a breeze that most others may not be able to take advantage of.
1. I do not have an oem hood latch. Also do not have a release cable for it. This gave me a grommet on the driver side to pass the front left air hose through. It is only 1/4"od so it was easy to run.
2. I do not have the oem rear washer system. this gave me a grommet on the passenger side to run the front right air hose through.
3. I do not have the oem rear exhaust. I have the ARC dual titanium, twin canister exhaust. I have removed the heat shield as well which let me run the air hose for the rear cups right out of an existing grommet. I also do not have a spare tire either.
4. Gutted the rear bose sub.......pos!
Front install:
Remove the stock strut. Search for the DIY on those. (real quick, i remove the nut from the upper control arm to the front spindle, remove the top 3 nuts holding the strut, the bottom bolt and remove, real simple)
Before I removed my Bc strut I loosened all the collars for height and pre-load adjustment. This is a lot easier to do on then car than off.
Once you get the spring off you also have to get the washer that is sitting on the shaft perch off. Install the cup between the perched washer and spring. Top hat and hardware should go back on just like stock.
If you want to lower your car some more, now is the time. I did another .5" on the front. Loosen up the lower lock collar and raise it .5" as well as the fork. Re-tighten.
Get everything installed back in place(much easier to get back in with the shortened strut):
Set the spring preload so that the spring is not loose. Be sure to keep the cup oriented where you can see the logo.........oh and keep the air fitting in a convenient spot. I had both the front air fittings pointing to the ground and at the rear of the cup so that I could route the hose up to them against the unibody.
Like I said above, i installed the air hose in oem grommet locations. I routed the hose behind the fender liners and used some zip-tie pads to keep them in place(not shown).
Rear:
Rear swaps in much easier, as long as bolts don't shear, fml. Only 1 bolt per side. You have to remove the bolt that is holding the spring bucket to the knuckle. I had attempted to use the SPL's but aborted since I had such a long spring and the spl does not set the base of the spring in the exact vertical location of oem bucket. I may swap back to the spl's and a 10kg, 160mm spring.
I put the cup on the BC spring perch, install spring and lower mount and put the spring bucket bolt back in.
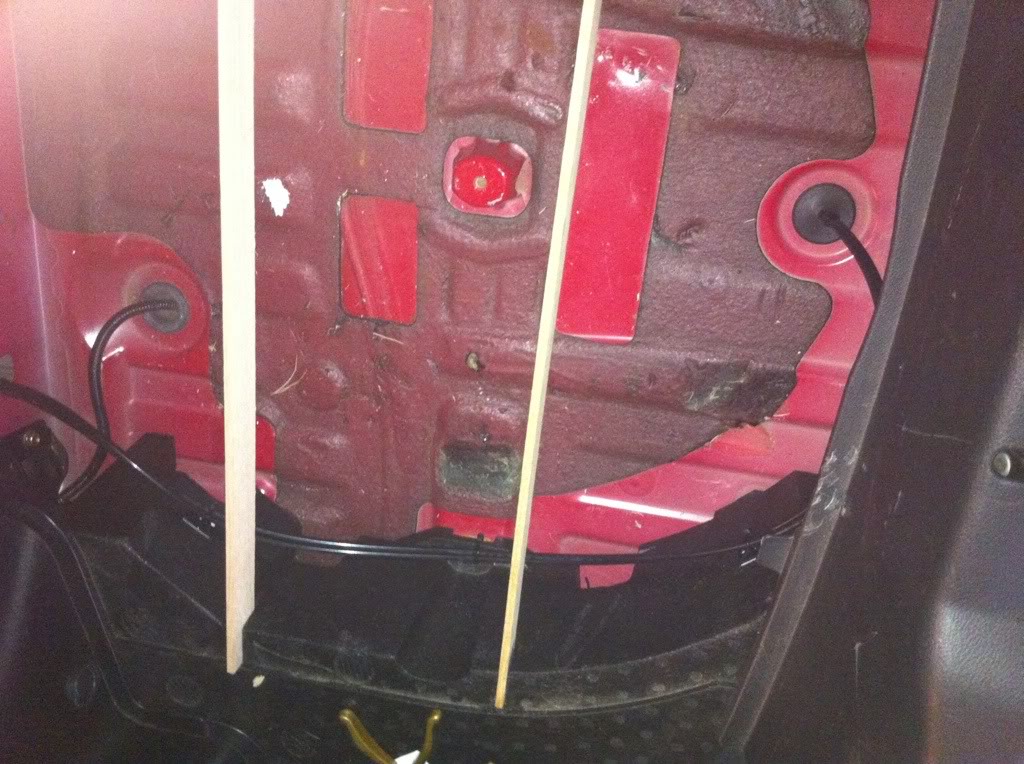
I routed the air hoses through the grommet in the rear hatch area, over the rear crossmember and over to the cups. For the rears, i let the swivel fitting sit parallel to the ground unlike the fronts. This was to accommodate the bend radius of the hose coming from the center of the car. This also keeps the hose tucked near the car body and away from moving parts and heat.
A shot from below the car:
Through the spokes/rotor:
Front outside looking in:
Next up will be installing the compressor in the cubby, routing the hoses and solenoids.
I purchased 8 2way solenoids and 4 pressure transducers( 0 -200psi) to use with this system. My microcontroller will let the user turn the compressor on, choose front, rear, left, right, up/down and show the status/pressures. It is a fun little project and not necessary for the kit. ExoticAir provides what you need ( some real nice metal push to connect fittings too!) for the install.
Update Jun 25, 2012:
More install progress and testing of the rear cups:
down: (yes, i will be ordering different springs to go lower)
up: (not at 200psi, got tired of waiting for the compressor and without a pressure gauge i did not trust the pressure switch 100%. At 200psi the rear will be higher)
Not bad! That will definitely clear many obstacles and speed bumps.
Shots of the cups from under the car with the cups extended:
More install pics:
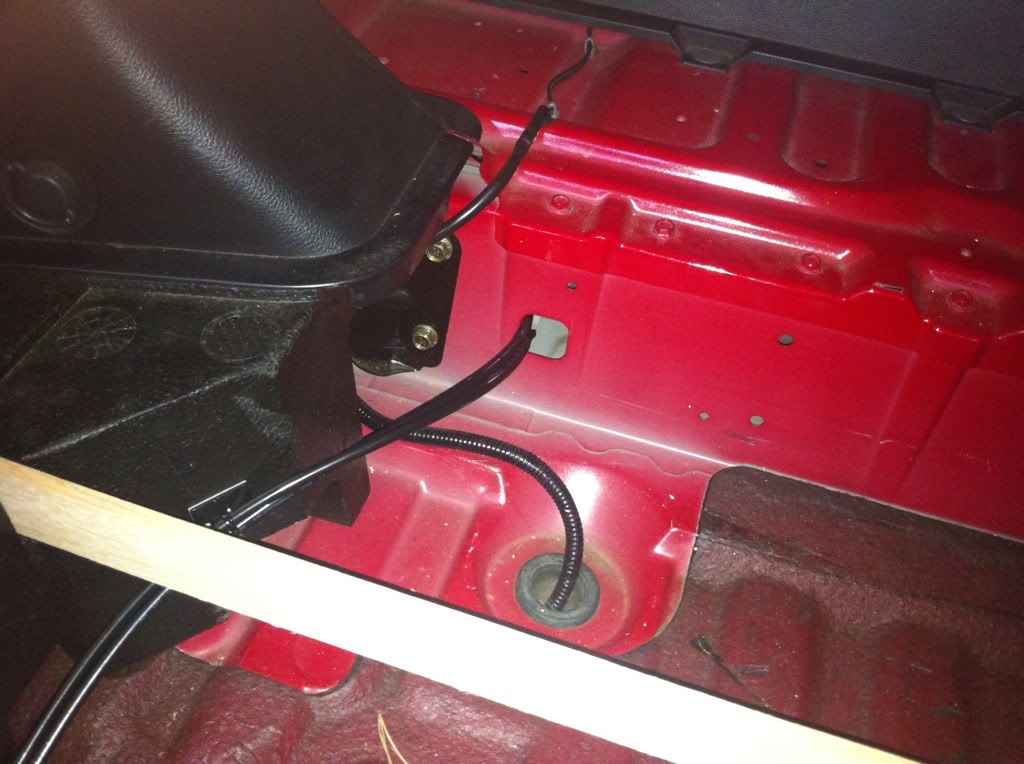
Hose routing:
The fronts come through the firewall and then run up by the kickplates under the carpet and enter the rear cubby area from the sides. The rears come up in the hatch area and then enter the rear cubby from an access hole. I put a silicone cap over a thread stud that was blocking the hole a bit. You can see it in the pic above, its white.
Air tank behind the drivers seat:
UPDATE: 6-13-2014
I am a glutton for punishment. After doing previous installs of NO2 inside the cubby, the first version of the Air Tank/Compressor I decided to redo it. I wanted something that looked a bit more clean and easier to use. I installed a false floor in the drivers side cubby (yes, i have door on my drivers side too and yes its lockable
)In total it has taken about 8-10hrs to build. From removal of the old system, mock ups, test fits, drill/taps measure and re-install. A lot of work for a simple piece.
False floor reinstalled. It sits on some foam padding for noise and vibration alleviation. The base support is aluminum that attaches at the front. I have to install the tank and compressor onto the floor once the floor is inside the cubby. What a PITA but its a tight fit. Floor is 1/4" plywood covered in felt. Matches the oem interior very well.
I installed 4 studs to hold the tank and 4 studs to hold compressor.
Last edited by Cux350z; 06-13-2014 at 07:00 AM. Reason: spelling errors.

 06-24-2012, 03:51 PM
#4
350Z-holic
iTrader: (16)
Join Date: Aug 2006
Location: Scottsdale/coyote drophouse
Posts: 8,213
Received 399 Likes
on
227 Posts
hmm, weird.. my post delted itself.
ANyways, good job spending my next few paychecks for me lol..
Im certainly in to see the end result and what you feel the suspension downsides end up as.. sounds like it will be a great kit!
ANyways, good job spending my next few paychecks for me lol..
Im certainly in to see the end result and what you feel the suspension downsides end up as.. sounds like it will be a great kit!
Last edited by bmccann101; 06-24-2012 at 03:55 PM.
06-24-2012, 04:15 PM
#5
hatersgonnahate
Thread Starter
iTrader: (162)
Ill be sure to keep this updated. Probably wont do any more work on it until late july/august. Work has me out of town for a while.
AFAIK this is the first 350z in the world with a rear spring location and cup kit.
AFAIK this is the first 350z in the world with a rear spring location and cup kit.
 06-24-2012, 05:14 PM
#7
Trending Topics
06-24-2012, 05:46 PM
#9

Awesome work! I have also been wanting to do this forever. Had even considered going the route of this guy simply because the Roberuta is crazy $$$:
http://www.rx7club.com/showthread.php?t=965381
I never got very far though as the engineer I was speaking with was a fawking idiot and told me that this type of air cylinder would compress the spring without raising the car.
Nevertheless
It's nice that there are some more affordable solutions hitting the market now though. Congrats to you. In for the progress.
06-24-2012, 06:32 PM
#10
hatersgonnahate
Thread Starter
iTrader: (162)
I just found that RX7club thread today from a google image search. Was a nice read that went nowhere on page 3.
Sometimes mechanical engineers will make you wonder how they got a degree.
One thing to note, is now matter how long the stroke of the air cup, it can only fully extend the shock to its full length. After that point, i could see it compressing the spring.
Sometimes mechanical engineers will make you wonder how they got a degree.
One thing to note, is now matter how long the stroke of the air cup, it can only fully extend the shock to its full length. After that point, i could see it compressing the spring.
06-24-2012, 06:49 PM
#11
Super Moderator
MY350Z.COM
MY350Z.COM

iTrader: (8)
So are these only to lift over an obstacle or can you ride on the air part for extended periods of time. Either way , looks like a kick *** setup.
 06-25-2012, 07:00 AM
#13

Props on doing this project.
Gotta say,the whole idea makes sense.
Looking forward to hearing/seeing the finished product.
Especially the ride characteristics?
Whats the estimated costs on doing the whole enchalada?
Air suspensions in various forms have been around forever.
I had a Lincoln LSC years ago(company car-had to be American made)that
was basically a Mustang under the hood.I did all the bolt ons possible incl
a Paxton SC.the LSC has air suspension.It was primarily designed to keep the car
at a specific level when you increase weight in the car.However,you could modify
the system to lower the car if needed.Was a great system.
I'd think the value for the cups would only appeal to the guys having clearance
with body work.I'd like to see how cost effective this would be.
The ride comfort would be my major concern.Seems that the logic behind
the system,extending the shocks to the max would make this a temp
"get over stuff" fix,and greatly effect your ride?
Well done!
Last edited by JCITY; 06-25-2012 at 07:06 AM.
06-25-2012, 05:36 PM
#14
hatersgonnahate
Thread Starter
iTrader: (162)
Bump!
Added more install pics.
I have not ridden on them. Car is still being worked on. When the cups are down they should not affect ride quality from what the coilover provides. The cup sits on top of the spring and you ride on them deflated.
These are meant to clear obstacles. I would imagine with them inflated the ride would be very stiff and bouncy since you are maxing out the strut. We will see!
These are mostly so i can get out of my driveway and navigate parking lots.
 06-26-2012, 02:50 AM
#17
hatersgonnahate
Thread Starter
iTrader: (162)
I can go lower two ways, shorter spring or lower my KG rate of the spring and keep the length the same. I already have a 180mm 8kg spring so i may try to swap that.
My biggest concern was cup contact to the LCA.
Will do!
06-26-2012, 05:52 AM
#18
Congrats on getting that setup completed. It's something I'd like to eventually have, but is not necessary for me in the area for which I live.
I do have a suggestion for what it's worth.
Wherever you have hoses running through exposed, metal holes in the body, make sure you line those holes with a grommet or a guard. Over a longer period of time, the metal will wear down into those hoses via vibration and create a headache for you later.
I do have a suggestion for what it's worth.
Wherever you have hoses running through exposed, metal holes in the body, make sure you line those holes with a grommet or a guard. Over a longer period of time, the metal will wear down into those hoses via vibration and create a headache for you later.
