When you click on links to various merchants on this site and make a purchase, this can result in this site earning a commission. Affiliate programs and affiliations include, but are not limited to, the eBay Partner Network.
Spent some time figuring the oil feeds out. My day didn't go as I planned 100%, but I managed to get them sorted. I was only able to finish the passanger side due to a fitting that snapped. I have to get a straight to finish the drivers side. I am very happy tho with how it is coming out.
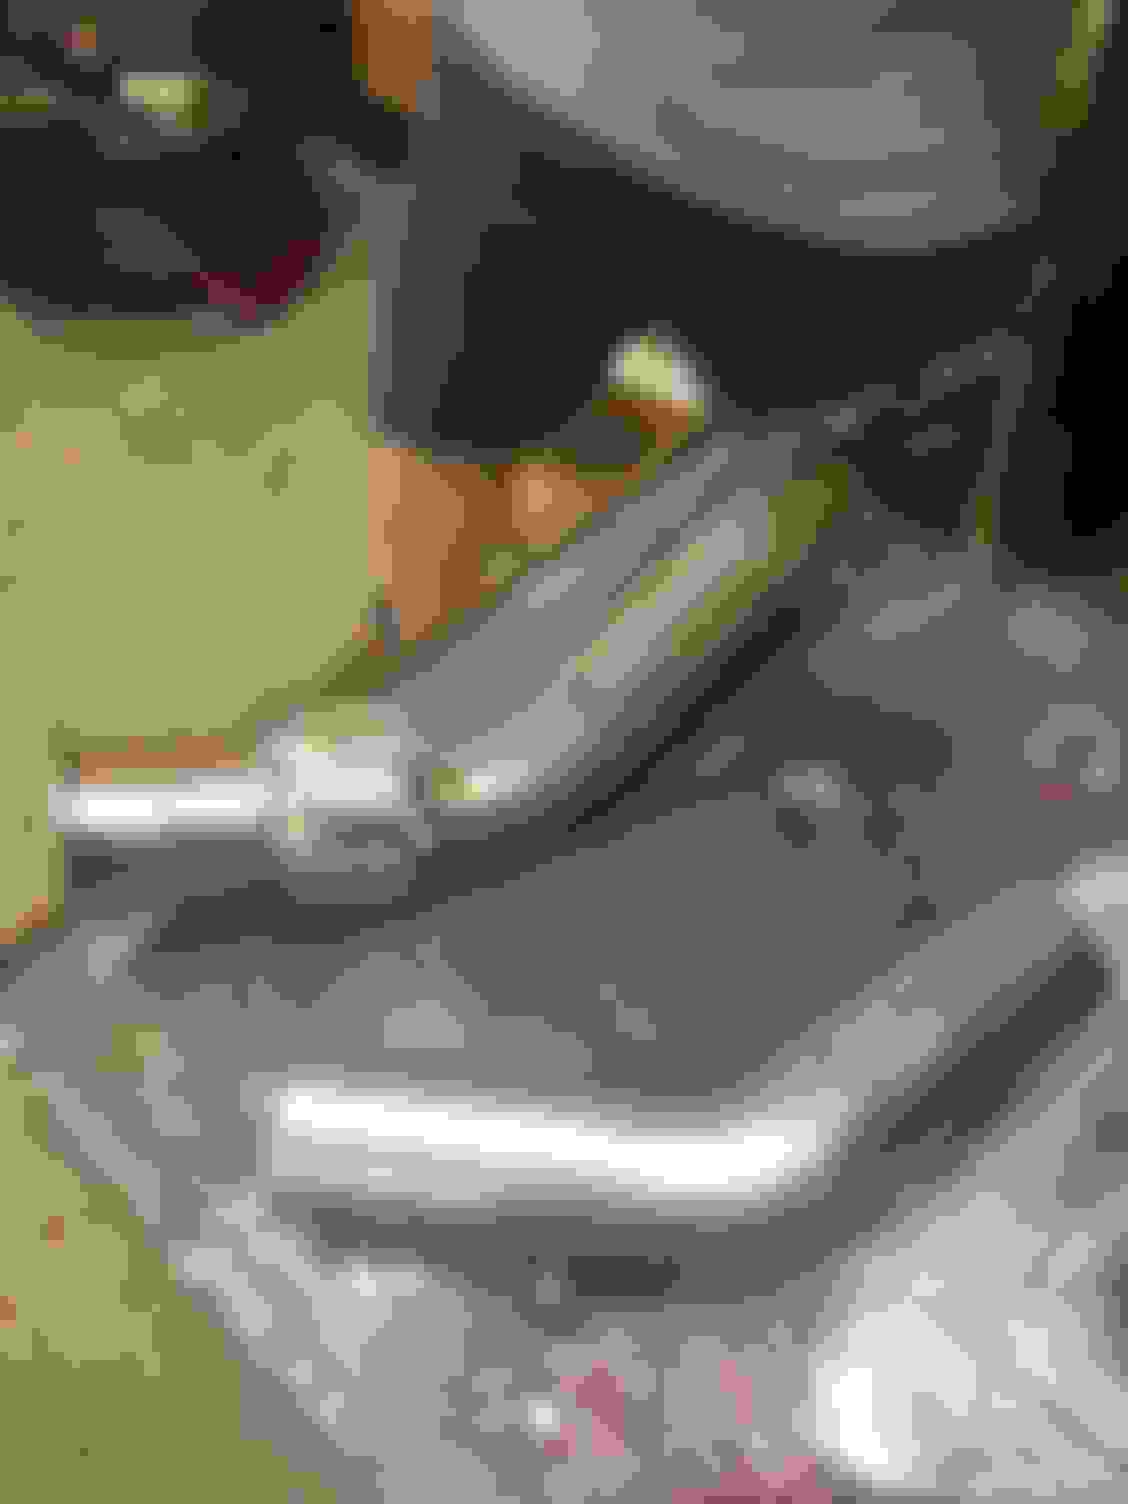
Decided to go to shop today to tackle my valve covers. The one thing I wanted to to was the pcv. Wanted use true an fitting and wanted to run bigger then the -8an that is currently available from project Import. BTW I would never buy a thing from them!!! Total a**holes!!! So I said F it I'll do it myself. So I got a -10an to a straight with an o-ring. I drilled the pcv with and tapped it with a 7/8 tap. I also drilled out the rear of the drivers side a bit. If you look in on drivers side the opening really is that big. Did all this for when I do the catch can. Crankcase will flow better. I'm not recirculating it into the intake this time around. So when I tapped the cover I put grease on the tap to catch most of the shavings. Was pretty simple. And for 4 bucks verses 40 something with the shipping from project import. Was a no brainier. Anyway this is how it came out. Happy with it!!
Update: was finally able to get the plug and tap it for the factory oil psi sensor. I also sat the motor in the car so I could figure out the downpipes I need to modify. I will be doing this in Sunday so hope it's not to bad.
Spent all day fabing up the downpipes. Couldn't be happier with the way they came out. It's exactly what I had in my head I wanted to do. Changed over to 38mm wastegates with v-bands. Also wanted to split the downpipes for when I need to access the Trans. With this I will not have to remove the 3 bolts on the turbo that are a nightmare!!!
Looking real good! Something I have used in other builds on those really annoying turbo bolts that are impossible to get at once the motor is in the car. Stage 8 locking hardware. Its a great kit. You can get them at summit, ect.
Looking real good! Something I have used in other builds on those really annoying turbo bolts that are impossible to get at once the motor is in the car. Stage 8 locking hardware. Its a great kit. You can get them at summit, ect.
Thanks man!! That was my next thing. To figure out what I was going to use. Not a huge fan of the stainless hardware greddy gives you. I see you feel my pain about them damn bolts!!👍👍👍
What did you do to paint your timing cover? Its looks so perfect. I acid washed mine and cleaned it up and still came out rough looking.
Powder coated. (WET BLACK). New age sandblasting and powder coating in Deptford nj did all my work. Work is flawless hands down. And I'm a VERY PICKY INDIVIDUAL!!! Powders are prismatic
Haven't really been doing to much. Been busy with work, but I did manage to get the factory psi sensor done. The other one snapped off I guess cause I was impatient and used a npt. Guess the taps threads were to deep and made the wall of the bolt thinner then it already was. My bsp tap finally arrived so I did it again and came out perfect!!
Nice work! I must have missed something, is that normally a plug you tapped for the OEM sensor? Your using the stock sensor location for your oil feed?
Yes stock plug on 05 and older. I have a 06 that has a temp sensor there. I mover stock oil psi to that location and have my aftermarket in the port where the stock use to be. I I drilled and tapped the same gallery that the stock oil psi sensor once was (now aftermarket) and running feeds off of that.
Nice! Thanks, so you got rid of the stock sensor. Can you share the plug part number? Great idea!
Still use stock sensor just moved it to different location so I could run aftermarket off the oil gallery that the factory uses cause I know it's the best spot. I only moved and kept factory so light on dash will still work.
Moved it here
Got a chance to get down the garage and work on the fuel lines. Happy with them so far!! Terminated and secured. Covered them with Heat shield products heat shield. Love this product!! Highly recommend it!!
I do have a question and I'm hoping someone is glancing at this thread. Doesn't seem like much action on here but I'll give it a shot. Does anyone know if I can feed one fuel rail loop it to the other and return out the other side to the regulator? Trying to keep it clean and not all the tee fittings to split the feed and another tee to bring returns together to go to regulator. Hope I explained it correctly. Hopefully someone can chime in and Lmk. Thanks!!
 08-13-2016, 01:58 PM