What have you done for your Z today?
6 inch cawk is my fave!
iTrader: (3)
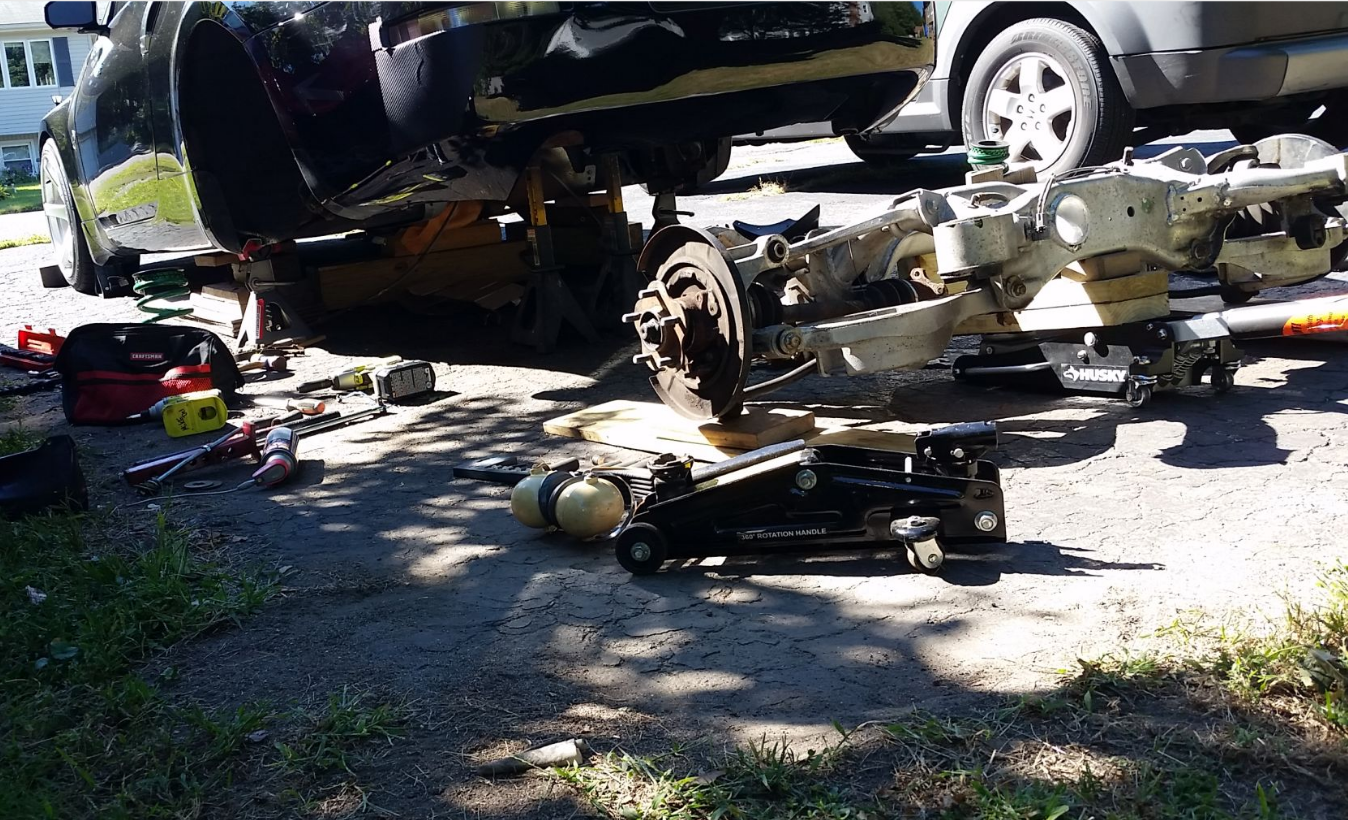
Just bought the Z1 Motorsport Prothane differential bushing kit (front and rear) plus the rear bushing removal tool (since I hate drama when it comes to removing pressed parts.) I noticed last night that the factory rear differential bushing is kaput. I also grabbed some new OEM rear sway bar rubber bushings while I was at it just to keep the whole sway bar setup fresh. Based on the type of wear I'm seeing, I get the distinct impression that city driving up and down big hills is not something this car plays nice with.
So dont forget to order new hardware for your axles and driveshaft... (Nissan recommends replacing)
Also a 14mm offset wrench is helpful. (Wish I had one)
The following users liked this post:
zakmartin (10-24-2017)
New Member
And yes, I have about 10 kinds of every wrench you can think of.
 I was actually glad that I had the long reverse ratcheting box wrench set
 when I did the end links since they made it a lot easier to get to the bolts in that small area under the car, which was sitting on 9" ramps so the suspension was unladen.
I really should start a tool thread one of these days. I hang out a lot at garagejournal.com along with all the other tool hoarders.
6 inch cawk is my fave!
iTrader: (3)
The following 2 users liked this post by dboyzalter:
BluestreamDE (10-24-2017),
zakmartin (10-25-2017)
New Member
iTrader: (1)
autocrossing Z past weekend. There is a recent thread here about sway bar adjustments that was really helpful after I ran the event. Going to take some tips and adjust sways accordingly for the next event. Lots of understeer in this car for me.
Edit**
Dboyz I was hoping you had the tool! and yes this rain is dreary. I feel like rain is 10x worst in the city because now drivers during rush hour are going 10mph slower than usual.
Last edited by Bak3rme; 10-25-2017 at 05:44 AM.
The following users liked this post:
SonnyWu (10-27-2017)
Honestly it was one of the easiest things I've ever done to a car. It took 15 minutes tops from start to finish. My wheel came off as soon as I loosened the center nut. What took the most time was figuring out the airbag connector without breaking it.
What you need tool wise is a small flat screwdriver, a ratchet and basic extensions, T30 security torx, 19mm socket and a philips screwdriver.
What I did:
1: Disconnect the battery and then hold the brake pedal for 15 seconds.
2: Pop torx bolt covers off.
3: Take out the torx bolts holding the airbag in and pull out the airbag carefully.
4: Disconnect the airbag connectors (mine only had one, seen others have more) by first lifting up the black clip (with a small screwdriver or similar) then pulling the connector off.
5: Disconnect the grey connector (if you have one) and ground clip near the center.
6: Undo the 19mm center nut and take the wheel off
7: Move all the bits and bobs from your old wheel to your new wheel
8: Assembly is disassembly in reverse.
6 inch cawk is my fave!
iTrader: (3)
I dont have zakmartin money like that, I just used harbor freight drill saw bit and a hack saw blade.
The subframe part wasn't my issue, getting them out of the differential was more difficult for me...
Pretty sure the dude down the street from me who has the lift got the tool from Z1, if you befriend him he will probably let you use his lift, and the tool.
Last edited by dboyzalter; 10-25-2017 at 10:02 AM.
New Member
New Member
iTrader: (1)
I dont have zakmartin money like that, I just used harbor freight drill saw bit and a hack saw blade.
The subframe part wasn't my issue, getting them out of the differential was more difficult for me...
Pretty sure the dude down the street from me who has the lift got the tool from Z1, if you befriend him he will probably let you use his lift, and the tool.
The subframe part wasn't my issue, getting them out of the differential was more difficult for me...
Pretty sure the dude down the street from me who has the lift got the tool from Z1, if you befriend him he will probably let you use his lift, and the tool.
i rather make things easy for me! is it the guy with the red Z? steven?
6 inch cawk is my fave!
iTrader: (3)

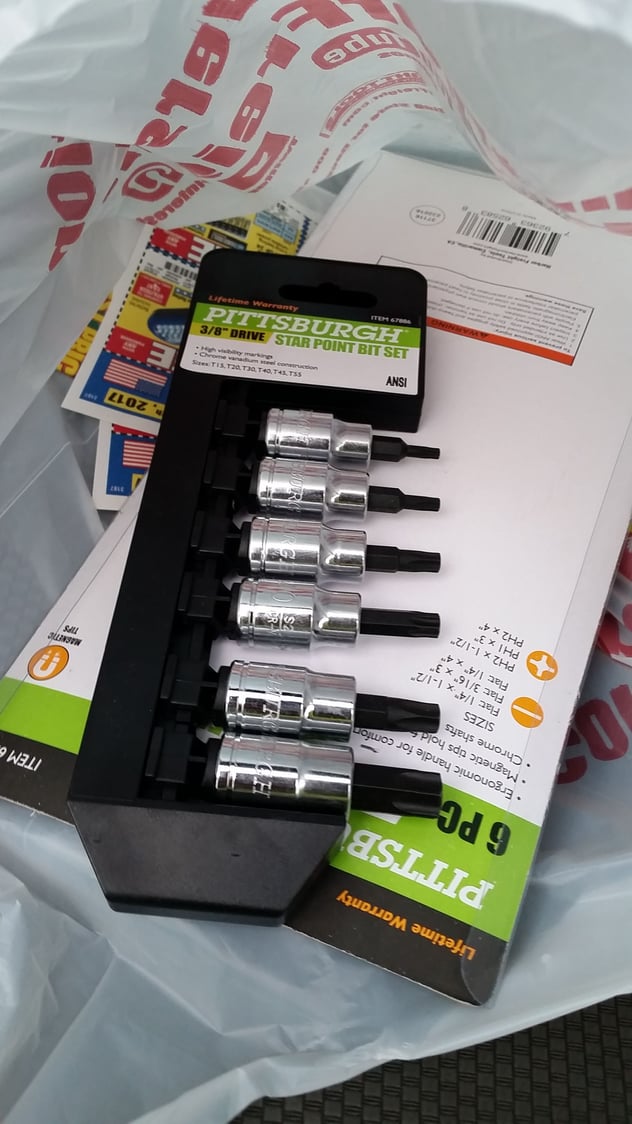
All these people talking about steering wheel removal just cost me $8

Last edited by dboyzalter; 10-25-2017 at 01:11 PM.
New Member
If you pay to have the tool shipped out to you and return it in one piece, I'd be happy to loan it out when I'm through with it. I'm probably going to do the bushing swap over the Veteran's Day weekend.
I was thinking about going at it with a pneumatic reciprocating saw and an air hammer, but figured the less time I need to spend under the car, the sooner I could get back to visiting all my wives on Fallout 4.
And for what it's worth, I'm not beneath going to Harbor Freight. I buy all my gloves and rags from there and have more "free" coupon-purchased Chinese multimeters and fluid pumps than I know what to do with.

The following users liked this post:
Bak3rme (03-25-2018)
New Member
iTrader: (1)
If you pay to have the tool shipped out to you and return it in one piece, I'd be happy to loan it out when I'm through with it. I'm probably going to do the bushing swap over the Veteran's Day weekend.
I was thinking about going at it with a pneumatic reciprocating saw and an air hammer, but figured the less time I need to spend under the car, the sooner I could get back to visiting all my wives on Fallout 4.
And for what it's worth, I'm not beneath going to Harbor Freight. I buy all my gloves and rags from there and have more "free" coupon-purchased Chinese multimeters and fluid pumps than I know what to do with.
I was thinking about going at it with a pneumatic reciprocating saw and an air hammer, but figured the less time I need to spend under the car, the sooner I could get back to visiting all my wives on Fallout 4.
And for what it's worth, I'm not beneath going to Harbor Freight. I buy all my gloves and rags from there and have more "free" coupon-purchased Chinese multimeters and fluid pumps than I know what to do with.

Registered User
Honestly it was one of the easiest things I've ever done to a car. It took 15 minutes tops from start to finish. My wheel came off as soon as I loosened the center nut. What took the most time was figuring out the airbag connector without breaking it.
What you need tool wise is a small flat screwdriver, a ratchet and basic extensions, T30 security torx, 19mm socket and a philips screwdriver.
What I did:
1: Disconnect the battery and then hold the brake pedal for 15 seconds.
2: Pop torx bolt covers off.
3: Take out the torx bolts holding the airbag in and pull out the airbag carefully.
4: Disconnect the airbag connectors (mine only had one, seen others have more) by first lifting up the black clip (with a small screwdriver or similar) then pulling the connector off.
5: Disconnect the grey connector (if you have one) and ground clip near the center.
6: Undo the 19mm center nut and take the wheel off
7: Move all the bits and bobs from your old wheel to your new wheel
8: Assembly is disassembly in reverse.
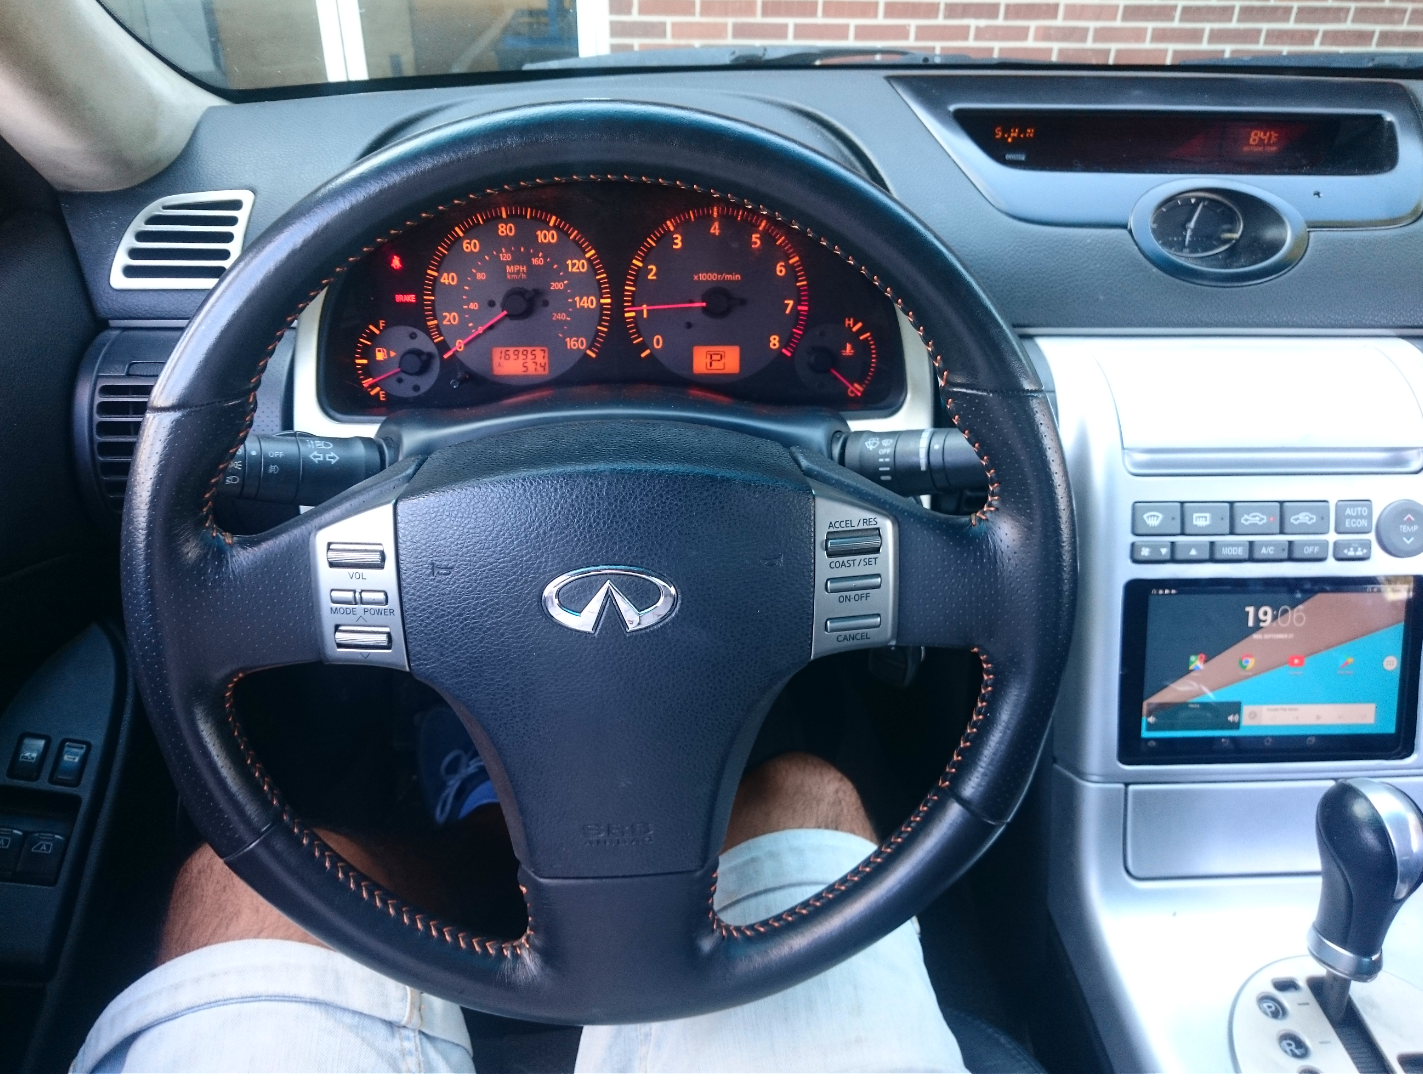
I recently swapped in a lightly used steering wheel on my G35.

I chose from the drop down menus on their website but if you ask them you can get pretty much anything you like, color, material and design wise.
I agree, it looks and feels like it should've been on the car from Nissan. Goes perfectly with my theme for my car, "oem+".
Last edited by The Swede; 10-26-2017 at 03:37 AM.
The following users liked this post:
zakmartin (10-27-2017)
now of course.... remember tighten it up starting from the front, working back
New Member
I'll see if I can get my wife to hang out with me in the garage when I do that part of the job to take photos. I don't want to goop up the camera with my greasy hands, but if she's willing to get under the car and handle the camera, then sure, why not?
New Member
iTrader: (2)
I'v been busy this week. Installed a Seibon TS HR hood(which solved clearance issues), aerocatch hoodpins, nrg CF hood dampers, corbeau fx1 seat&harness, planted seat bracket, hydrodipped center console, installed cruise control switches/laser etched surrounding, paint matched the z1 hatch struts, and gauge cluster is with bob @ gaugecraft.
I need to get stainless hardware for the hoodpins as the bolts are already rusting and I have to clean everything up tomorrow as well as take off a few more parts to be hydrodipped. Some Pics~
I need to get stainless hardware for the hoodpins as the bolts are already rusting and I have to clean everything up tomorrow as well as take off a few more parts to be hydrodipped. Some Pics~
The following users liked this post:
KingBaby (10-30-2017)
General & Tech Moderator
MY350Z.COM
MY350Z.COM


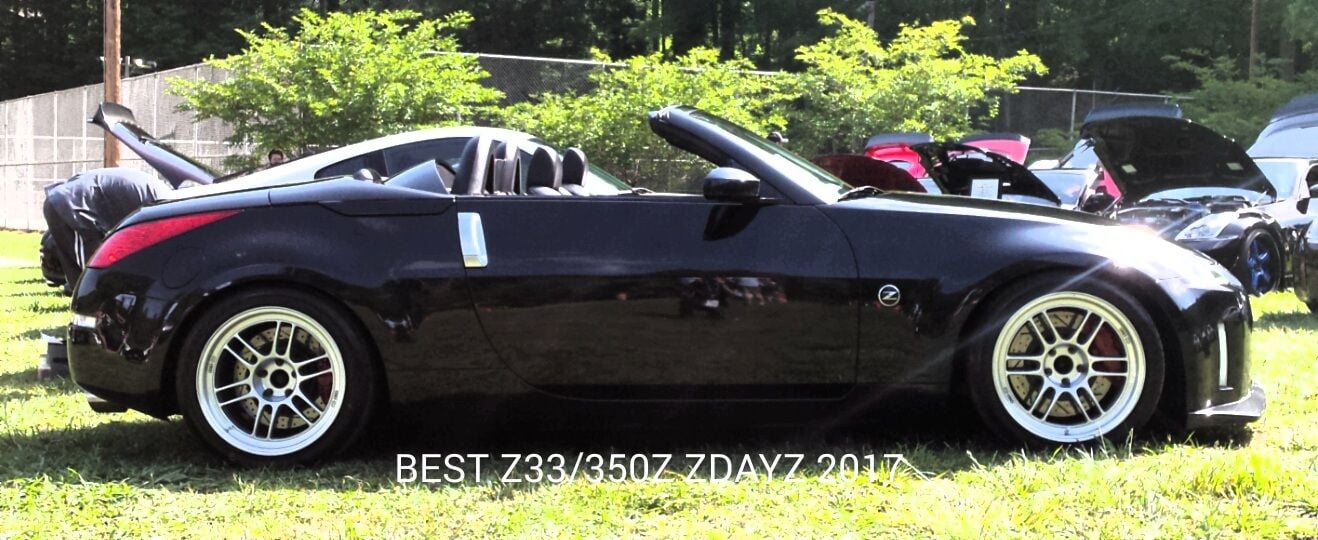
 Took Best Z33 this year at ZDAYZ. I added ChargeSpeed diffuser since this pic, need to get the cf skirts wrapped and installed.