
Fighting the exhaust manifold to catalytic converter bolts


Thread Starter
New Member


Joined: Sep 2017
Posts: 361
Likes: 107
From: Livingston County, MI
OK, technically stud and nuts, not bolts.
Sorry, some venting here I swear, all the videos and how-to's I researched on this before tackling this job must have been done on Z's with <10k miles on them, or they were cars from New Mexico, Arizona or Texas. Yeesh. These are 14mm nuts...on some of mine even a 10mm socket would spin they were so corroded and weathered. My 2005 has 129k miles on it, and the first 125k were spent as a year-round driver by the previous owner...here in MI. The winter roads are not kind.
So, here's what I accomplished so far...
I was able to use a Dremel and cutting wheel to slice the nuts on the cats' side to put a slot in them, and then use a chisel to split the nut and peel it off of the stud. I'm trying to preserve these studs (the ones that screw into the exhaust manifold) in order to remove them once the cats are off, and then put new studs in before installing the "new" OEM exhaust.
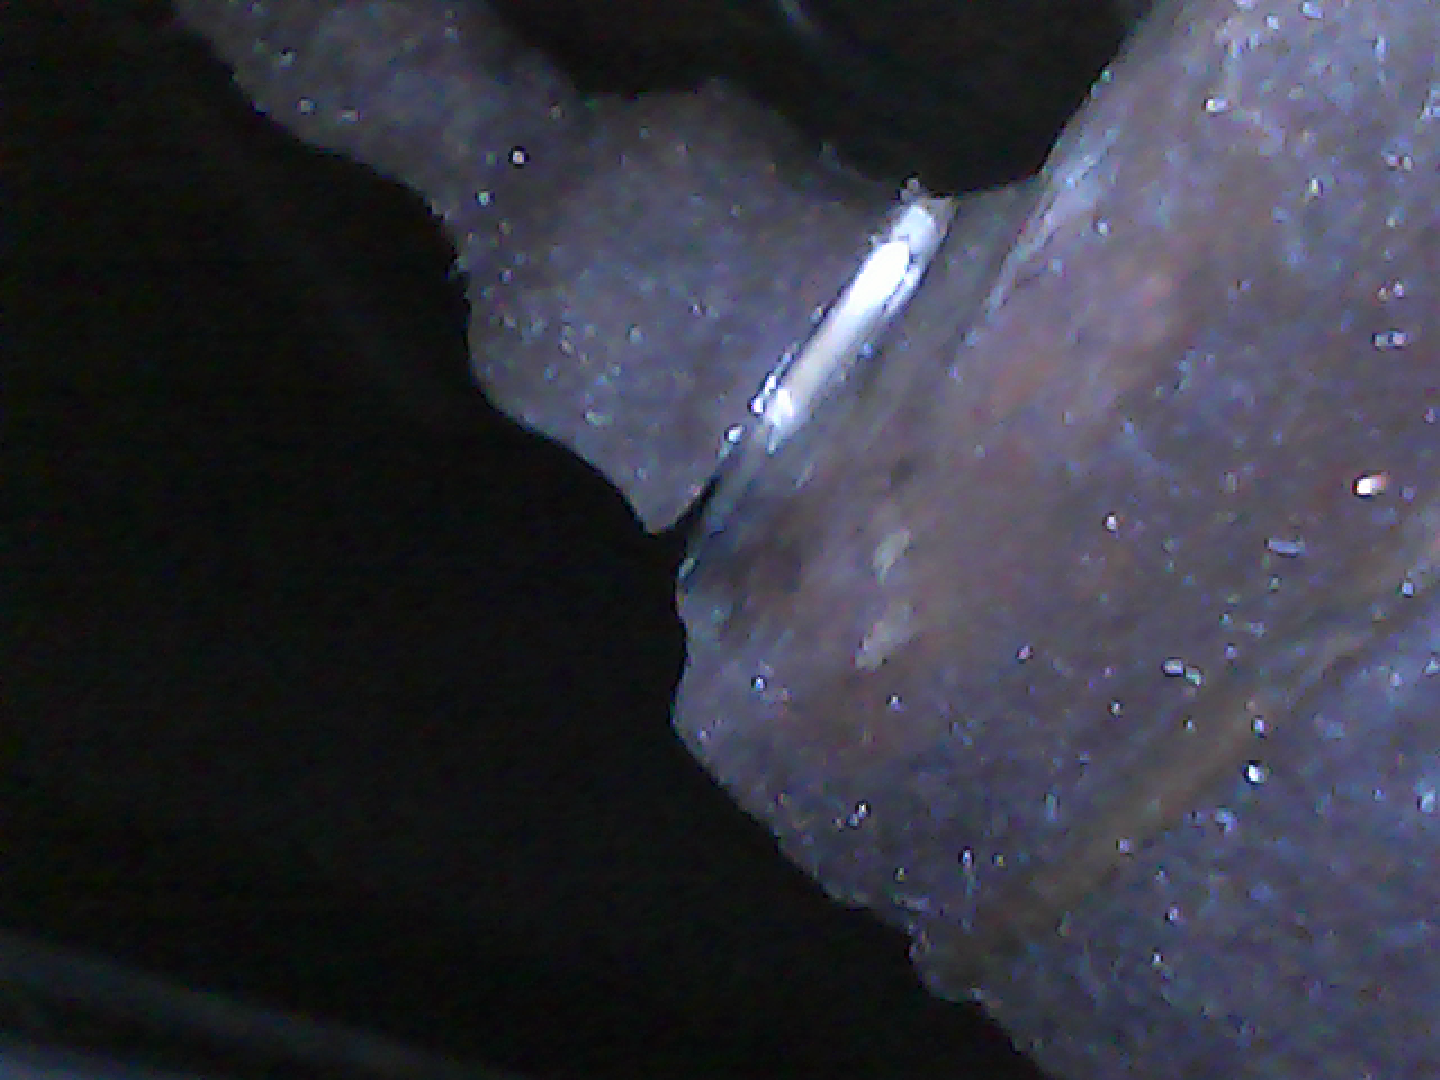
For the other two nuts on each bank (on the manifold side), I used the flexishaft attachment to the Dremel and a lot of contortion to cut off the nuts and studs. Since these are the studs that screw into the cats, I was not worried about them surviving. An endoscope camera for my phone was useful in checking my progress on these, and to make sure I was only cutting the studs/nuts, and not damaging anything else.
And here's where I'm at...
I have the cats shifting just a little, but the manifold studs have not broken loose from the cats, yet. The studs from the cats have broken loose from the manifold, however. I soaked the junction and the studs with Kroil, and I wedged a thin piece of scrap metal into the gap of each of the junctions to stress it overnight while the Kroil soaks in. My plan in the morning is to see if the cats can be rocked loose or not. If it doesn't seem better, then I may use an air chisel to hit around the joint and see if that helps pop the cats off.
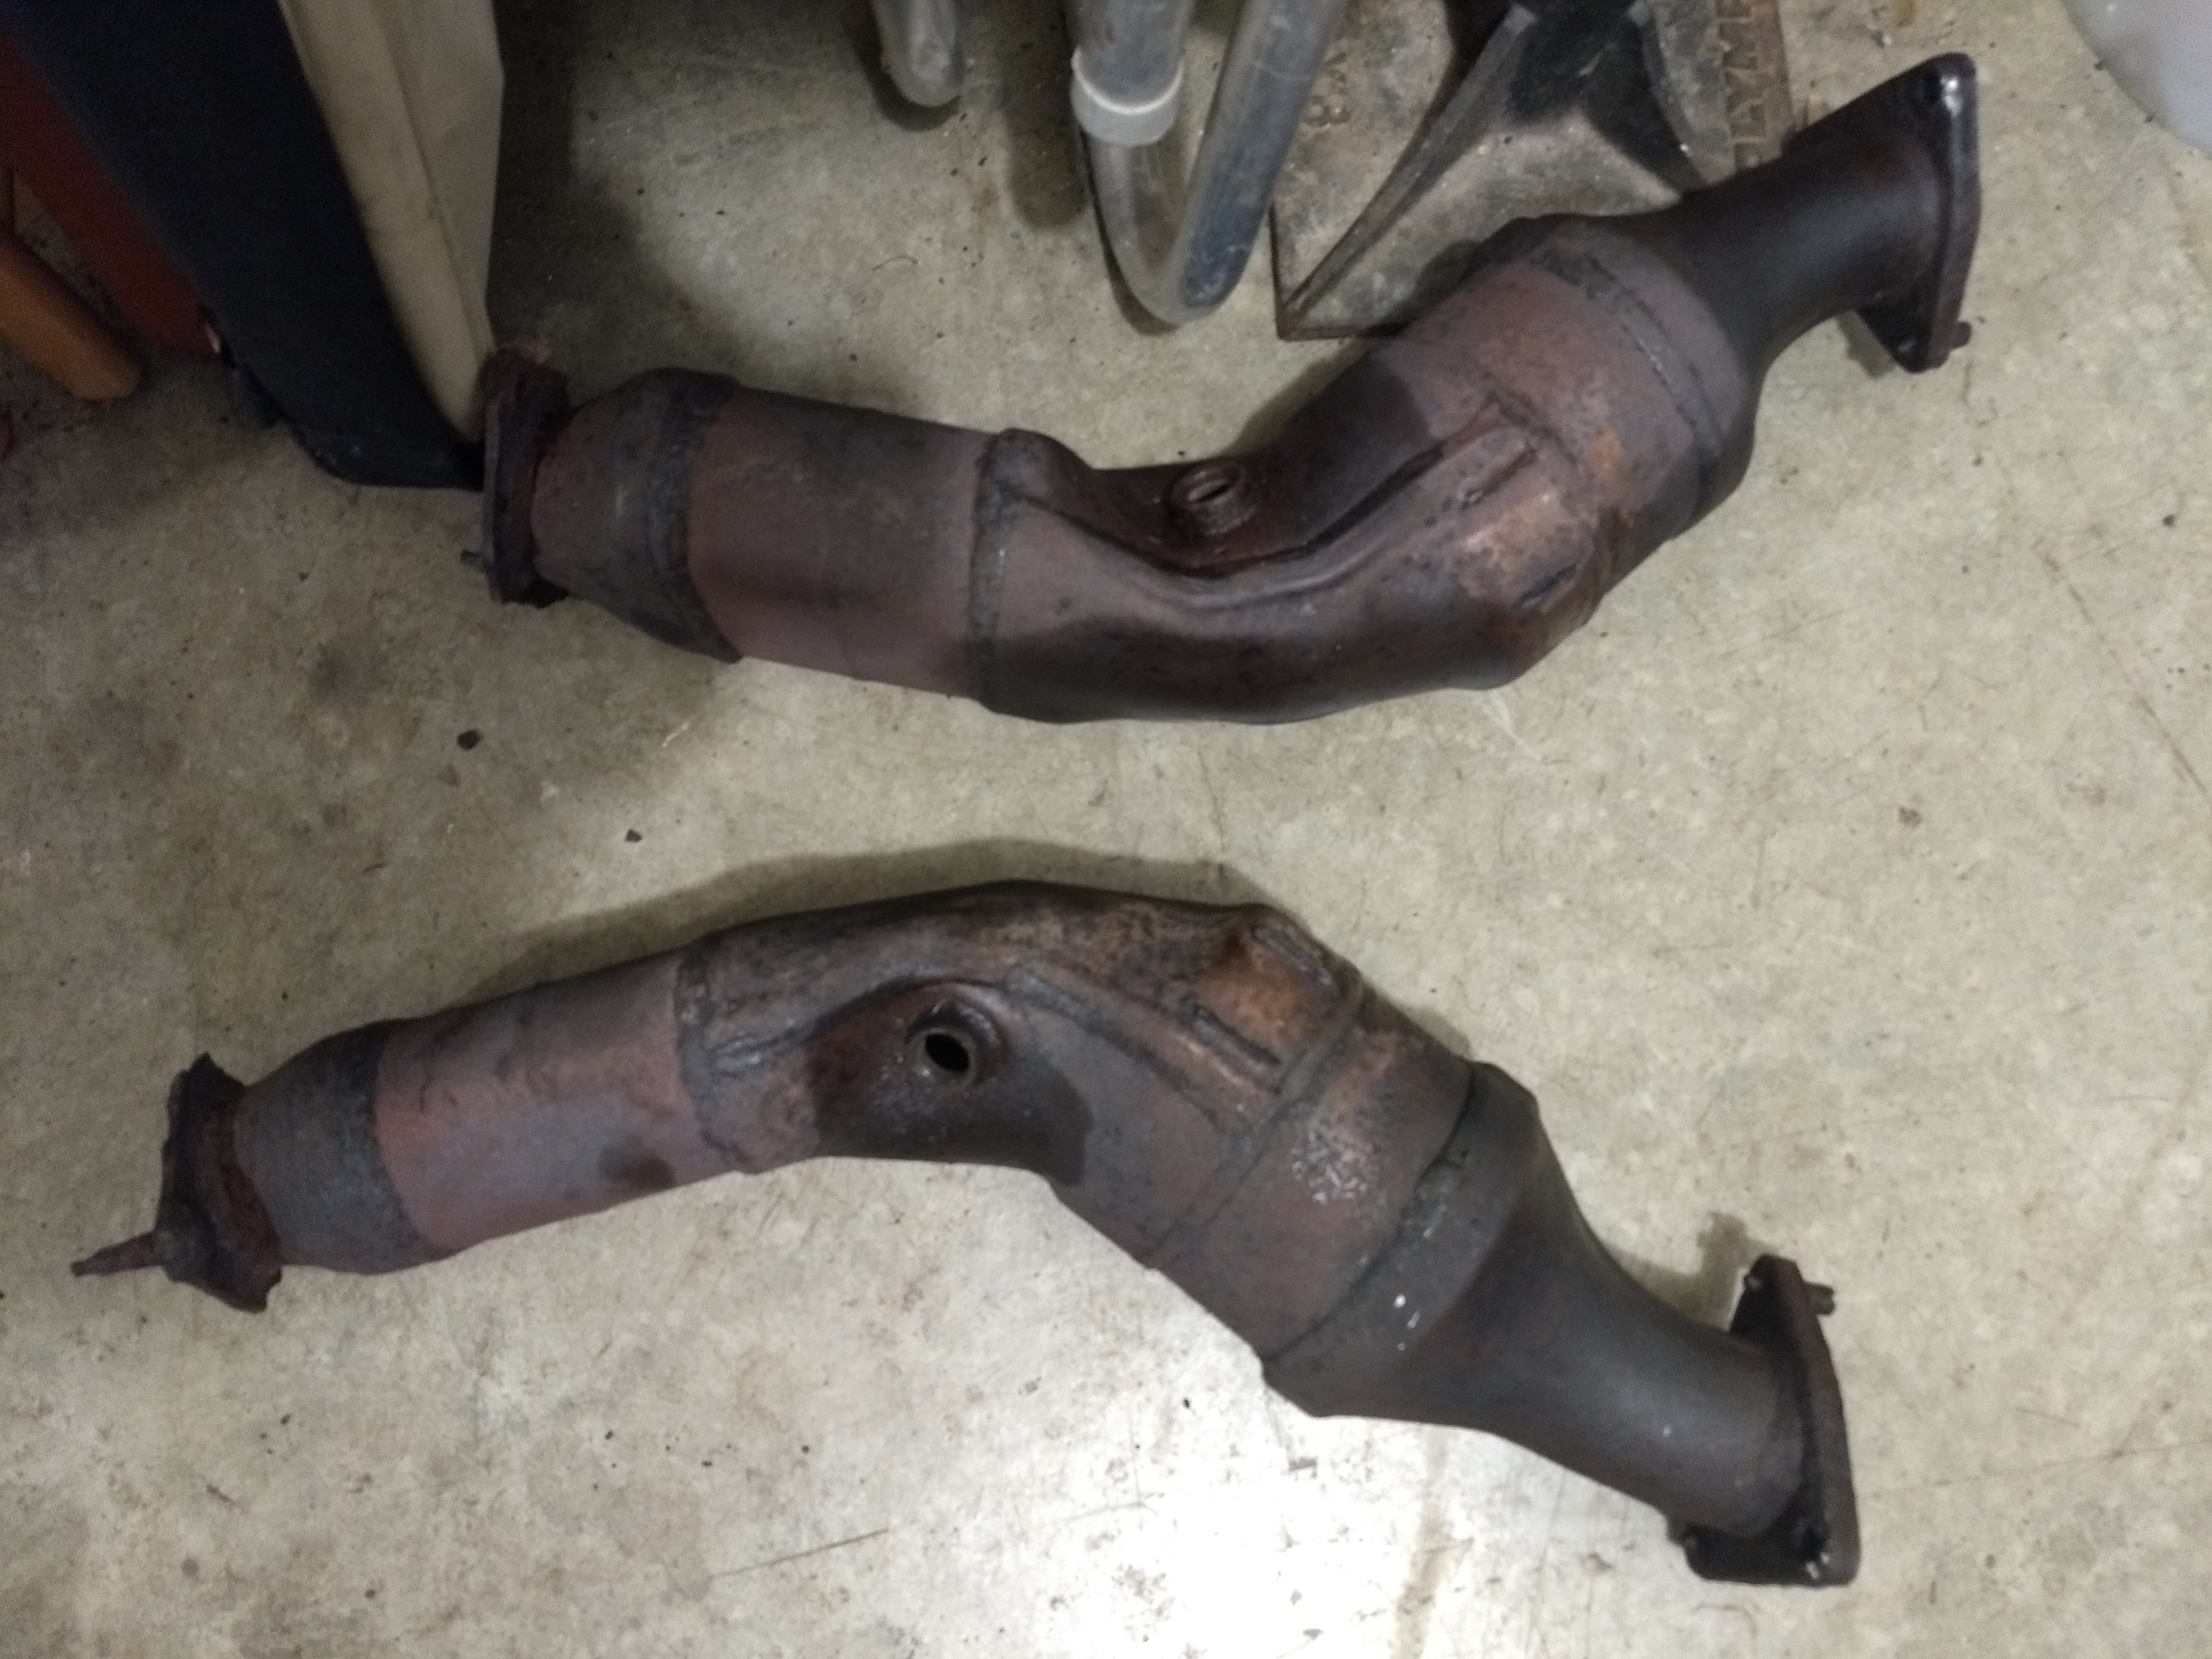
I have almost-new take-offs to put on my Z when I'm done: catalytic converters, Y-pipe, mid-pipe and muffler. The mid-pipe and muffler that were on there were Car-X or Midas-type replacements, and every exhaust joint was leaking from broken studs or corroded off nuts, anyway.
Had to vent. The cats will come off tomorrow, I'm sure. Then it will just be about getting the studs out of the manifolds.
Sorry, some venting here
I swear, all the videos and how-to's I researched on this before tackling this job must have been done on Z's with <10k miles on them, or they were cars from New Mexico, Arizona or Texas. Yeesh. These are 14mm nuts...on some of mine even a 10mm socket would spin they were so corroded and weathered. My 2005 has 129k miles on it, and the first 125k were spent as a year-round driver by the previous owner...here in MI. The winter roads are not kind.So, here's what I accomplished so far...
I was able to use a Dremel and cutting wheel to slice the nuts on the cats' side to put a slot in them, and then use a chisel to split the nut and peel it off of the stud. I'm trying to preserve these studs (the ones that screw into the exhaust manifold) in order to remove them once the cats are off, and then put new studs in before installing the "new" OEM exhaust.
For the other two nuts on each bank (on the manifold side), I used the flexishaft attachment to the Dremel and a lot of contortion to cut off the nuts and studs. Since these are the studs that screw into the cats, I was not worried about them surviving. An endoscope camera for my phone was useful in checking my progress on these, and to make sure I was only cutting the studs/nuts, and not damaging anything else.
And here's where I'm at...
I have the cats shifting just a little, but the manifold studs have not broken loose from the cats, yet. The studs from the cats have broken loose from the manifold, however. I soaked the junction and the studs with Kroil, and I wedged a thin piece of scrap metal into the gap of each of the junctions to stress it overnight while the Kroil soaks in. My plan in the morning is to see if the cats can be rocked loose or not. If it doesn't seem better, then I may use an air chisel to hit around the joint and see if that helps pop the cats off.
I have almost-new take-offs to put on my Z when I'm done: catalytic converters, Y-pipe, mid-pipe and muffler. The mid-pipe and muffler that were on there were Car-X or Midas-type replacements, and every exhaust joint was leaking from broken studs or corroded off nuts, anyway.
Had to vent. The cats will come off tomorrow, I'm sure. Then it will just be about getting the studs out of the manifolds.
Last edited by khnitz; May 4, 2020 at 05:42 PM.


I tip my hat to you. I don't think I could bear working on a car driven year round in rust belt areas. I helped my buddy fix his boat engines (salt water boat) with twin Volvo Penta engines (basically Chevy 262, 4.3L V6s) and the rust I experienced in that engine bay was/is horrific. Even then, I would wager the undercarriage of Z from the rust belt is a scary sight!
Have you tried a blow torch yet? I find torching rusty bolts really helps break that bond, better than any penetrating fluid. You should be able to reach one in there from underneath and hit the header to cat bolts/nuts/stud.
-Icer
Have you tried a blow torch yet? I find torching rusty bolts really helps break that bond, better than any penetrating fluid. You should be able to reach one in there from underneath and hit the header to cat bolts/nuts/stud.
-Icer

Registered User
Joined: Mar 2019
Posts: 1
Likes: 1
From: Southwestern Ohio
I feel your pain. Just put a new Y pipe, mid pipe and exhaust on my 03. The car spent most of its life in Jersey and the last couple in Ohio. Cut the rusty nubs "studs" off flush with the cat flanges with and angle grinder. One of the stud pieces in the cat flange just popped out with punch and a hammer. the other 3 had to have a hole drilled in them, heated with a torch and the hammer and punch popped them out.
Thread Starter
New Member
Joined: Sep 2017
Posts: 361
Likes: 107
From: Livingston County, MI
I feel your pain. Just put a new Y pipe, mid pipe and exhaust on my 03. The car spent most of its life in Jersey and the last couple in Ohio. Cut the rusty nubs "studs" off flush with the cat flanges with and angle grinder. One of the stud pieces in the cat flange just popped out with punch and a hammer. the other 3 had to have a hole drilled in them, heated with a torch and the hammer and punch popped them out.
I don't have an oxy-acetylene torch available to me. Quite frankly, I haven't gotten to the point where I would trust myself with one...I'll get there eventually. Also, for where these are located, I think I would need to have the Z on a lift...working with a blow torch lying on my back under the car just doesn't seem like a good idea
I only have a propane torch, and I don't think that will get it all hot enough. But, we'll see how it all goes. I'll start in on it again tonight after I'm done with my stay-at-home workday.

New Member
Joined: Jan 2015
Posts: 152
Likes: 32
From: Pennsylvania
I just did this in my PA car with 118k on. I thought I'd end up cutting too, but I soaked the studs and bolts in pb blaster for 3-5 days leading up to the job, and I recently invested in a good electric impact gun and that made the whole process straightforward.
Thread Starter
New Member
Joined: Sep 2017
Posts: 361
Likes: 107
From: Livingston County, MI
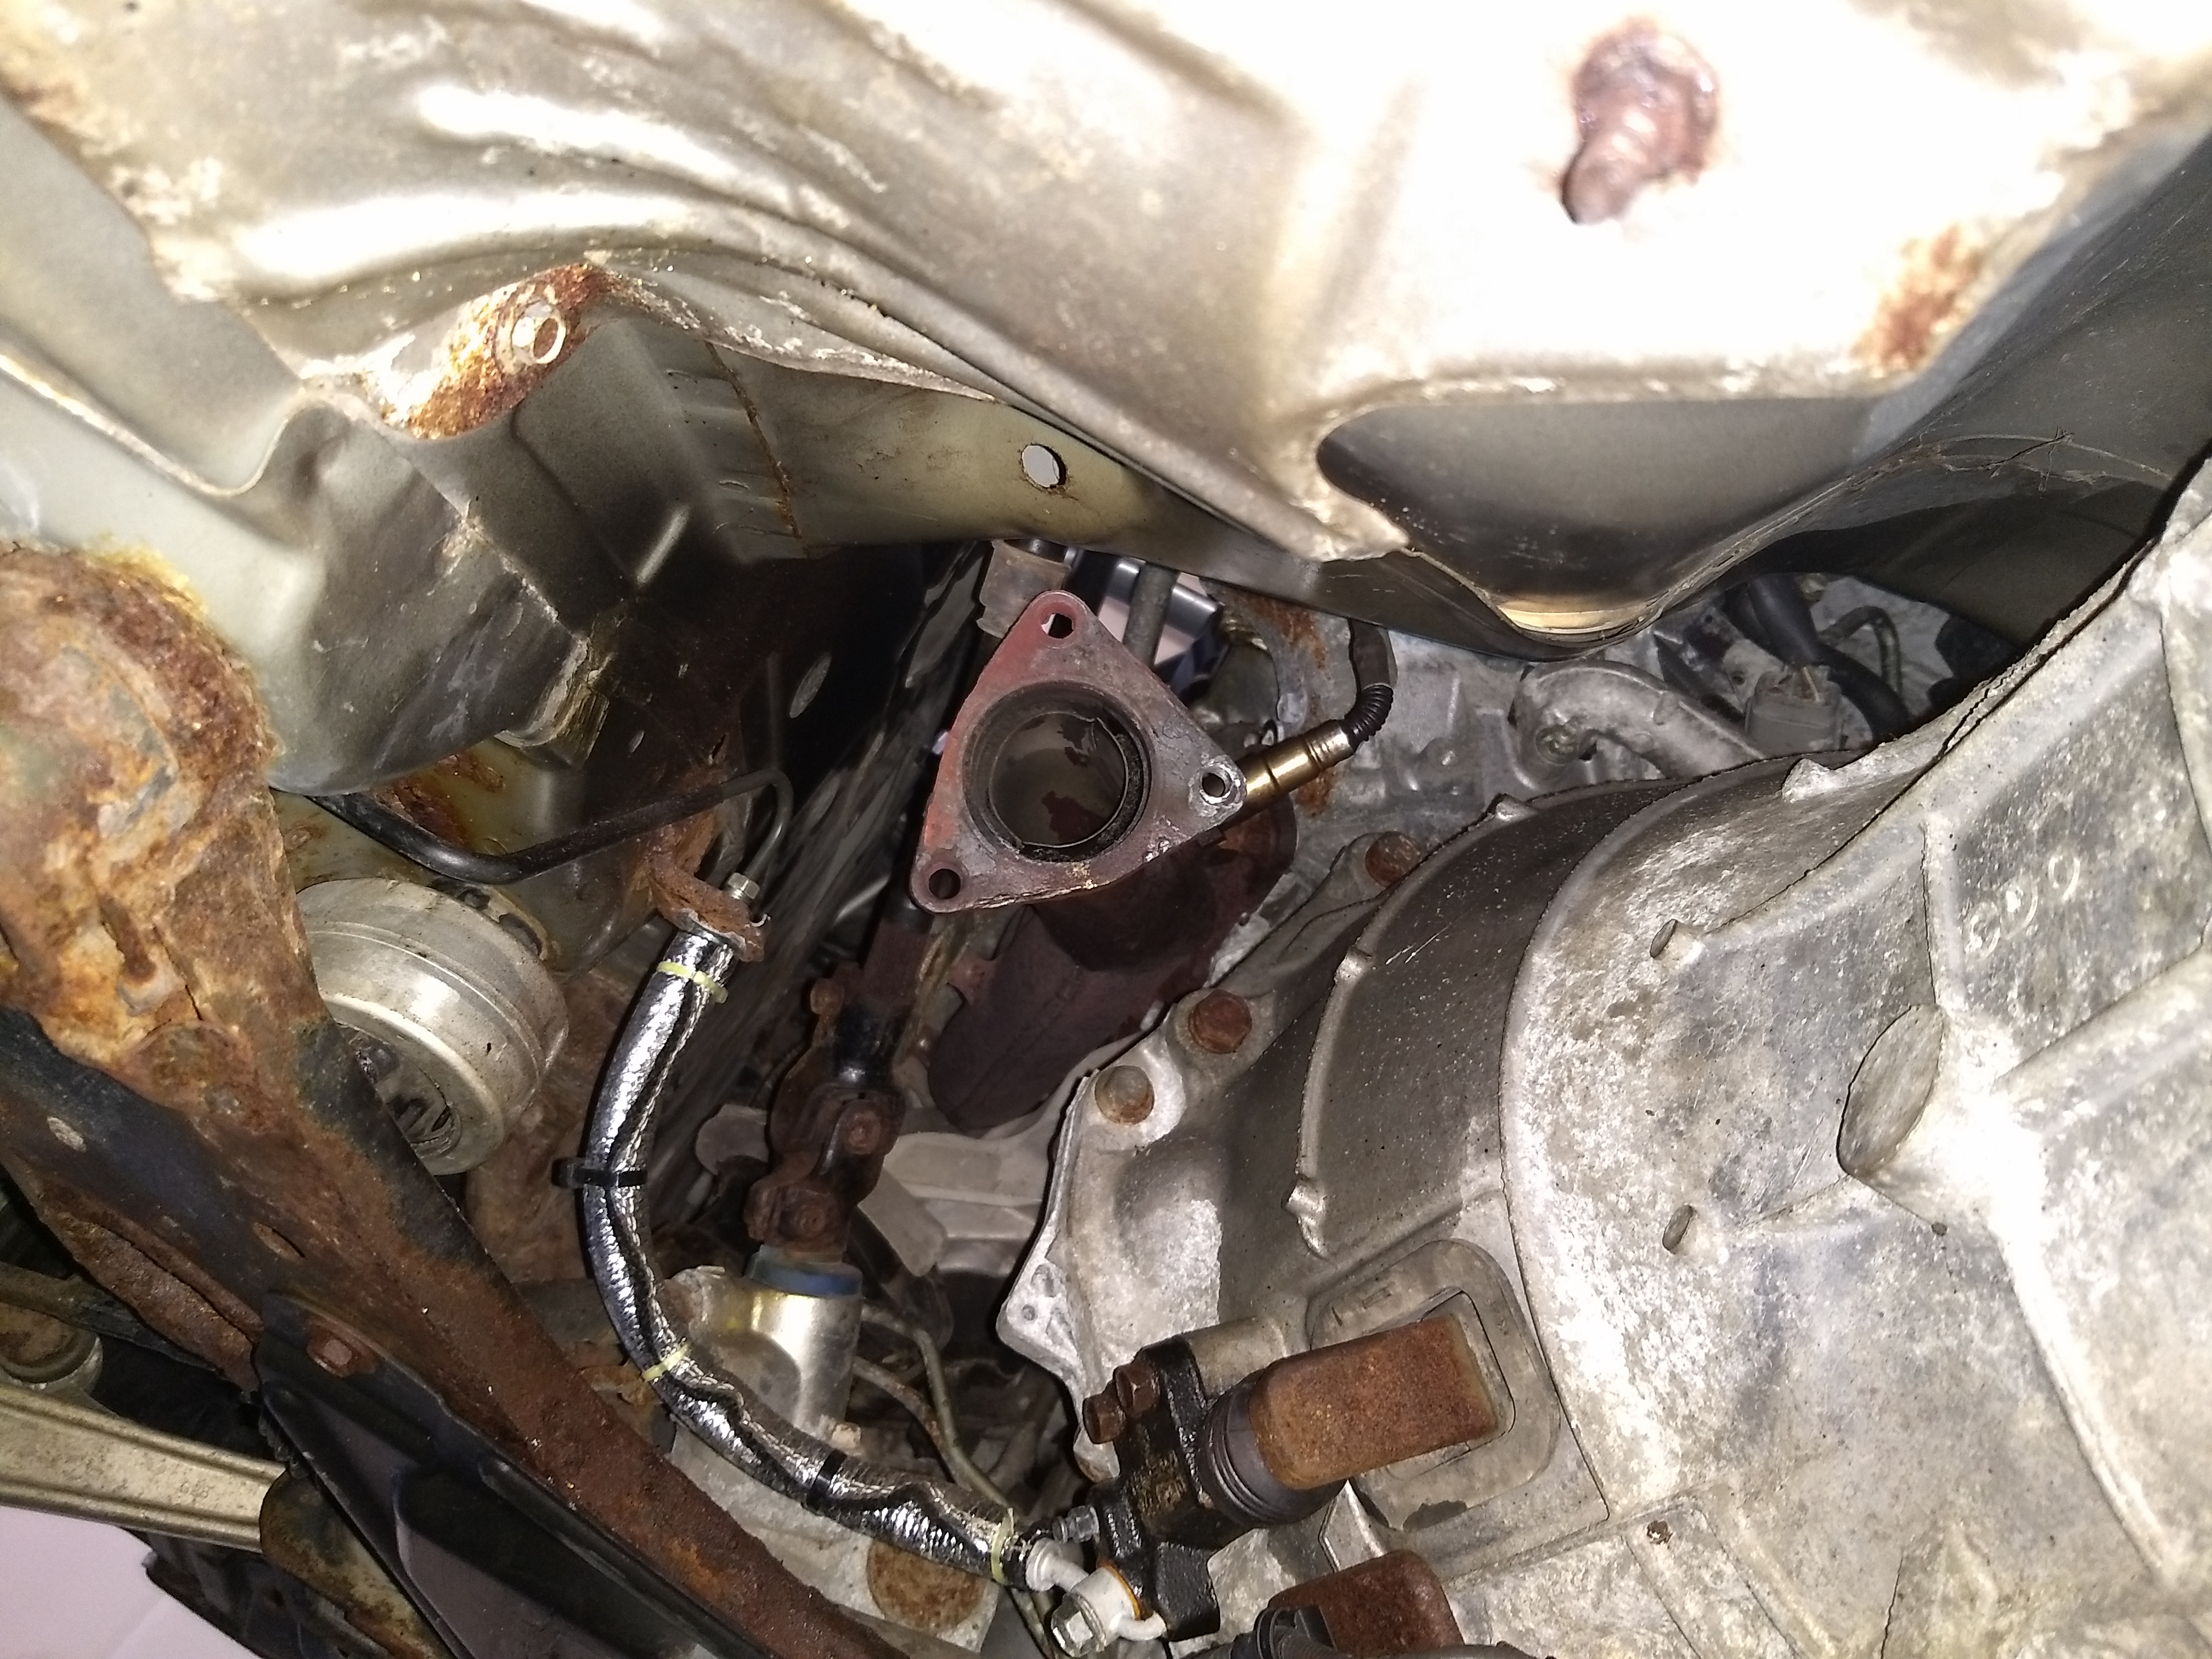
And here's a pic from the endoscope camera of one of the nuts/studs mid-cut.
Now I just have the studs (or the stumps of the studs) out of the exhaust manifold flange that I have yet to remove and replace.
Last edited by khnitz; May 5, 2020 at 04:45 PM.
Trending Topics

Thread Starter
New Member
Joined: Sep 2017
Posts: 361
Likes: 107
From: Livingston County, MI
Well, 5 solid minutes of heating with a propane torch did not get things expanded/changed enough to let the left/driver side stud loosen up. A big vise grip on the stud did not provide any movement, and the vise grip just slipped after too much force. So for that one, I cut the stud flush with the flange, and will have to drill and try an extractor on what's left (more PB Blaster & Kroil is being applied before that attempt).
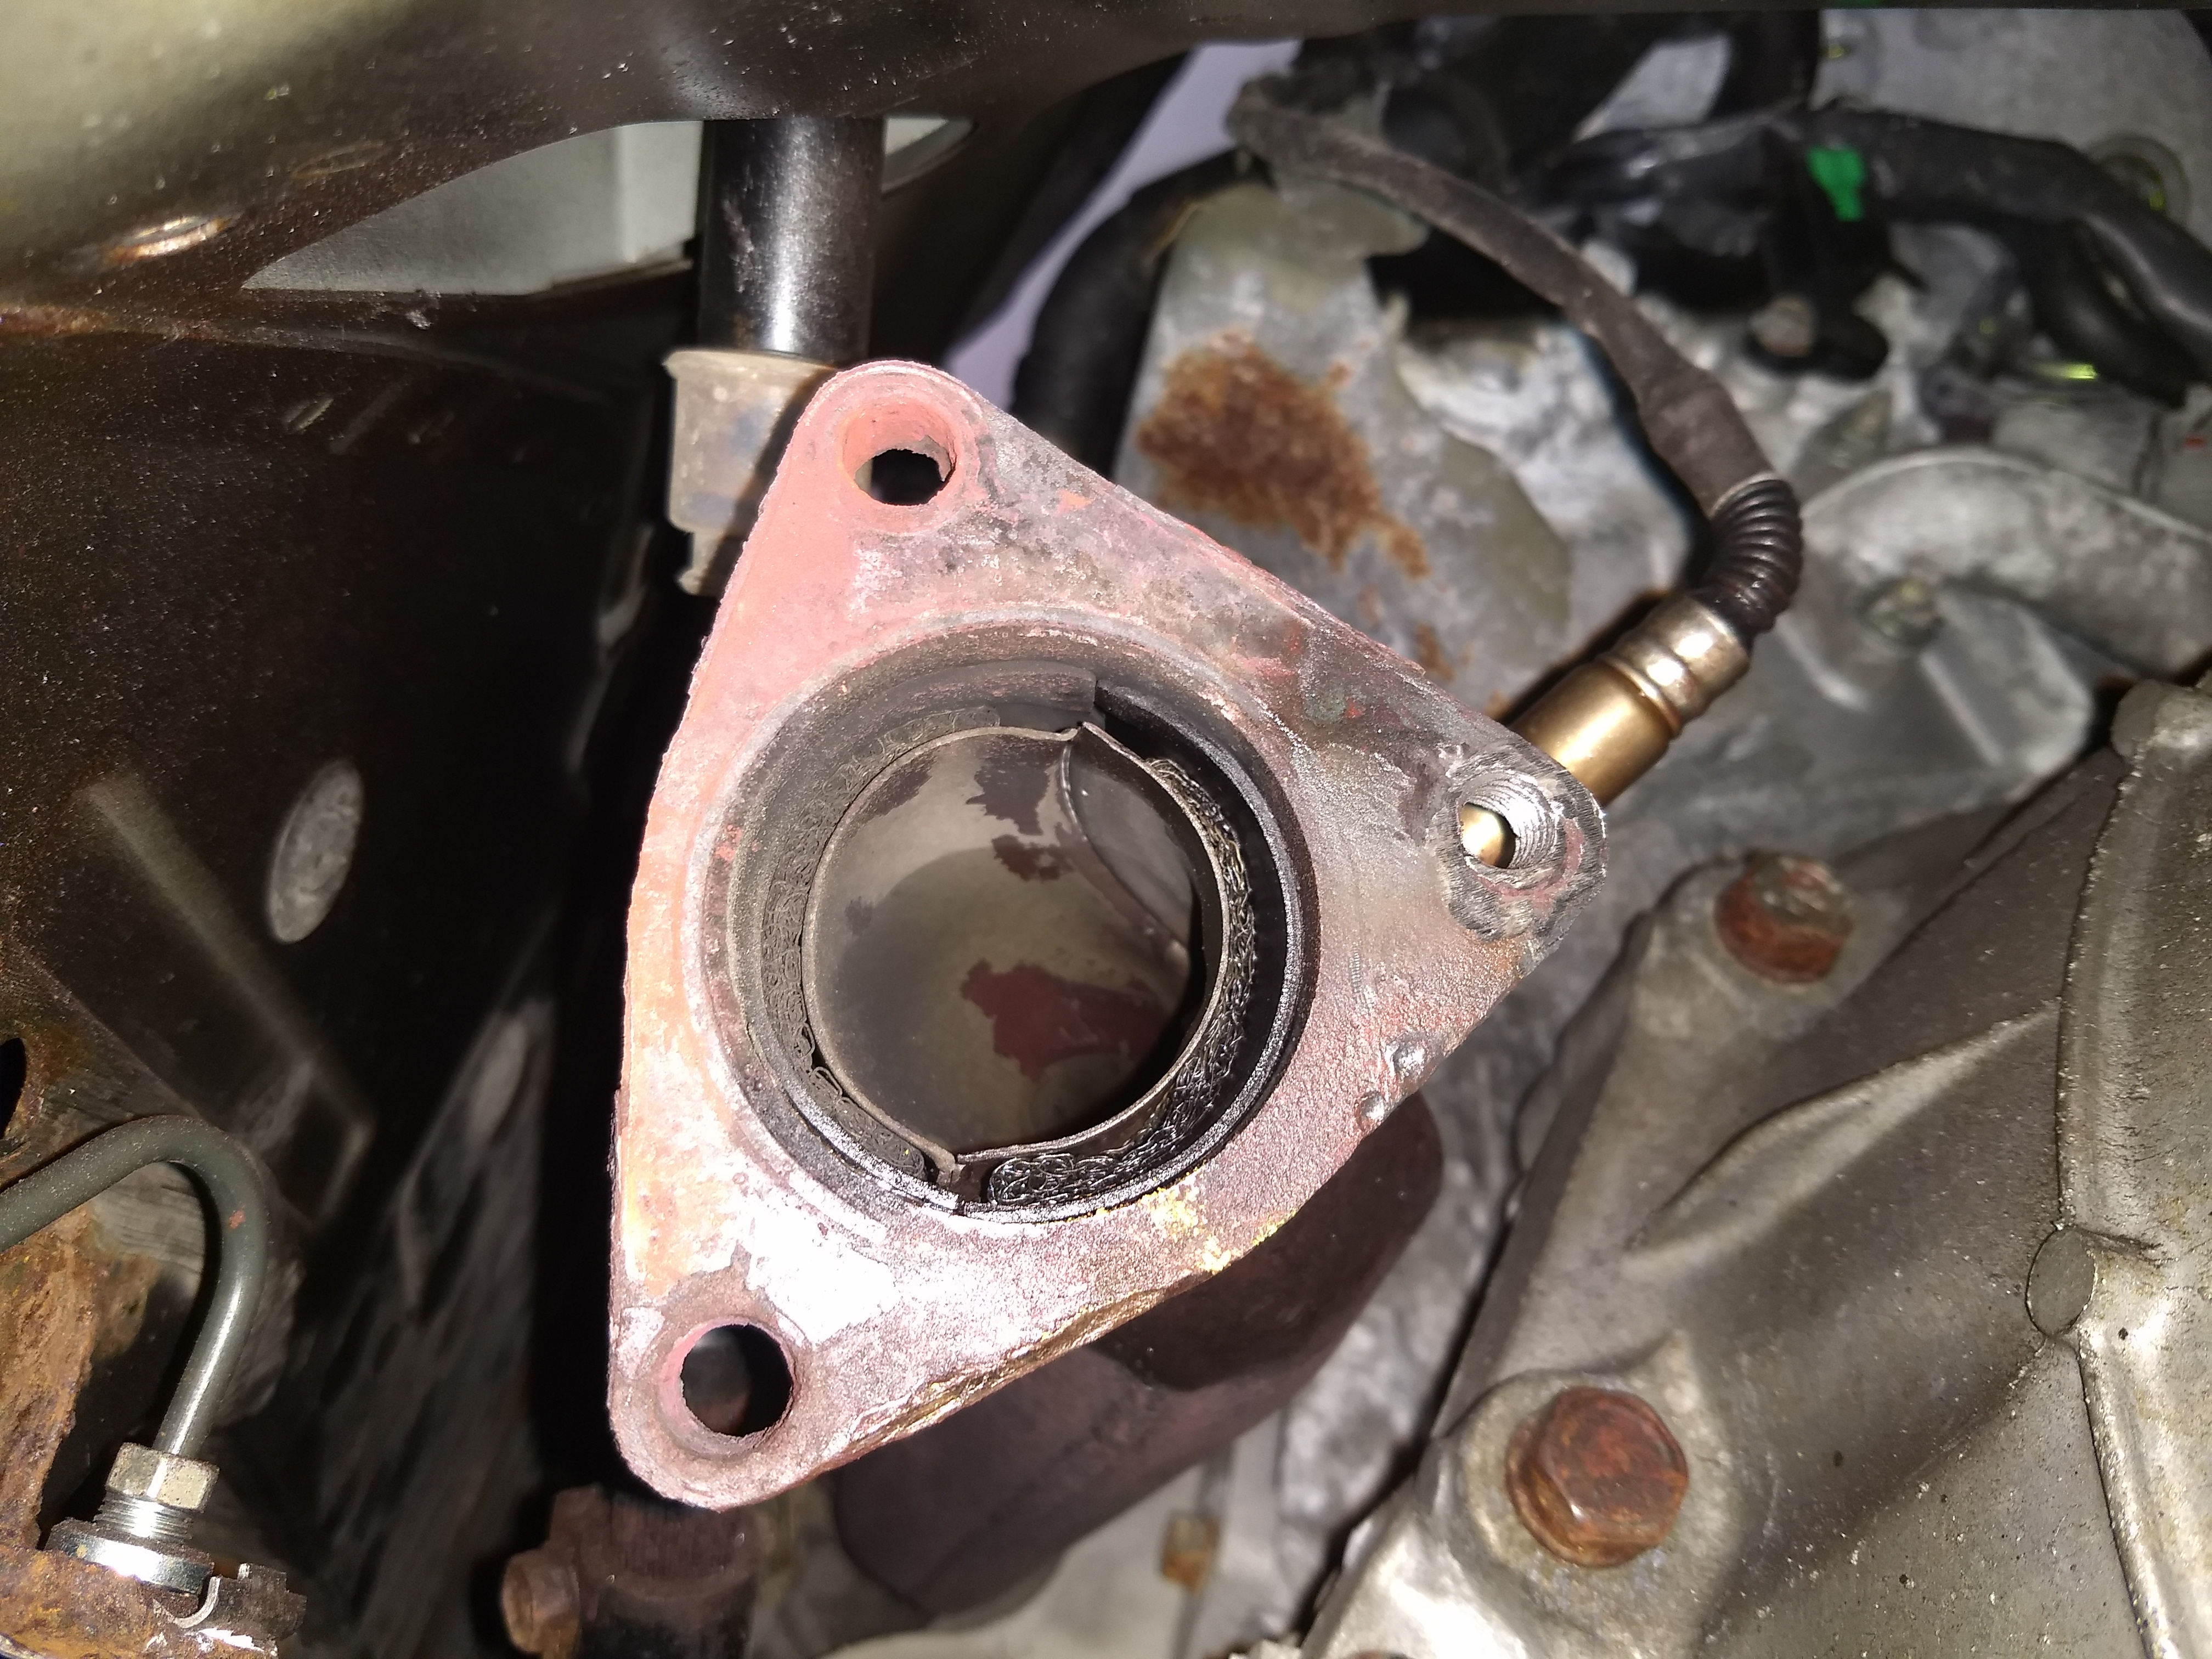
However, "sum' b!#ch!!", the one on the right/passenger side moved a little with the Vise Grip, and then I switched to a small pipe wrench to allow the force of the turn to clamp tighter on the stud as I was attempting to loosen it. A lot of short arcs (there's not much space to work with there) and it is out!

<<The converter side of the stud is on the left, and the manifold side is on the right>>
I chased the thread in the manifold flange with the appropriate 10mm-1.5 tap, and it will be ready when the new exhaust studs arrive (hopefully in a few days). I had already used a 10mm-1.25 die to clean the threads of all the studs on the exhaust components.
However, "sum' b!#ch!!", the one on the right/passenger side moved a little with the Vise Grip, and then I switched to a small pipe wrench to allow the force of the turn to clamp tighter on the stud as I was attempting to loosen it. A lot of short arcs (there's not much space to work with there) and it is out!
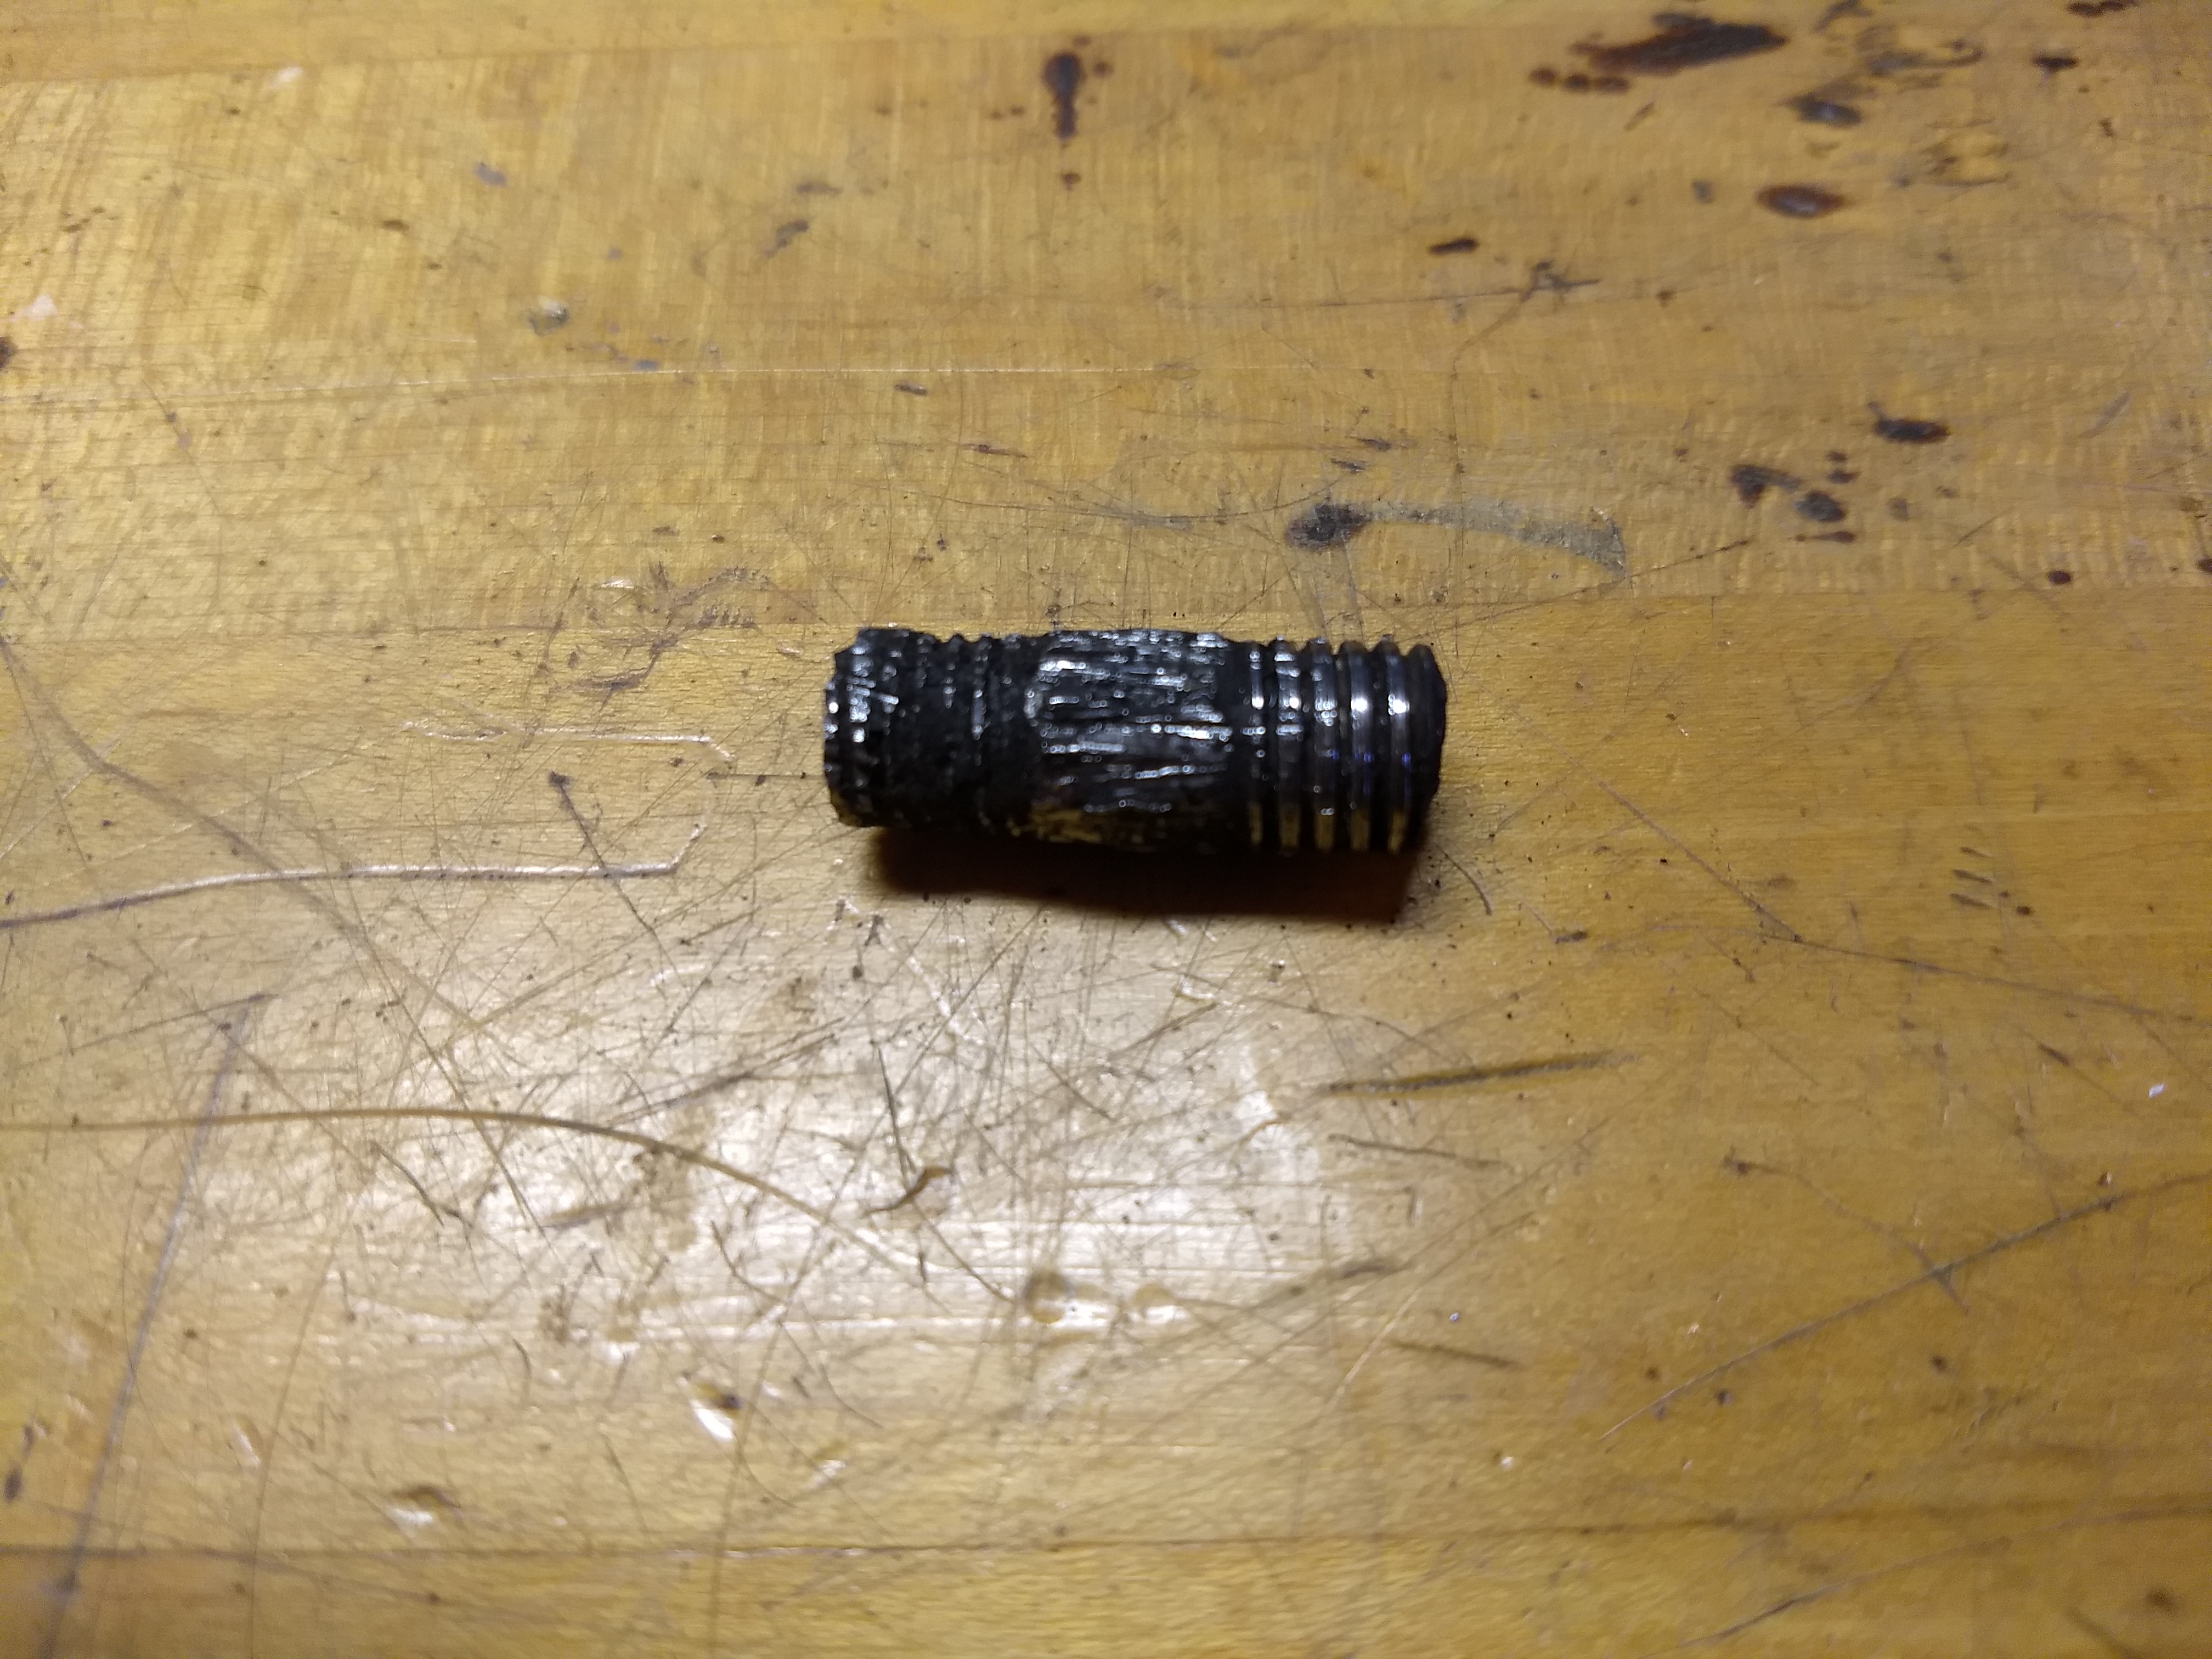
<<The converter side of the stud is on the left, and the manifold side is on the right>>
I chased the thread in the manifold flange with the appropriate 10mm-1.5 tap, and it will be ready when the new exhaust studs arrive (hopefully in a few days). I had already used a 10mm-1.25 die to clean the threads of all the studs on the exhaust components.
Last edited by khnitz; May 7, 2020 at 03:09 AM.
Thread Starter
New Member
Joined: Sep 2017
Posts: 361
Likes: 107
From: Livingston County, MI
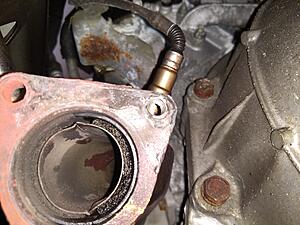
Today was spent drilling out the stud on the left/driver side that I cut off. Then I tapped it for the 10mm-1.5 stud that will go back in there. All-in-all it went OK. I had no luck with a screw extractor to try and get the remaining piece out ( I tried that before I did the final drilling and tapped it). I would say the new stud will be offset ~0.5mm from the original one (I never can seem to center the dimple in the middle of a cut-off bolt to start the drill bit on this type of repair), but I think there's enough slop between the manifold and cat flanges to let it fit in place.
Some pictures from today's efforts:


I wish I had thought of using the small pipe wrench on the nub of the stud on this side before cutting it off. I think that might have gotten it loose, after heating it with the propane torch.
Some pictures from today's efforts:

I wish I had thought of using the small pipe wrench on the nub of the stud on this side before cutting it off. I think that might have gotten it loose, after heating it with the propane torch.
Last edited by khnitz; May 7, 2020 at 10:48 AM.
Thread Starter
New Member
Joined: Sep 2017
Posts: 361
Likes: 107
From: Livingston County, MI
Thread Starter
New Member
Joined: Sep 2017
Posts: 361
Likes: 107
From: Livingston County, MI
I don't think I would attempt installing headers unless I was pulling the engine. Given how corroded everything is, I would prefer to have all the access possible to the exhaust manifold nuts before attempting to remove them.
But, for my needs, the stock exhaust headers are sufficient. For this repair, I'm just trying to return everything to stock condition. The supplemental mounting brackets and heat shields had corroded off of the original catalytic converters. The Y-pipe also lost some of the heat shielding and the flex joints were likely leaking, too (it was hard to isolate it to the flex joints, since all the other exhaust mating points were leaking due to broken studs, etc.). The mid-pipe and muffler were low-cost junk and rusted through - heck, the muffler fell off after a hard right turn at the end of last season
Shortly after I acquired my Z in March-2018, I found two OEM exhaust sets (one set was the mid-pipe and muffler, while the 2nd set included the Y-pipe, mid-pipe and muffler) on craigslist and FB marketplace. These were low-mileage takeoffs that had been stored for many years and I was able to get them cheap. Why buy 2 sets? I smile and think of a quote from the movie "Contact" - "Why buy/build one, when you can have 2 at twice the price!?" They were so reasonably priced, I just grabbed them. Last year I similarly bought a set of OEM cats that were low-mileage takeoffs and in great shape. So at the end of all this (I'm just waiting for my stainless 10mm-1.25 flange nuts to arrive in order to finish the installation), I should have an exhaust that will last me for a good while. My Z will be a summer driver, so it will get 5-6k miles a season from here on out.
Last edited by khnitz; May 11, 2020 at 05:34 AM.

New Member
Joined: Dec 2019
Posts: 160
Likes: 56
From: Jacksonville, Florida
While looking for a Weldina Nismo setup, I ended up with 1 muffler and another nicer muffler and matched mid-pipe. Still looking for a matched Y pipe and no, I'm not doing headers now, either.
The stock exhaust note is nice as it is, but I'd like just a little bit more volume.
The stock exhaust note is nice as it is, but I'd like just a little bit more volume.

New Member
Joined: Jul 2018
Posts: 99
Likes: 21
From: Pennsylvania
Oh man, around September 2018 I changed my mid pipe and muffler for a Tanabe Medallion. Similar story, had purchased the car recently, PA, some level of rust, current muffler was terrible and low end. So I thought, 4 bolts, how hard can it be?
The first thing was to try a long breaker bar, but what room you have under the car on stands? I ended up with a dremel, and 3 days later working by the end of the day, got them out. Recently I thought about the Y pipe and cats, and saw your post...
Great quote from Contact, by the way!
Br,
Al
The first thing was to try a long breaker bar, but what room you have under the car on stands? I ended up with a dremel, and 3 days later working by the end of the day, got them out. Recently I thought about the Y pipe and cats, and saw your post...
Great quote from Contact, by the way!
Br,
Al


Thread
Thread Starter
Forum
Replies
Last Post