When you click on links to various merchants on this site and make a purchase, this can result in this site earning a commission. Affiliate programs and affiliations include, but are not limited to, the eBay Partner Network.
What materials are you using to do all this?
I've been thinking a lot about changing some stuff up lately, maybe do a little leather and suede/Alcantara.
What materials are you using to do all this?
I've been thinking a lot about changing some stuff up lately, maybe do a little leather and suede/Alcantara.
https://www.joann.com/black-scuba-fa.../18242453.html This is what I use. It has a stretch to and makes wrapping very easy. I use 3m 90 adhesive spray for the glue.Sharp blades for clean cuts on the back and using a hot knife/iron works amazingly for making bolts holes.
Any info on the installation of the carbon A pillars....I have a set of carbon A pillars myself but not sure how to install them because they don't have any clips.......
Any info on the installation of the carbon A pillars....I have a set of carbon A pillars myself but not sure how to install them because they don't have any clips.......
The link below for the pillars on ebay states the clips (part #) needed. Also recommends a gasket to use for the pillars.. Better to reuse the clips from the stock pillars as they are kinda pricey, and if you try aftermarket (like I did), they can fit like ****.
Everything back in. Cupholder painted.
Sanded and painted the ebrake as you could see the rusted metal before hand even with the console on.
VERY happy with how it all turned out.
Soooo... I wanted to make a new bracket for the kill switch... forgot I switched it off.. Spent like 20 mins trying to figure out why I couldnt start the car lol. Moved the switch in the center console and added a colored switch so this does not happen again.
This panel came out well. Made it a lot cleaner by deleting the hood latch and oem switches., changed the switches, added the hazard switch, straightened the CC switch.
Picked this lil guy up and love it. I always wanted one and never knew they were so cheap. I think it was like $80 total with fluid.
Took off these carbon door trims.. The fit was meh and always made the sideskirts loose.. Gonna pick up a pair of the OEM black ones and modify them.
Next up: Getting new door trim, finishing the front bumper mounting, and wrap prep.
Soooo been a while. Took a bit of a vacation, so any extra money went to that. Have not done too much as I just started working on stuff again. Heres whats been done since last time though..
Went through 20' of window tint learning how to work with it. Last attempt was great; however, I mistrimmed it slightly. Got another roll coming now, should not have an issue now hopfully.
When I originally wired the hazard switch, I did not even check to see if it had power with keys out( it did...). Ended up removing power to the LED and having a sticker printed up to put over it instead.
Finished the front bumper mounting as well.. Actually works like I had hoped.
Decided to put on a catch can (still vented), I figured it would be better overall. Was my first time workin with AN lines and it was not too bad after I got the hang of it.
So, when I uploaded the base tune a while ago, it updated the cable, resulting in no more working Cipher... Got this VAG KKL cable and NDS II software to replace it. Got everything set up and working, lookin forward to using it later on. Pretty much does what cipher would do. Was about $80 total. https://nisscan.com/nds-ii-windows-pc/?v=7516fd43adaa here is the info on it.
Took out the old dash cam and put in a much better one with a 128gb sd.
I use to have the Nismo GT **** that I LOVED; however, it degraded overtime to the point of me throwing it away. Replaced with a Tomei Duracon **** and just was not too happy with it... Found this one that is weighted and unisversal on Amazon and am very happy with it. Very similar feel to the nismo gt 9that I remember). I did have to get an aluminum adapter as it came with crappy plastic ones.
Used VHT for the first time. Use 2 coats + 2 coats of clear. Very happy with how they came out!
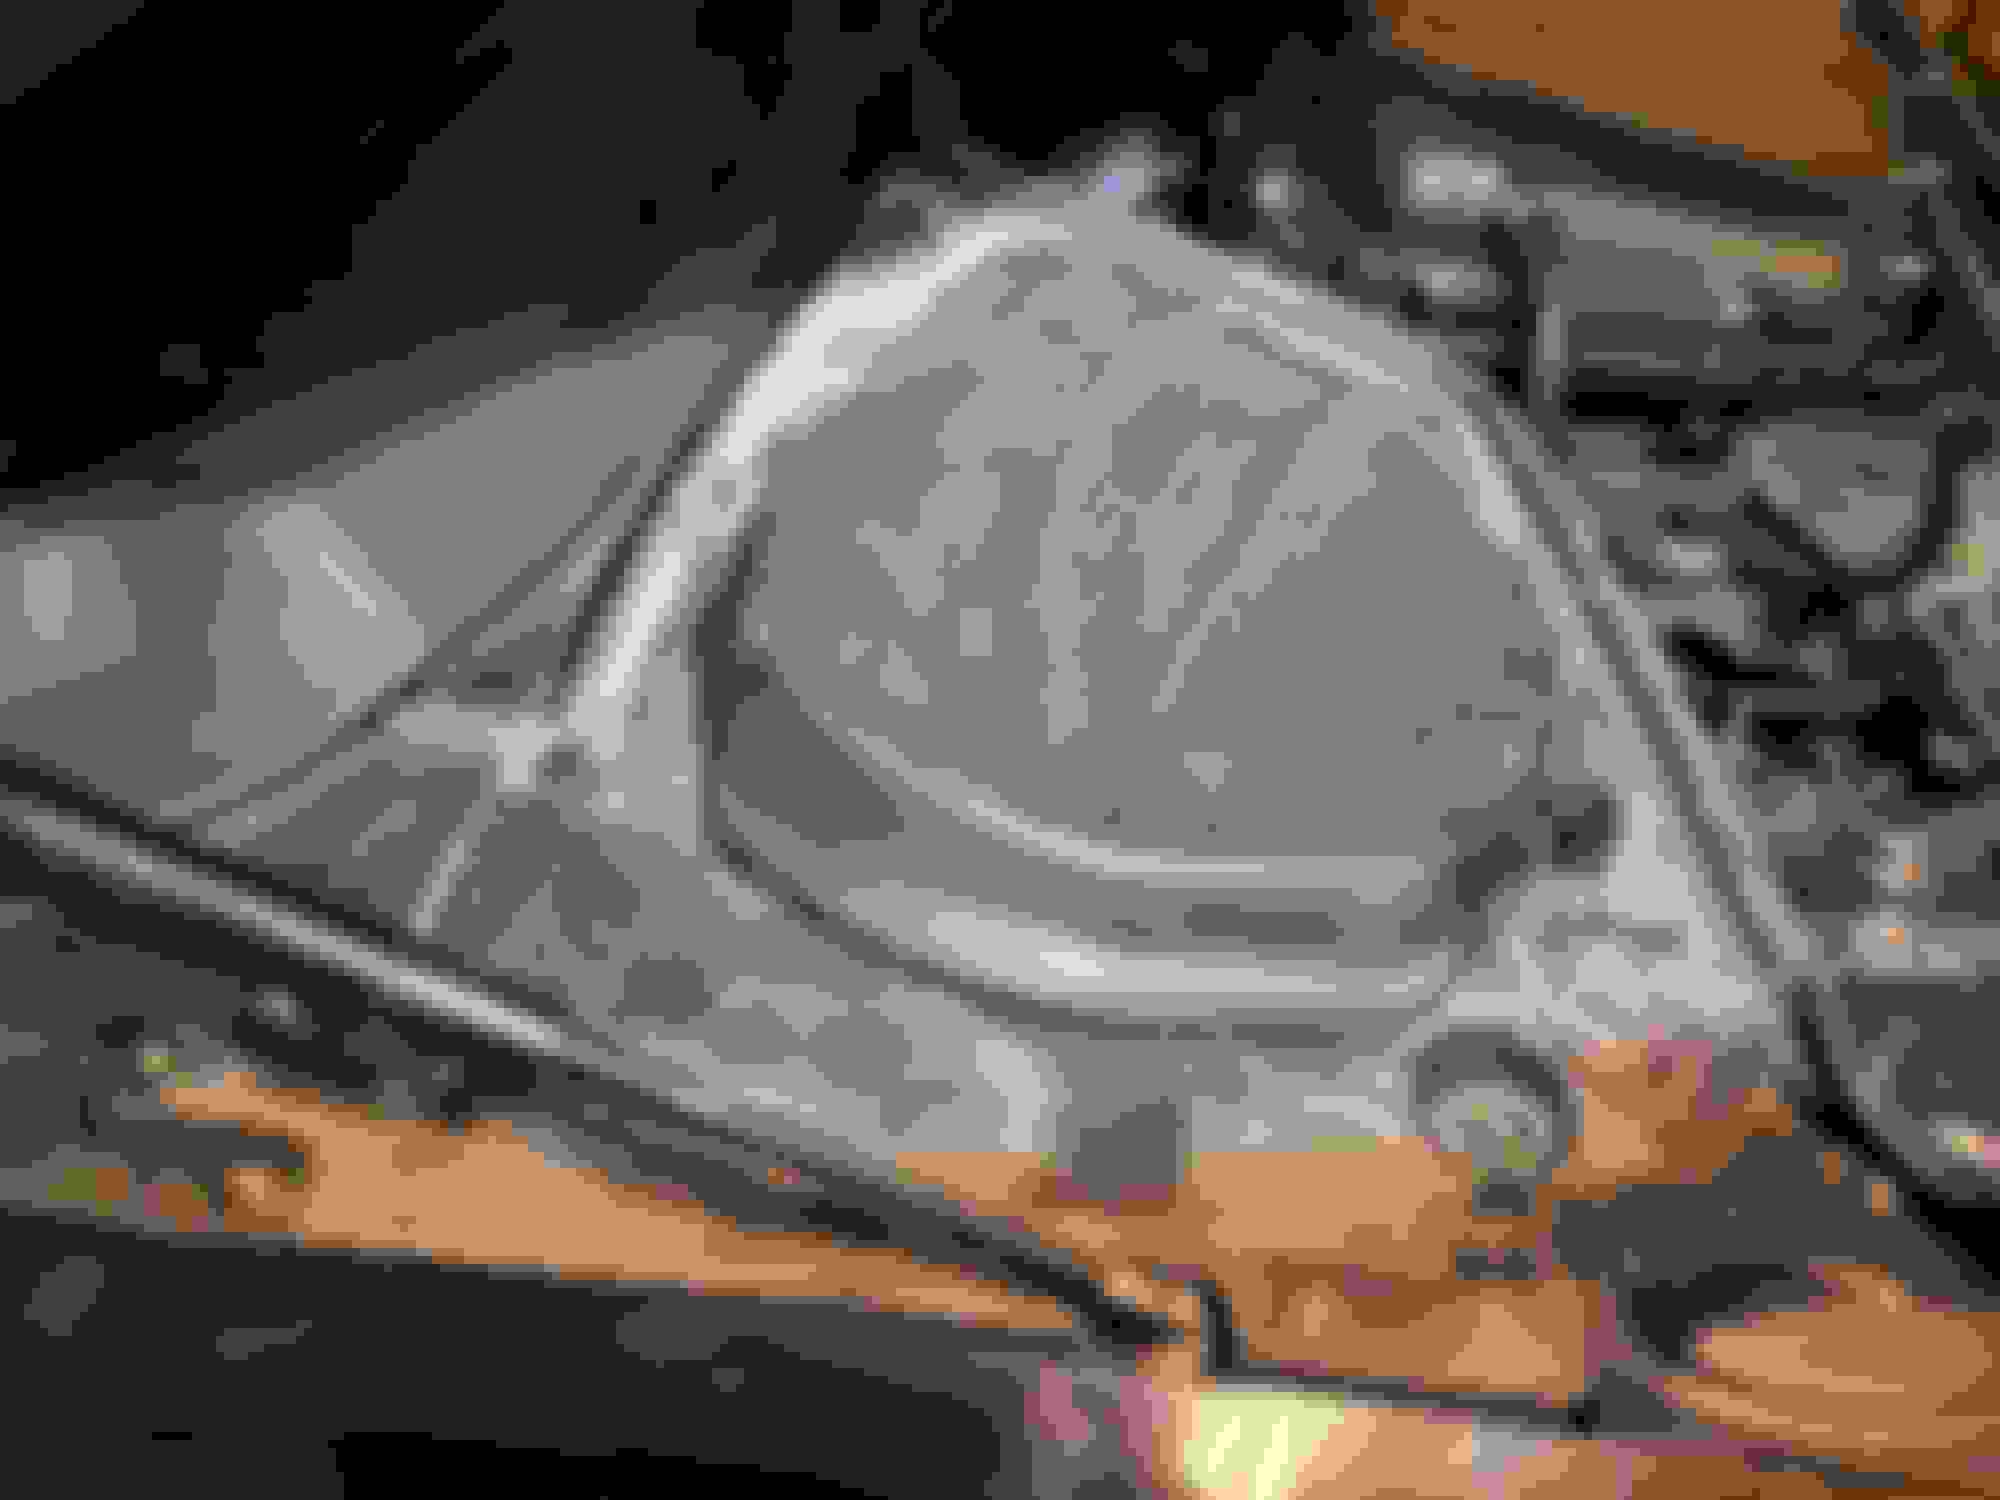
While I am going to be tinting the windows, I would like to tint the rear window too. It is lexan and I have heard mixed answers as to tint or not... So, I'm gonna try to tint it and if it does not hold, I can get dark smoked lexan and cut to size. The VIS lexan pictured below was cut pretty badly and the seal was barely holding. Below are pics of how bad the seal was and how it looked. Gotta scrape it off and add new rubber seal.
Next up. Attempt #2 at tinting. Still needa get the kick plates since I removed the CF ones. Changing the fuel tank venting. Paint the front bumper lip. Continue wrap prep. Need a new battery.. Wrap should be started in aout 2 months, everything should be done and ready to go by then.
you cant really tint over plastic windows, they continually outgas when it gets warm and the tint will bubble like crazy and ultimately the tint will fail.
You can however replicate that window easily using smoked lexan.
you cant really tint over plastic windows, they continually outgas when it gets warm and the tint will bubble like crazy and ultimately the tint will fail.
You can however replicate that window easily using smoked lexan.
Yea.. Thats what I read but then again, people claim they have been fine for a while with tint on lexan, which is why I figured I give it a try... I ended up buying a sheet of Dark grey lexan, gotta cut it up now.
Made a little bit of progress overall. Still knocking out some small stuff, as I should have wrap in about 3 weeks .
I have not failed at something in a while, n even then, the 2nd attempt goes well... did not happen with the tint though. I kept having an issue once I was 80%+ done with a window, mainly dealing with over shrinking... Soooo guess I'll just pay a pro soon. Also got a new battery installed, the last one could was pertty much dead after draining it 50+ times.
Got a new gas cap, mines been broken since I bough the dam thing in 2014. old one was also gunked up and took much more vacuum to open.
Added a 15'' extention for the nitrous line, was a little short after rerunning it with the fuel lines a while back and never got around to it.
Finished the gas tank vent. I did not like it under the car behind the exhaust, so I relocated it (there is a cover over the filler now).
Threw on some Rubber stripping on the underside of the hatch to clean up the bolt/nut look.. Later on I would like remove the hatch, make a strip cover, and repaint the whole underside; but I have no room to do so right now.
Progress with the lexan.. Ordered 1/8'' dark gray lexan. All cut to shape, test fitted, holes drilled. Made a fat order at belmetric for some more hardware, so gotta wait til that comes in to install it. Scraped off the old weatherstrip and put on the new one. Found out the opening for the lexan is uneven lol. Never noticed it until taking out the lexan. about a .25'' difference from corner to corner, but its not exactly noticable thankfully.
Painted the bumper lip to match the side skirt add ons and rear diffuser.
Still need to buy some oem black kick plates and going to make a rad air guide outta aluminum while I wait for the wrap. Going with Black Gloss Cheetah wrap. I like subtle, not into the colors that pop, at least for my personal vehicles. Also wanna do a smoke test on the exhaust after all the new gaskets and vbands.
Had some setbacks. The lexan I got was 1/8''.. Got it all cut, sanded, drilled, and it leaks due to the bowing bc it is too thin :/ .. Ordered a 1/4 sheet of tinted lexan now.. At least I have a good template now. Hatch looked sooooo much better with it on too..
Converted the bumper tabs to M6 bolts. Bumper fits more snug now.
Made some progress on the air diversion panel. Rough 1st trim. Put on 2 more layers of fiberglass after this pic. Now that the bumper is fitted, I can trim it down... Had to trim the hood a bit for this. I wanted it to have as small of opening as possible in the center, while covering the entire front and intke duct. Does everything I wanted it to.
Got 2 sets of these for $15 on ebay. Snapped in perfectly. Gotta be the best fitting ebay part I have ever ordered lol.
A/F Sensor Error even after replacing the sensor (P2A03)
Hi Everyone, I am new to this community, so apologies if I post in the wrong place. I got P2A03 code and I replaced the A/F sensor (Bank2 sensor 1). I cleared the code, but a week later, the engine light came again. It was P2A03 code again. I checked with bluedriver app, and it seems like the O2 sensor is giving voltage reading. What's odd is the sensor1 in both bank 2 and bank1 are not looking similar. My assumption is they should be similar? I'm wondering what's potentially wrong here, given I already replaced the sensor with the correct part number.
If this helps, I want to add that, I measured overall signals as well, Bank1:
Made a bit of progress.
Rad air guide is now done.
I tried 3 different gaskets with the hatch lexan, AFTER using the 1/4'' lexan. STILL LEAKED just barely.. Fed up, took the hatch off and decided to use butyl tape. May as well work on it while its out.. Sanded down all the cracks from shipping damage, painted (covered in dust like everything else), and now making the cover for the spoiler bolts/nuts. Still gotta make a plate for the dead weight location.
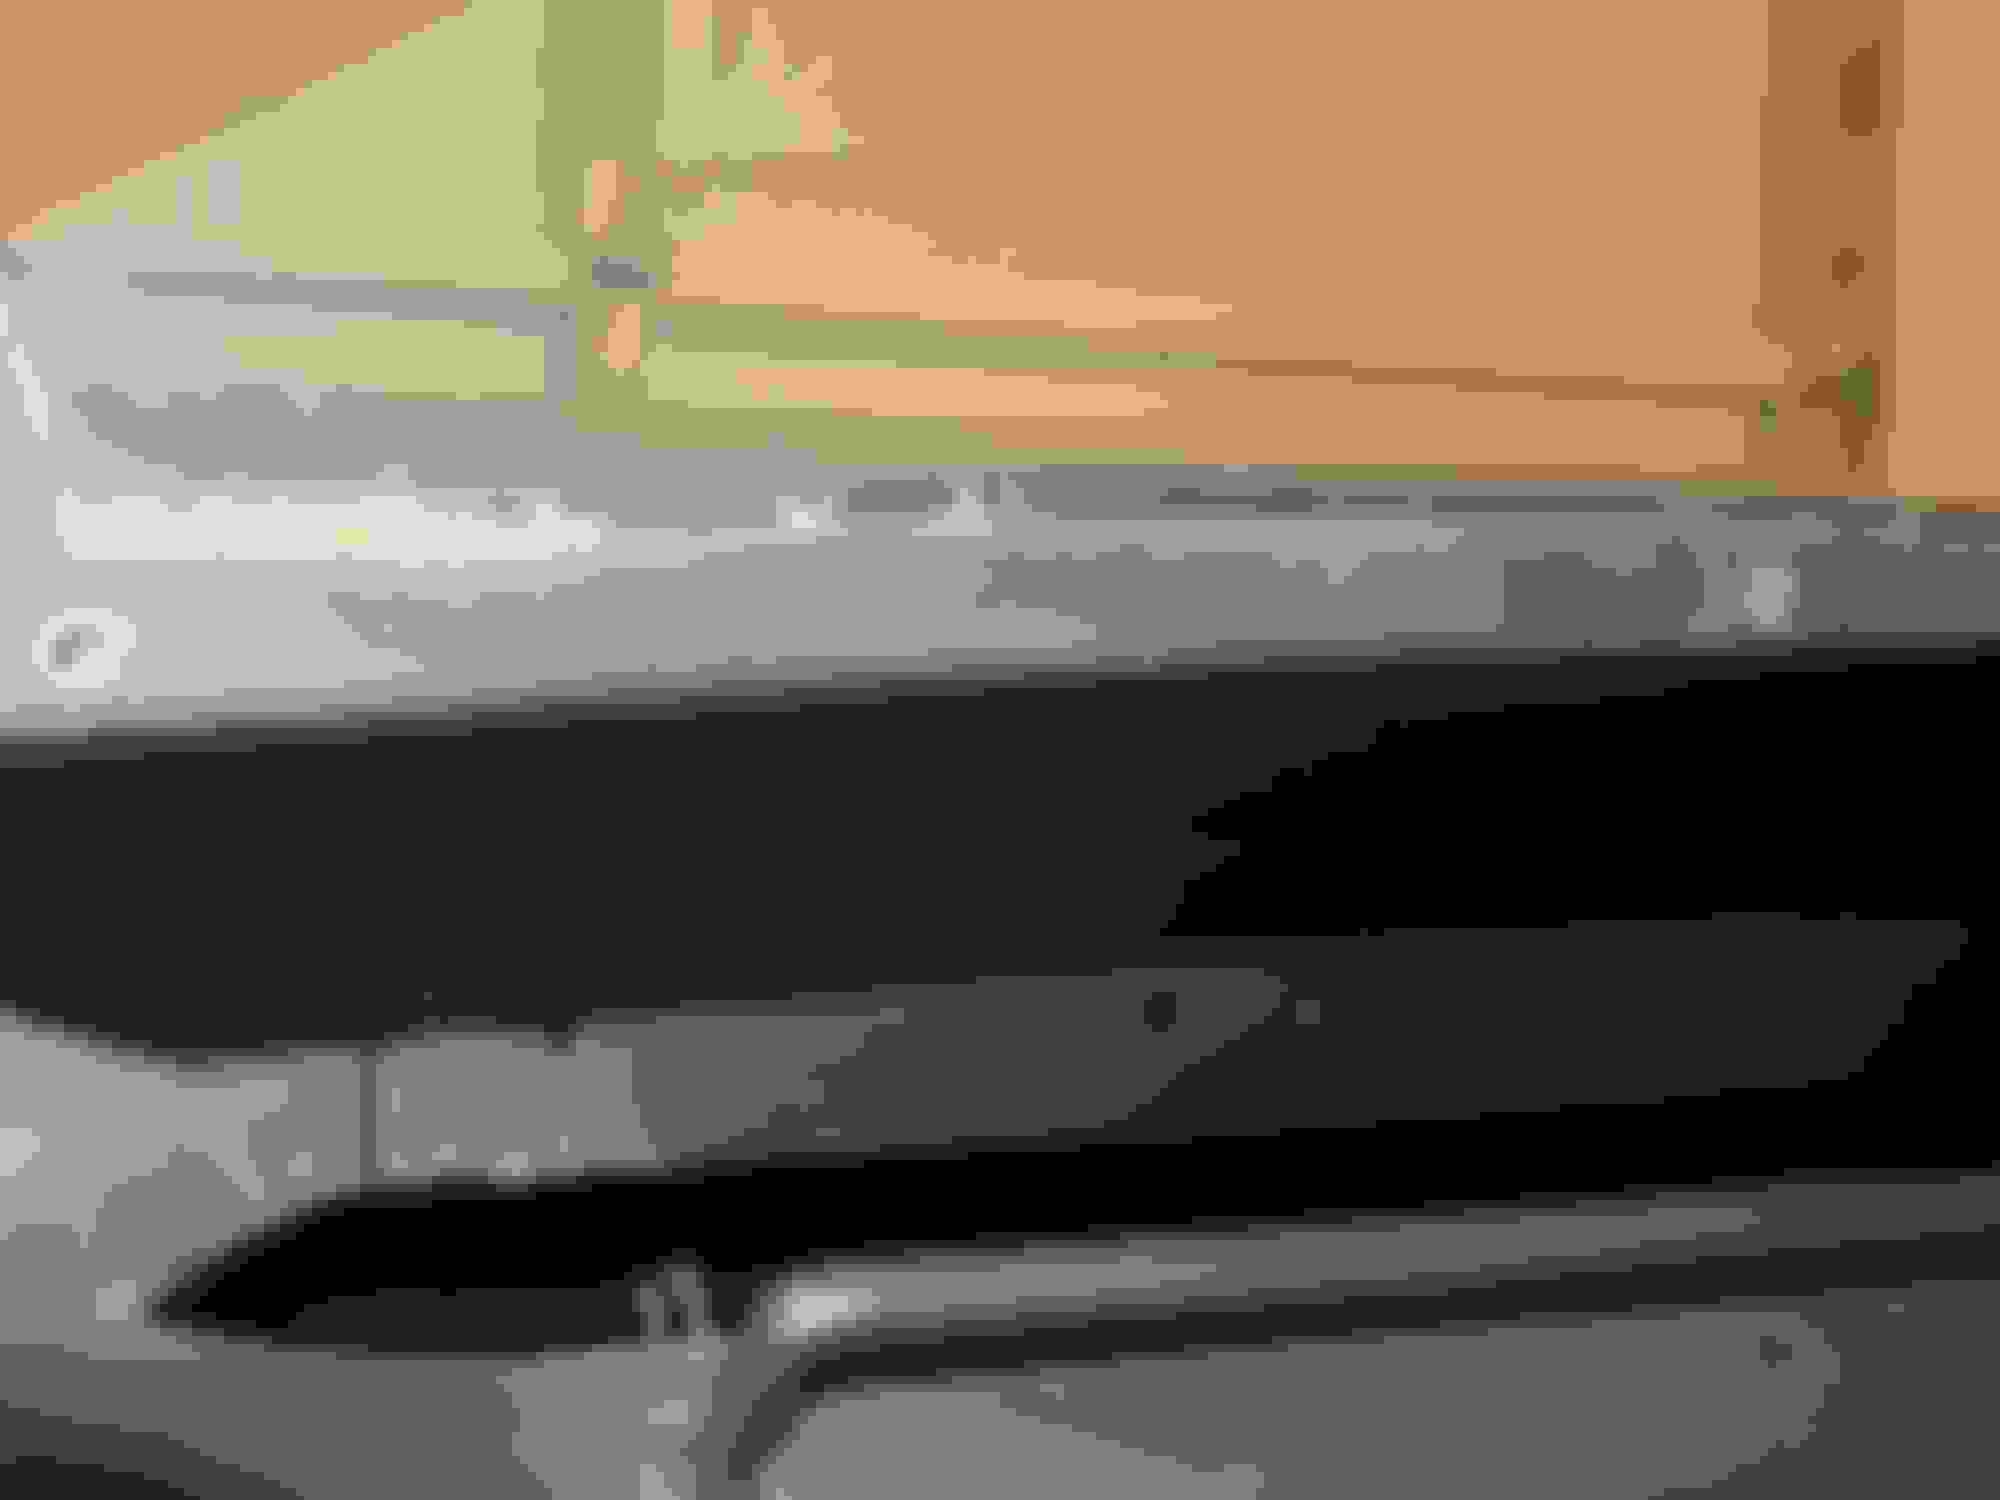
MUCH CLEANER than the clear lexan with the nasty leaking grey gasket. Ended up getting rid of the 3 self tappers up top and using M4 bolts as well to match. NO LEAKS!
May look pretty clear, but thats with a brigth line shining on it.
This is said cover. I ****ed up, some of the nuts were making contact wth it. Gotta clean the holes up, and fiberglass a bit more to give it slightly more height.
Finished the kick plates too. Soo nice to get rid of the badly fitting carbon ones, always knocking the sideskirt loose.
The hatch is the last thing im working on, dealing with fiberglass/body filler for a bit lol.
Another update.. FIRST! This lil guy was found at a prison parking lot about a few weeks ago, covered in flea powder n starving :/. He is now healthy, happy, neutered and a new family member lol. My gf named him Eclipse.
Made a small order at Z1 and got the windshield cover, battery tie down rods, and the oil funnel.
This is the Zspec tie down.. I disliked the way the rods were made, as they also were not able to hold down the battery well enough. Ended up finally destroying the rods, so I got new OEM ones and just used nuts/washers. Now its actually held in place.
New hood shocks, as my old CF NRG ones were worn out finally. These are 65LB each. Slightly too much I think, but nothing sketchy. Ithink 55LB would be perfect for a CF hood.
Had to cut the hood up a bit more for the rad guide. Also put on a foam strip to have a tight seal when closed.
Finished the cover fiberglass cover for the hatch (needs a paint touch up as the adhesive I tried ate through slightly). Made an aluminum plate for the center to match the rest of the interior. Put rivnuts in for the VIS plate. Gasket all around added for a nice seal.
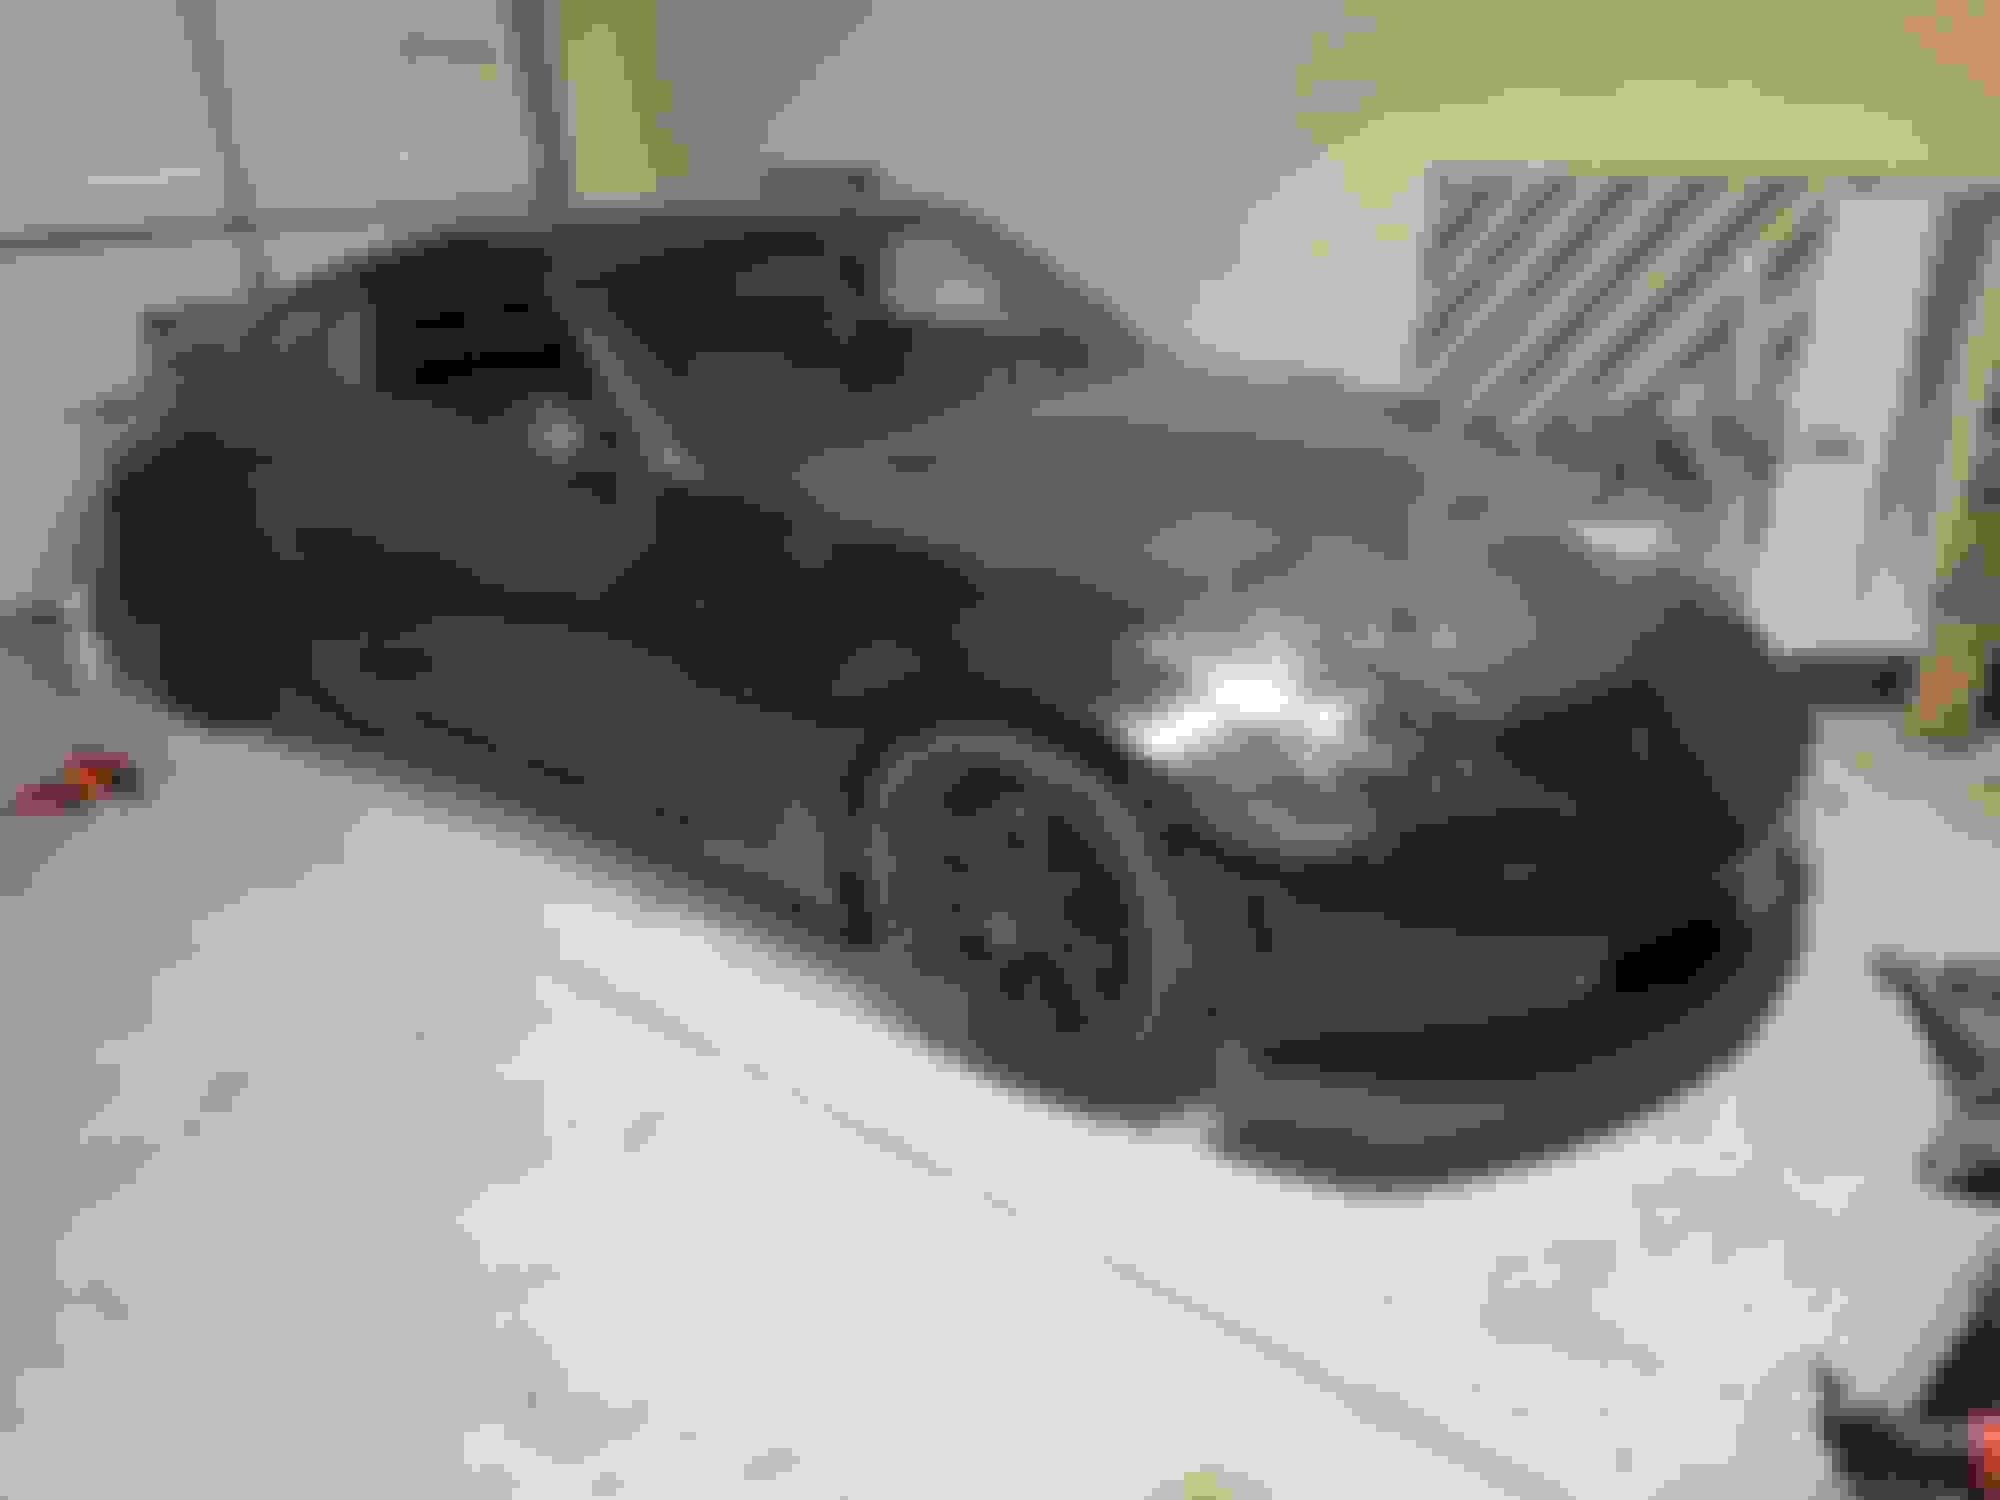
First wash in years! Clayed and used some compoud as well (only focused on the panels). The whole car felt like 150 grit while claying lol. Crazy seeing any form of gloss on this thing again. Hatch needs to be alighned better as I noticed in the pic its lopsided now. 6-22 tag, its been a while..
After the pics, I had to fix a few more small places on the body, as I culd actually see a reflection again. I ordered the wrap already.. Gonna make another sanding pass over the front bumper and fenders this weekend, and next will be time to wrap. Next up misc items will be converting the engine bay plastic fasteners to M5 rivnuts and making underside quick release brackets for the rear diffuser.
Made a bit of progress.
Rad air guide is now done.
I tried 3 different gaskets with the hatch lexan, AFTER using the 1/4'' lexan. STILL LEAKED just barely.. Fed up, took the hatch off and decided to use butyl tape. May as well work on it while its out.. Sanded down all the cracks from shipping damage, painted (covered in dust like everything else), and now making the cover for the spoiler bolts/nuts. Still gotta make a plate for the dead weight location.
MUCH CLEANER than the clear lexan with the nasty leaking grey gasket. Ended up getting rid of the 3 self tappers up top and using M4 bolts as well to match. NO LEAKS!
May look pretty clear, but thats with a brigth line shining on it.
This is said cover. I ****ed up, some of the nuts were making contact wth it. Gotta clean the holes up, and fiberglass a bit more to give it slightly more height.
Finished the kick plates too. Soo nice to get rid of the badly fitting carbon ones, always knocking the sideskirt loose.
The hatch is the last thing im working on, dealing with fiberglass/body filler for a bit lol.
Discontinued Z1 strut bar. Crazy how they only sold it for a limited time, one of the best items they offered.. was only like $140 too.
WRAPPING -
Soo.. Wrapping has been a journey lol... Overall, easy with the cast vinyl.. BUT... I was a bit too excited and fked up. Had a 75 roll, and JUST BARELY ENOUGH to finish the car.
Had the whole car wrapped, except the bumpers.. took it in the sunlight andddddd I never block sanded any of the old bodywork I did, nor did I think to check it sadly. So, I pretty much have wrapped the car twice -_- .. Had 3 panels while glassing let loose n fall on the floor, 1 panel had a lotta dust, and 2 panels cut too short on accident.. Learning experience! Next wrap will be so easy lol.
Working on the front bumper now. Waiting on some carbon wrap for the roof and rear diffuser, n then the wrap is done. I got some carbon covers for the mirrors, wrapped the mirror bases, side splitters, b pillars, and rear bumper cut outs.
Got some new hydrodipped carbon handles from Amazon, threw on the CF covers and installed those as well.
Small update.. Wrapped majority of the bumper black, then went on to wrap the lip with carbon.. The tack was so strong it ended up pulling the black wrap multiple times and ending up leaving wrinkles as there was very little tack with the black wrap.. Turns out I did not prep the bumper correctly.. Had to spend $200 for 25' fo wrap due to my mistake.
Thought about buying a new fiberglass bumper but I'm gonna give this bumper 1 more go... Sanding now with 220 wet with ajax/bleach.. Got some polyvance filler as well, since im redoing this, may as well go the extra mile and get out most imperfections.
Diffuser is wrapped and put on. Ending up making some brackets that are easily reachable with the car on the ground and removable with 1 arm. Going to redo the license plate area, it looks like ****.
Ended up wrapping the roof black.
Hopefully the bumper will be on and everything cleaned by this weekend!
I decided to keep this poly bumper after everything... I got AJAX with bleach, scrubbed the hell outta it, sanded to 220 all around and used "POLYVANCE Flex Filler 2" for filling/sculpting.. Was really hard to find a good filler, the only reason I found this one was due to an old youtube video. The filler is so cheap and works amazingly. feathers and sands even easier than bondo, Dries extremely fast, and is very durable from testing it. I sanded with 80 grit where I applied the filler. The 2 pics below show the filler, and with wrap on, the bodywork is flush .. Painted the lower lip of the bumper.. Overall fitment is way better than before as well. Since I'll be keeping this bumper, a later project will be making a carbon lip cover and changing the quick release to the button style (like the rear bumper).
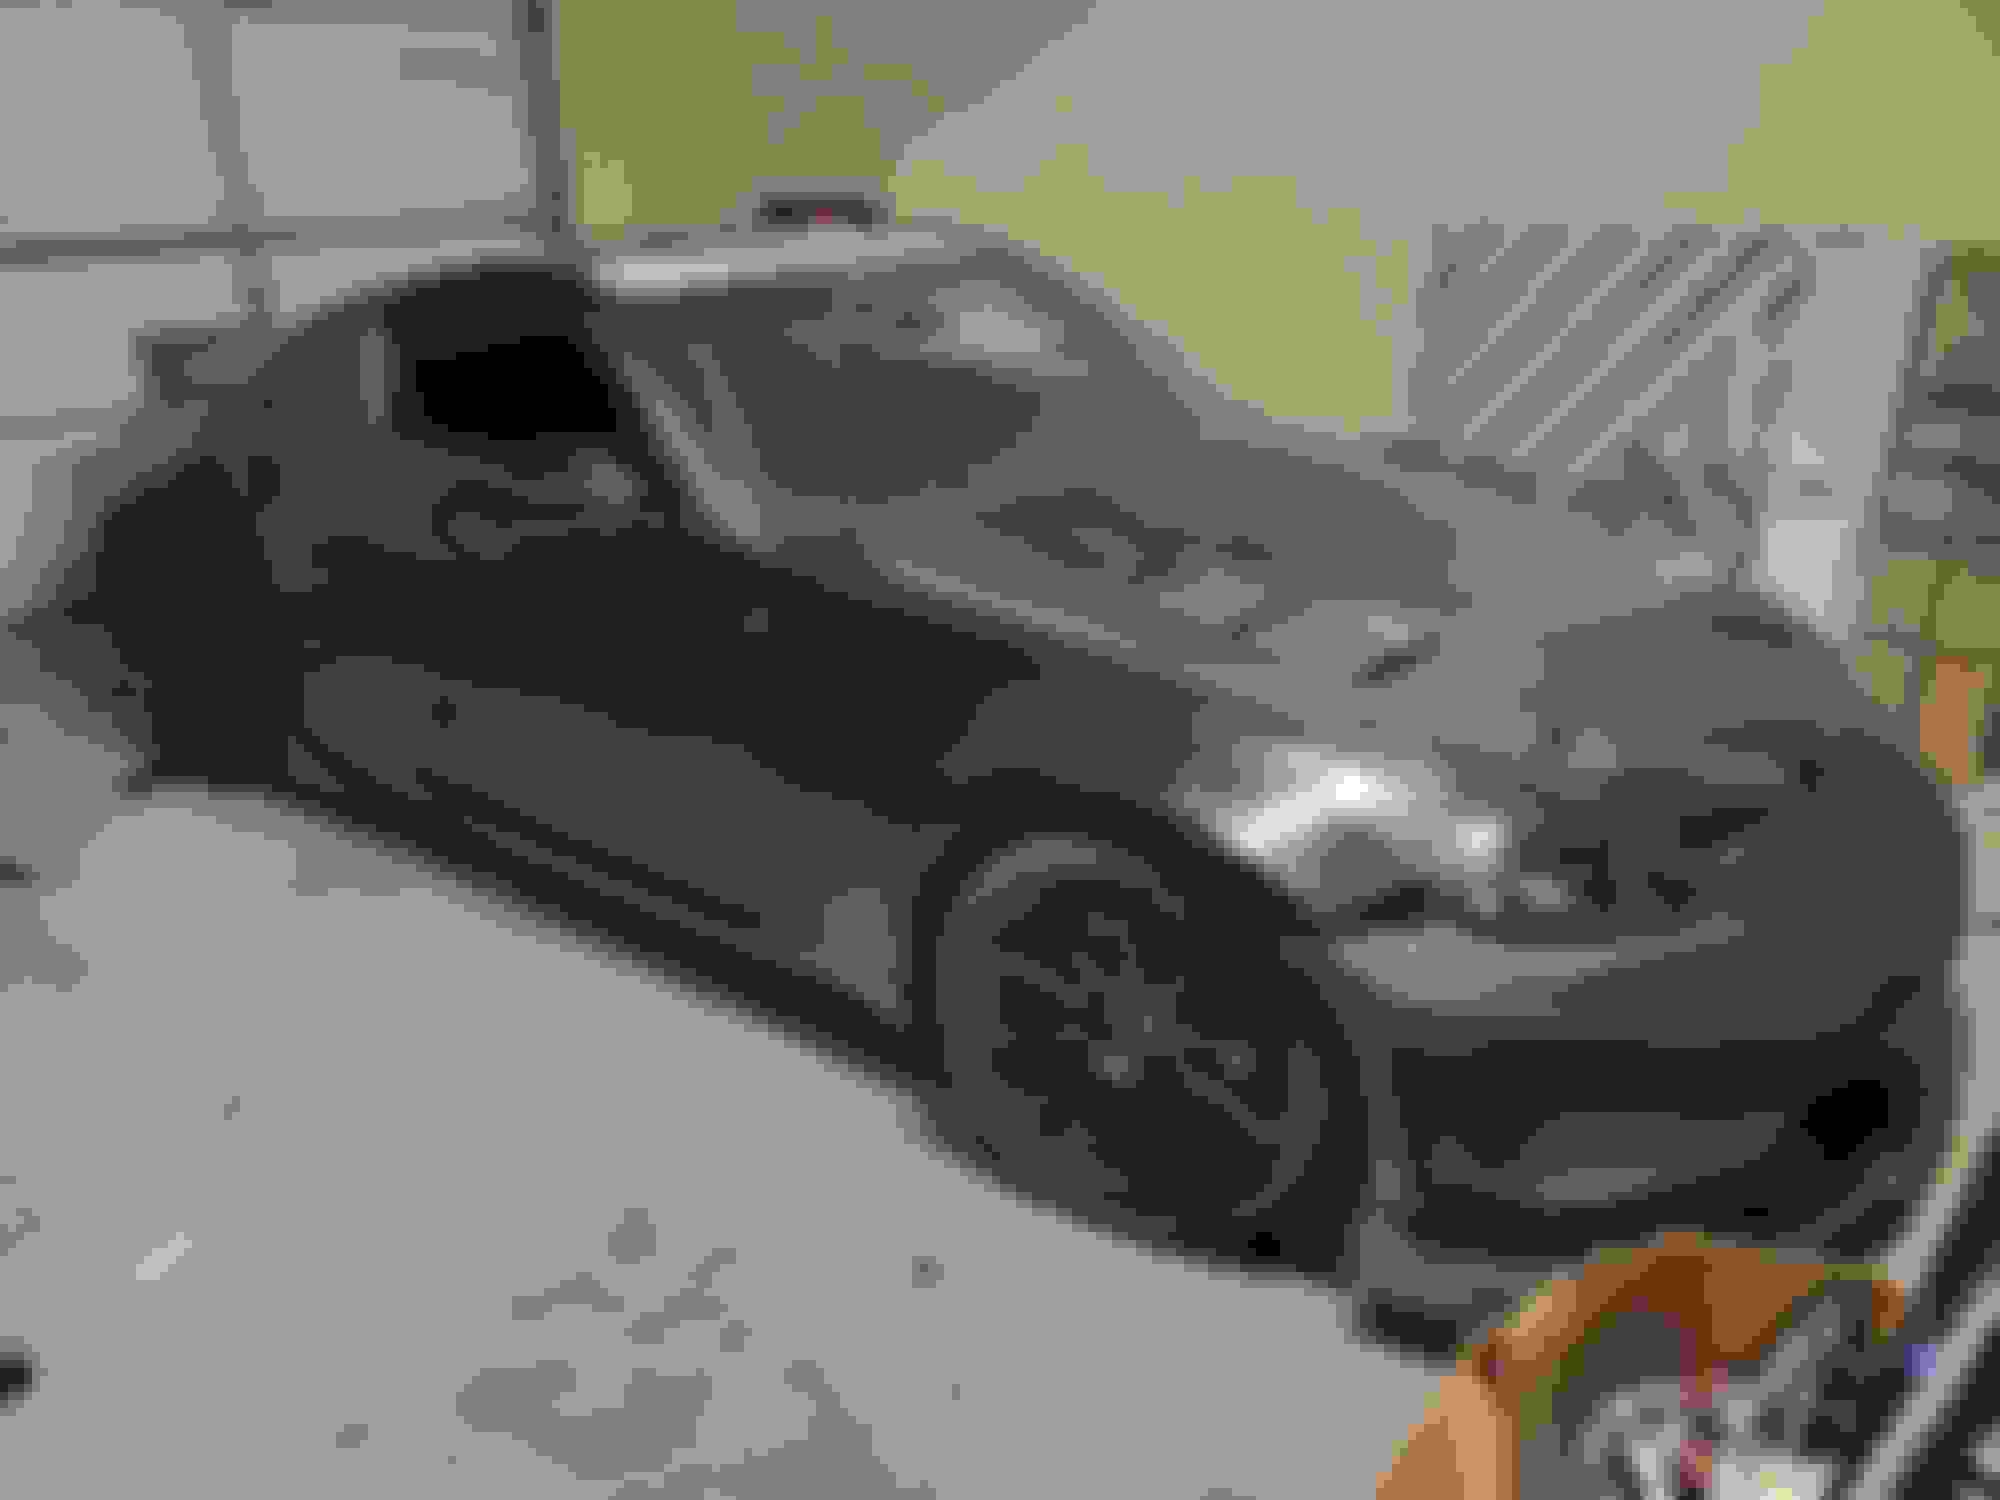
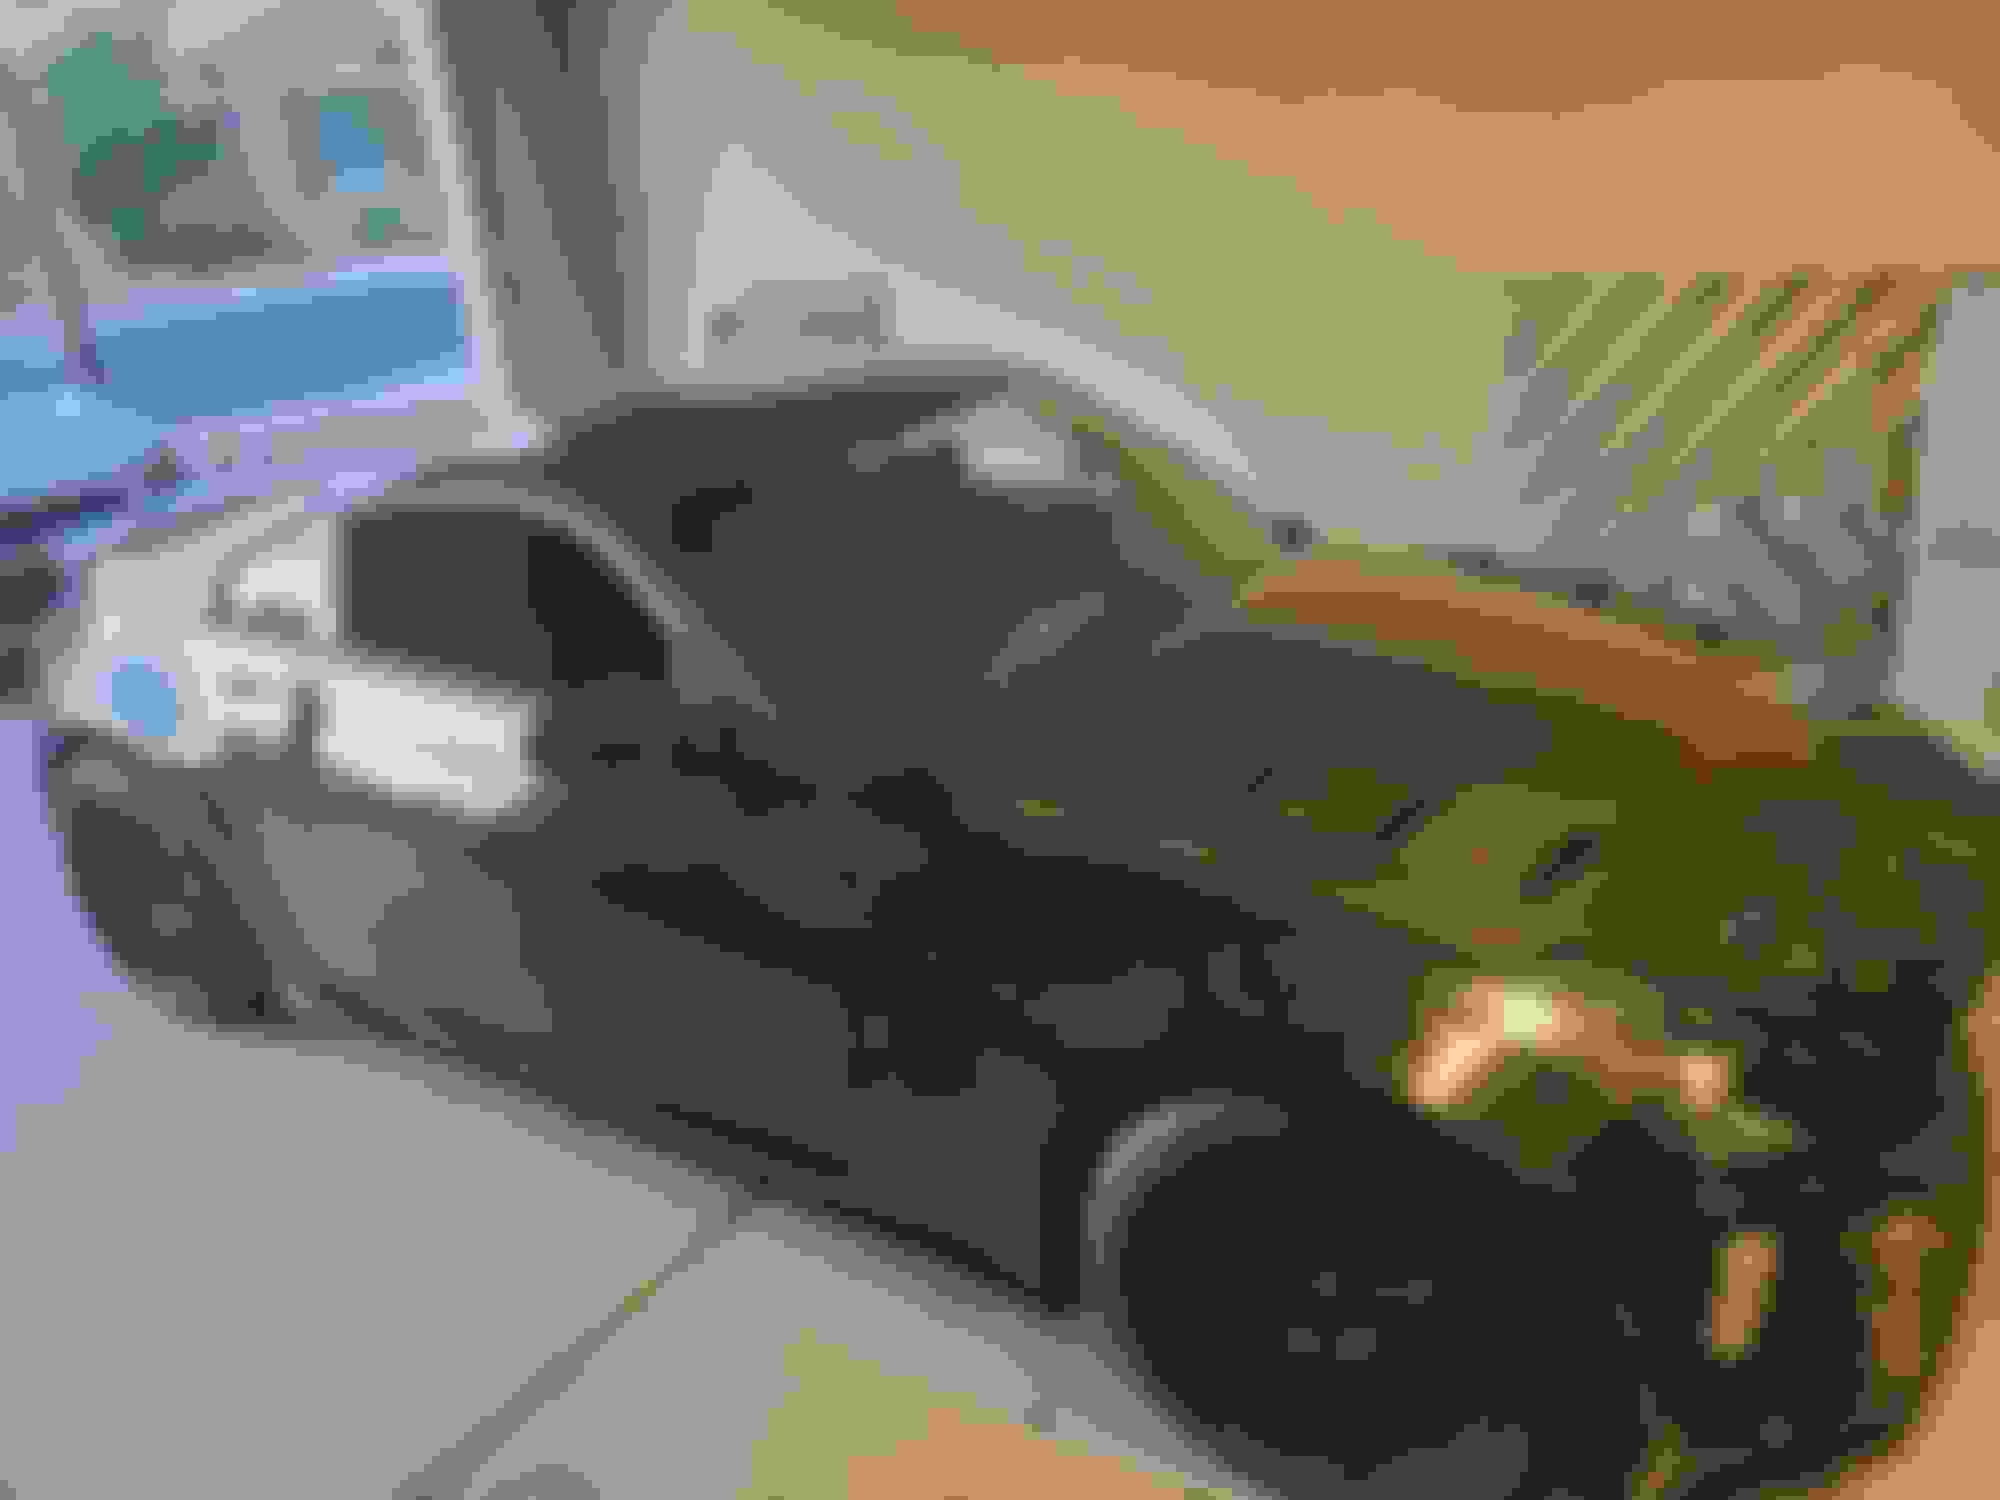
Pic of the front end.
Converted the plastic clips to M5 rivnuts. Hate those dam clips.
Still needs a cleaning/detail. Few small areas I need to fix with the wrap (mainly the rear diffuser). Z will get insured/reg'd next week, and retuned in 3 weeks.
I decided to keep this poly bumper after everything... I got AJAX with bleach, scrubbed the hell outta it, sanded to 220 all around and used "POLYVANCE Flex Filler 2" for filling/sculpting.. Was really hard to find a good filler, the only reason I found this one was due to an old youtube video. The filler is so cheap and works amazingly. feathers and sands even easier than bondo, Dries extremely fast, and is very durable from testing it. I sanded with 80 grit where I applied the filler. The 2 pics below show the filler, and with wrap on, the bodywork is flush .. Painted the lower lip of the bumper.. Overall fitment is way better than before as well. Since I'll be keeping this bumper, a later project will be making a carbon lip cover and changing the quick release to the button style (like the rear bumper).
Pic of the front end.
Converted the plastic clips to M5 rivnuts. Hate those dam clips.
Still needs a cleaning/detail. Few small areas I need to fix with the wrap (mainly the rear diffuser). Z will get insured/reg'd next week, and retuned in 3 weeks.
Jeez, quite the project. Just read through it today, really interesting project, cant wait for the retune results. Love all the custom work so much. wish there was more of that around


 12-11-2023, 05:02 PM


 .
.


 .. Painted the lower lip of the bumper.. Overall fitment is way better than before as well. Since I'll be keeping this bumper, a later project will be making a carbon lip cover and changing the quick release to the button style (like the rear bumper).