When you click on links to various merchants on this site and make a purchase, this can result in this site earning a commission. Affiliate programs and affiliations include, but are not limited to, the eBay Partner Network.
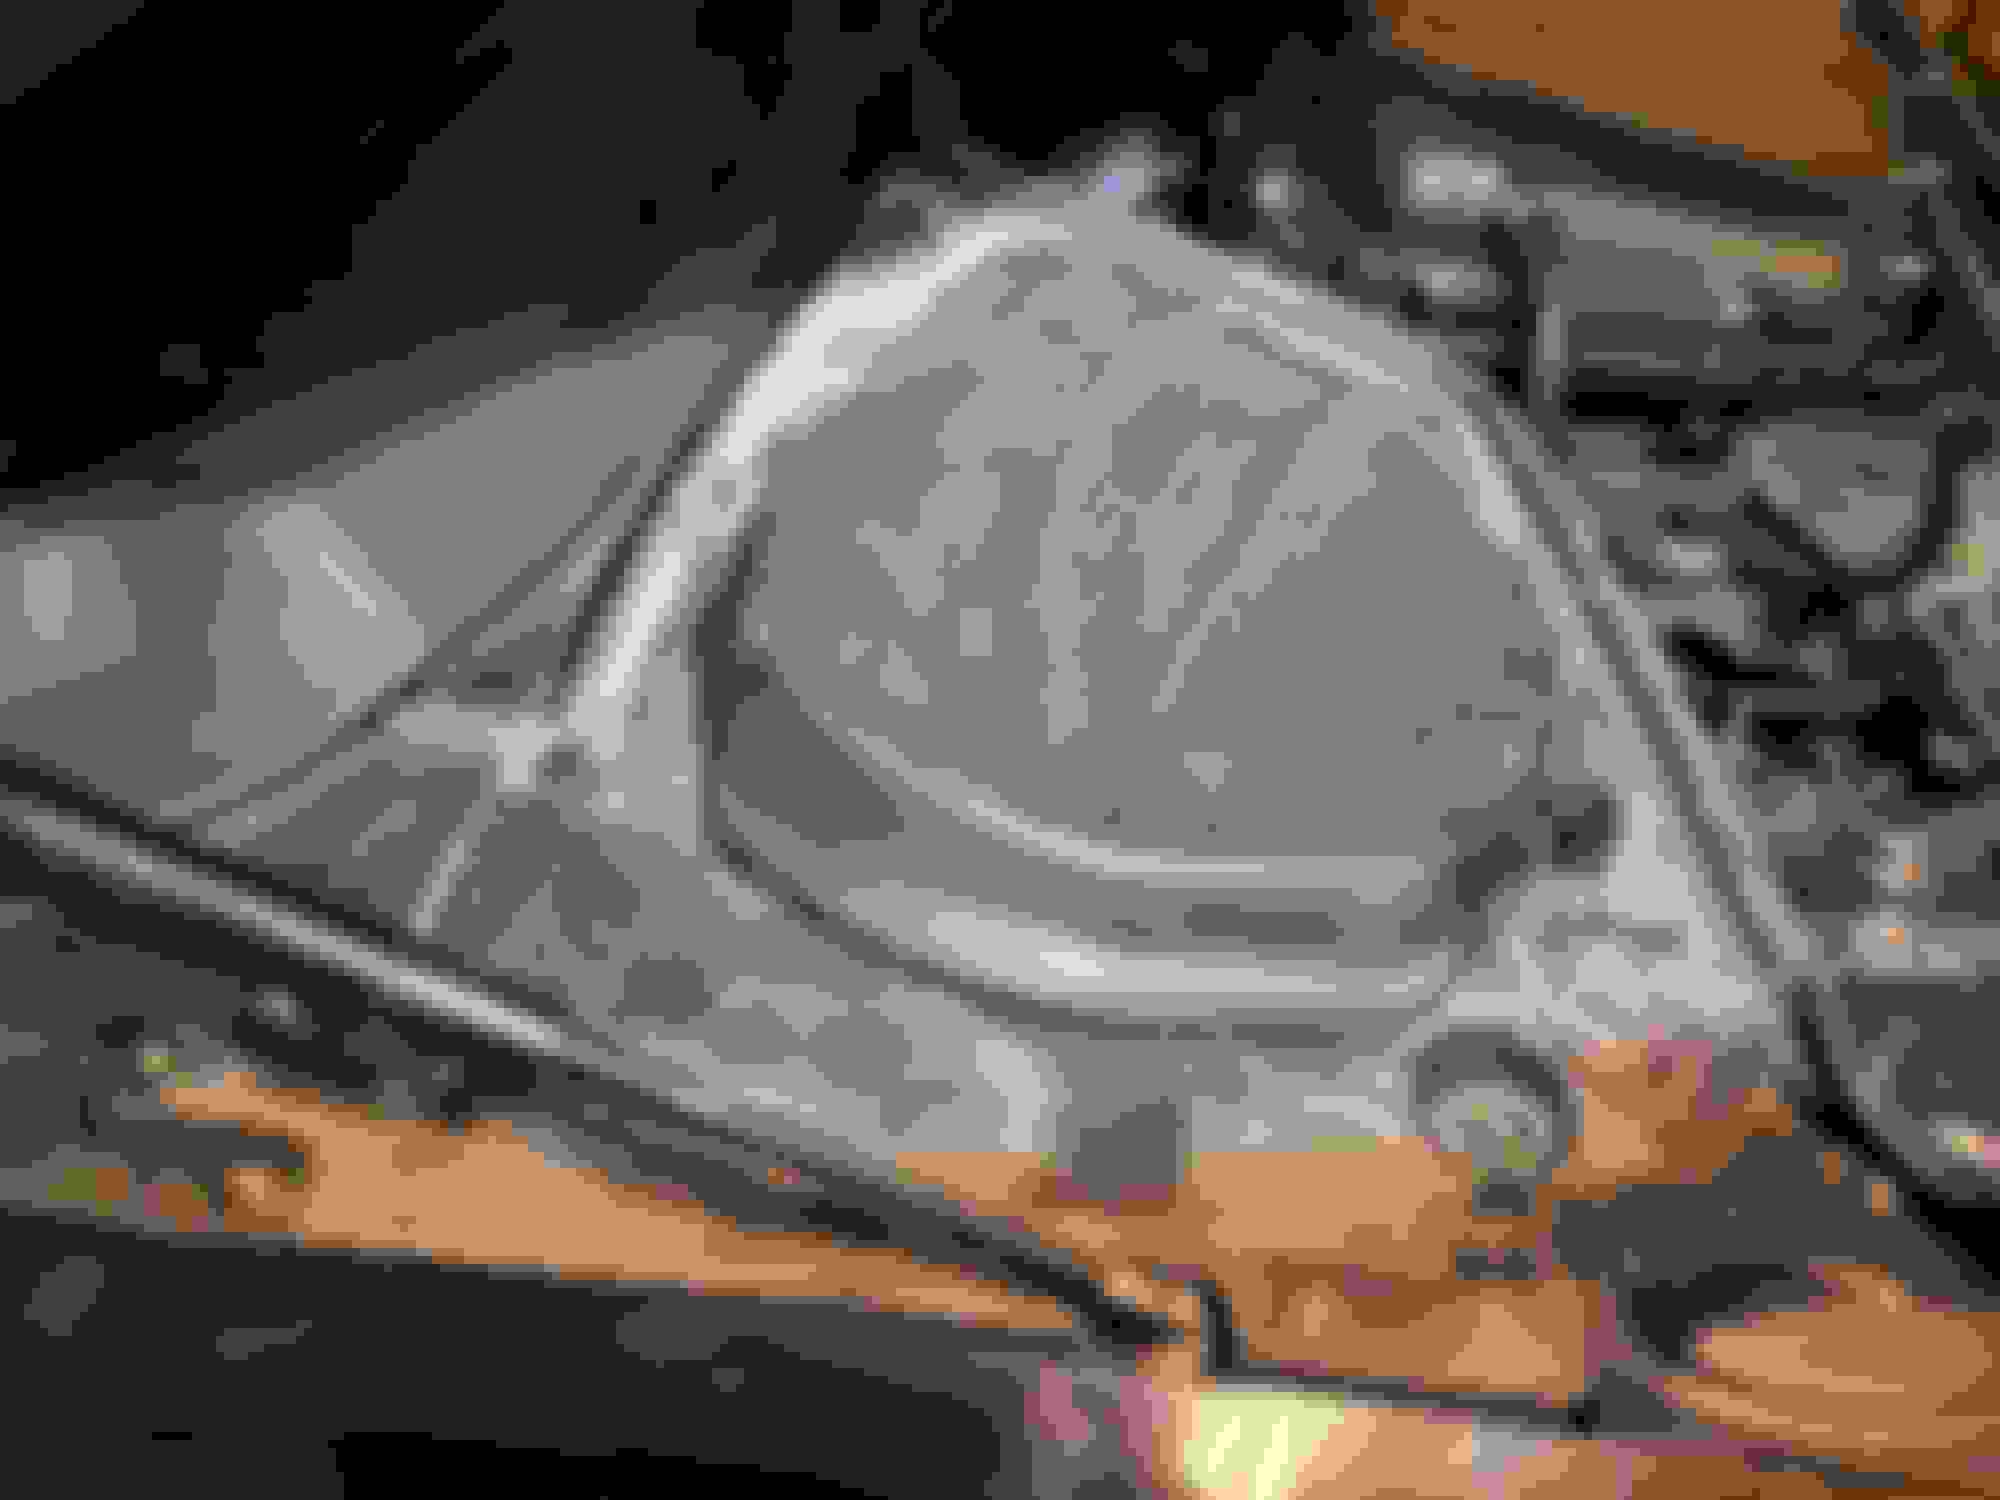
I decided to keep this poly bumper after everything... I got AJAX with bleach, scrubbed the hell outta it, sanded to 220 all around and used "POLYVANCE Flex Filler 2" for filling/sculpting.. Was really hard to find a good filler, the only reason I found this one was due to an old youtube video. The filler is so cheap and works amazingly. feathers and sands even easier than bondo, Dries extremely fast, and is very durable from testing it. I sanded with 80 grit where I applied the filler. The 2 pics below show the filler, and with wrap on, the bodywork is flush .. Painted the lower lip of the bumper.. Overall fitment is way better than before as well. Since I'll be keeping this bumper, a later project will be making a carbon lip cover and changing the quick release to the button style (like the rear bumper).
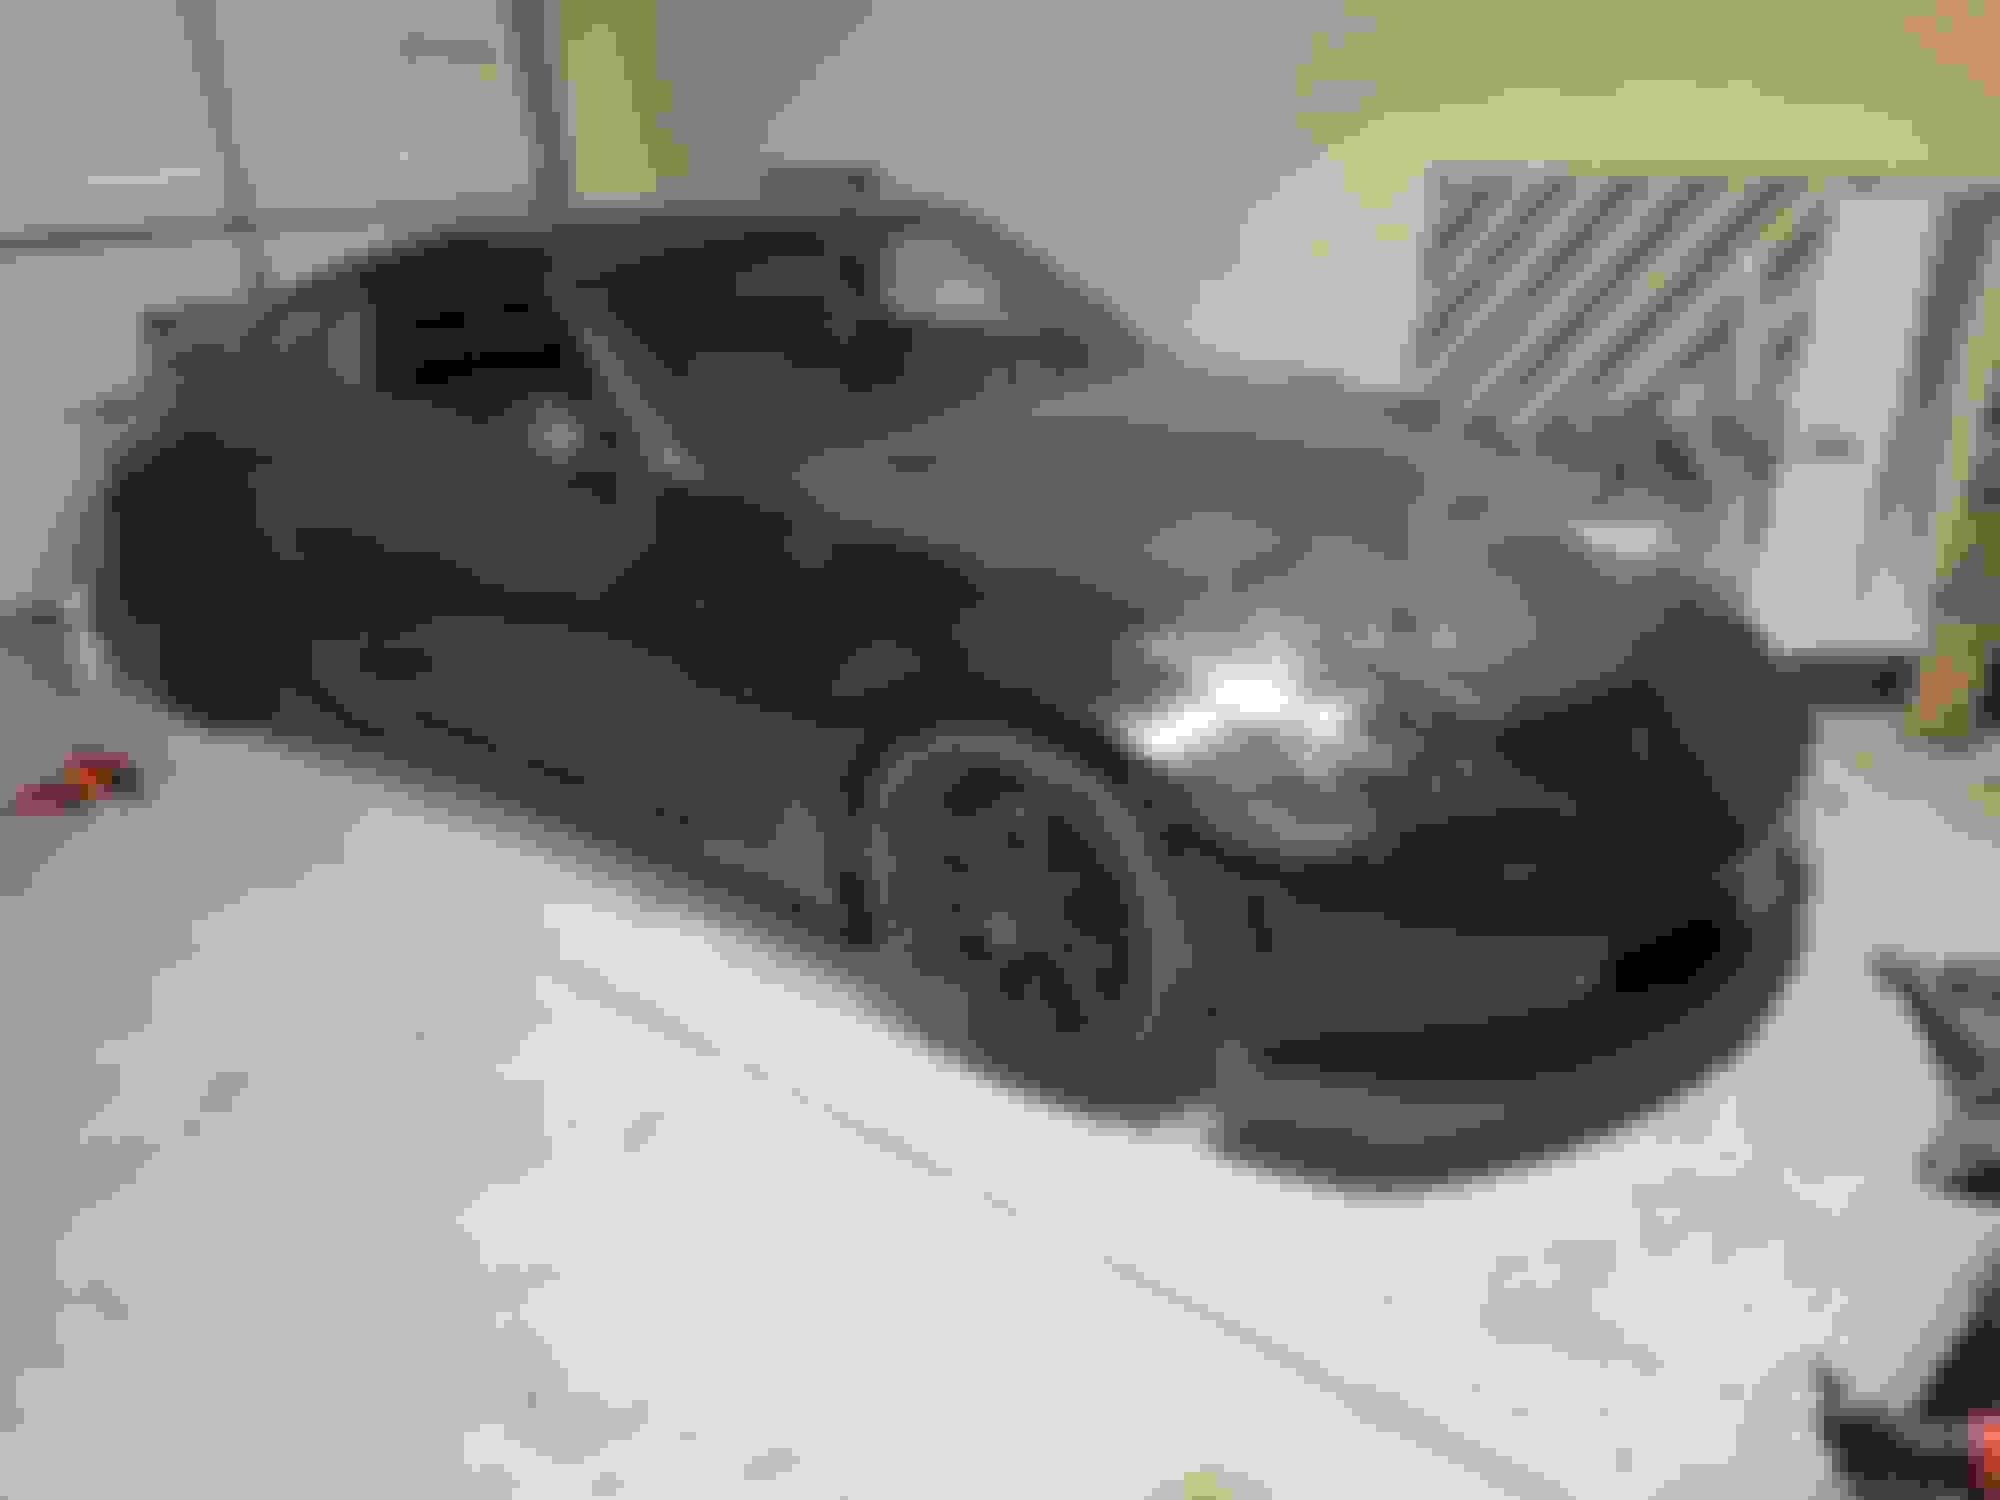
Pic of the front end.
Converted the plastic clips to M5 rivnuts. Hate those dam clips.
Still needs a cleaning/detail. Few small areas I need to fix with the wrap (mainly the rear diffuser). Z will get insured/reg'd next week, and retuned in 3 weeks.
Jeez, quite the project. Just read through it today, really interesting project, cant wait for the retune results. Love all the custom work so much. wish there was more of that around
Jeez, quite the project. Just read through it today, really interesting project, cant wait for the retune results. Love all the custom work so much. wish there was more of that around
Appreciate it! I just like to find any excuse to work on this thing lol.
Took care of a few small things since last post.. Went around and fixed any panel gap issues, had to fix the driver door, headlights, and rear bumper. Waxed the car, restored the plastic/rubber trim as well (after these pictures).
Not sure what happened with the tail lights, but they had water spots that could not be removed, redid them completely. This time I used 2k clear over them, a bit darker than before as well, oh well. Rewrapped the roof again, as the bodywork beneath had issues, now perfect .
When making the 4'' intake, I made sure to have everything smoothed out inside.. With the new heat shield, it was causing the v stack/filter to sick incorrectly.. Fixed it by adding a little more room on the side.
Decided to smoke test the exhaust/intake. intake was 100% sealed... Exhaust leaked everywhere.. The generic flanges off amazon leaked no matter how tight the bolts/nuts were, leak at AEM O2 sensor, U clamp, and Vbands.. Headers/test pipes had no leaks thankfully.
2 bolt flanges = Remflex gaskets fixed the leaks....U clamp = Used JB fiberweld for a temp fix.....AEM O2 sensor = New crush washer.....Vbands = Copper liquid gasket... Leaks all fixed.
Going to wait till my vacation is over next month to get a tune.. Hoping to be able to get a map as well for stock intake bore and have a quick dyno run between them. Speakers n sub will be receiving an upgrade, all the old stuff from the z will be going into the daily sonic. Looking forward to Aug
 05-26-2024, 11:49 AM

 .. Painted the lower lip of the bumper.. Overall fitment is way better than before as well. Since I'll be keeping this bumper, a later project will be making a carbon lip cover and changing the quick release to the button style (like the rear bumper).