
Can't believe how quick top deteriorated


Thread Starter
New Member

Joined: Sep 2010
Posts: 59
Likes: 2
From: Corinth, Mississippi
Guess the previous owners didn't put the top up down much at all, 2 months after buying it I now have 1 large tear and 3 or 4 others starting. Ordered a top from topsonline this past monday for 479 which is what they list them for on Ebay, but their website they list for 629 which I thought odd. I don't use Paypal so I just called and ordered direct from them at the 479 price.
So far I've just found one person local that does tops and the quote I got was 'around 400' but he normally does older classic cars. Not sure if I'll just do that or attempt it myself.
So far I've just found one person local that does tops and the quote I got was 'around 400' but he normally does older classic cars. Not sure if I'll just do that or attempt it myself.


Thread Starter
New Member
Joined: Sep 2010
Posts: 59
Likes: 2
From: Corinth, Mississippi
Well top finally came in, 13 business days to get here which seemed like forever since I didn't get a tracking # . I see what someone mentioned when they said it doesn't have the black rubber type band around the read window in another thread but I'm not sure if that's specific to this brand top or all of them. I'll try and take a couple pictures of stock/replacement for clarity.
Going to try and just do it myself this weekend I guess.
Going to try and just do it myself this weekend I guess.
Thread Starter
New Member
Joined: Sep 2010
Posts: 59
Likes: 2
From: Corinth, Mississippi
Spent about 6 hours today working on putting new top on, could NOT get it to stretch right when open to put the rear bracket on the bottom, fits good closed *laugh* but that makes it sort of impossible to put the screws in. Going to just leave it closed tonight all day tomorrow and try again in the afternoon.
Pretty good instructions, though a couple parts took me a second to figure out but overall a A+ on it.
Pretty good instructions, though a couple parts took me a second to figure out but overall a A+ on it.
Thread Starter
New Member
Joined: Sep 2010
Posts: 59
Likes: 2
From: Corinth, Mississippi
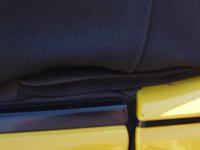
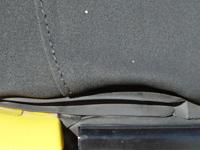
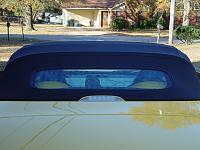
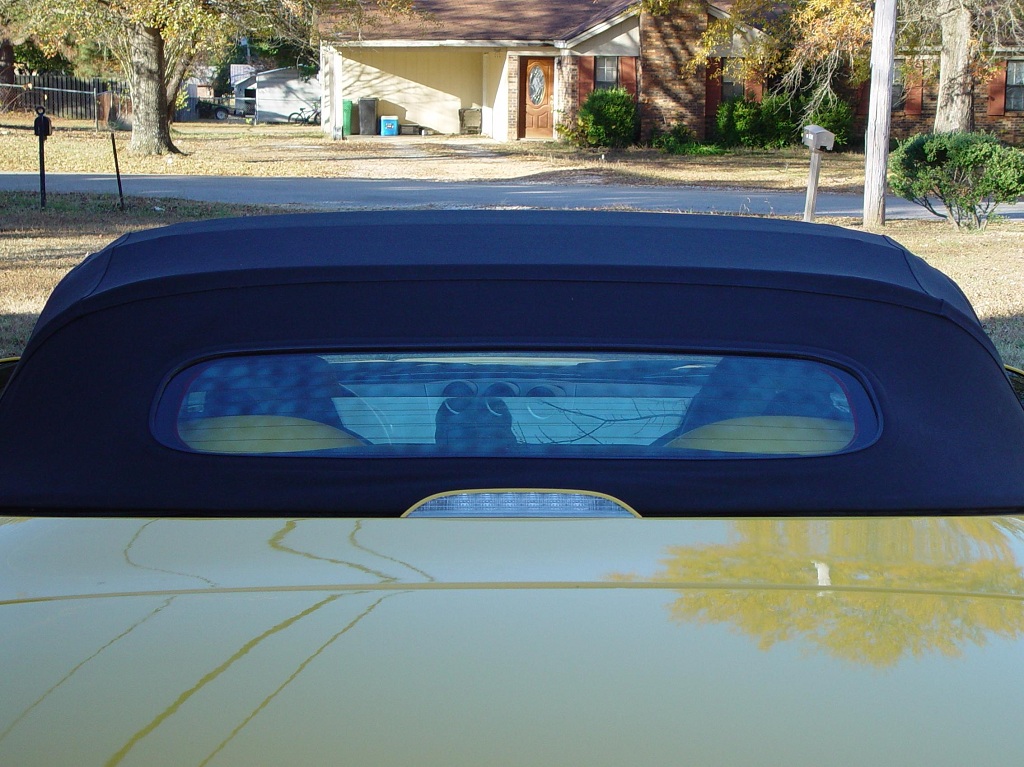
Finally getting around to posting back in here. Took a pic of the old rear window and new window plastic trim area so people can see the difference in them, someone had mentioned in some other thread how the top got didn't have the black trim, this one did but has extra seams around it also.
Old
New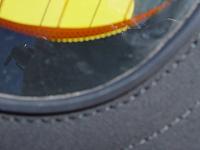
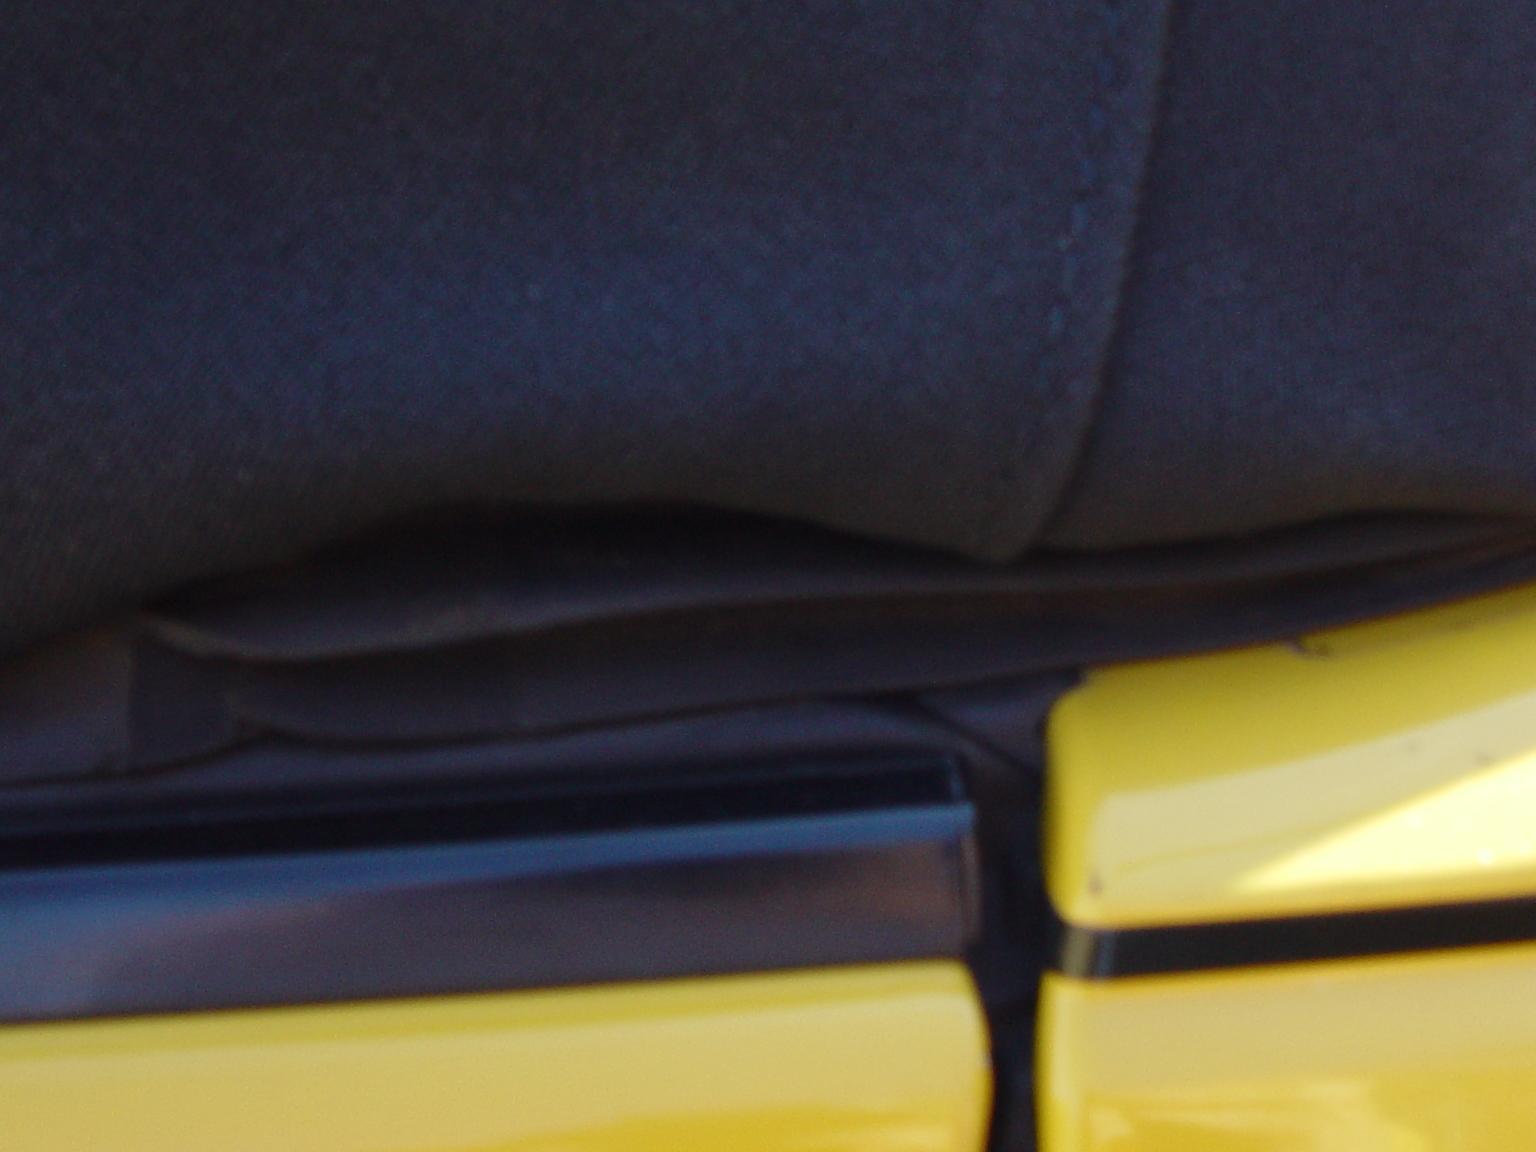
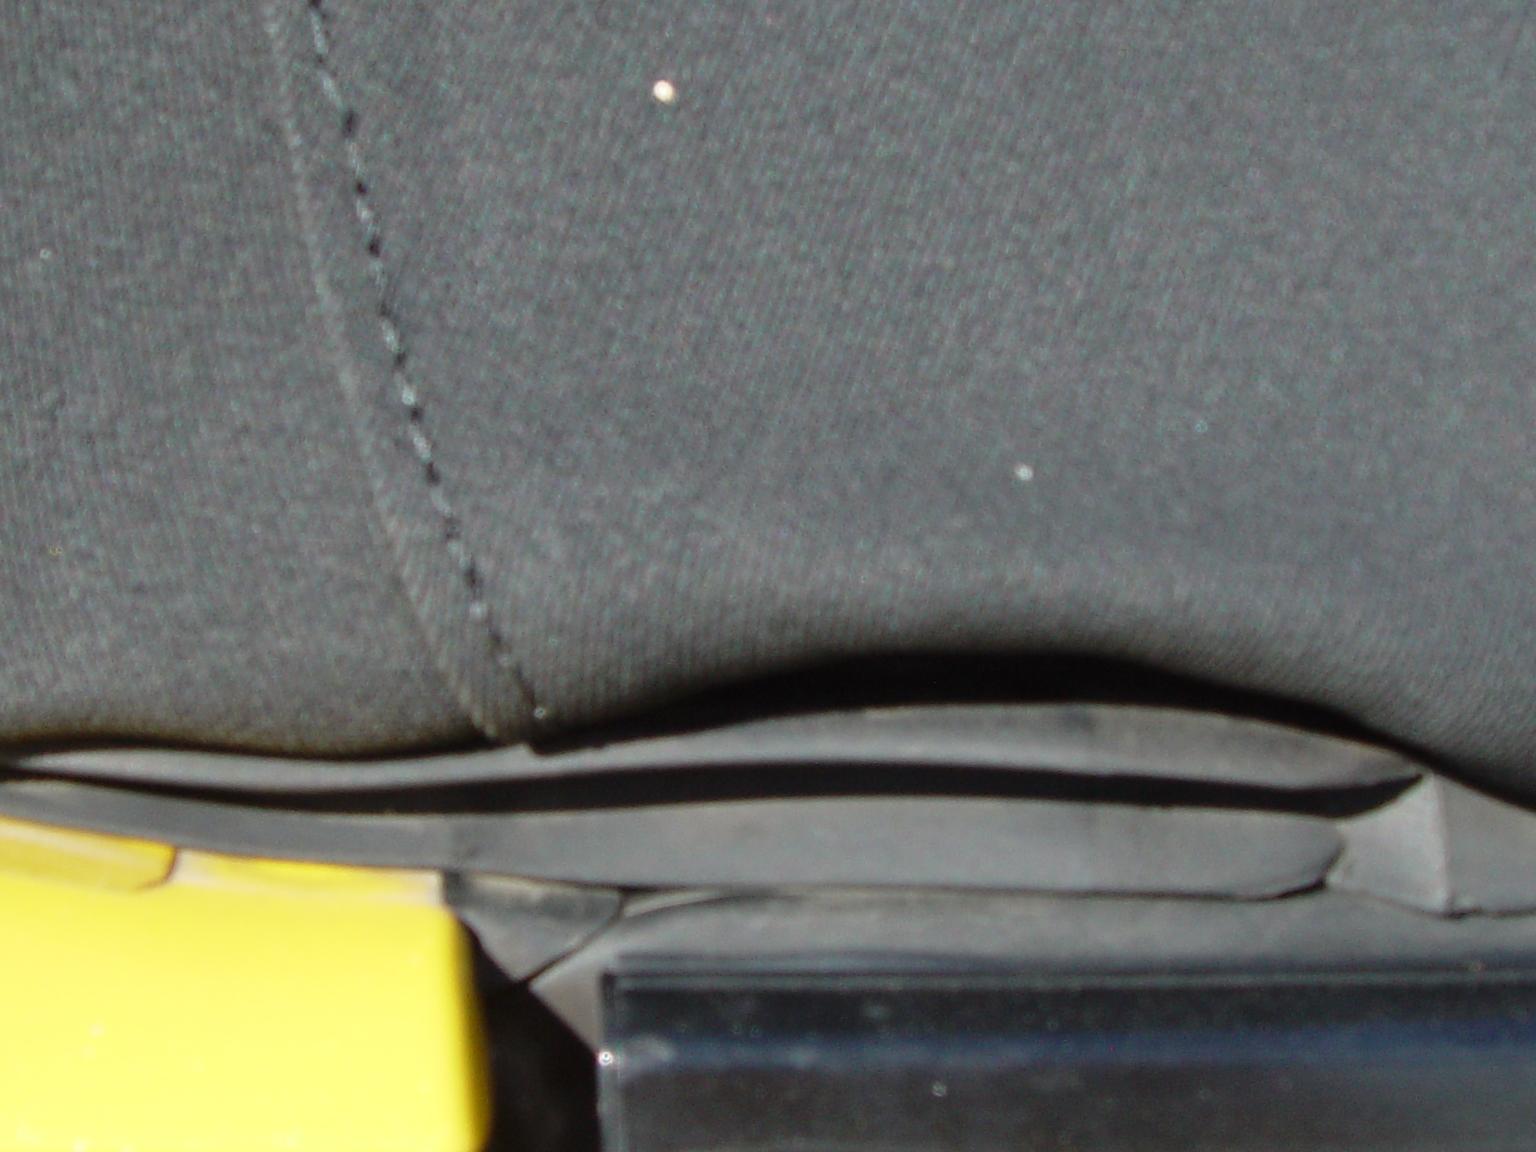
Still can't get this area to 'seat' look right, don't think the old one looked like this but I can't see anything to pull it tighter. It's the part right where the door closes between the door and the hatch cover.
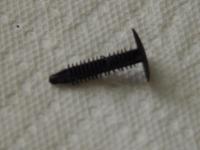
Overall, I'm pretty satisfied with the top, ended up with 2 plastic pieces that I for the life of me can't recall where they go. Like a screw type deal but instead of threads you just push it in and the 'thread like' part just holds it in. Looked all over and I guess I just missed putting them back and don't see them anywhere in the manual. Oh well.
Old
New
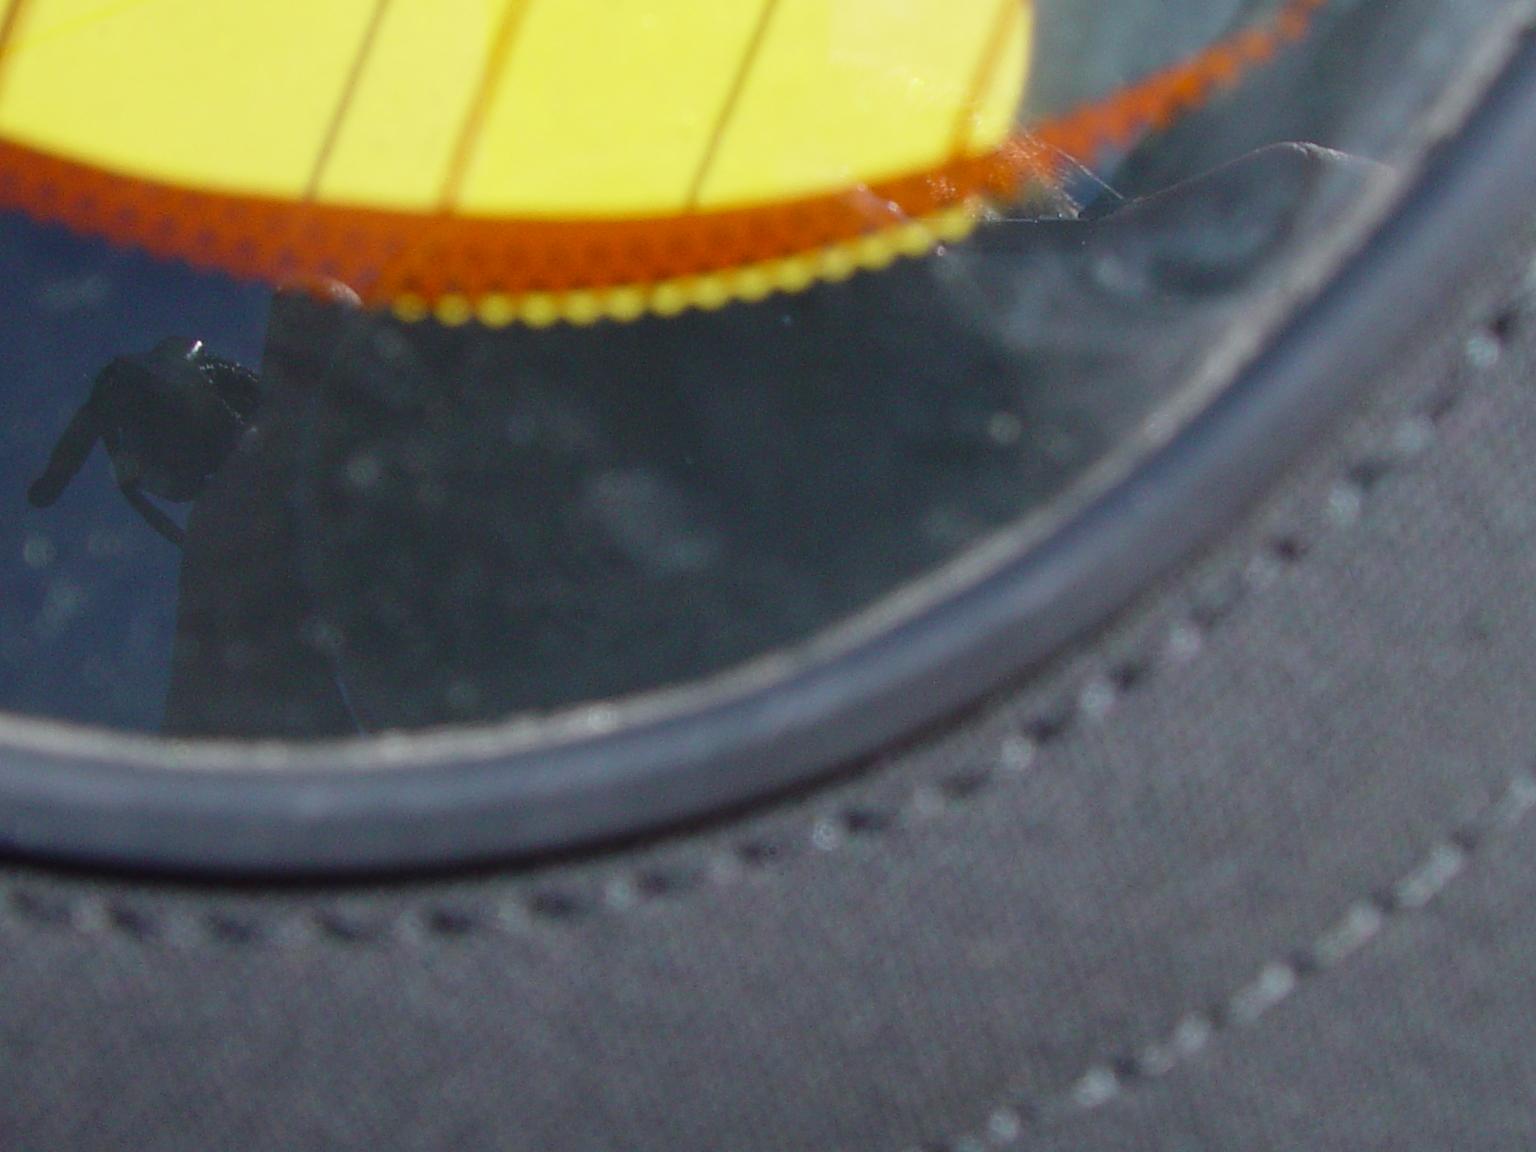
Still can't get this area to 'seat' look right, don't think the old one looked like this but I can't see anything to pull it tighter. It's the part right where the door closes between the door and the hatch cover.
Overall, I'm pretty satisfied with the top, ended up with 2 plastic pieces that I for the life of me can't recall where they go. Like a screw type deal but instead of threads you just push it in and the 'thread like' part just holds it in. Looked all over and I guess I just missed putting them back and don't see them anywhere in the manual. Oh well.
Trending Topics

Thread Starter
New Member
Joined: Sep 2010
Posts: 59
Likes: 2
From: Corinth, Mississippi
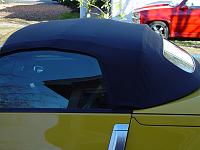
Cool, thanks for the pic. I looked over the modified pics of roadsters but couldn't find a good pic with a top up. Just need to wash it and put some raggtopp on it so it's nice and black like yours 

Registered User
Joined: Jan 2010
Posts: 60
Likes: 1
From: Greece
is ti vinyl or stayfast cloth ? do you have any leaking water around the windows ?


Thread Starter
New Member
Joined: Sep 2010
Posts: 59
Likes: 2
From: Corinth, Mississippi
It's a Ez on auto top vinyl. So far no leaks that Ive seen other than the one that was already 'dripping' which is where the first 2 pieces of rubber meet at the top of the window on the driver side, did it with the old top. The rubber is just worn if you will, nothing serious, just a drop here and there. Of course, it hasn't rained extremely hard yet so time will tell. Oh yeah, the guide mentions he didn't get new straps with his, but mine did come with 2 new ones, hence the part below talking about rivet remnants rolling.
Amusing, I'd read some other post where a guy mentioned he could hear screws rolling around in his top , I imagine his problem is not really a problem, you can here the rivet remnants roll in the metal frame from where you drilled them out. The inner piece (which i don't think you could possibly get out) just rolls around when turning at say 15 miles a hour. Nothing you could hear normally but if you have the radio off you can hear them
It does fit rather tight so when I put the top down for the first time in 3 weeks today I had to raise the boot and put it back down for it to lock as the top didnt want to seat all the way down the first time. Probably will correct itself once it's raised lowered alot.
For pictures, not sure how far away you meant, so took these.
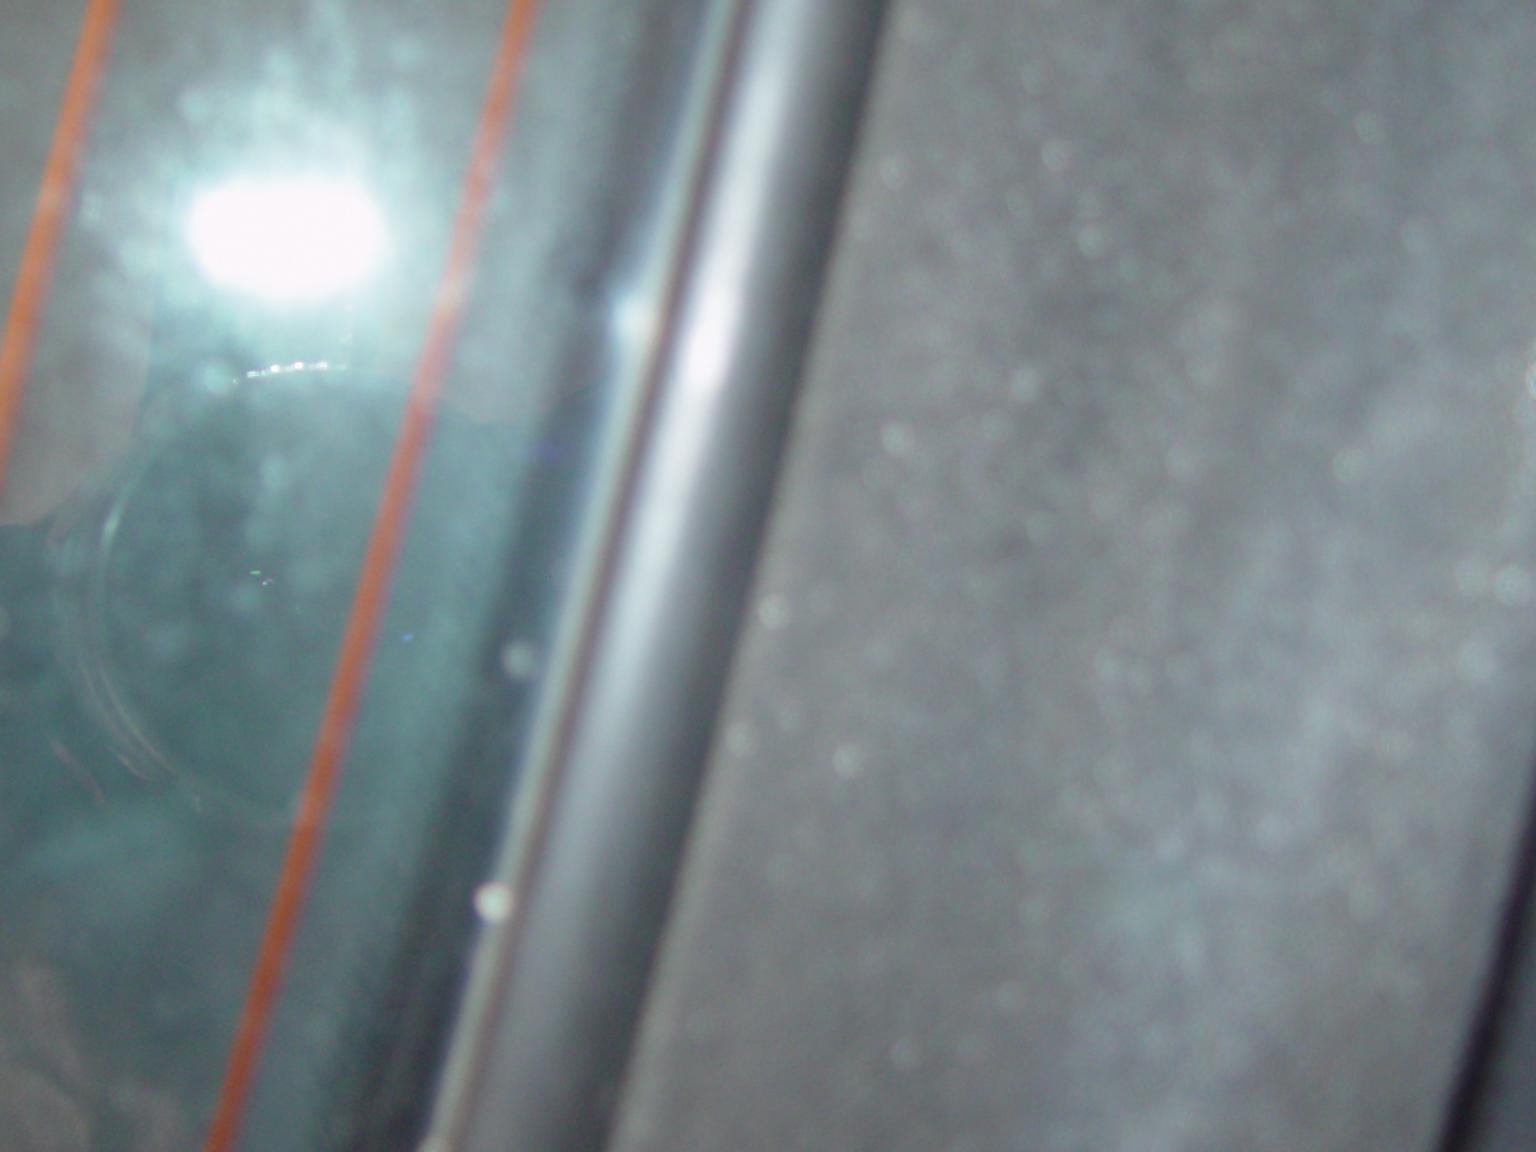
The 2 'grey' squares you can see where the defroster wires attach I haven't had the chance to remove yet. They stuck 2 pieces of foam there to keep them from being damaged and the adhesive was really on there and just haven't gotten around to getting in there with some cleaner to remove it.

And the piece I had no idea where it went, anyone know where 2 of these dudes go? I know I put the ones back in on the front, doesn't seem to be a issue with them missing and I'd really hate to tear a bunch of crap back apart for nothing.
Last edited by tblunt1; Nov 11, 2010 at 12:47 PM.
Thread Starter
New Member
Joined: Sep 2010
Posts: 59
Likes: 2
From: Corinth, Mississippi
I just printed out the guide, read it several times, then laid it on a flat surface and started from his instructions, read it, looked at the area involved, then did it. Turned page over and did next step.
If someone around had been around 250-300 bucks to install it I'd have let them but the area I live in, the closest place listed on any site was 45 or 90 miles away and probably would've required me to leave the car a couple days.
One place that gave me the most trouble and isn't covered well in the manual, the part I showed above where the door closes and it doesn't seat right, there's a screw up under that , very hard to get to, need a short 2" phillips or a L shaped screwdriver to really get at it, or was for me. The head faces down when closed and the screw itself goes straight up into the top for reference.
Also, some sort of vacuum is handy , as when you're drilling out all the rivets metal shavings will get into the car.
Another spot that takes a couple minutes to figure out and make sure you do it right, is the motor cover on the back under the window. The 2 straps holding it to the top had tore on mine so it wasn't connected, you'll need another person to help there as it's a little tricky to hold the thing and use 2 hands to use the rivet gun (Unless you have access to a air rivet gun).
Other confusing parts, which you'll understand if you do it, but easy to figure out by folding the new top around, are the areas he covers on page 56. Took me a few minutes sitting in the car with top closed looking at it and folding the material around. I think I probably cranked my car 50 times that day moving the top *laugh*. The velcro piece that goes inside the top was also a couple minutes of looking at it going "How the F did this go on".
Overall it scared me to death that I'd screw it up, but it really wasn't that bad, just time consuming. But now not hearing the wind whistling as I drive to work, all worth it.

Thread
Thread Starter
Forum
Replies
Last Post
350Z_Al
Exterior & Interior
133
Oct 29, 2020 07:44 PM
ars88
Zs & Gs For Sale
18
Apr 4, 2016 07:52 AM