
My door and A-pillar pod fabrication *pics*


Thread Starter
Registered User
iTrader: (4)
Joined: Jul 2004
Posts: 515
Likes: 0
From: Vancouver, BC
I was getting a bit off topic with my other thread so I decided to post a new one with just my door pods and my A-pillar pod fabrication.
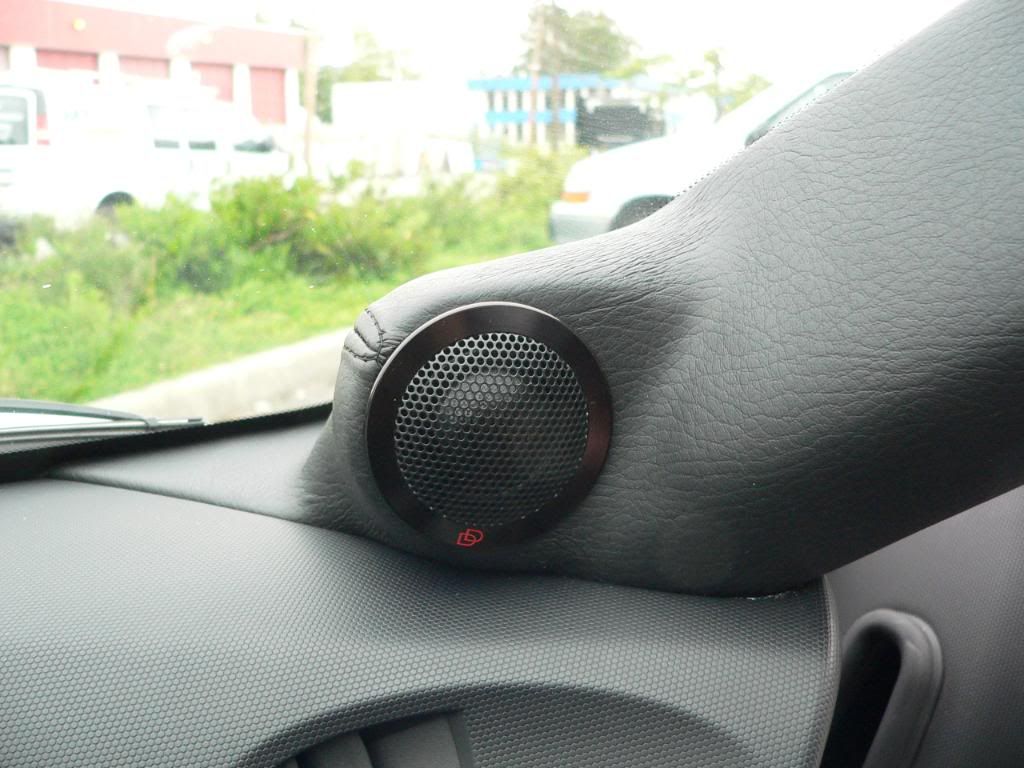
For my A-pillars I started off with a couple of 3/4" rings that were router out to fit my new DD tweeters. Not sure what happened to the pics of these rings but here they are attached to the A-pillar, stretched with grille cloth materiarl and fibreglass reinforced. I used a "Laser Beam" (insert Dr. Evil voice here) to get a perfect trajectory from my tweeter to my ear. They are within 3% of axis to my ears:
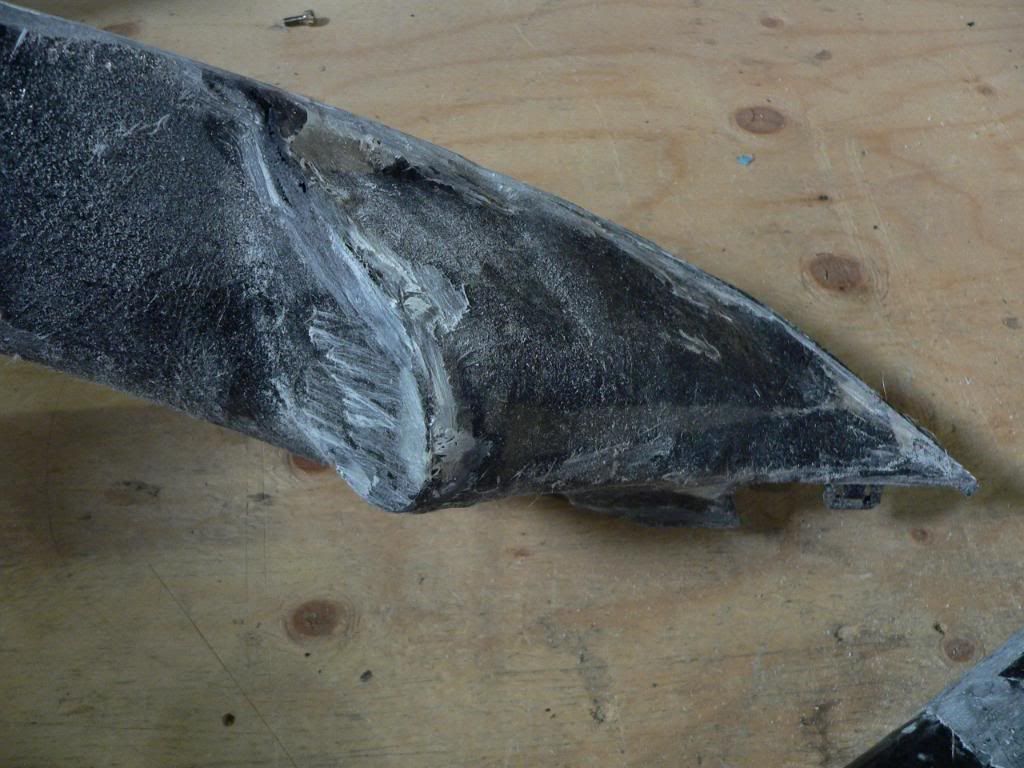
Yes, at first they look nasty but after some sanding and some 'massaging' they started to look like they should:

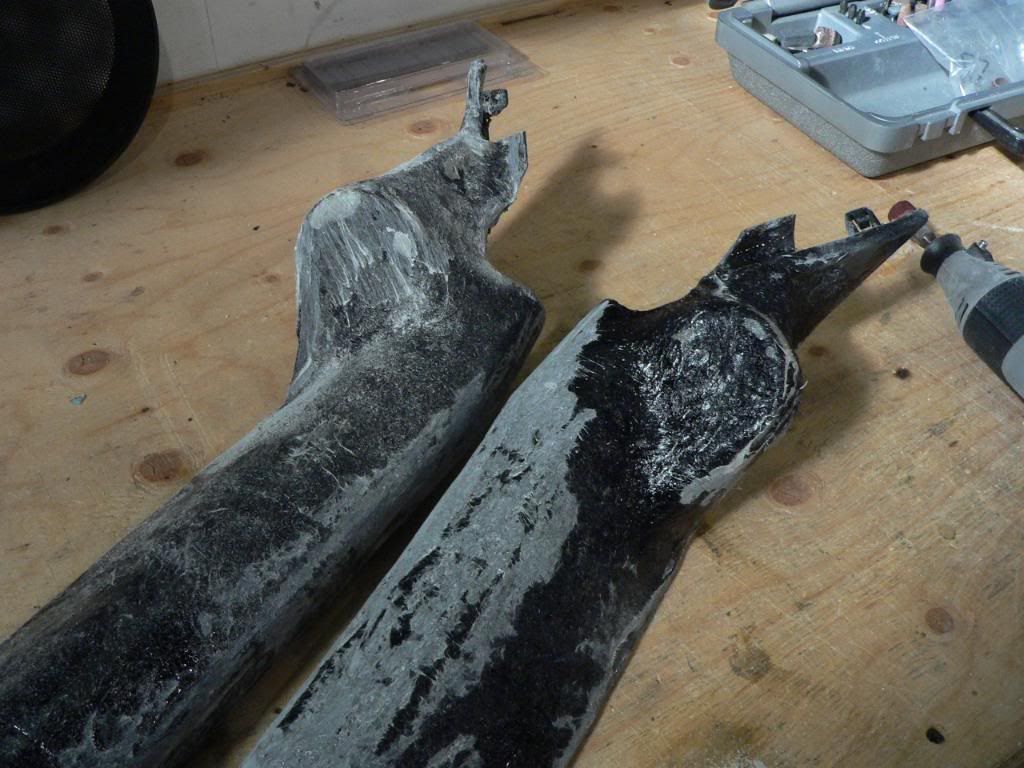
So after getting the basic shape and structure, I was able to use some Icing body filler to get a much more refined shape to them

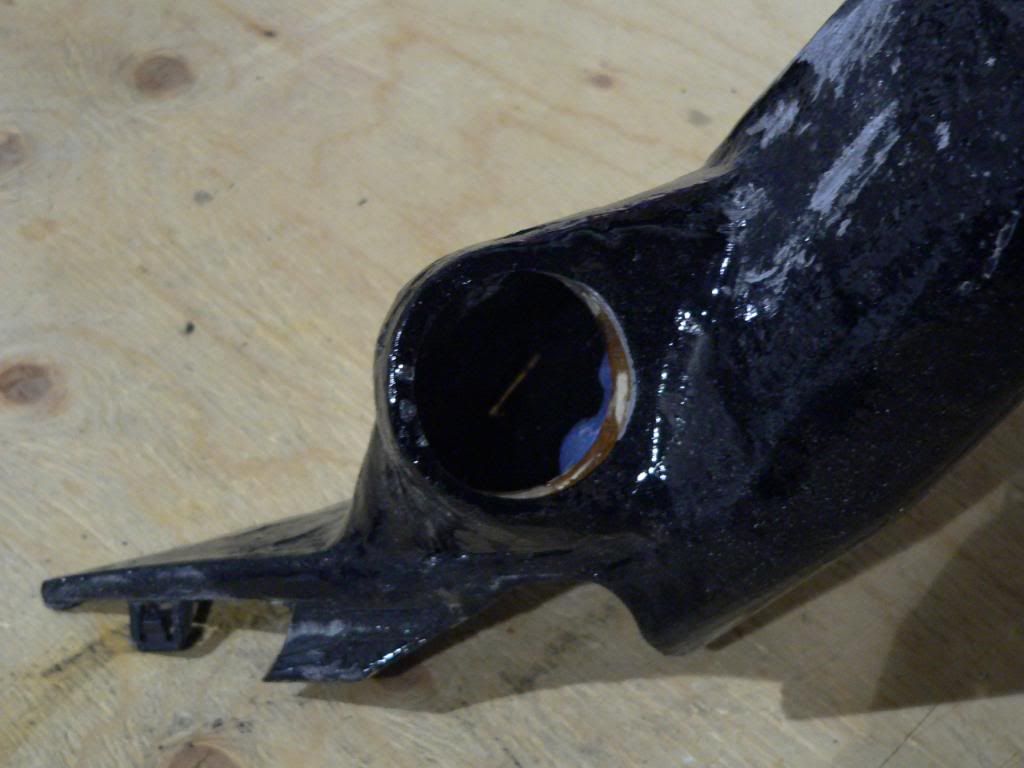
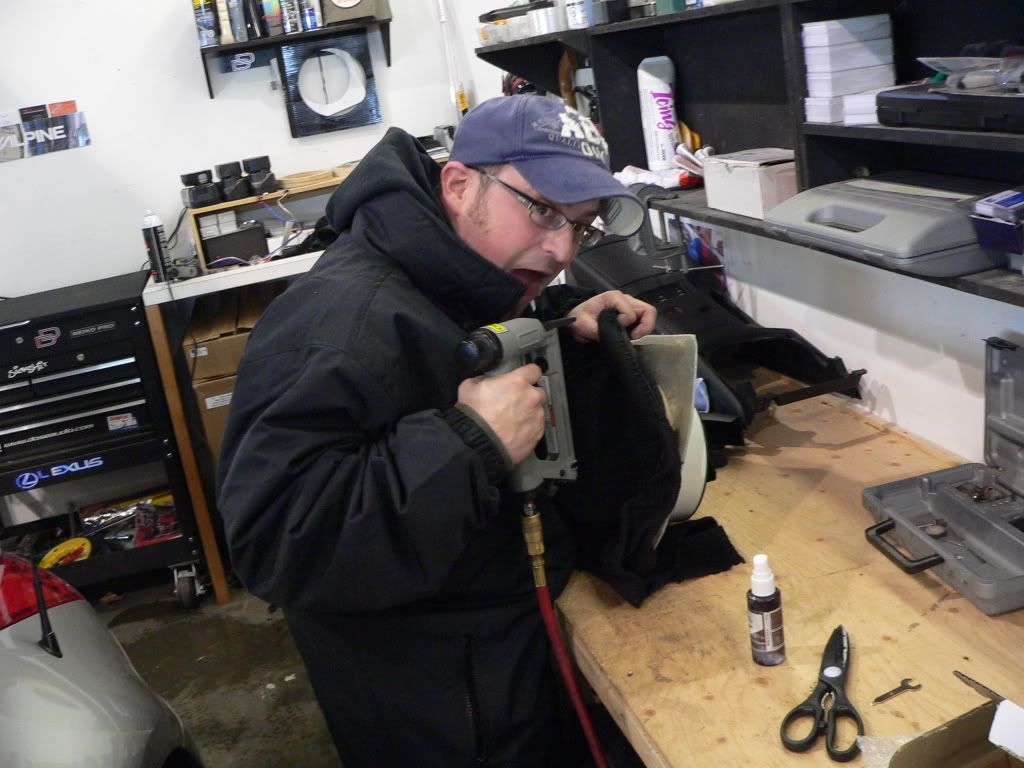
After many hours of sanding I got the shape I wanted. The only part I did not do was the vinyl work and stitching. My buddy Lowell does that for me!

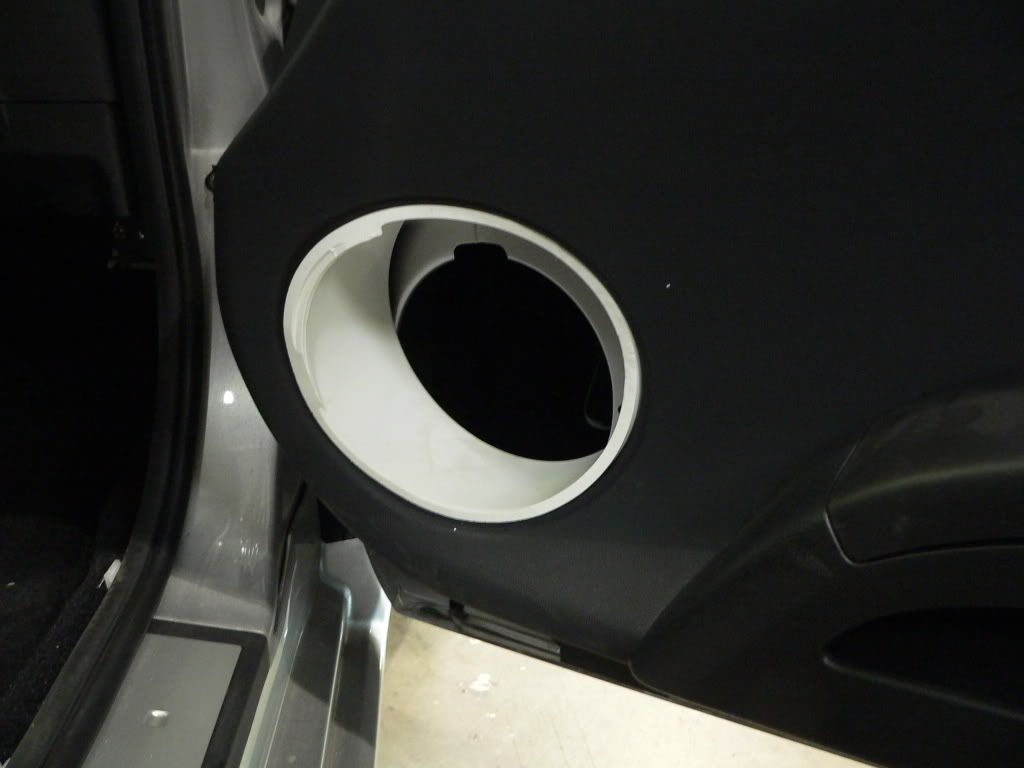
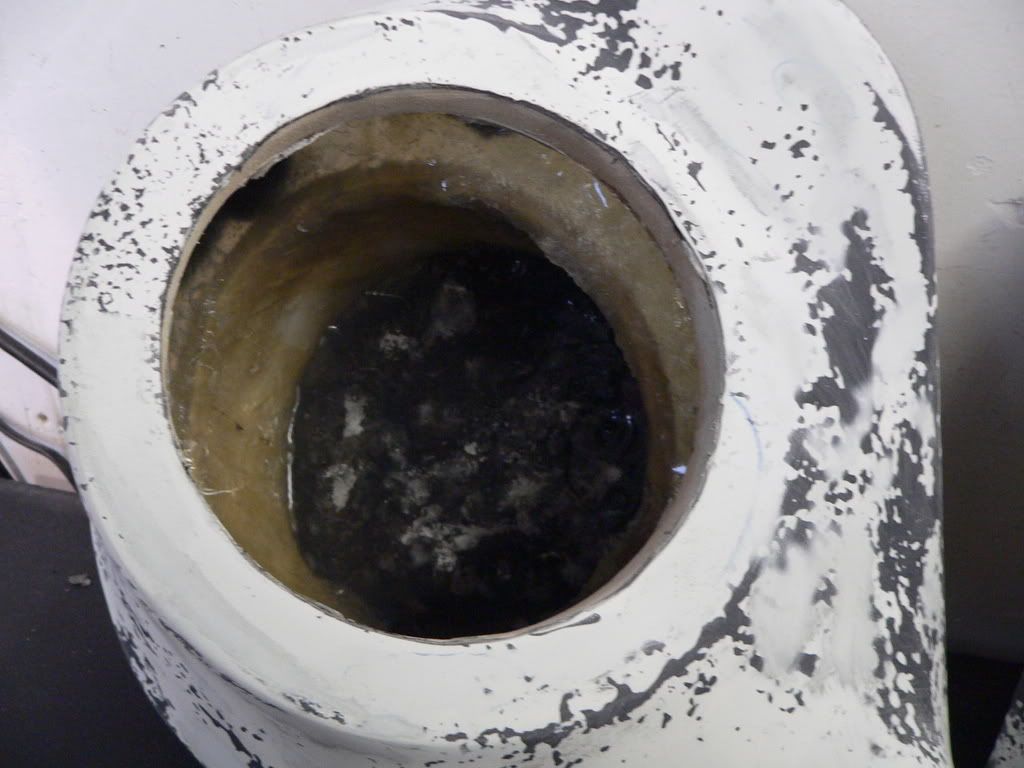
Now for the Door pods. I started by removing the factory speaker grille and inserting a piece of 6.5" PVC pipe into the hole. I traced out the angle of the door panel then cut the pipe down to size. I used a 1/4" piece of ABS plastic as the backplate and CA glued them together (not shown).
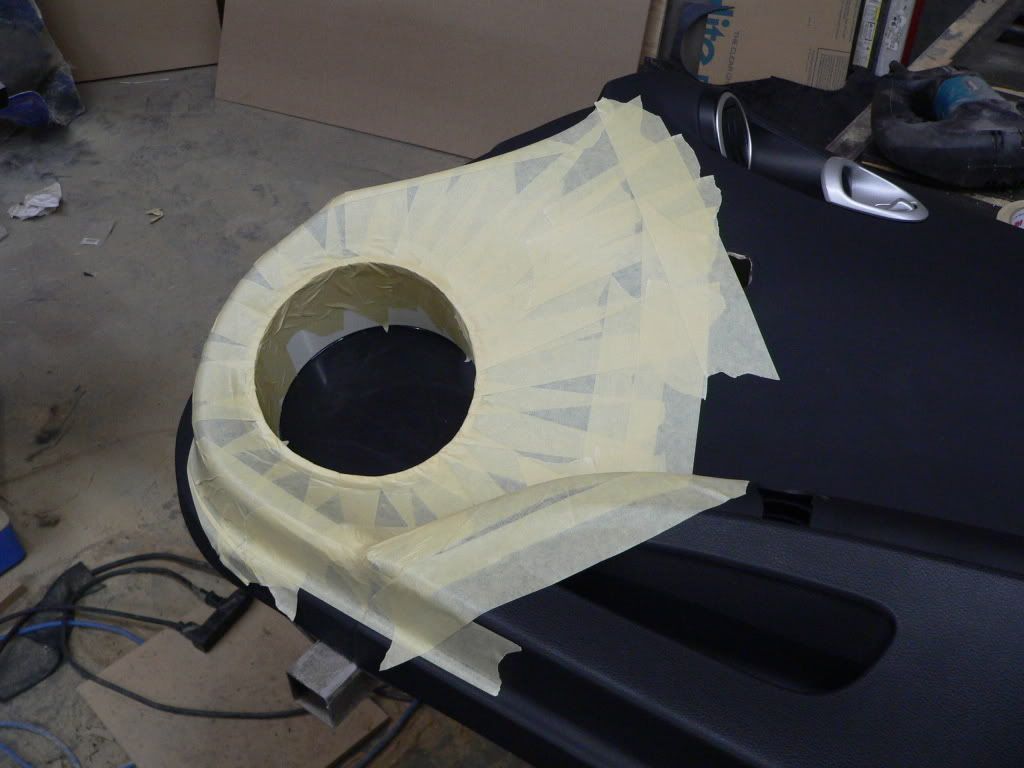
I taped all around the pipe and got my fibreglass and resin ready
Small pieces of 1 oz matt were perfect for getting around all the corners
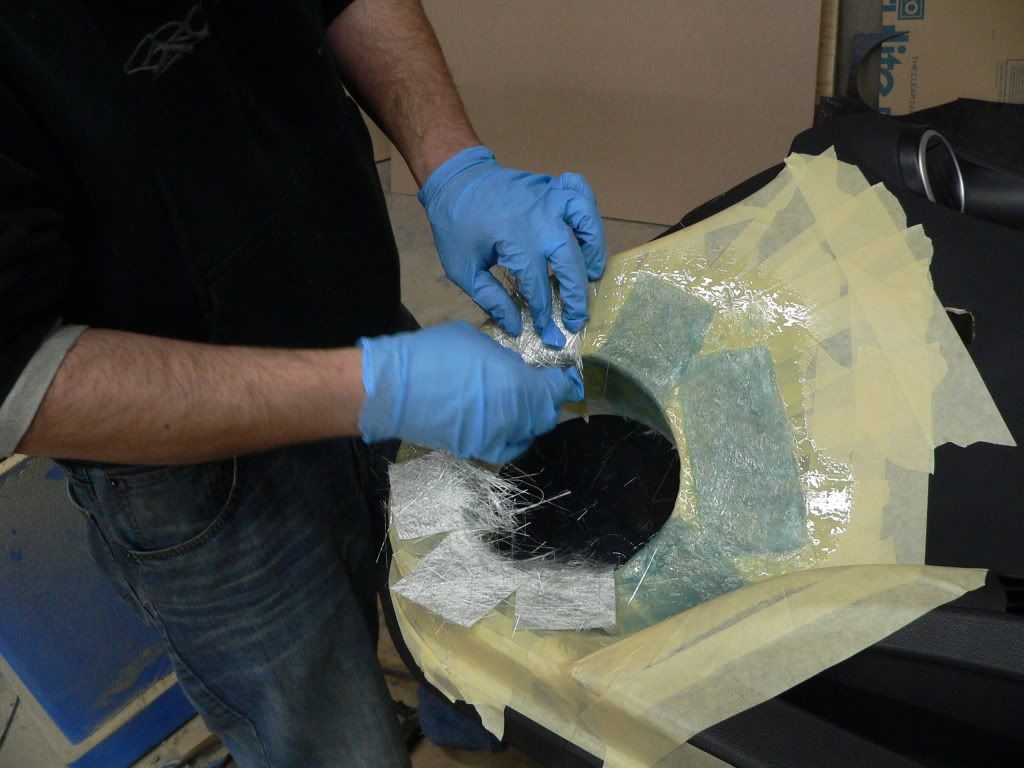
A great source of vitamin 'I'm going to die!'. I wore a respirator during all of the other glassing...lol
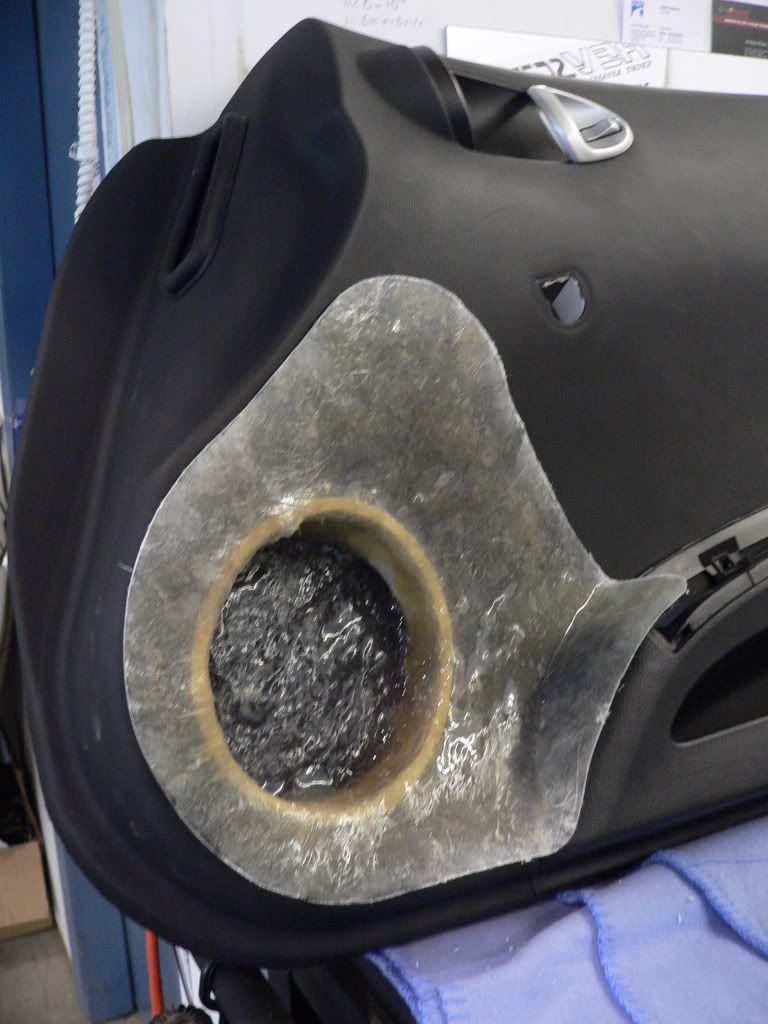
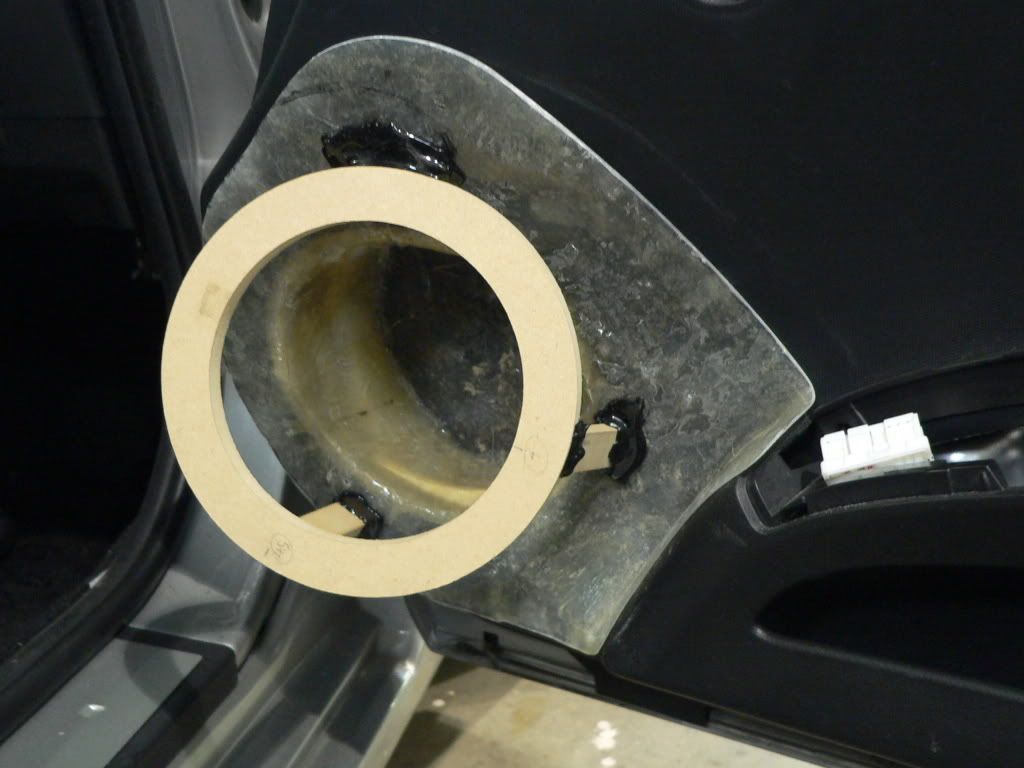
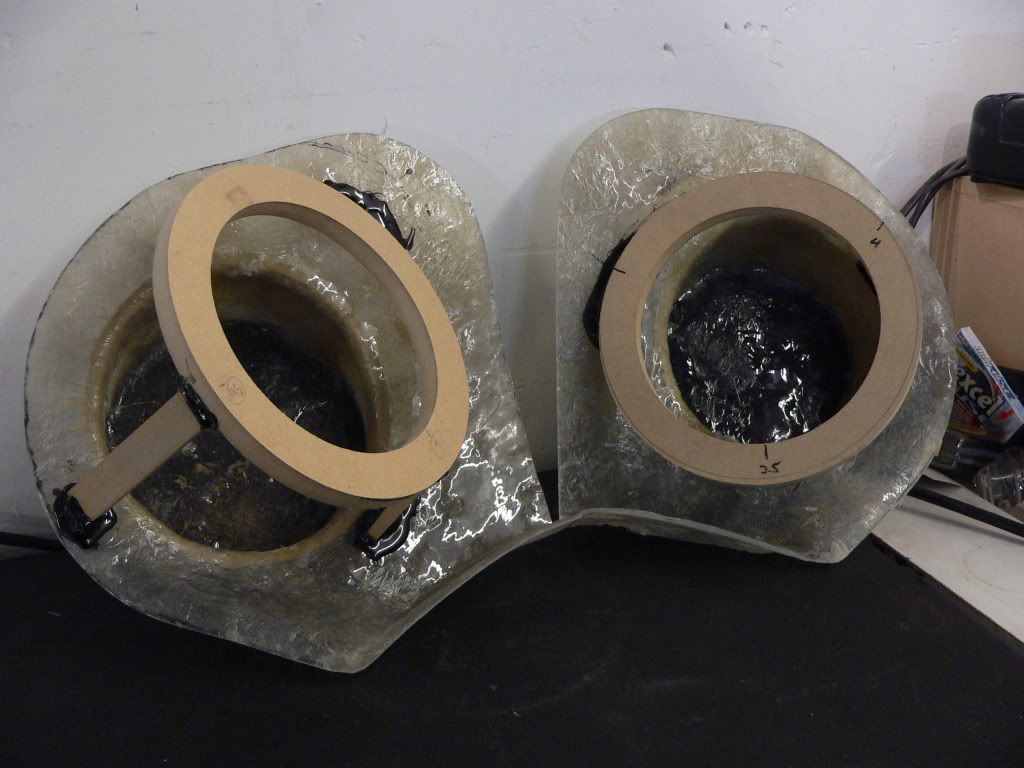
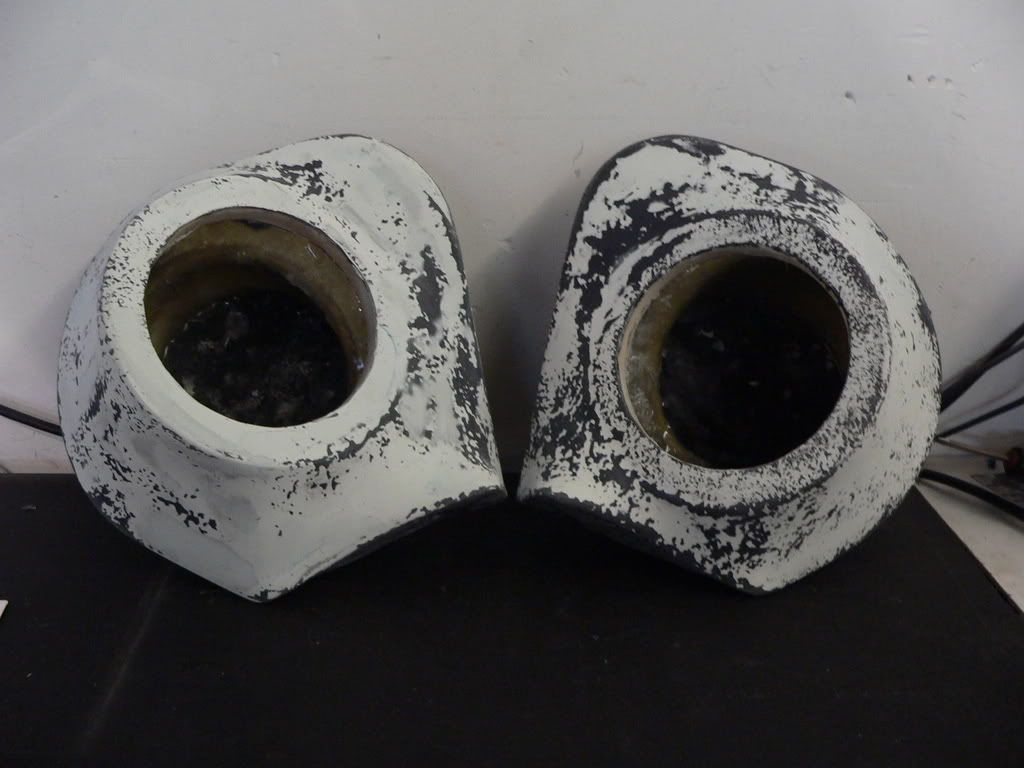
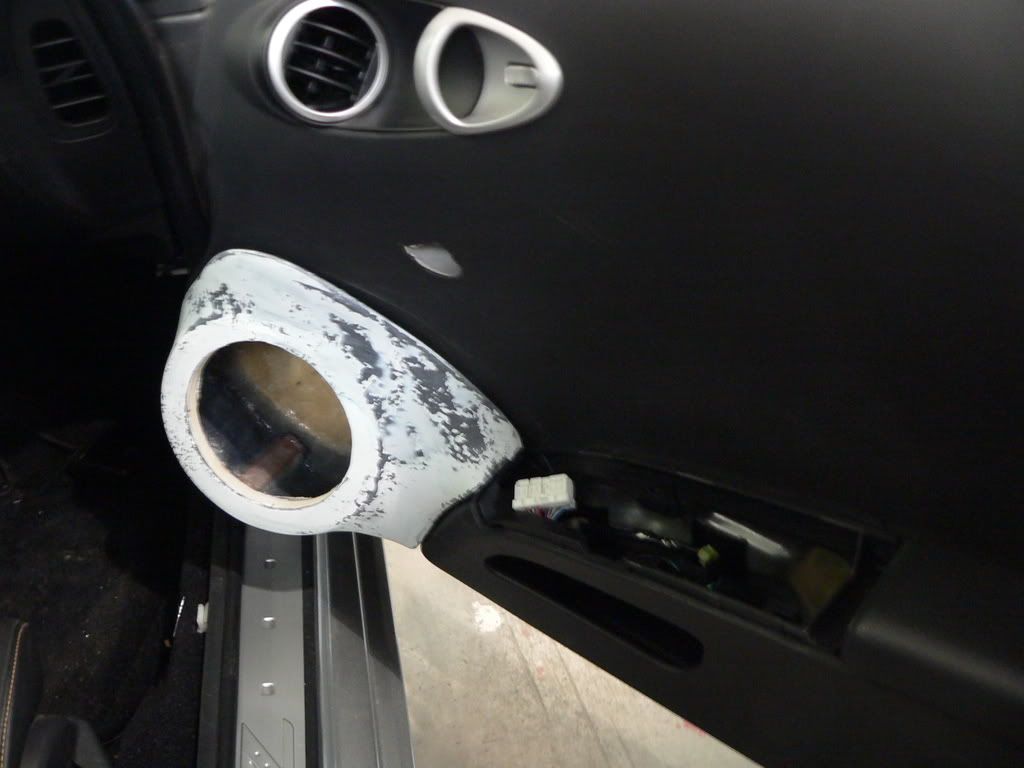
Lookin' toight! All trimmed up and ready for part deux. These pods were designed to be completely removeable from the door panel if need be.
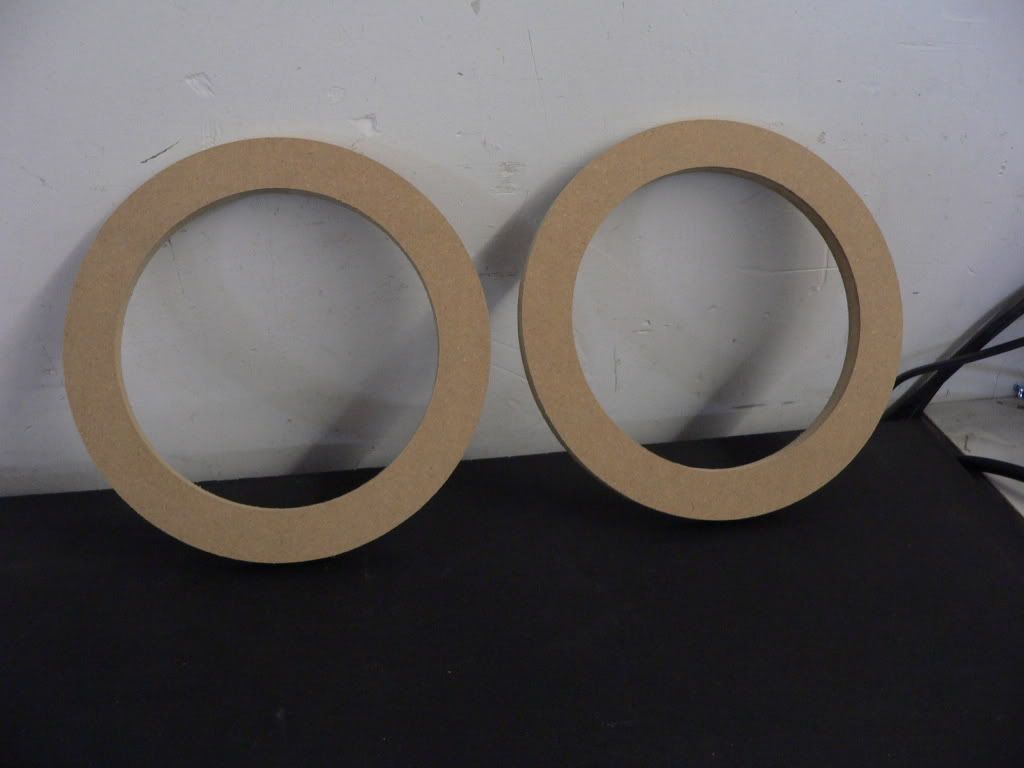
Routered out my rings
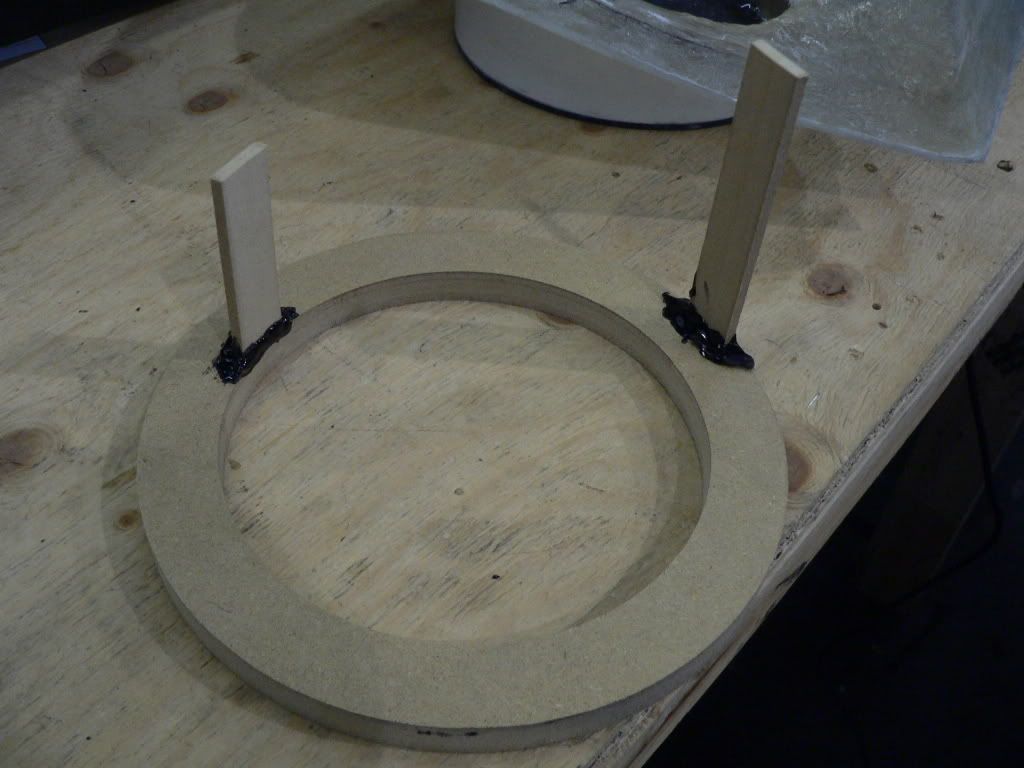
Got ma stilts on
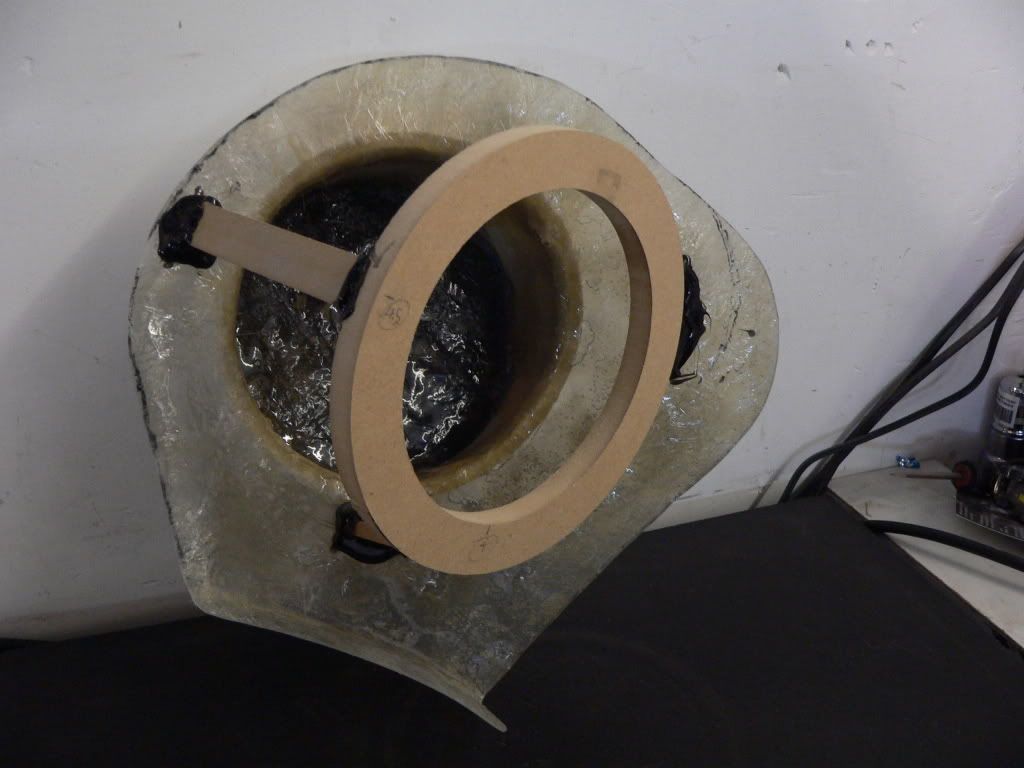
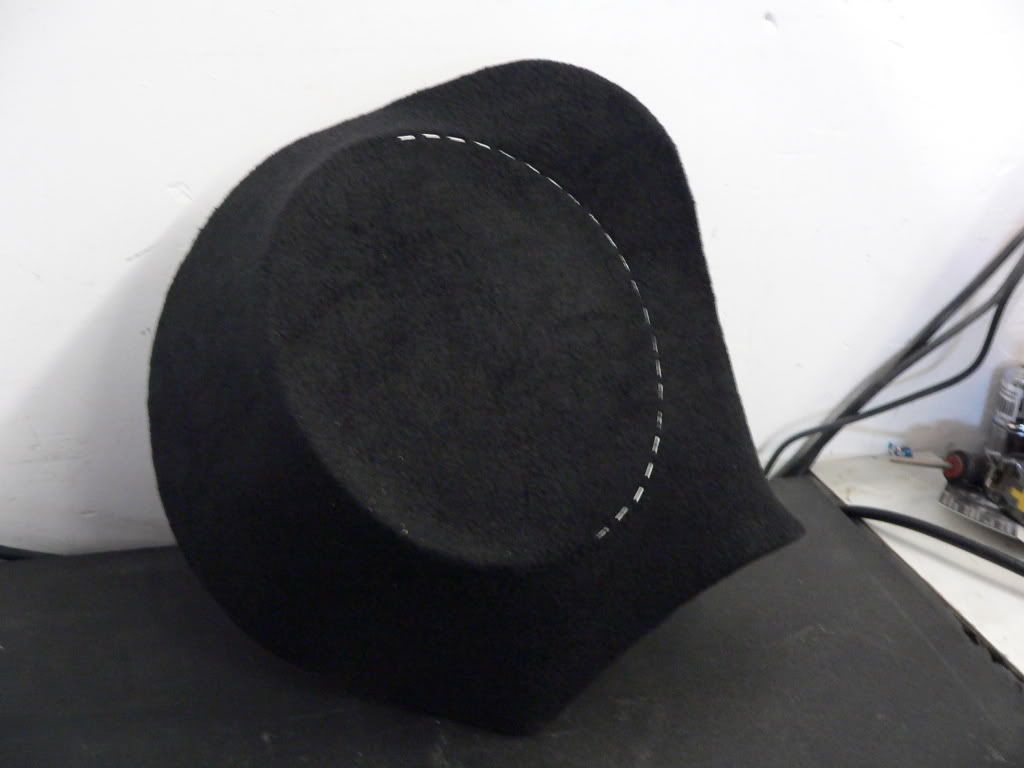
Speaker clearance test fit

Stapling the fleece
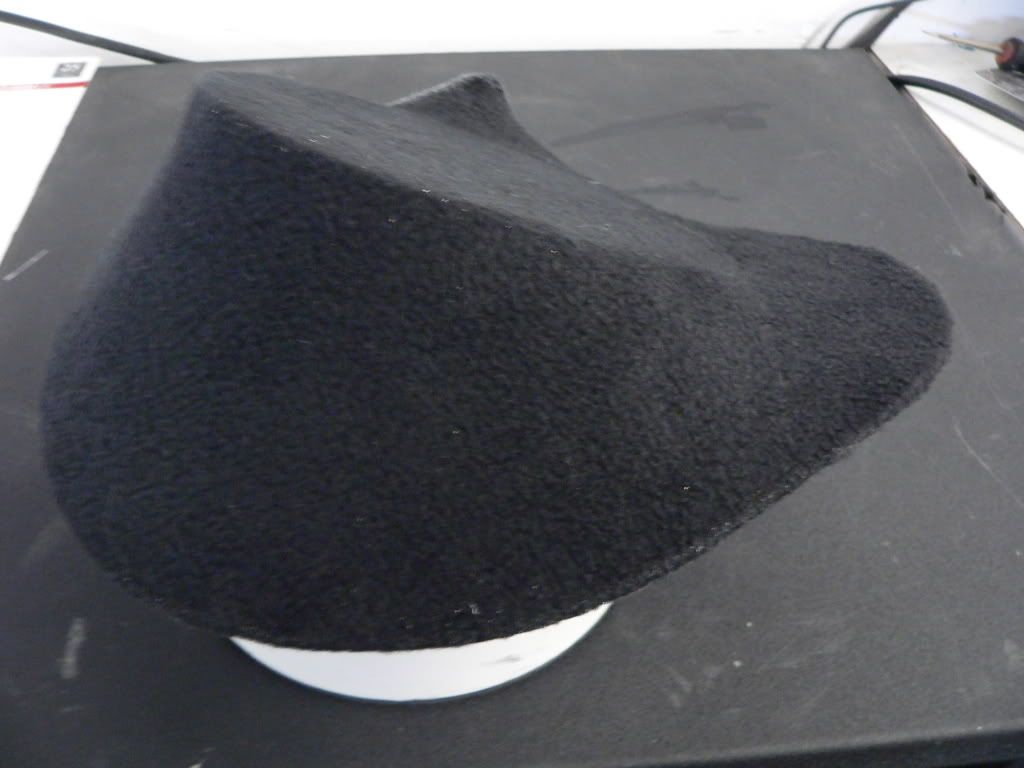
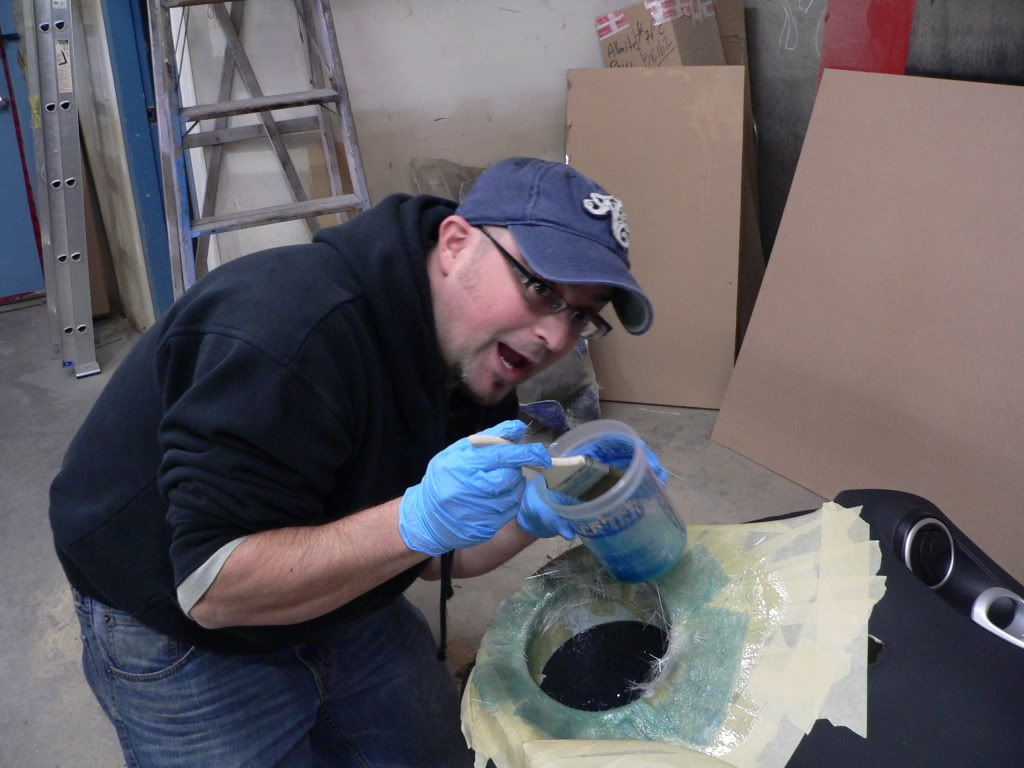
Resin time!
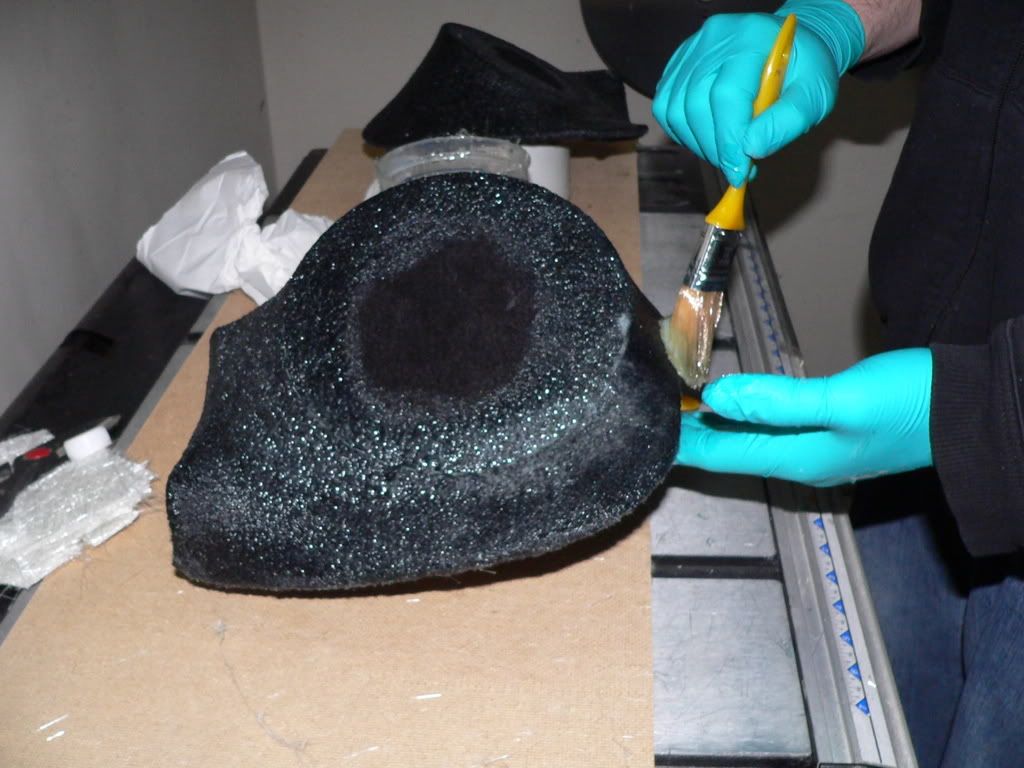
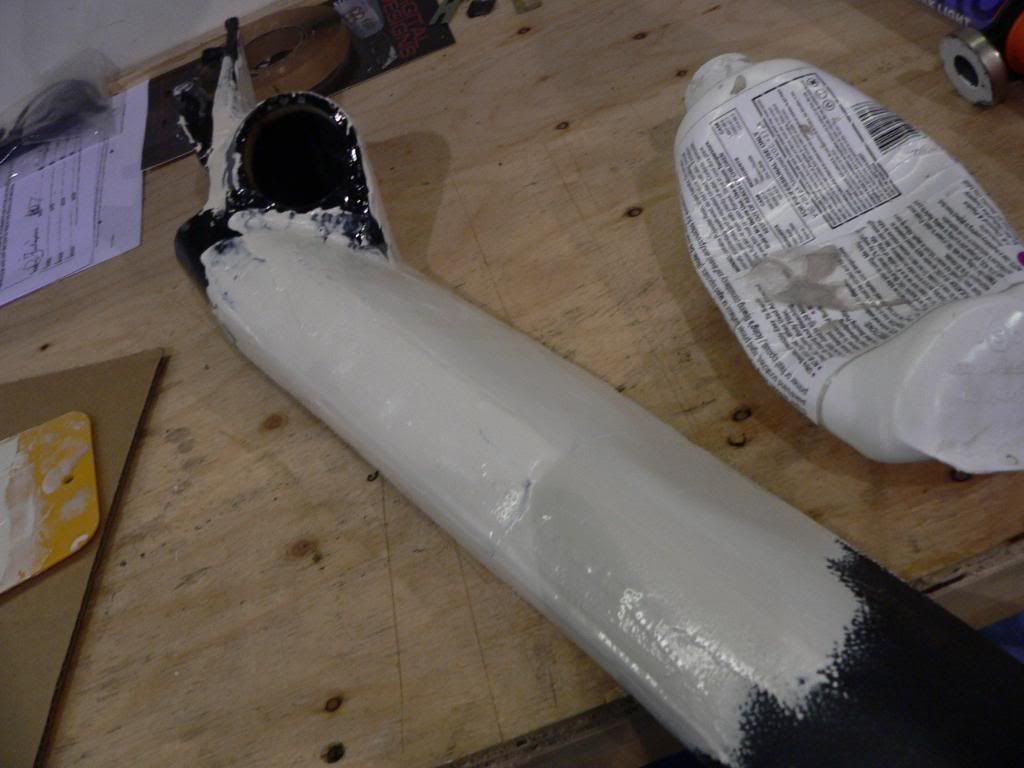
After about three layers of glass it was time to smooth them all out using some Icing (lightweight body filler)
Lots of 1 oz glass inside
Another test fit before the vinyl wrap
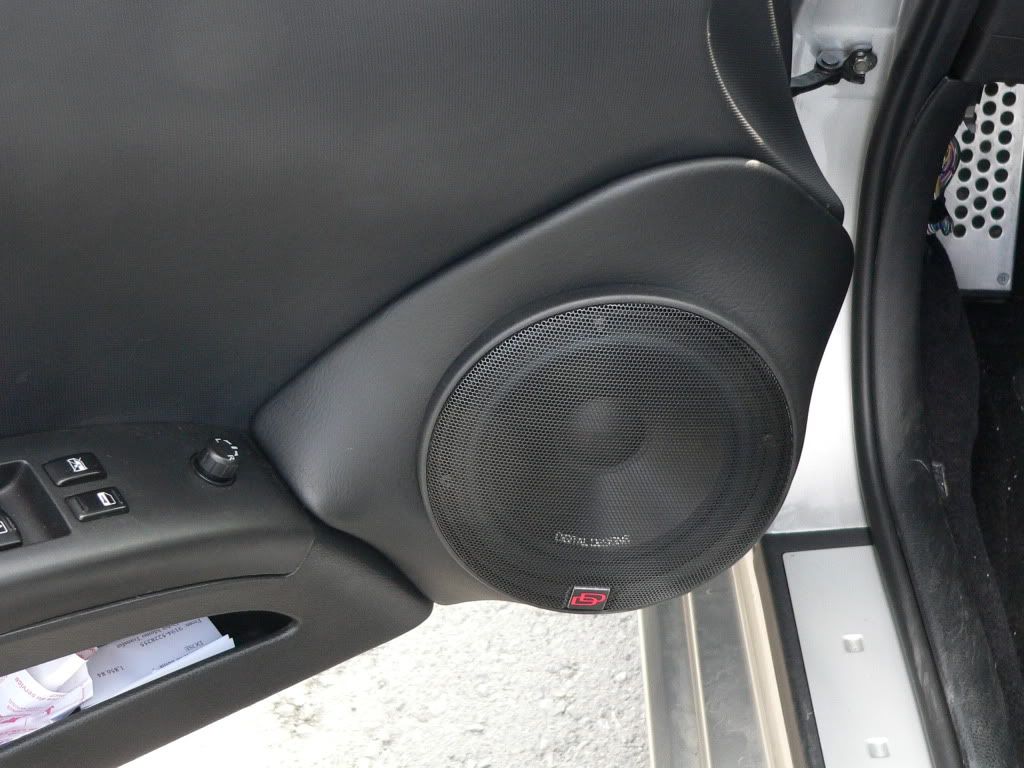
And another call goes to Lowell, my vinyl buddy. He does great work!
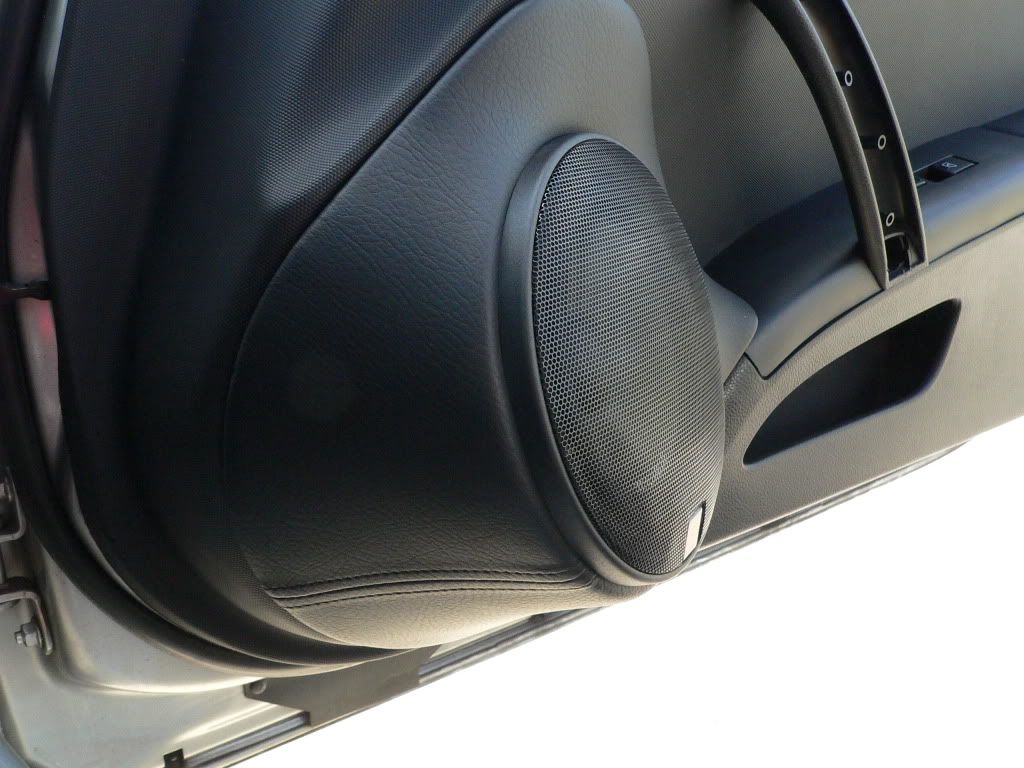
There you have it! Feel free to ask me any details of the build. I did all of what you see here except the vinyl work.
For my A-pillars I started off with a couple of 3/4" rings that were router out to fit my new DD tweeters. Not sure what happened to the pics of these rings but here they are attached to the A-pillar, stretched with grille cloth materiarl and fibreglass reinforced. I used a "Laser Beam" (insert Dr. Evil voice here) to get a perfect trajectory from my tweeter to my ear. They are within 3% of axis to my ears:
Yes, at first they look nasty but after some sanding and some 'massaging' they started to look like they should:
So after getting the basic shape and structure, I was able to use some Icing body filler to get a much more refined shape to them
After many hours of sanding I got the shape I wanted. The only part I did not do was the vinyl work and stitching. My buddy Lowell does that for me!
Now for the Door pods. I started by removing the factory speaker grille and inserting a piece of 6.5" PVC pipe into the hole. I traced out the angle of the door panel then cut the pipe down to size. I used a 1/4" piece of ABS plastic as the backplate and CA glued them together (not shown).
I taped all around the pipe and got my fibreglass and resin ready
Small pieces of 1 oz matt were perfect for getting around all the corners
A great source of vitamin 'I'm going to die!'. I wore a respirator during all of the other glassing...lol
Lookin' toight! All trimmed up and ready for part deux. These pods were designed to be completely removeable from the door panel if need be.
Routered out my rings
Got ma stilts on
Speaker clearance test fit
Stapling the fleece
Resin time!
After about three layers of glass it was time to smooth them all out using some Icing (lightweight body filler)
Lots of 1 oz glass inside
Another test fit before the vinyl wrap
And another call goes to Lowell, my vinyl buddy. He does great work!
There you have it! Feel free to ask me any details of the build. I did all of what you see here except the vinyl work.


Thread Starter
Registered User
iTrader: (4)
Joined: Jul 2004
Posts: 515
Likes: 0
From: Vancouver, BC
Trending Topics


Thread Starter
Registered User
iTrader: (4)
Joined: Jul 2004
Posts: 515
Likes: 0
From: Vancouver, BC
The speaker does stick out futher than the stock door panel (of course) but its really not a big deal for me. It kind of creeps me out when I turn it up and the midbass 'air' slaps my knee. 
The car is an '03 so no drink holders in the door panels anyway. 


 tight
tight

Thread
Thread Starter
Forum
Replies
Last Post
Extreme Dimensions
Southern California
0
Sep 24, 2015 03:35 PM