
Painted dash / new radio (many pics)


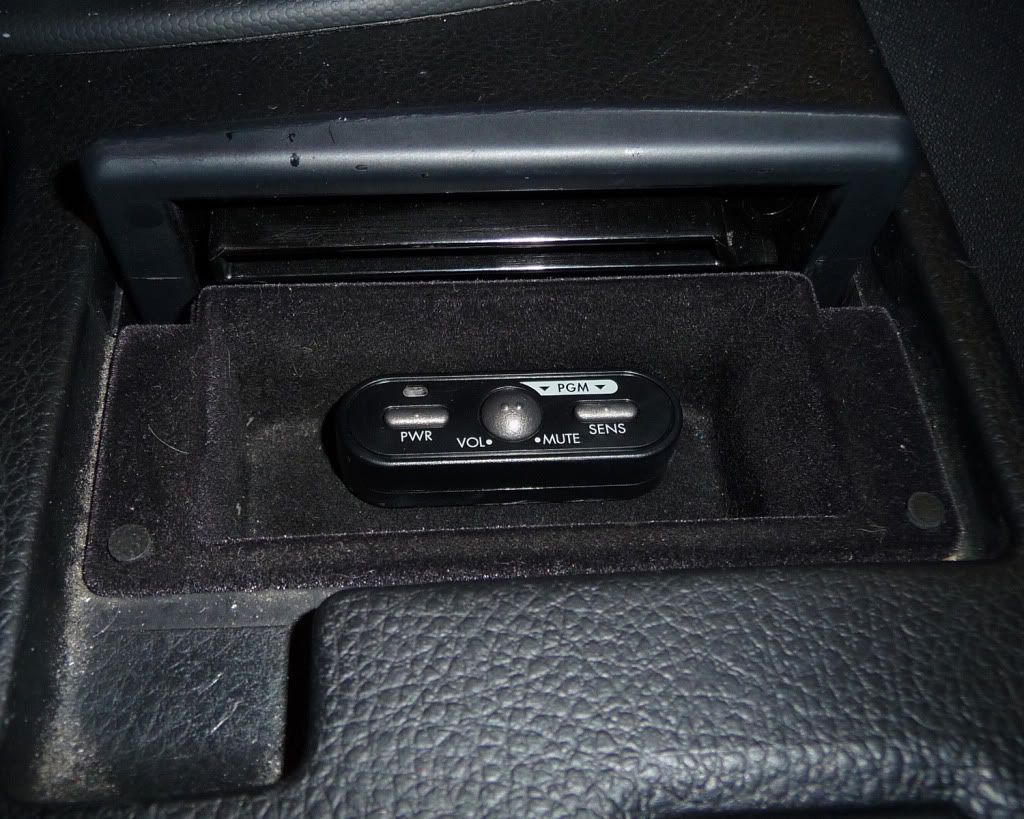
A while back I installed my V1 concealed-display in my center console.
But, in addition to all the little scratches that had accumulated over the years, I added a rather ugly one doing the display install (or was it the STi-R install?)...
Then, on the way back from this year's ZdayZ, my stock CD player died. I had some old head units sitting in my garage but they were all single din units. So I just installed two units to fill up the hole. (and added still more scratches.)
My wife had to ask me which radio I wanted for Christmas so she could order it, so I knew what I was getting. I decided a new HU wouldn't look as good in the scratched up dash and decided to try and fix it last weekend. (I wanted to give the paint/dye all week to fully dry)
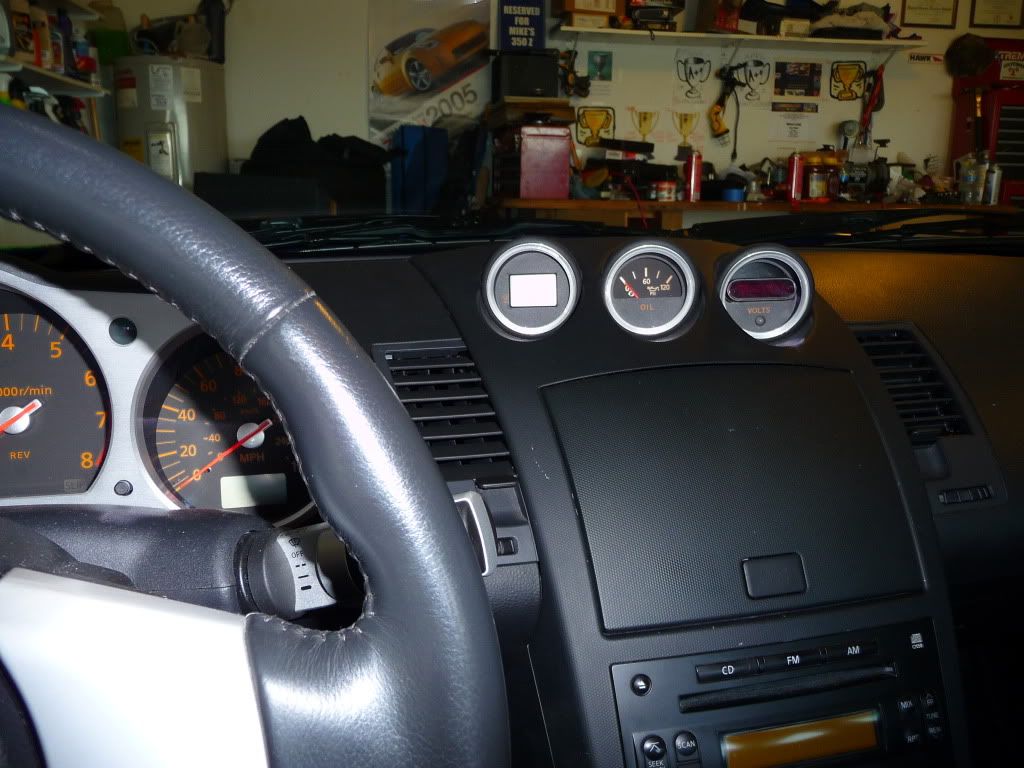
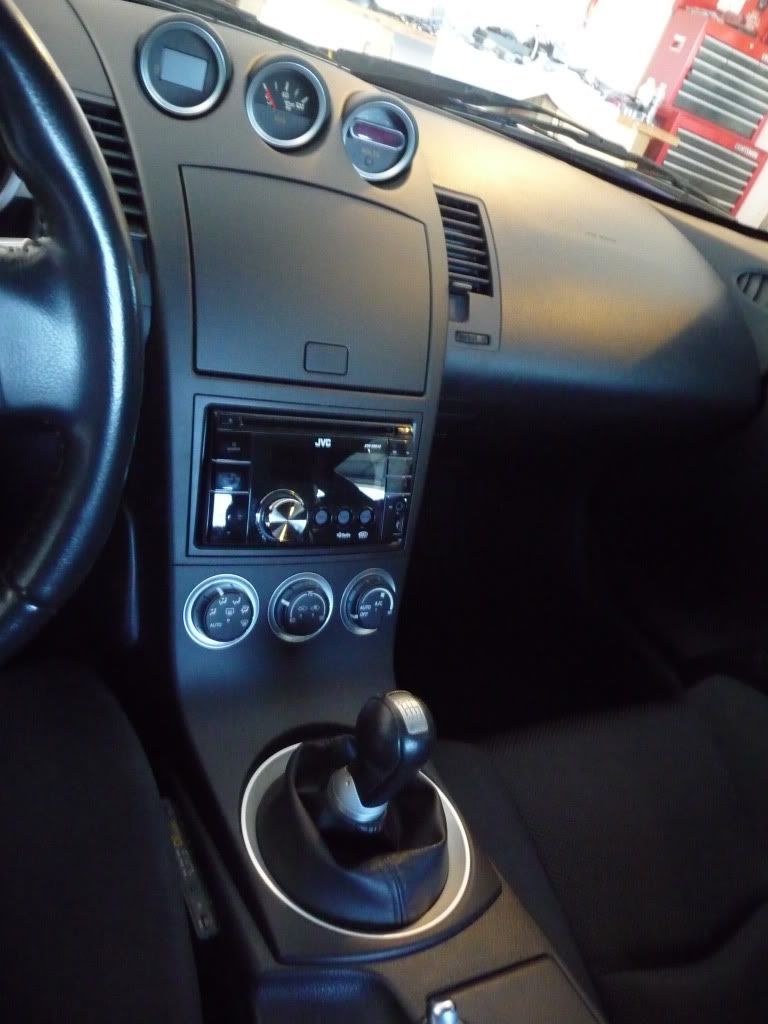
Before pics..
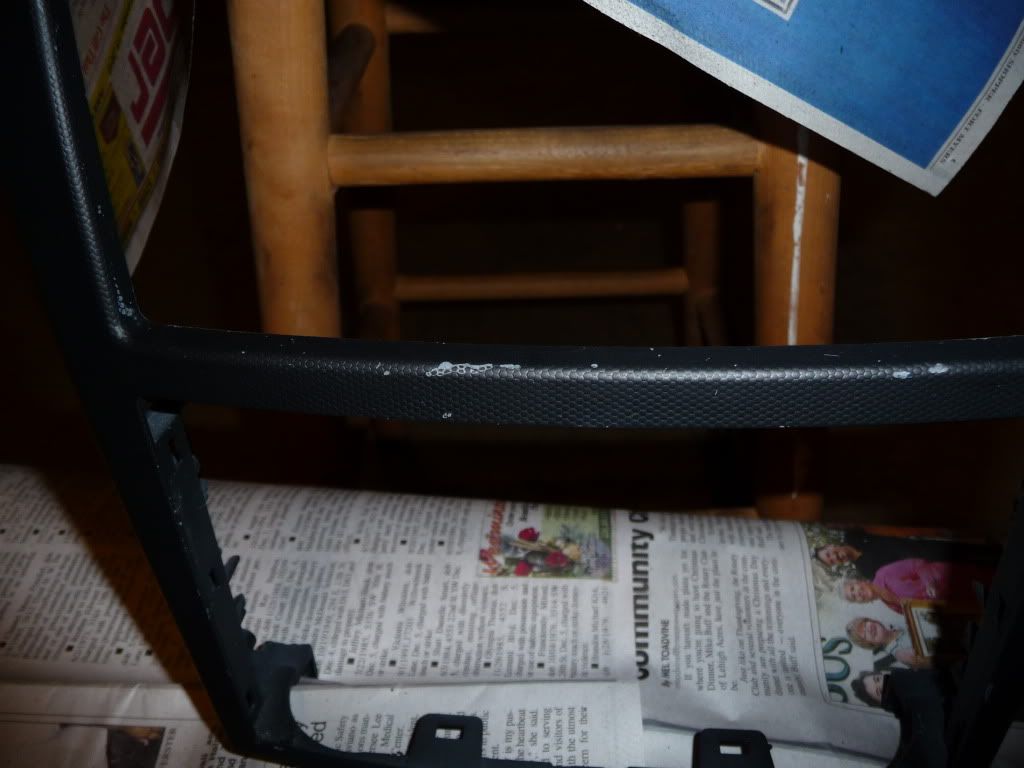
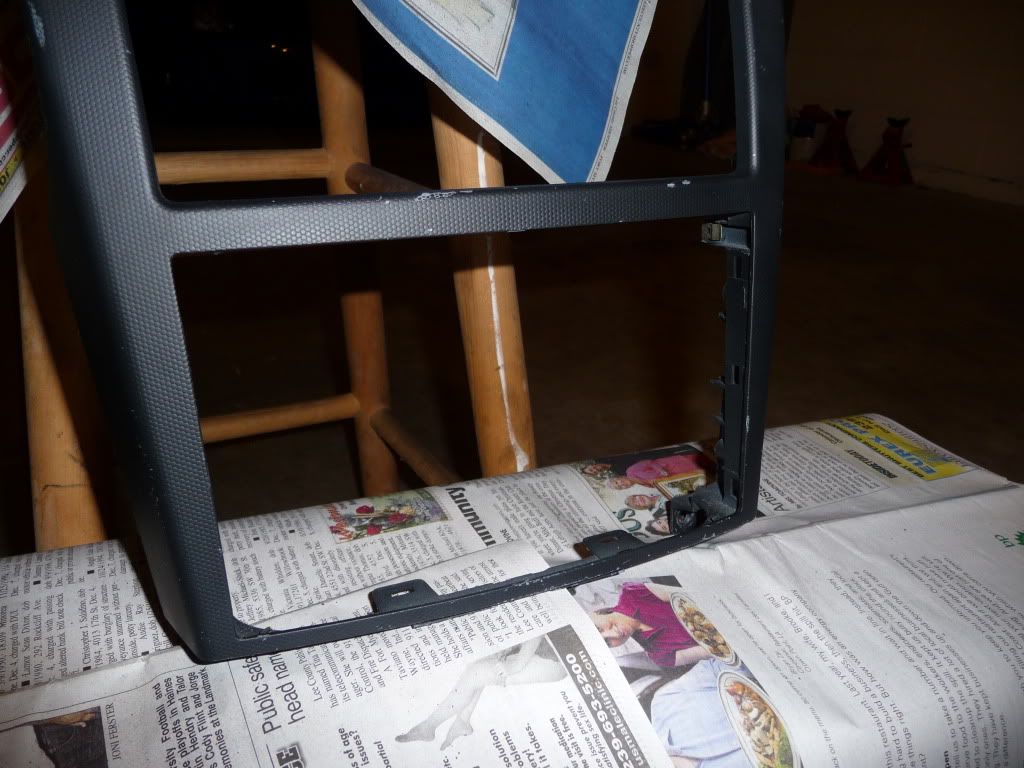
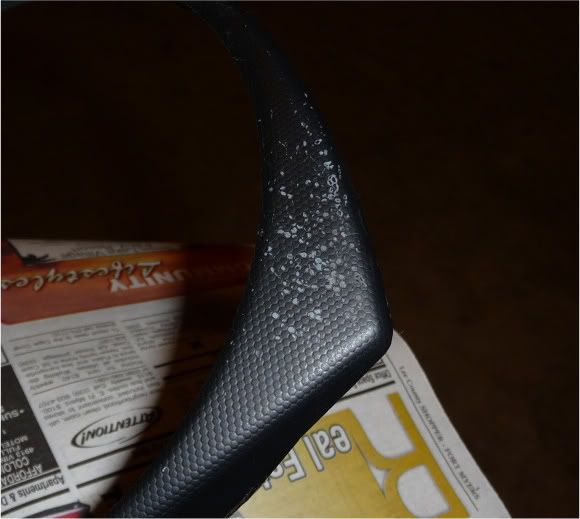
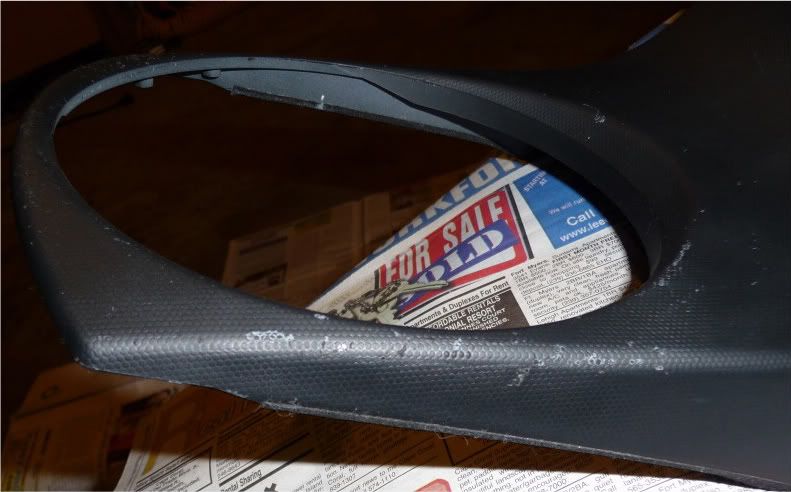
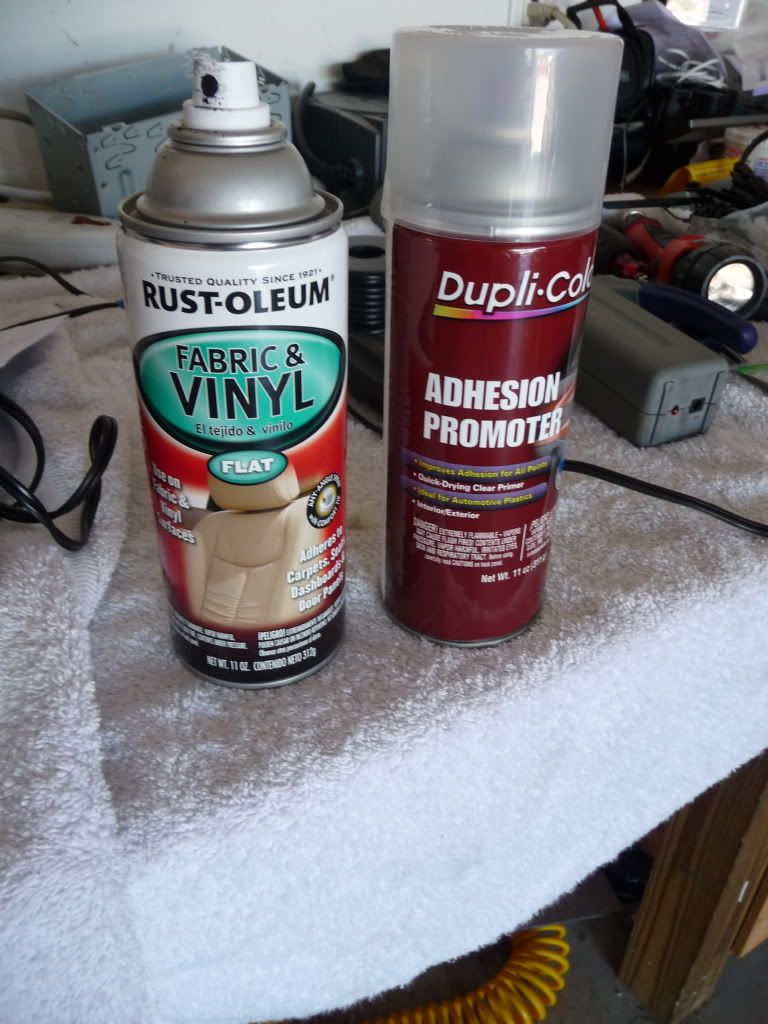
Cleaned the parts with rubbing alcohol and used this...
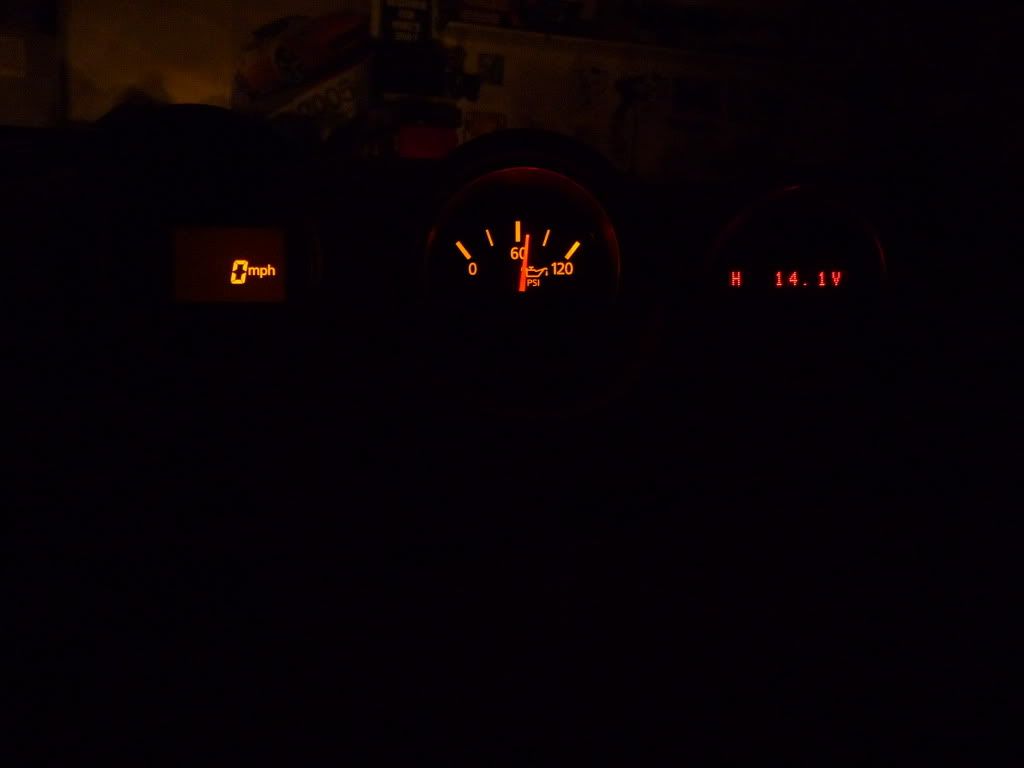
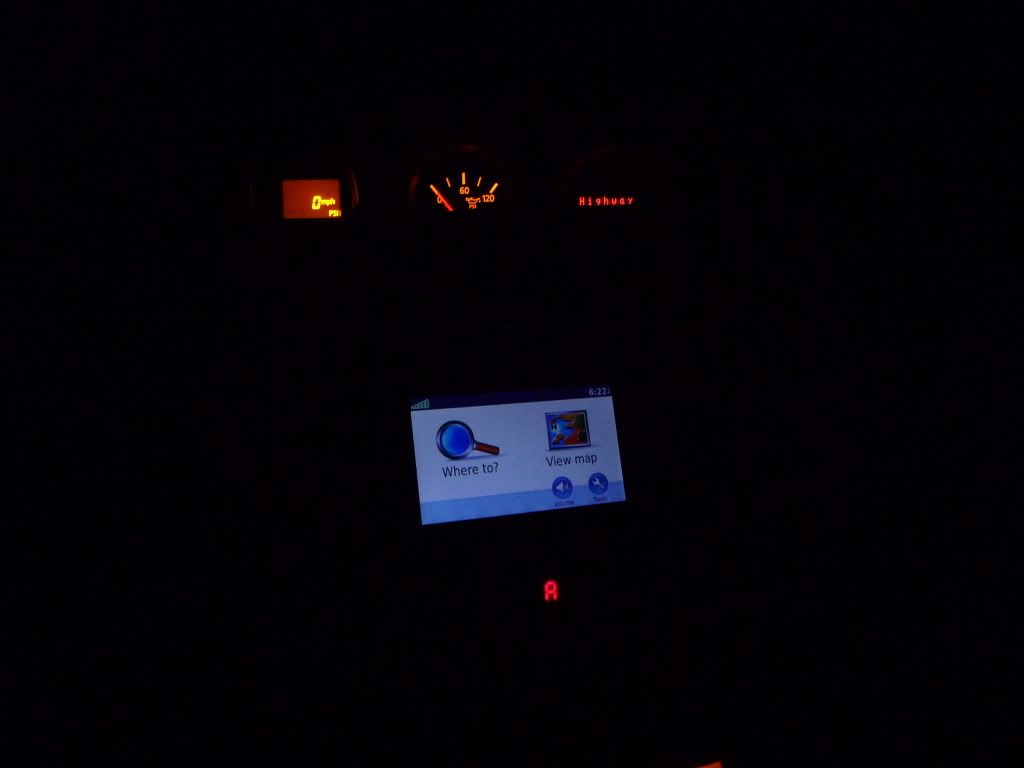
While I was moving the car in and out of the garage for some other projects, I discovered that the plastic module I pulled out was involved with a lot more than the climate controls. My dash lit up every light and nothing worked. (No tach, speedometer, fuel etc. etc.)
I decided to connect everything long enough to make sure I didn't hurt anything by driving it like that, and found a problem I didn't want to have on Christmas day. My "service engine soon" light stayed on, even after everything was connected.
I explained the situation to my wife and she let me open my present early so that I could complete the project and go get the code checked before Christmas.
There was a long list of codes all relating to the devices that didn't work while I was moving the car in and out of the garage. (Just had them cleared)
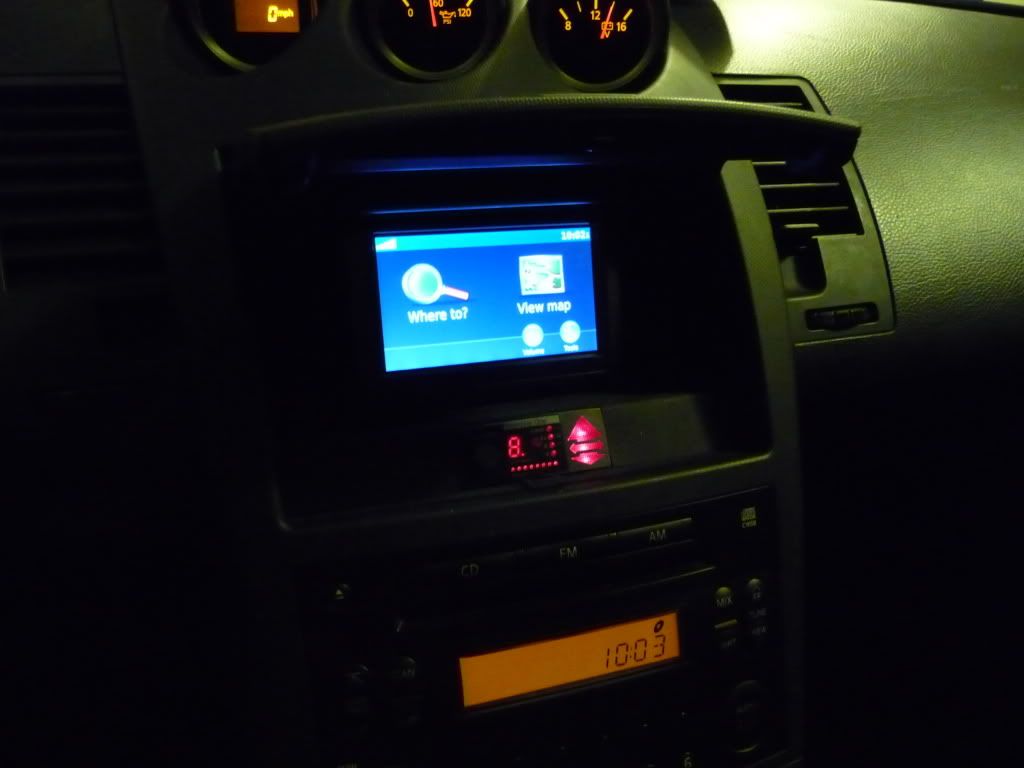
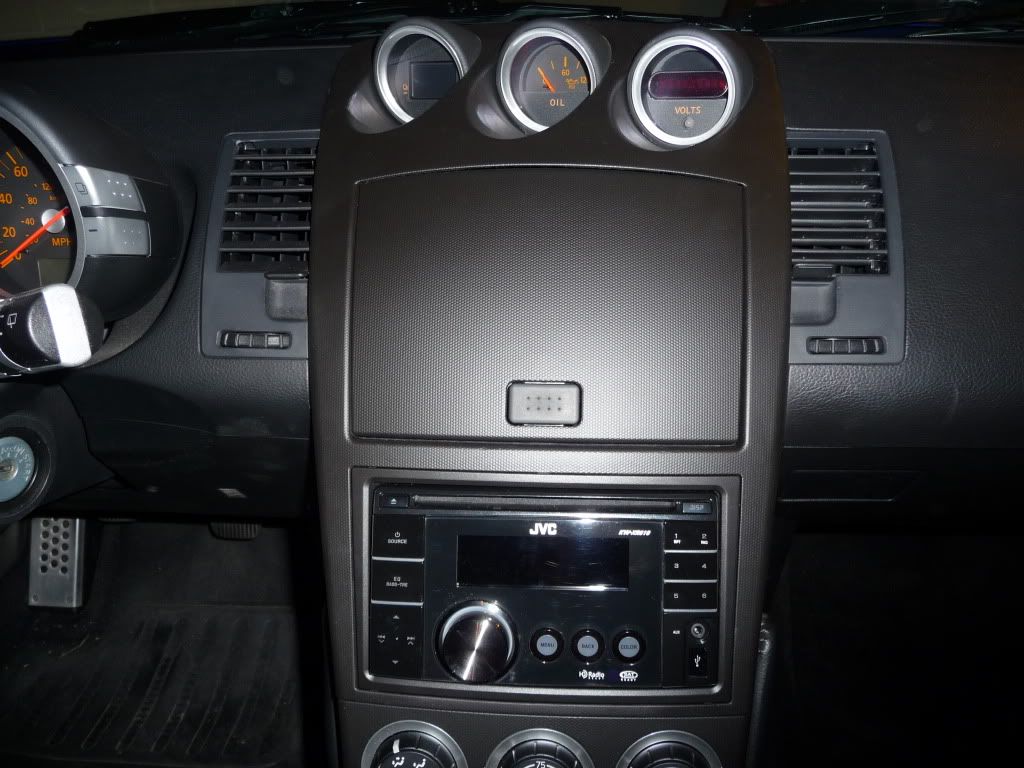
So here is the completed project....
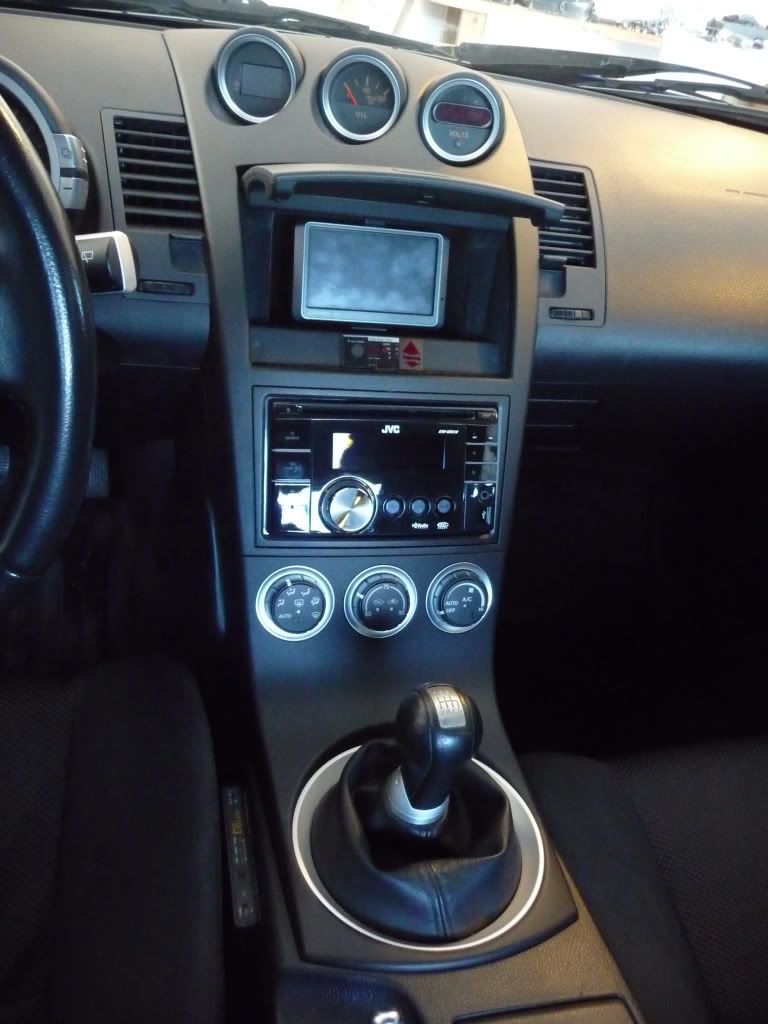
The color isn't a perfect match, but I like it. One of the flash photos really exaggerated the color difference, but I thought I would share it just to give people an idea of how it looks in the worst possible light.
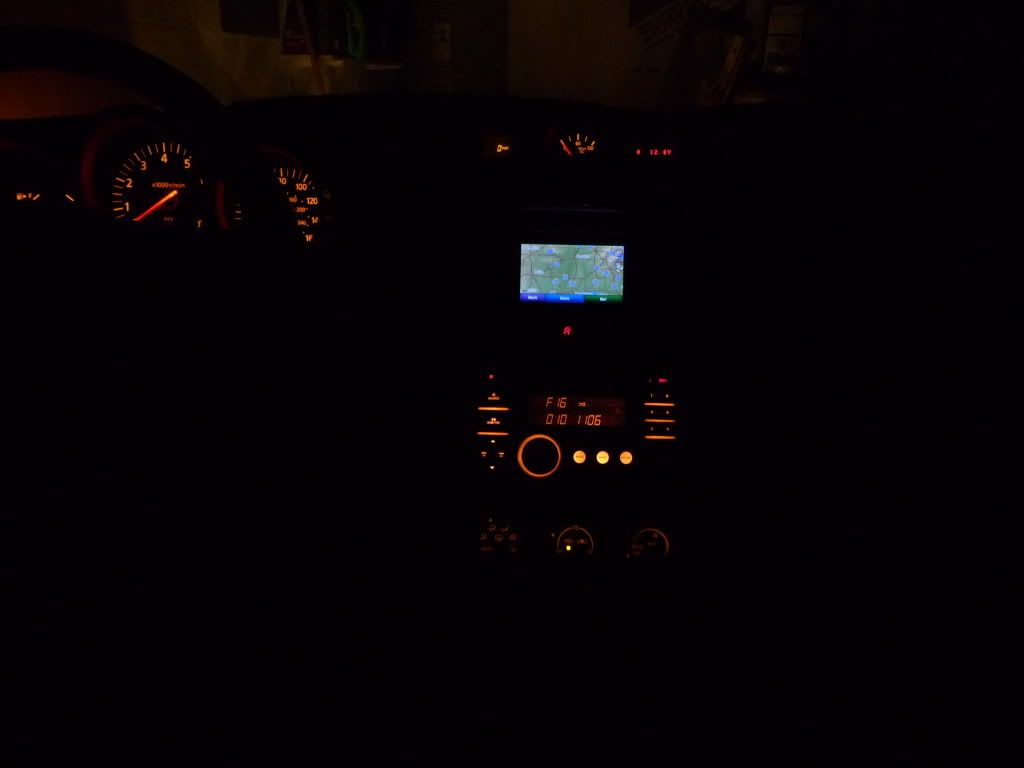
One of the 30,000 colors available with this HU...
But, in addition to all the little scratches that had accumulated over the years, I added a rather ugly one doing the display install (or was it the STi-R install?)...
Then, on the way back from this year's ZdayZ, my stock CD player died. I had some old head units sitting in my garage but they were all single din units. So I just installed two units to fill up the hole. (and added still more scratches.)
My wife had to ask me which radio I wanted for Christmas so she could order it, so I knew what I was getting. I decided a new HU wouldn't look as good in the scratched up dash and decided to try and fix it last weekend. (I wanted to give the paint/dye all week to fully dry)
Before pics..
Cleaned the parts with rubbing alcohol and used this...
While I was moving the car in and out of the garage for some other projects, I discovered that the plastic module I pulled out was involved with a lot more than the climate controls. My dash lit up every light and nothing worked. (No tach, speedometer, fuel etc. etc.)
I decided to connect everything long enough to make sure I didn't hurt anything by driving it like that, and found a problem I didn't want to have on Christmas day. My "service engine soon" light stayed on, even after everything was connected.
I explained the situation to my wife and she let me open my present early so that I could complete the project and go get the code checked before Christmas.
There was a long list of codes all relating to the devices that didn't work while I was moving the car in and out of the garage. (Just had them cleared)
So here is the completed project....
The color isn't a perfect match, but I like it. One of the flash photos really exaggerated the color difference, but I thought I would share it just to give people an idea of how it looks in the worst possible light.
One of the 30,000 colors available with this HU...
Last edited by Z1NONLY; Dec 24, 2010 at 10:16 AM.


Looks great!... So no sanding was involved, right?
So the steps are:
1) Clean/prep with alcohol
2) Spray with adhesion promoter
3) Spray with paint
How many coats did you spray with the paint?
So the steps are:
1) Clean/prep with alcohol
2) Spray with adhesion promoter
3) Spray with paint
How many coats did you spray with the paint?
Trending Topics
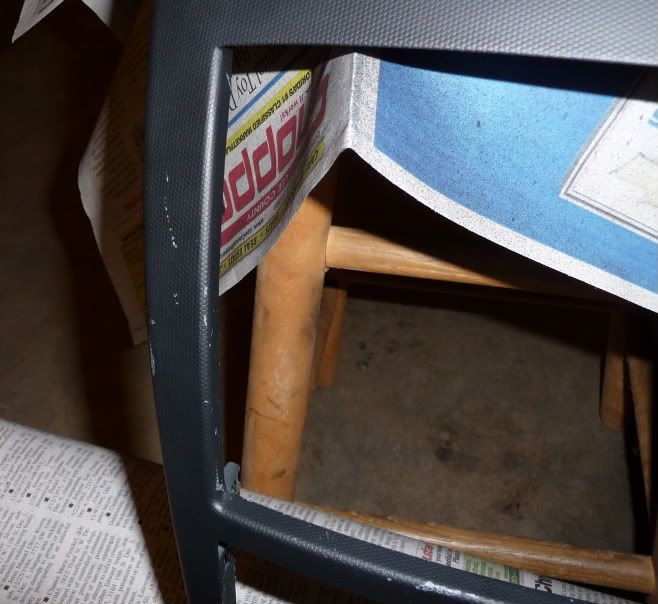
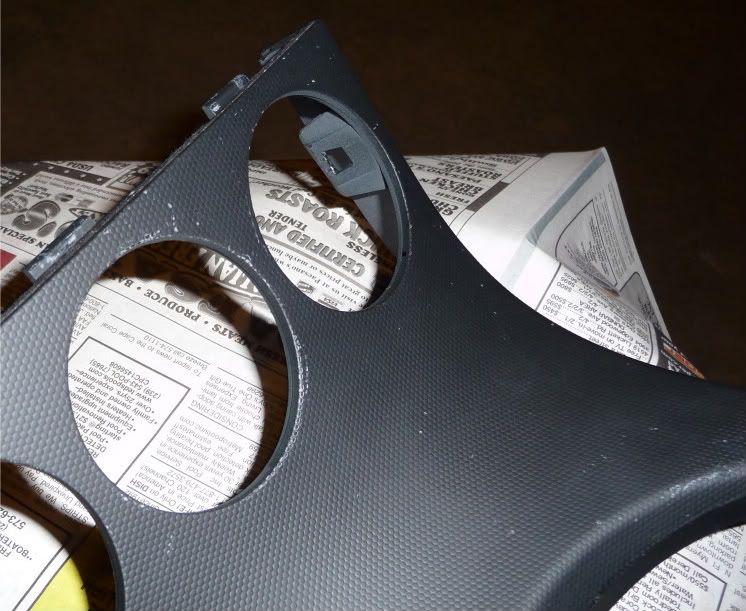
One of the more difficult parts of the prep was masking the three top pods. The gauges come off as one assembly but the individual pods are held in place with two screws and one melted plastic"weld". I removed the two screws on each and pushed the front part down until I could get saran wrap to cover each pod. They were each "hinged" at the plastic weld point. I was concerned that I might break the weld while masking the stuff but all went well while painting.
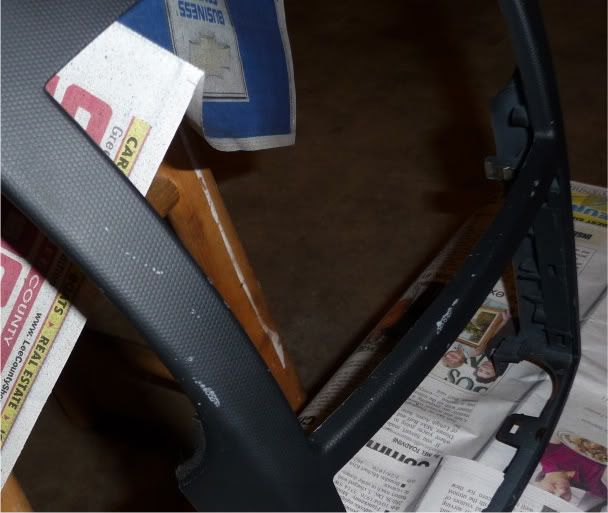
I did break one of the weld points when I was pushing the top part into place (reinstalling the dash), just as I was about finished.
 I had to remove the center piece again and re-weld the joint. My soldering iron minus the tip made a good, blunt "stamp" between the two plastics and looked similar to the factory joints when done.
Other than that, my steps were..
1) Wipe down all areas to be painted with rubbing alcohol. (I read that mineral spirits was the chemical to use but didn't have any on hand.)
2) Three light coats of adhesion promoter.
3) Three light coats of the fabric and vinyl coating.
I did all steps on the plastic part that houses the a/c controls and stick just to get the hang of it. I figured that if I screwed it up badly, it would be cheaper to replace then the larger top half. After successfully painting the small part I moved on to the larger piece.
The required time between coats was very small. I think the adhesion promoter was ~3 min between coats and the fabric & vinyl was supposed to be applied within 10 minutes of the last adhesion coat. I think I used ~3 to 5 min between each of the fabric & vinyl coats.
I also painted the trim ring from the radio install kit.
.
Last edited by Z1NONLY; Dec 24, 2010 at 04:00 PM.
Nice work.
I've actually made the same mistake years ago by moving my car with the center console apart. As a result, I got the same idiot lights across my gauge cluster.
After reinstalling everything and driving the car normally, the light automatically turned off by itself in a couple days.
I've actually made the same mistake years ago by moving my car with the center console apart. As a result, I got the same idiot lights across my gauge cluster.
After reinstalling everything and driving the car normally, the light automatically turned off by itself in a couple days.
Last edited by sdZ33; Dec 24, 2010 at 04:48 PM.


Thread
Thread Starter
Forum
Replies
Last Post
350Z_Al
Exterior & Interior
133
Oct 29, 2020 07:44 PM
ars88
Zs & Gs For Sale
18
Apr 4, 2016 07:52 AM