
3-day build! *PICS*


Thread Starter
Registered User
iTrader: (4)
Joined: Jul 2004
Posts: 515
Likes: 0
From: Vancouver, BC
So my customer came in last week with his '05 350Z and asked me to put together a nice system for around $4K. So here is what I came up with:
Head unit supplied: Pioneer AVIC D3
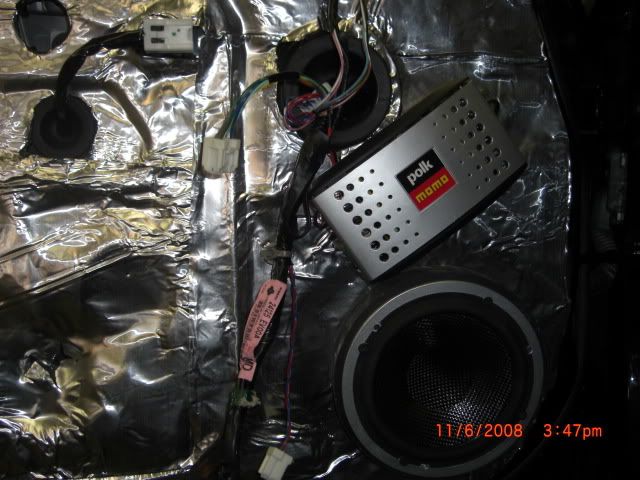
speakers: Polk Audio MM6501 components
amp1: Digital Designs C4A 4X 100 watts
amp2: Digital Designs M1A 1X 1350 watts
subs: 2X DD 2510 DVC4
Sound deadening: Hushmat and Fatmat
Wire: Streetwires 1/0 guage power wire, Streetwires ANL 300 amp fuse holder at battery, EFX RCAs. Streetwires 14 ga speaker wire through the doors.
Other: Tinted Lexan, high grade carpet, whisper black vinyl
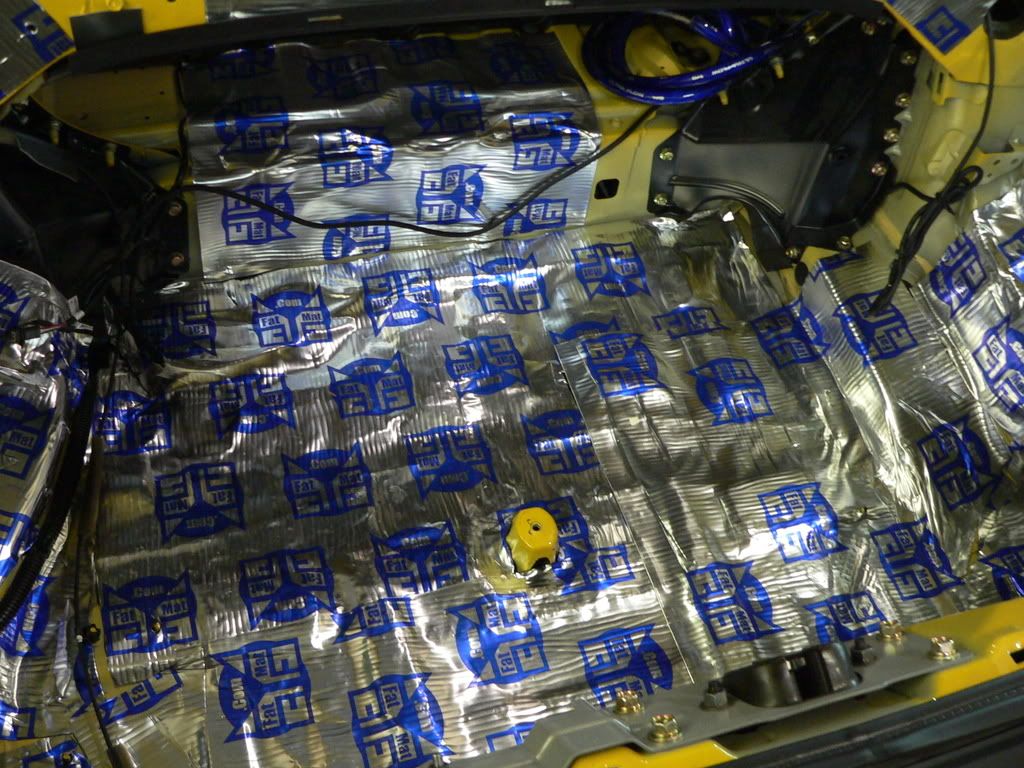
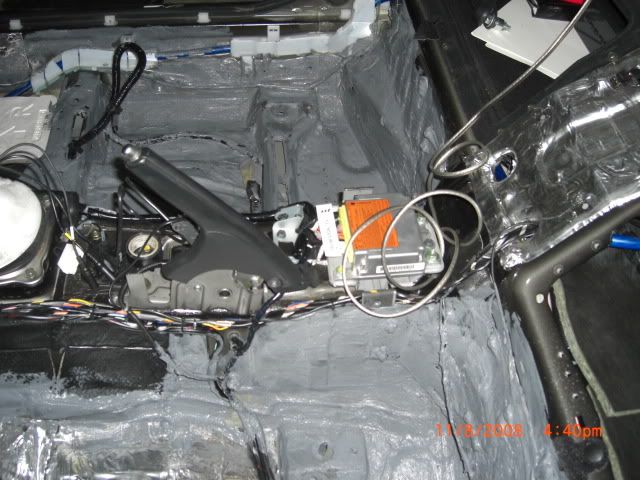
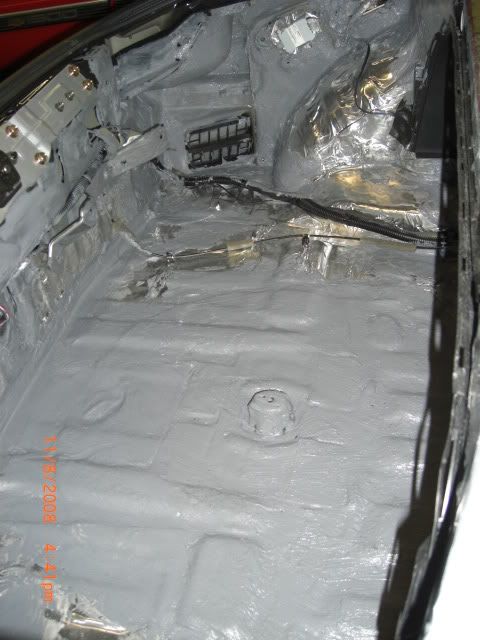
I started off my using plenty of Fatmat for the trunk and trunk floor. The product does NOT stick very well and I had to use a heat gun to apply it. It is tar based but I wanted to try it out. In this case it worked well but I will not be using it again:
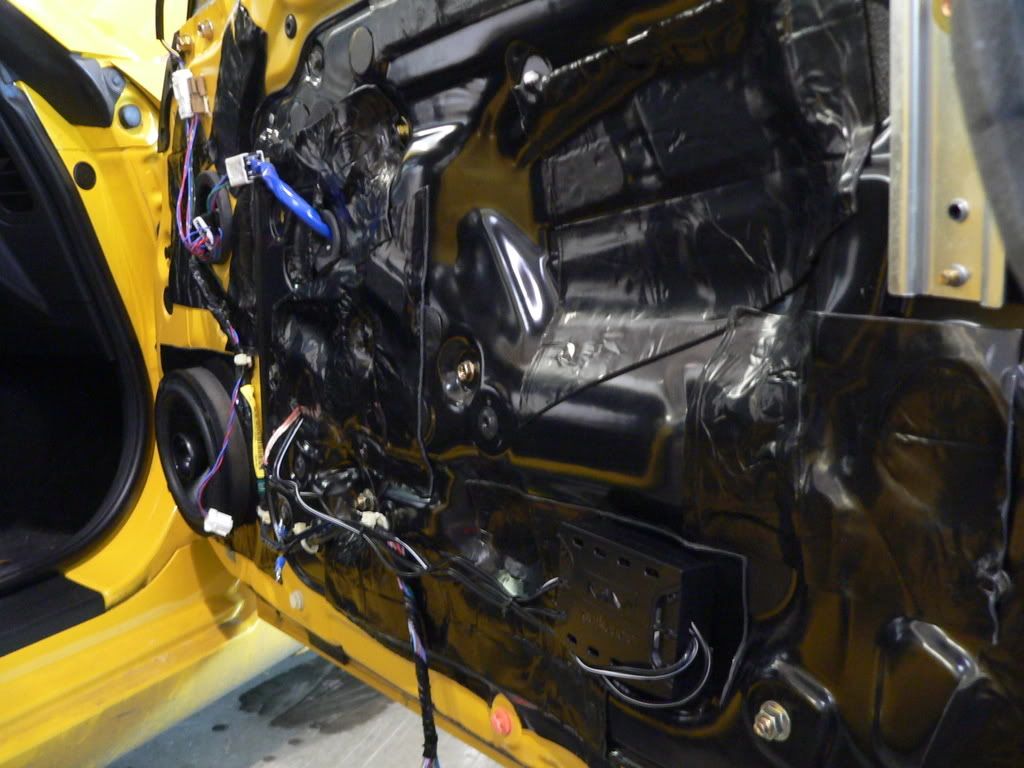
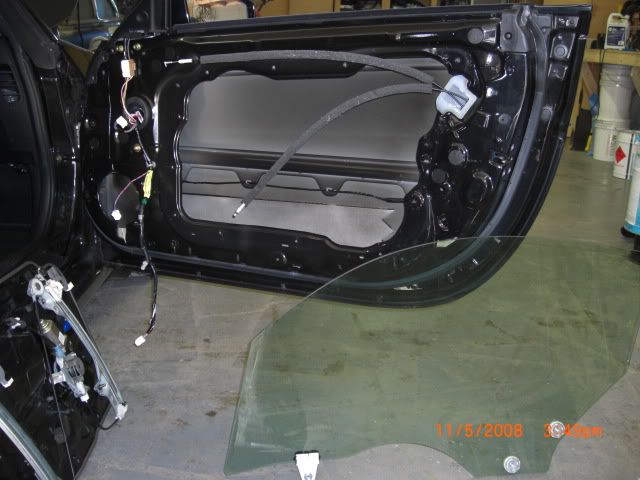
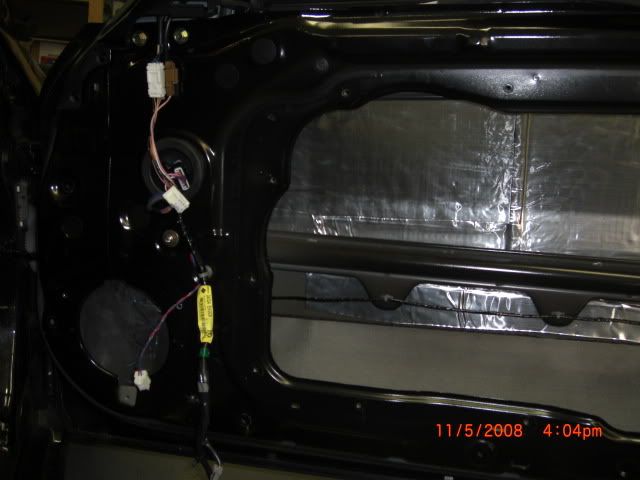
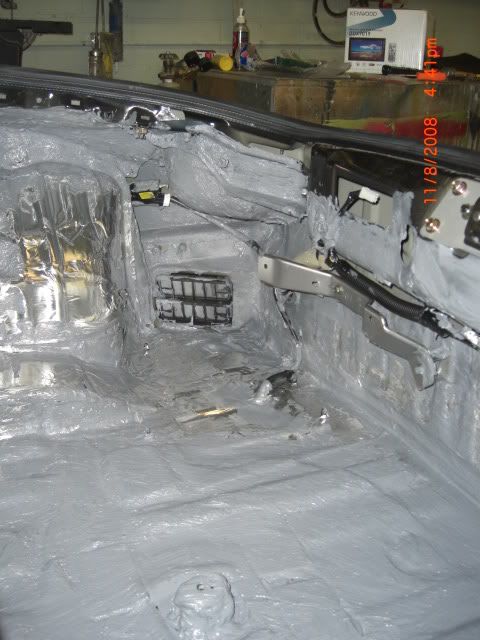
I used hushmat for the hatch area and doors. Hushmat is 100X better for adhesion, low odour and its much more maleable:
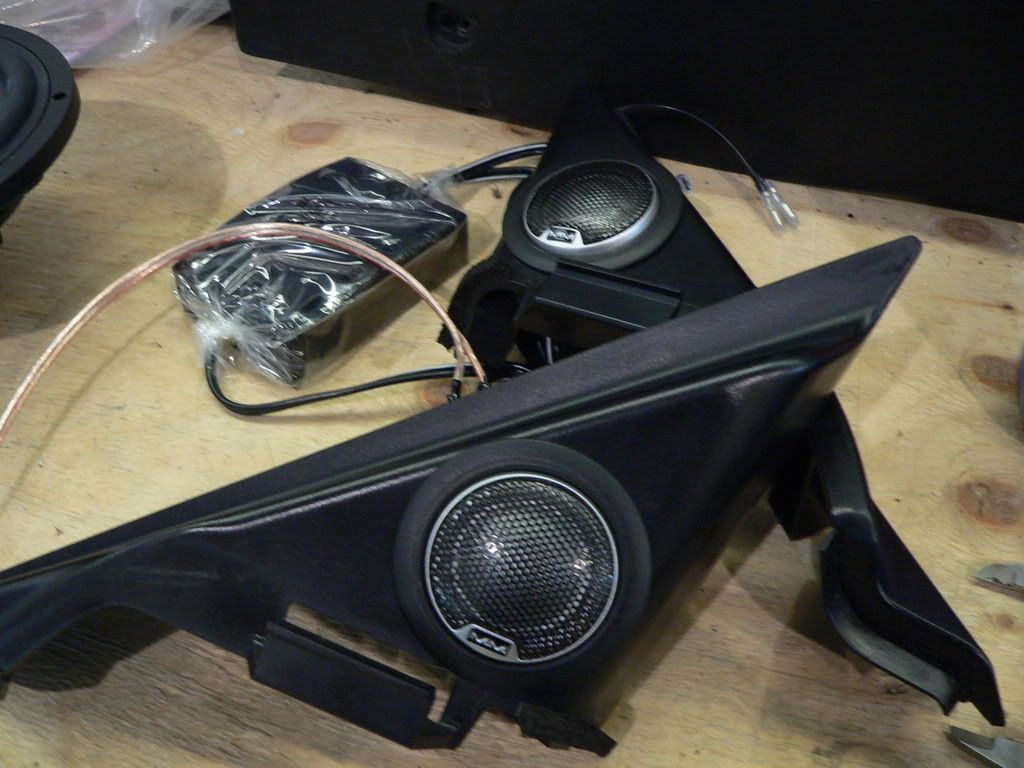
Because of his budget I wanted to use the stock sail panels for the tweets and EQ them afterwards. I wasn't happy with how the tweeter cups looked:
So I decided to spend more time on flushing the tweeter cups into the sail panels:
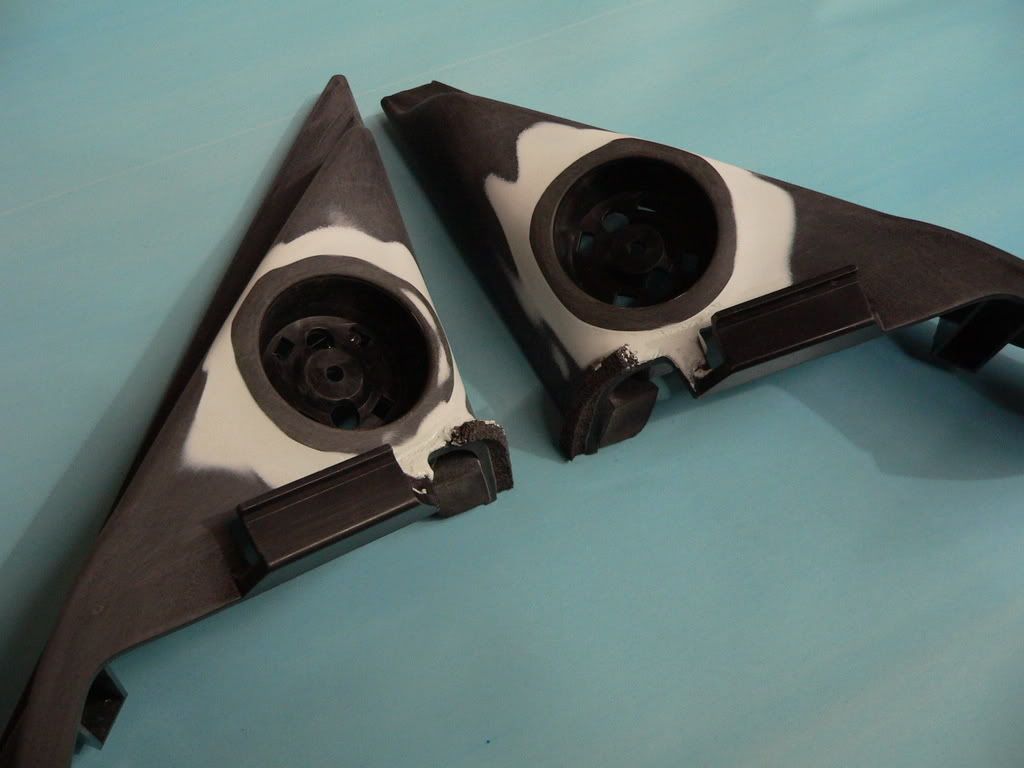
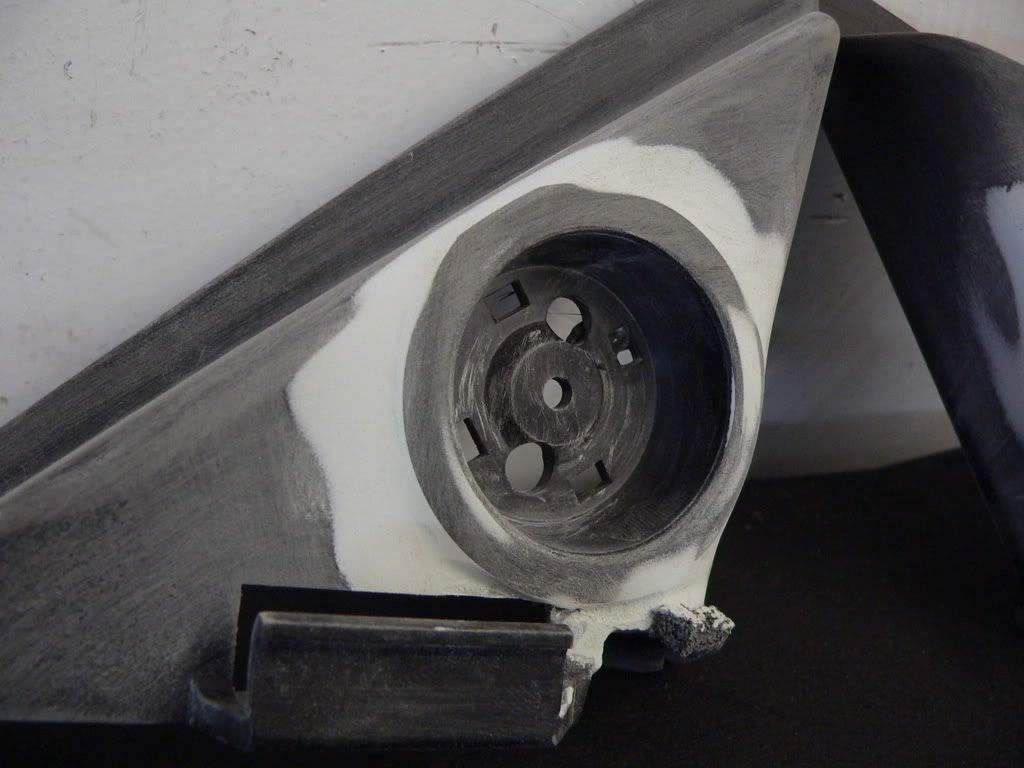
I used Icing (which is like a much finer body filler), sanded down to 400 grit and used primer filler to smooth it all out:
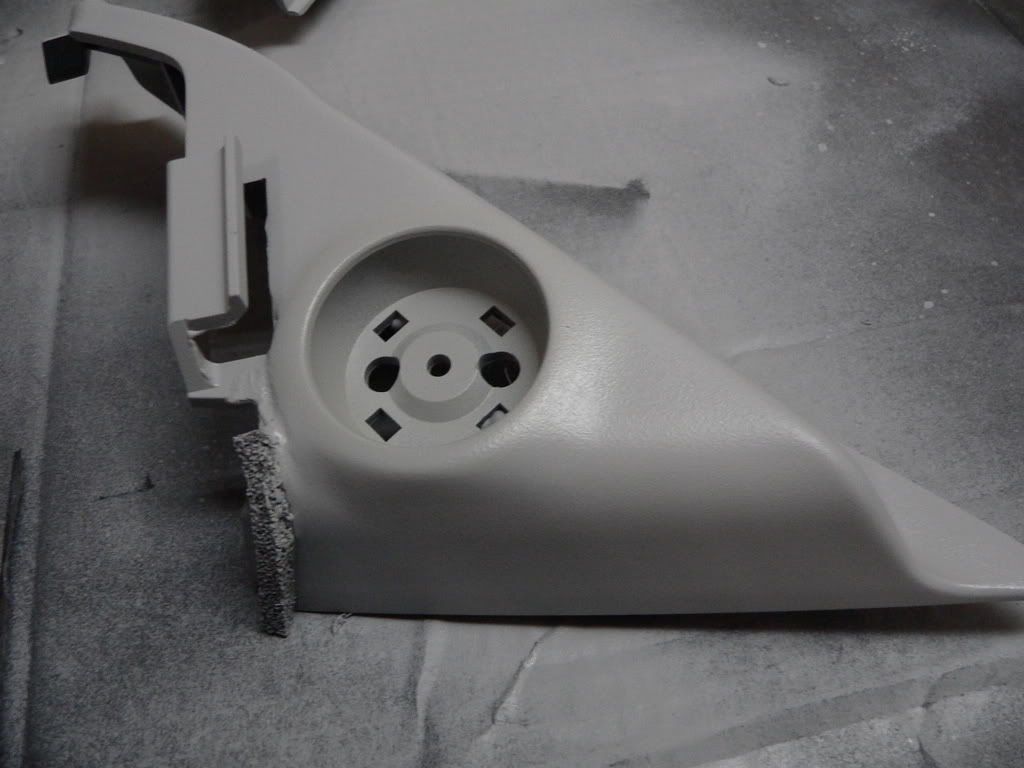
Pretty happy with how they turned out:
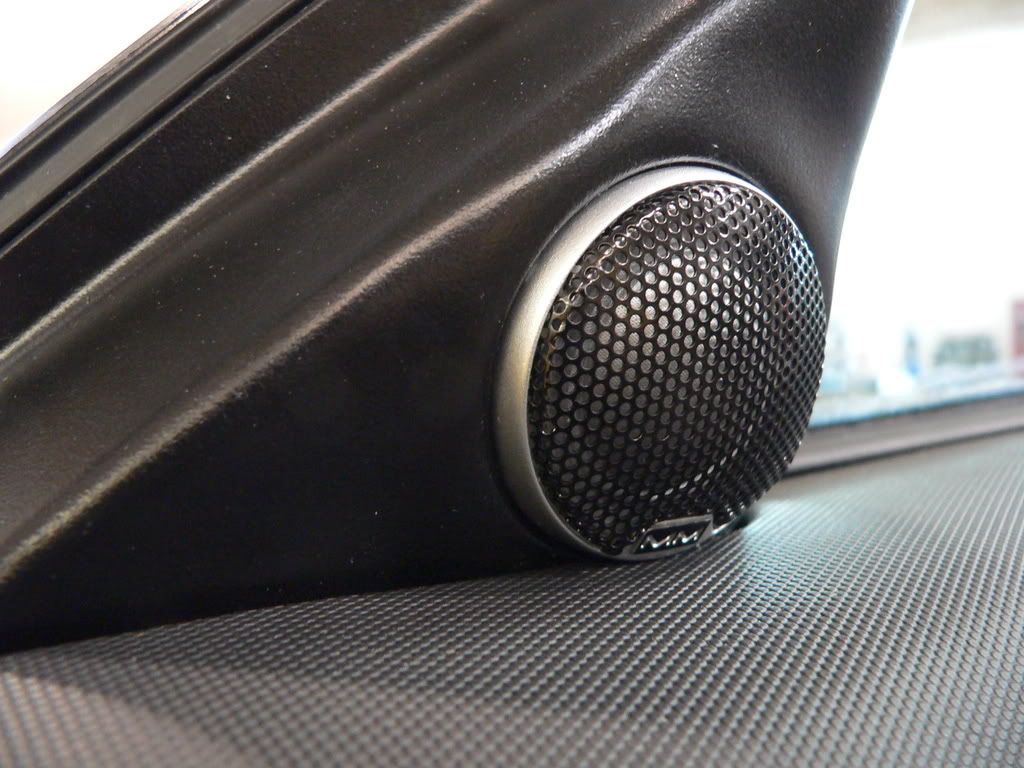
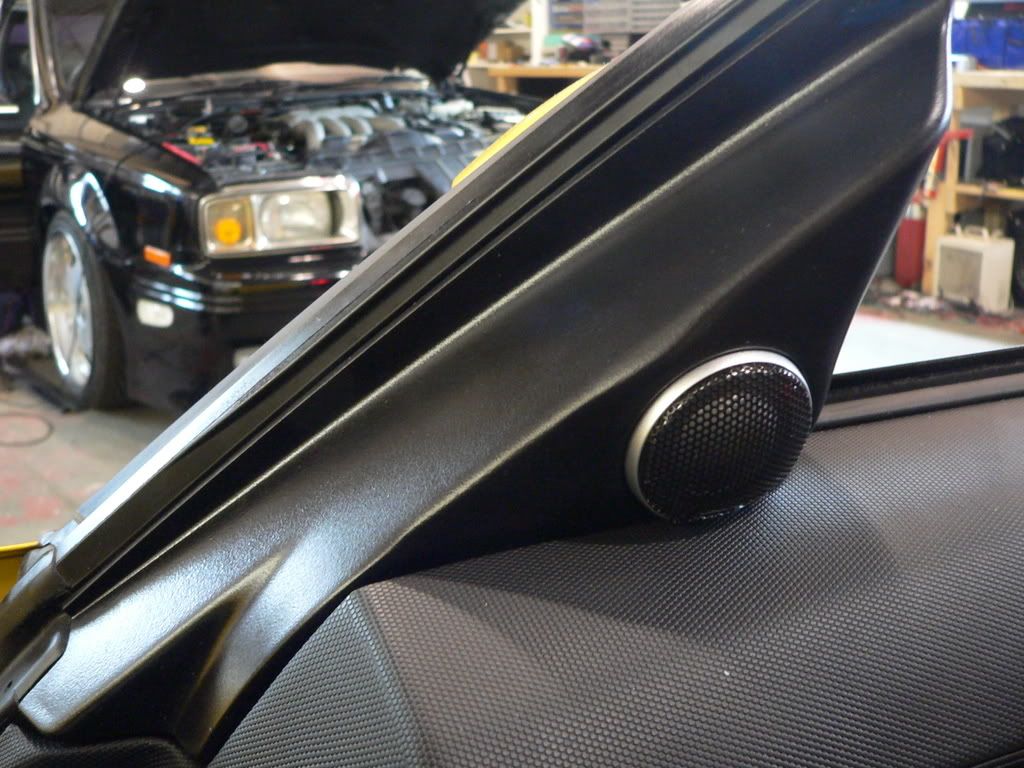
Tweeters were angled properly afterwards (anybody know what kind of car in the background?)
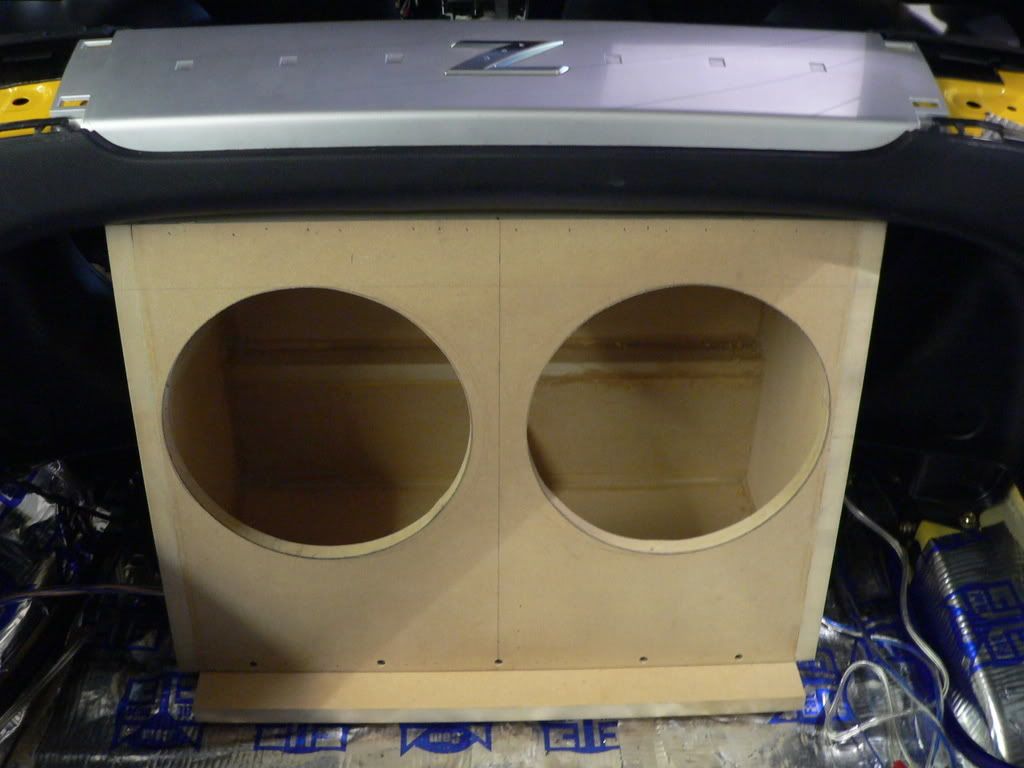
Now onto the box. It was made to be sealed and shared for two DD 2510's. Volume was about .8 cubes per sub:
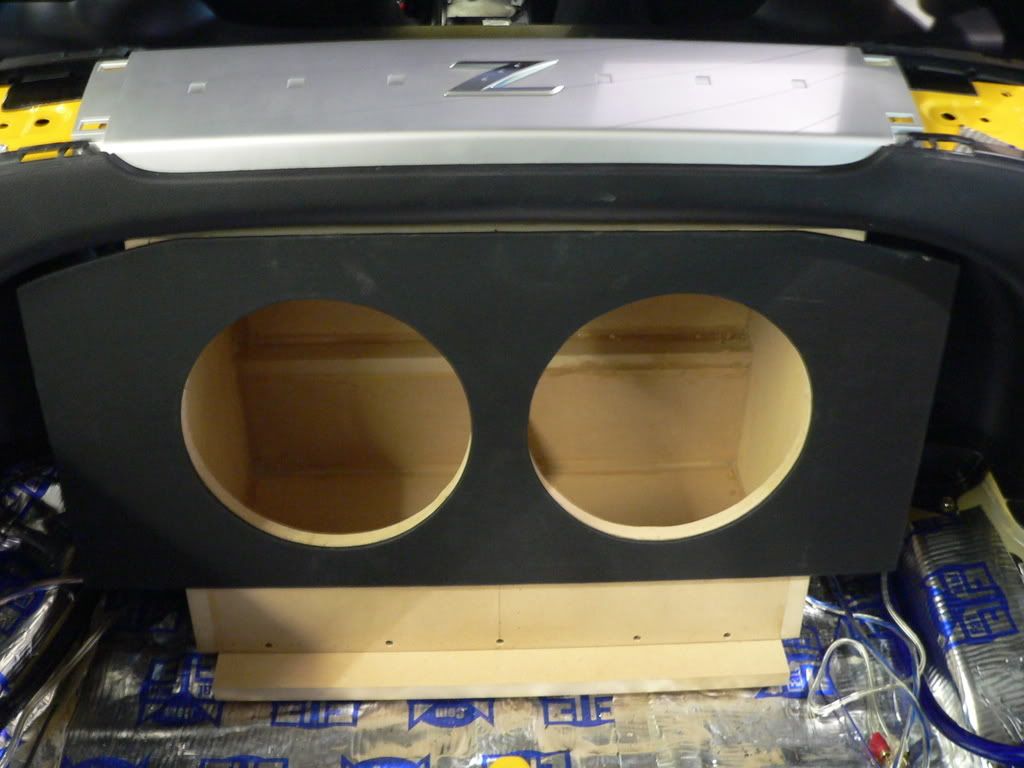
A little sexy vinyl as a front plate:
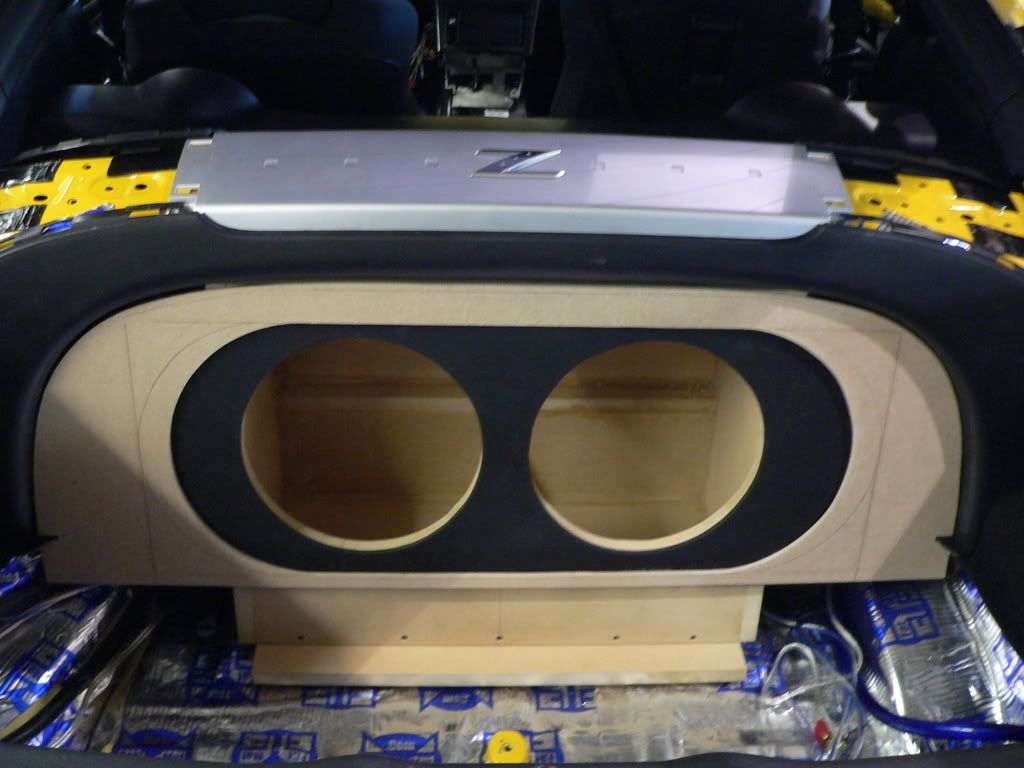
Top panel to finish it off
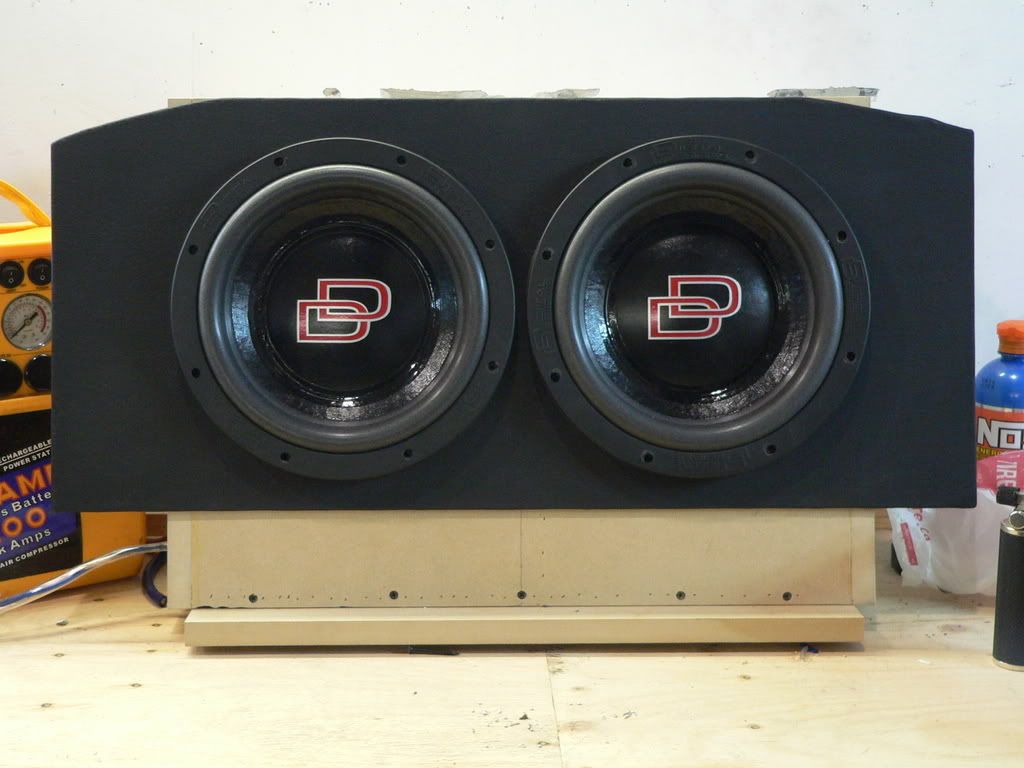
Subs mounted with vinyl insert
Sub area completed. Simple amp rack fabricated out of 1/2" MDF. Wires run through the floor and grommets used to finish it off. Raised 2 1/4" off the floor:
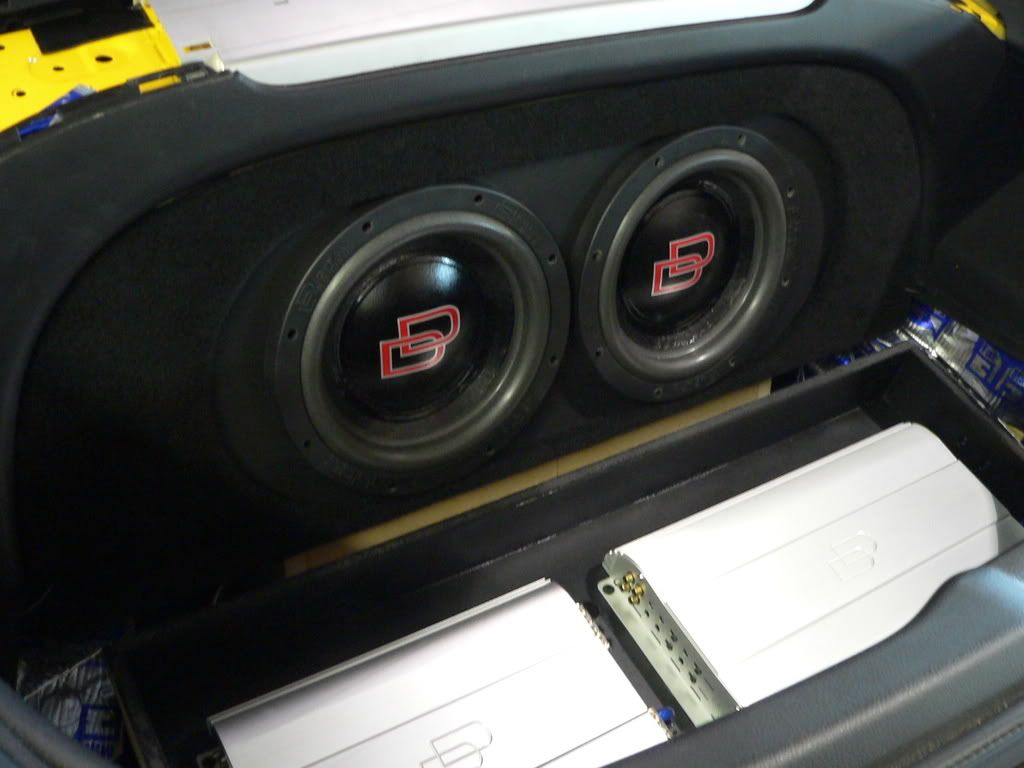
Amp rack panel cut out and rounded off where the plexi goes:
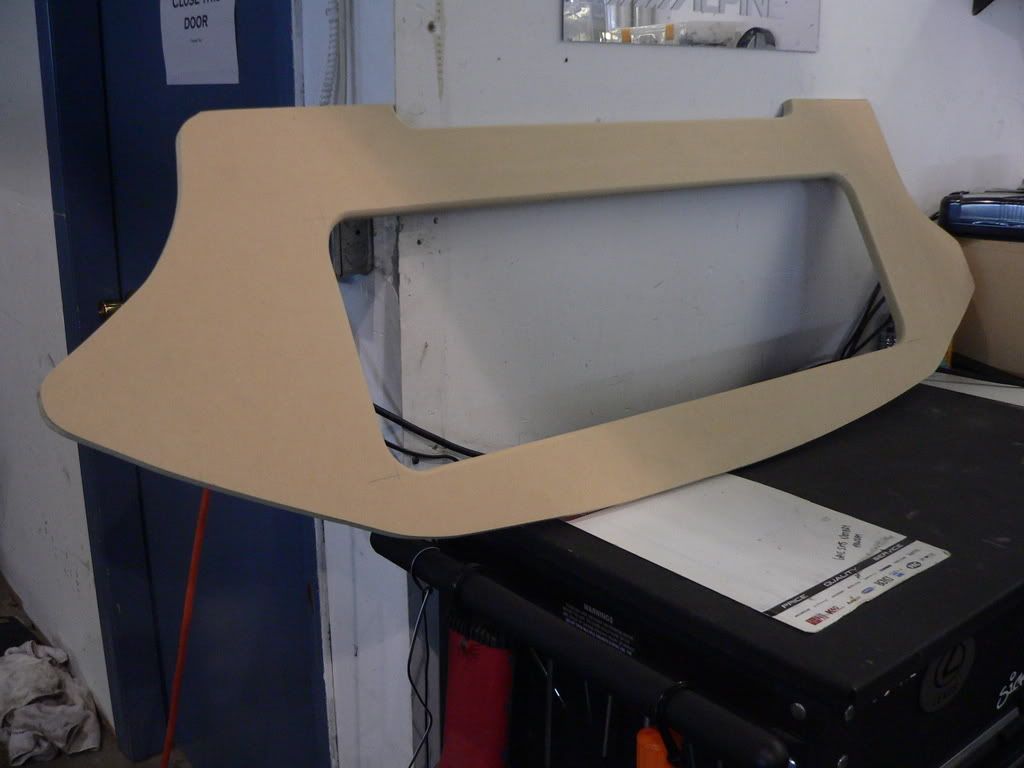
finished product:

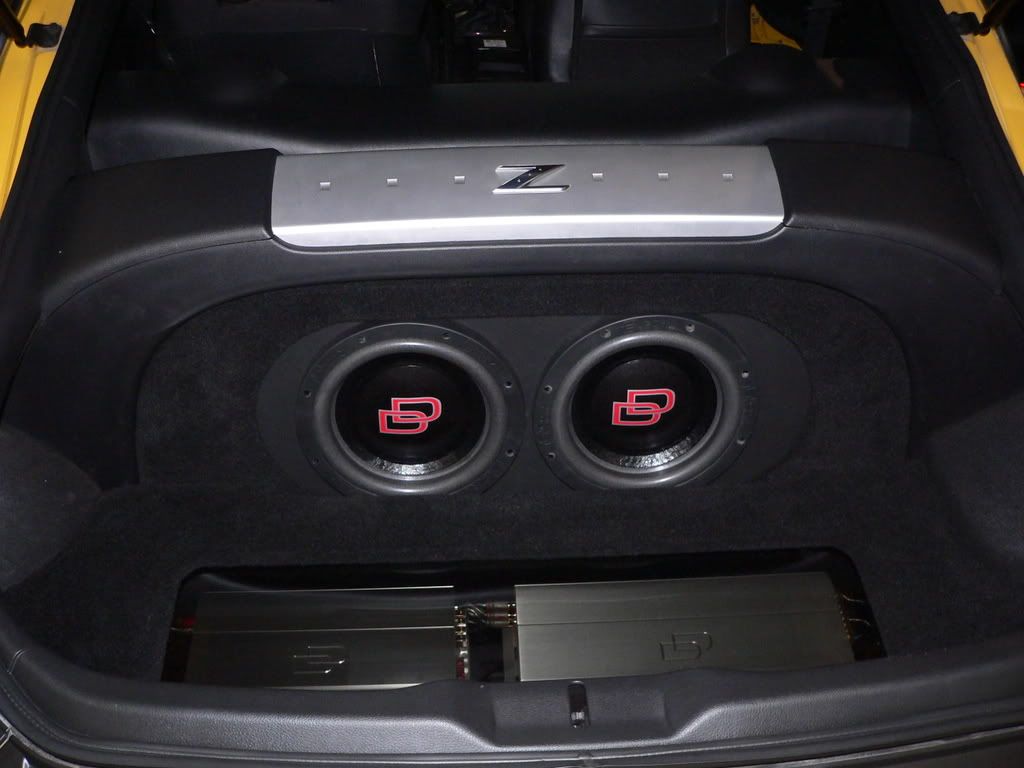
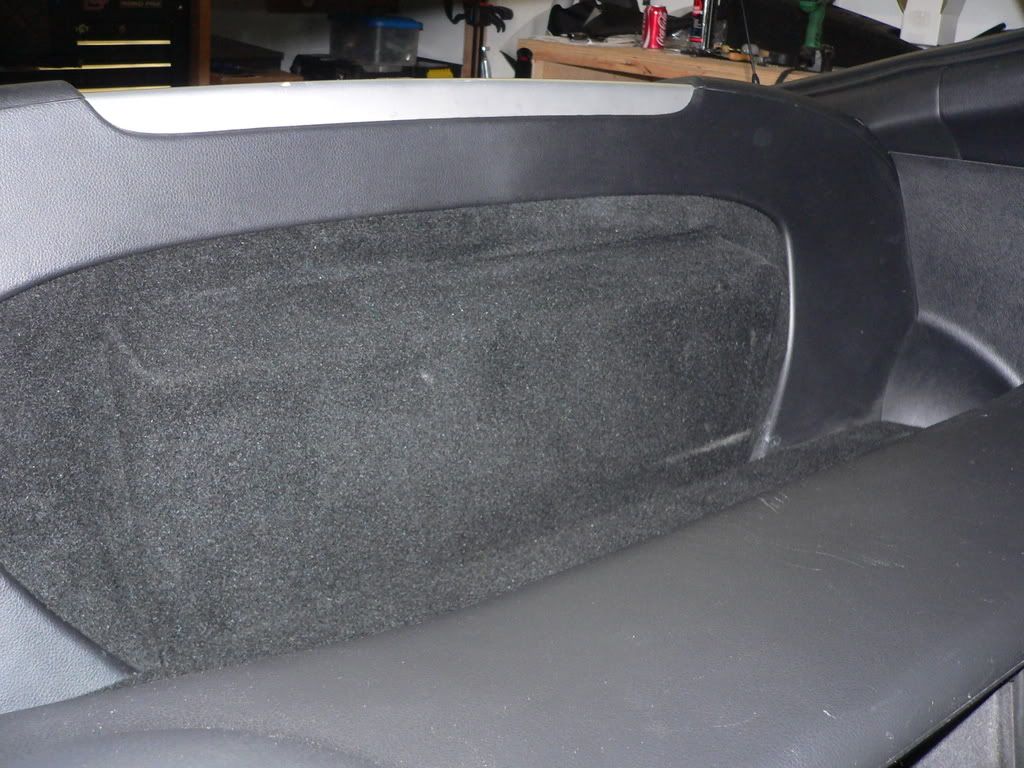
Back of the box was carpeted, trim was made to finish off around the arch and new floor panel was made to cover up the front area of the trunk floor.
It sounded very good! Tight and clean bass with plenty of warm mids and highs. The customer was very happy with his new budget custom system.
Head unit supplied: Pioneer AVIC D3
speakers: Polk Audio MM6501 components
amp1: Digital Designs C4A 4X 100 watts
amp2: Digital Designs M1A 1X 1350 watts
subs: 2X DD 2510 DVC4
Sound deadening: Hushmat and Fatmat
Wire: Streetwires 1/0 guage power wire, Streetwires ANL 300 amp fuse holder at battery, EFX RCAs. Streetwires 14 ga speaker wire through the doors.
Other: Tinted Lexan, high grade carpet, whisper black vinyl
I started off my using plenty of Fatmat for the trunk and trunk floor. The product does NOT stick very well and I had to use a heat gun to apply it. It is tar based but I wanted to try it out. In this case it worked well but I will not be using it again:
I used hushmat for the hatch area and doors. Hushmat is 100X better for adhesion, low odour and its much more maleable:
Because of his budget I wanted to use the stock sail panels for the tweets and EQ them afterwards. I wasn't happy with how the tweeter cups looked:
So I decided to spend more time on flushing the tweeter cups into the sail panels:
I used Icing (which is like a much finer body filler), sanded down to 400 grit and used primer filler to smooth it all out:
Pretty happy with how they turned out:
Tweeters were angled properly afterwards (anybody know what kind of car in the background?)
Now onto the box. It was made to be sealed and shared for two DD 2510's. Volume was about .8 cubes per sub:
A little sexy vinyl as a front plate:
Top panel to finish it off
Subs mounted with vinyl insert
Sub area completed. Simple amp rack fabricated out of 1/2" MDF. Wires run through the floor and grommets used to finish it off. Raised 2 1/4" off the floor:
Amp rack panel cut out and rounded off where the plexi goes:
finished product:
Back of the box was carpeted, trim was made to finish off around the arch and new floor panel was made to cover up the front area of the trunk floor.
It sounded very good! Tight and clean bass with plenty of warm mids and highs. The customer was very happy with his new budget custom system.

Thread Starter
Registered User
iTrader: (4)
Joined: Jul 2004
Posts: 515
Likes: 0
From: Vancouver, BC
The amp rack is bolted to the floor so its not going anywhere. Also, the enclosure is bolted at the front and rear to make it all secure. The top panel front and rear are pressure fitted and the sub face panel has hidden tabs that secure it.

Trending Topics

I actually thought this was one of the more "thought-out" builds I have seen.
I like the remaining space/design. Craftsmanship seemed acceptable too.
If the system sounds good, does not vibrate the car to pieces, and holds
up better than stock - good value.
I like the remaining space/design. Craftsmanship seemed acceptable too.
If the system sounds good, does not vibrate the car to pieces, and holds
up better than stock - good value.

If that was including the cost of equipment along with installation and materials, I'd say that was a pretty good deal. The sound deadening alone isn't cheap.


Thread Starter
Registered User
iTrader: (4)
Joined: Jul 2004
Posts: 515
Likes: 0
From: Vancouver, BC


Everything looks good but for 4grand, I would be tripping for using fatmat. Raamat at the least IMO, I love the hushmat stuff. Should of set him up an active setup with better fronts.

hard to do when a customer gives you a max budget and wants all high end in the bass department


i am guess the dig amps run cool. do they not need more air flow. they wont overheat with the plexi over them. would a reg amp overheat?
I used 100 sq feet of fatmat in my Z, it stuck fine, and took forever to install lol
I used 100 sq feet of fatmat in my Z, it stuck fine, and took forever to install lol
Thread Starter
Registered User
iTrader: (4)
Joined: Jul 2004
Posts: 515
Likes: 0
From: Vancouver, BC
As for Fatmat, I will never buy it again. Once you go with a proper sound deadener that is poly-butyl based, its hard to use anything else!

Registered User
Joined: Jan 2007
Posts: 867
Likes: 1
From: Fort Irwin
How much would you say the installation piece was alone? Just the install portion minus all the equipment. I had a guy quote me 5,000 dollars just to install all my equipment in the Z. Totally ridiculous, but I didi find someone else to do it waaaaayyyy cheaper, and I had the entire car deadened with Damplifier pro and that liquid stuff you put on top of that.
Last edited by 350Zrida; Feb 28, 2009 at 06:40 PM. Reason: added photos

