
Stopping rear view mirror rattles


If you have an aftermarket audio system, them you most likely know that the homelink mirror rattles. It took me a bit of trial and error, but I have found 2 problem spots, maybe 3 that I will address here.
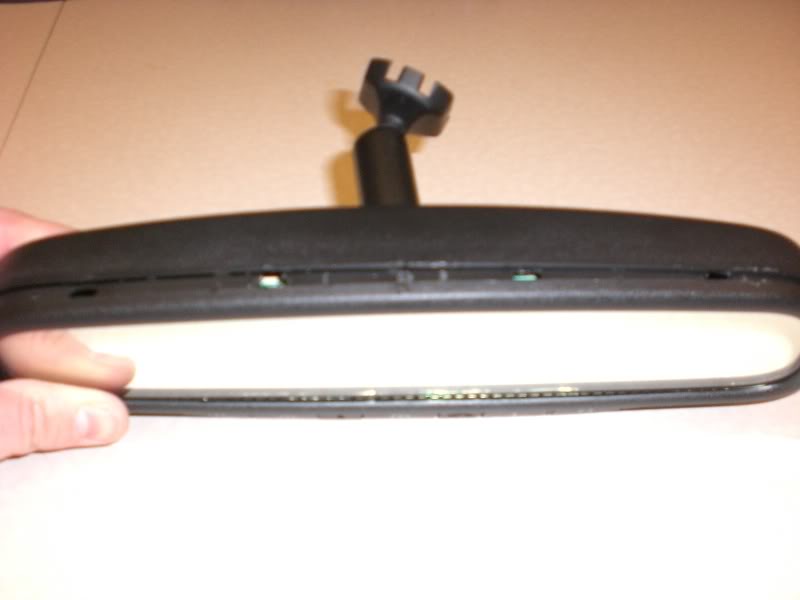
1st is the wire cover. I found that it not only vibrates against the glass, but also the 2 pieces vibrate where they overlap. My fix was 2 ***** of damping that I pulled off of the foil backing and used it as almost a glue to hold the 2 overlapping areas tight.
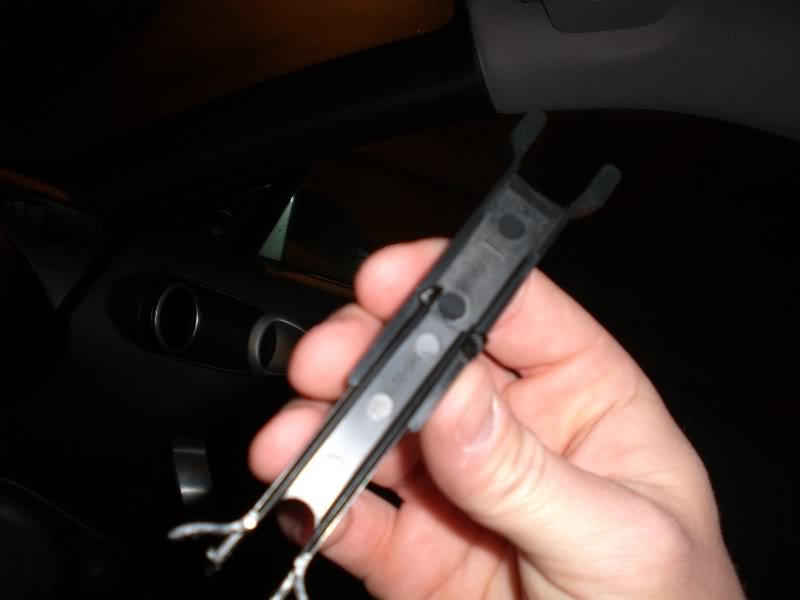
1st is the wire cover. I found that it not only vibrates against the glass, but also the 2 pieces vibrate where they overlap. My fix was 2 ***** of damping that I pulled off of the foil backing and used it as almost a glue to hold the 2 overlapping areas tight.
Then I realized that wasn't the only problem, there was also a rattle IN the mirror. So I had to crack the mirror open. After cracking it open 3 times, I got it completely rattle free. I am passing this knowledge on to you so you only need to open it up once.
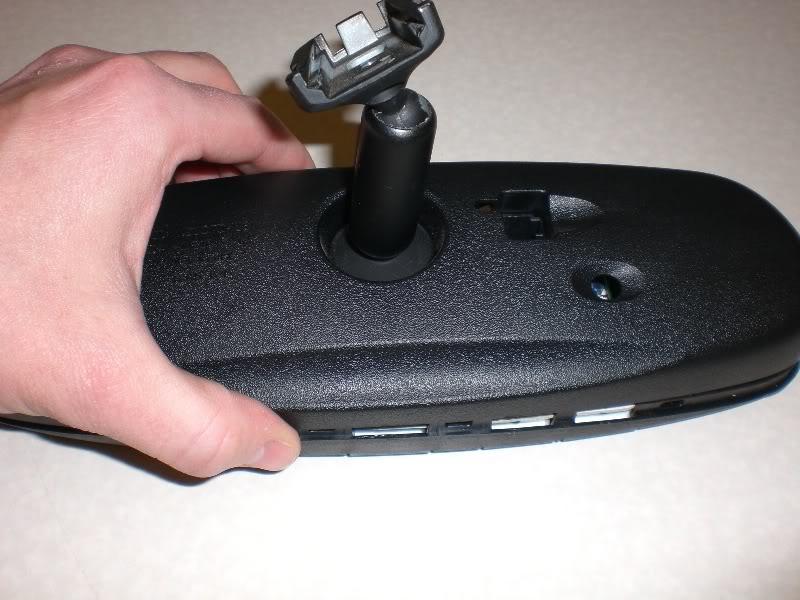
First you need to remove the mirror from the windshield
You will need a T20 torx driver to remove the set screw.
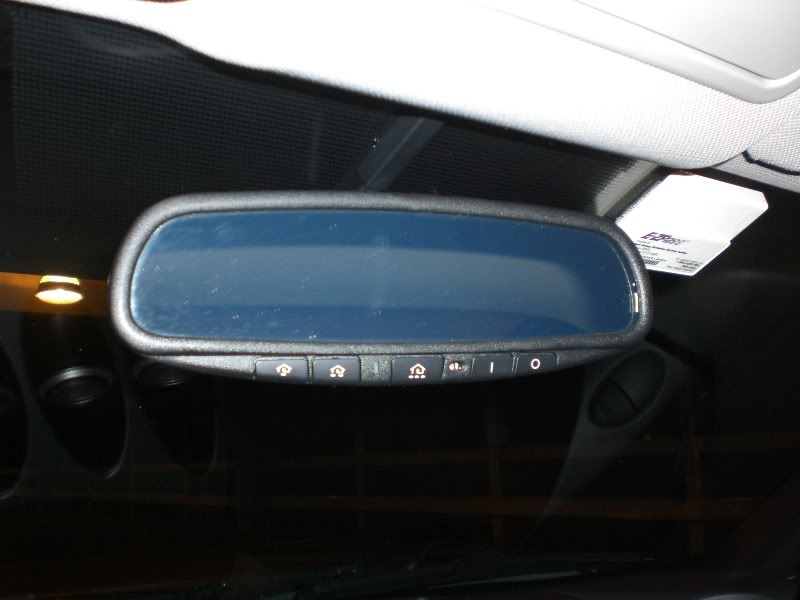
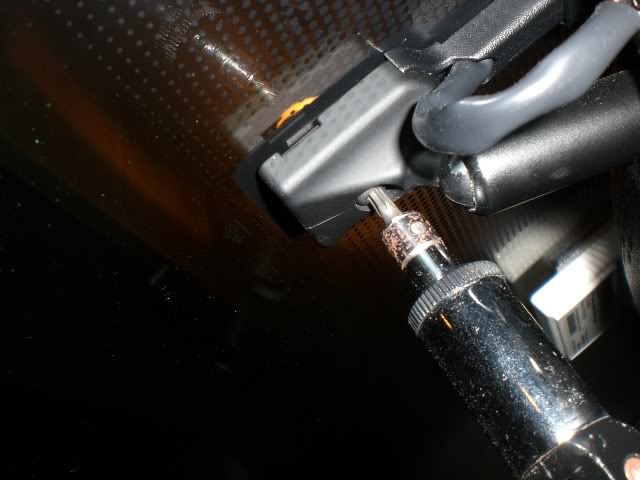
Then you need to unplug the wire harness
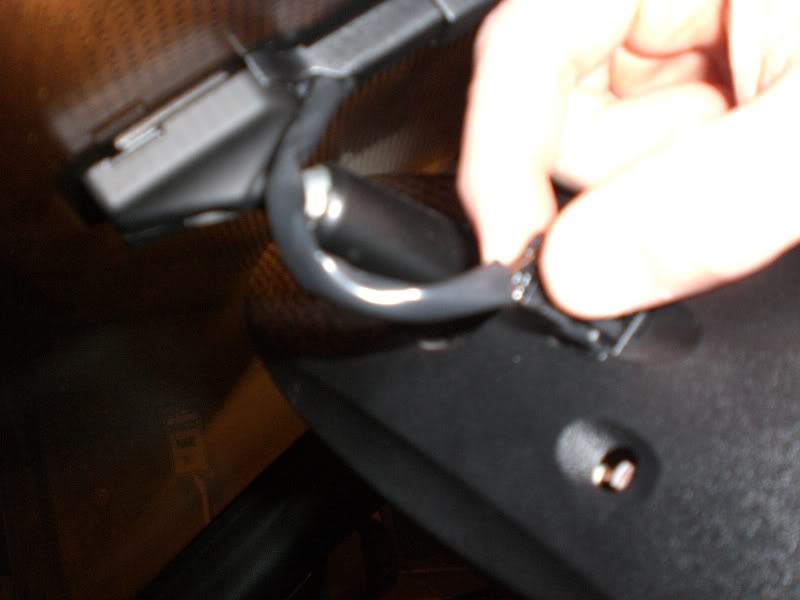
First you need to remove the mirror from the windshield
You will need a T20 torx driver to remove the set screw.
Then you need to unplug the wire harness
Now to crack the mirror open, you need patience and a very slim flat head screwdriver or putty knife. I found working on the top if the mirror is best because you most likely will scar the plastic a little bit so on the top is not visible once the mirror is reinstalled.
Work the screwdriver or putty knife along the entire length of the top seam, you will see by this pic that there are 4 'clips' to unlatch.
Be very patient and keep working around the entire mirror and eventually you will have it all unclipped and you can remove the front bezel, mirror, and circuit board from the rear housing.
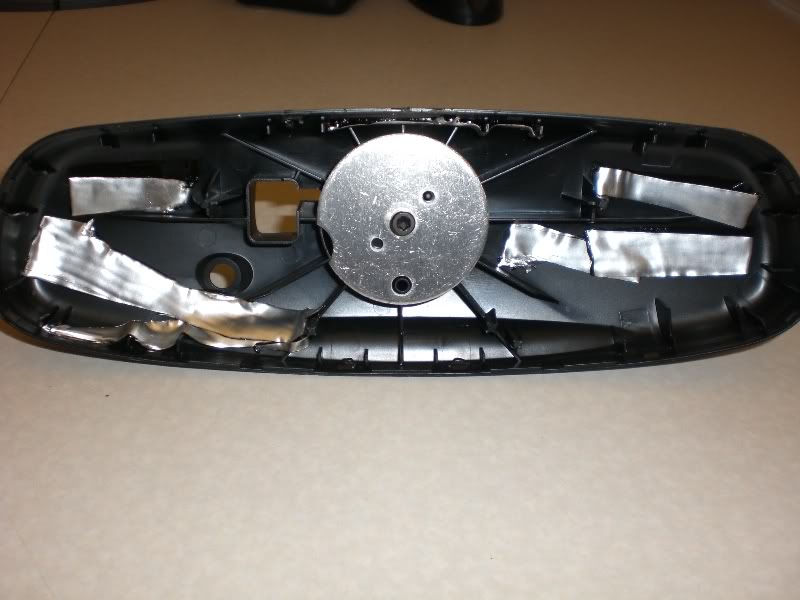
Here is the rear housing (with a little damping in it from my first attempt to hush the rattles - failed) you do NOT need to damp this housing, it is NOT a cause of the rattles.
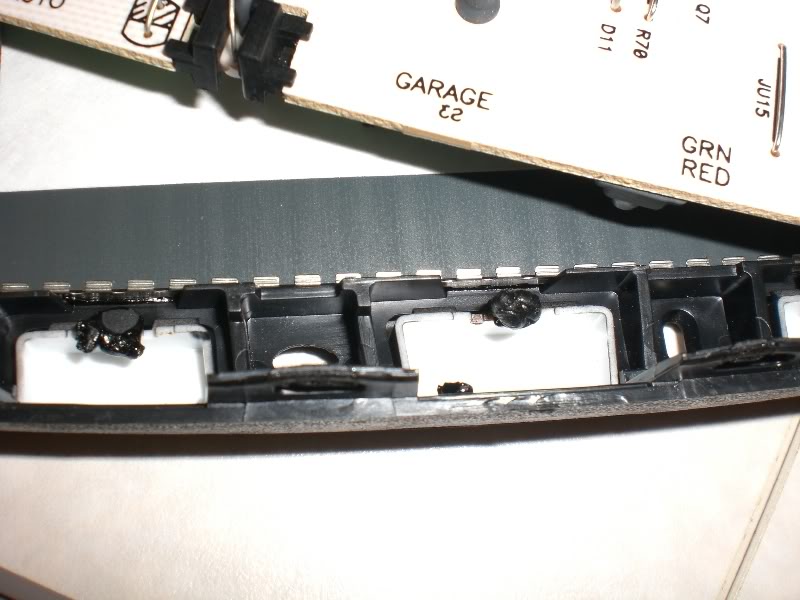
Here is the back side of the front bezel with mirror and circuit board
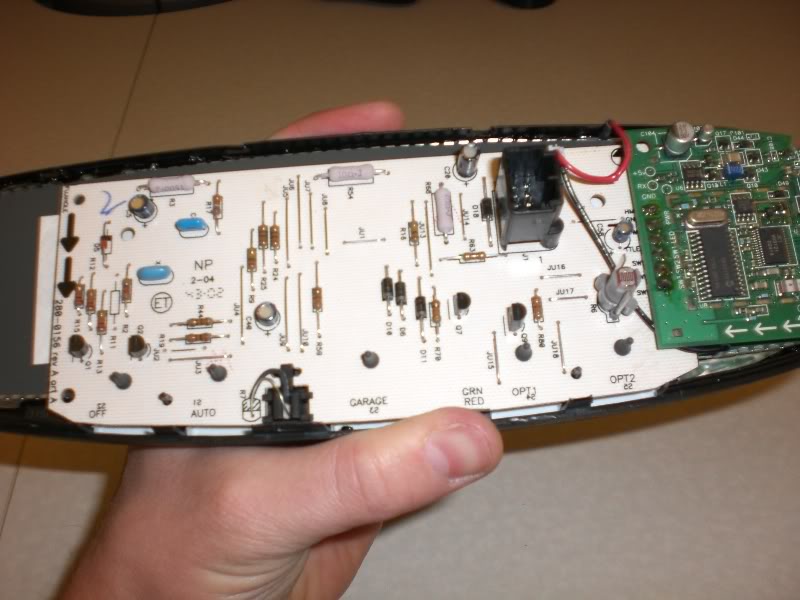
The mirror and circuit board come out of the front bezel. The first step is the keep the mirror from rattling in the bezel by putting in thin strips of damping sheets around the perimeter of the bezel. This will hod the mirror tight inside the bezel. (I can't pull mine out easily since I put damping around the perimeter of the bezel). Here you can see a little of the strips in the top left edge of the bezel:

Then, I used a pen knife to 'fillet' some damping material off of the foil backing (BE VERY CAREFUL NOT TO CUT YOURSELF!). and make 5 little ***** like this:
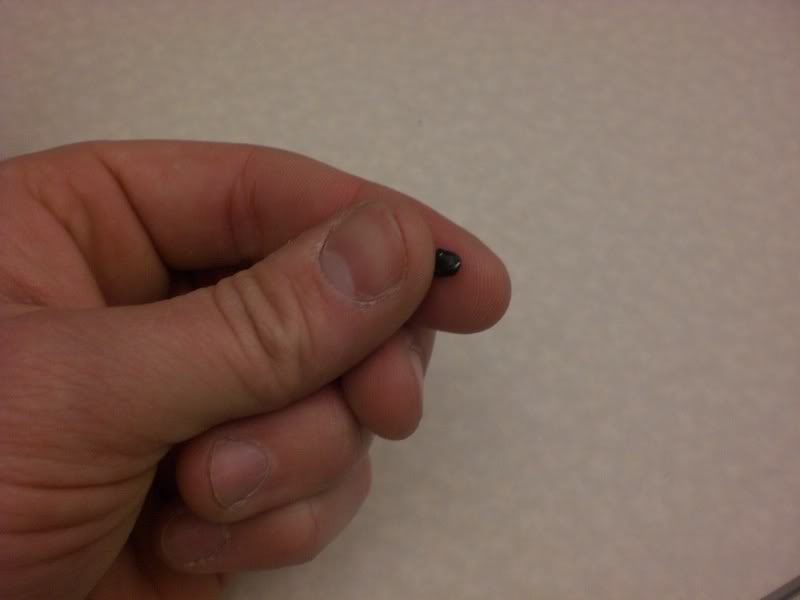
and then push these little ***** onto the backs of the buttons on the bezel as shown here:
Carefully reinstall the mirror and circuit board back into the bezel and reassemble the housing:
Then press the buttons a few times each to 'set' the damping. Reinstall the mirror in the car and enjoy a rattle free mirror when your subwoofer hits those low notes.
** I hold no responsibility if you cut yourself, damage the mirror, or anything else in this process.
Work the screwdriver or putty knife along the entire length of the top seam, you will see by this pic that there are 4 'clips' to unlatch.
Be very patient and keep working around the entire mirror and eventually you will have it all unclipped and you can remove the front bezel, mirror, and circuit board from the rear housing.
Here is the rear housing (with a little damping in it from my first attempt to hush the rattles - failed) you do NOT need to damp this housing, it is NOT a cause of the rattles.
Here is the back side of the front bezel with mirror and circuit board
The mirror and circuit board come out of the front bezel. The first step is the keep the mirror from rattling in the bezel by putting in thin strips of damping sheets around the perimeter of the bezel. This will hod the mirror tight inside the bezel. (I can't pull mine out easily since I put damping around the perimeter of the bezel). Here you can see a little of the strips in the top left edge of the bezel:
Then, I used a pen knife to 'fillet' some damping material off of the foil backing (BE VERY CAREFUL NOT TO CUT YOURSELF!). and make 5 little ***** like this:
and then push these little ***** onto the backs of the buttons on the bezel as shown here:
Carefully reinstall the mirror and circuit board back into the bezel and reassemble the housing:
Then press the buttons a few times each to 'set' the damping. Reinstall the mirror in the car and enjoy a rattle free mirror when your subwoofer hits those low notes.
** I hold no responsibility if you cut yourself, damage the mirror, or anything else in this process.
Last edited by StreetOC192; Jan 18, 2008 at 04:48 AM.

StreetOC192
i'm the OP from the original thread that asked this question. i did this fix this weekend, worked out great! no more rattling, i'm not used to it!!!
anyway, i did two things different:
i know you say to start cracking it open from the top to prevent visible scarring of the plastic, but even with the slimmest flat-head screwdriver i had, it was a pain in the ***. I started from the bottom, and it became uclipped instantly. then i worked around the edges with little effort and the rest came out.
also, istead of dynamat *****, i just used black silicone. it was a lot easier to use and play with.
but yeah dude, couldnt have done it with out your instructions. thanks man!!
Trending Topics
Originally Posted by playa6tnine
StreetOC192
i'm the OP from the original thread that asked this question. i did this fix this weekend, worked out great! no more rattling, i'm not used to it!!!
anyway, i did two things different:
i know you say to start cracking it open from the top to prevent visible scarring of the plastic, but even with the slimmest flat-head screwdriver i had, it was a pain in the ***. I started from the bottom, and it became uclipped instantly. then i worked around the edges with little effort and the rest came out.
also, istead of dynamat *****, i just used black silicone. it was a lot easier to use and play with.
but yeah dude, couldnt have done it with out your instructions. thanks man!!
i'm the OP from the original thread that asked this question. i did this fix this weekend, worked out great! no more rattling, i'm not used to it!!!
anyway, i did two things different:
i know you say to start cracking it open from the top to prevent visible scarring of the plastic, but even with the slimmest flat-head screwdriver i had, it was a pain in the ***. I started from the bottom, and it became uclipped instantly. then i worked around the edges with little effort and the rest came out.
also, istead of dynamat *****, i just used black silicone. it was a lot easier to use and play with.
but yeah dude, couldnt have done it with out your instructions. thanks man!!


Awesome! I've been curious to see what the circuitry in the mirror looked like to make it cost over $800.00... Through-hole components ftl... Very sloppy and space wasting engineering in there.
Thanks a lot though- I can't wait to do mine.
Thanks a lot though- I can't wait to do mine.

Registered User
Joined: Oct 2007
Posts: 1,695
Likes: 0
From: Boise, Idaho
Nice write up! I may have to do this. I always have to grab my mirror when its rattleing, I give it a slight squeez and it stops rattling (temporarily). I dont have a system yet though *boom ba boom* hopefully soon.

ok, good write-up, but how do you make it so when your base hits, your mirror doesn't point directly down at the ground? Do I have to glue it in one place? or is there just something that I can tighten? My base hits pretty darn hard...


Originally Posted by Sean
I think we could just delete the mirror for all the view the rear window gives us.

And to the OP, thanks for this info, I was going to try to dynomat by the end of this month.
Well I just ripe open my mirror, and I used the thick double sided tape for perimeter of the bezel , and silicone on the backs of the buttons. I'll see how it works out tomorrow, on my way to work.


