
Another Rear Wiper Removal


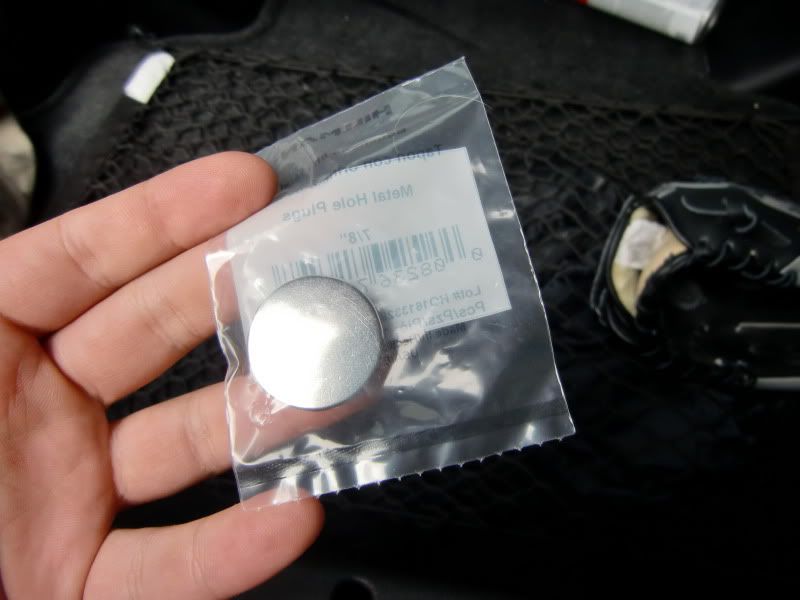
Went to Lowes and picked up a hillman 7/8 metal hole plug...
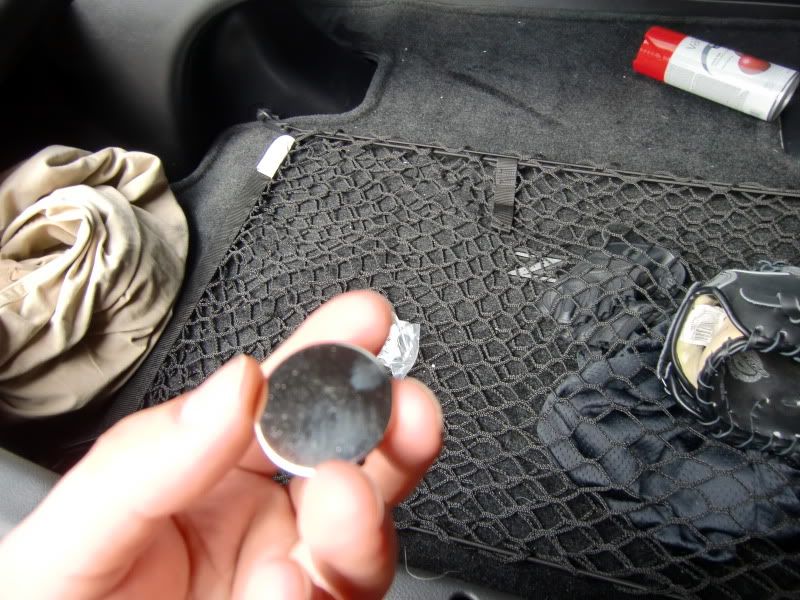
Keep in mind that while it sits flush, you will need something to keep it in place...
I decided not to paint it, because I might either get the hole filled, or get another one in the future... either way it looks fine to me right now...
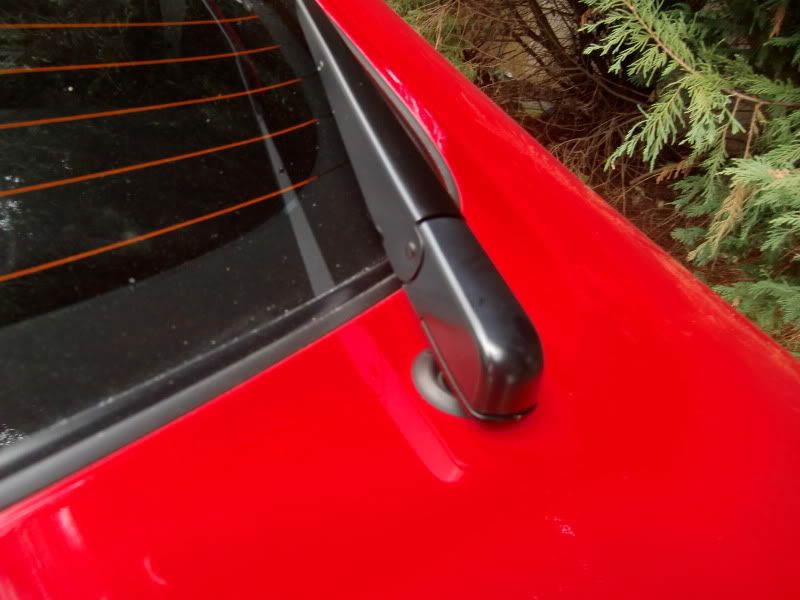
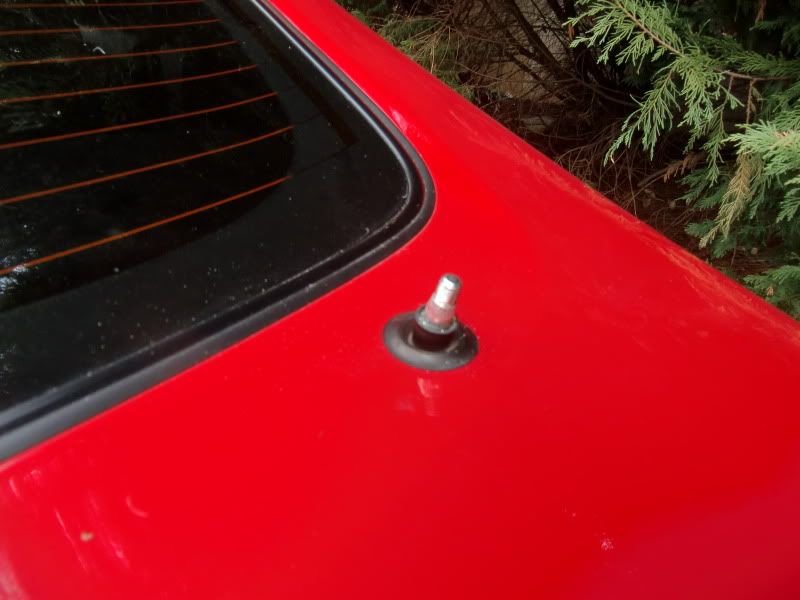
Here is the car with the wiper on...

Here is the hillman metal hole plug, located in the hardware department of Lowes....
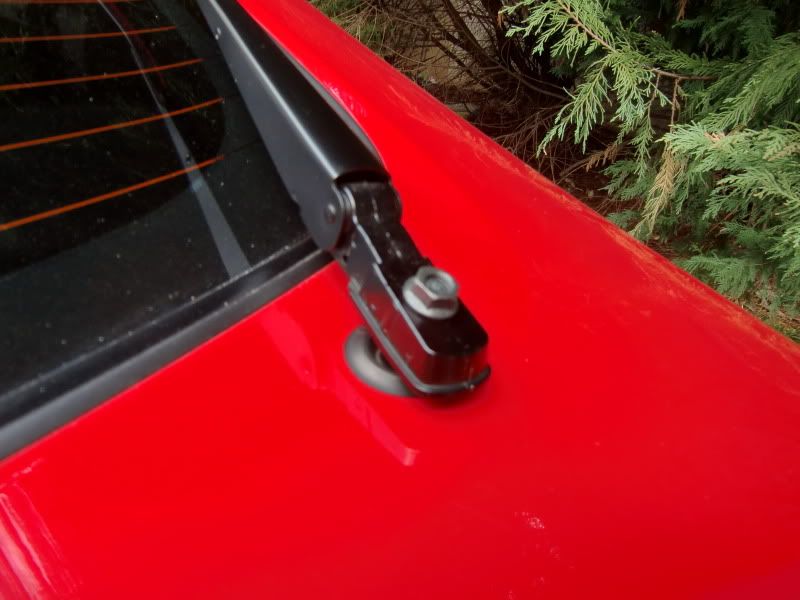
You're going to want to twist off the plastic cover off the wiper... Just gently pull it back and forth..
Now youre going to need to get a 12mm socket wrench and twist the bolt off.. after its off gently rotate the wiper counter clockwise, while pulling up on it gently..... It should take about 4 full rotations for it to come off...
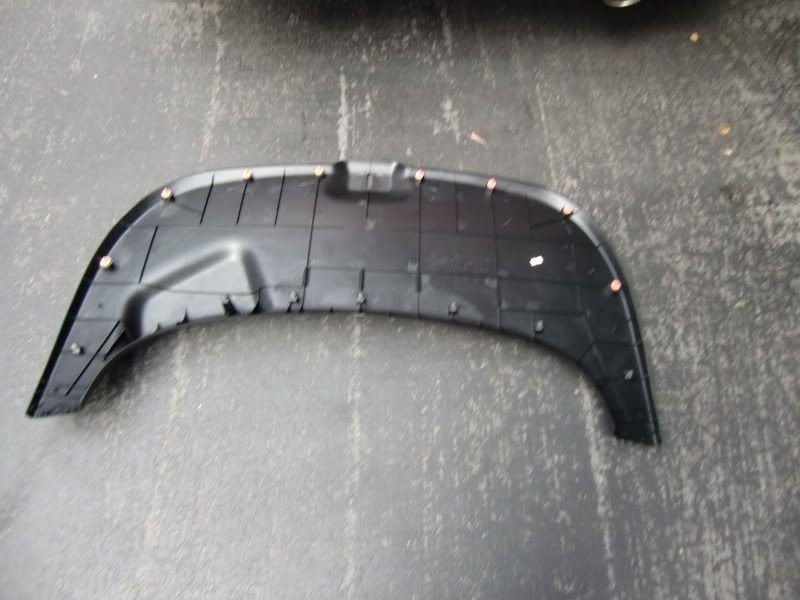
Now you're going to need to open the hatch and pull of the black plastic piece on the edge of it.. just grip the edge and give it a firm tug, aplly the same pressure all the way around and it should come off..
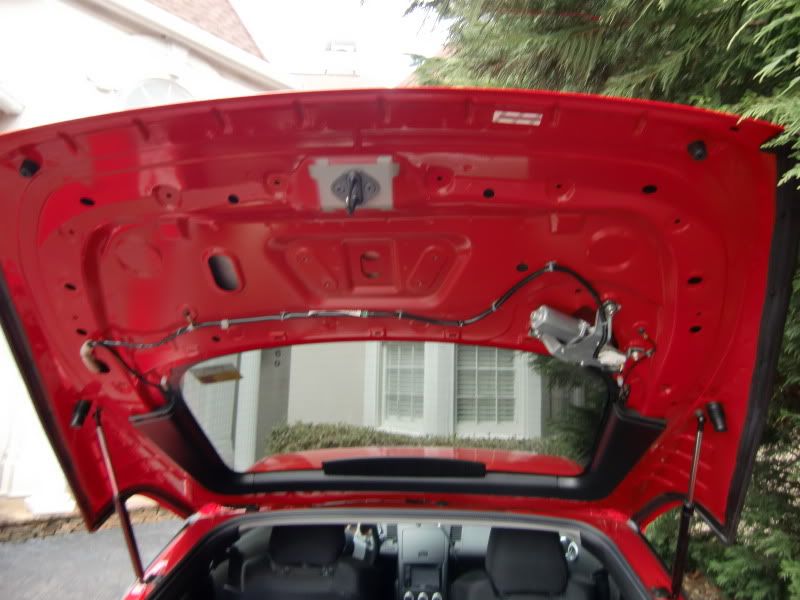
Now we get to take off the motor...
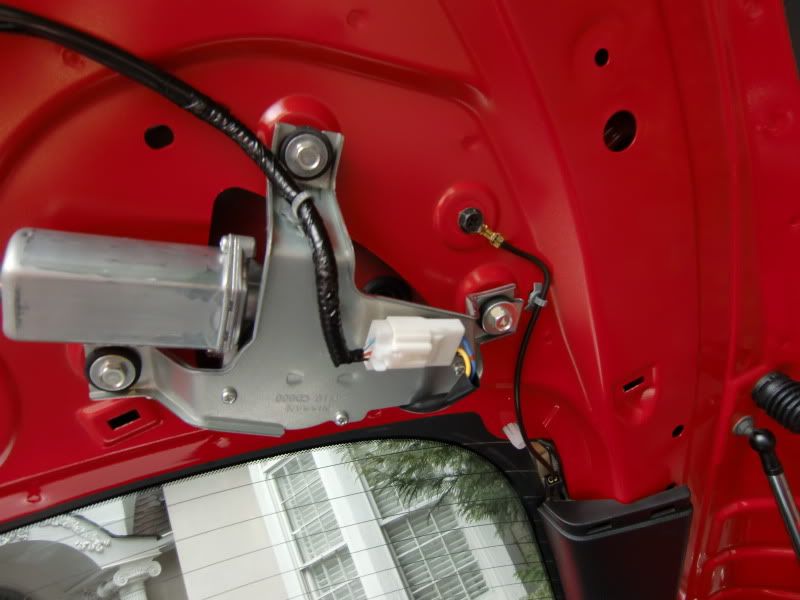
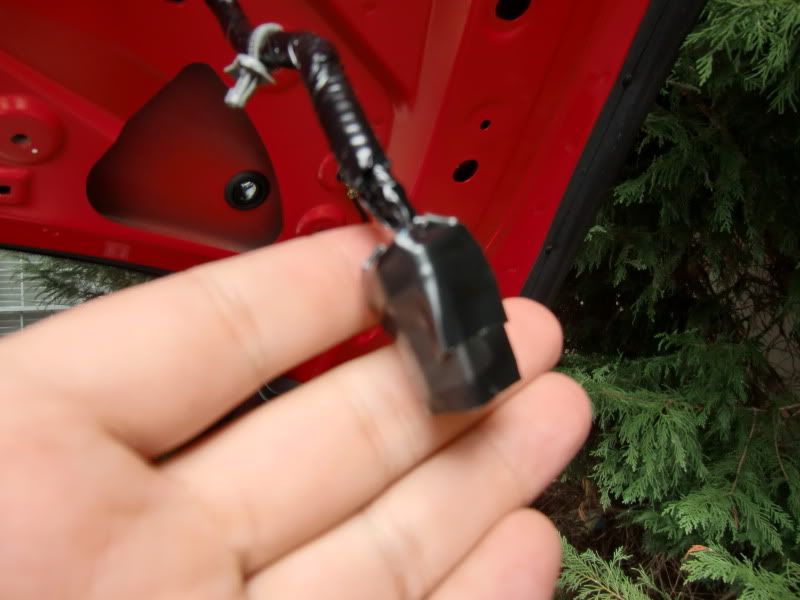
Use a 10mm socket wrench to get the 3 bolts off, and detach the 2 retaining clips from the harness...
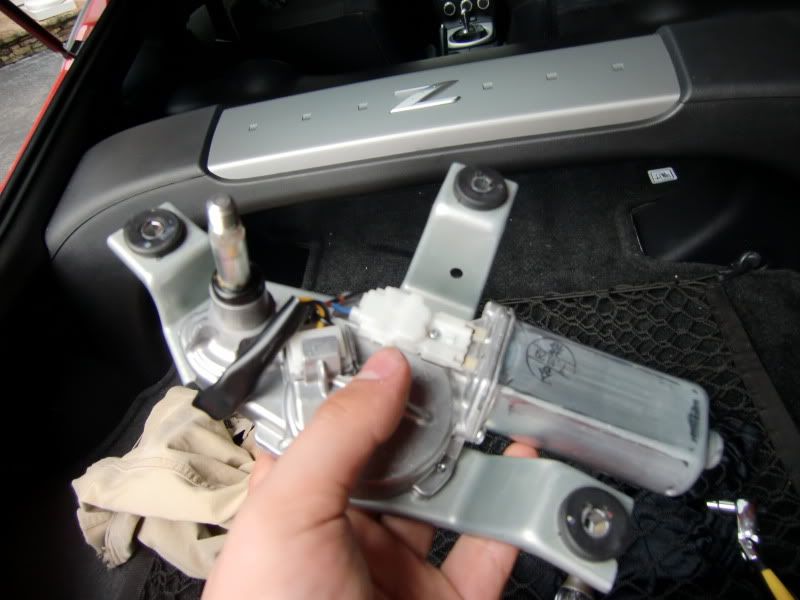
I wrapped the end of it in electrical tape to prevent rattles....
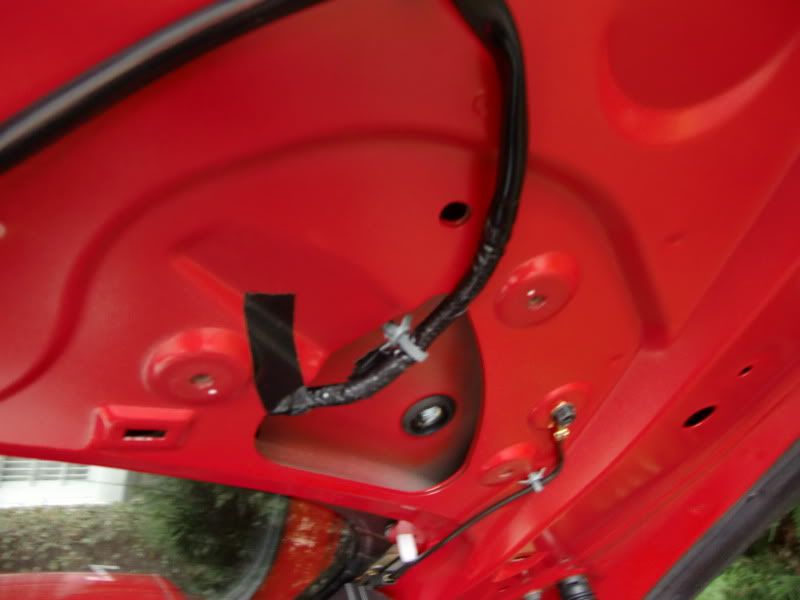
Now I did some ghetto work and just used electrical tape to tape it to the body.... couldnt find an anchor...
After you remove the grommit here is the hole...
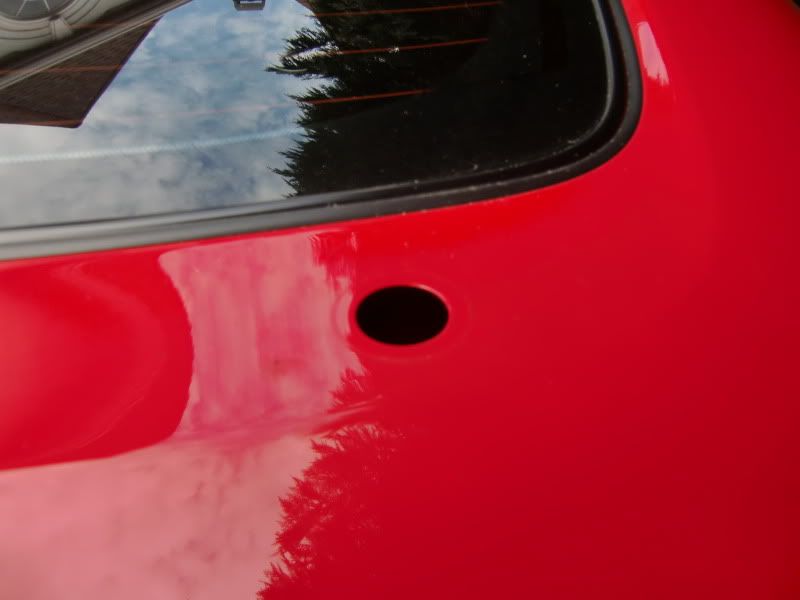
I used some sealant inside and around the hole before putting it in.... this is the only way it will hold in my cxase, and prevent water from seeping in....

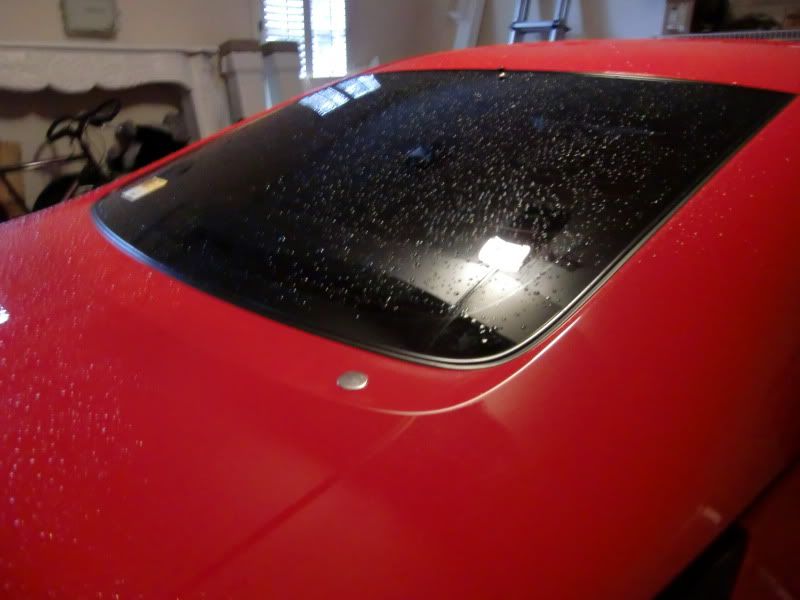
Final result! Tell me what you think!
Keep in mind that while it sits flush, you will need something to keep it in place...
I decided not to paint it, because I might either get the hole filled, or get another one in the future... either way it looks fine to me right now...
Here is the car with the wiper on...
Here is the hillman metal hole plug, located in the hardware department of Lowes....
You're going to want to twist off the plastic cover off the wiper... Just gently pull it back and forth..
Now youre going to need to get a 12mm socket wrench and twist the bolt off.. after its off gently rotate the wiper counter clockwise, while pulling up on it gently..... It should take about 4 full rotations for it to come off...
Now you're going to need to open the hatch and pull of the black plastic piece on the edge of it.. just grip the edge and give it a firm tug, aplly the same pressure all the way around and it should come off..
Now we get to take off the motor...
Use a 10mm socket wrench to get the 3 bolts off, and detach the 2 retaining clips from the harness...
I wrapped the end of it in electrical tape to prevent rattles....
Now I did some ghetto work and just used electrical tape to tape it to the body.... couldnt find an anchor...
After you remove the grommit here is the hole...
I used some sealant inside and around the hole before putting it in.... this is the only way it will hold in my cxase, and prevent water from seeping in....
Final result! Tell me what you think!
Last edited by grizz311; Mar 10, 2010 at 08:50 AM.


good job........
ya, i agree, the hilman 7/8 plug is small for the hole AT ITS BASE..
i mic'd the hole to be at about .965 or something like that....so the 1 inch is just a wee bit to big...
you can take a dremel to the hole and rotary file it with a dremel to get the one inch size and a hilman 1 inch will work with a tighter fit.
but like i said its not needed...
-J
you should be fine, but i think its still something you should "keep an eye on" if you know what i mean...
ya never know with sealant......
my recommendation on a sealant to use would be RTV or a silicone with a high temp rating.....Not sure how hot it gets in Georgia in the summer but in TX a car left in the sun will get hot on the hatch sheet metal..........
you dont want a sealant that will turn brittle and crack against the beating sun and then cause a leak....see what im say'n...
-J


I like the flushness, but not digging the sealant approach. Unless you have some really strong sealant or a clamp force keeping the plug in place, it'll eventually pop out from day to day vibrations and bumps. Most of the sealants I'd consider using also ruins paint. This was my reasoning behind going with the drain plug vs the cap.

Trending Topics


1. put sealant around the circumference of the whole
2. put sealant around the retainers on the plug before bending them.
3. put the plug in gently.
4. bend the retainers to grip the underside
5. cover the entire area with sealant.
It has been raining here for the past 3 days straight, and no leaks whatsoever...
The sealant has dried up and appears to be pretty firm.

Registered User
Joined: Jun 2008
Posts: 222
Likes: 0
From: Toronto
hope this saves some time and money and you can have them painted to your colour
http://www.suddenvalleysupply.com/go...20Products.htm
http://www.suddenvalleysupply.com/go...20Products.htm

Registered User
Joined: Sep 2009
Posts: 109
Likes: 1
From: Lansing
hope this saves some time and money and you can have them painted to your colour
http://www.suddenvalleysupply.com/go...20Products.htm
http://www.suddenvalleysupply.com/go...20Products.htm


Thread
Thread Starter
Forum
Replies
Last Post
Lt_Ballzacki
Brakes & Suspension
39
Aug 6, 2021 06:19 AM