
Rear fluid nozzle removal


Thread Starter
Registered User
Joined: Dec 2009
Posts: 38
Likes: 0
From: Florida
Here is the DIY rear fluid nozzle removal guide,this is my first DIY so I hope it will be informal. This is very easy.
What you need:
Needle Nose Pliers
Dremel (or other sanding device)
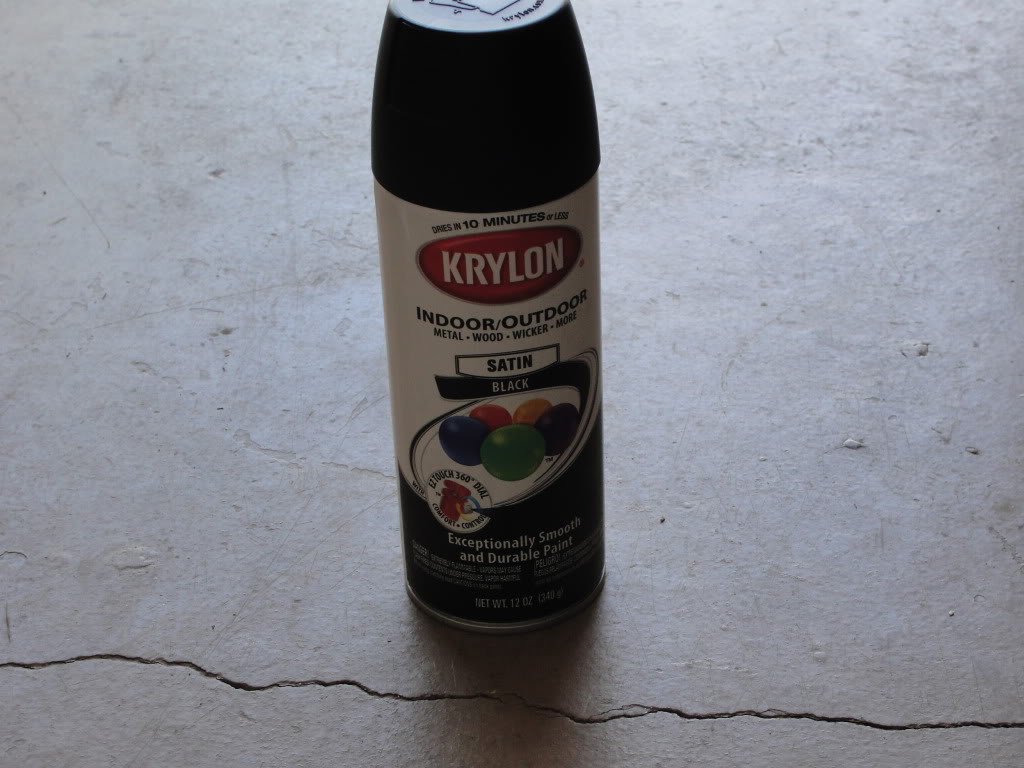
Krylon Stain Black Paint
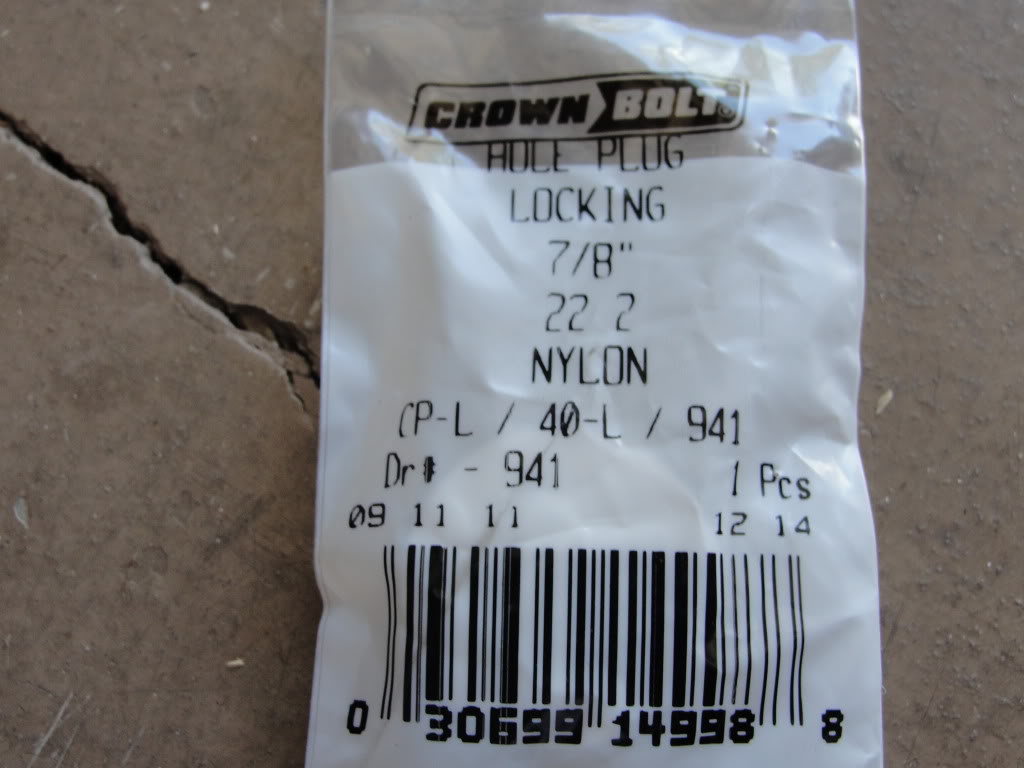
Crown Bolt 7/8 Locking Hole Plug
Thread Seal Tape (optional)
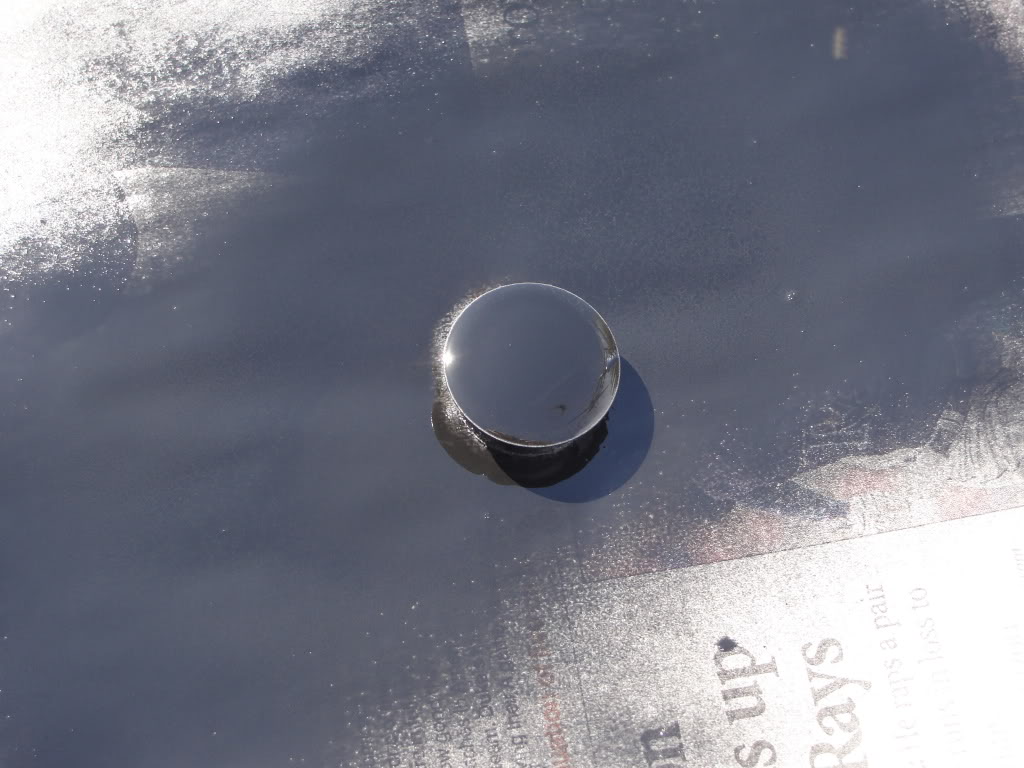
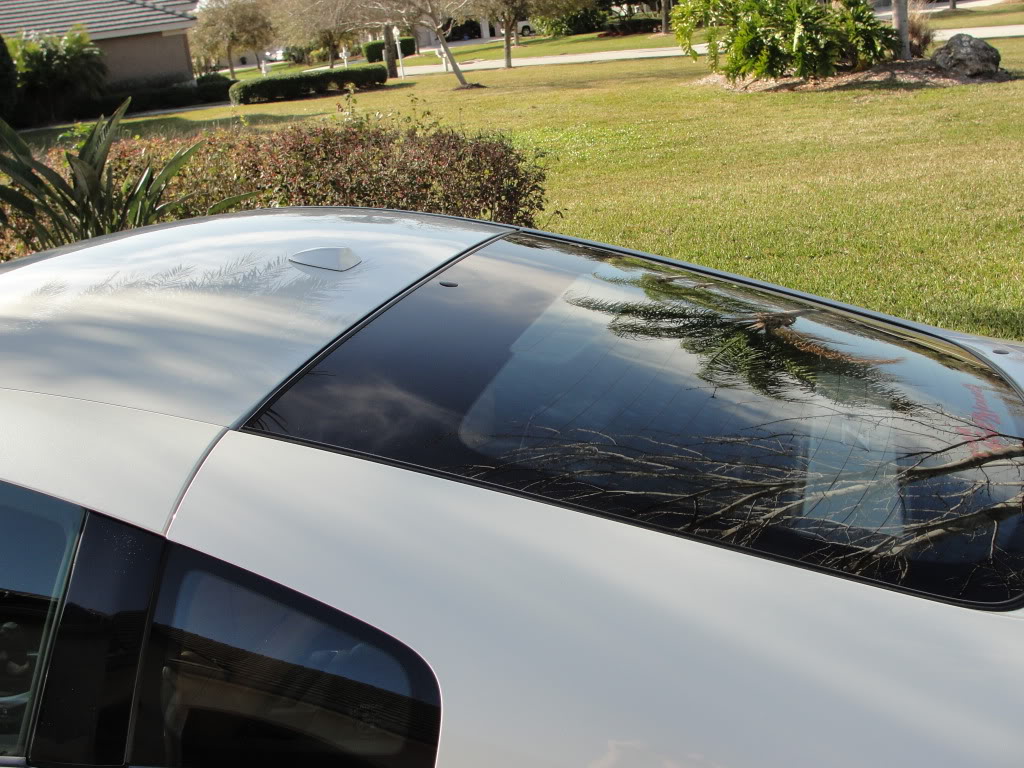
1. Towards the back of the hatch you should see a rubber tube connected to the bottom of the nozzle, simply pull it off and cap it off with a bolt (that's what I did).
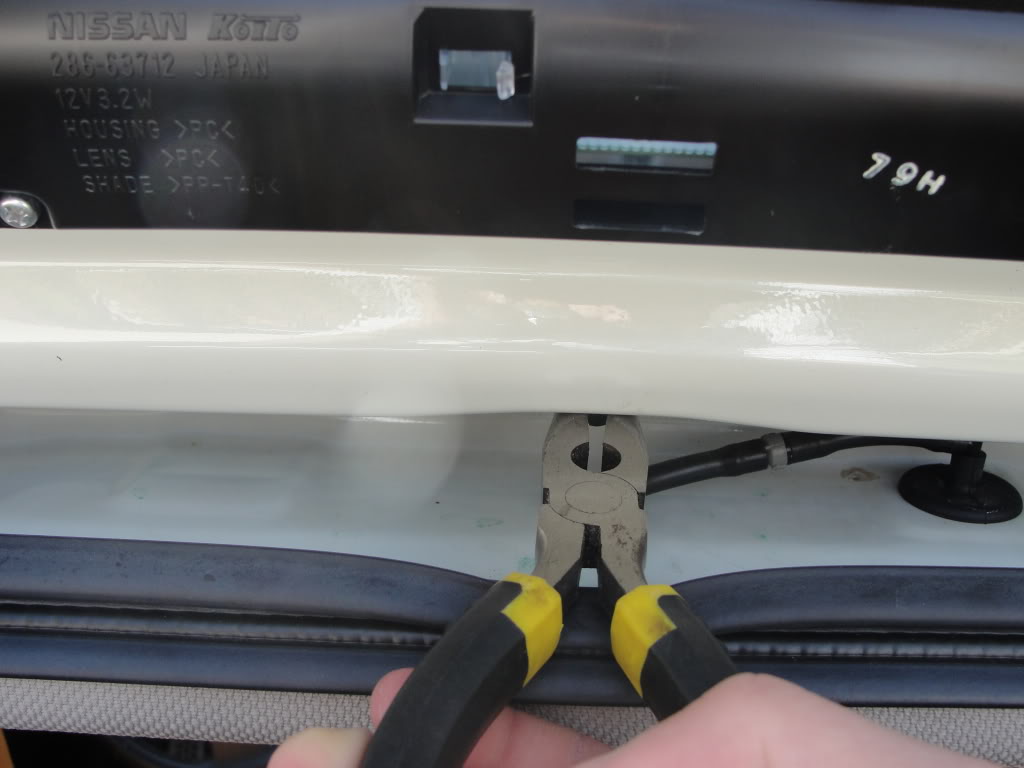
2. Now take the needle nose pliers and grab each side of the nozzle and gently push upwards. Then simply lower the hatch and pull it out from the out side. (Sorry I couldn't get a good picture of this step)
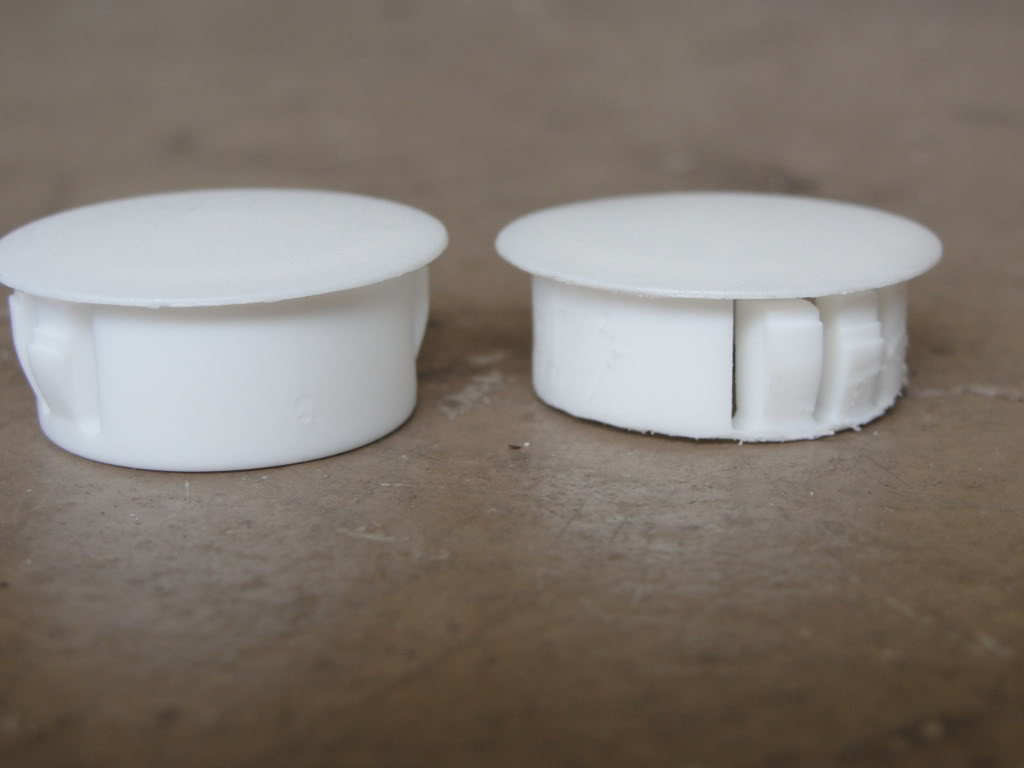
3. The hole plug fits perfectly diameter wise, length wise it is too long, that where a Dermel comes in handy. Just shave some plastic off the bottom of the plug. CAUTION: Take your time with this step, and keep going back to the car to check on the length.
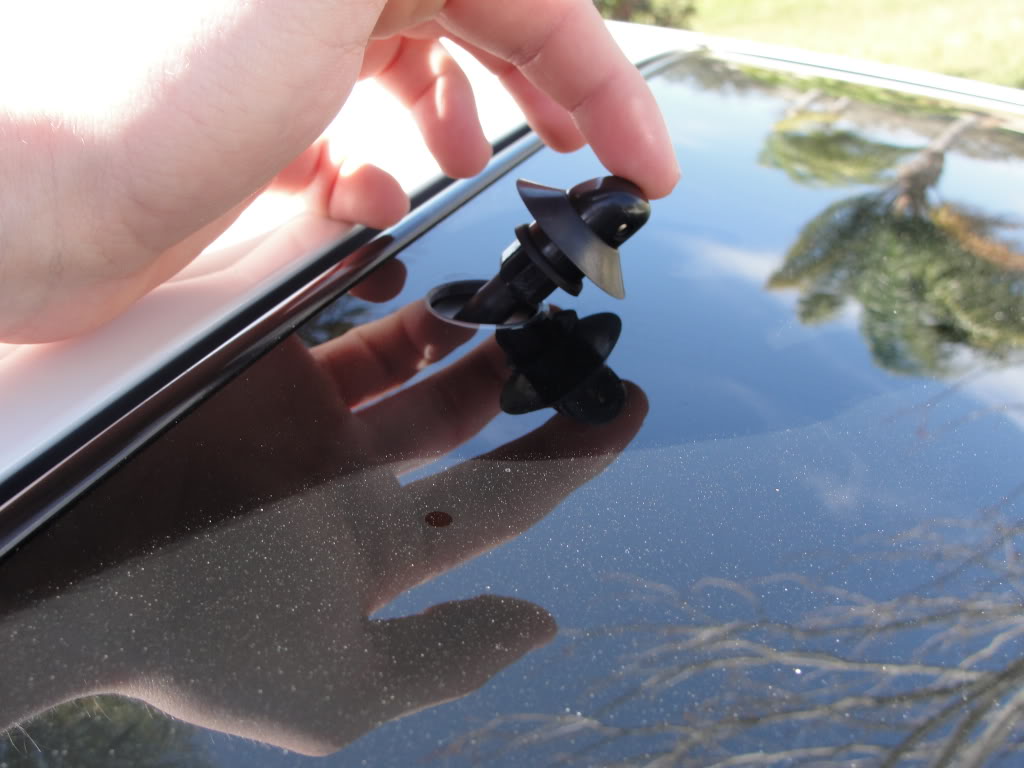
Original length versus new length:
4. Paint the plug, the paint can may say it only take 10min to dry, but give it at least 30min to an 1h.
5. (optional) wrap the sides of the plug with thread seal tape for waterproofing.
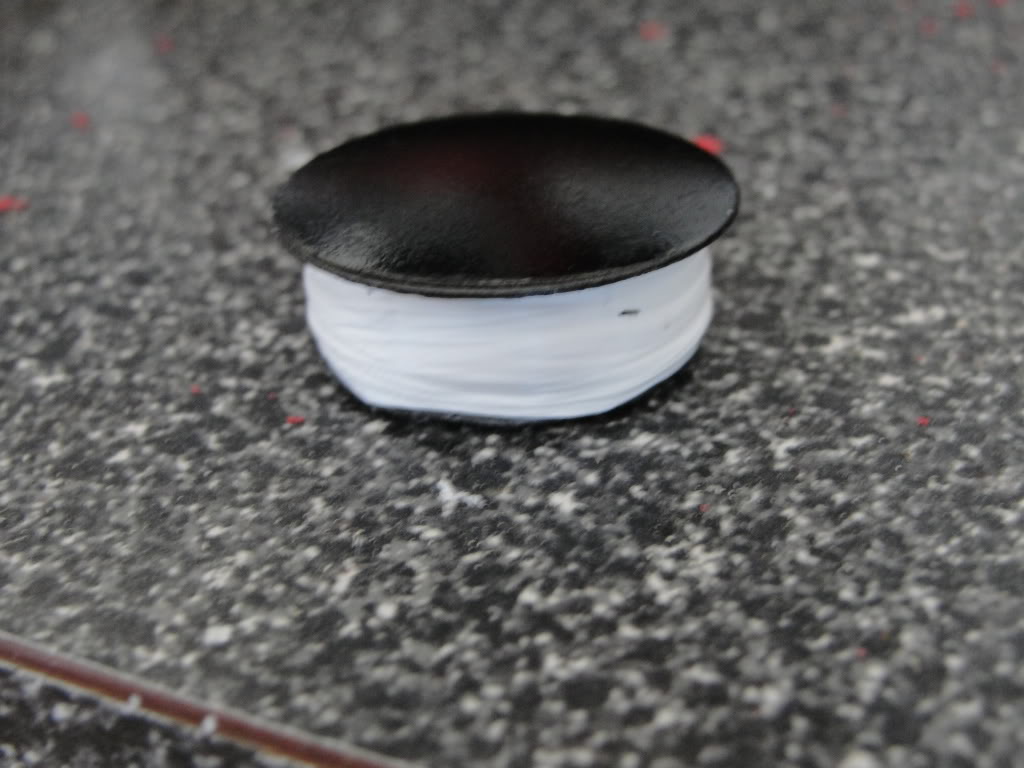
6. Plug the hole, and your done!
Hopefully this helps everybody!
-Shawn
What you need:
Needle Nose Pliers
Dremel (or other sanding device)
Krylon Stain Black Paint
Crown Bolt 7/8 Locking Hole Plug
Thread Seal Tape (optional)
1. Towards the back of the hatch you should see a rubber tube connected to the bottom of the nozzle, simply pull it off and cap it off with a bolt (that's what I did).
2. Now take the needle nose pliers and grab each side of the nozzle and gently push upwards. Then simply lower the hatch and pull it out from the out side. (Sorry I couldn't get a good picture of this step)
3. The hole plug fits perfectly diameter wise, length wise it is too long, that where a Dermel comes in handy. Just shave some plastic off the bottom of the plug. CAUTION: Take your time with this step, and keep going back to the car to check on the length.
Original length versus new length:
4. Paint the plug, the paint can may say it only take 10min to dry, but give it at least 30min to an 1h.
5. (optional) wrap the sides of the plug with thread seal tape for waterproofing.
6. Plug the hole, and your done!
Hopefully this helps everybody!
-Shawn


2. Now take the needle nose pliers and grab each side of the nozzle and gently push upwards. Then simply lower the hatch and pull it out from the out side. (Sorry I couldn't get a good picture of this step)
Is there no latches holding it in? Just a snug fit? and so getting it started out the hole is all you need to then be able to grab it from the outside and pull it out?
Is there no latches holding it in? Just a snug fit? and so getting it started out the hole is all you need to then be able to grab it from the outside and pull it out?

Trending Topics


What happens if you accidentally pull the lever that actuates the pump to send washer fluid back there? I understand the end of the hose is plugged, but it seems that this would "dead-head" that pump. Possibly there is a fuse dedicated to this pump....anyone happen to know which one it is?
What happens if you accidentally pull the lever that actuates the pump to send washer fluid back there? I understand the end of the hose is plugged, but it seems that this would "dead-head" that pump. Possibly there is a fuse dedicated to this pump....anyone happen to know which one it is?
Anyone? I guess the fluid would be outside of the weather seal and just run down and out the back?

Joined: Jan 2009
Posts: 7,287
Likes: 189
From: Eastern NC

Thread
Thread Starter
Forum
Replies
Last Post
Lt_Ballzacki
Brakes & Suspension
39
Aug 6, 2021 06:19 AM