
DIY with pics: LED Center Map + Trunk Lights Luxeon Stars :)


DIY with pics: LED Center Map + Trunk Lights Luxeon Stars 
Hi Guys, im relatively new to my350z but ive doing lights for ages, hid retros and of course LED work including interior lights.
I know a lot of people think its awesome to go on ebay and get some cheap leds that last a day for 99cents and say they Leded their interior but this guide is about real LED lighting that really lights up your interior
This DIY will show you how this was made, it took me about 2 hours in total to complete the map lights and the trunk light.
Please note this is for the 350z map lights, the G35 interior lights can be modified in a similar fashion but with slightly differently arranged parts due to the sunroof switches being in the way.
Usual disclaimer: I am not responsible for what you do to your vehicle. This is just a guide, be careful with all hot irons and your vehicle. Insulate all wires and thoroughly test your circuits on a bench before installing them in your car to ensure they do not burn up your vehicle.
The parts you will require
Map lights
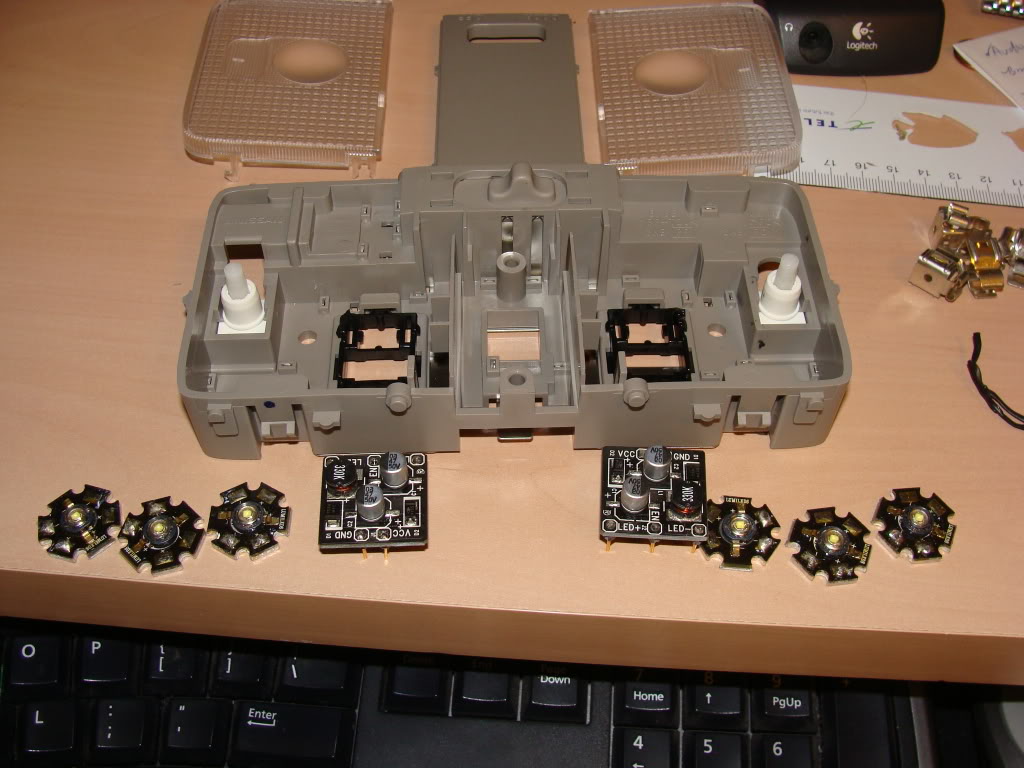
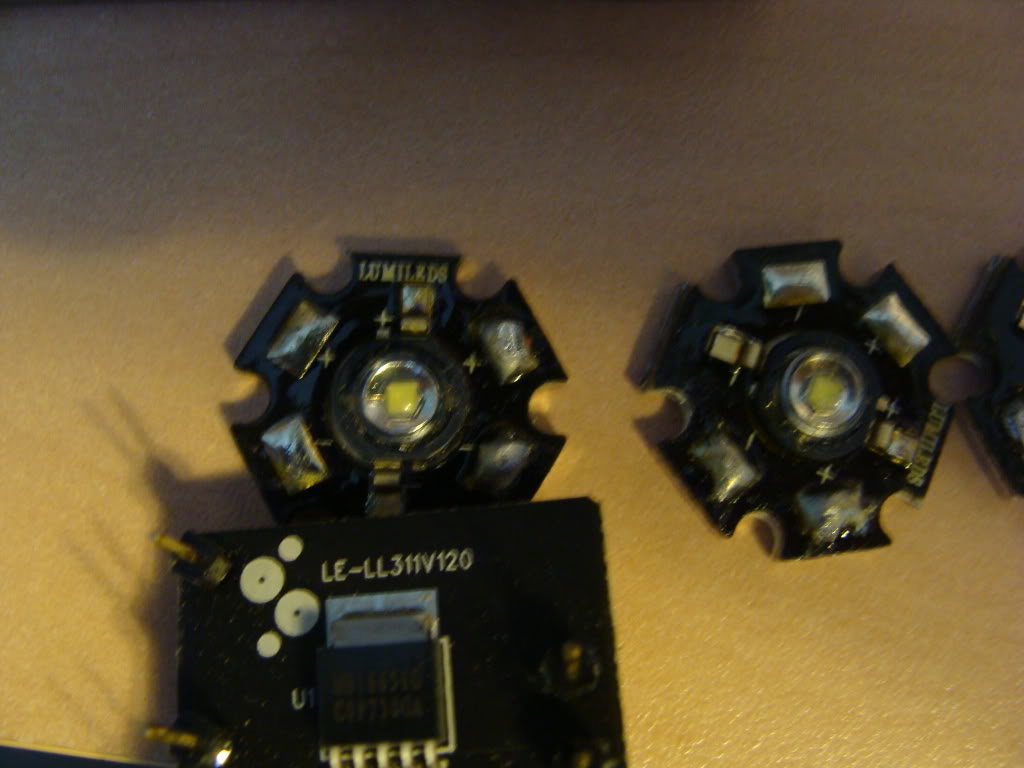
- 6x 3W luxeon star LEDs or CREE 3W leds, they produce roughly 80lm each when overdrive with a controller (many sources online or directly from lumileds suppliers)
- 2x 30 degree led lenses
- 2x 3W luxeon driver part number Le-LL311 from SureElectronics
- Industrial grade (hotter temp) hot glue sticks + glue gun
- soldering iron + paste + solder
- electric solid wire
- permatex gasket maker glue 232C temp resistance
- PATIENCE !!!
Trunk light
- 3x 3W luxeon star LEDs or CREE 3W leds, they produce roughly 80lm each when overdrive with a controller (many sources online or directly from lumileds suppliers)
- 1x 3W luxeon driver part number Le-LL311 from SureElectronics
- Industrial grade (hotter temp) hot glue sticks + glue gun
- soldering iron
- electric solid wire
- permatex gasket maker glue 232C temp resistance
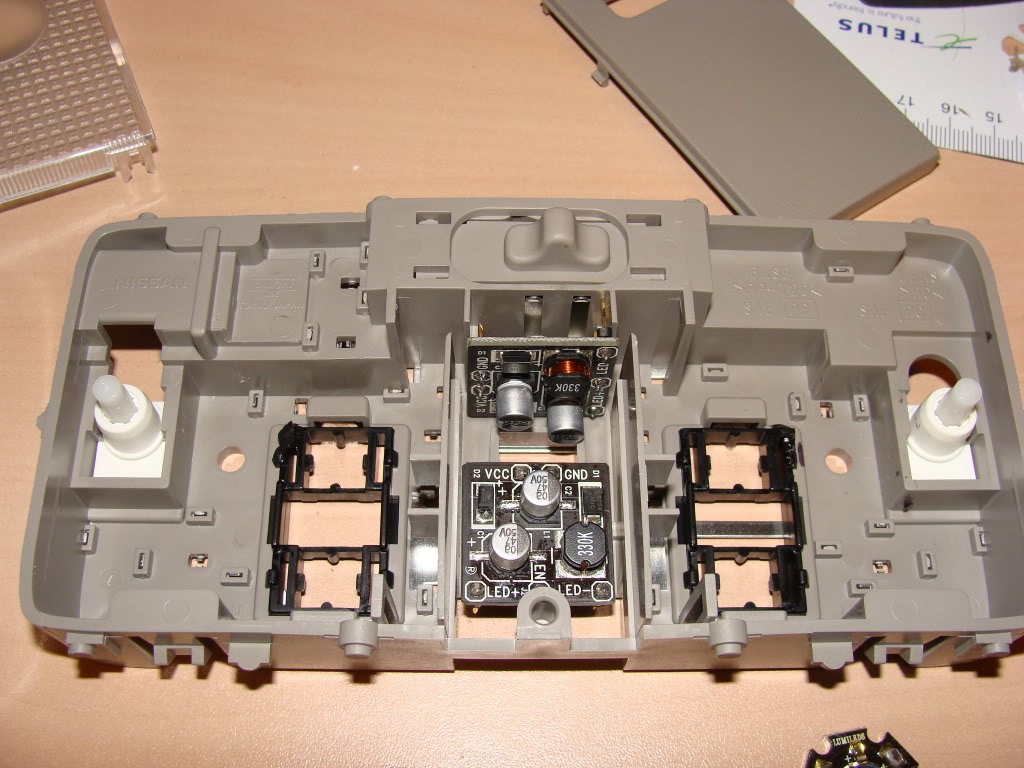
1. So to start off, remove your original map lights and rear trunk light. This is relatively easy, pop off the caps, use a flat head to get to the clips that hold the entire model in place, it will then come off and the sun glass holder part will remain in the vehicle room.
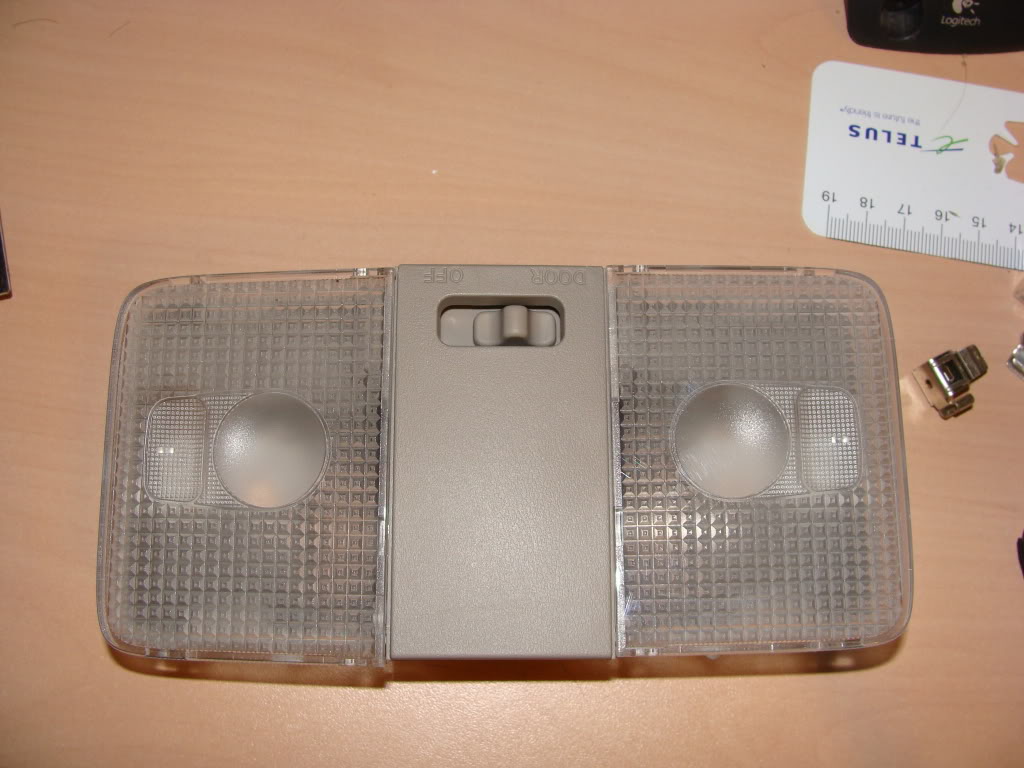
2. Remove center cap the covers the DOOR - OFF switch
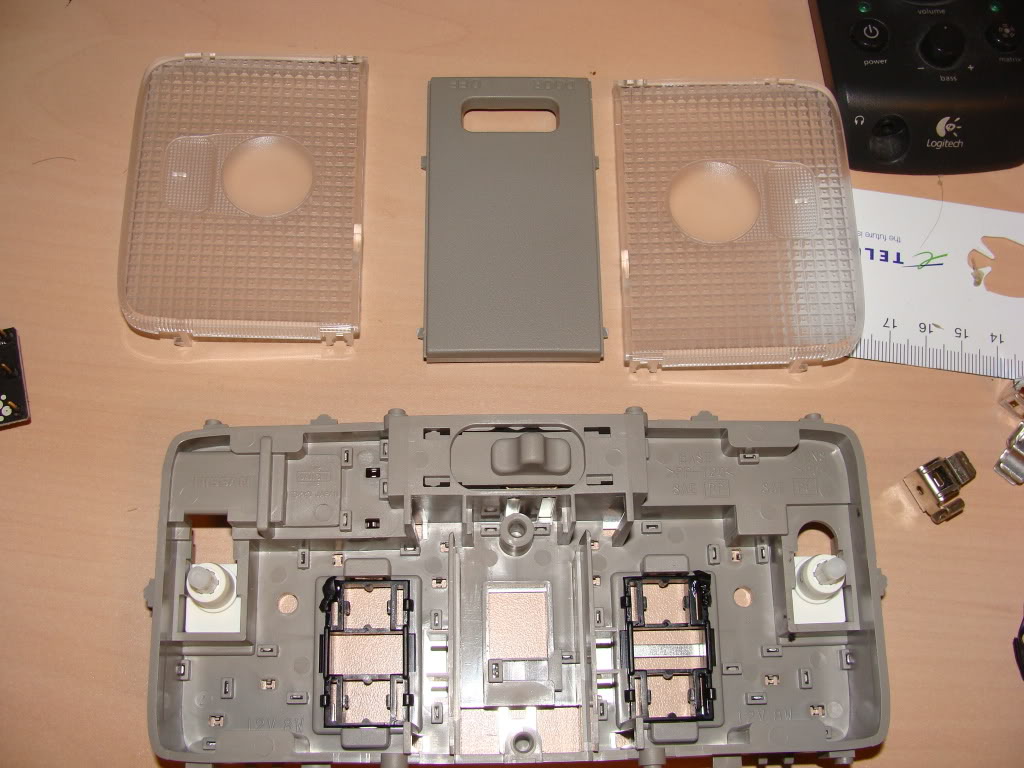
-- organize your parts
3. Cut two pieces of aluminum to set up a cooling floor for the leds, glue alloy pieces in place
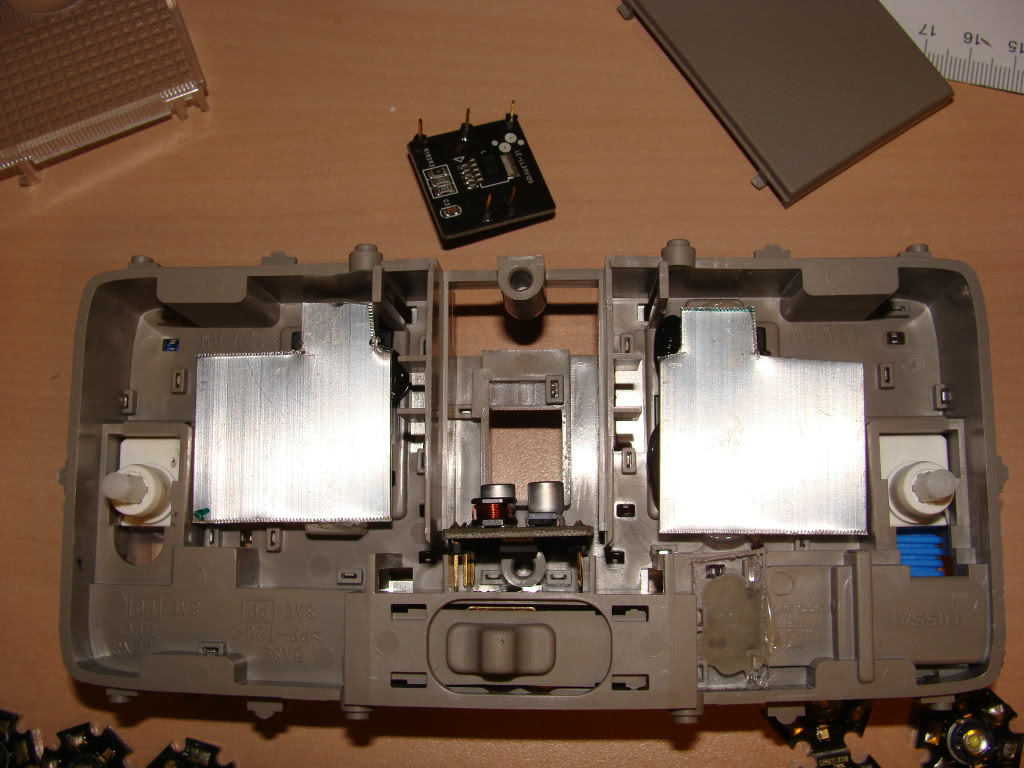
4. Cut a small piece of plastic/lexan to cover the open circuits on one side, this is to avoid short circuiting the entire board. Glue this piece in place with permatex
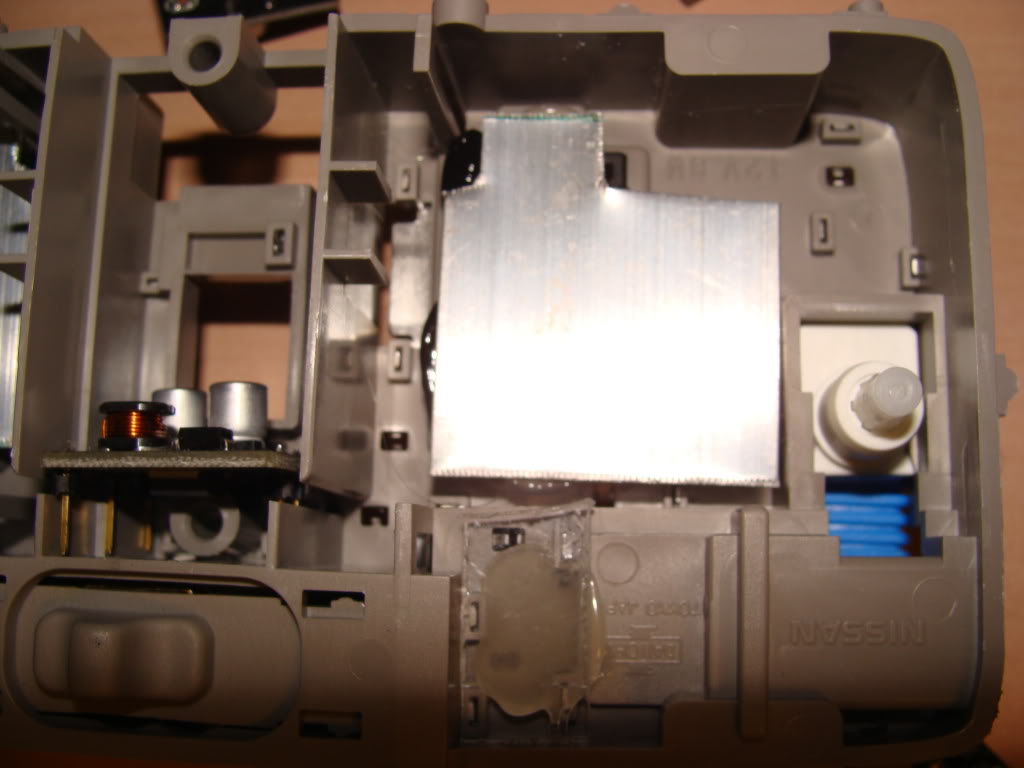
5. Cut a 3mm thick alloy piece to raise the other side (nissan doesnt like uniformity). Glue this piece in place with permatex, this will act as a heat sink for your led.
6. Start connecting leds in series, + connects to - on each led giving you 2 leads at the end, 1 positive and 1 negative.
7. Fit LED drivers in place and connect led wires to marked + and negative poles. Use a sharpie to identify + and negative like i did if using the same color wire.
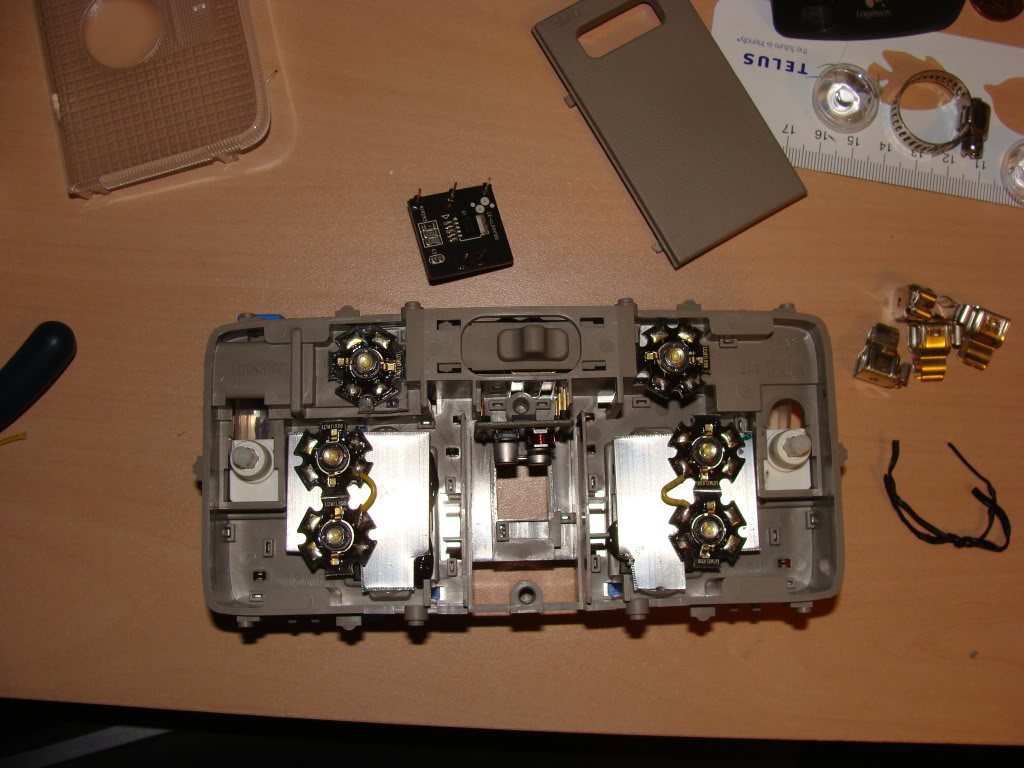
8. Drill a hole in the alloy plates and use a stainless screw to hold the two leds in place, the top led can be glued in, the solid wire will hold it in place until the glue dries.
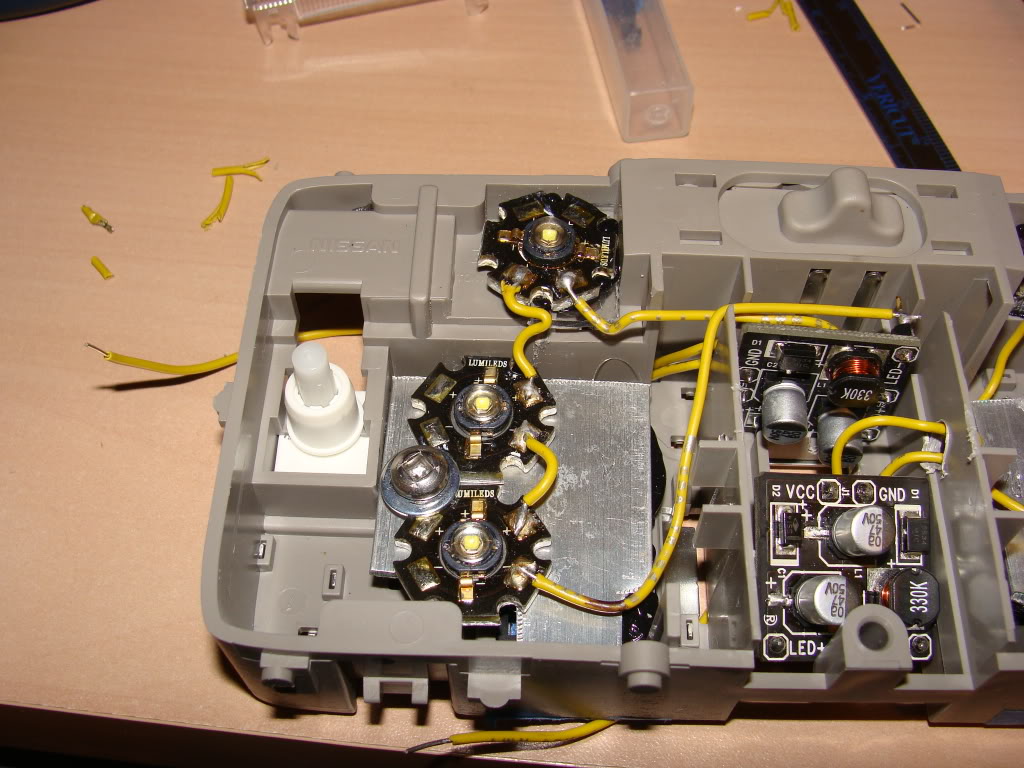
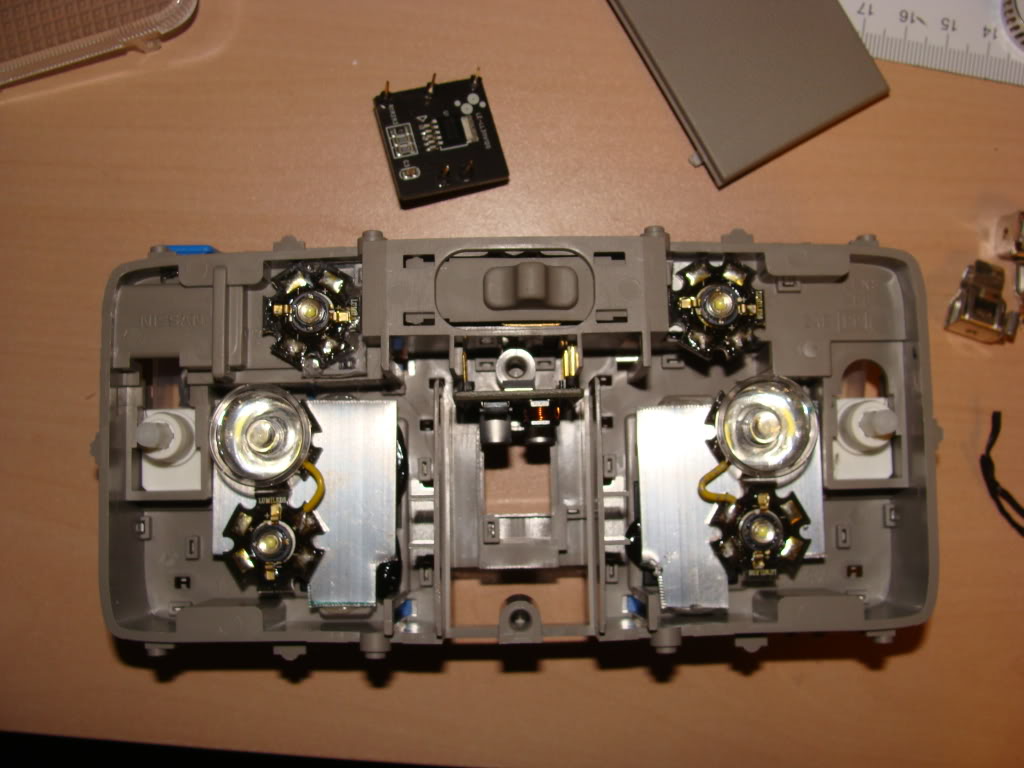
9. Attach led lenses and test fit with your plastic caps, rearrange leds so they fit nice and snug, you can attach permatex to the back of the floor leds to prevent them from moving later on. Screws may come loose over time.
10. Now that the floor led is centered with the round part of the plastic cover, you can glue the lens on top of the led base. Put a think layer of hot glue around lens and turn onto led. It should be firmly held in place, its very light. The lenses lengthen the beam distance since the other 2 leds per side can light up all around where as you can get light to the floor from the lenses.

11. Tidy up area, make sure connections are not close to any metal contacts.
12. Solder leds to driver
13. Solder driver input to the back of the original board.
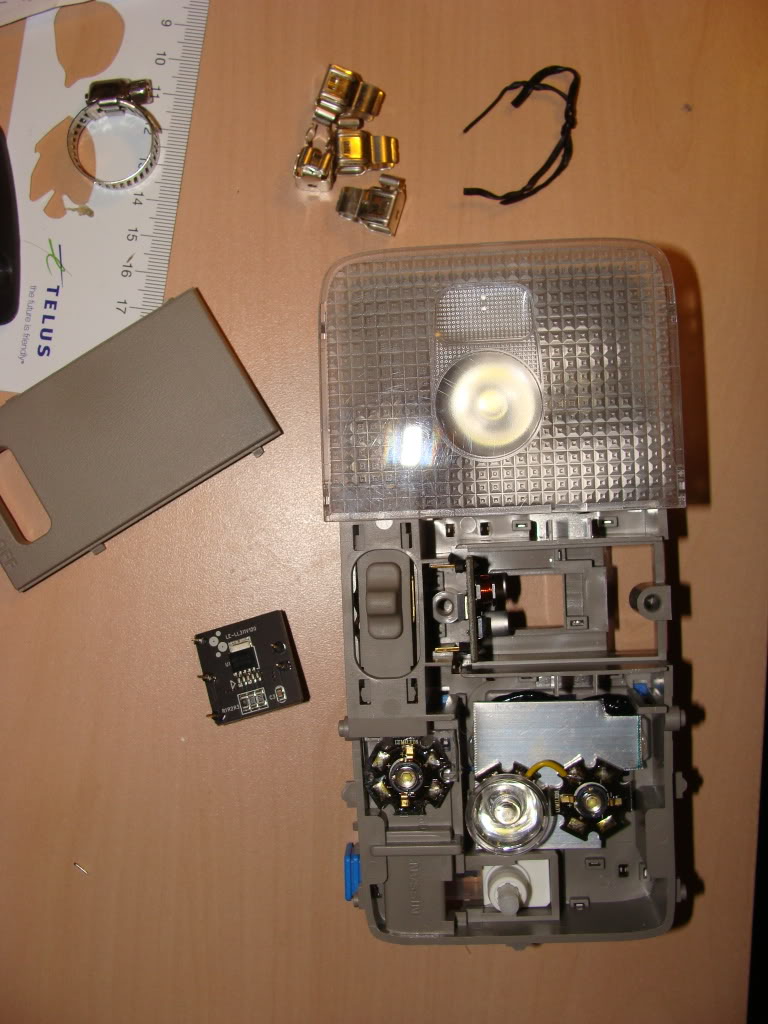
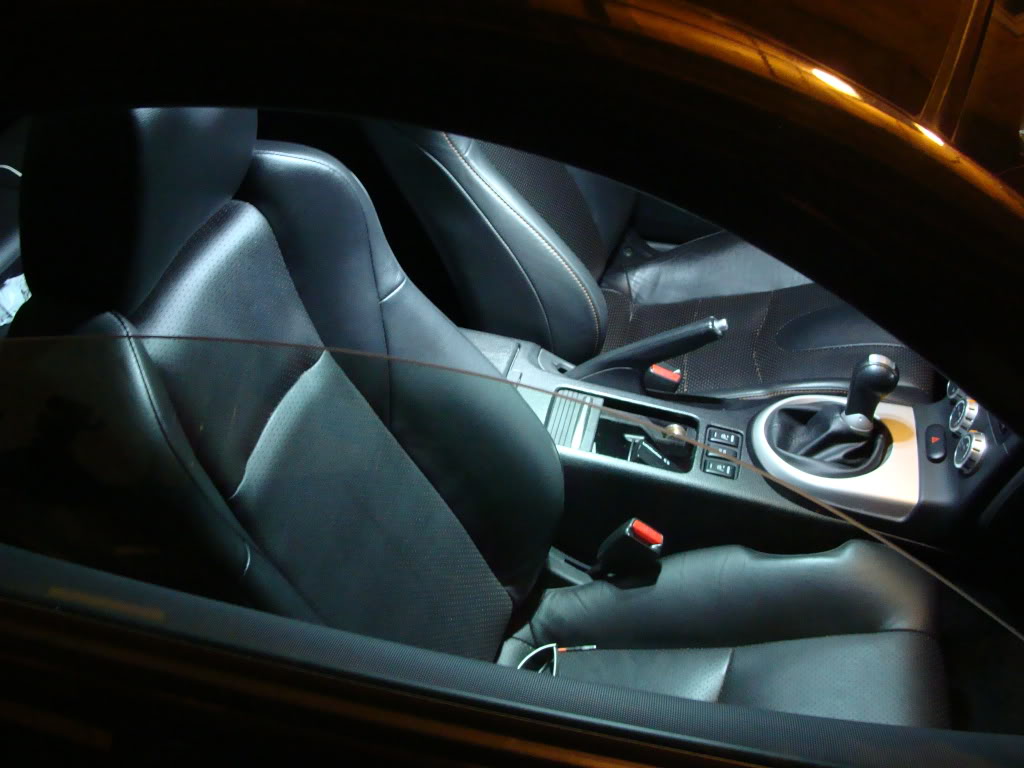
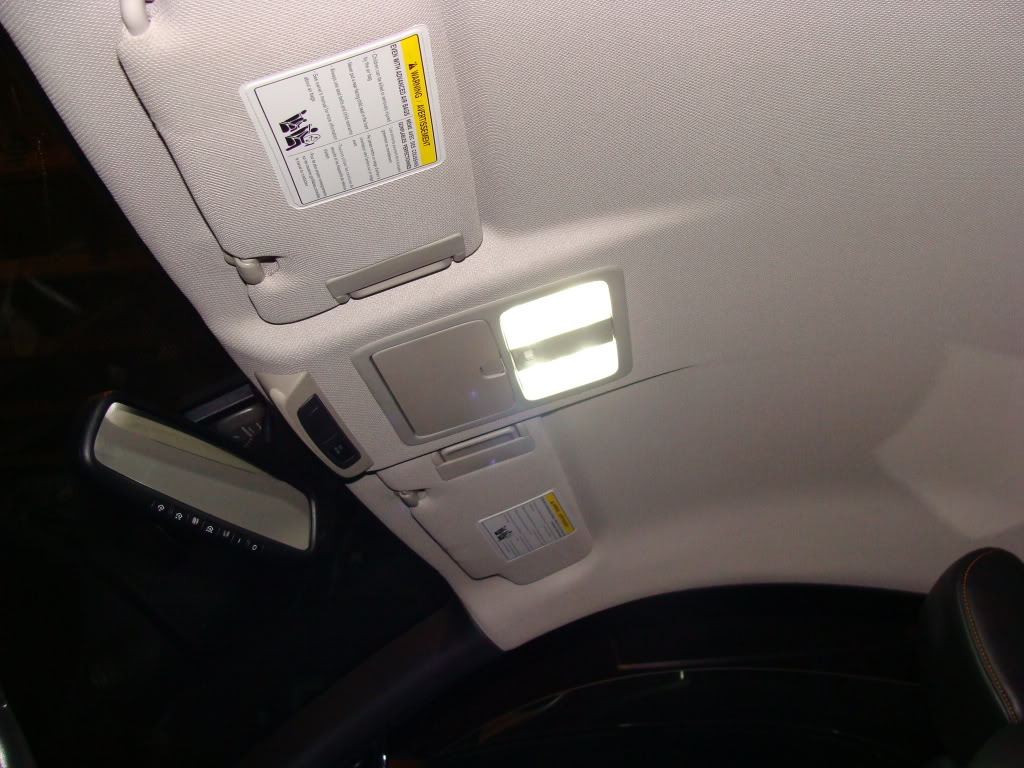
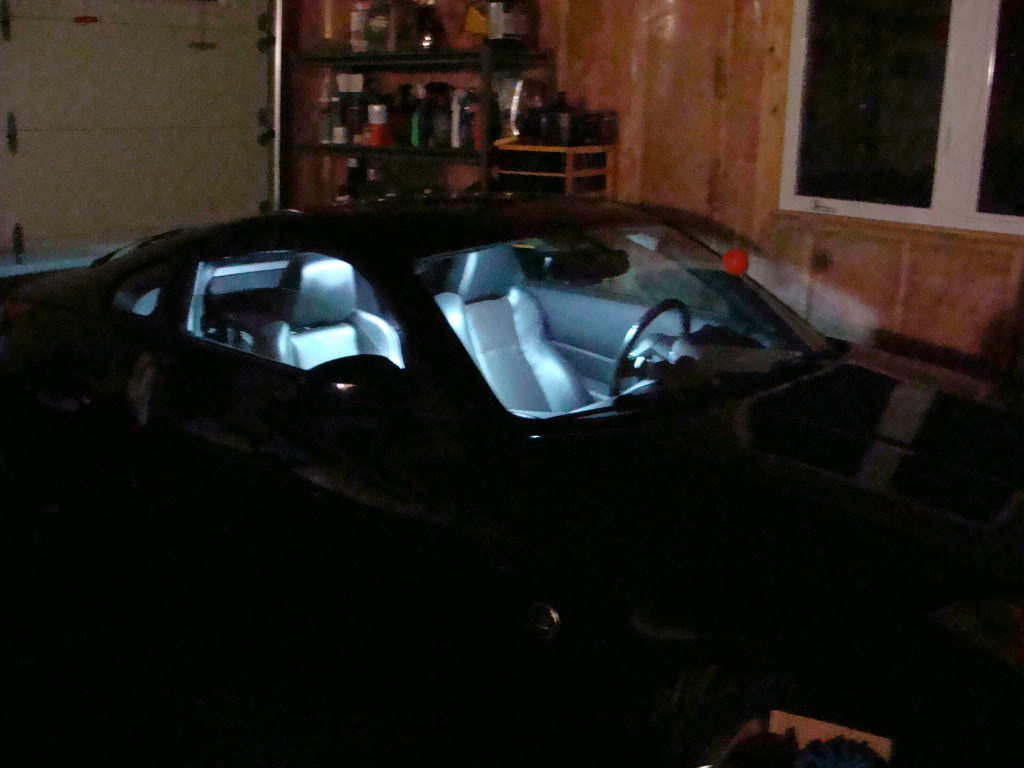
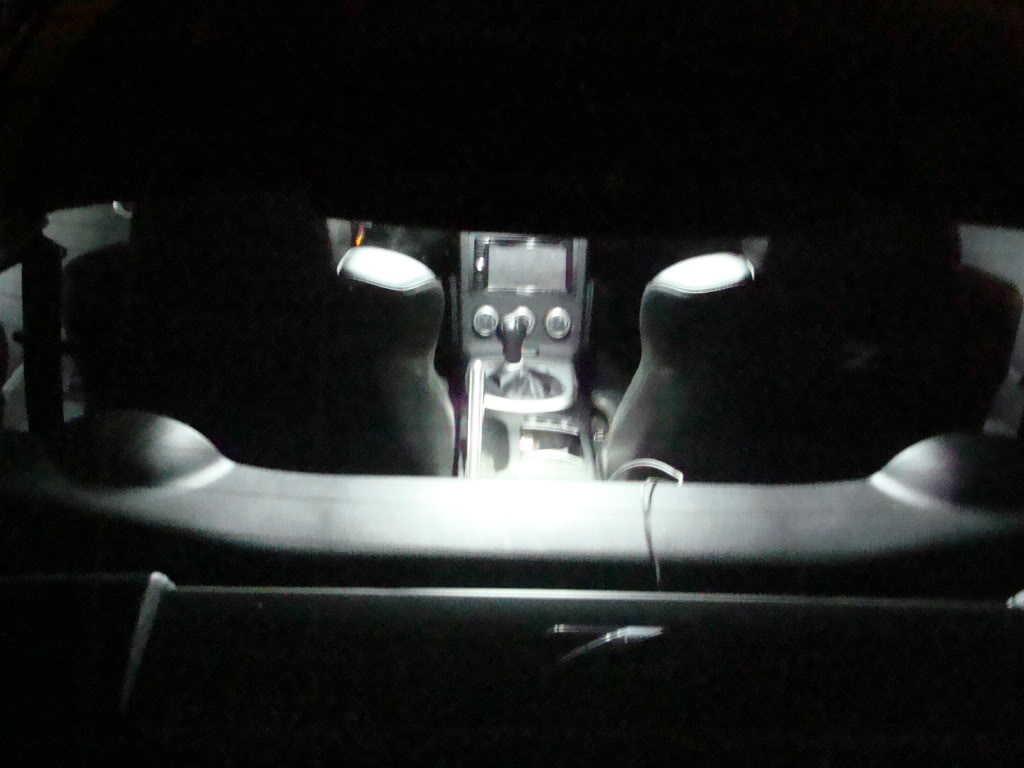
14. Install in vehicle and enjoy daylight in your Z interior
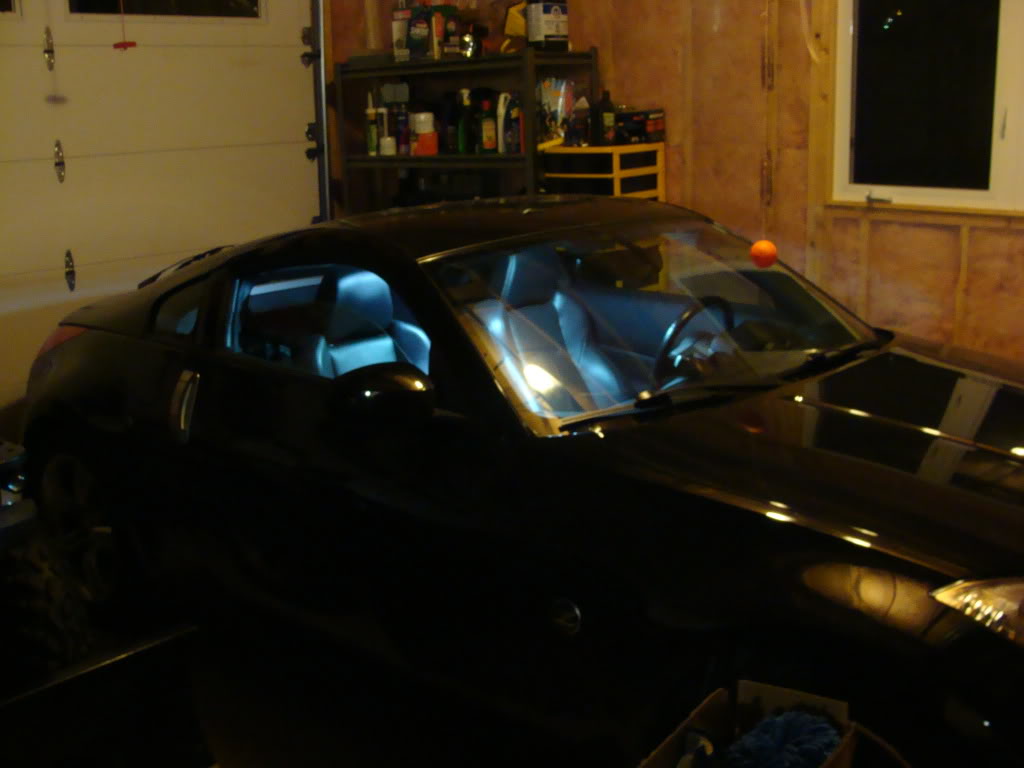
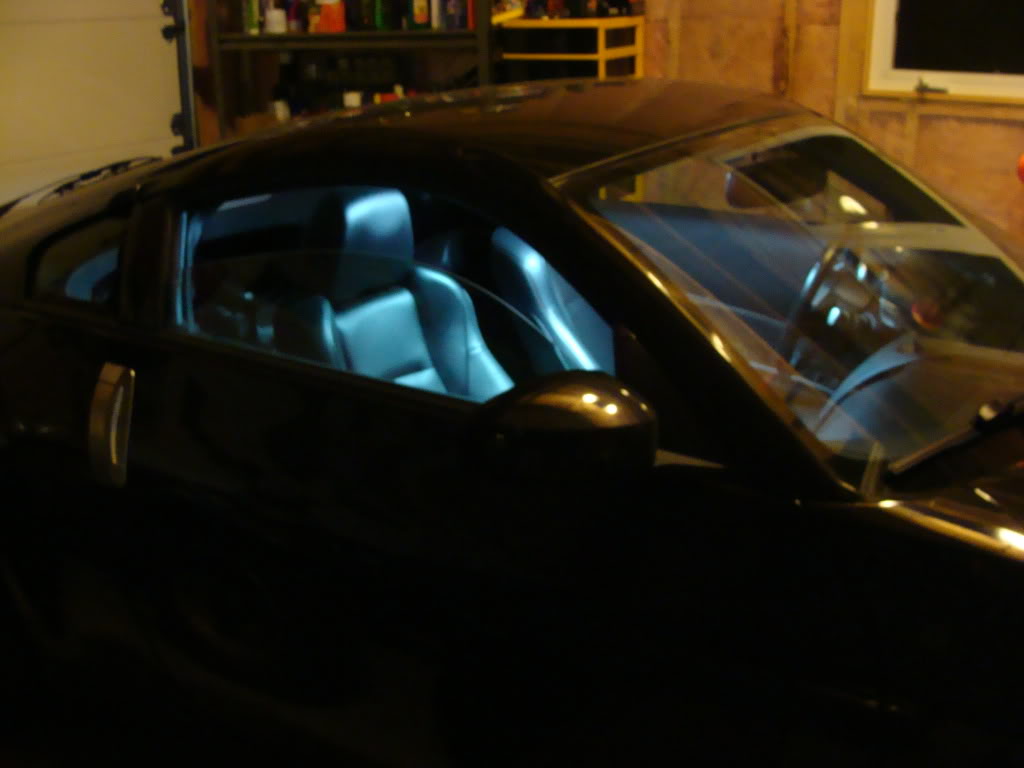
With Garage Lights ON
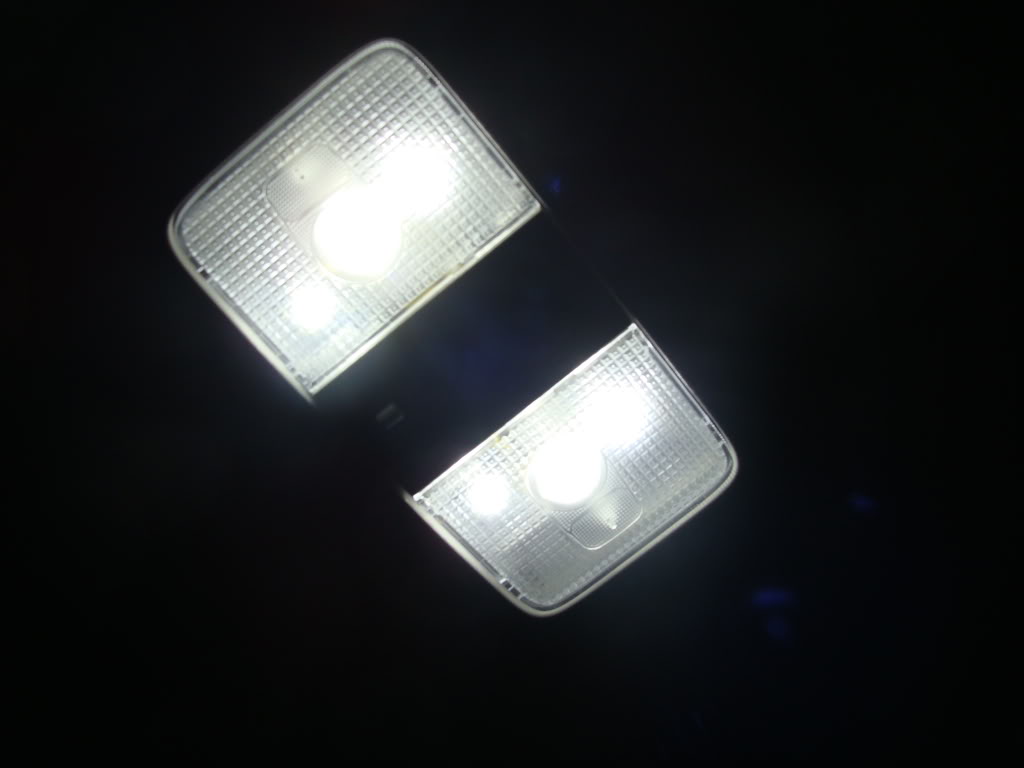
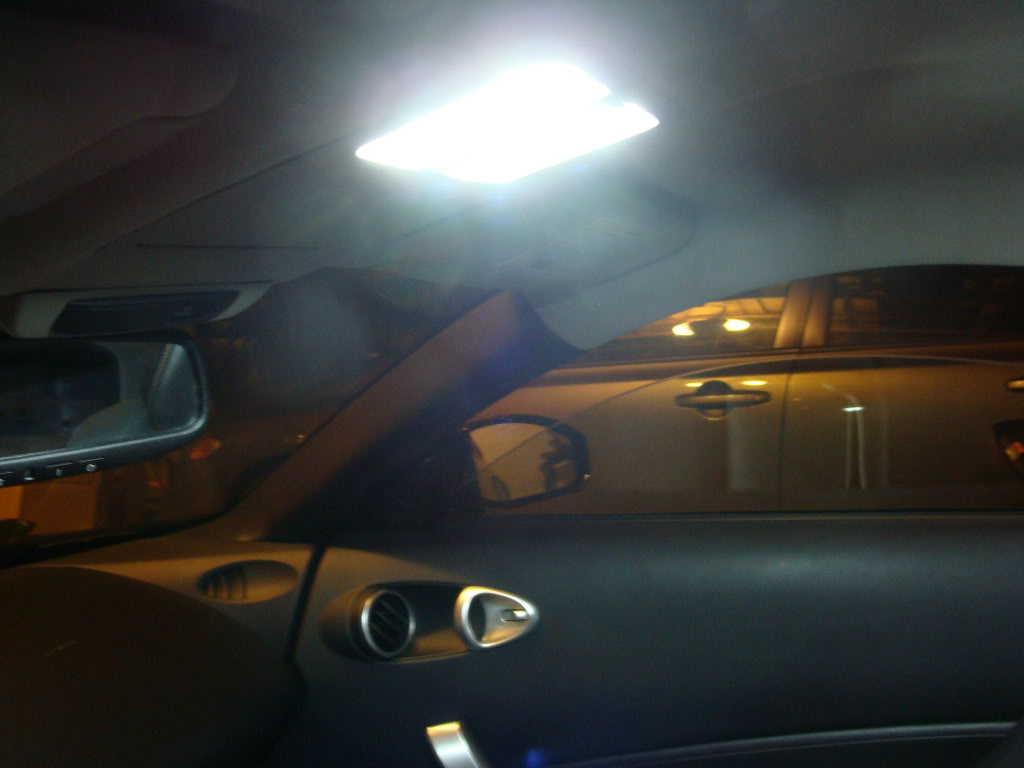
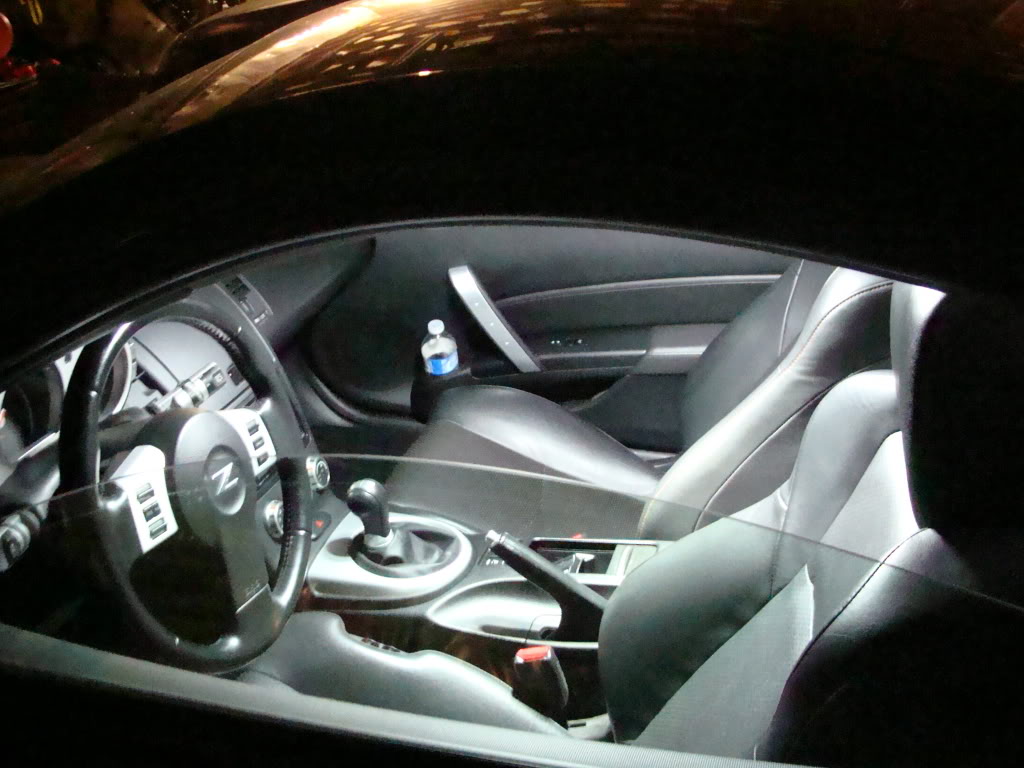
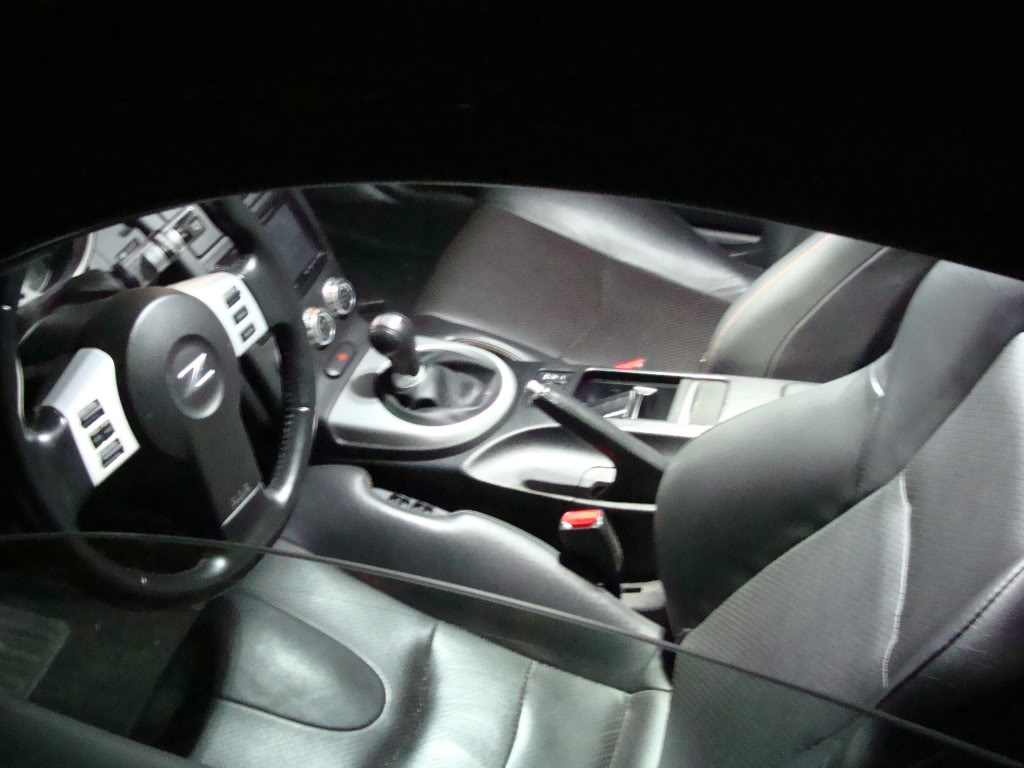
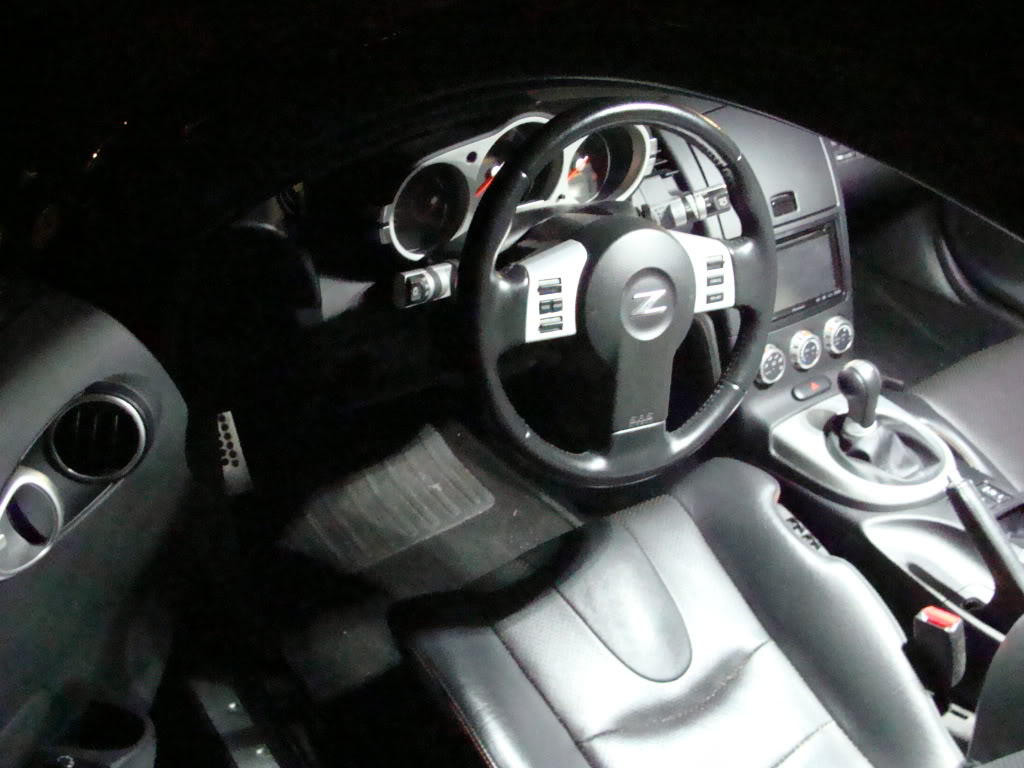
Garage Lights OFF

Trunk lights
1. Remove trunk lamp from vehicle, it has a small grey plug that disconnects
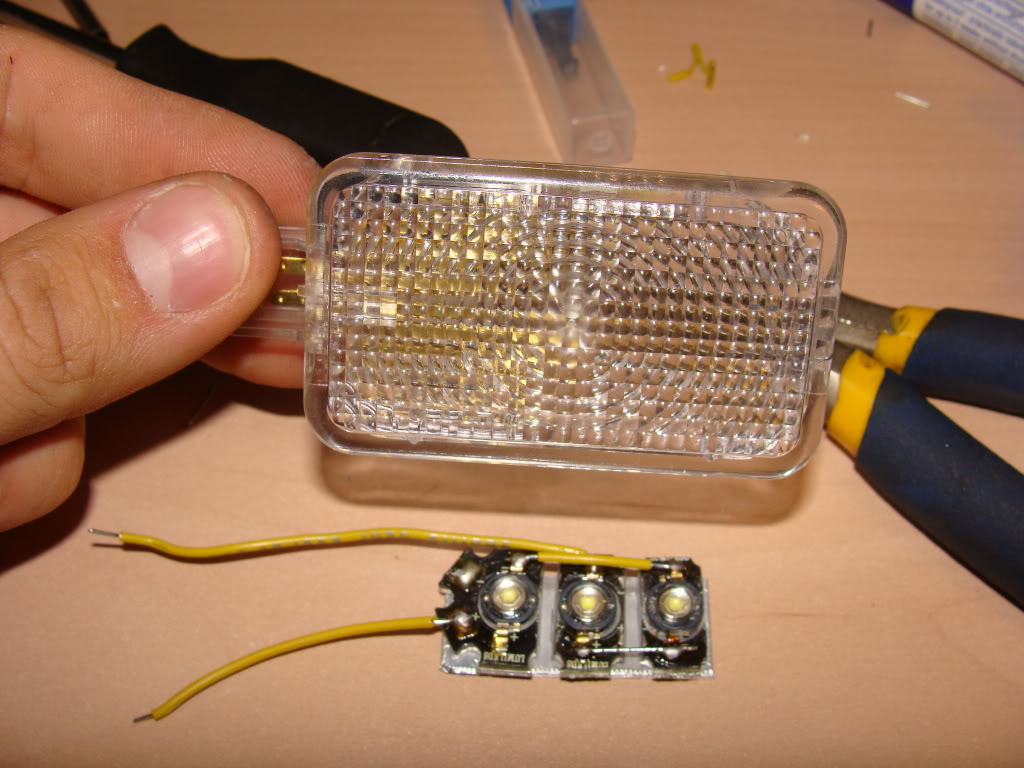
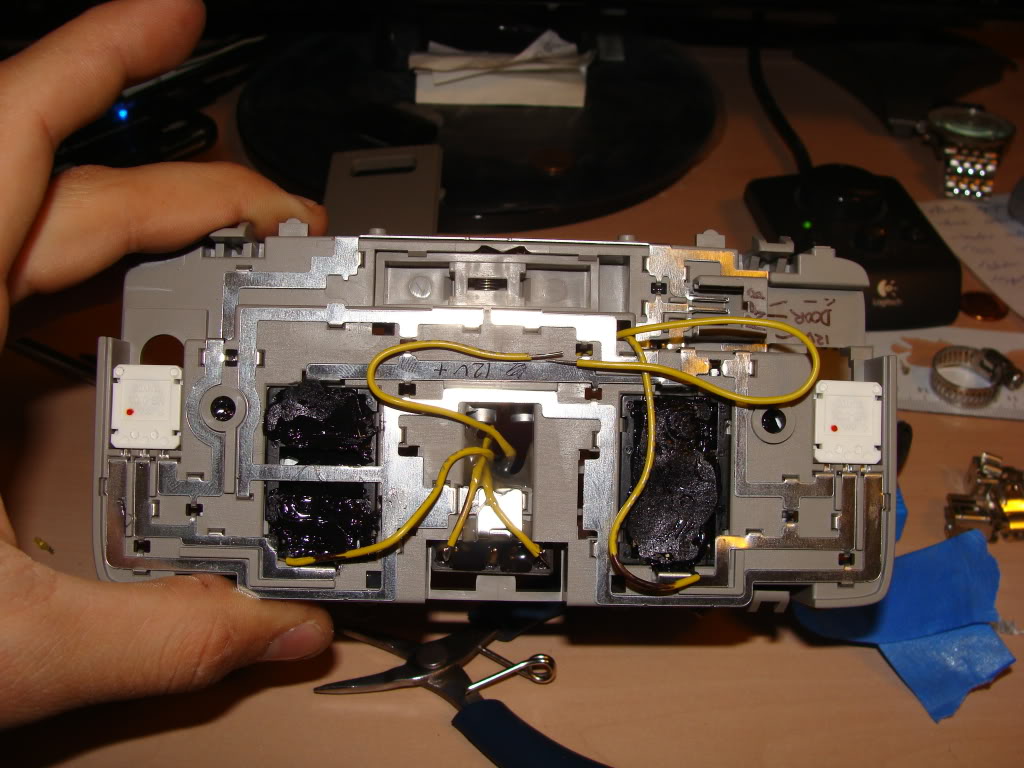
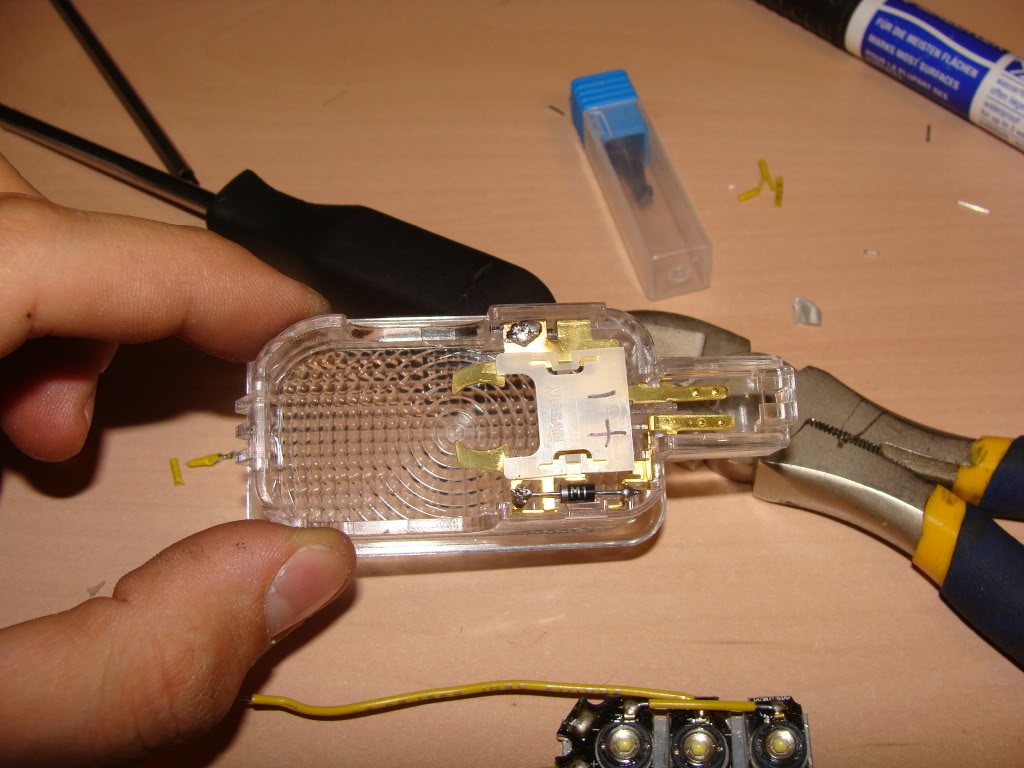
2. Remove original bulb, make note of + and - poles. The side with the black thing (one way diode) is the + pole
3. Cut your leds to fit the open space using a dremel tool
4. Arrange leds in series on a piece of aluminum and glue them into place
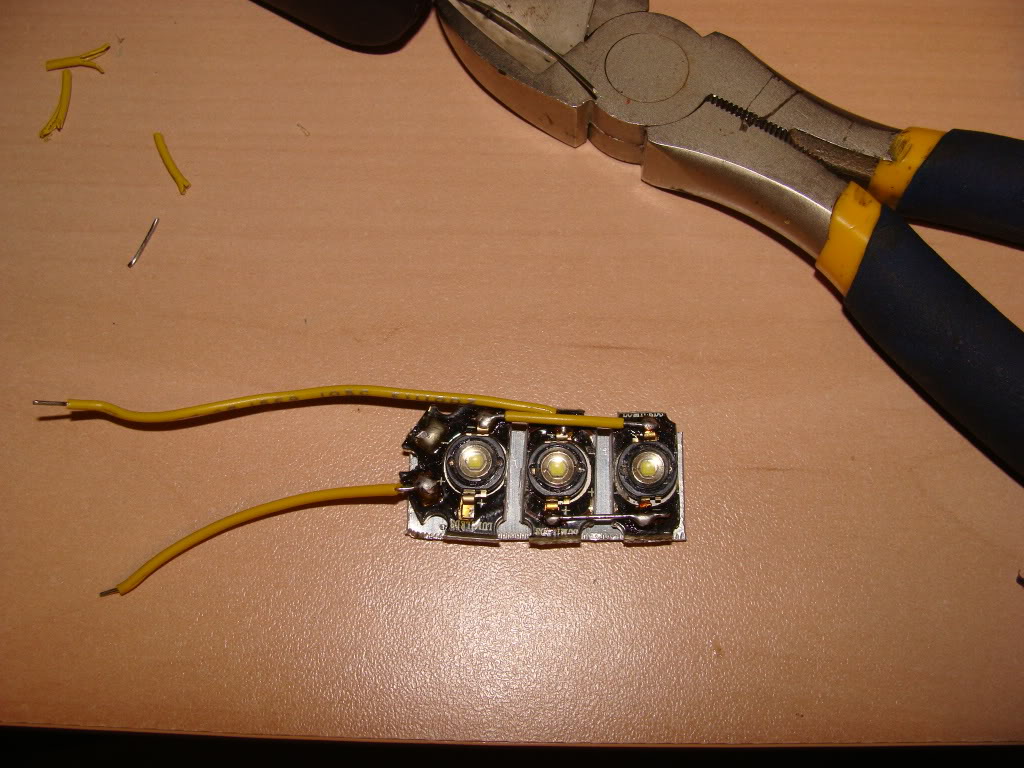
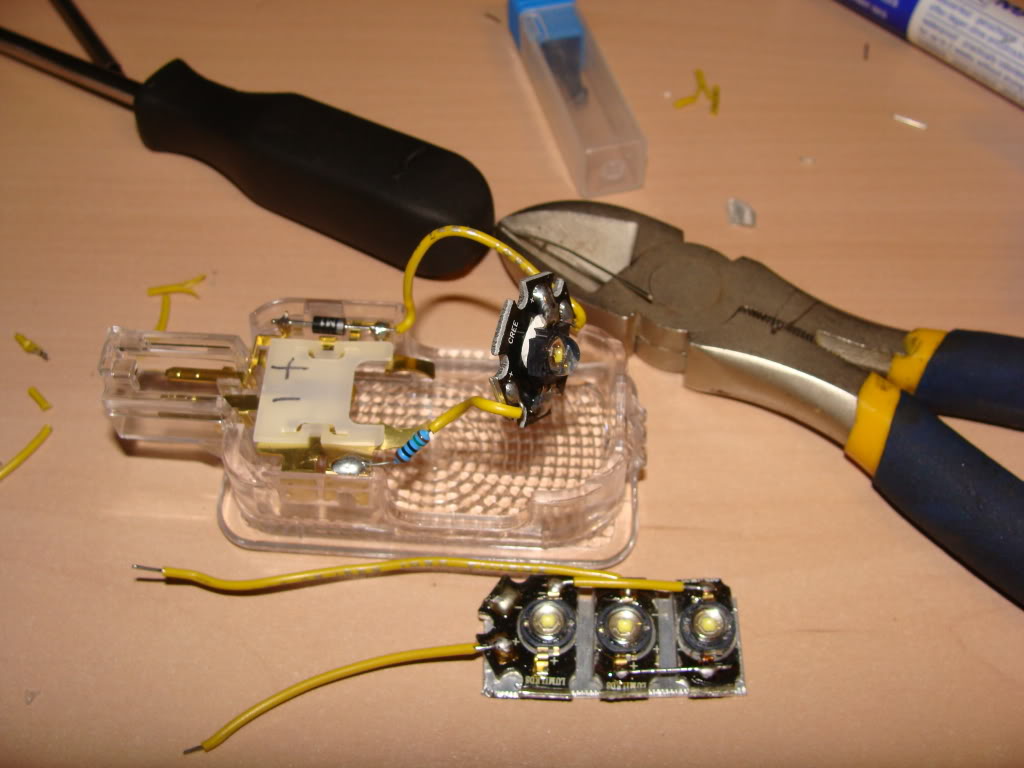
5. Glue driver to the white part of the plug as shown using hot glue
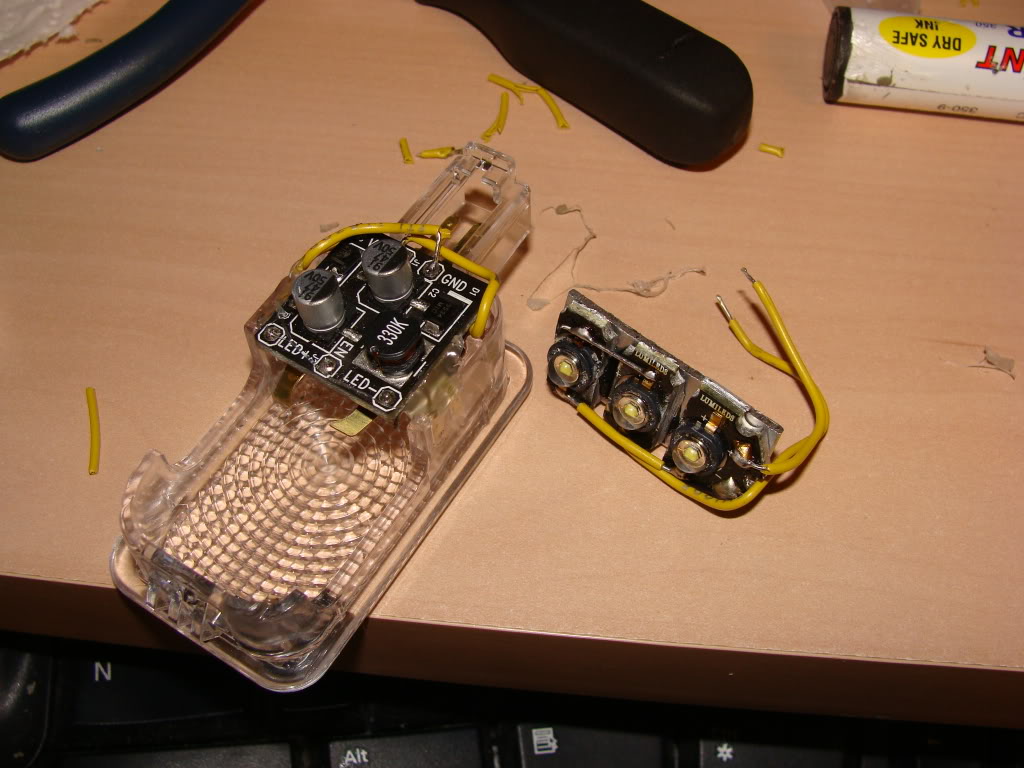
6. Connect leds to driver, solder driver connections to the respective poles as marked.
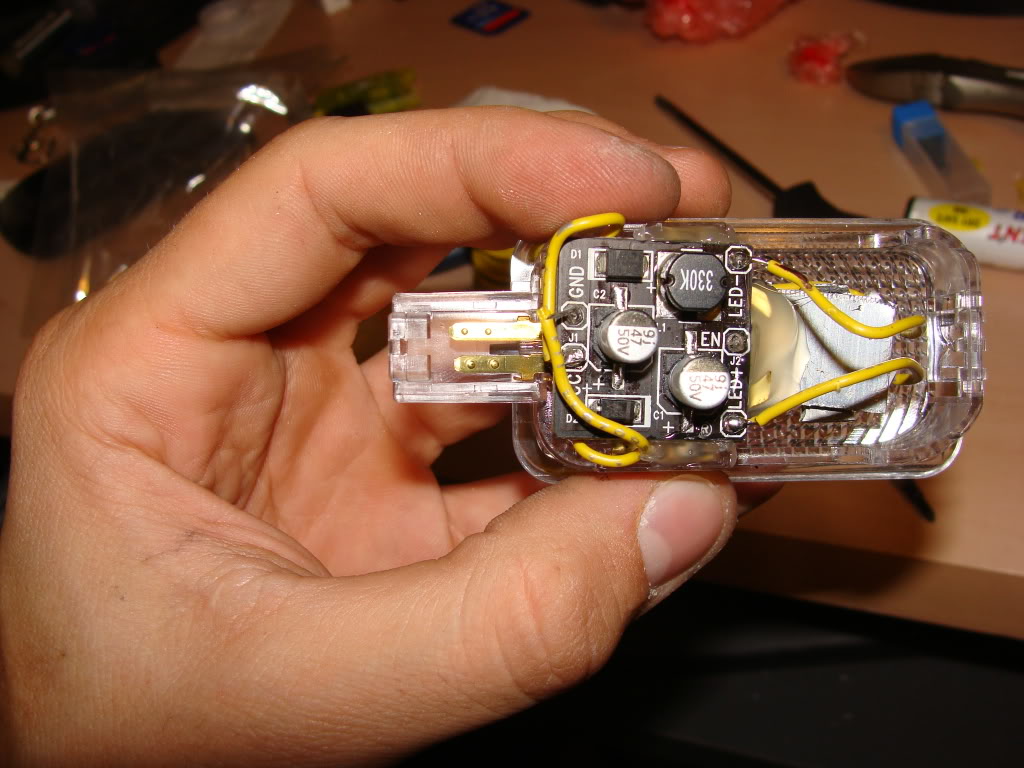
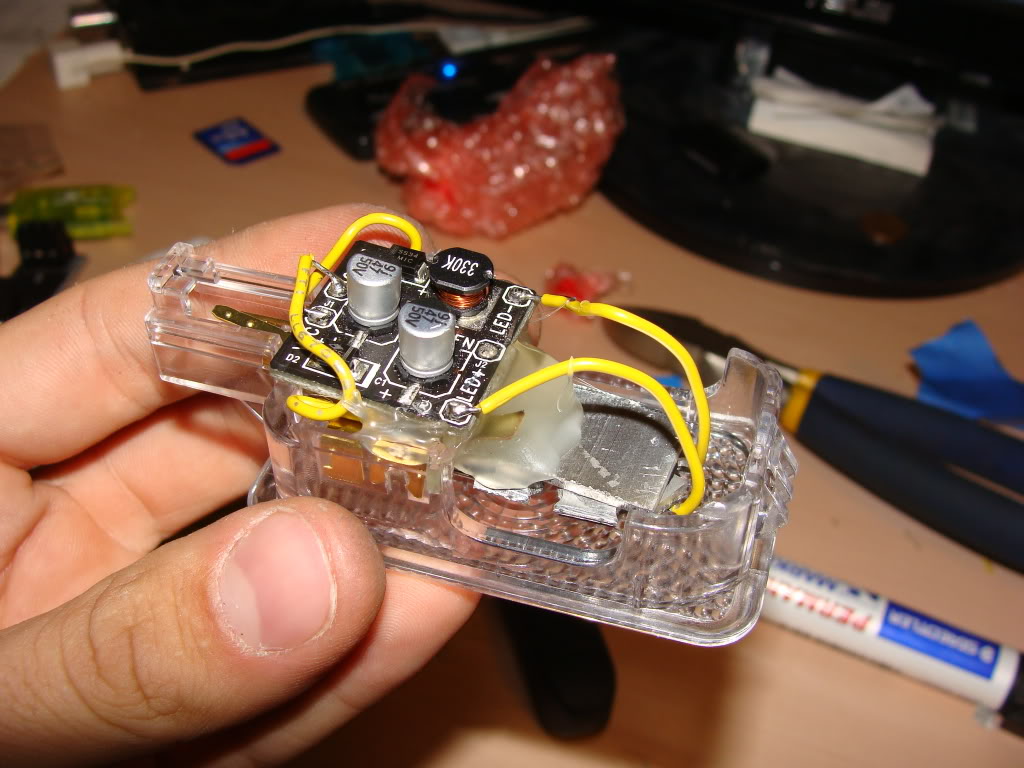
7. Glue led board in place, leave a small gap between the original brass plugs, they are still being powered so you dont want to short circuit them, you can then use hot glue to glue everything together only at the back. Try to center the entire board using the center spot of the original housing. Pictures show this very clearly.
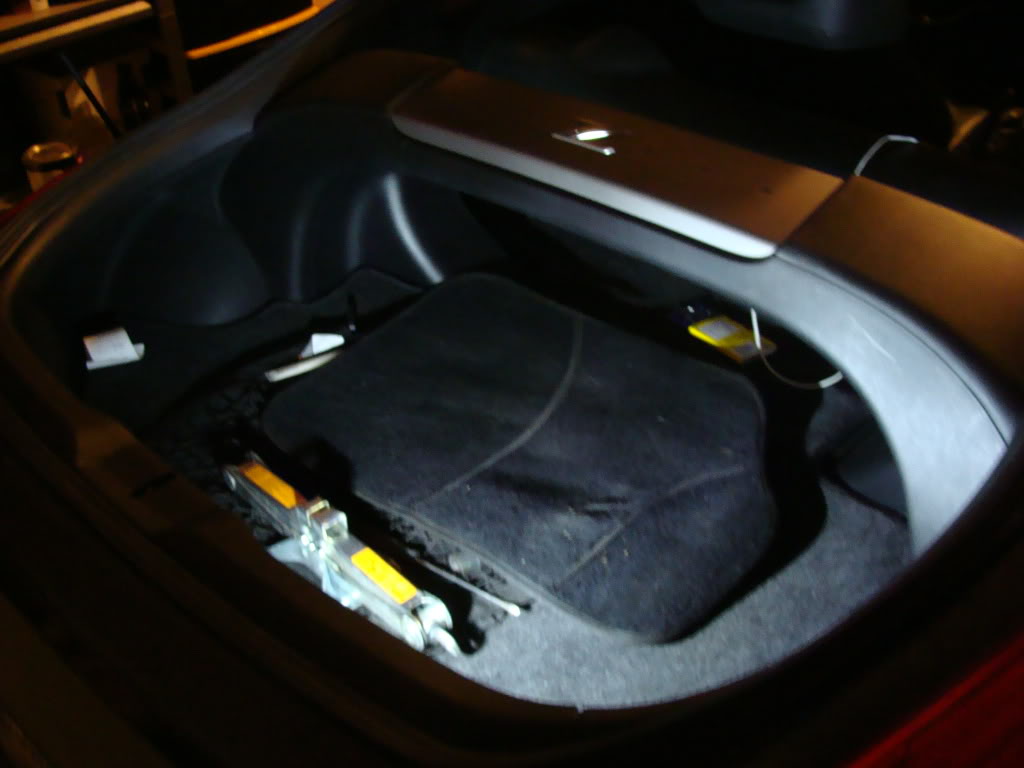
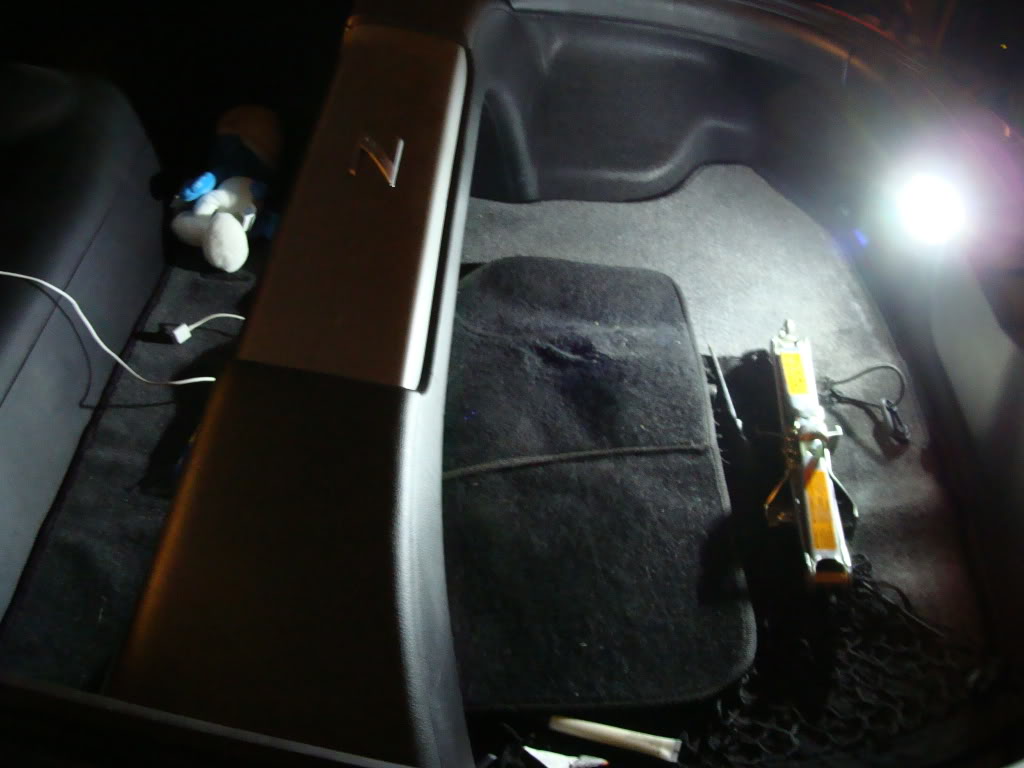
8. Install in car and you are ready to go. *Wheel jack is to show how bright lighting is
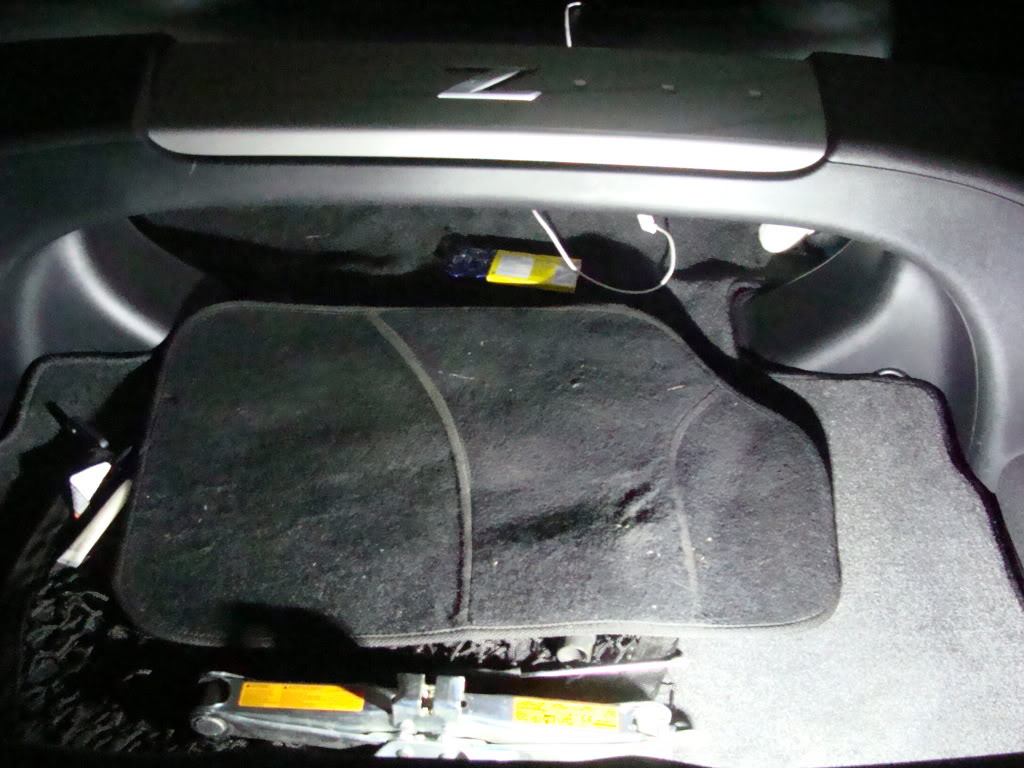
With Garage Lights ON
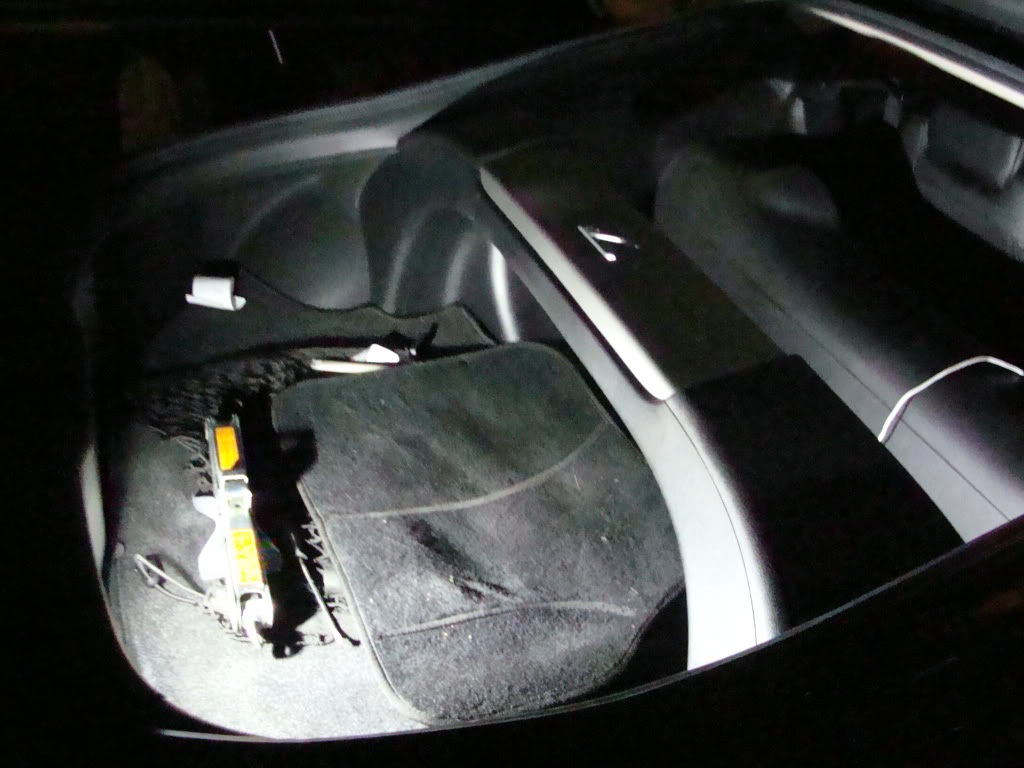
Garage Lights OFF
I will be offering these for sale or as a service for members that are interested in doing this to their 350z lights. I made this DIY with a lot of detail so most people should be able to do it themselves but I can help out where needed
Here are some other little mods inside
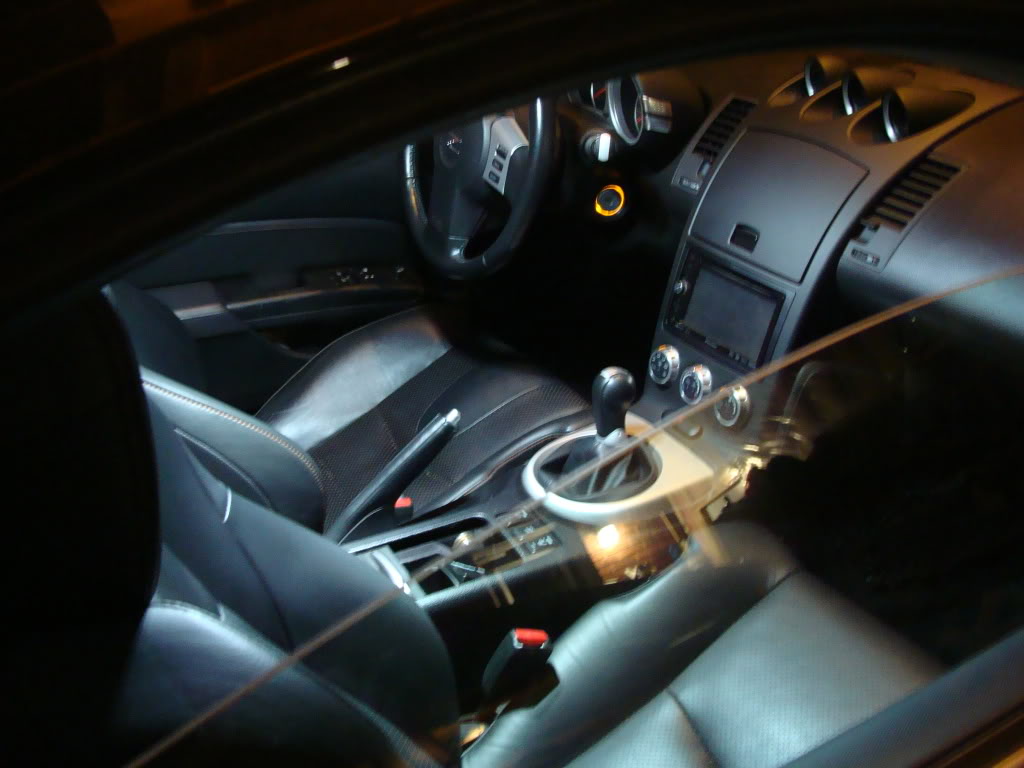
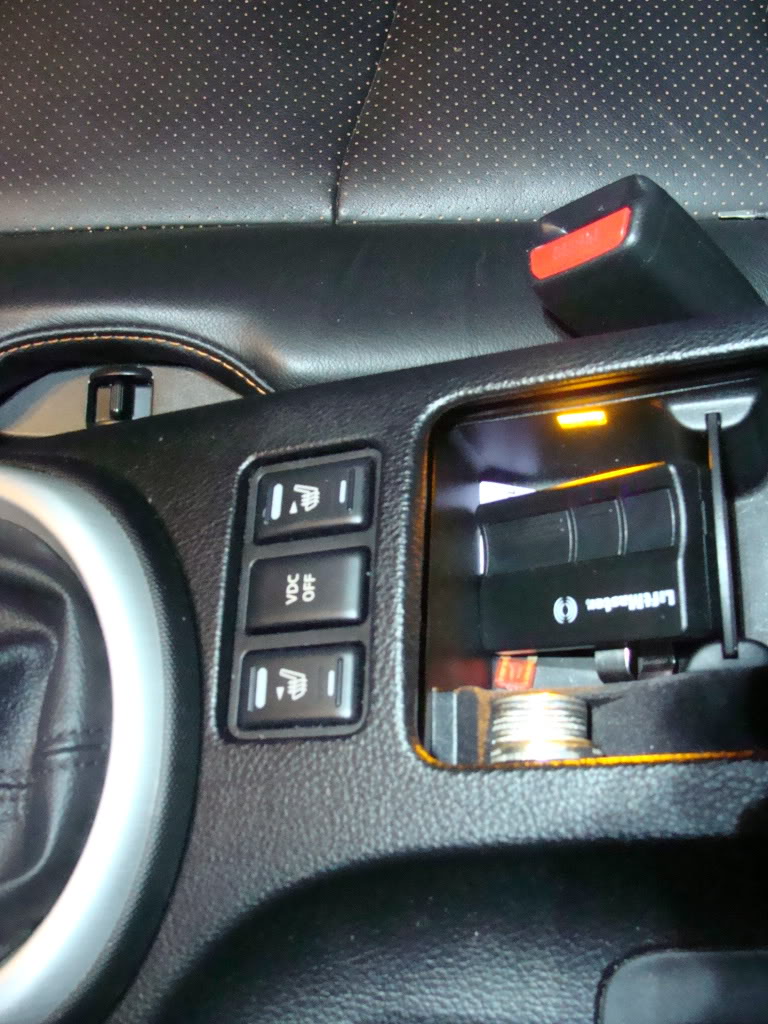
Headlight leveling switch

VDC relocation to center console, extended with oem plugs, stock plug left in stock position if you change your mind later
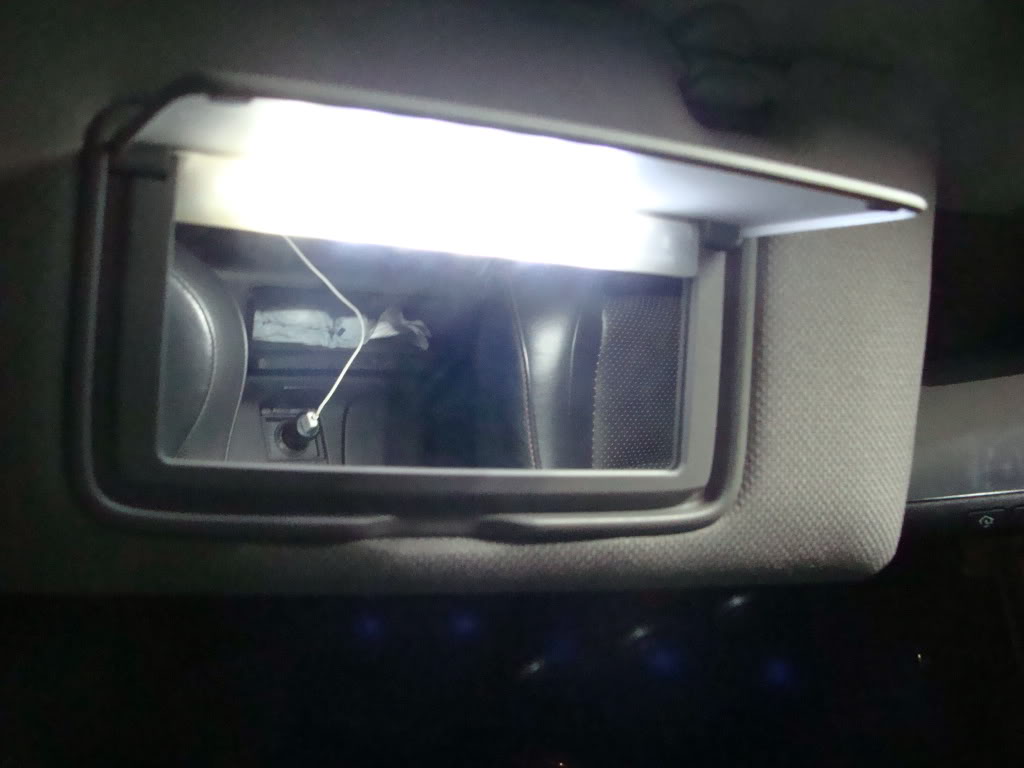
Visor Led upgrade, SMD strip installed
Enjoy
Hi Guys, im relatively new to my350z but ive doing lights for ages, hid retros and of course LED work including interior lights.
I know a lot of people think its awesome to go on ebay and get some cheap leds that last a day for 99cents and say they Leded their interior but this guide is about real LED lighting that really lights up your interior
This DIY will show you how this was made, it took me about 2 hours in total to complete the map lights and the trunk light.
Please note this is for the 350z map lights, the G35 interior lights can be modified in a similar fashion but with slightly differently arranged parts due to the sunroof switches being in the way.
Usual disclaimer: I am not responsible for what you do to your vehicle. This is just a guide, be careful with all hot irons and your vehicle. Insulate all wires and thoroughly test your circuits on a bench before installing them in your car to ensure they do not burn up your vehicle.
The parts you will require
Map lights
- 6x 3W luxeon star LEDs or CREE 3W leds, they produce roughly 80lm each when overdrive with a controller (many sources online or directly from lumileds suppliers)
- 2x 30 degree led lenses
- 2x 3W luxeon driver part number Le-LL311 from SureElectronics
- Industrial grade (hotter temp) hot glue sticks + glue gun
- soldering iron + paste + solder
- electric solid wire
- permatex gasket maker glue 232C temp resistance
- PATIENCE !!!
Trunk light
- 3x 3W luxeon star LEDs or CREE 3W leds, they produce roughly 80lm each when overdrive with a controller (many sources online or directly from lumileds suppliers)
- 1x 3W luxeon driver part number Le-LL311 from SureElectronics
- Industrial grade (hotter temp) hot glue sticks + glue gun
- soldering iron
- electric solid wire
- permatex gasket maker glue 232C temp resistance
1. So to start off, remove your original map lights and rear trunk light. This is relatively easy, pop off the caps, use a flat head to get to the clips that hold the entire model in place, it will then come off and the sun glass holder part will remain in the vehicle room.
2. Remove center cap the covers the DOOR - OFF switch
-- organize your parts
3. Cut two pieces of aluminum to set up a cooling floor for the leds, glue alloy pieces in place
4. Cut a small piece of plastic/lexan to cover the open circuits on one side, this is to avoid short circuiting the entire board. Glue this piece in place with permatex
5. Cut a 3mm thick alloy piece to raise the other side (nissan doesnt like uniformity). Glue this piece in place with permatex, this will act as a heat sink for your led.
6. Start connecting leds in series, + connects to - on each led giving you 2 leads at the end, 1 positive and 1 negative.
7. Fit LED drivers in place and connect led wires to marked + and negative poles. Use a sharpie to identify + and negative like i did if using the same color wire.
8. Drill a hole in the alloy plates and use a stainless screw to hold the two leds in place, the top led can be glued in, the solid wire will hold it in place until the glue dries.
9. Attach led lenses and test fit with your plastic caps, rearrange leds so they fit nice and snug, you can attach permatex to the back of the floor leds to prevent them from moving later on. Screws may come loose over time.
10. Now that the floor led is centered with the round part of the plastic cover, you can glue the lens on top of the led base. Put a think layer of hot glue around lens and turn onto led. It should be firmly held in place, its very light. The lenses lengthen the beam distance since the other 2 leds per side can light up all around where as you can get light to the floor from the lenses.
11. Tidy up area, make sure connections are not close to any metal contacts.
12. Solder leds to driver
13. Solder driver input to the back of the original board.
14. Install in vehicle and enjoy daylight in your Z interior
With Garage Lights ON
Garage Lights OFF
Trunk lights
1. Remove trunk lamp from vehicle, it has a small grey plug that disconnects
2. Remove original bulb, make note of + and - poles. The side with the black thing (one way diode) is the + pole
3. Cut your leds to fit the open space using a dremel tool
4. Arrange leds in series on a piece of aluminum and glue them into place
5. Glue driver to the white part of the plug as shown using hot glue
6. Connect leds to driver, solder driver connections to the respective poles as marked.
7. Glue led board in place, leave a small gap between the original brass plugs, they are still being powered so you dont want to short circuit them, you can then use hot glue to glue everything together only at the back. Try to center the entire board using the center spot of the original housing. Pictures show this very clearly.
8. Install in car and you are ready to go. *Wheel jack is to show how bright lighting is
With Garage Lights ON
Garage Lights OFF
I will be offering these for sale or as a service for members that are interested in doing this to their 350z lights. I made this DIY with a lot of detail so most people should be able to do it themselves but I can help out where needed
Here are some other little mods inside
Headlight leveling switch
VDC relocation to center console, extended with oem plugs, stock plug left in stock position if you change your mind later
Visor Led upgrade, SMD strip installed
Enjoy
Last edited by Linuxglobal; Nov 22, 2010 at 04:48 PM. Reason: More Pics


i would love to see how u did the visors i changes my map and cargo lights to blue i did the visors too but kept blowing the fuse and i thought they were the problem but i was really shorting out the map lights on the roof with the extended wire i had to later wire up floor lights
Trending Topics
i would love to see how u did the visors i changes my map and cargo lights to blue i did the visors too but kept blowing the fuse and i thought they were the problem but i was really shorting out the map lights on the roof with the extended wire i had to later wire up floor lights
As for the visors, they are premade SMD strips, very thin with leds soldered on. The strips were directly soldered to the original socket. Ill take a pic when i remove the plastic. The visors are prob very unreliable/most likely to burn out but i never use them so its just for kicks
The others are uber bright and use drivers so im all set
BTW blue is a terrible way to go, try to avoid it if you can. I never understood people who make their whole interior hyper blue, all unevenly lit, hotspots in the cluster. It looks terrible in the after pics IMO. Unless its done right with the proper leds and controllers, its not worth doing.
My next project are the under mirror courtesy lights, i found a way to hide them in nicely, practicality isnt really there hence the delay for those.

I have the same setup in my other vehicles interior, its over 2 years old now without any issues. It seems to retain its brightness as well.
With the proper wiring they will last the full led lifetime of 100,000 hours. I generally look at 10,000 hours of reliable service.
I wont be replacing any of those anytime soon.
Cheers
C


 Either i am just LAZY or SMART... Not sure leaning toward LAZY... How much to make a set of map lights? PLease pm a price
work in progress, im adding the leveling motors to my spare set of 08 hid headlights
The bottom bolt on the headlights can adjust the headlights up and down with a switch inside the car, it simply sends a pulse signal to the motors and has 4 steps. You can then raise or lower your headlights depending on your weight + passengers or road conditions. I find that my lights are aimed too low on the highway and then too high for when im going over unlevelled roads. This way my current setting could be step 3. Step 1,2 would be lower than my current hight and step 4 would be for even highway use.
The switch has 4 steps, 4 = lowest, 0 = highest
It was made for the subaru sti sedans and nissan muranos + FX35
I will do a full write up on it when its done.

I looked into cheaper leds but then they would probably burn out so theres no point. I may just work on a superflux alternative board that would be significant cheaper in parts. It may Fill in the area better too
Lumileds Superflux are cheaper as an led, still reliable, do not need controllers (just voltage regulators LM317). I may just sell the boards with everything attached for the superflux and people can pop them in.
Superflux would be around 35$ for everything for both sides with 10-15 leds per side and regulators included.
This is what an Sflux board looks like, this is a chinese one but the one i would make would be handmade with lumileds leds that will not burn out. It will be shaped for the Z light housing. I may still be able to fit a diffuser lens like the luxeon, the lenses work on all types of leds.

Ill do some bench tests this weekend with the Sflux and update this thread
C
Last edited by Linuxglobal; Nov 23, 2010 at 12:45 PM.
