
DIY: Restoring Headlights with New UV coating


Registered User
Joined: Jan 2012
Posts: 10
Likes: 0
From: Los Angeles, CA
Yesterday I was in Vegas and made it a point to head to Home Depot and I picked up the recommended Helmsman, The correct product is labelled 63200 on the shelf tag, which is Minwax's product number as well. In any case I am going to redo the RX8 headlights with the Helmsmans urethane. The Cabot stuff I'm assuming will last because the Z and Eclipse headlights feel smooth to the touch now that the product has fully cured. It's just messy due to the extended dry time.
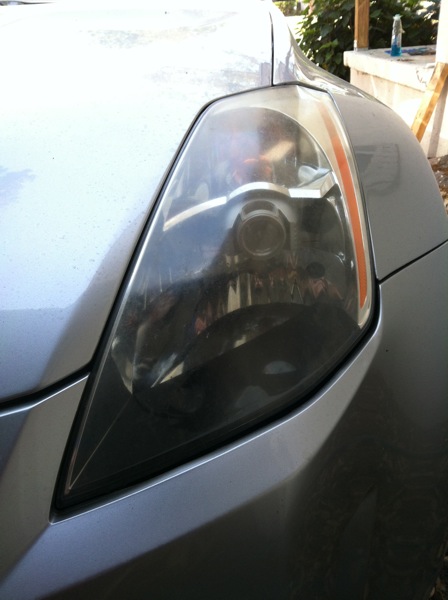
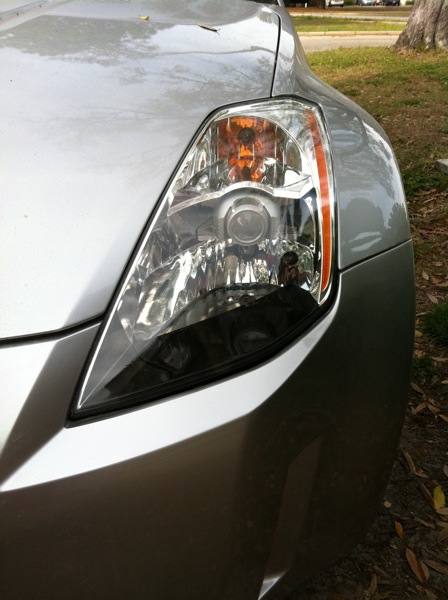
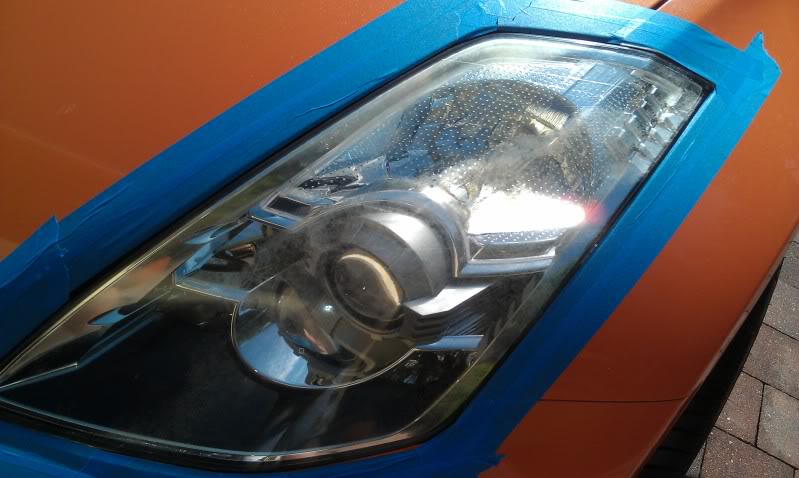
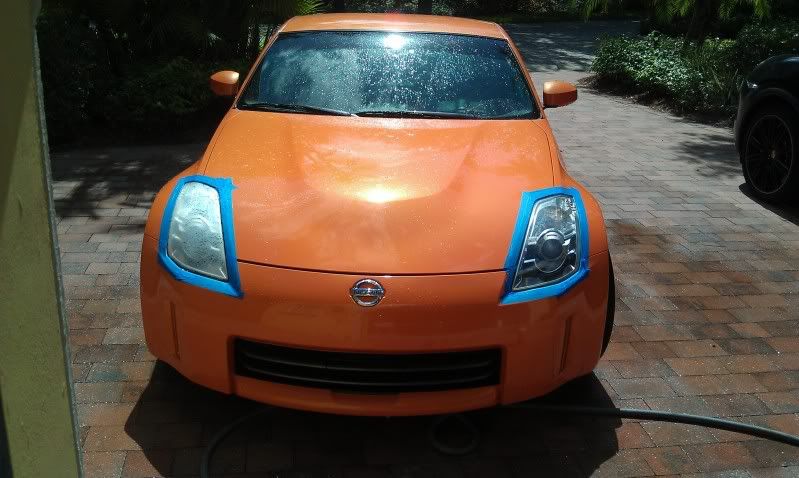
Here is a link to the after of my 350Z headlights, I deleted the before pictures by mistake. The headlights were pretty bad and were deeply scratched from what I assume was a previous attempt to recondition them by the previous owner or someone he paid to do it.
https://www.facebook.com/media/set/?...1&l=758a31b27d


Registered User
Joined: Jul 2011
Posts: 82
Likes: 0
From: Tennessee
The chemicals that this involves, are they dangerous to paint?? (I asked because I obviously don't know) ... I know people tape off lights, and know you barely dip rag into the liquids, but should i be careful about hitting front bumper, fenders, whatever??? or does it not really matter, just wipe off and go?

Registered User
Joined: Oct 2007
Posts: 158
Likes: 0
From: Tallahassee Florida
I just did this to my car and I must say the results are fantastic. The plastic on my headlights started to peal over a year ago and I got sick of looking at it. It really looked bad and it needed to be done.
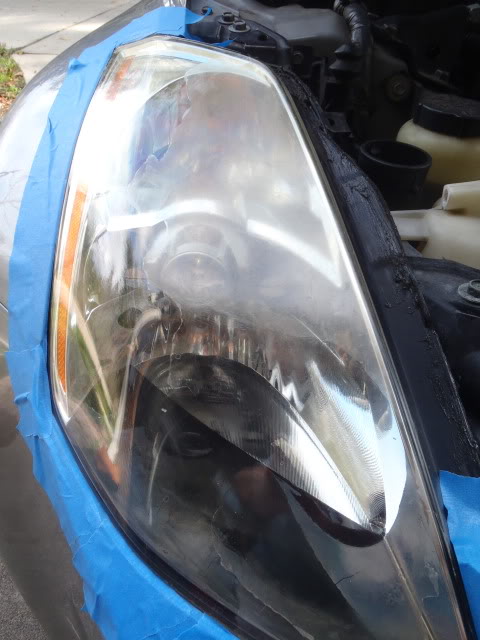
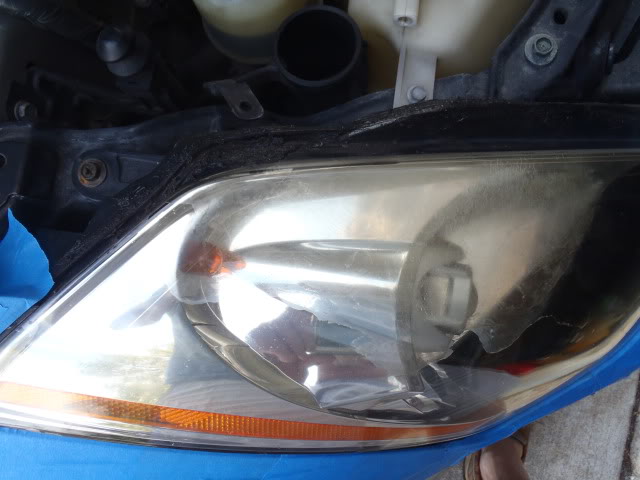
Here are the before pics. They don't show exactly how bad they looked. They look alot worse in person.
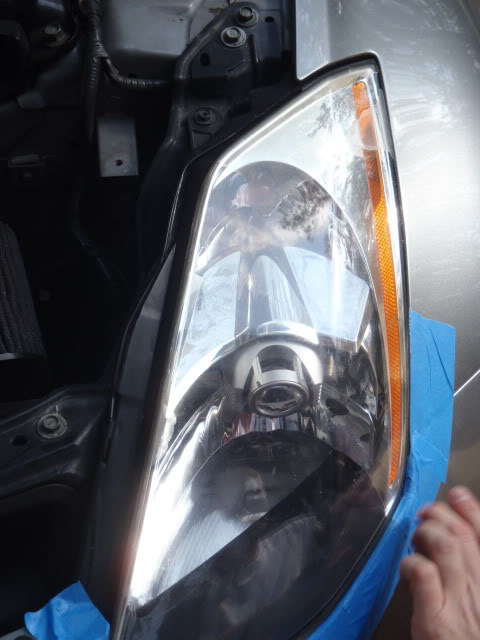
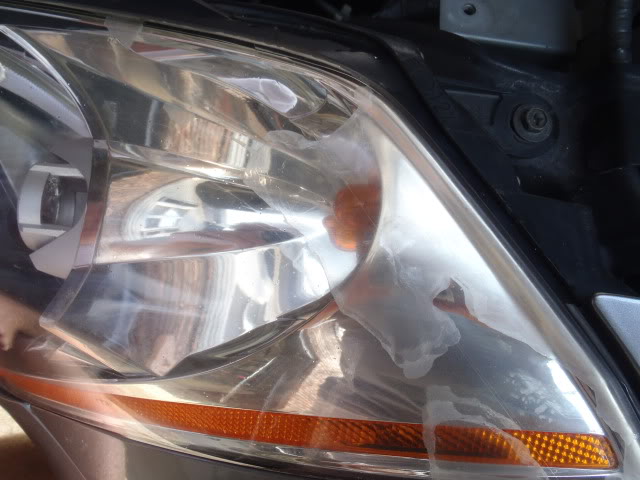
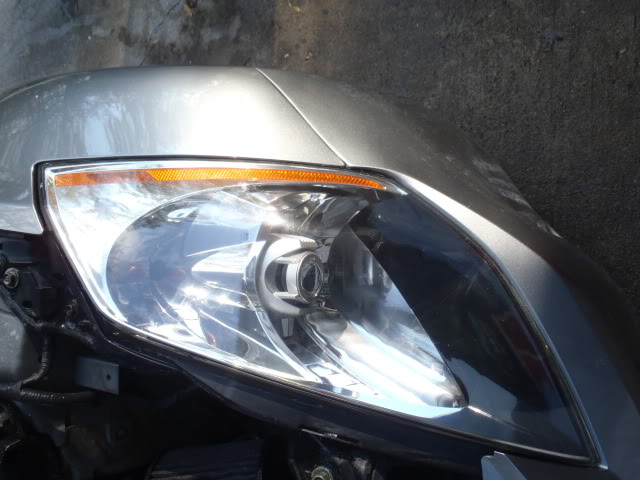
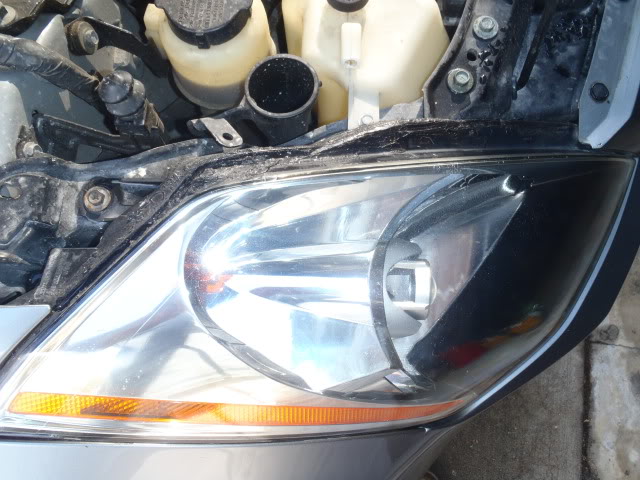
Here are the after pics.. They look brand new..
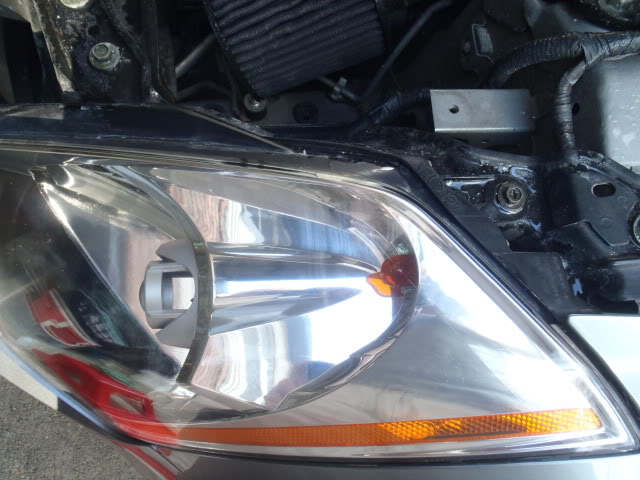
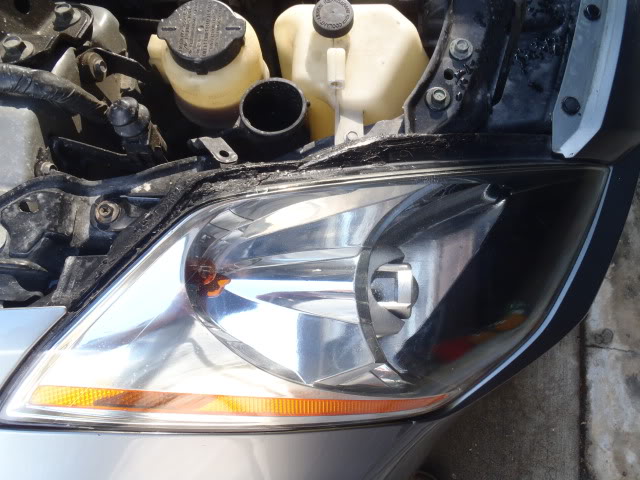

Here are the before pics. They don't show exactly how bad they looked. They look alot worse in person.
Here are the after pics.. They look brand new..
Registered User
Joined: Jan 2012
Posts: 10
Likes: 0
From: Los Angeles, CA

Registered User
Joined: May 2011
Posts: 335
Likes: 1
From: Tampa, FL
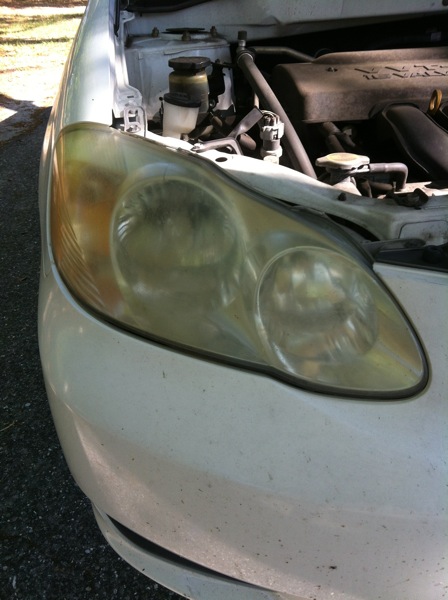
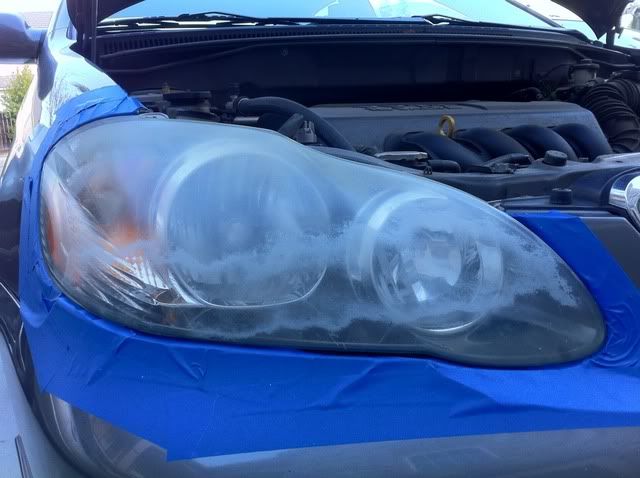
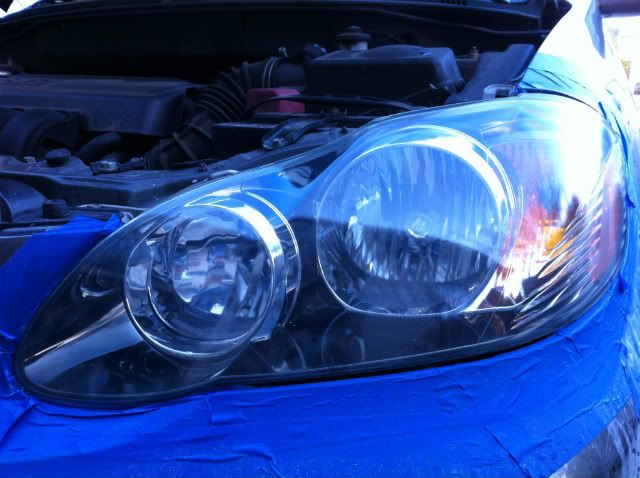
I did this today by hand. when i bought my car the previous owner scratched the headlights trying to restore them. now they look like new.
Before
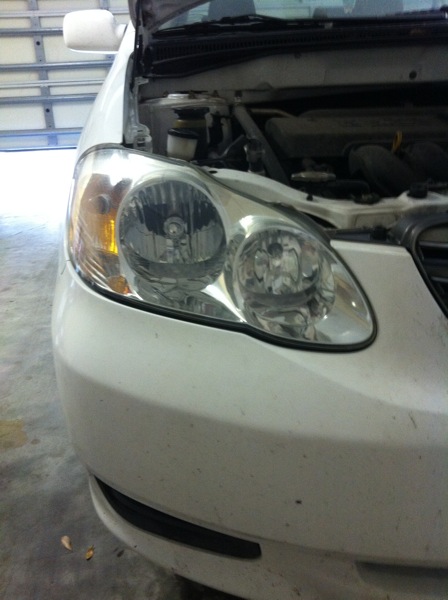
After
my sisters corolla before
After
Before
After
my sisters corolla before
After
Last edited by realist alive; May 14, 2012 at 06:52 PM.


I restored mine 8 months ago.
I started off wet sanding at 600 grit, 1500, 2000, 3000 grit, then went to my big Makita buffer and hit it with some medium cut compound.
Finished up with some Meguiars PlastX and reapply Plastx every time I wash the car. I also apply the Meguiars Ultimate Black to the rear view mirror triangles to keep them glossy black.
So far looks good as new.
Before:
After (Passenger side at 3000 grit stage, Driver's after buffing):
Last edited by ian99rt; Mar 9, 2012 at 05:50 PM.

ok, so i did this on my girlfriend's 05 corolla, but i didnt get a "smooth" finish :/ i sanded, cleaned, etc, and applied the clear with a sponge brush thing (that i picked up from home depot for like 50 cents). it took about 2 hours to fully dry, and looks great from afar, but when you get close, you can see the stroke lines  anyone else have this problem? solution? its not horrible, but i'd love to be able to get a "like new" smoothness.
Nonetheless...
Before: (without sanding O_O)
After: cant see it in the pics, but brush strokes are present
anyone else have this problem? solution? its not horrible, but i'd love to be able to get a "like new" smoothness.Nonetheless...
Before: (without sanding O_O)
After: cant see it in the pics, but brush strokes are present
Last edited by Dth2prT; Mar 22, 2012 at 01:50 PM.

the directions stated that you used a small folded up shop towel to apply the UV coating, so i would assume there lies your problem, try it again and follow the directions exactly and you'll end up with like new headlights 


Registered User
Joined: May 2009
Posts: 24
Likes: 0
From: Spring City, PA
My headlights aren't nearly as bad as some of the ones pictured, however the top portion of my headlights have gotten a lot of hairline scratches on them since I got the car. I'm thinking possibly from the car cover and occasional windy day? Would this work on that as well? I tried just using the Plastx stuff and was not happy at all with the results.
Also, I'm very nervous about taking sandpaper to my headlights, plus I've never wet-sanded anything before. Any words of wisdom to avoid potentially making them worse?
Also, I'm very nervous about taking sandpaper to my headlights, plus I've never wet-sanded anything before. Any words of wisdom to avoid potentially making them worse?
Wetsanding should be done in one direction, no circles! Start off with a 400 grit sandpaper, soak it in water until its soft and pliable. Again sand in one direction, often applying water to the area. The idea is to wash away all the material that you have just removed from the aurface with the abrasive.
Once satisfied you have all major imperfections out, repeat above procedure with 600 grit paper but your sanding strokes should be perpendicular to the last stage. Continue on to 2000 or 3000 grit paper.
After that you need to use some kind of rubbing or polishing compound to remove the 2000-3000 grit sanding marks. A spinning buffer works best, trying to make the buffing pad again move perpendicular to the sanding marks.
After that your headlights should looks good as new and its up to you for final treatment/sealing.
Last edited by ian99rt; Jul 29, 2012 at 07:14 PM.
So has anyone experienced the longevity of this treatment?
The autogeek forum appears to be referring to problems with it wearing off with strong wash solutions or over time.
The autogeek forum appears to be referring to problems with it wearing off with strong wash solutions or over time.


Did mine in the last weekend in Jan. and so far they have held up well. I only use meguiar's nxt for regular weekly washing and meguiars gold class when i am doing a polish and waxing. use a while you dry detailing spray that has gone on the lights and no issues with that either.