
Changing Rear Hub and Bearing assembly


Thread Starter
Registered User
Joined: Mar 2013
Posts: 25
Likes: 2
From: PR
Hi. This is my First post!! I've looked around for a DIY of rear bearing assembly but had no luck with a 350z. Only found one in a G35 forum so since I have to change it anyways though I should take pictures in the process for the benefit of others. Hope it helps you guys! 
In my case I had to jack the car up 2 times since my wheels have a plastic cap in the middle that can only be removed by tapping it from behind.
After you have access to the axle bolt, remove the pin.

32mm socket

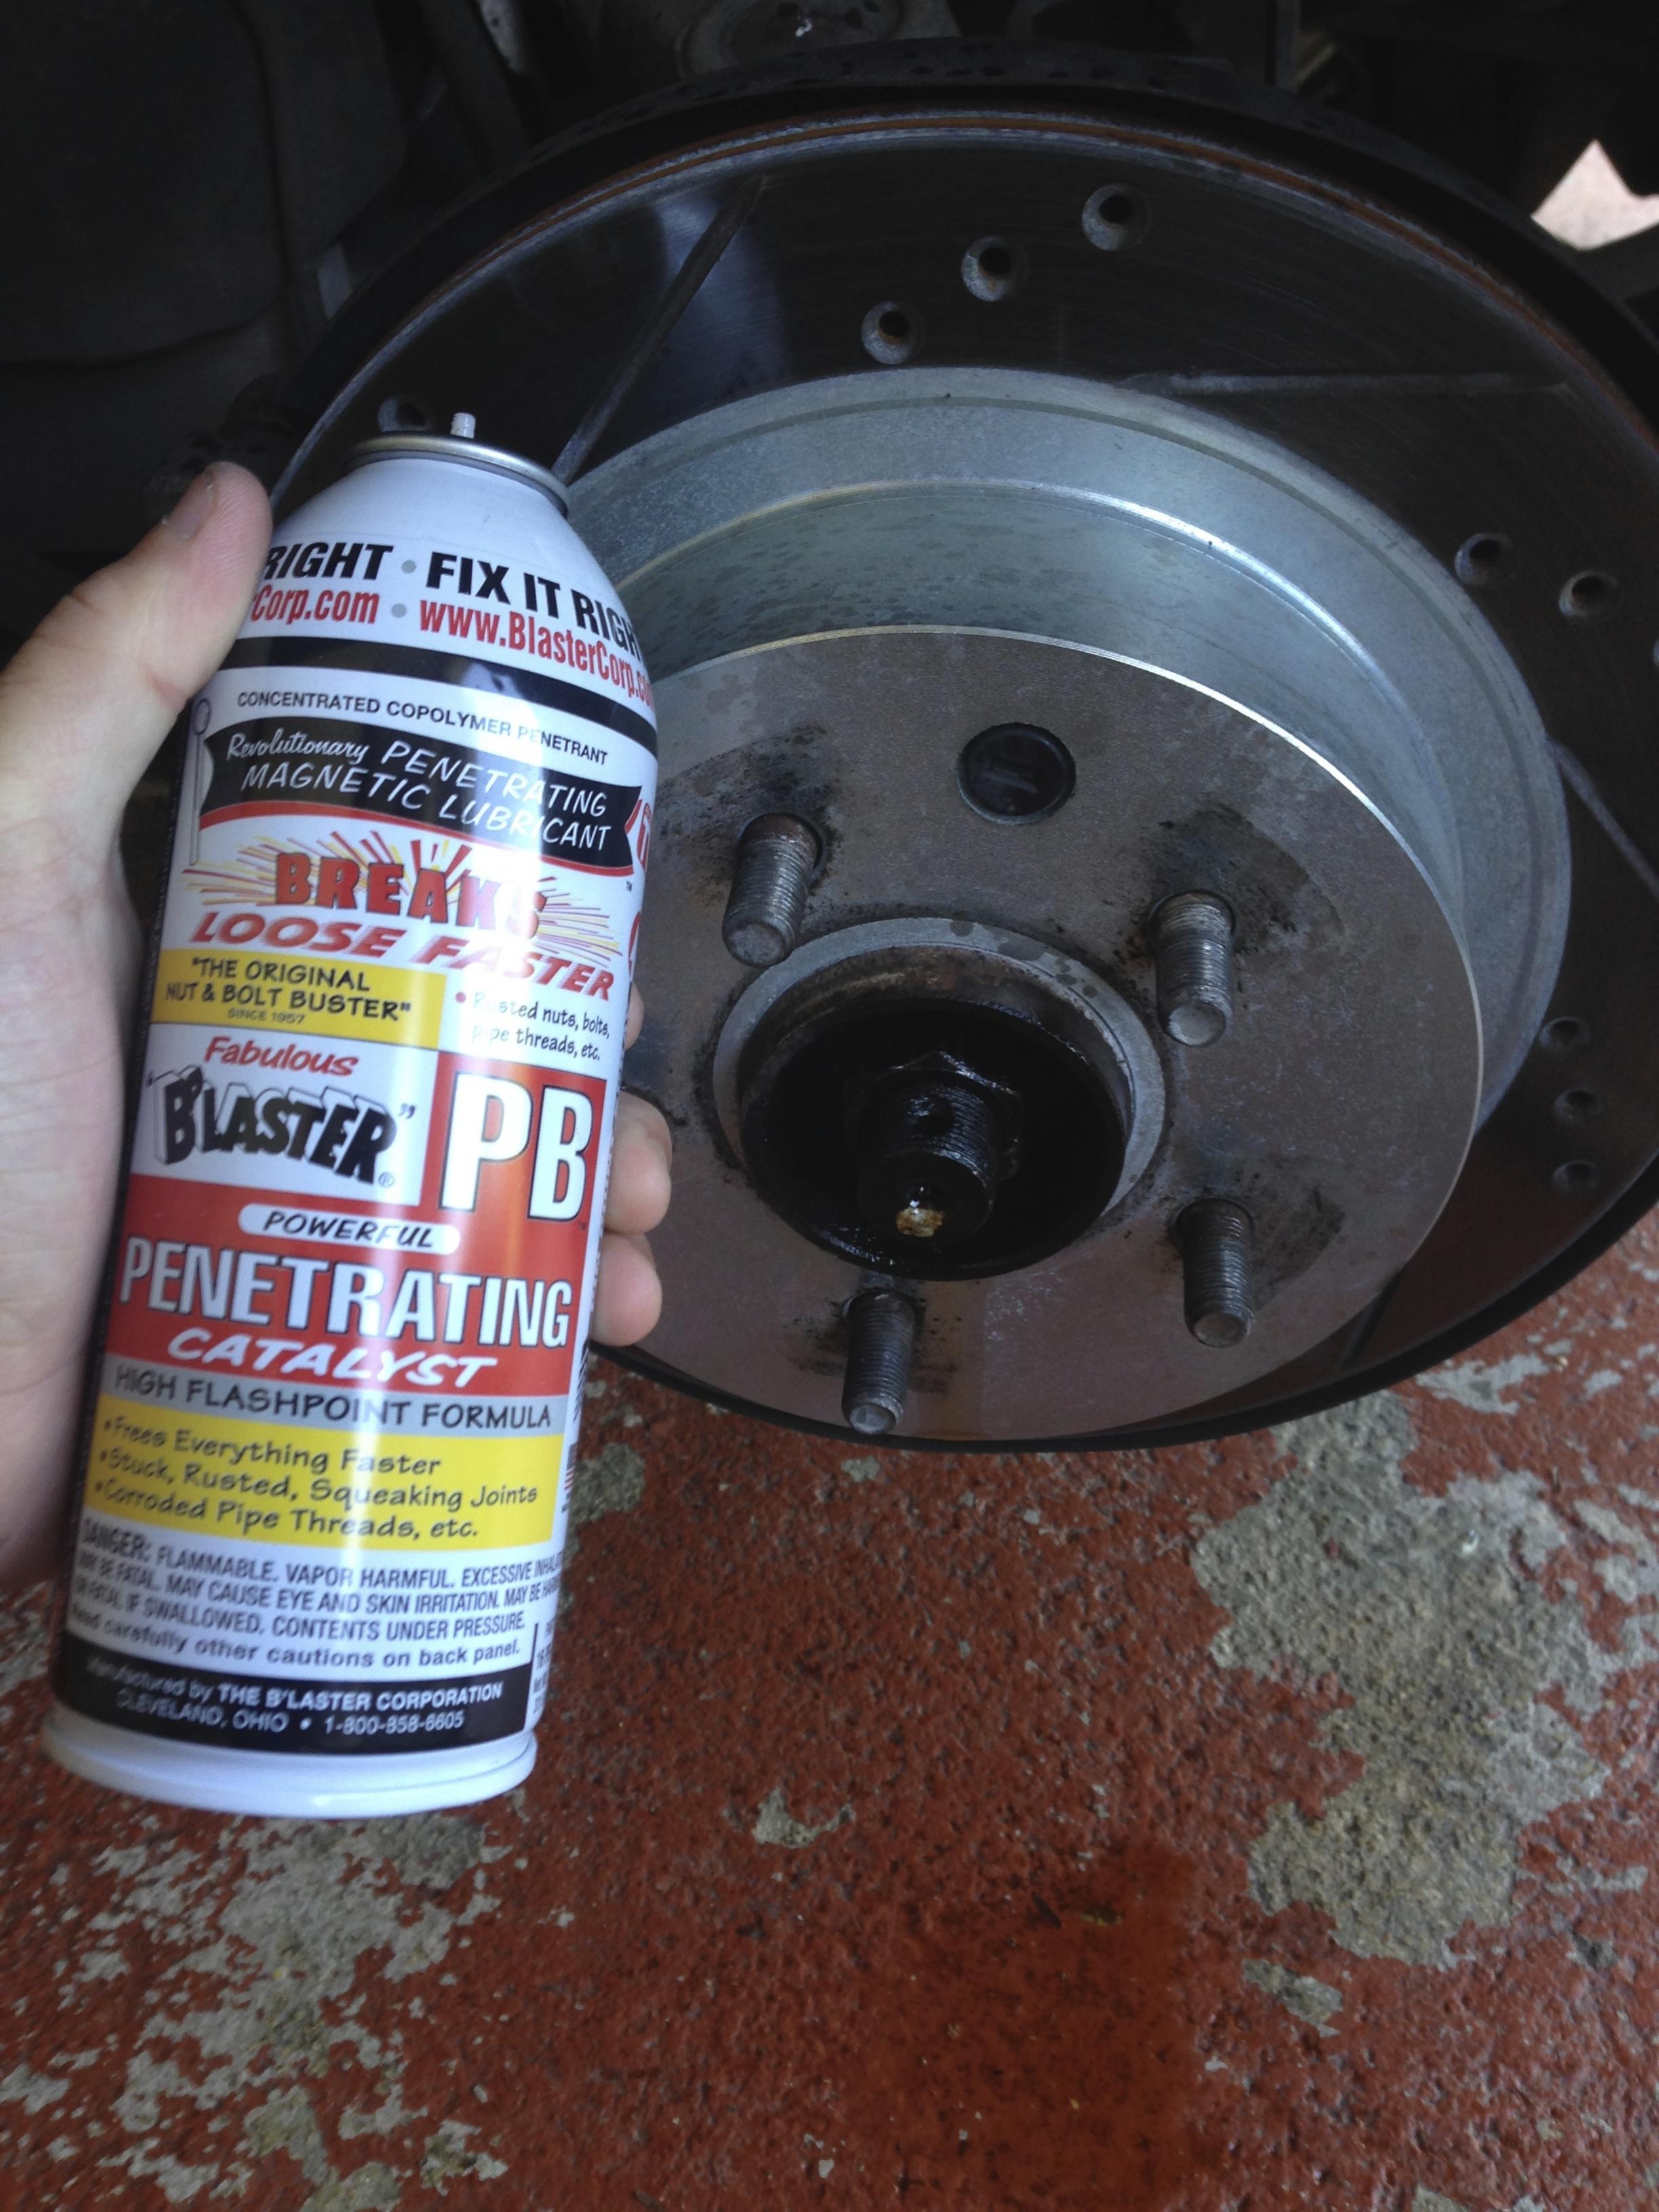
You might want to spray some PB Blaster to help loosen it.
Put the wheel back on and jack the car down so you can unbolt the nut. You might want to get a breaker bar or something long because the nut is reeeally tight. Then jack the car back up again.

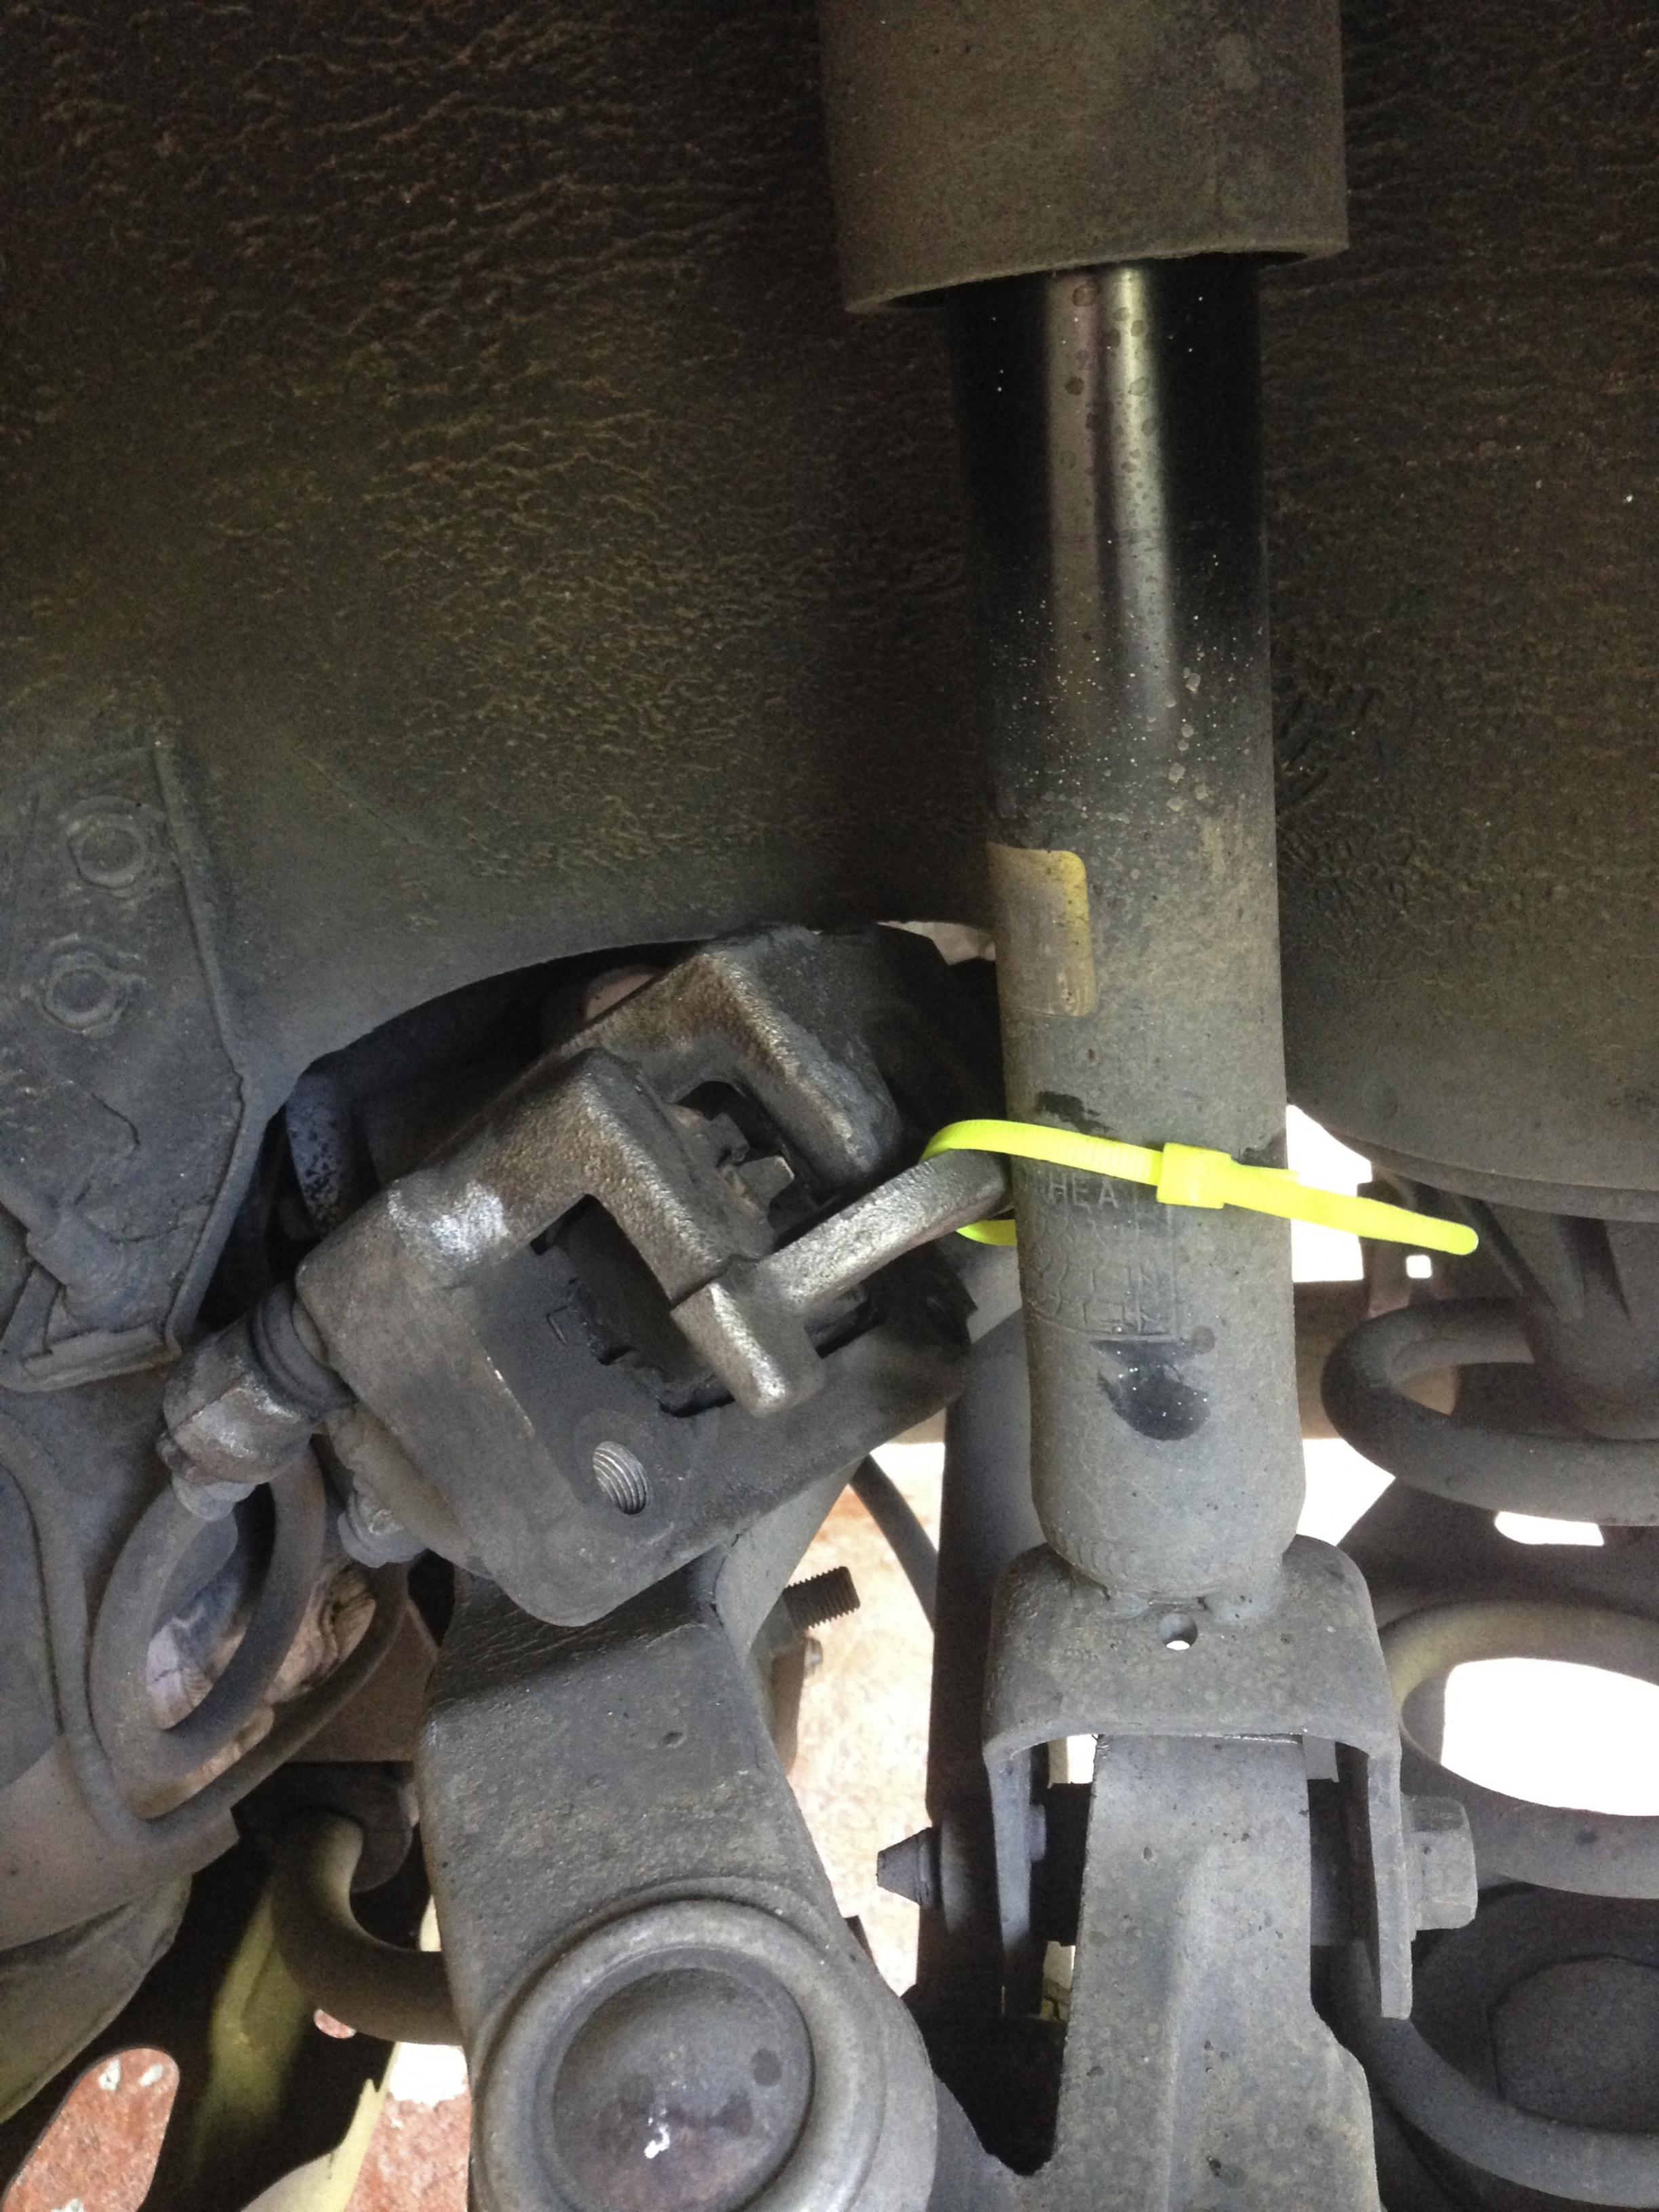
Now its time to remove the bracket that holds on the caliper assembly. Be carefull not to bend too much the brake line. I ziped tied mine to the strut.

One of the pads and the 2 bolts that hold the bracket.
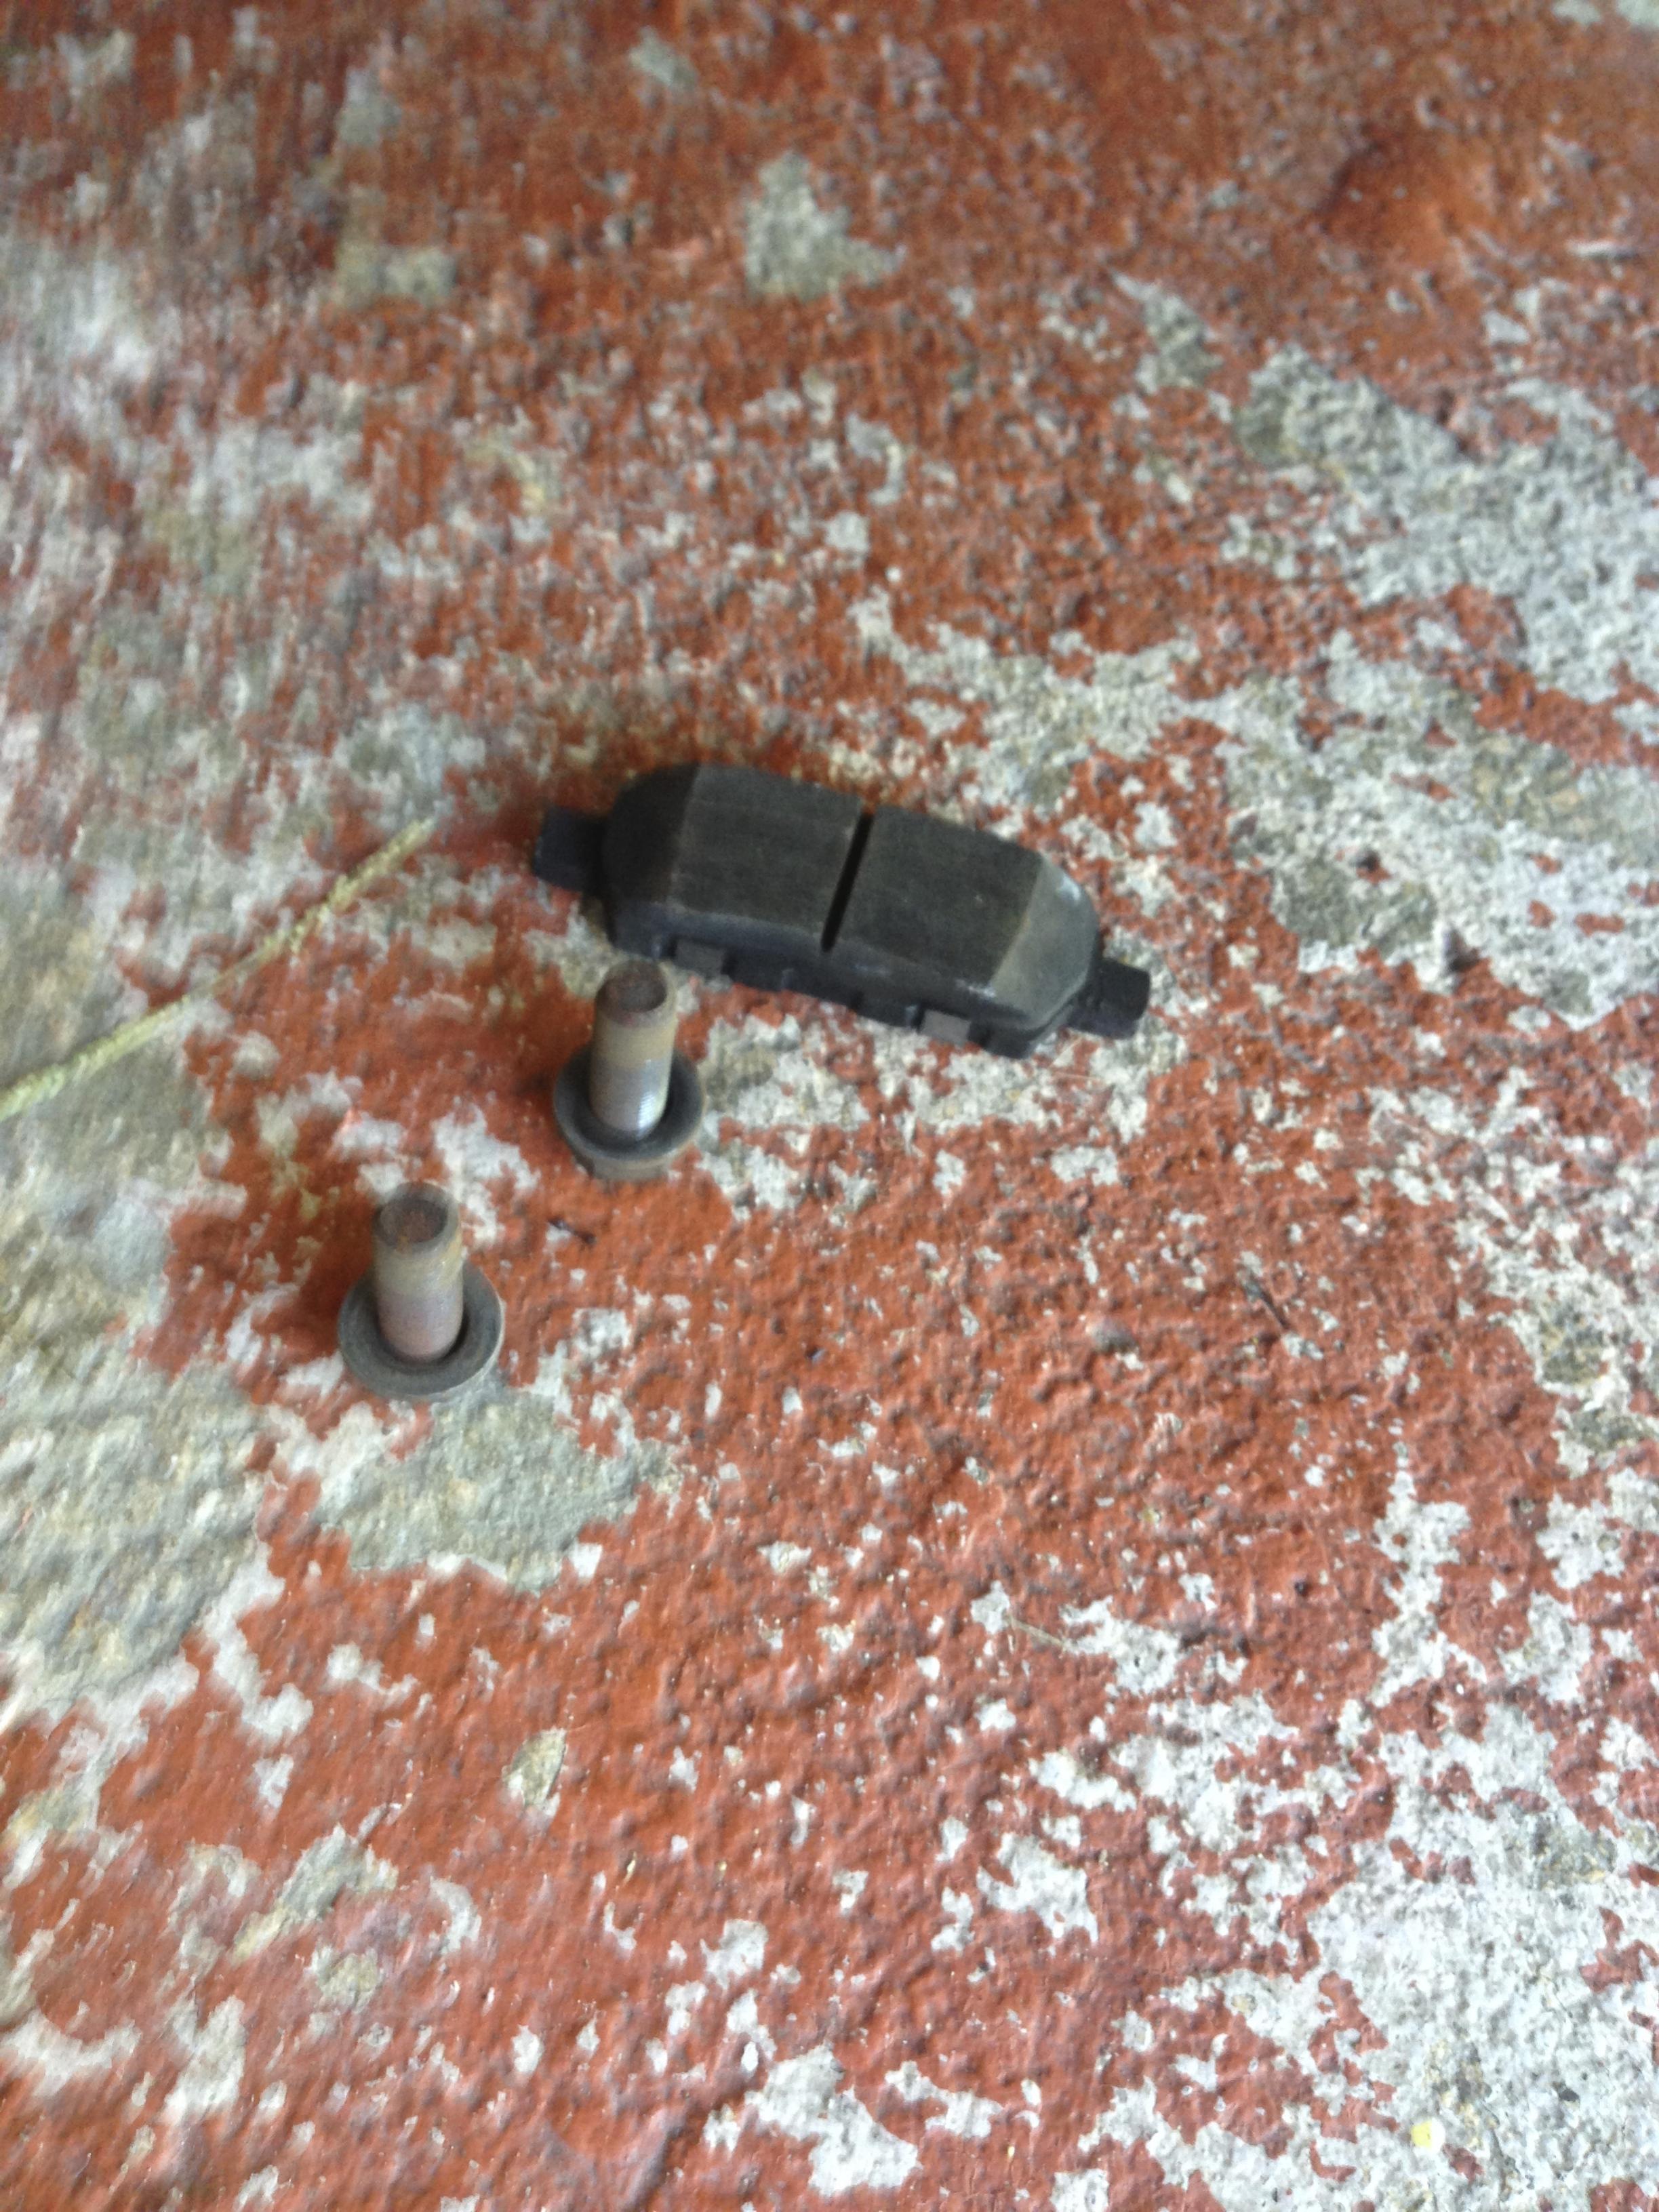
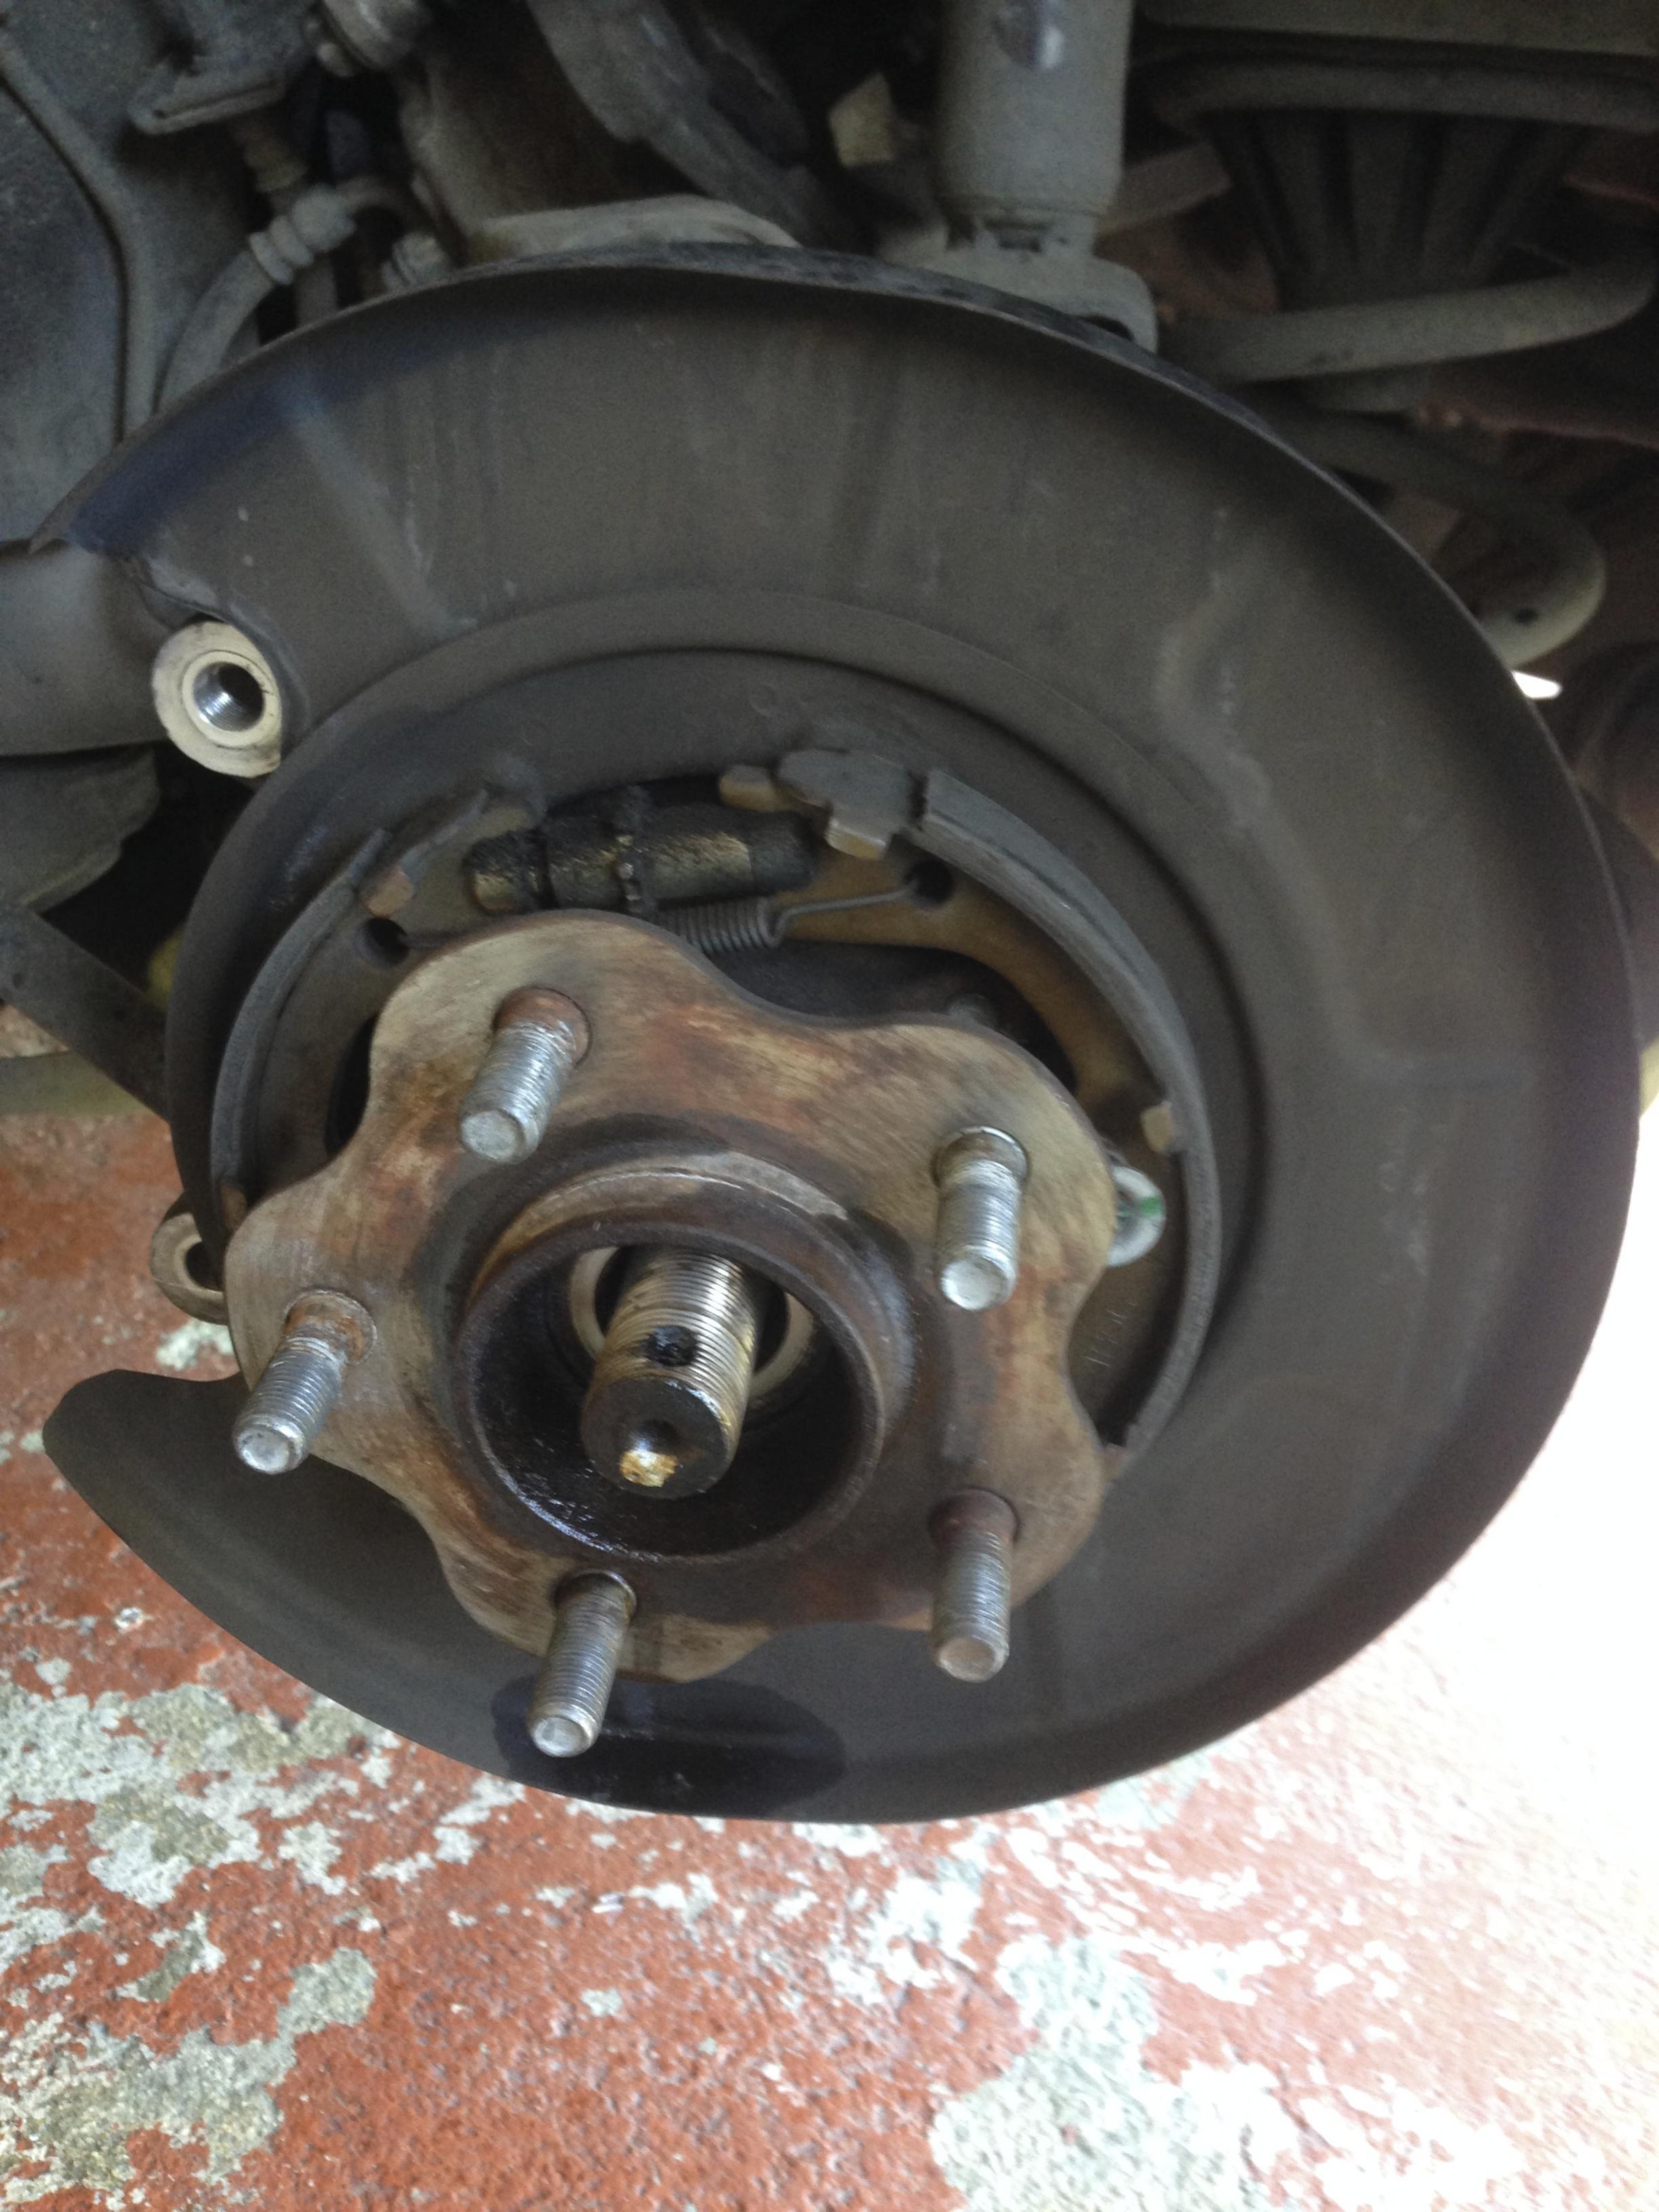
After removed it should look like this.
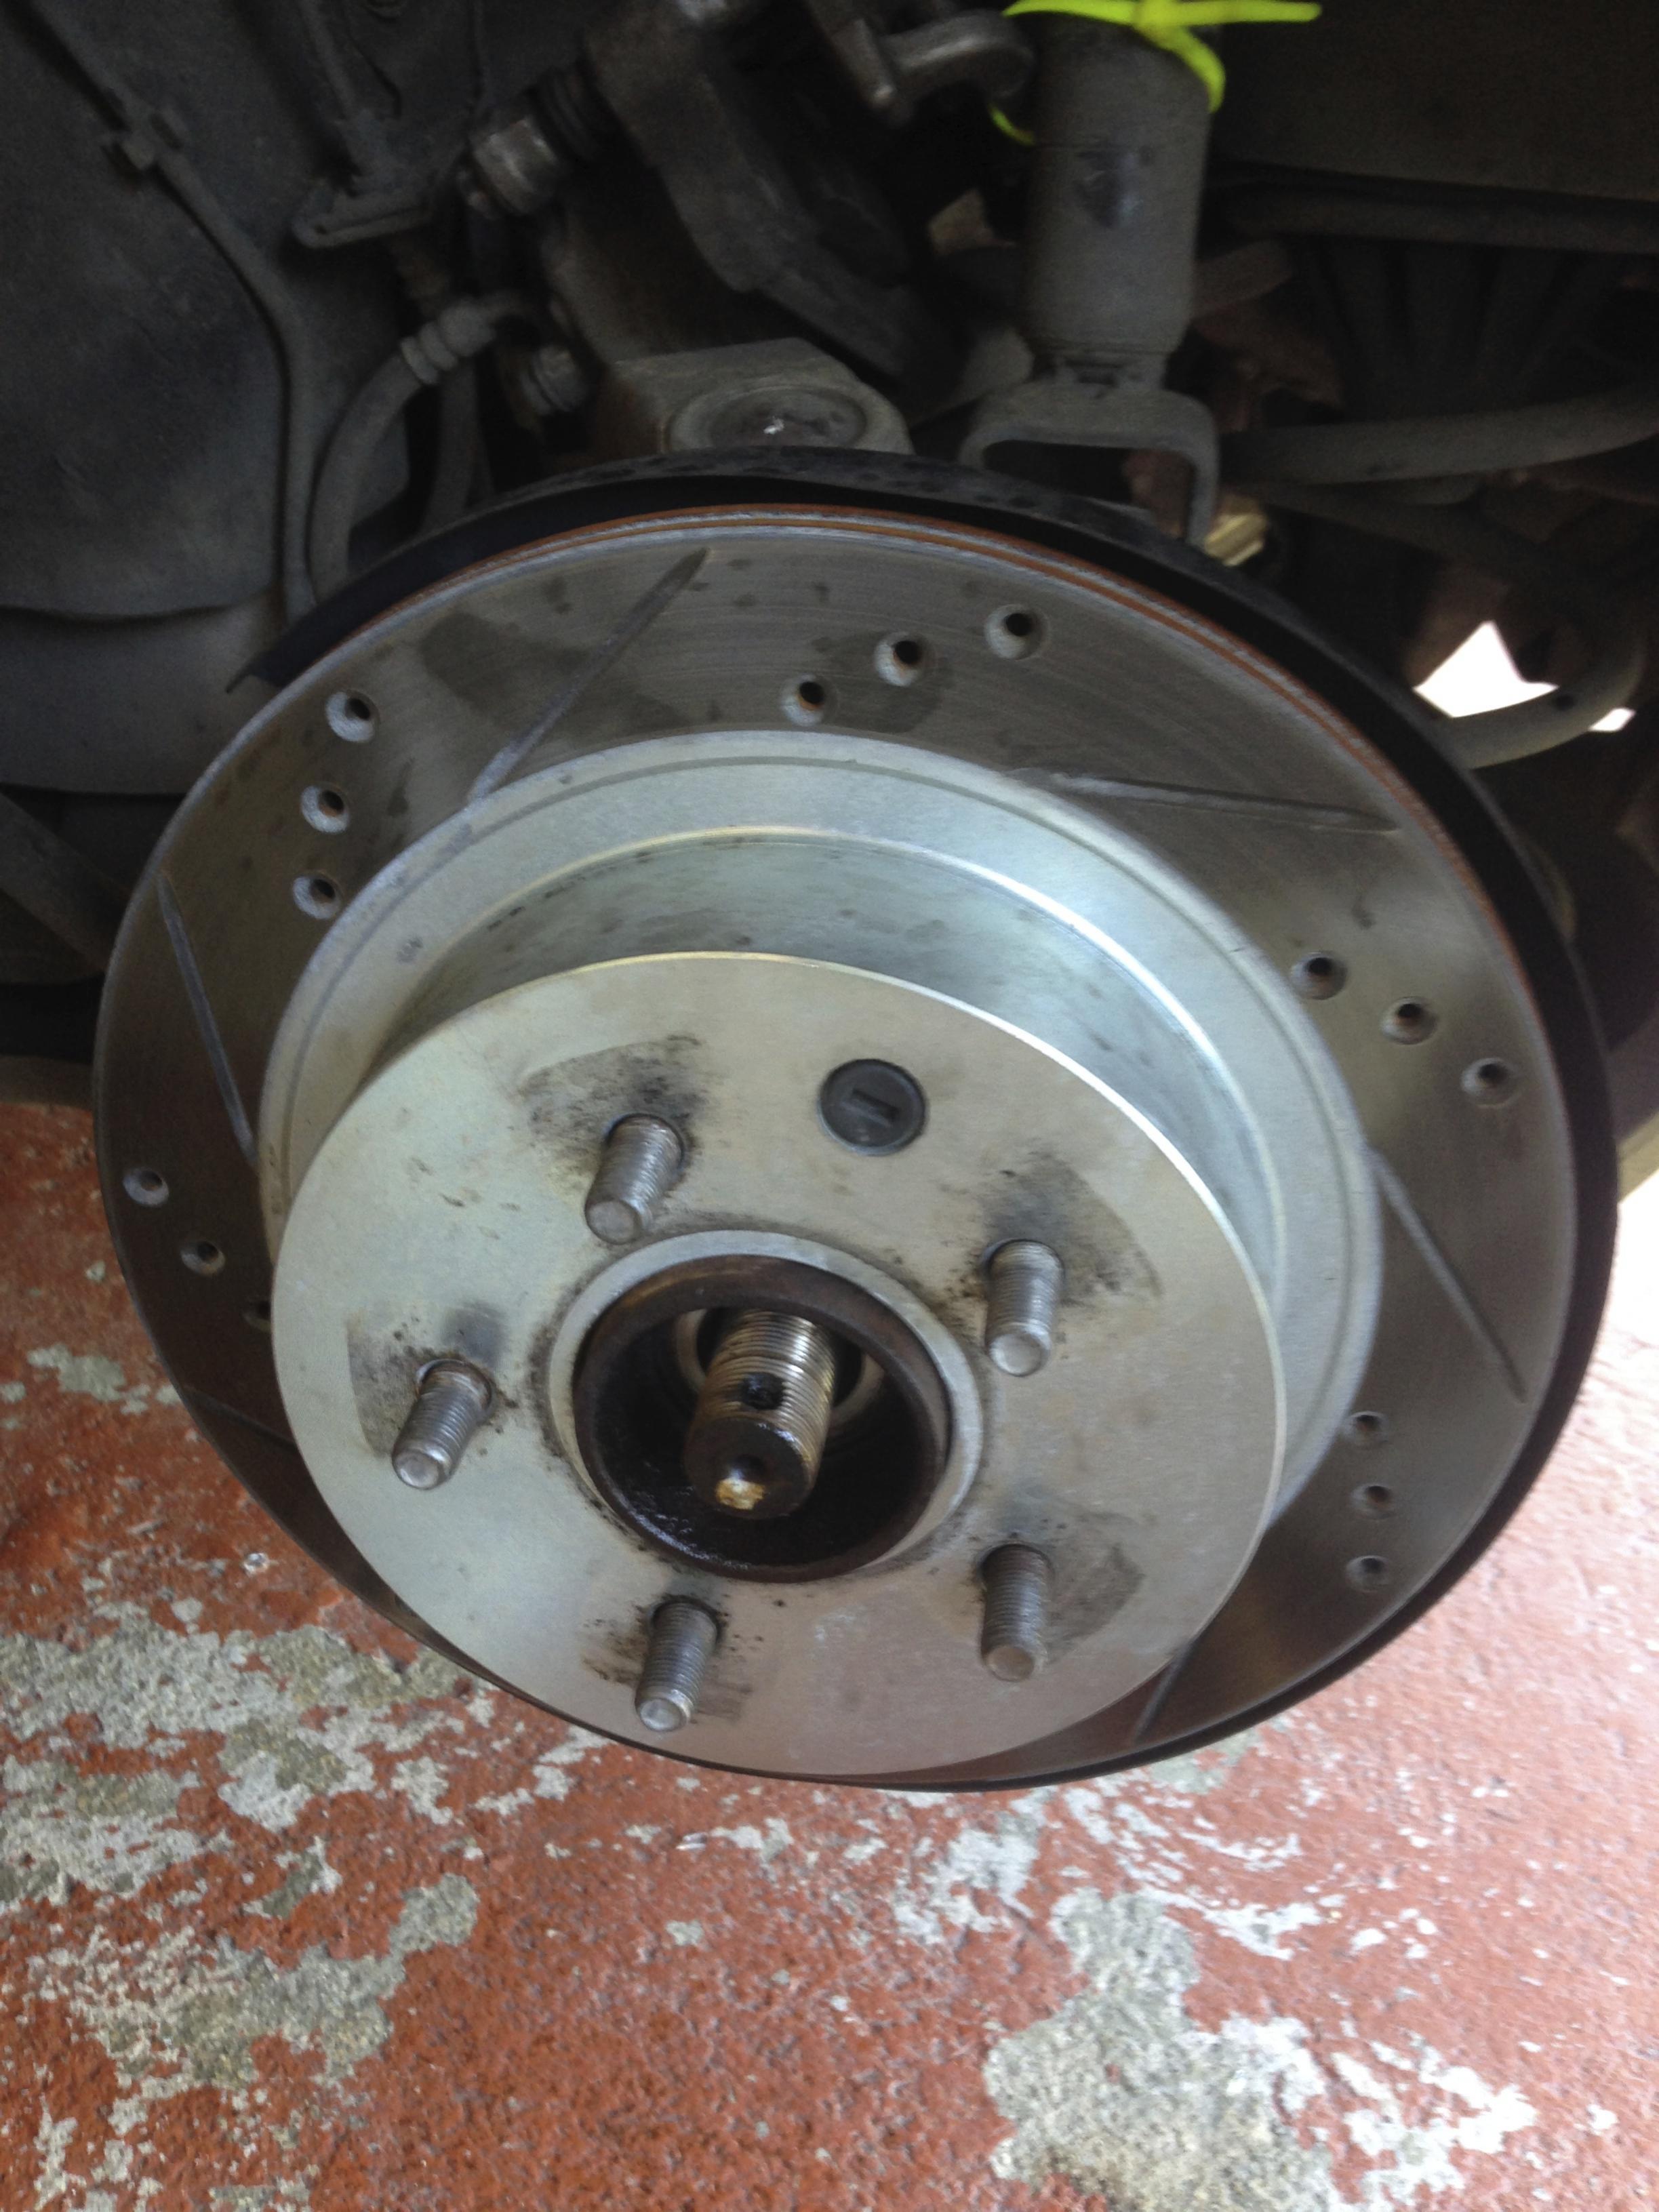
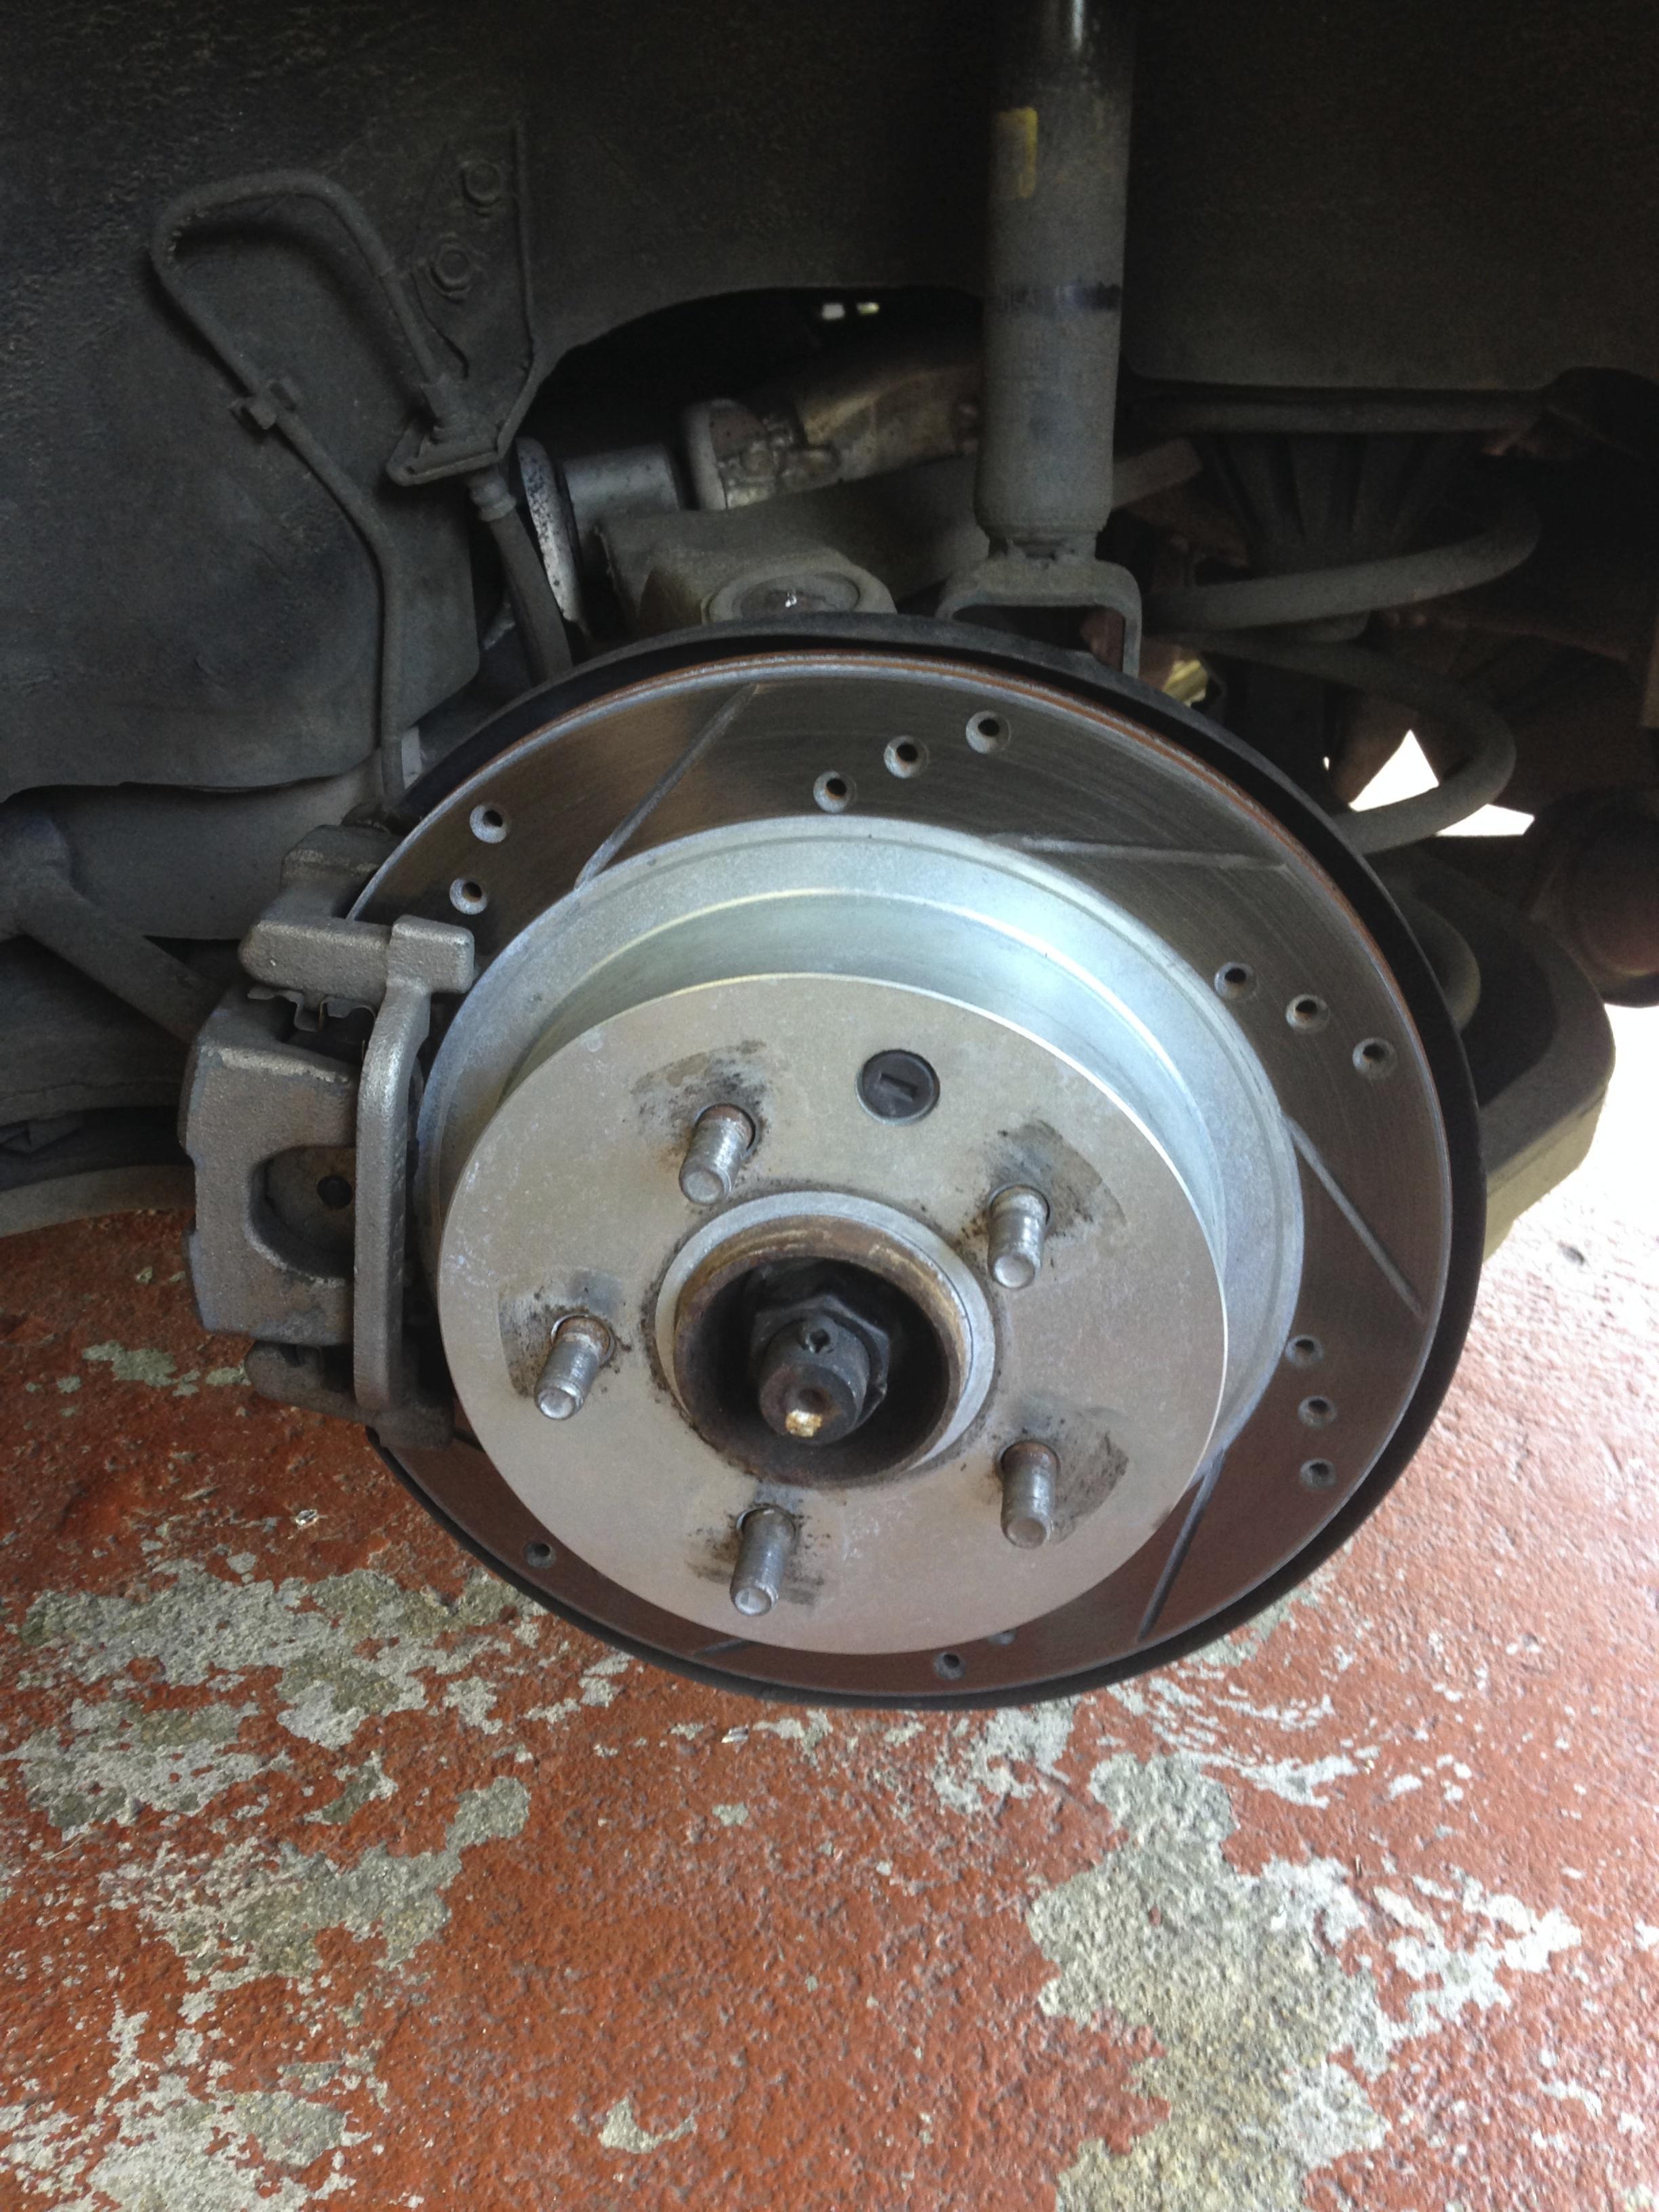
You will need to remove the disc later on but if you have never removed it I would recommend doing this now. The disc tends to create corrosion and it acts like glue on the inside. When I removed mine, I sprayed a LOT of PB Blaster through the lug nuts to the inside and apply heat with a torch. Then smack it with a rubber hammer. REMEMBER THAT IF YOU HAVE YOUR E-BRAKE ON IT YOU WILL NEVER GET IT OUT. There are multiple ways on youtube that can help.
This is how the hub looks like.
In my case I had to jack the car up 2 times since my wheels have a plastic cap in the middle that can only be removed by tapping it from behind.
After you have access to the axle bolt, remove the pin.
32mm socket
You might want to spray some PB Blaster to help loosen it.
Put the wheel back on and jack the car down so you can unbolt the nut. You might want to get a breaker bar or something long because the nut is reeeally tight. Then jack the car back up again.
Now its time to remove the bracket that holds on the caliper assembly. Be carefull not to bend too much the brake line. I ziped tied mine to the strut.
One of the pads and the 2 bolts that hold the bracket.
After removed it should look like this.
You will need to remove the disc later on but if you have never removed it I would recommend doing this now. The disc tends to create corrosion and it acts like glue on the inside. When I removed mine, I sprayed a LOT of PB Blaster through the lug nuts to the inside and apply heat with a torch. Then smack it with a rubber hammer. REMEMBER THAT IF YOU HAVE YOUR E-BRAKE ON IT YOU WILL NEVER GET IT OUT. There are multiple ways on youtube that can help.
This is how the hub looks like.
Last edited by jankypr350z; Jan 22, 2014 at 10:43 PM.


Good write up. Not sure why pics aren't showing.. to help people out even more - There is no need to take the axles out. Once you take the rotor, hub, and the axle nut, you can tap the axle with a mallet and it will pop back just enough to be able to get those 4 bolts holding the bearing in. Swivel joints will come in handy!

Registered User
Joined: Oct 2012
Posts: 26
Likes: 1
From: Fullerton
Is it possible to get the pictures up? or can i have them emailed to me? It sounds like a relatively straight forward job but i would be at a better state of mind if i had pictures of the process. =)

Thread Starter
Registered User
Joined: Mar 2013
Posts: 25
Likes: 2
From: PR
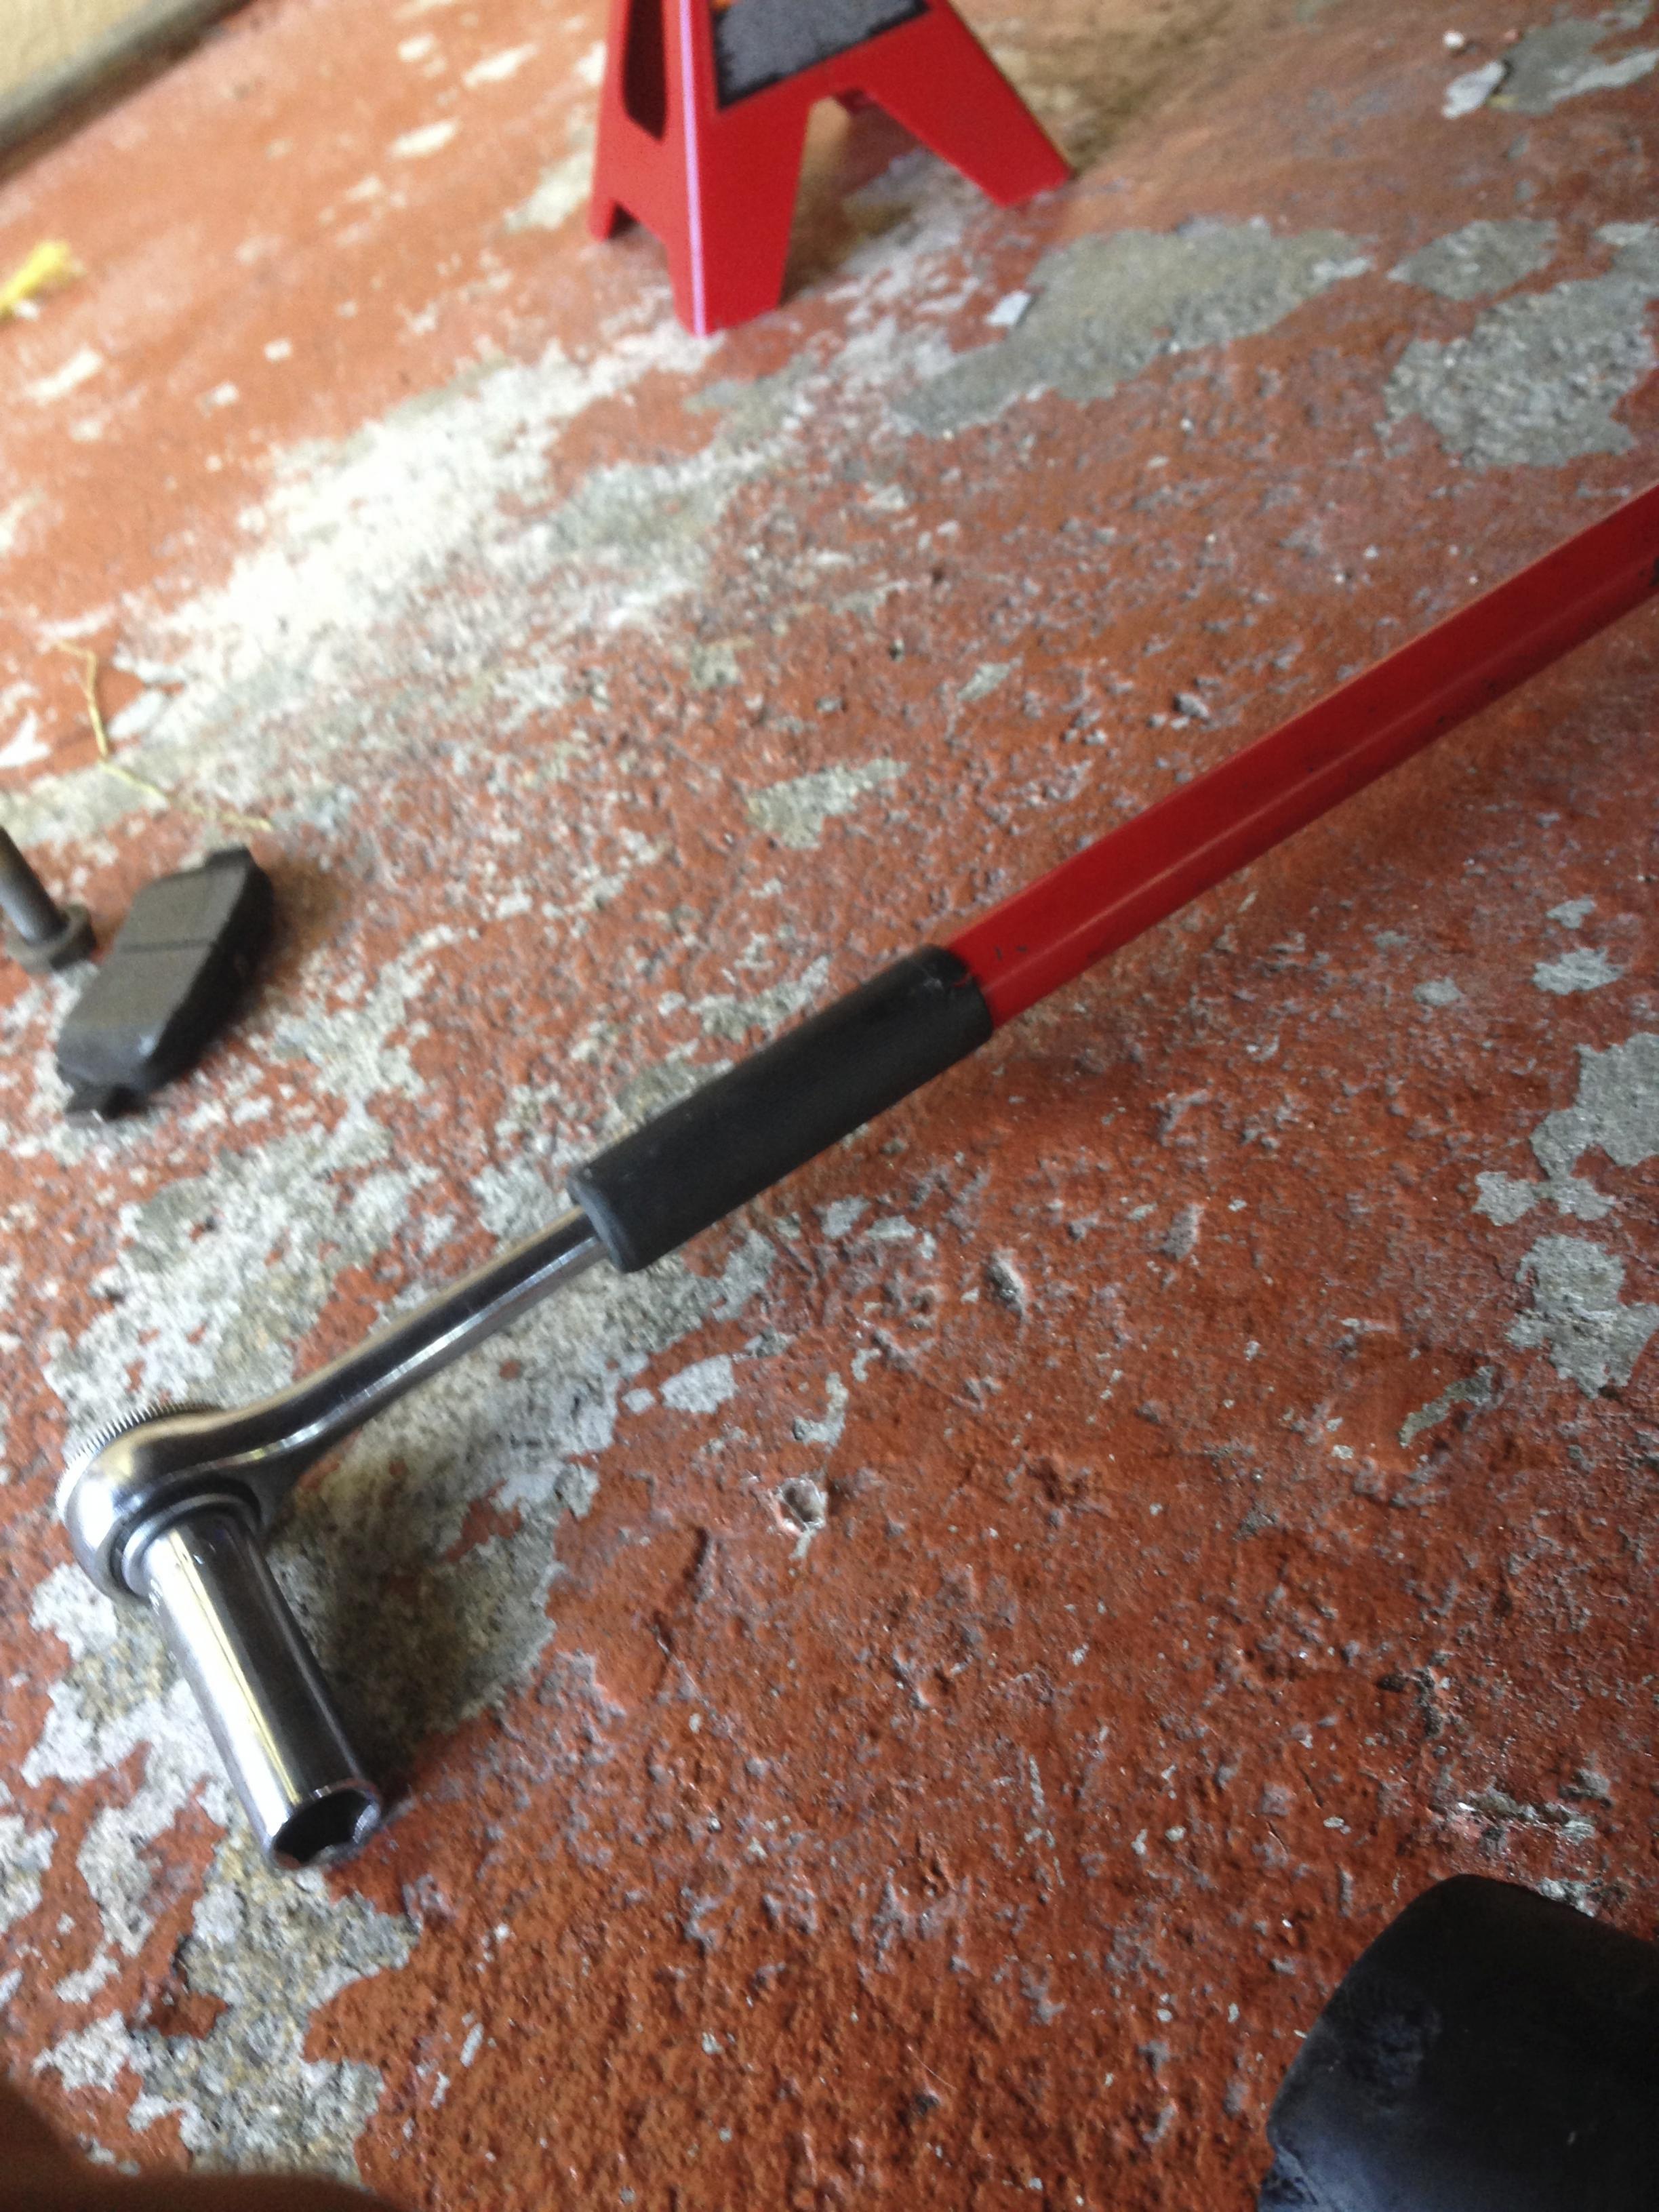
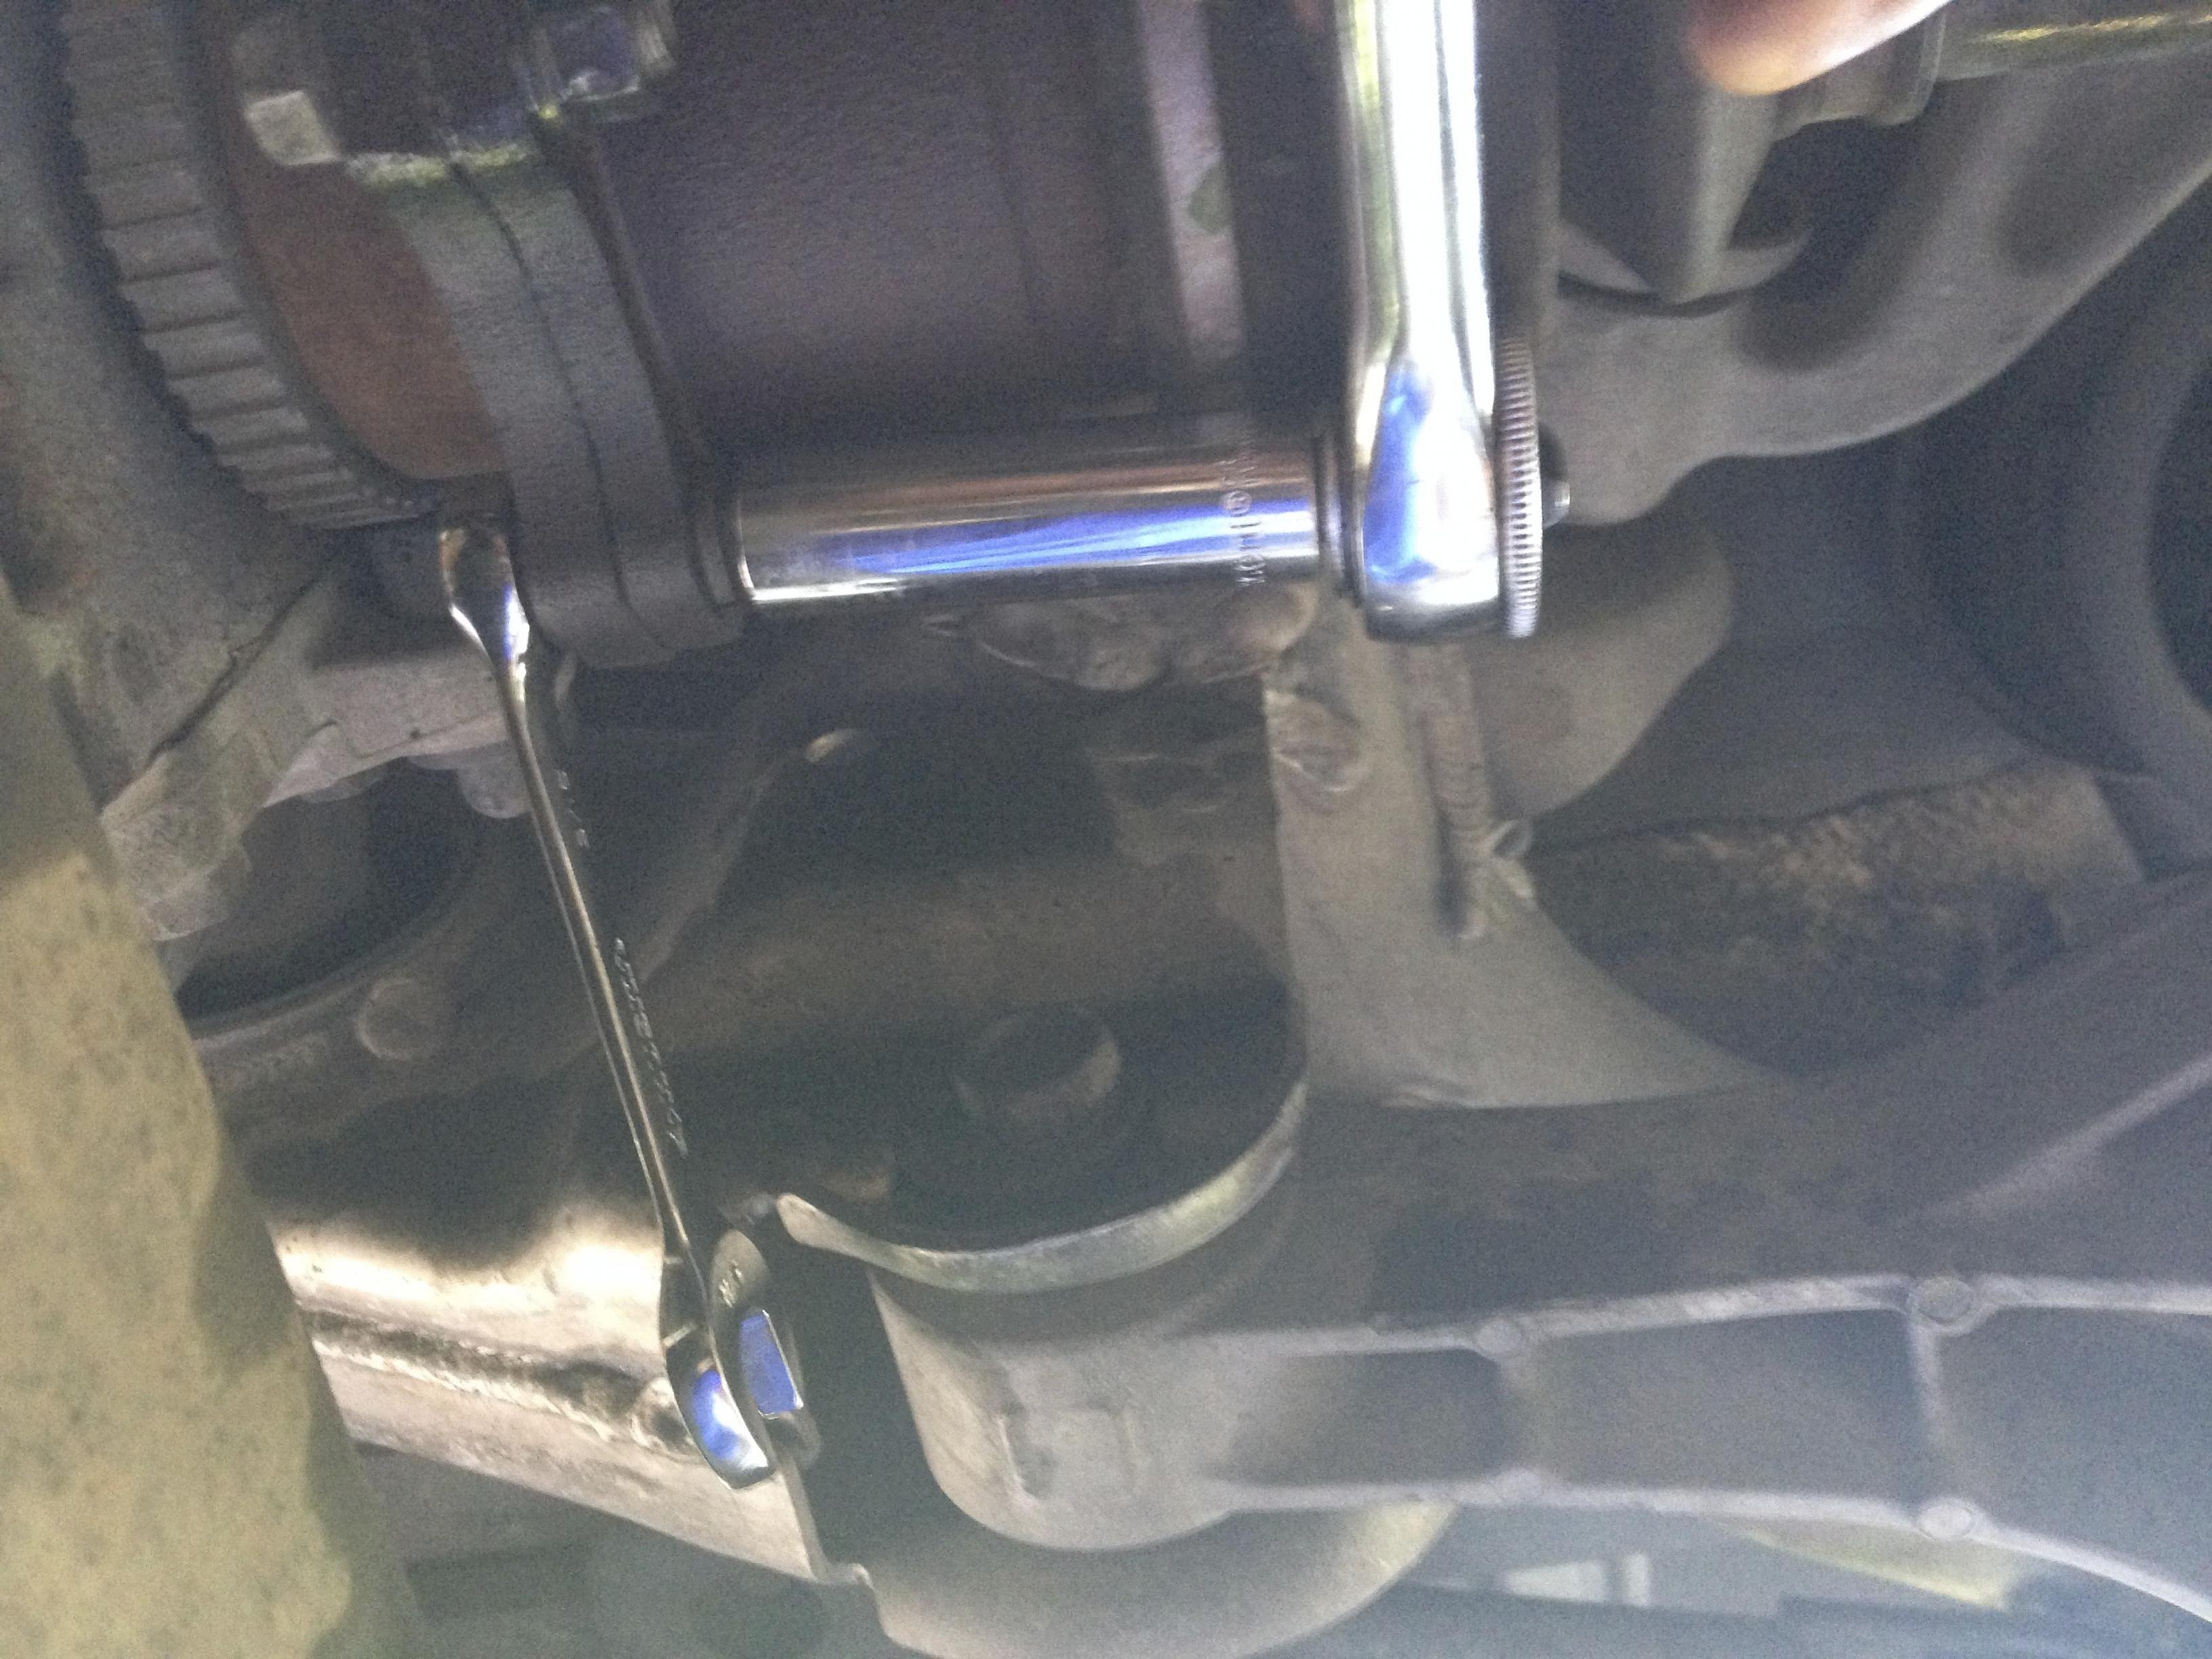
So now, you will have to proceed and remove the 6 bolts that hold the axle to the differential. They are 14mm. They are pretty tight.
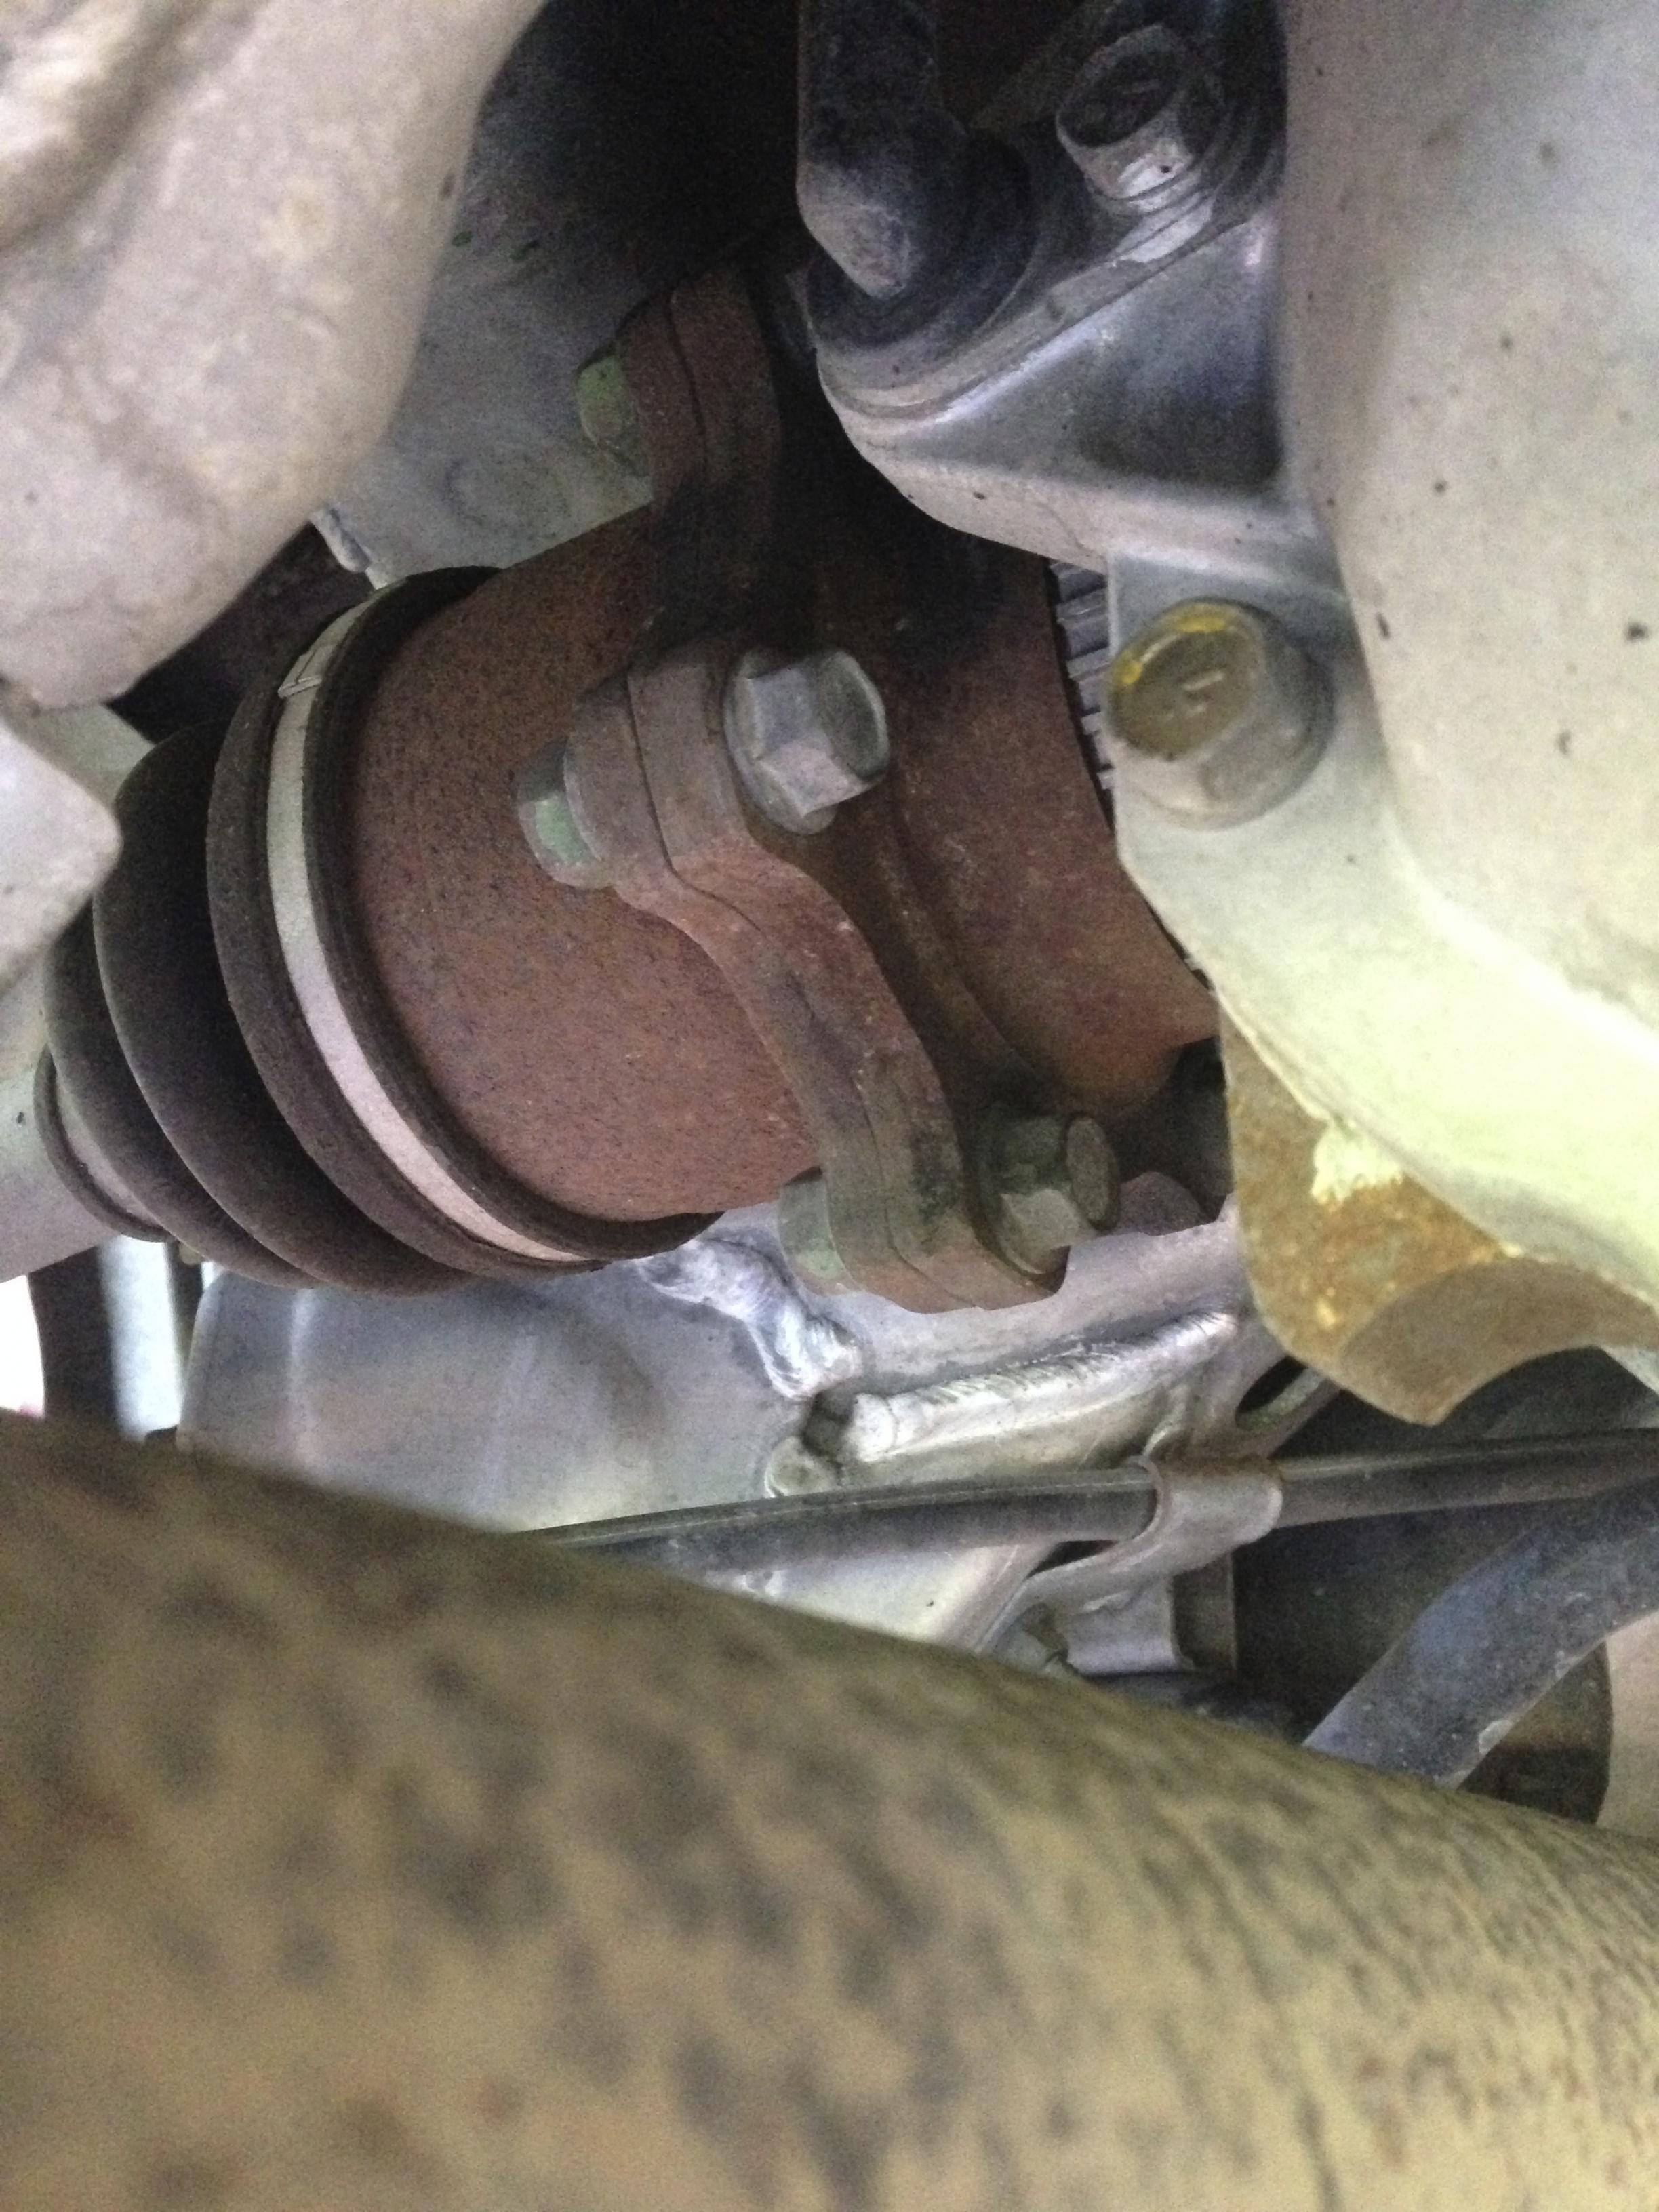
I extended my ratchet to give a little more torque. DON'T SMASH THEM WITH A HAMMER.
Put your disc back on if you removed it because you will have to apply the E-brake to unbolt the axle nuts. Apply e-brake to loosen bolt and remove e-brake to rotate axle to have access to the other 5 bolts.
I used this method since when I turned the ratchet it turned also on the other side of the bolt. So when it got to the point that was touching the car it couldn't move anymore and then break loose.
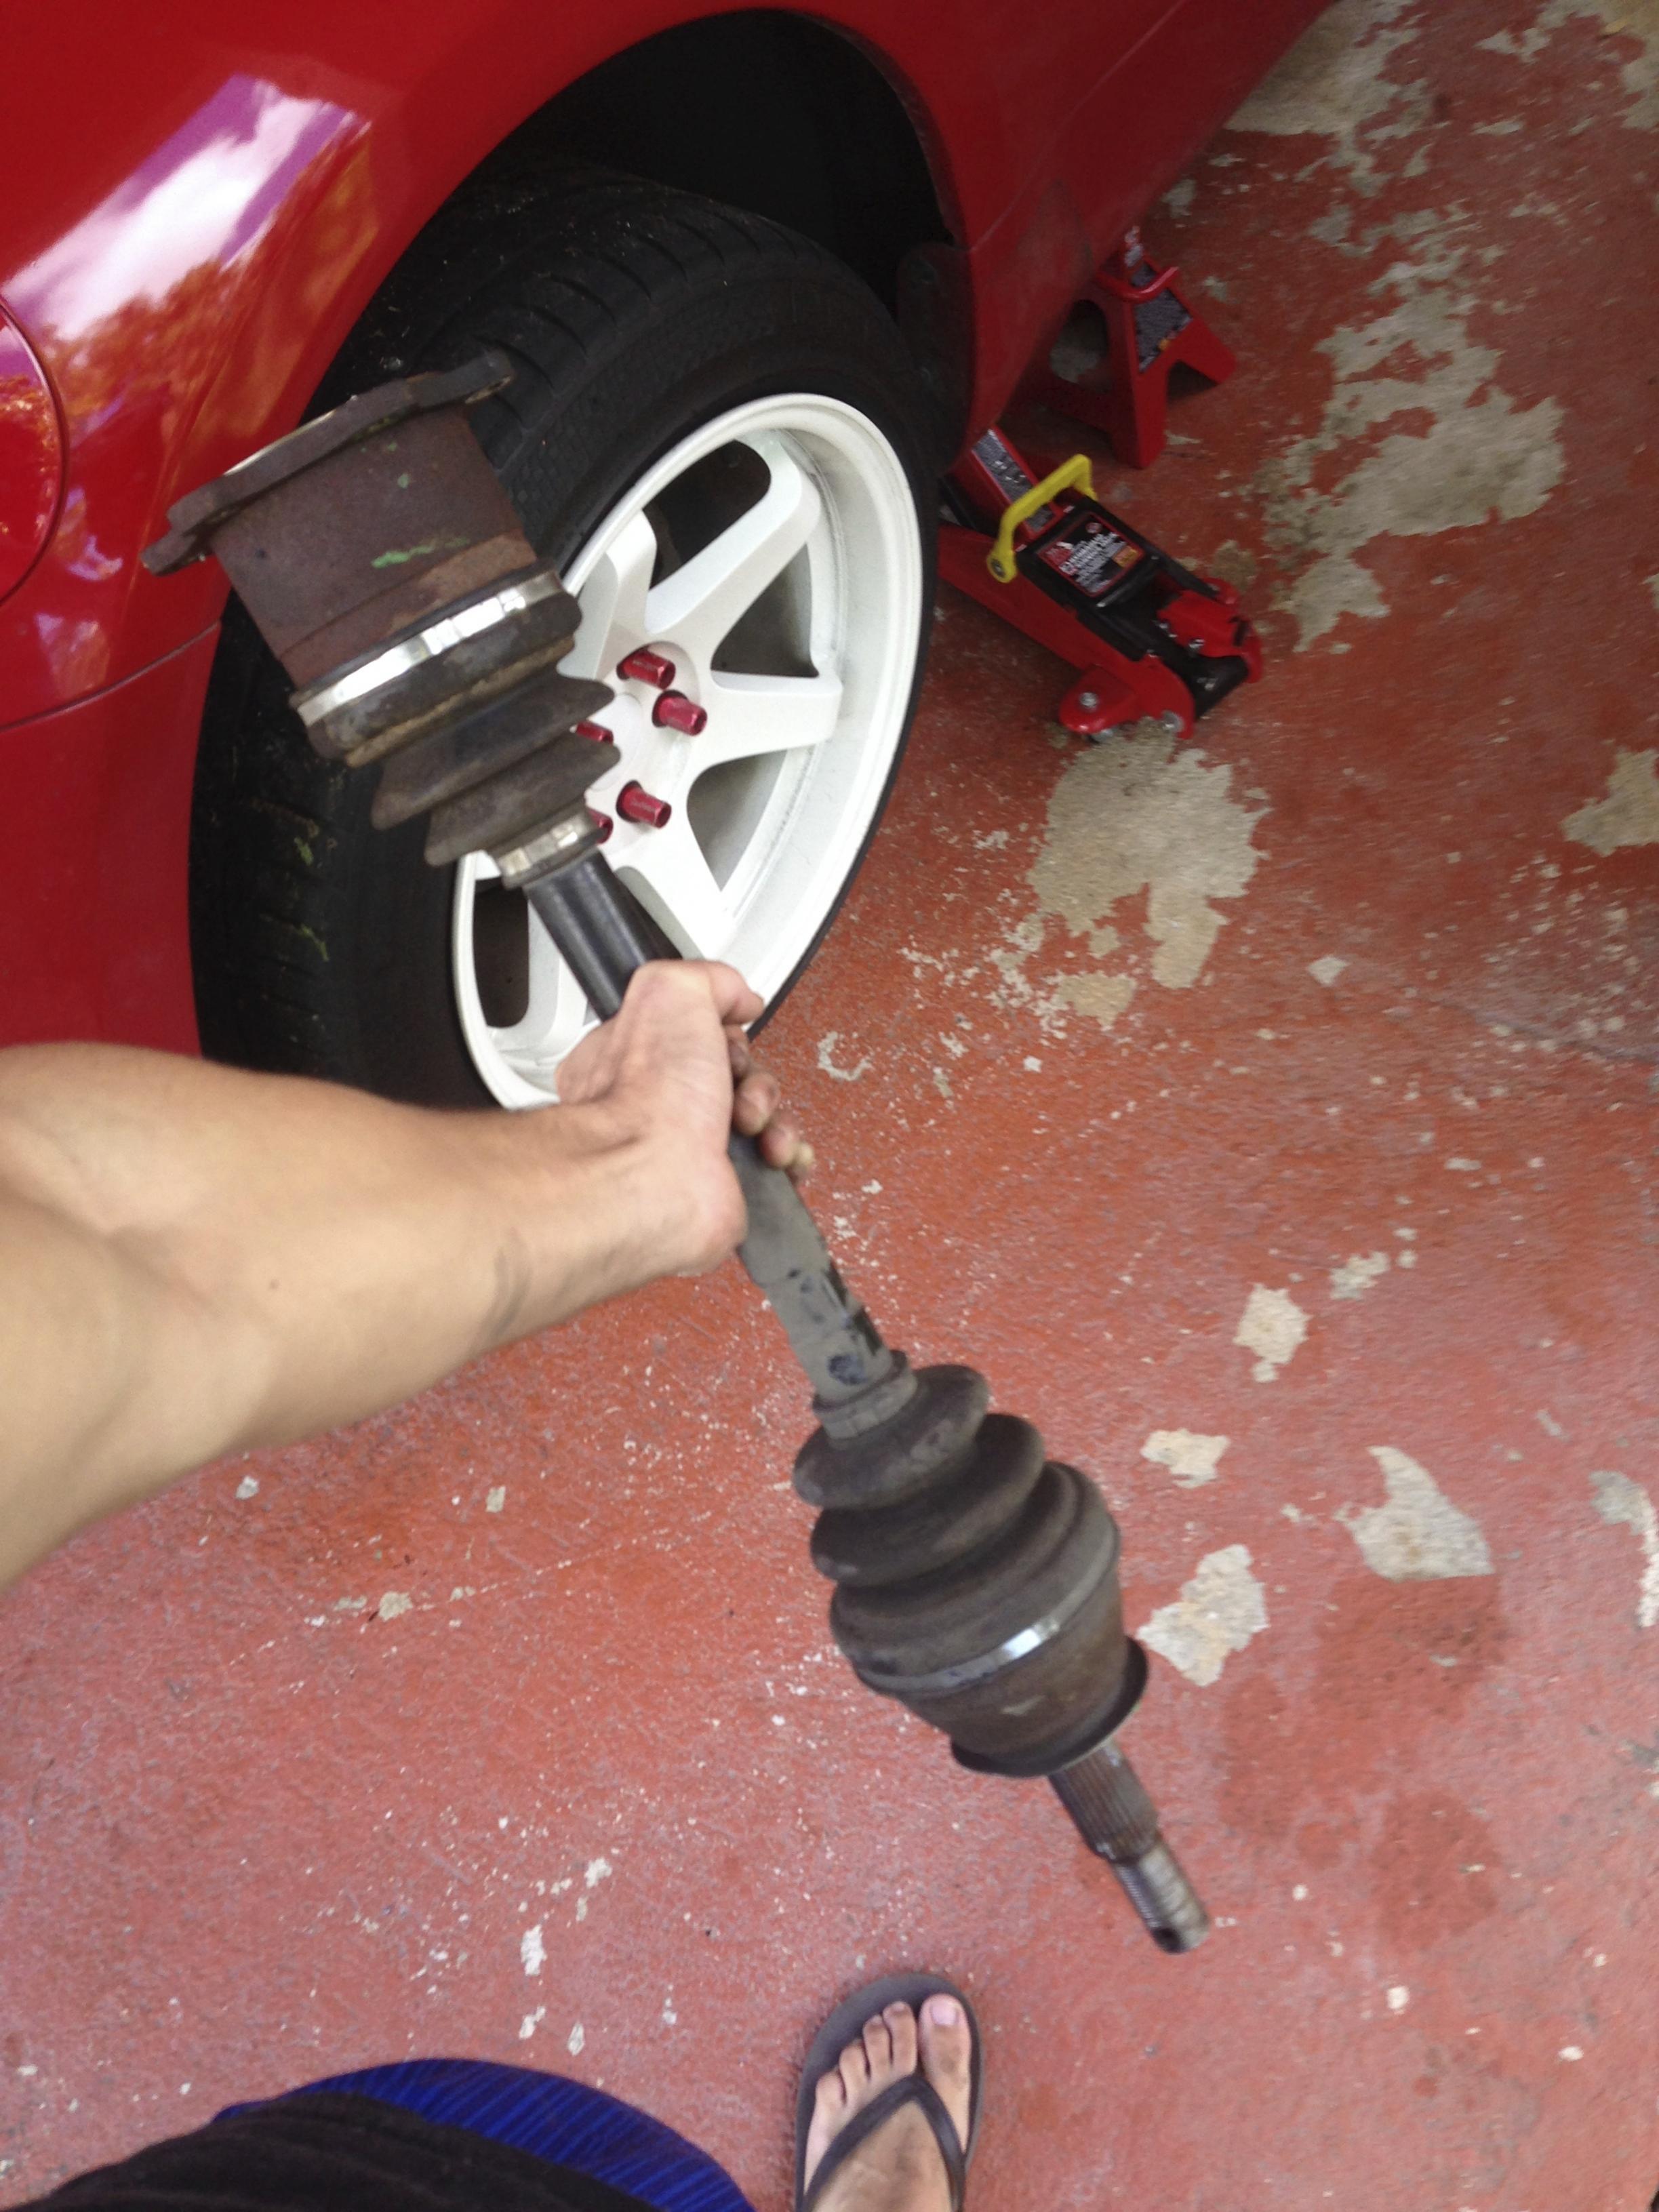
After the 6 screws are removed, proceed to remove the axle. It's a tight fit but can be done. Have a friend to tap with a RUBBER HAMMER the tip in front of the axle where the 32MM axle nut goes to get it out. Be carefull not to bend the axle too much.
AXLE OUT!!
Proceed to remove the 4 bolts that hold the wheel bearing assembly and it should fall down. Be carefull not to fall in your feet. If it doesn't fall right of, pry a flat screw driver in the corners and hit with a hammer.
This is how it should look after everything is removed.

Old wheel bearing and new TIMKEN wheel bearing.

Take it to a shop to get it pressed the hub into the new bearing. They charge me $15
Now its time to put everything back on. First, install bearing assembly. 4 bolts.
Then, apply grease to the axle. I used Mobil 1 Synthetic grease. $8 on autozone and I would recommend getting grease for your brake pads too.
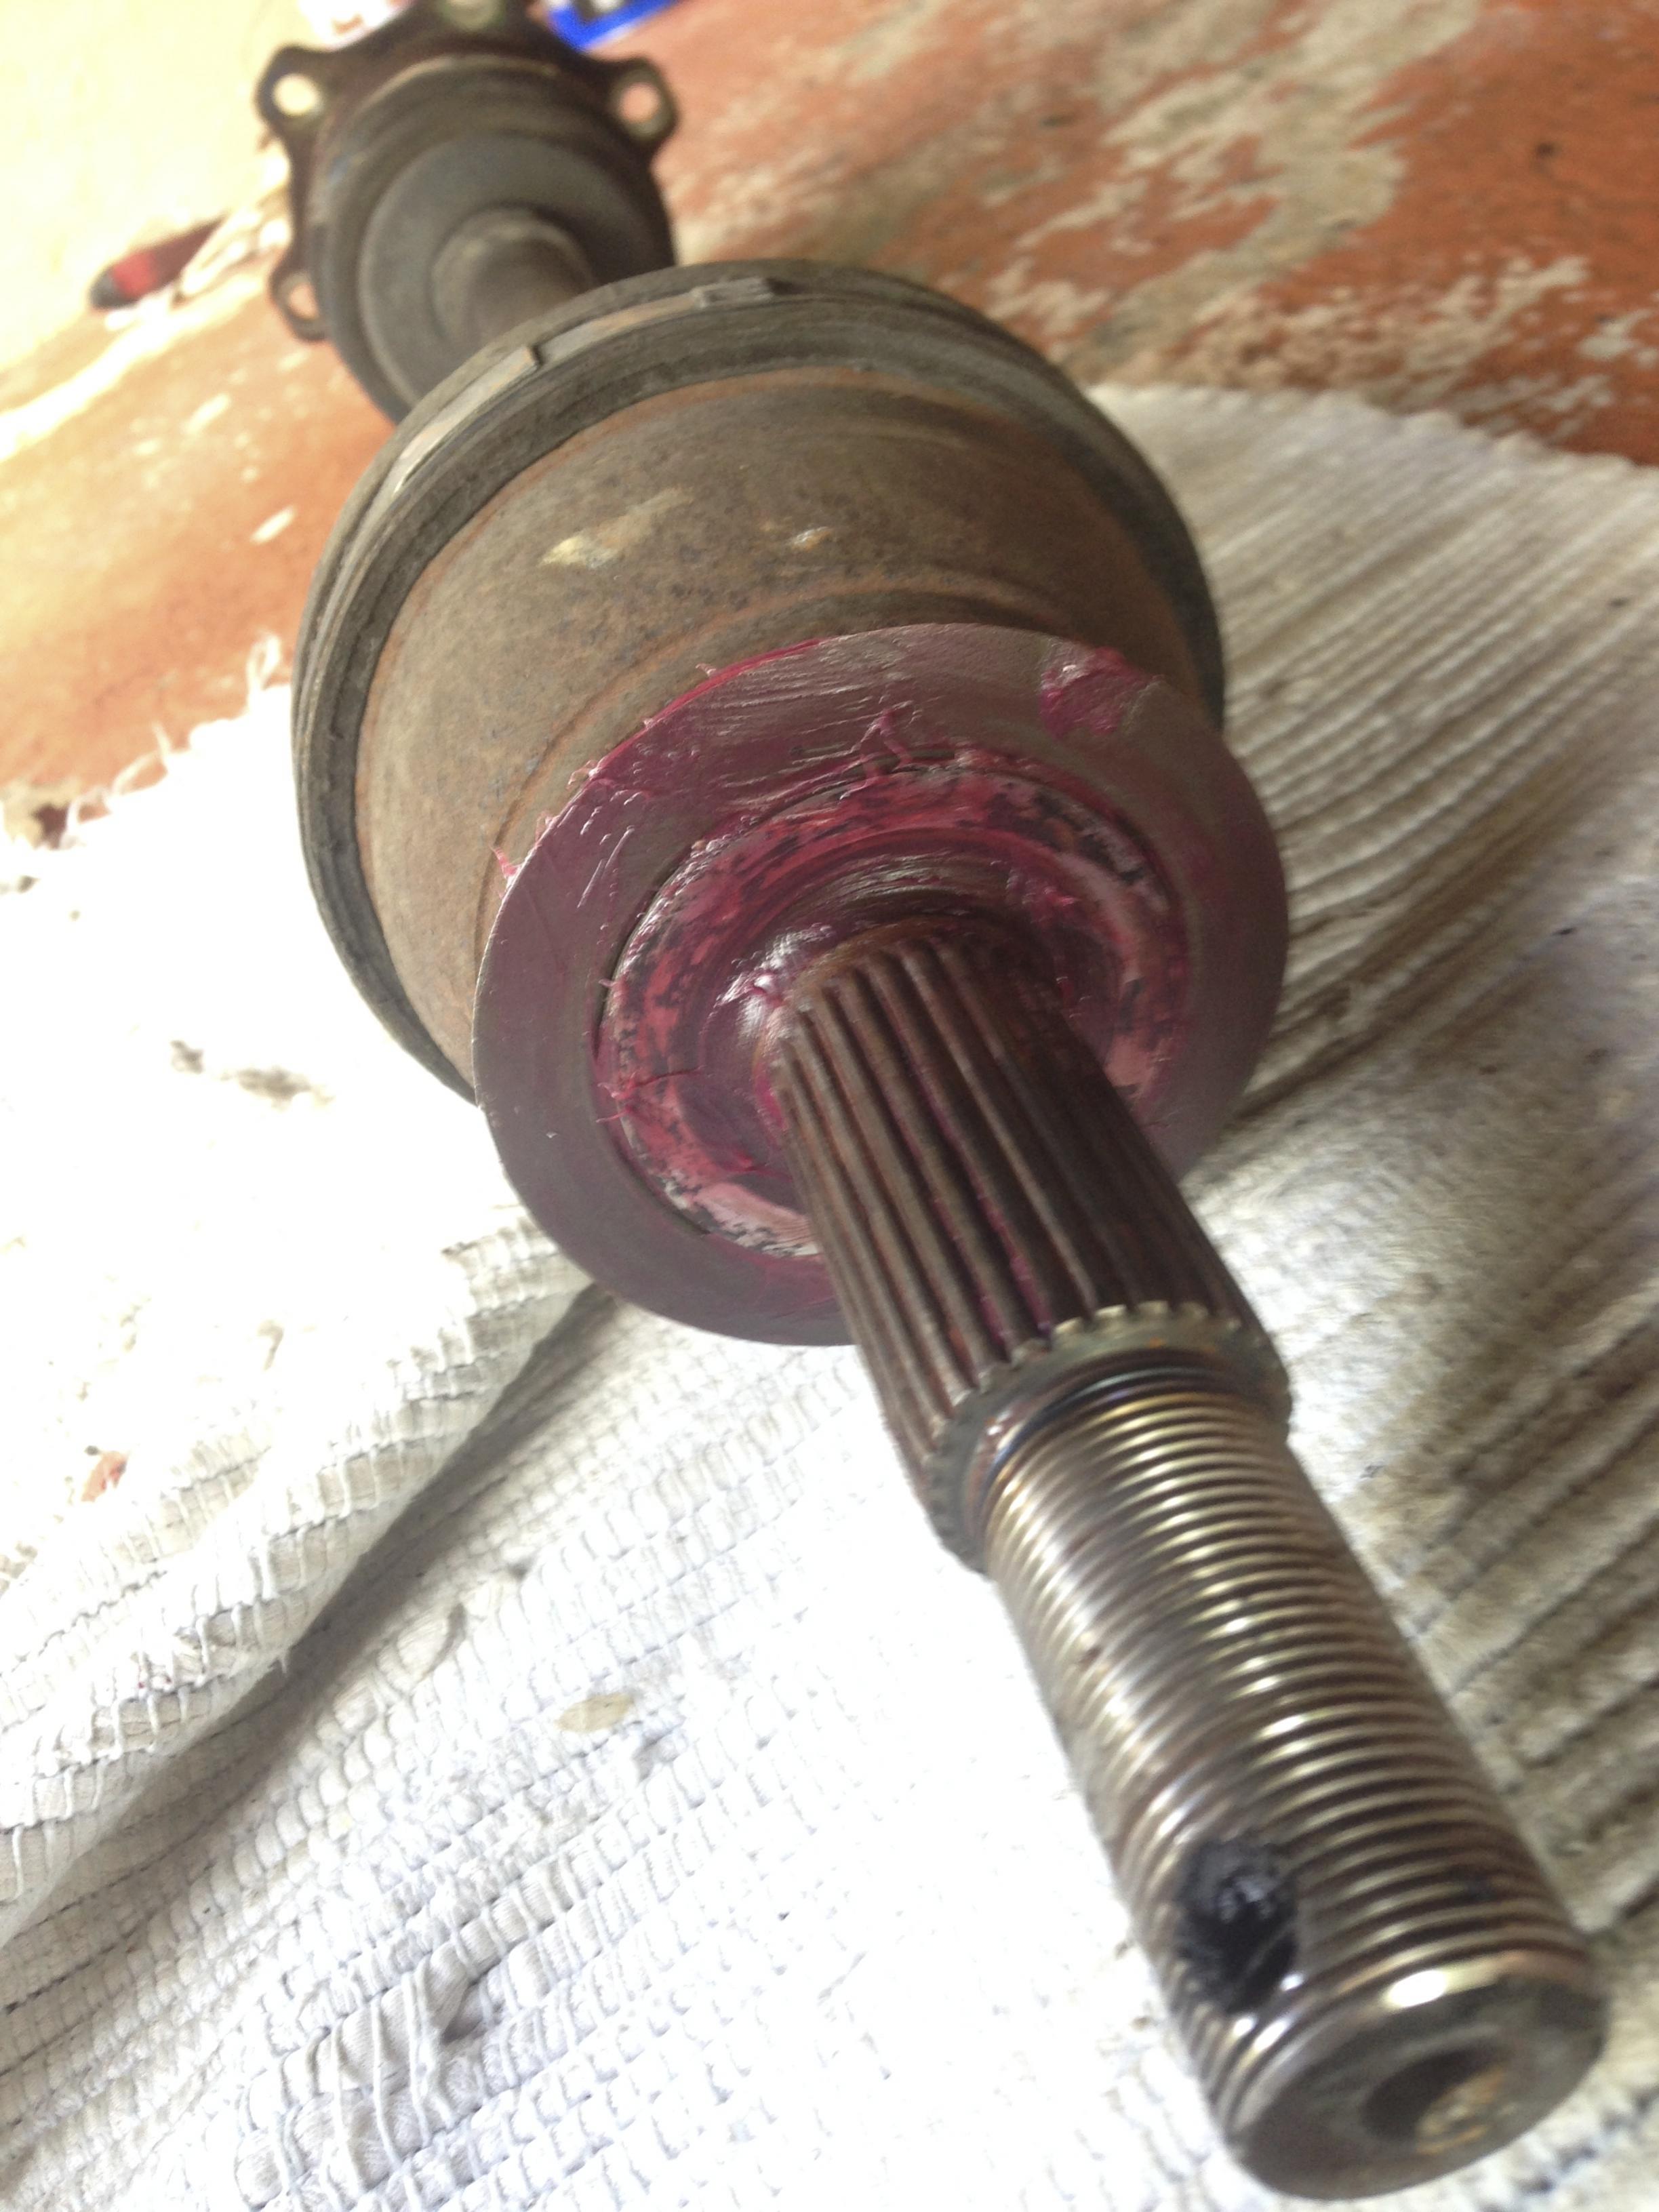
Install axle back on and use the same method with the e-brake to bolt back on the 6 axle nuts.
Cool picture I took when having lunch.

Old hub in new bearing

Install back on the disc brake.
Grease brake pads. (not necessary but for peace of mind)

Install brake caliper bracket back on.
Put back on the 32mm axle nut and hand tighten.
Put wheel back on. Jack the car down and use the breaker bar to torque down the axle nut. It should be reeeeeally tight.
In my case I had to jack the car back up to remove the wheel and insert the pin that goes on tip of the axle.
After that, jack the car back down and enjoy better handling.
You just saved almost $300 in labor only. I got my Timken assembly on autozone for $90.
I extended my ratchet to give a little more torque. DON'T SMASH THEM WITH A HAMMER.
Put your disc back on if you removed it because you will have to apply the E-brake to unbolt the axle nuts. Apply e-brake to loosen bolt and remove e-brake to rotate axle to have access to the other 5 bolts.
I used this method since when I turned the ratchet it turned also on the other side of the bolt. So when it got to the point that was touching the car it couldn't move anymore and then break loose.
After the 6 screws are removed, proceed to remove the axle. It's a tight fit but can be done. Have a friend to tap with a RUBBER HAMMER the tip in front of the axle where the 32MM axle nut goes to get it out. Be carefull not to bend the axle too much.
AXLE OUT!!
Proceed to remove the 4 bolts that hold the wheel bearing assembly and it should fall down. Be carefull not to fall in your feet. If it doesn't fall right of, pry a flat screw driver in the corners and hit with a hammer.
This is how it should look after everything is removed.
Old wheel bearing and new TIMKEN wheel bearing.
Take it to a shop to get it pressed the hub into the new bearing. They charge me $15
Now its time to put everything back on. First, install bearing assembly. 4 bolts.
Then, apply grease to the axle. I used Mobil 1 Synthetic grease. $8 on autozone and I would recommend getting grease for your brake pads too.
Install axle back on and use the same method with the e-brake to bolt back on the 6 axle nuts.
Cool picture I took when having lunch.
Old hub in new bearing
Install back on the disc brake.
Grease brake pads. (not necessary but for peace of mind)
Install brake caliper bracket back on.
Put back on the 32mm axle nut and hand tighten.
Put wheel back on. Jack the car down and use the breaker bar to torque down the axle nut. It should be reeeeeally tight.
In my case I had to jack the car back up to remove the wheel and insert the pin that goes on tip of the axle.
After that, jack the car back down and enjoy better handling.
You just saved almost $300 in labor only. I got my Timken assembly on autozone for $90.
Last edited by jankypr350z; Jan 22, 2014 at 10:45 PM.
Trending Topics
Thread Starter
Registered User
Joined: Mar 2013
Posts: 25
Likes: 2
From: PR
I am going to attempt this weekend. I will try this job without removing the axles. I'll also post pics of how to press off the old bearing and press on the new bearing as I bought a 12 ton press from harbor freight to do my compression arm and translink bushings.

Nice DIY but just don't agree with a few things. One as posted you don't need to take axles out. Two why didn't you just buy a new hub assym for less then that Timken bearing? 3 why do people always but grease ALL over the back of pads? I don't get it
Thread Starter
Registered User
Joined: Mar 2013
Posts: 25
Likes: 2
From: PR
I tried to find the complete hub and bearing assembly already mounted but did not find any good makes available other than ebay cheap chinese brand. (the only ones that come assembled are the front). I was looking for Timken or SKF.
The reason for greasing the whole back of the pad is just my way to do things. After everything got mounted I cleaned up the excess grease but didn't post a picture of that since thats personal preference.
Drive Safe
Thread Starter
Registered User
Joined: Mar 2013
Posts: 25
Likes: 2
From: PR
I am going to attempt this weekend. I will try this job without removing the axles. I'll also post pics of how to press off the old bearing and press on the new bearing as I bought a 12 ton press from harbor freight to do my compression arm and translink bushings.
Just finished up.
You do not need to remove the axles. It is tight and with the right combination of extensions you can make it work. Took everything apart and inspected my bearings. After looking I determined that they did not need to be replaced. That and a combination of my 12Ton press not being able to handle this job. The press work area (I beam) was not wide enough for me to situate the hub correctly in order to press the hub off the bearing. I also dissembled my coilovers to see if the struts were blown. I was able to compress the struts with about 75 lbs of force and they somewhat slowly returned (1.5 - 2 seconds). Which I believe is normal. They did not shoot back (return) instantly like they were under serious pressure. I calibrated my ride height with my micro meter to make sure ride height was exact (to the tenth of a millimeter.) Overall turned out to be more of a check then repair.
I will be buying new rear tires and getting a balance / alignment. That should make the sloppy / rear wobbly handling disappear. Thought it may be the bearings, but I think it is just poor alignment.
Last edited by labelworkshop75; Feb 16, 2014 at 04:42 PM.
Thread Starter
Registered User
Joined: Mar 2013
Posts: 25
Likes: 2
From: PR
Just finished up.
You do not need to remove the axles. It is tight and with the right combination of extensions you can make it work. Took everything apart and inspected my bearings. After looking I determined that they did not need to be replaced. That and a combination of my 12Ton press not being able to handle this job. The press work area (I beam) was not wide enough for me to situate the hub correctly in order to press the hub off the bearing. I also dissembled my coilovers to see if the struts were blown. I was able to compress the struts with about 75 lbs of force and they somewhat slowly returned (1.5 - 2 seconds). Which I believe is normal. They did not shoot back (return) instantly like they were under serious pressure. I calibrated my ride height with my micro meter to make sure ride height was exact (to the tenth of a millimeter.) Overall turned out to be more of a check then repair.
I will be buying new rear tires and getting a balance / alignment. That should make the sloppy / rear wobbly handling disappear. Thought it may be the bearings, but I think it is just poor alignment.
You do not need to remove the axles. It is tight and with the right combination of extensions you can make it work. Took everything apart and inspected my bearings. After looking I determined that they did not need to be replaced. That and a combination of my 12Ton press not being able to handle this job. The press work area (I beam) was not wide enough for me to situate the hub correctly in order to press the hub off the bearing. I also dissembled my coilovers to see if the struts were blown. I was able to compress the struts with about 75 lbs of force and they somewhat slowly returned (1.5 - 2 seconds). Which I believe is normal. They did not shoot back (return) instantly like they were under serious pressure. I calibrated my ride height with my micro meter to make sure ride height was exact (to the tenth of a millimeter.) Overall turned out to be more of a check then repair.
I will be buying new rear tires and getting a balance / alignment. That should make the sloppy / rear wobbly handling disappear. Thought it may be the bearings, but I think it is just poor alignment.

Hi everyone, i've got to do this to mine because i have whinning sound on the rear, but i have a doubt, i was reading the g35 forums install, but there they state that we've got to also change the hub assembly because of the fact that if the bearing get damage, the hub is gonna have wear and will not be properly aligned. Is it true? For reference I'll leave the link page 5 post 75,
I also saw these hubs, dunno if they're worth it: http://febestparts.com/REAR_WHEEL_HU...RING/0282-T30R
Waiting for answers, thanks in advance
http://g35driver.com/forums/brakes-s...removal-5.html
I also saw these hubs, dunno if they're worth it: http://febestparts.com/REAR_WHEEL_HU...RING/0282-T30R
Waiting for answers, thanks in advance
http://g35driver.com/forums/brakes-s...removal-5.html

bumping an old post, but this is the third time I have had to replace one of these fuggers. In the past, I think it has been bearing only.
I am wondering if like the above poster mentions that, the hub should also be replaced as well and could only replacing bearing have lead to premature burn out after two seasons?
I am wondering if like the above poster mentions that, the hub should also be replaced as well and could only replacing bearing have lead to premature burn out after two seasons?