When you click on links to various merchants on this site and make a purchase, this can result in this site earning a commission. Affiliate programs and affiliations include, but are not limited to, the eBay Partner Network.
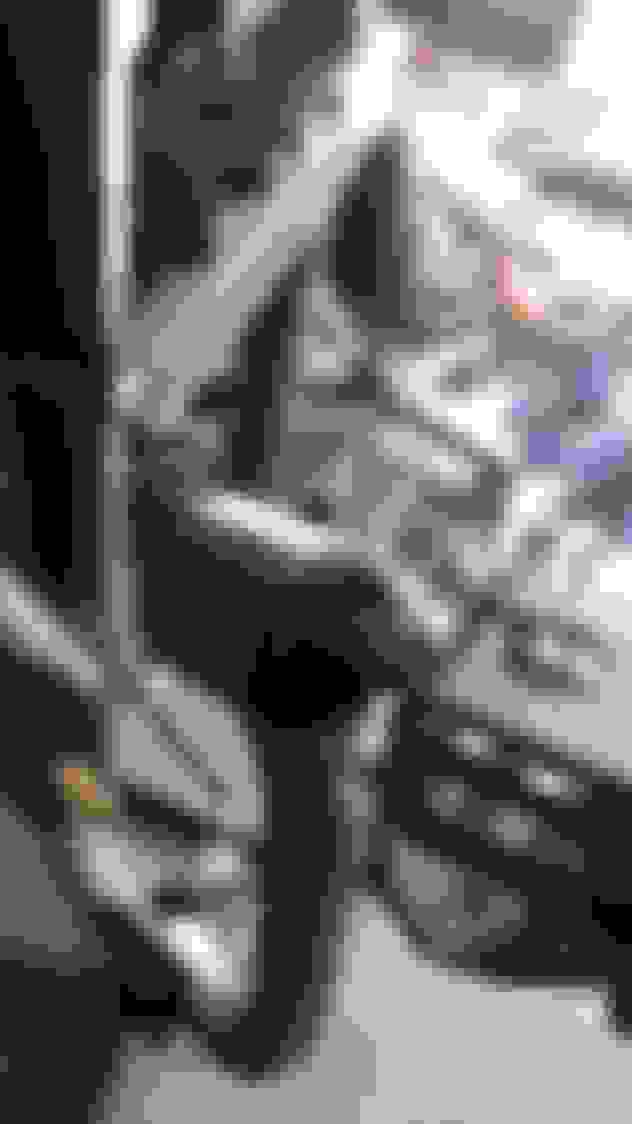
couldnt really find any good info regarding the removal of the upper arm bushings. I used a sawzall and 12 ton press. here are the pics.
use the press to push out the inner sleeve of the bushing. It will not come out without a fight, but eventually it will pop and drop out.
inner removed.
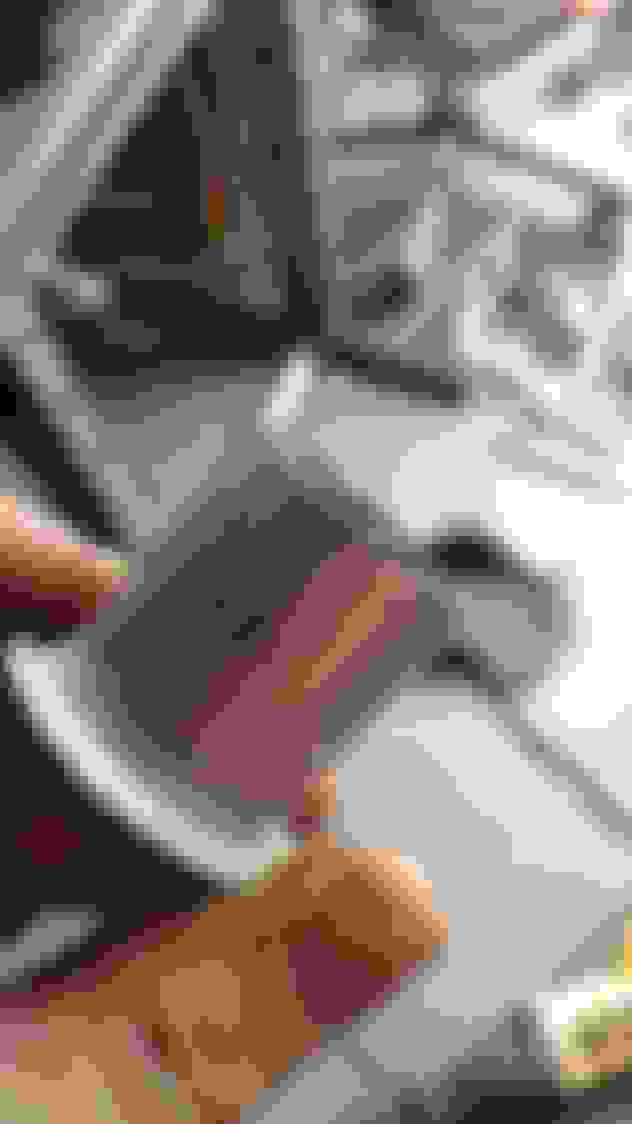
with a reciprocating saw cut into the outer sleeve just until cut through. be carefull not to cut too deep
at this point take a hammer and chisel and begin to tap the bushing sleeve out.
almost tapped out. when removed clean up any burrs in the aluminum you may have caused tapping it out with a file.
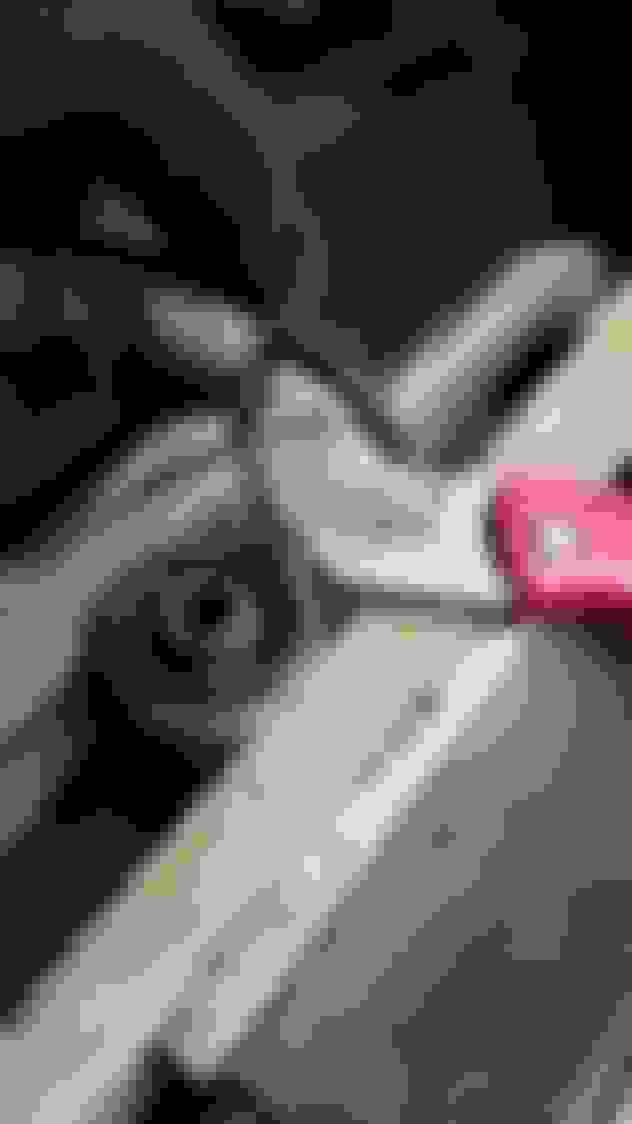
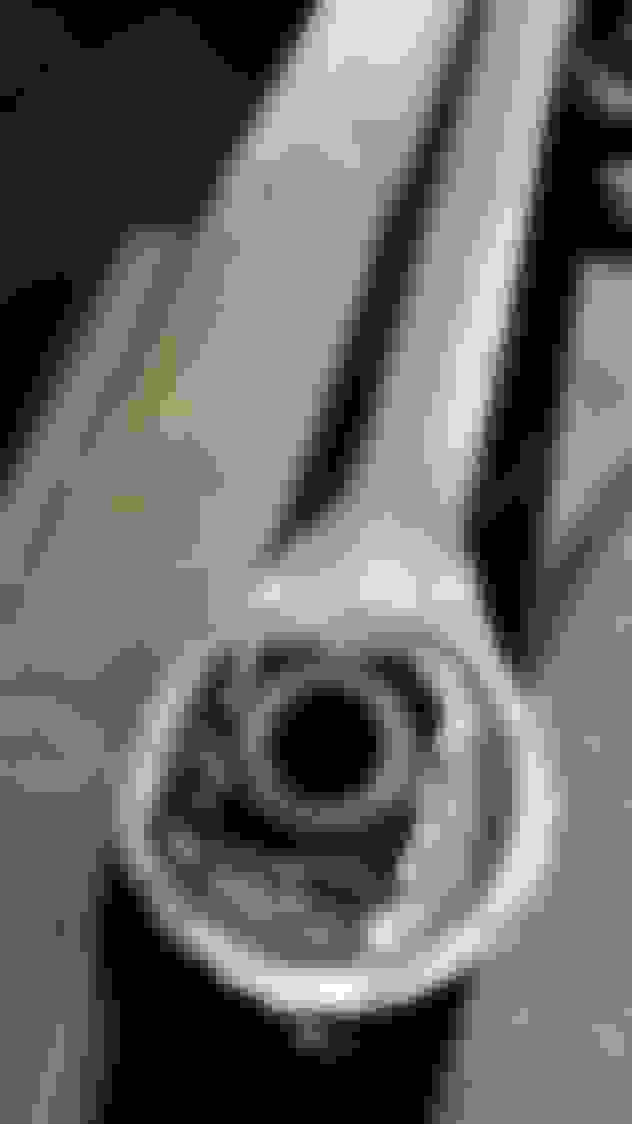
old bushing removed. you can see the cut that releases the press fit allowing you to tap it out. I also used this sleeve to press in the new whiteline bushing. it fits perfectly over the new bushing sleeve and allows you to press the new bushing in flush.
use the old sleeve like this to press in the new bushing.
Last edited by trusovici; Apr 14, 2017 at 05:46 AM.
because of the way it inserts, you can't really place the arm in to the press to reverse it out because of the lip
i set it on a step ladder and slowly hacksawed the lip of the old outer shell and then pressed it out like normal
at first i was using an pneumatic hammer attachment to my compressor (to bend the lip toward the center) which was working at first but i didn't like how much it was marring it
i was thinking of doing that too, interesting that it worked for you. i damaged my arms a bit as well, when pressing out the inner sleeve it slipped on my press and cracked off a little chunk of aluminum. doesnt affect it. the uppers were the biggest pain in the ***.
Anywho if you ever get around to changing your upper control arm bushings its a pain in the *** because the u shape and the metal race is on the pain in the *** side of the arm... Here is how I did it.
First I put that bad boy in a vice and cut the bushing around the perimeter.
Once that was out of the way I used a hack saw and carefully made 4 cuts in the race.
I then took out the 4 triangular pieces using a cold chisel (metal chisel whatever it's called)
Once that was out of the way I folded the remaining pieces up and into the center as best I could.
At this point it can be pressed out using the shop press. I ended up using my spreader to support the circular section of the upper control arm. It still ended up leaving some marks but its was the best option I had. If you have a ball joint removal adaptor set that probably has better options.
I'm sure if anyone got this far they could figure out the easy part...