When you click on links to various merchants on this site and make a purchase, this can result in this site earning a commission. Affiliate programs and affiliations include, but are not limited to, the eBay Partner Network.
Just did mine yesterday using Autozone parts and tools. Model year 2004 Here is a list of tools and some pics.
Autozone Parts/Tools:
Part # DBJ 148 ( ball joint )
Part # 27310 ( master ball joint installer/remover set )
Part # 27023 ( ball joint press )
Part # 27011 ( 3 jaw puller )
And its 41mm in diameter, sorry the battery died.
Steps for removal and re-installation:
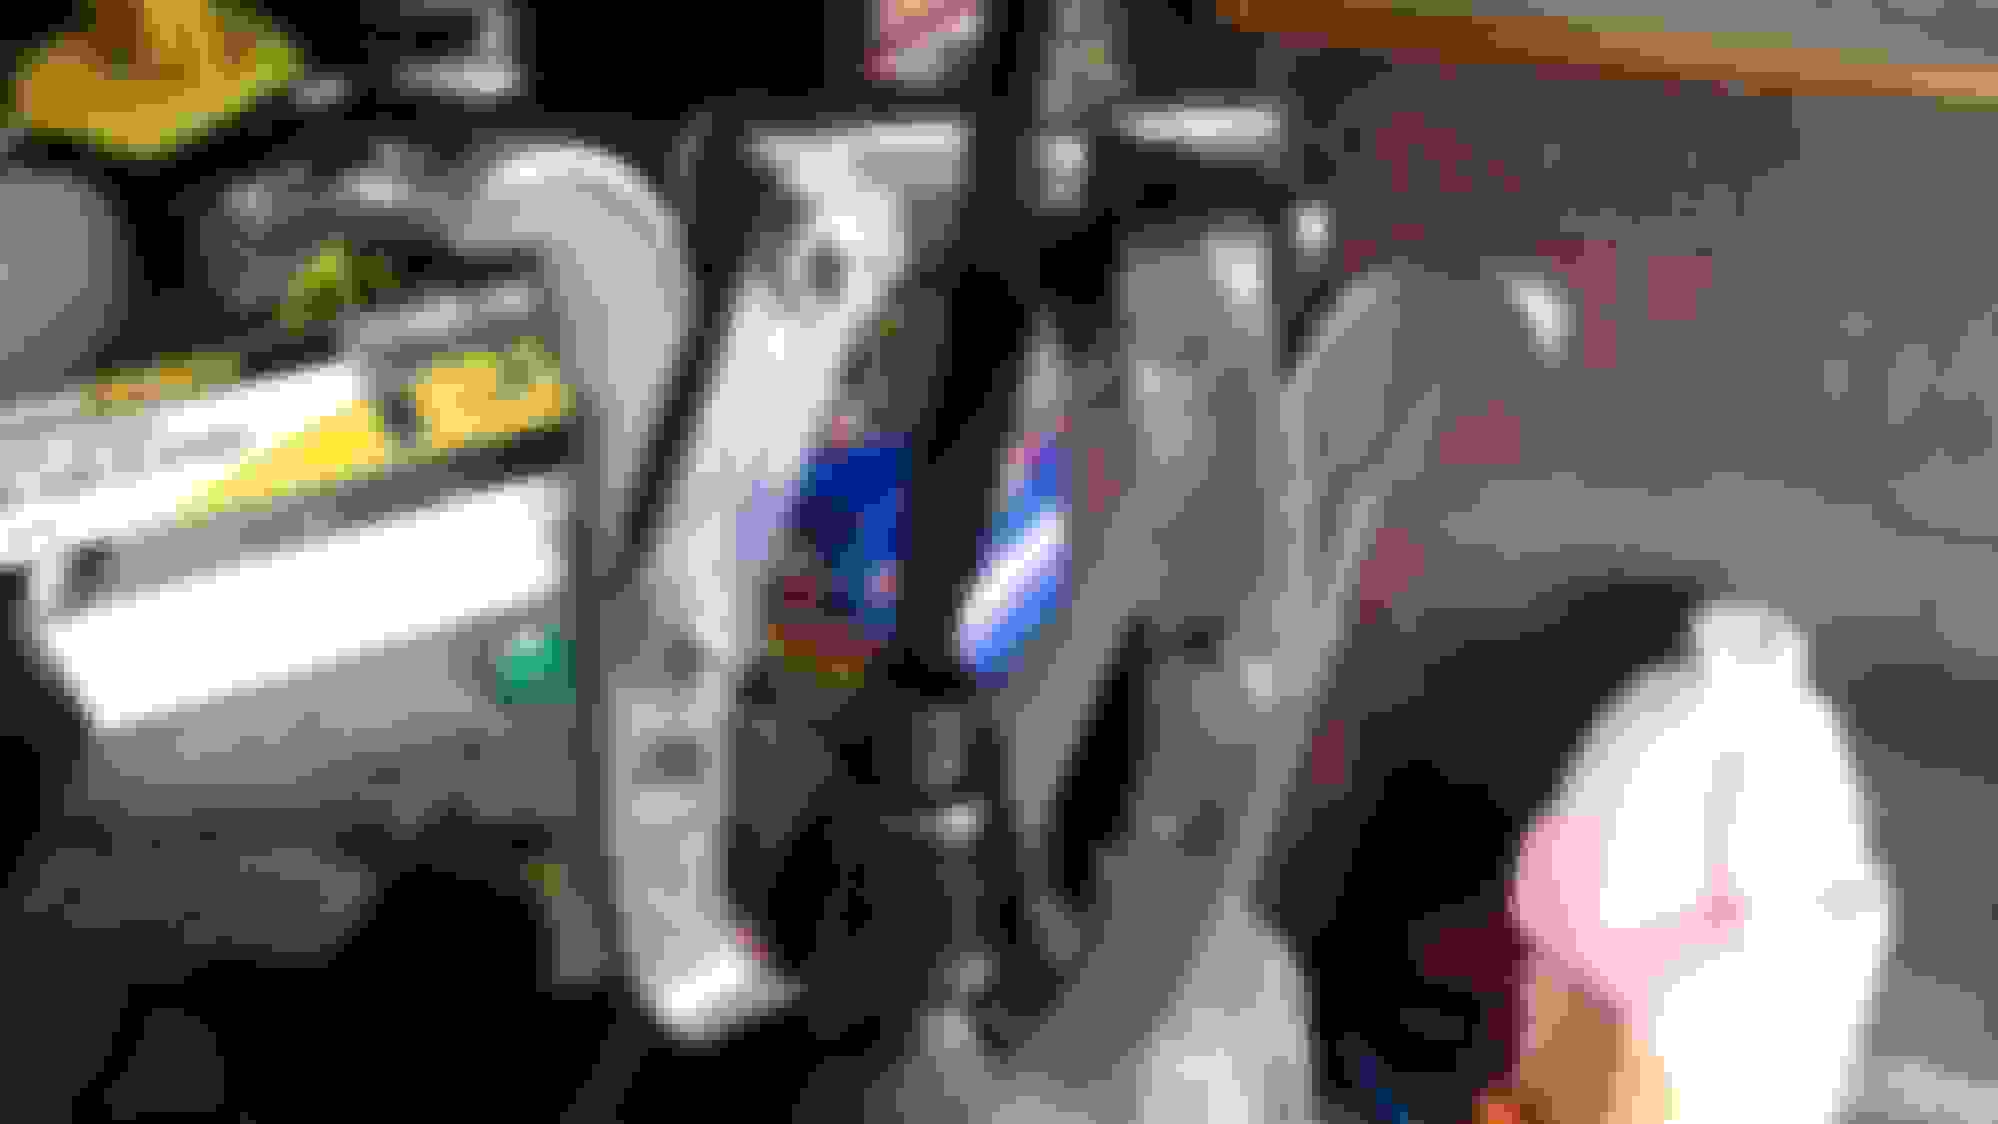
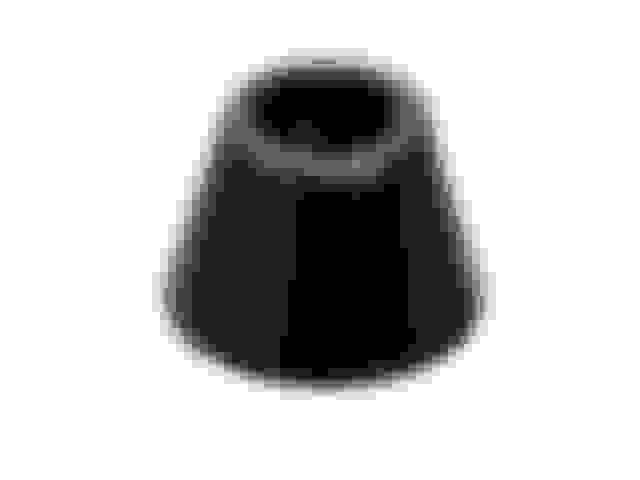
1. Remove Cone Washer from old BJ using a 3 jaw puller then remove factory retaining clip.
2. Locate Sleeve # 27310B and #27310N
3. Place receiver 27310B over ball joint making sure the BJ stud is centered with the hole on the top of the press. Then place the smaller remover 27310N into the bottom of the ball joint. The remover has a smaller portion that fits inside the bottom of the ball joint perfectly. Use an impact or alot of elbow grease and a pipe to remove ball joint.
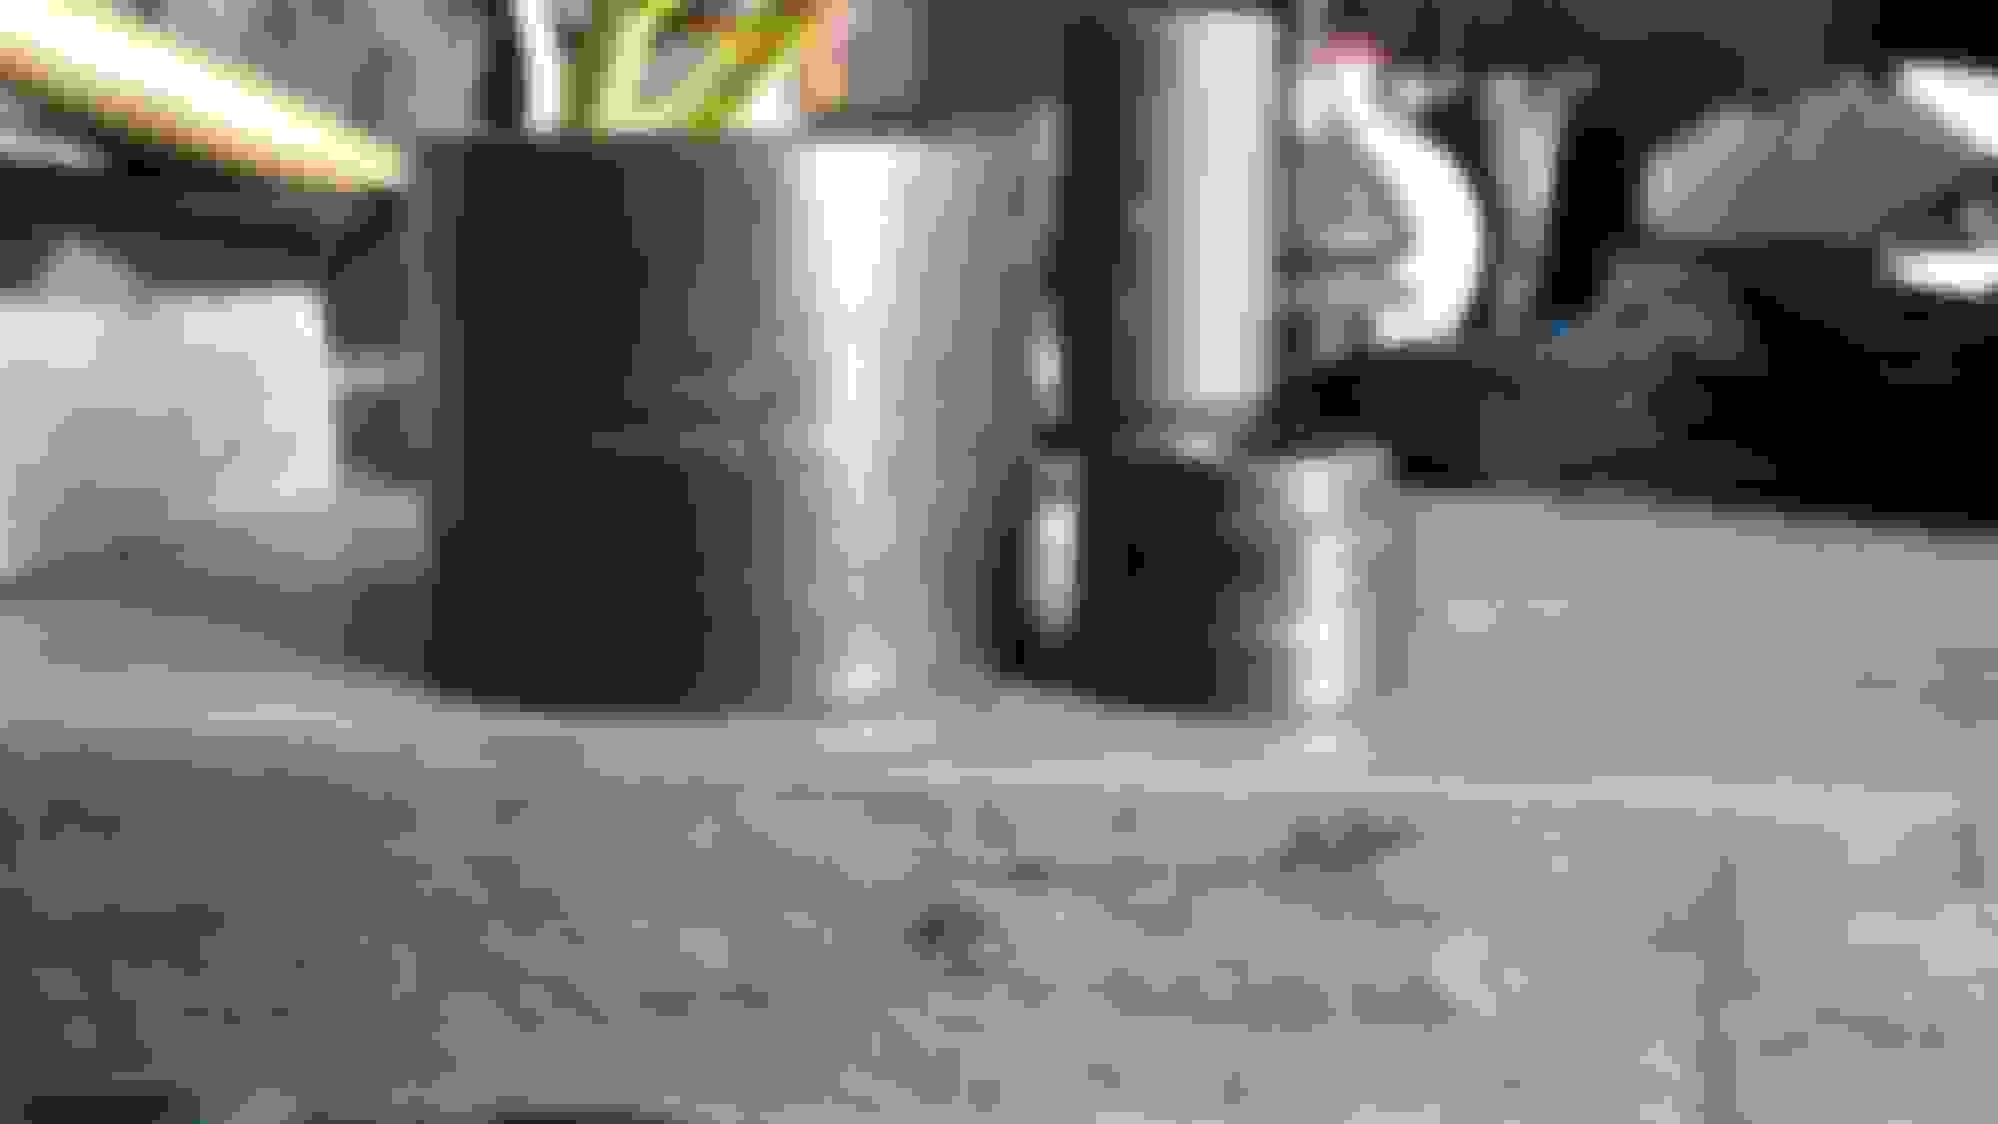
center the stud
4. Locate Sleeve # 27310D and # 27310K. Place 27310D on top of new ball joint with 27310K underneath as the receiver cup. I greased my joint before installing. Once pressed install the retaining clip and your done.
Hope this helps anyone out there looking to do this. it wasnt that hard using a vice outside of the car. air tools help alot. good luck.
IDK why they make it so hard to change these. You shouldn't need 4 tools to change one part that has one bolt on it, but good write up for people who are near a place that can rent these tools for free.
Rather tedious than hard, but you get what I'm saying. Also, I'm aware there is a ratchet or impact wrench, a socket and snap ring pliers which would add to my count of tools :P
Last edited by iideadeyeii; Dec 14, 2017 at 06:50 AM.
It's Nissan's cute little way of saying, "If you're not going to buy OEM parts, we're going to make you buy OEM parts." You risk damaging or destroying the aftermarket boot on the new ball joint if you don't use one of those.
Thanks for the updated info! My joints need replacing as well and wasn't sure what size cup I needed to push the new joint in. I have a shop press so that should make life a little easier.
Also while I'm down there I'll be checking and probably replacing the joint on the compression rod and the traverse link. A good thing to do especially for you guys who are lowered.
the only ball joint that is replaceable is the one contained in the upright. the other joints are cast into the arm's themselves.
It's Nissan's cute little way of saying, "If you're not going to buy OEM parts, we're going to make you buy OEM parts." You risk damaging or destroying the aftermarket boot on the new ball joint if you don't use one of those.
i removed and reused the original cone washer. i used a 3 jaw puller as shown in the original post.
IDK why they make it so hard to change these. You shouldn't need 4 tools to change one part that has one bolt on it, but good write up for people who are near a place that can rent these tools for free.
Rather tedious than hard, but you get what I'm saying. Also, I'm aware there is a ratchet or impact wrench, a socket and snap ring pliers which would add to my count of tools :P
yeah, i bought a press to do the job. any excuse to buy new tools right!
i removed and reused the original cone washer. i used a 3 jaw puller as shown in the original post.
Makes sense. I haven't disassembled my old rear control arms to replace everything yet. I just swapped out the whole assemblies for a new set of Moogs. I did get new bushings and ball joints for a re-build on the OEM arms though. It's nice to know you can re-use those stupid cone washers. Thanks again!
I checked the OEM cone washer part and the diameter of the hole is slightly larger than the factory OEM ball joint bolt. It's snug, but doesn't require a puller to remove. I went ahead and pulled the cones off the old ball joints just for giggles. Easy peasy with a puller.


 Thanks again!


