

Polishing Stainless Steel Exhaust


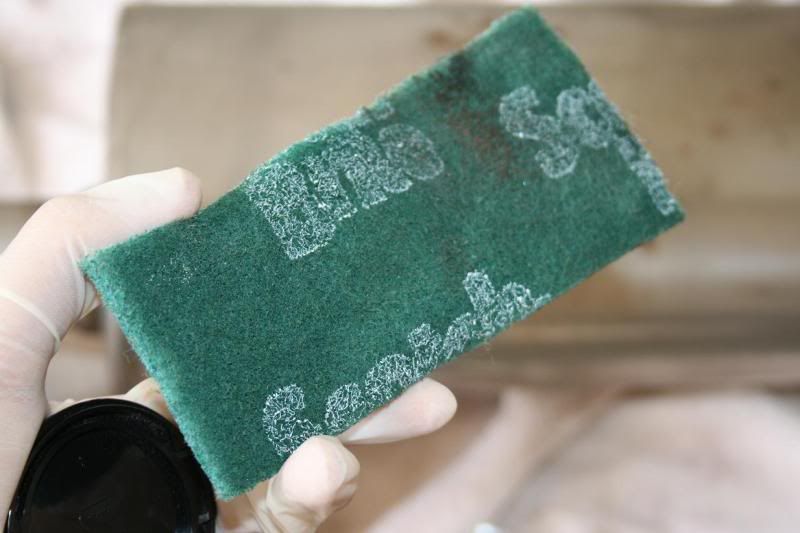
Thanks for all the help guys. But I was planning on cleaning the whole canister to see where the dirty spots and scratches are located. I can't just clean it, and go straight to polish, it has a lot of scratches on the tips, I was planning on using the scotch-brite that is similar to steel wool/sandpaper, which is pretty rough to remove all the discoloration and scratches, then clean it again, then use a smoother/softer scrotch-brite, then clean it again, then finish with some SS cleaning spray I found with the 0000 Wool, then after that is done, I will polish it to give me a clean look.
This looks like it's going to take a bit of work and time, but I'm just concerned about the canister, I will probably just wash the mid pipe/y pipe and give it a quick polish or cleaning cause it'll get dirty in no time.
The inside of the tips too, guessing some normal rough scotch-brite and some cleaning product should do the trick right?
Awesome, yeah I think I got the whole exhaust covered. I'm just worried about dealing with those scratches on the tips. Maybe the exhaust is so dirty when it rubbed on something it wiped off the dirt and made it look like a scratch. Or it might be a light scratch that only scratched off the discoloration and might blend in after I polish it.
I just need this damn exhaust to get here already, the wait is just ridiculous. lol
I'll update with better before/after pictures to help out anyone in the future if they might have the same problem or just want to clean their exhausts.
I just need this damn exhaust to get here already, the wait is just ridiculous. lol
I'll update with better before/after pictures to help out anyone in the future if they might have the same problem or just want to clean their exhausts.
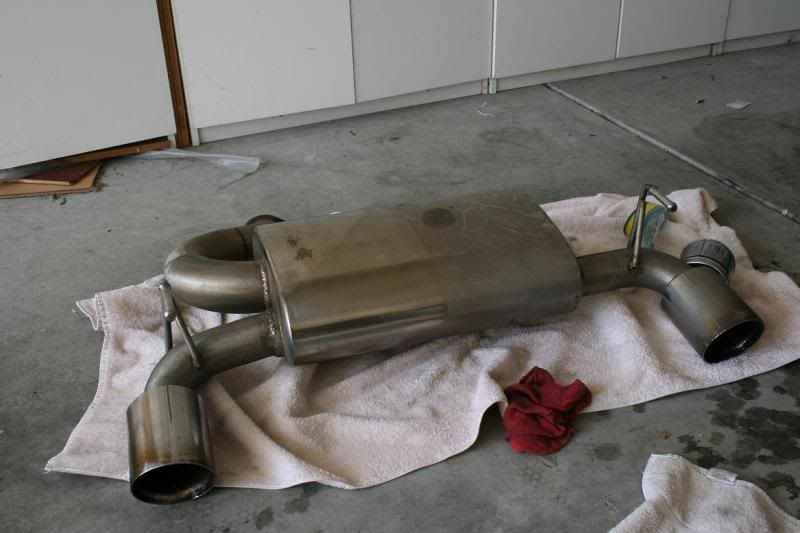
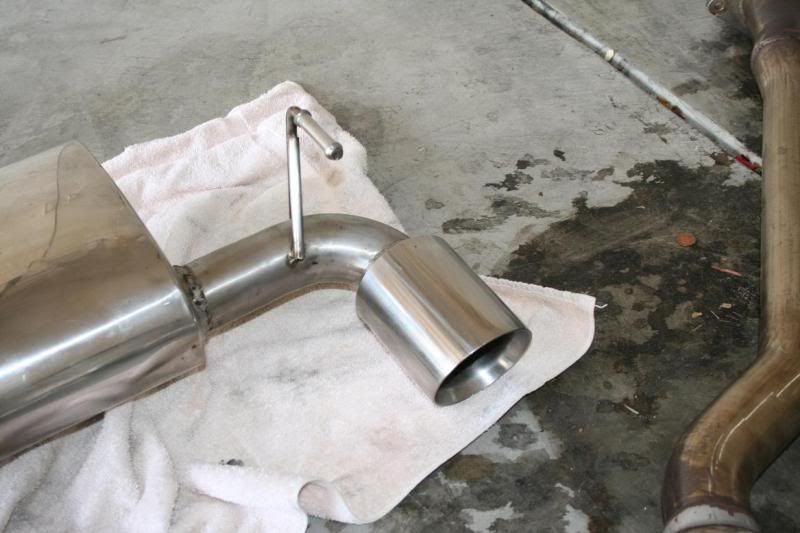
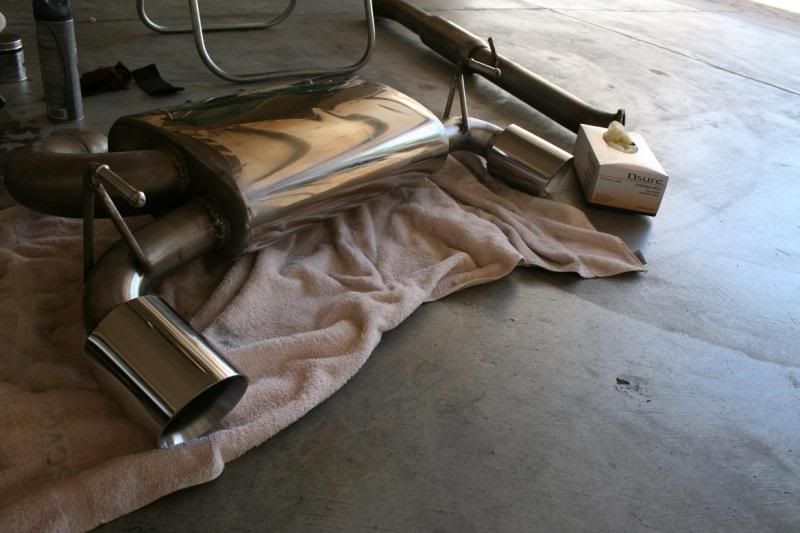
Alright, exhaust came in today. Was very dirty/dusty as I saw in the pictures lol. The first thing I did was clean it off with a wet rag to see what I was working with.
You can see the left side vs the right, it was pretty dusty/dirty, so a simple wet rag helped a lot.
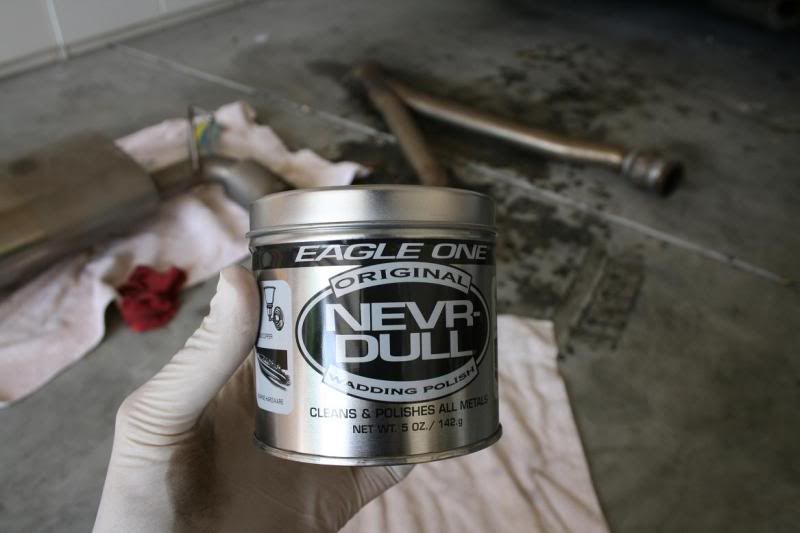
Note all the carbon build up inside the tips, I must say Nevr Dull did "jackshit" for that. It took me over a solid minute or rubbing Nevr Dull on the inside only to notice....it's not doing anything.
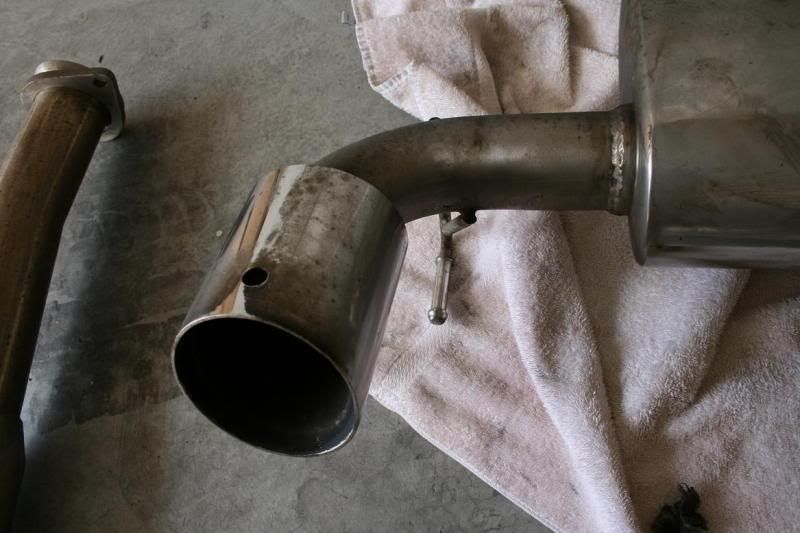
I had to whip out the scotch-brite pad and went to the town and that helped a lot! I tried getting all the discoloration/carbon build up off the inside of the tips.
Then I went back to the outside of the tips, and this is were Nevr Dull really shined, few rubs and that discoloration was gone and the shine was back. This is some great stuff.
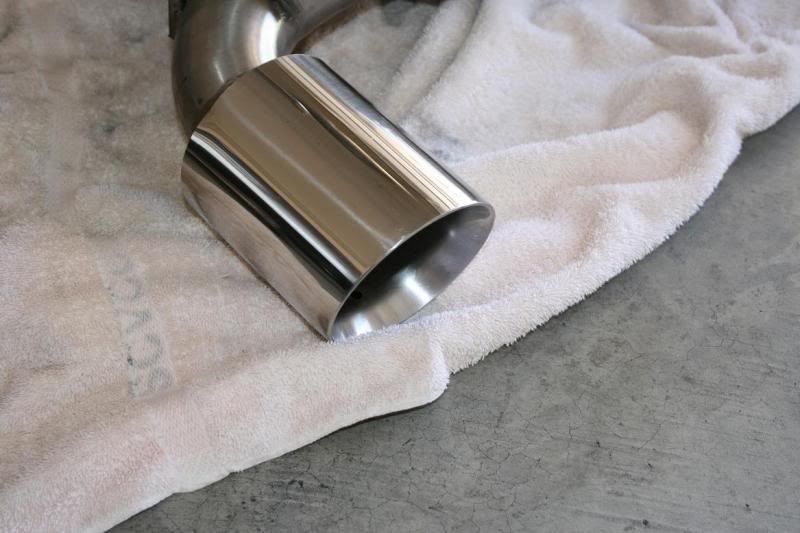
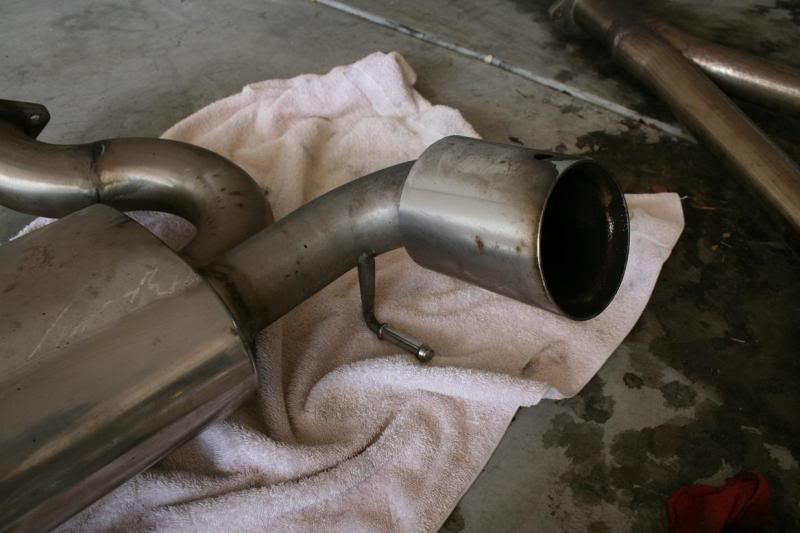
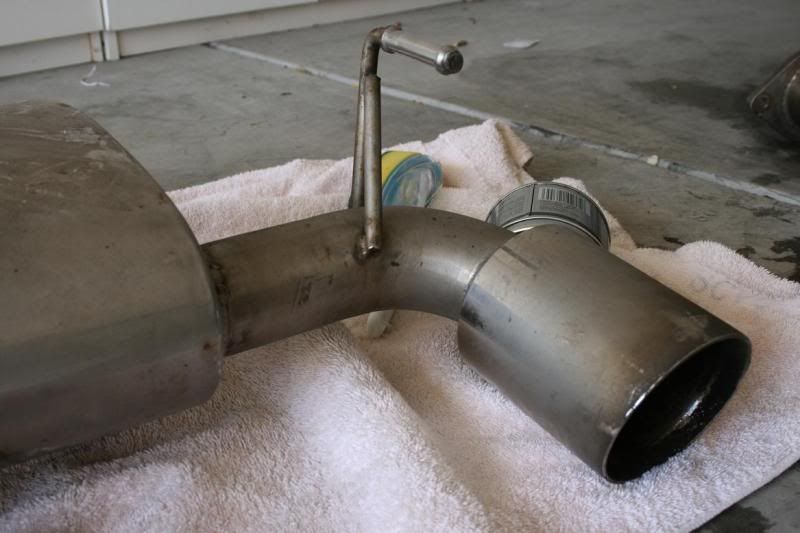
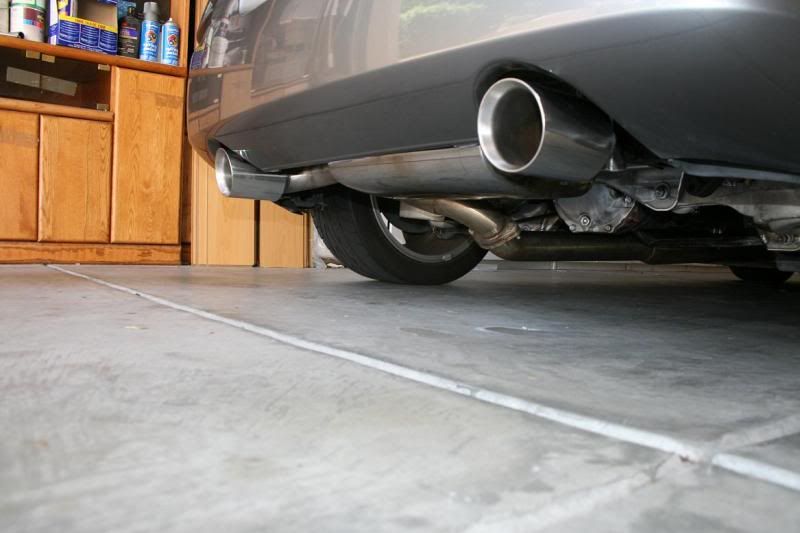
Final Product.
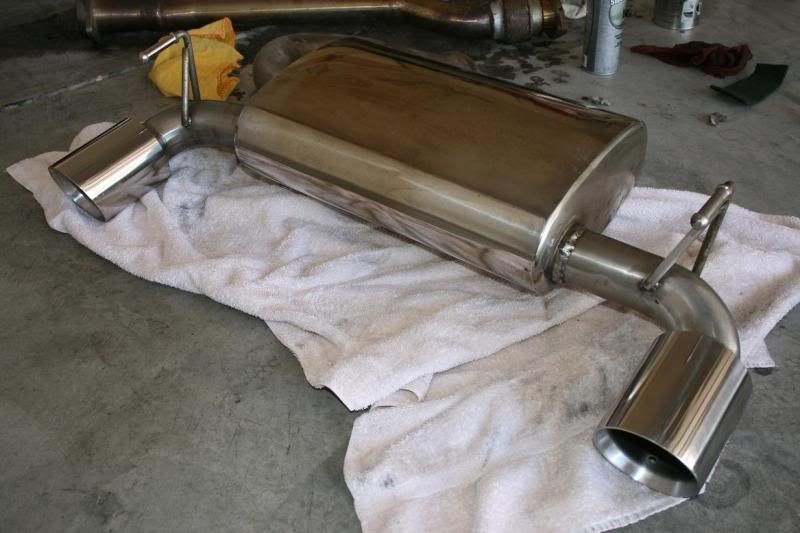
I tried working on the rest of the muffler, but Nevr Dull didn't do much there and I wasn't about to scotch-brite the whole muffler and resand it or use steel wool piece by piece as that would take days. The Y Pipe and Midpipe also were harder than I thought to clean like the tips. Nevr Dull again didn't help "too" much, I tried some scotch brite to get off the really grimy parts, but again didn't want to have to resand/steel wool all the piping when I know next time it comes off, it's going to be dirty again.
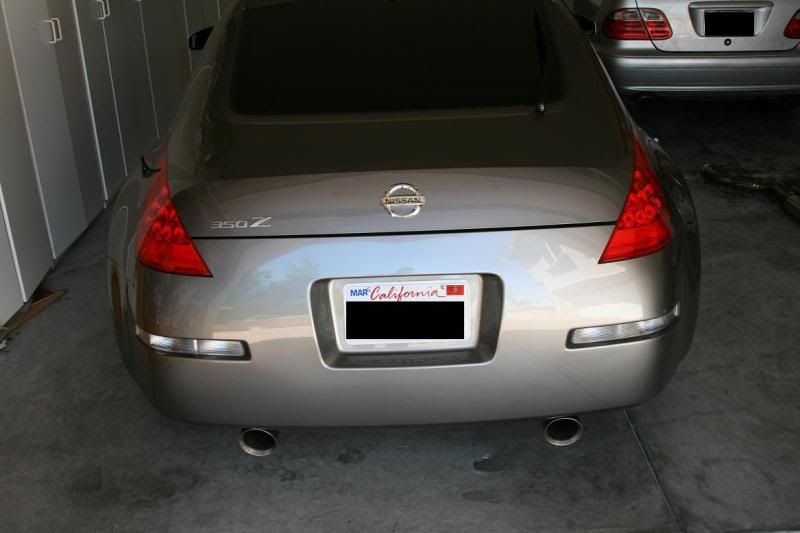
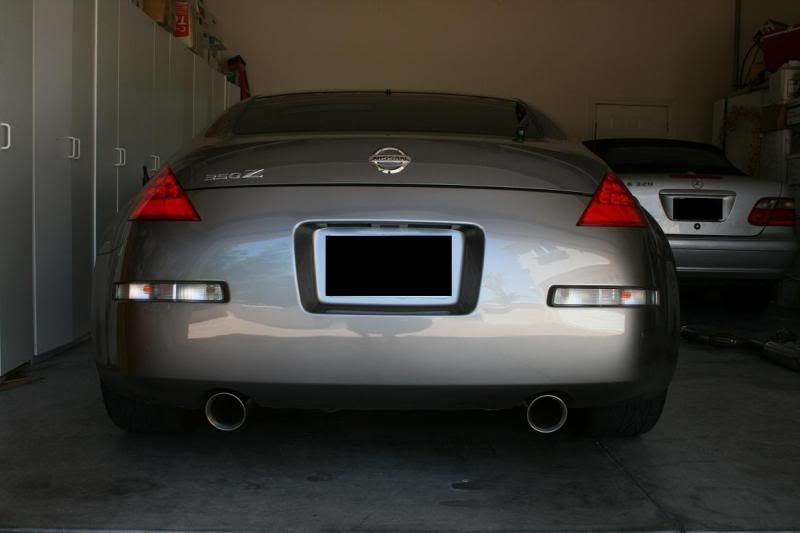
From the back of the car, I think it will definitely look clean. Hopefully I'll get some mounted pictures soon.
You can see the left side vs the right, it was pretty dusty/dirty, so a simple wet rag helped a lot.
Note all the carbon build up inside the tips, I must say Nevr Dull did "jackshit" for that. It took me over a solid minute or rubbing Nevr Dull on the inside only to notice....it's not doing anything.
I had to whip out the scotch-brite pad and went to the town and that helped a lot! I tried getting all the discoloration/carbon build up off the inside of the tips.
Then I went back to the outside of the tips, and this is were Nevr Dull really shined, few rubs and that discoloration was gone and the shine was back. This is some great stuff.
Final Product.
I tried working on the rest of the muffler, but Nevr Dull didn't do much there and I wasn't about to scotch-brite the whole muffler and resand it or use steel wool piece by piece as that would take days. The Y Pipe and Midpipe also were harder than I thought to clean like the tips. Nevr Dull again didn't help "too" much, I tried some scotch brite to get off the really grimy parts, but again didn't want to have to resand/steel wool all the piping when I know next time it comes off, it's going to be dirty again.
From the back of the car, I think it will definitely look clean. Hopefully I'll get some mounted pictures soon.
Last edited by JDM555; Jun 21, 2010 at 01:50 PM.

Yeah Novesh, that is what I said to myself when I wiped some Nevr Dull on the tips lol. Love that stuff.
Thanks davidv, muffler is definitely the same finish as the tips, brand new it's just as clean/bright/shiny as the tips. But I guess it gets hotter than the tips so the discoloration is a lot harder to get off than the tips? Not sure. But I cleaned up the visible part once installed very good.
John
I'll have mounted pictures maybe tomorrow.

Thread
Thread Starter
Forum
Replies
Last Post