

My Detailing Conquests!


A few more pics.
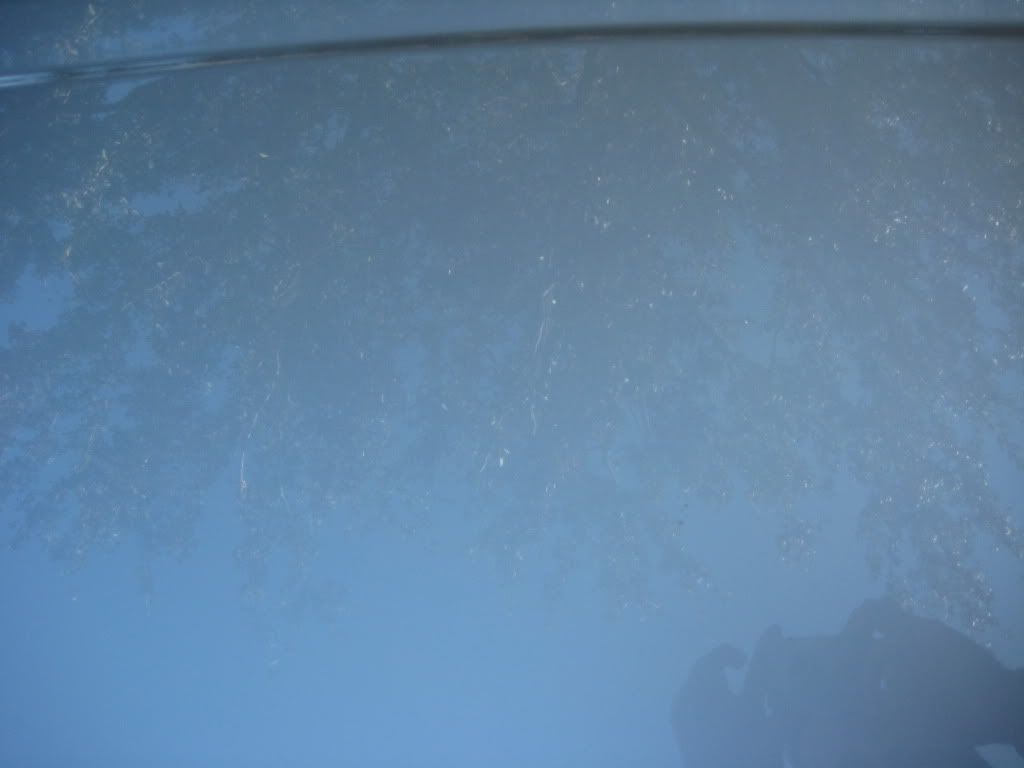
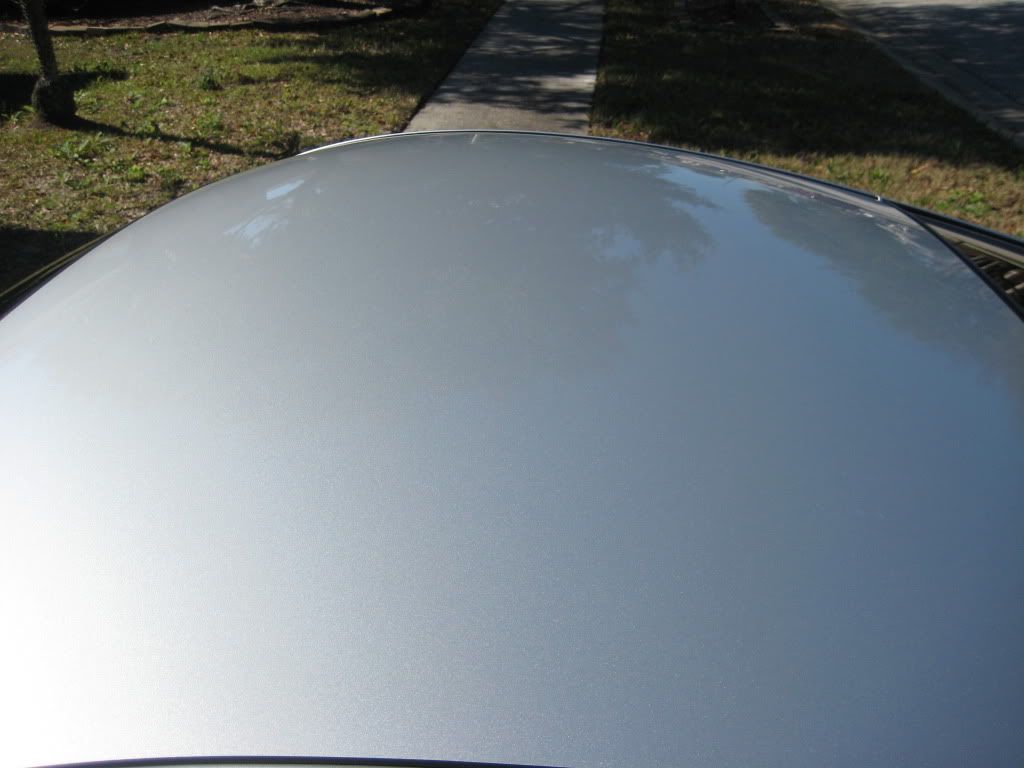
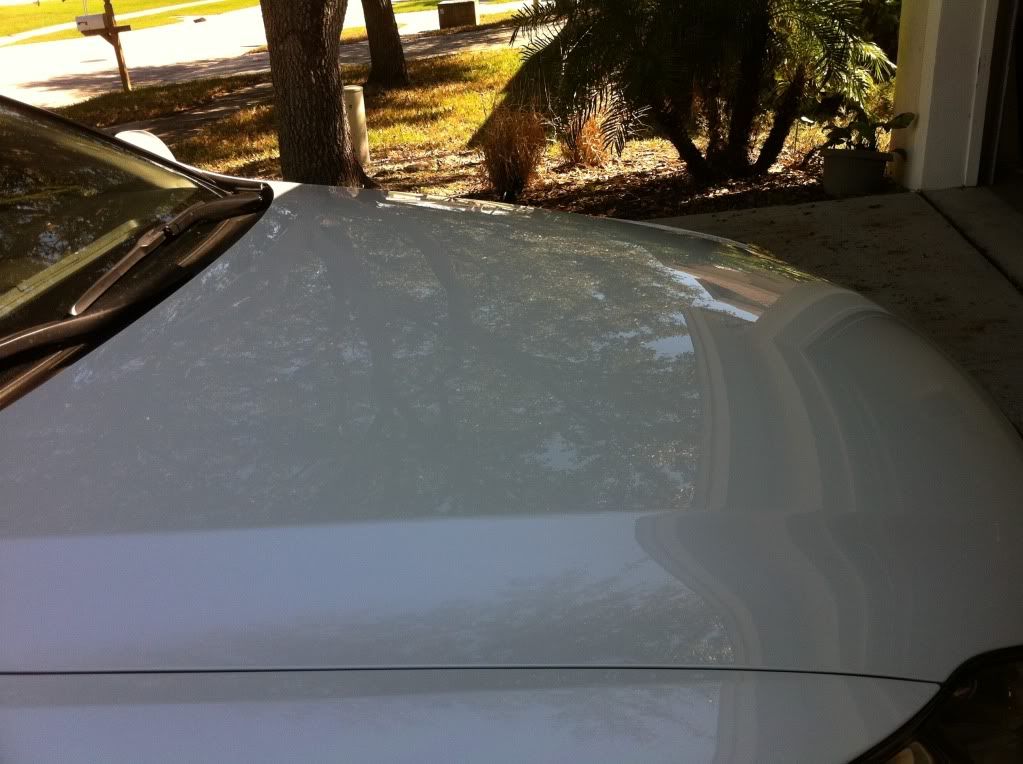
Few fine scratches on roof:
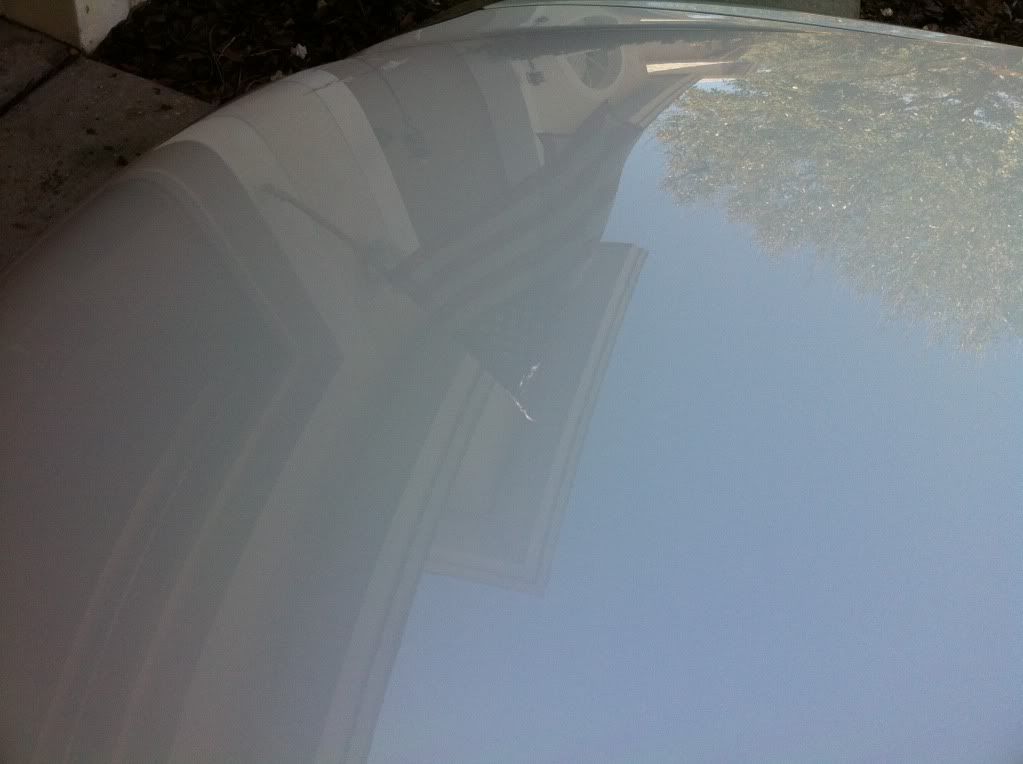
Scratches all gone:

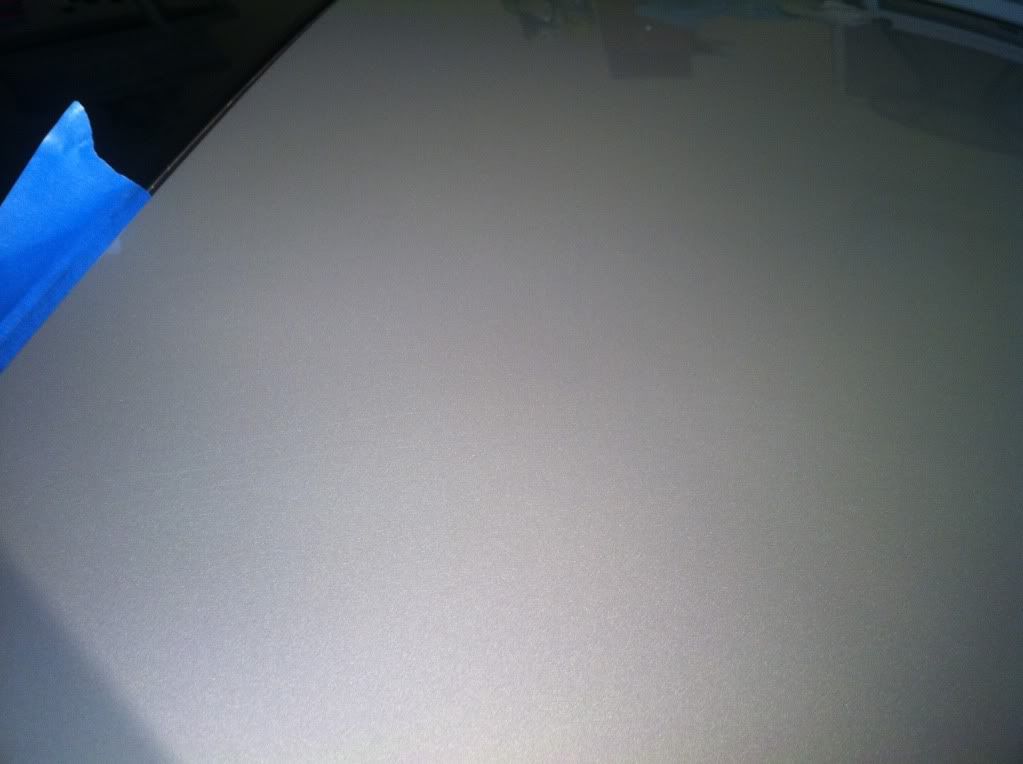
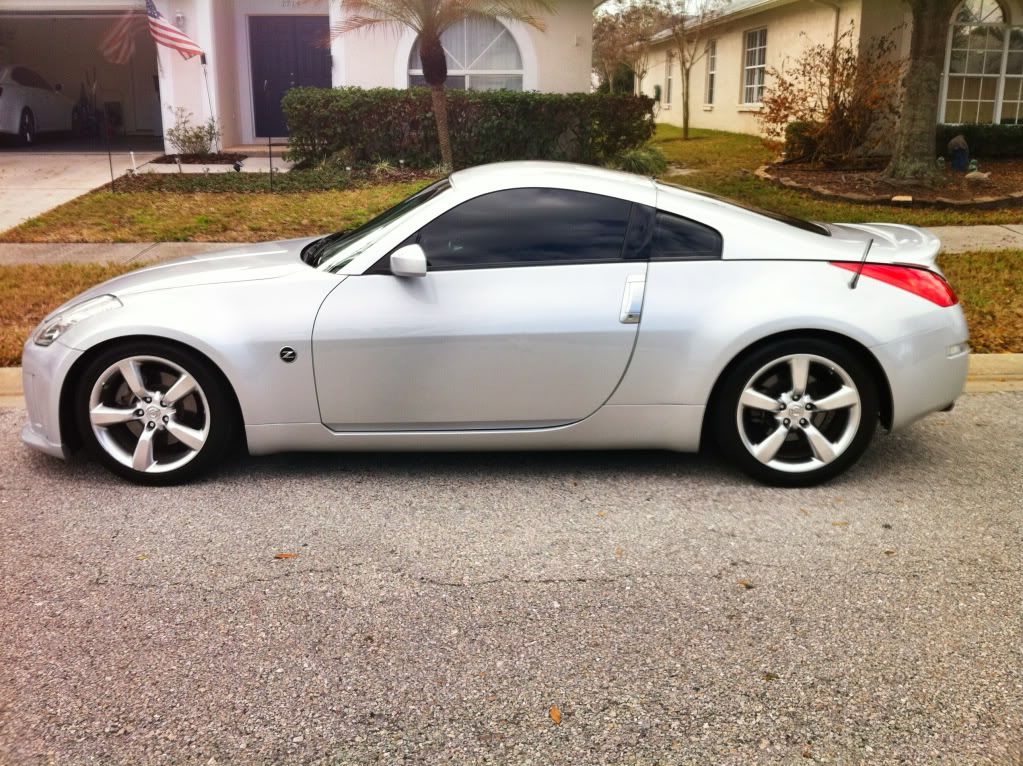
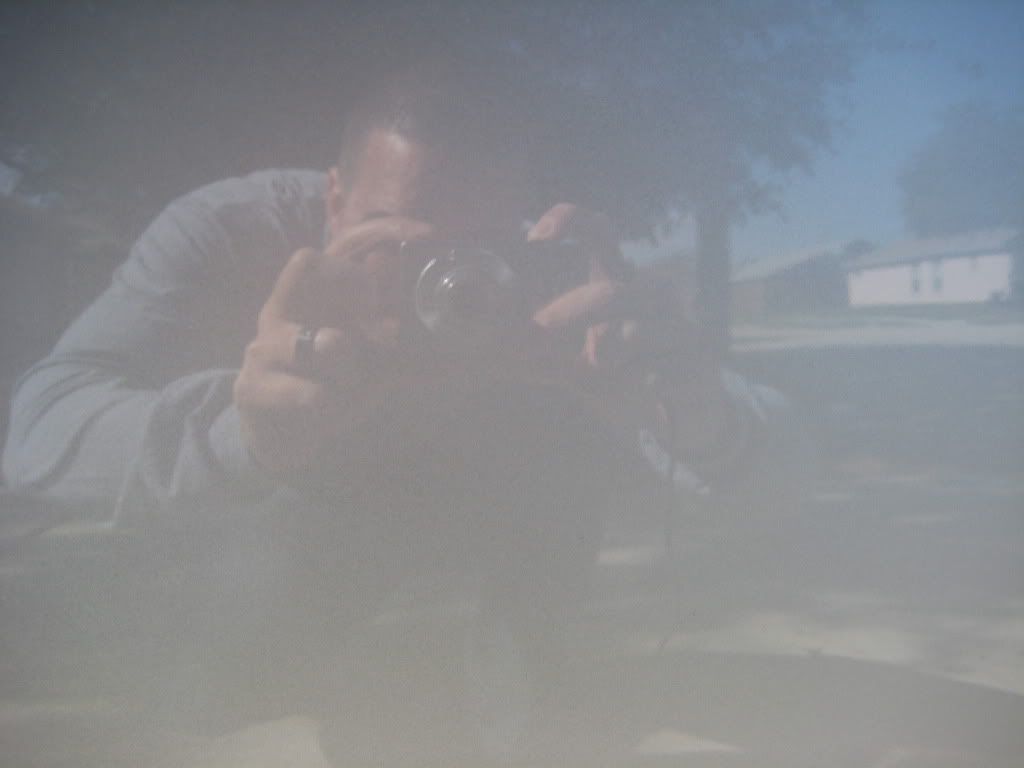
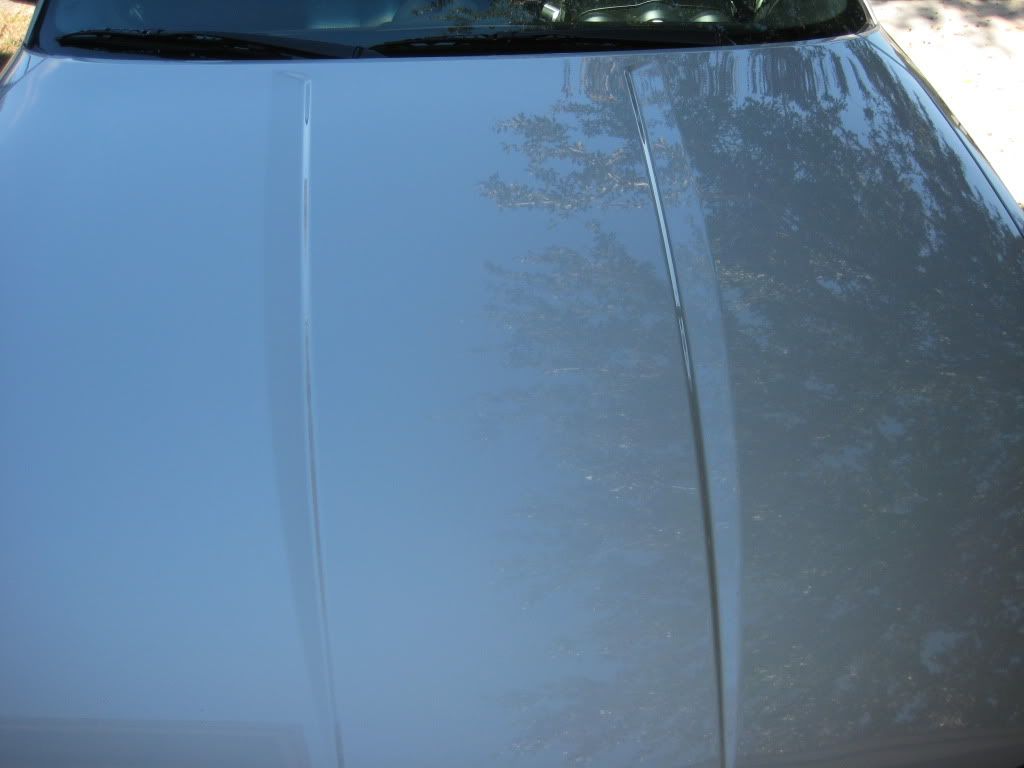
Showing the gloss of the Blackfire sealant on hood, Love the Black Fire Wet Diamond since it makes the paint soo silky smooth.

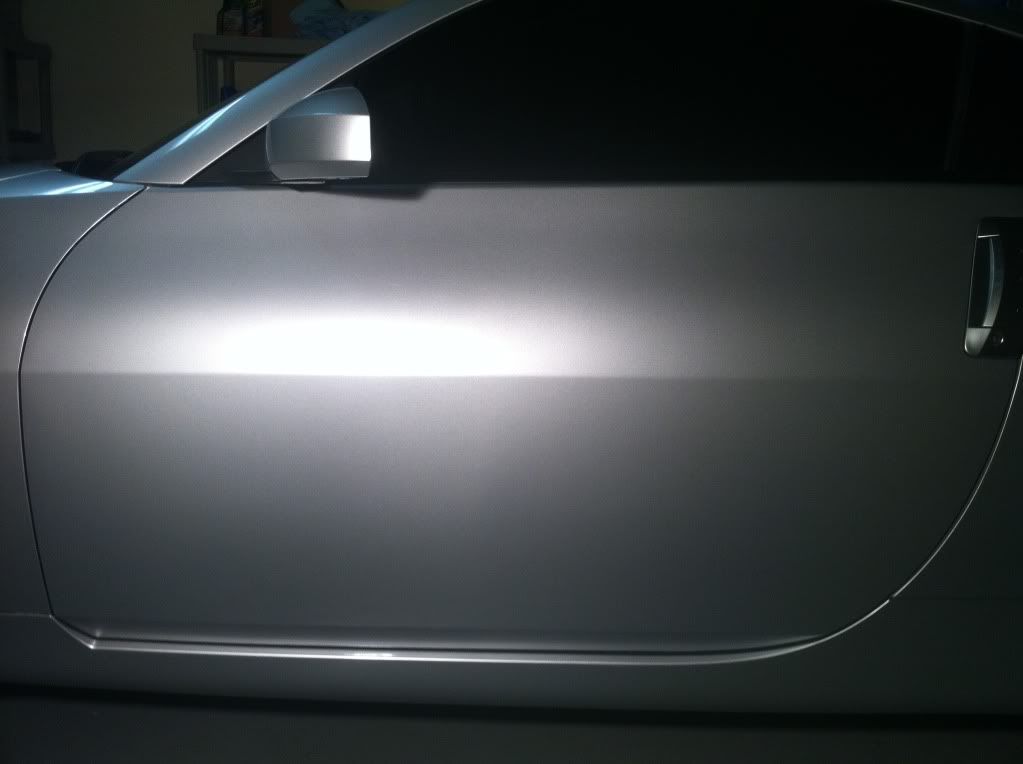
Driver door:

Few fine scratches on roof:
Scratches all gone:
Showing the gloss of the Blackfire sealant on hood, Love the Black Fire Wet Diamond since it makes the paint soo silky smooth.
Driver door:


 definitely wanna know your secrets
Sure, I think the most overlooked area in this whole process is the washing step. It is important to employ the 2 bucket system with a Grit Guard to minimize putting scratches on your car. You will notice all the dirt that you pick up on your mitt at the bottom of your bucket when using the Grit Guard. This is the same dirt you are picking up from your bucket if you are using just one bucket and putting it all over your paint causing scratch city. This is what I had been doing to my paint over the years and was wondering where the hell these scratches/swirls were coming from.
When preparing the paint for a polishing the first step you want to take is to use a solution that will strip any wax off the car and make the surface bare for polishing. Dawn soap works great for this.
After washing the car with Dawn soap you want to dry the car and then Clay bar the entire car to remove embedded contamination that could not be removed by regular washing. When applying the clay bar you want to use a clay bar lubricant. Any quick detailer with cleaning properties and no protective properties works fine. You should clay bar the car at least twice per year.
Once I am done with the Clay Bar process I will quickly wash the car again to remove any loosened contamination and get it ready for the polish process.
For polishing I use the Porter Cable 7424XP. Great for the novice and can be found on any online store for around $125.00 Polishing removes any imperfections in the paint so it will yield the most dramatic difference. For heavy paint correction I use the 2 step polish process. If you don't need heavy paint correction then you can just use a good finishing polish and that's it. For the two step polish I use Meguiar's M105 and M205. I use a Lake Country Cyan pad with the M105 for the cutting polish and a Tangerine pad with the M205 finishing polish to take down any micro marring left by the cutting polish. For heavy correction I like to employ the slow cut process which involves several slow passes and spraying detail spray on the pad to get the most out of the product as possible.
Next step would be applying a wax sealant. Sealants usually last 3-6 months. I use the Blackfire Wet Diamond with the Crimson pad on a speed of 3. At this point you can either add another layer of Blackfire or you can choose to add a Carnauba wax to give you the wettest look possible. I have not applied a Carnauba wax to my car yet but will be soon to see what kind of difference it makes.
Last edited by Diesel350; Jan 18, 2011 at 05:39 AM.

Sure, I think the most overlooked area in this whole process is the washing step. It is important to employ the 2 bucket system with a Grit Guard to minimize putting scratches on your car. You will notice all the dirt that you pick up on your mitt at the bottom of your bucket when using the Grit Guard. This is the same dirt you are picking up from your bucket if you are using just one bucket and putting it all over your paint causing scratch city. This is what I had been doing to my paint over the years and was wondering where the hell these scratches/swirls were coming from.
Washing and Drying
DI Packages Washing and Drying Basic Kit
OR
DI Packages Washing and Drying Starter Package
Clay Bar
DI Packages DI Gentle Fine Grade Clay Bar 100g & Clay Lube
Polishes, Buffer and Pads (Includes Porter Cable, Meguiar's M105&M205 and matching Pad)
DI Packages Porter Cable 7424XP, Meguiar's Polishes and Hydro Pads Basic Kit
OR
DI Packages Porter Cable 7424 XP, Meguiar's Polish and Hydro Pads
Sealant
Blackfire Wet Diamond with Polycharger (apply by hand or use the PC and a Lake Country Blue Fine Finishing Pad)
Waxes
If interested hand apply a wax afterward for even more shine and protection.
Two great options are the Poorboy's World Natty's Blue Paste Wax, Chemical Guys 50/50 Limited Series Concourse Paste Wax or any of the Dodo Juice Waxes.
If you have any questions or if you want a recommendation tailored to your needs please don't hesitate to ask. Take care!
Greg


Just to add a comment.............I bought a Griot's Garage DA Buffer about 3 years ago. It is probably the best car care investment I ever made. It keeps both my cars looking outstanding. I would recommend that anyone who cares about their cars finish should buy a DA buffer.
Did some more polishing today to take out a few scratches then apply my second coat of Blackfire Wet Diamond. Here are two scratches that would not come out with a Cyan Pad and M105 cutting polish:
So I decided to whip out the most aggressive pad I had which is the Yellow pad and put my Porter Cable on a speed of 6 and these stubborn scratches are gone!! Keep in mind this pic below is just the cutting polish, I haven't even applied the finishing polish or sealant at this point.
Another stubborn scratch that I got rid of with a Cyan pad Before:
After:
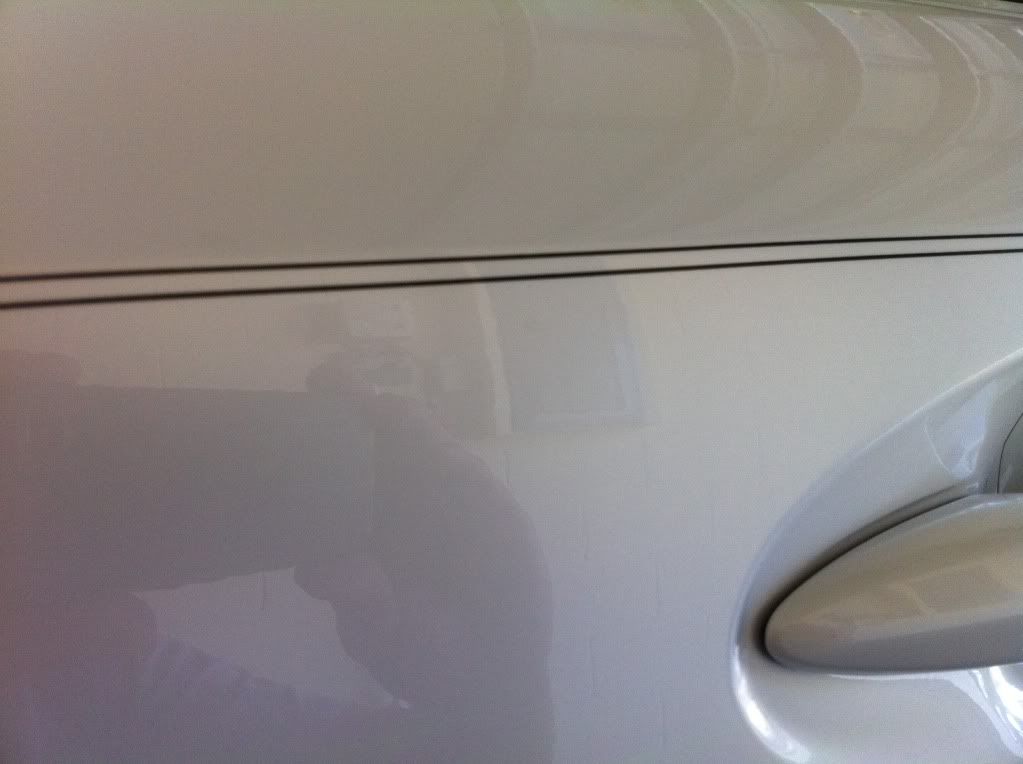
After 2 coats of Blackfire Wet Sealant Pic taken with Iphone:
Pic Taken with point and shoot:
Close up, Look at that smoothness:
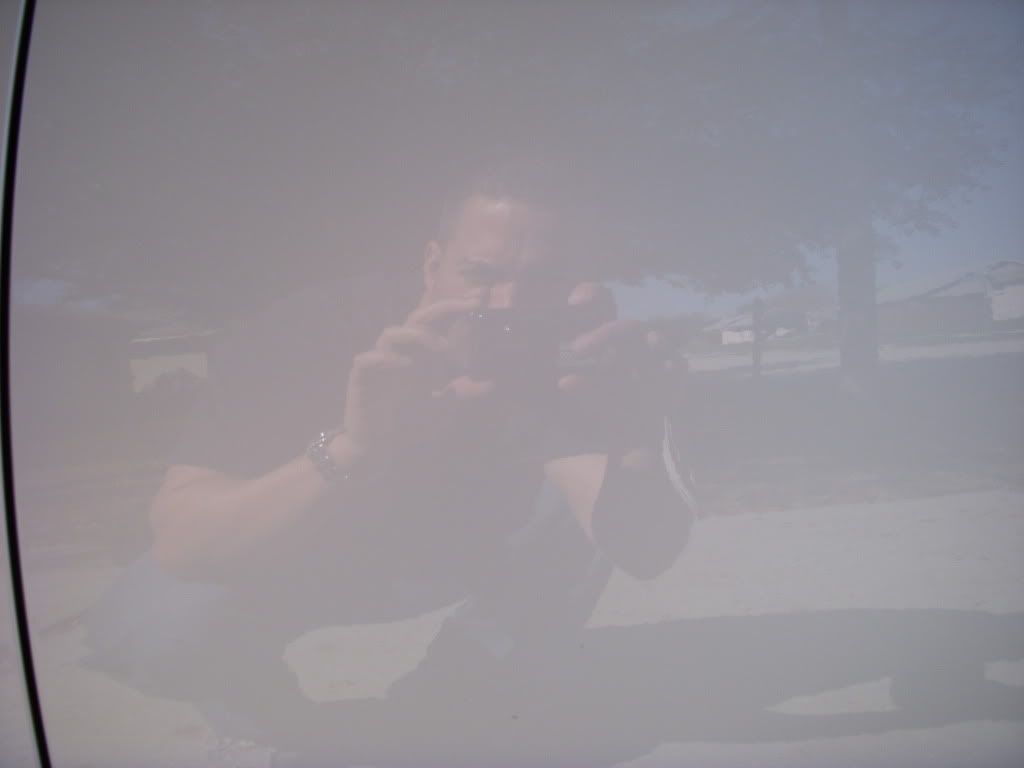
Pic taken with Iphone and HDR processing app
Pic taken with point and shoot.
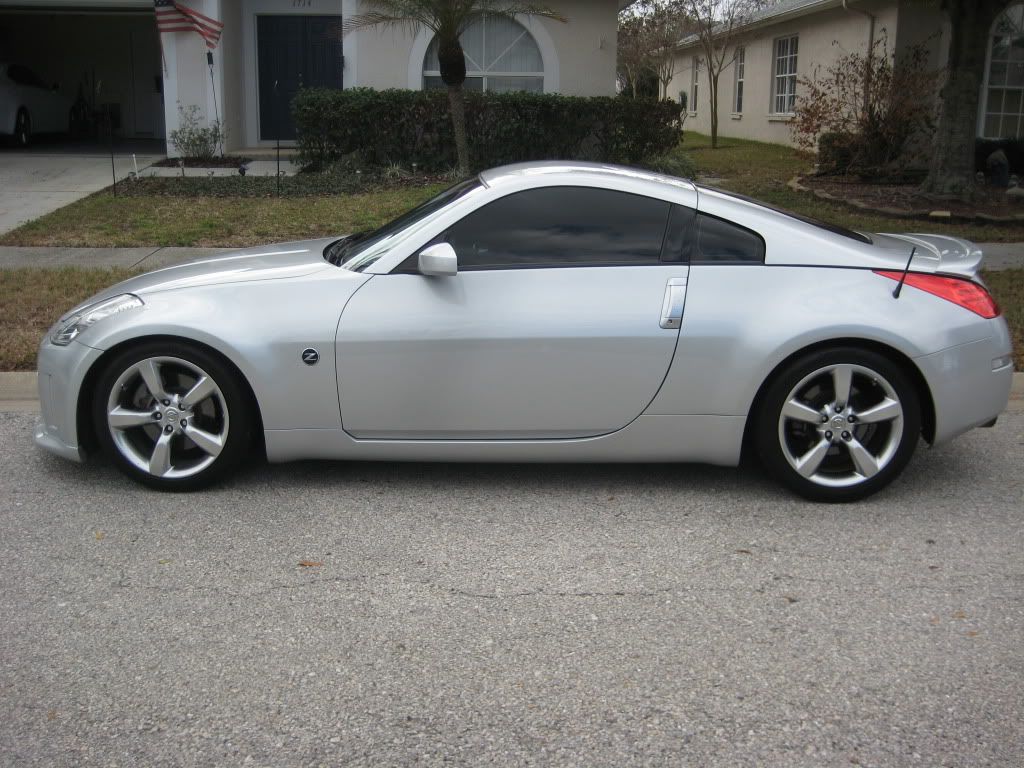
A few more pics with the point and shoot showing 2 coats of Blackfire Wet Diamond
So I decided to whip out the most aggressive pad I had which is the Yellow pad and put my Porter Cable on a speed of 6 and these stubborn scratches are gone!! Keep in mind this pic below is just the cutting polish, I haven't even applied the finishing polish or sealant at this point.
Another stubborn scratch that I got rid of with a Cyan pad Before:
After:
After 2 coats of Blackfire Wet Sealant Pic taken with Iphone:
Pic Taken with point and shoot:
Close up, Look at that smoothness:
Pic taken with Iphone and HDR processing app
Pic taken with point and shoot.
A few more pics with the point and shoot showing 2 coats of Blackfire Wet Diamond
Last edited by Diesel350; Jan 22, 2011 at 09:28 AM.
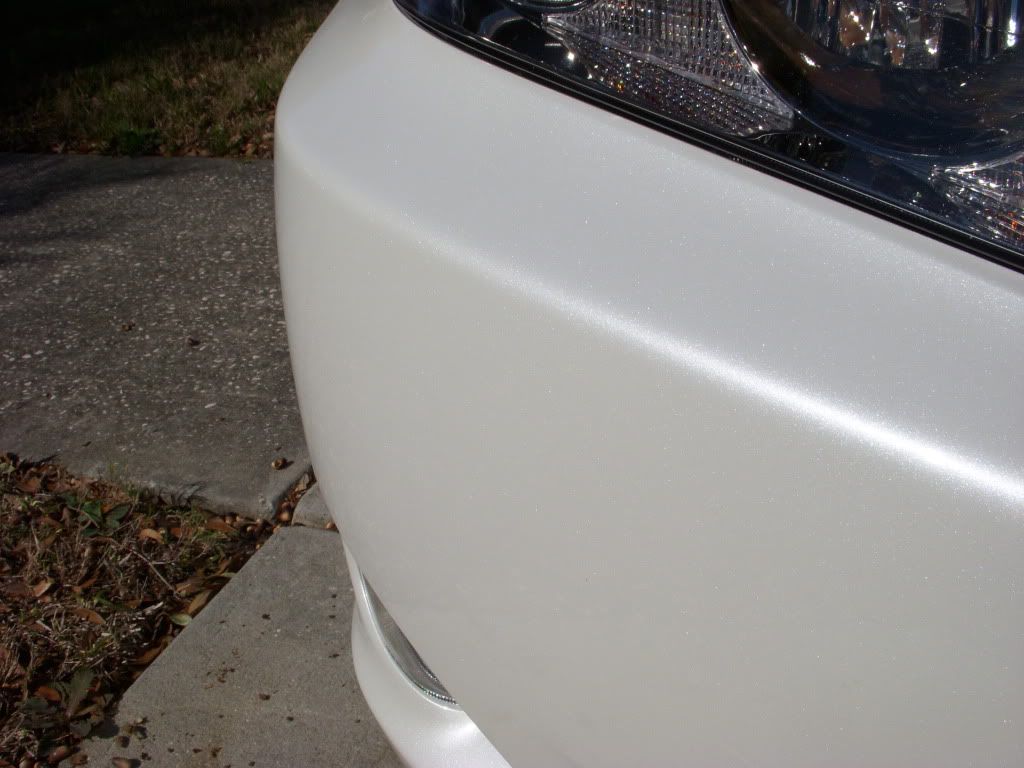
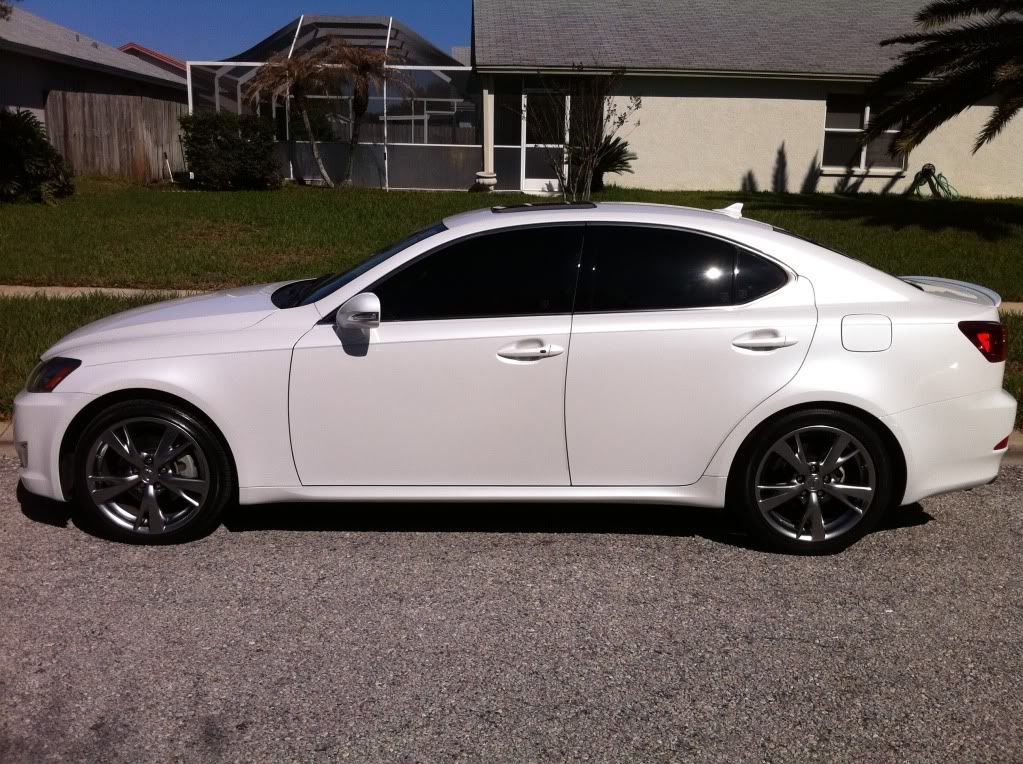
Detailed my other car today, 2010 Lexus IS250 with 15,000 mile on it. 1 yr old never been waxed before. Paint is in great condition with only a few minor scratches.
Washed- 2 bucket system with Dawn
Clayed
Polished with Meguiars M205
2 Coats of Blackfire Wet Diamond Sealant
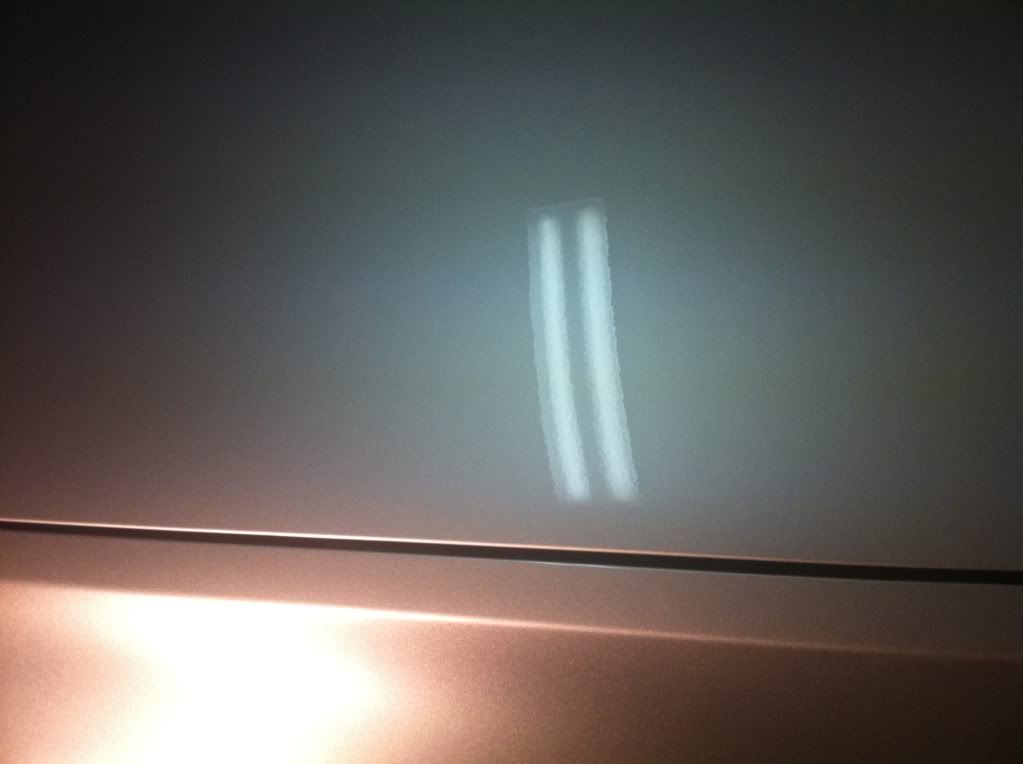
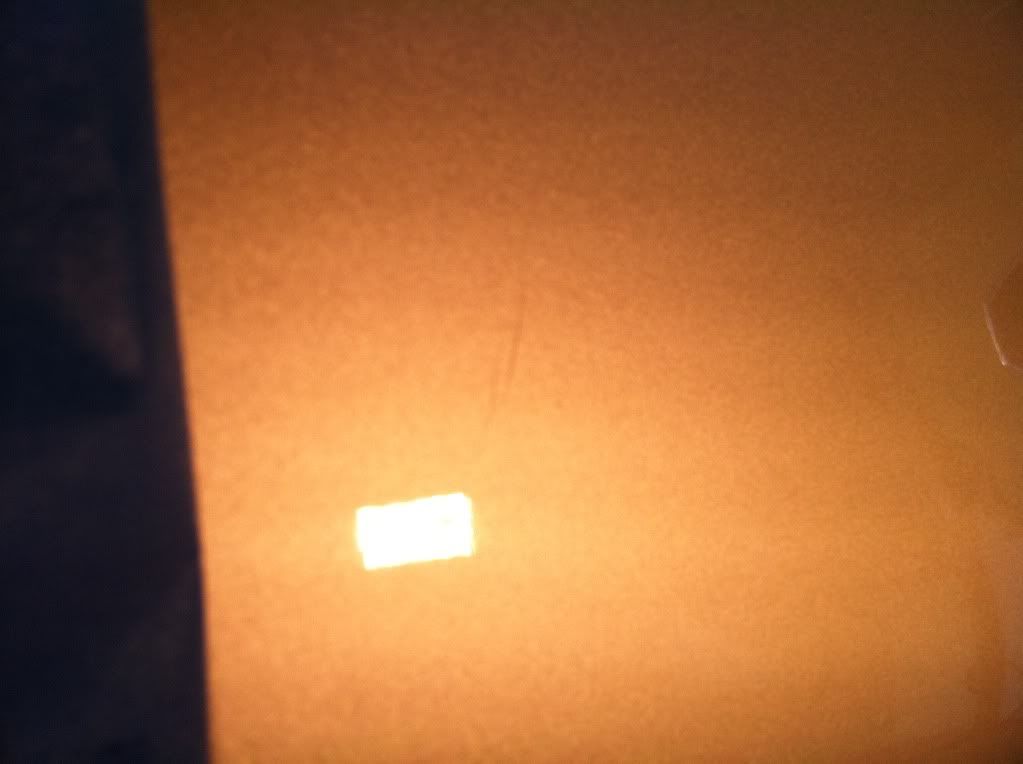
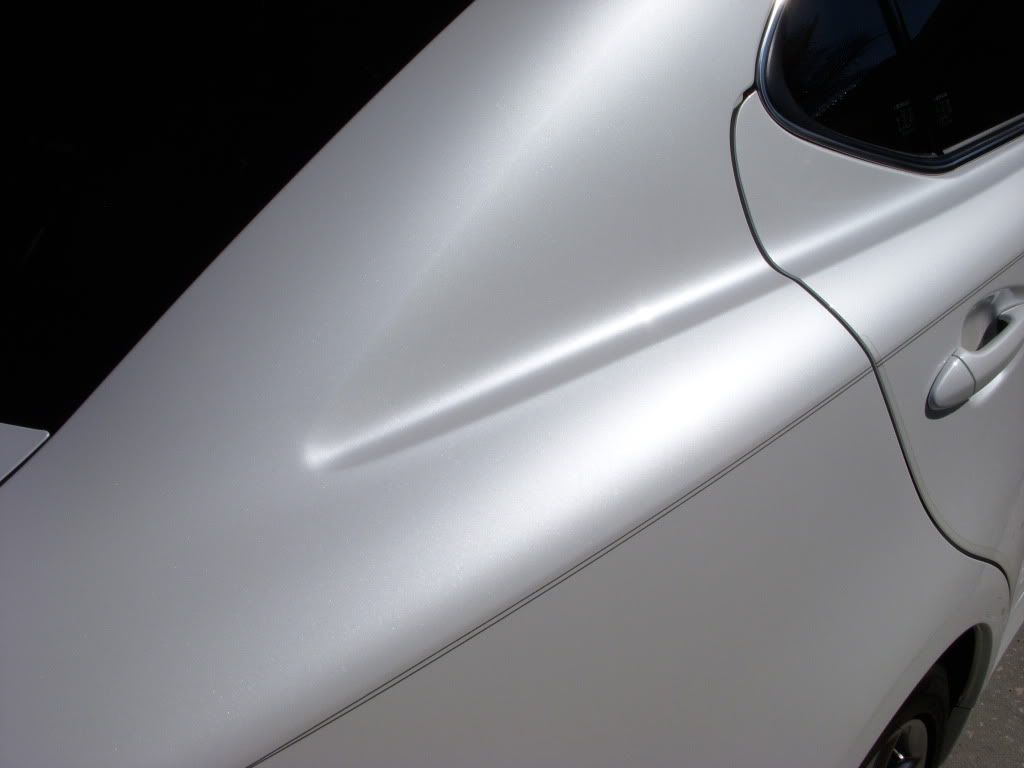
Here are 2 scratches on the door that would not come off with regular washing. Have no clue how they got on there but I'm sure it was the wife. Before:
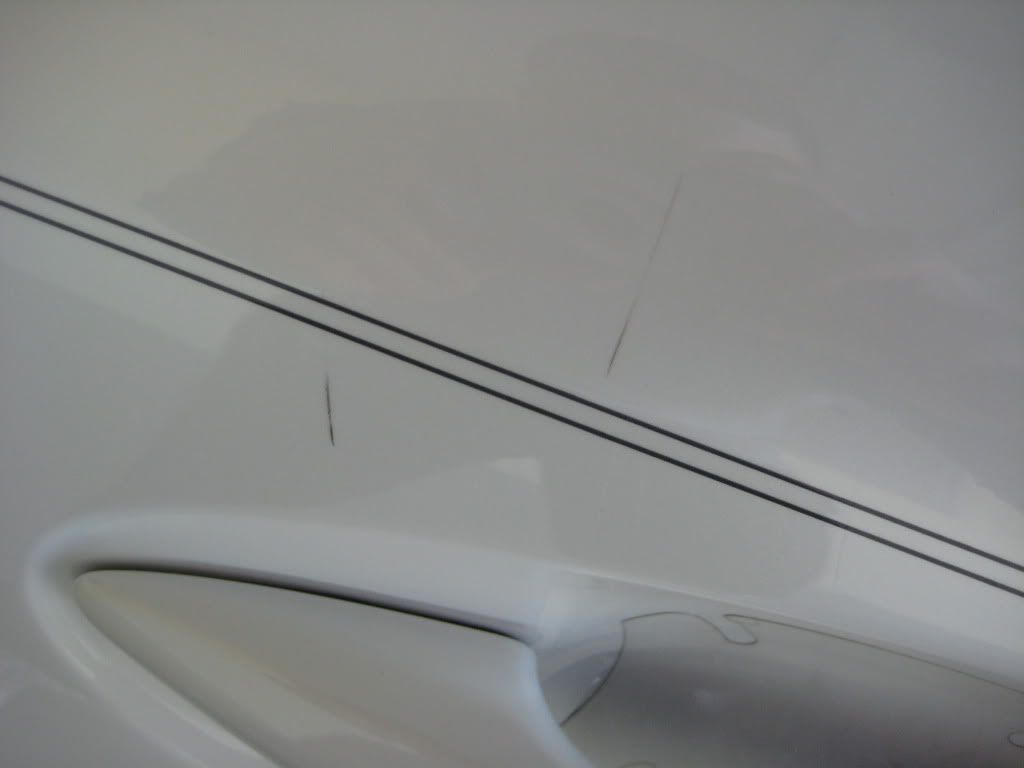
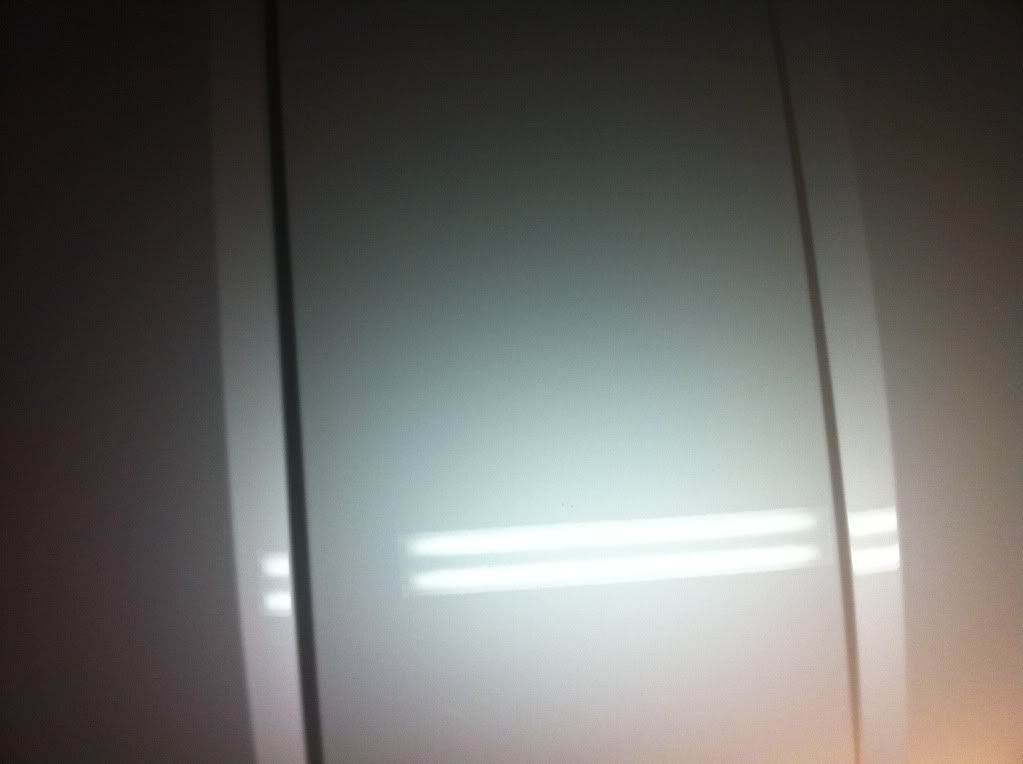
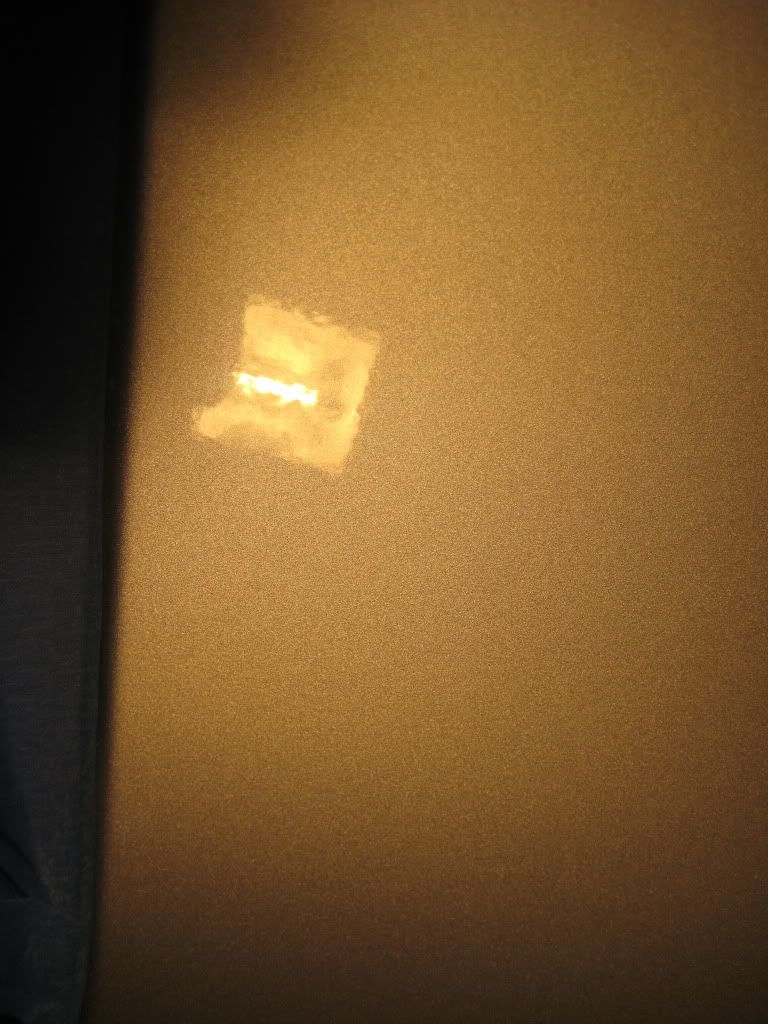
I ended up removing it with the Lake Country Tangerine Hydro-Tech finishing pad and M205. After:
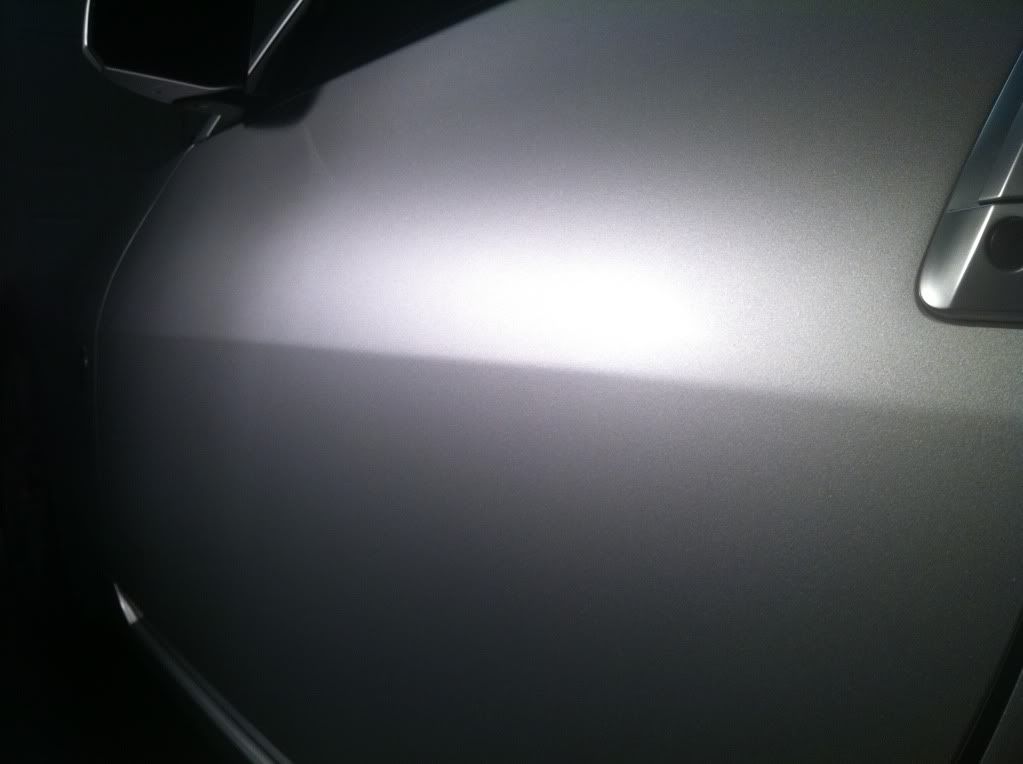
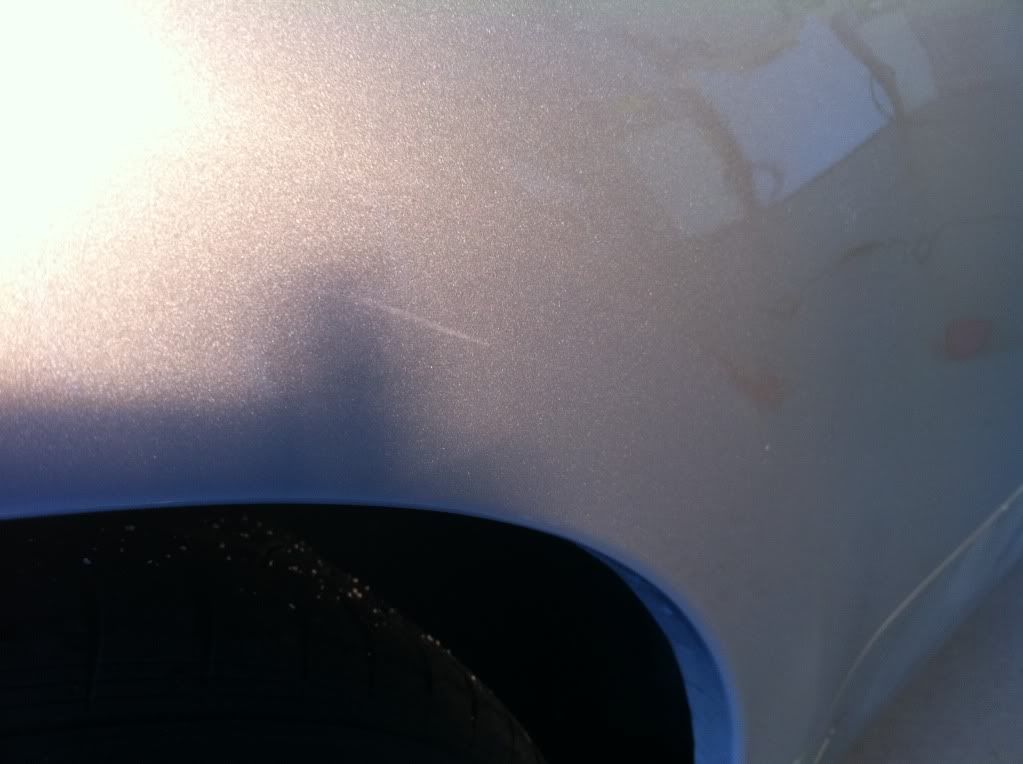
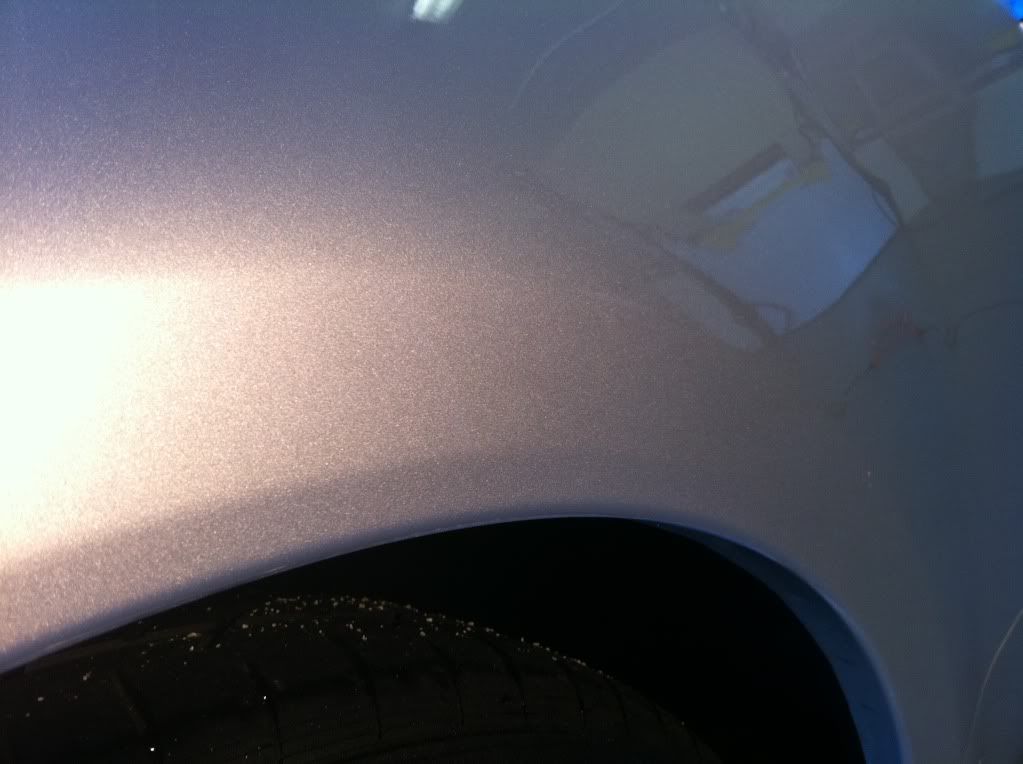
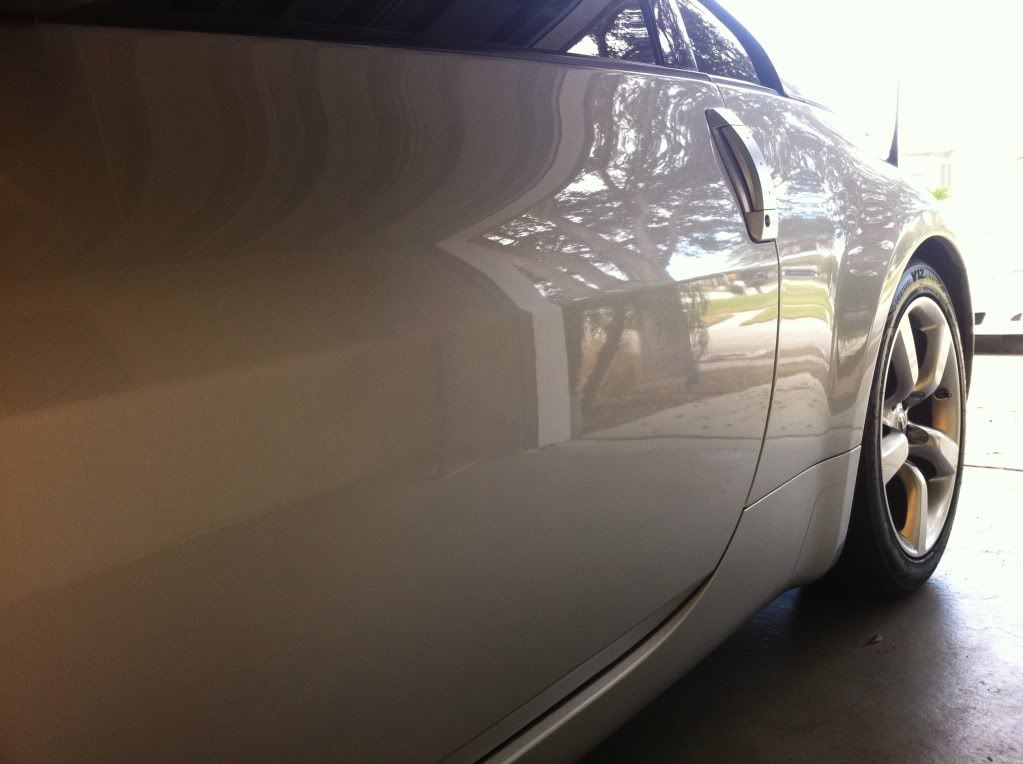
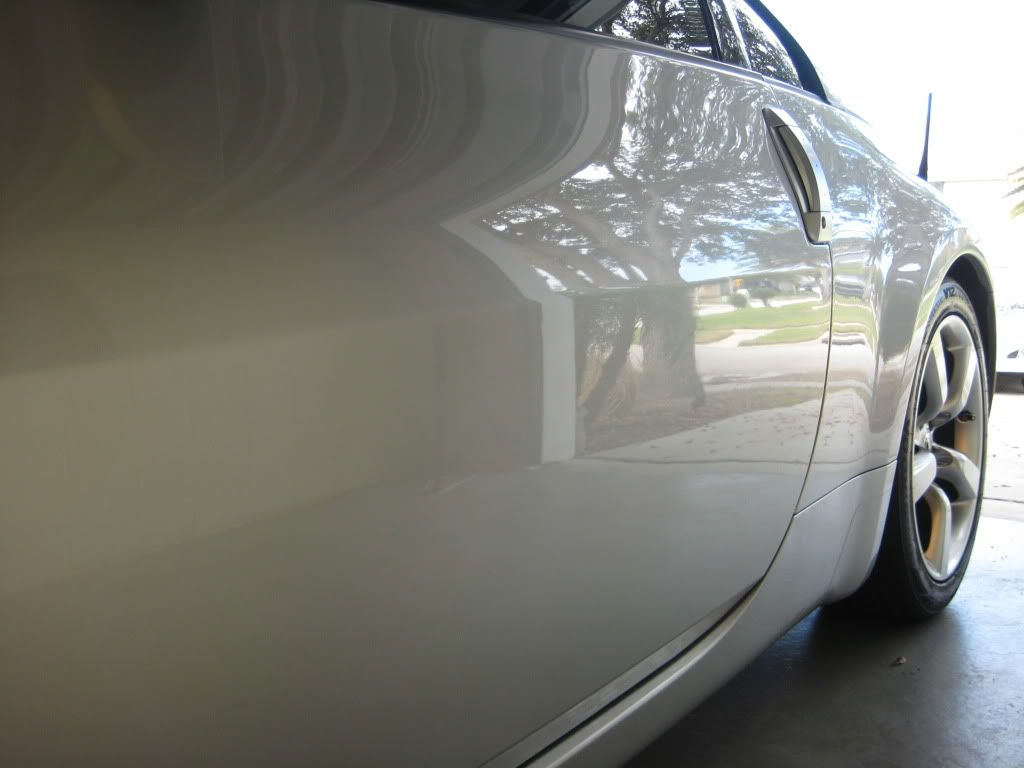
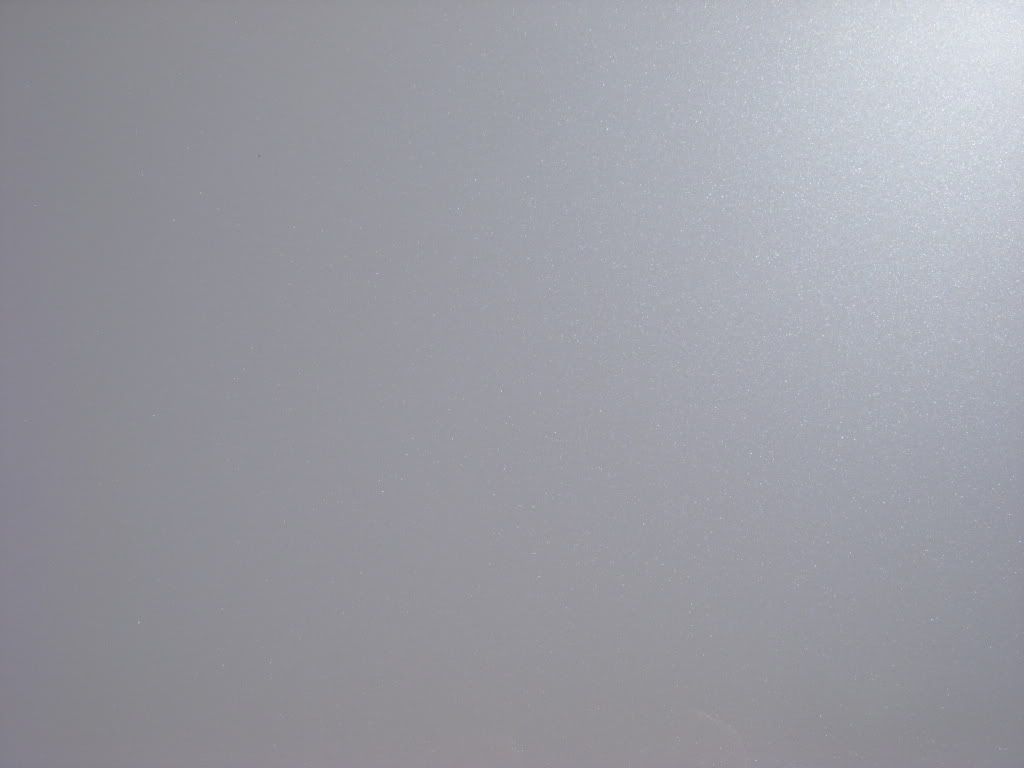
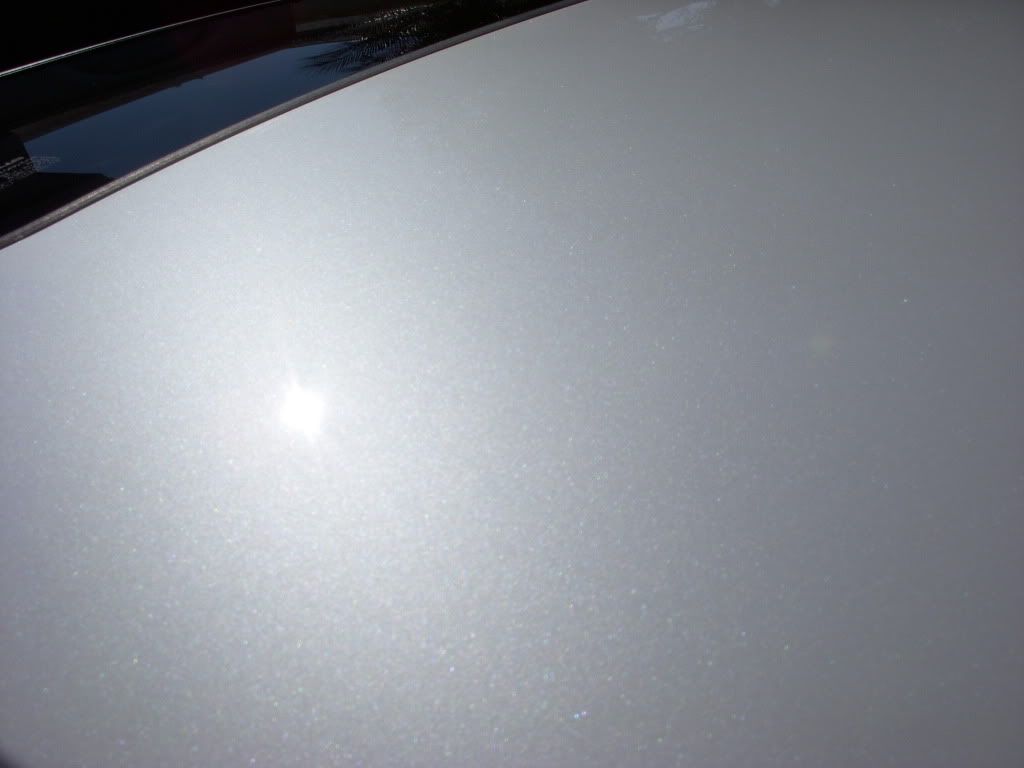
A few pics of Lexi after she's all done with 2 coats of Blackfire Wet Diamond Sealant:

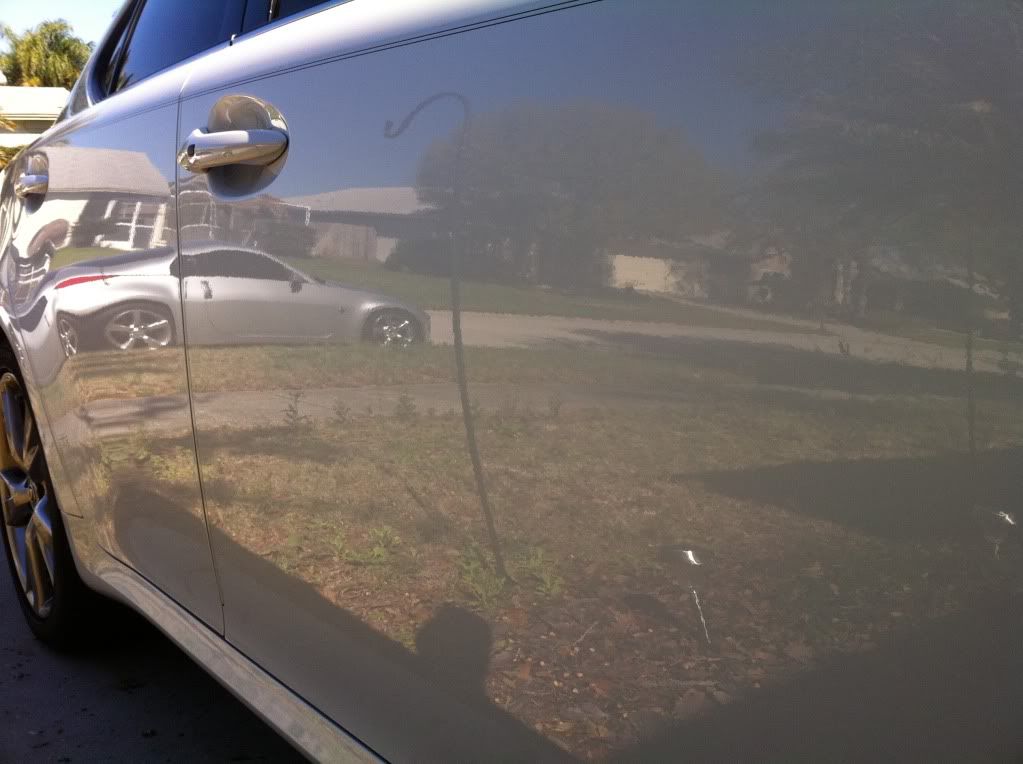
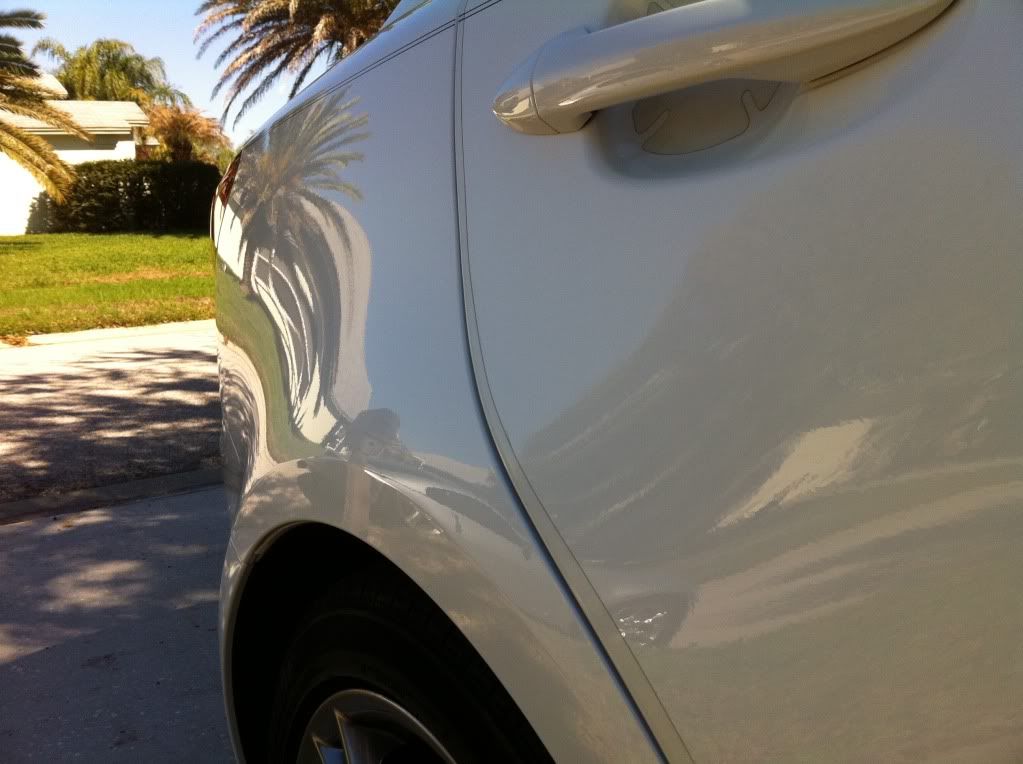
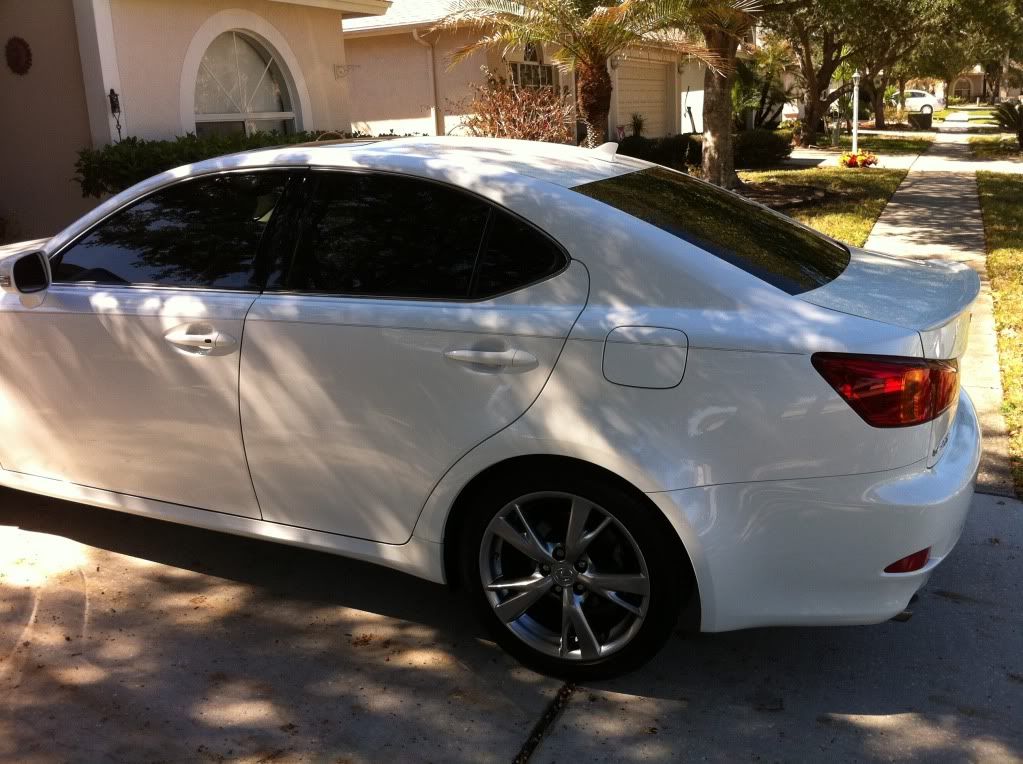
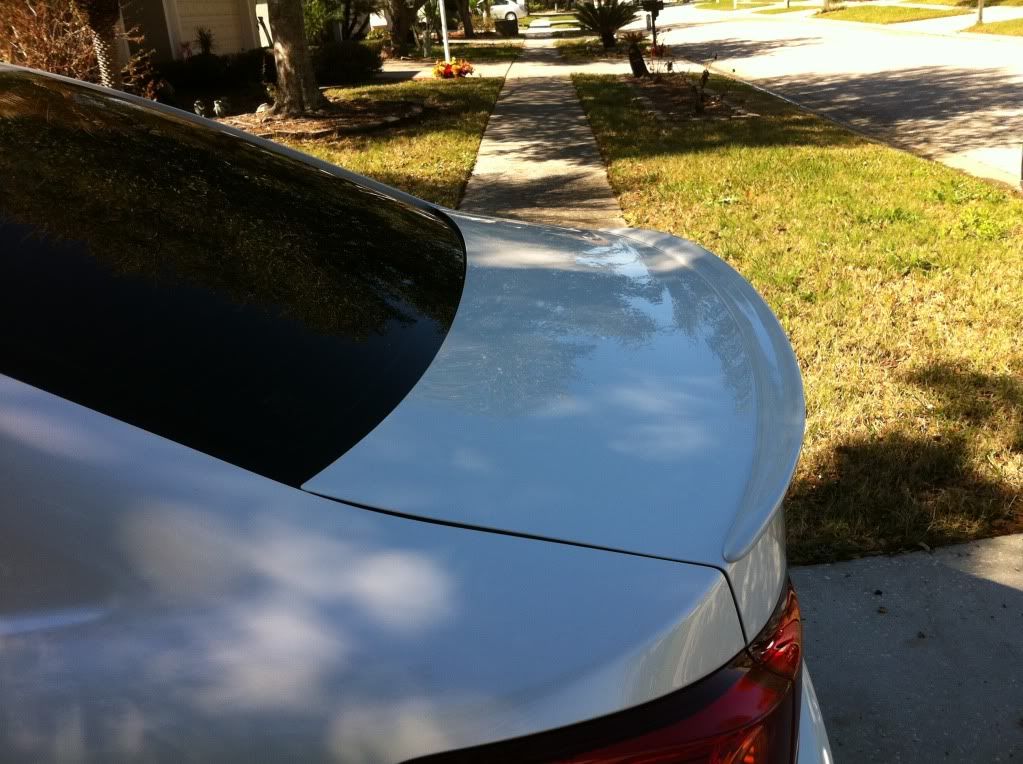
The BlackFire Wet Diamond really brings out the flakes in the paint.

Washed- 2 bucket system with Dawn
Clayed
Polished with Meguiars M205
2 Coats of Blackfire Wet Diamond Sealant
Here are 2 scratches on the door that would not come off with regular washing. Have no clue how they got on there but I'm sure it was the wife. Before:
I ended up removing it with the Lake Country Tangerine Hydro-Tech finishing pad and M205. After:
A few pics of Lexi after she's all done with 2 coats of Blackfire Wet Diamond Sealant:
The BlackFire Wet Diamond really brings out the flakes in the paint.


Greg @ DI
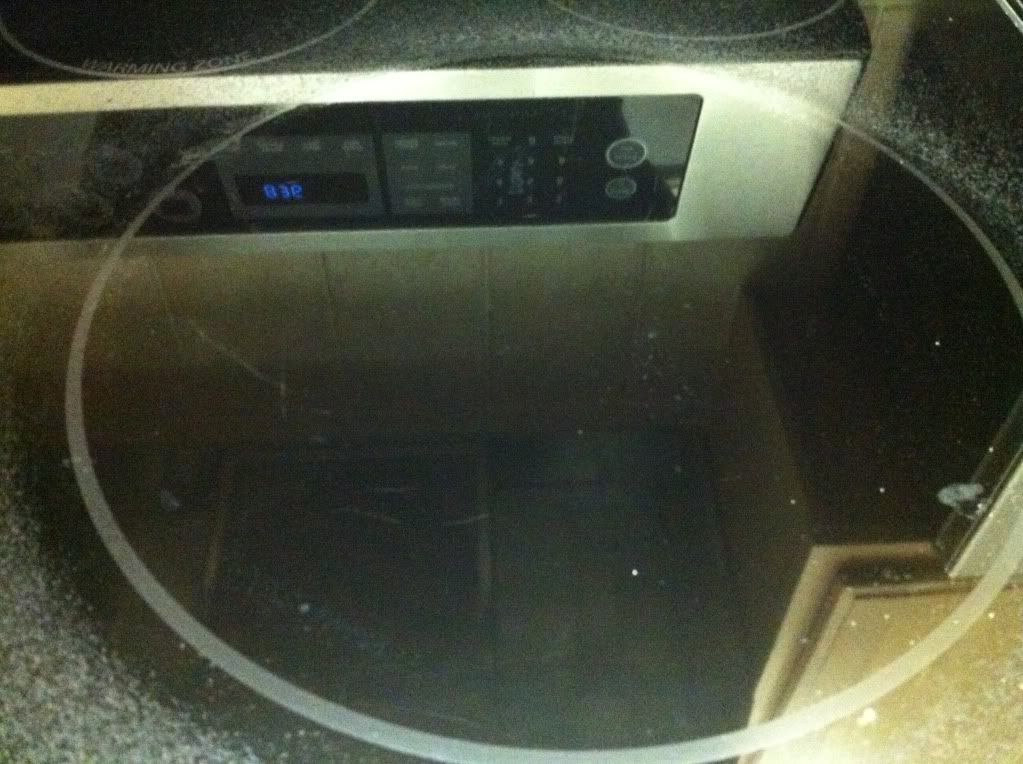
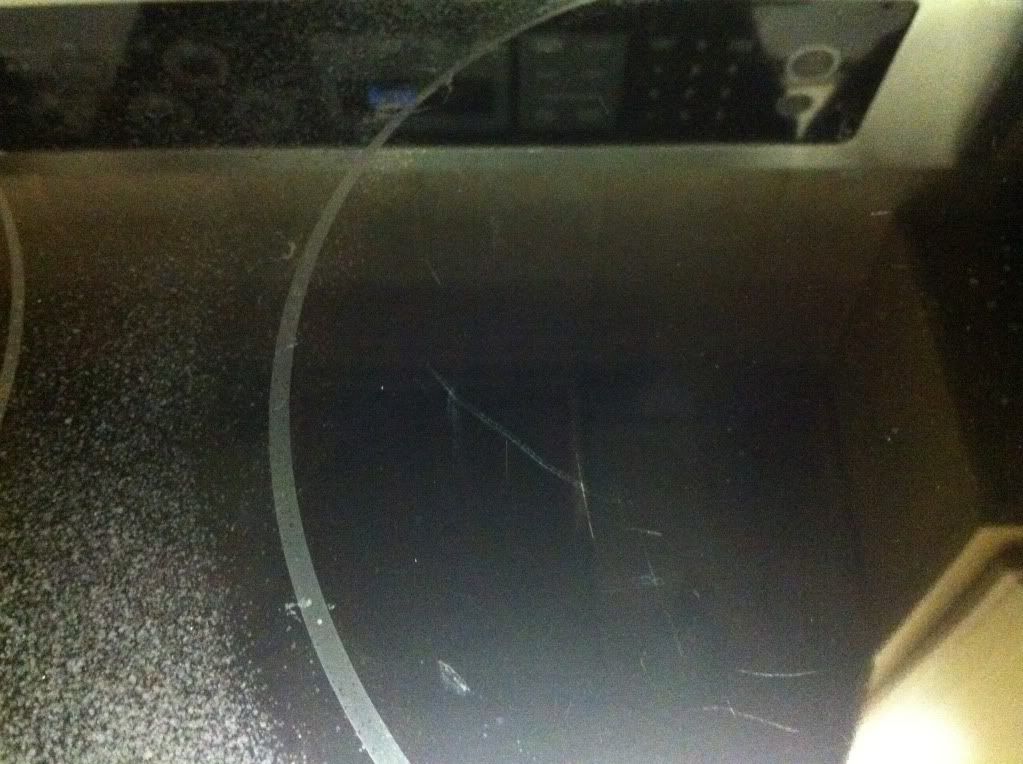
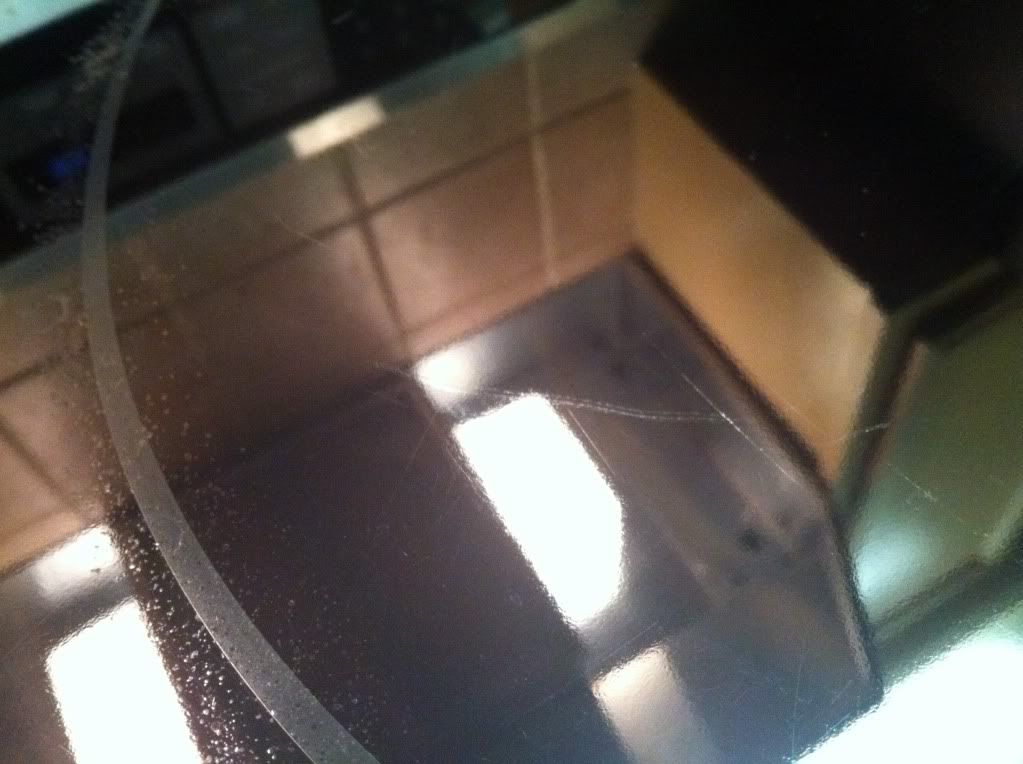
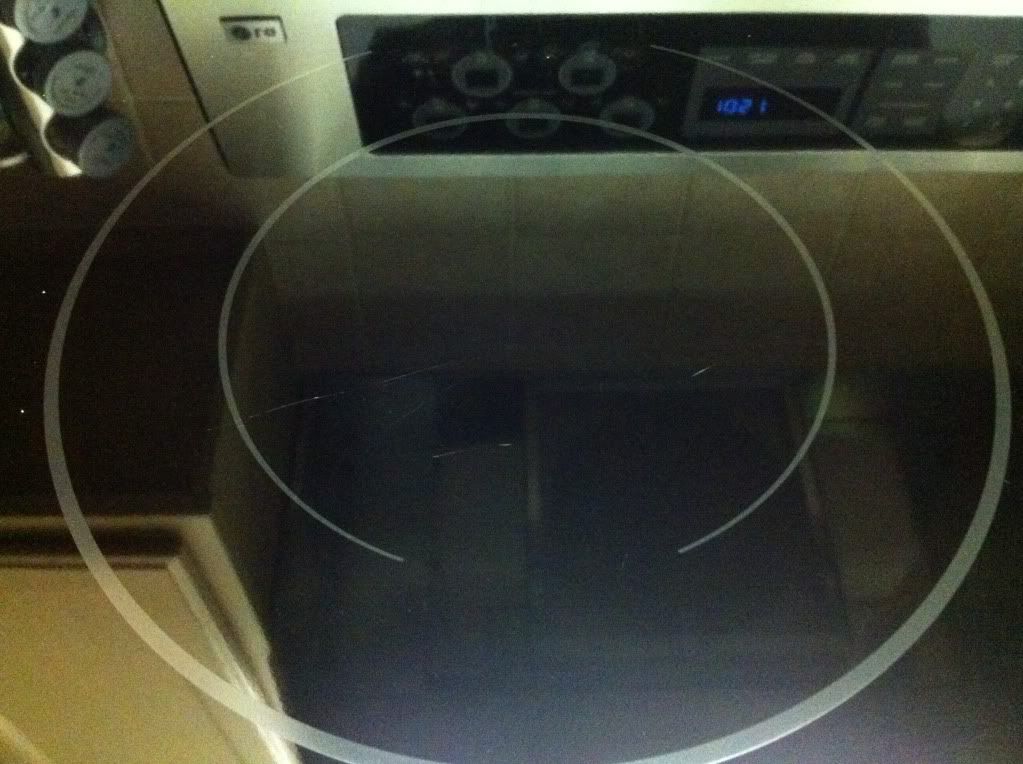
Well I decided to clay and Polish my stove today. I clayed it first then used a cut compound and then a finishing polish on my porter cable 7424XP. While it looks better and I got alot of the gunk off that was caked on the glass I could not get the fine scratches to go away for some reason.
Pics before:
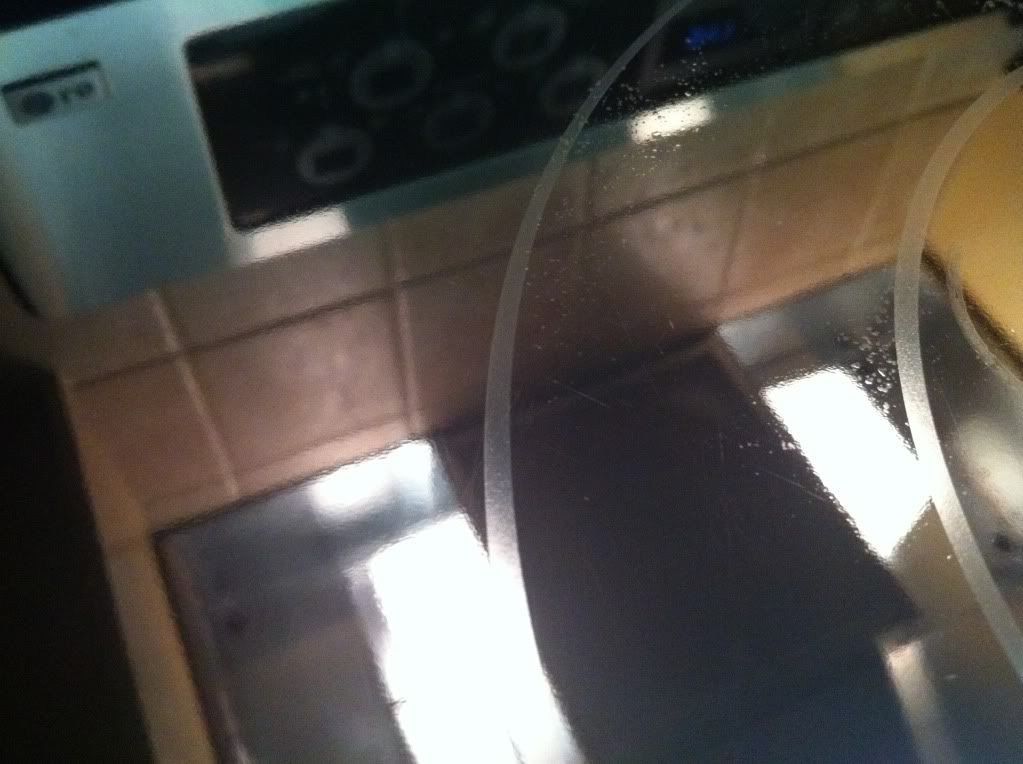
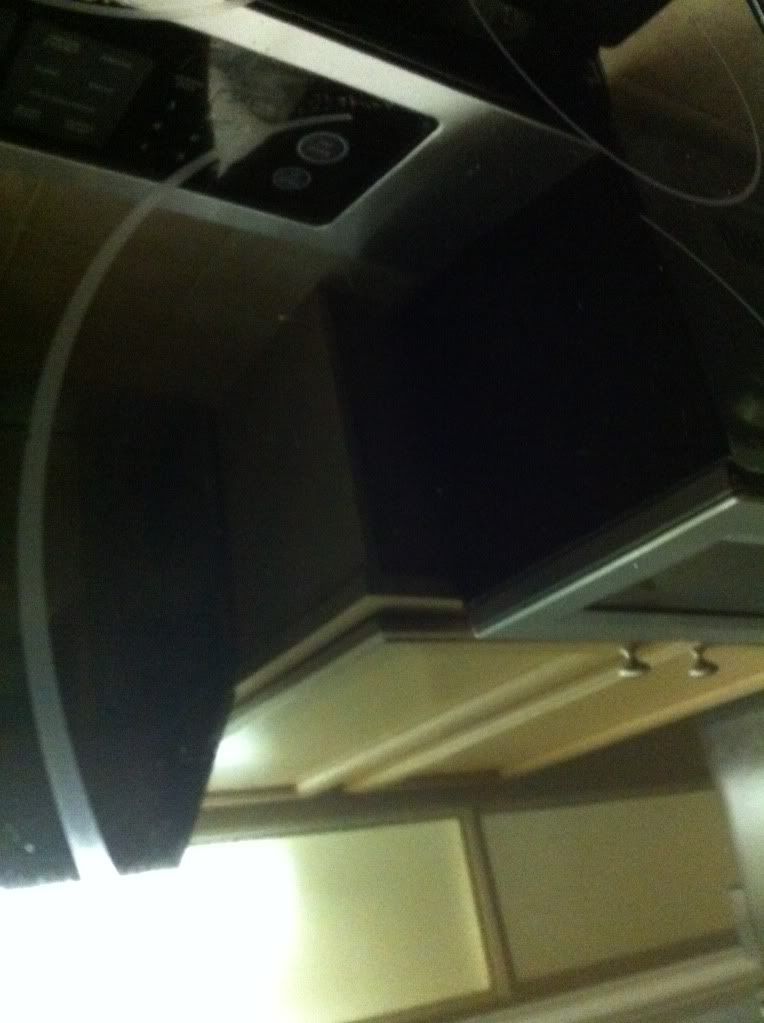
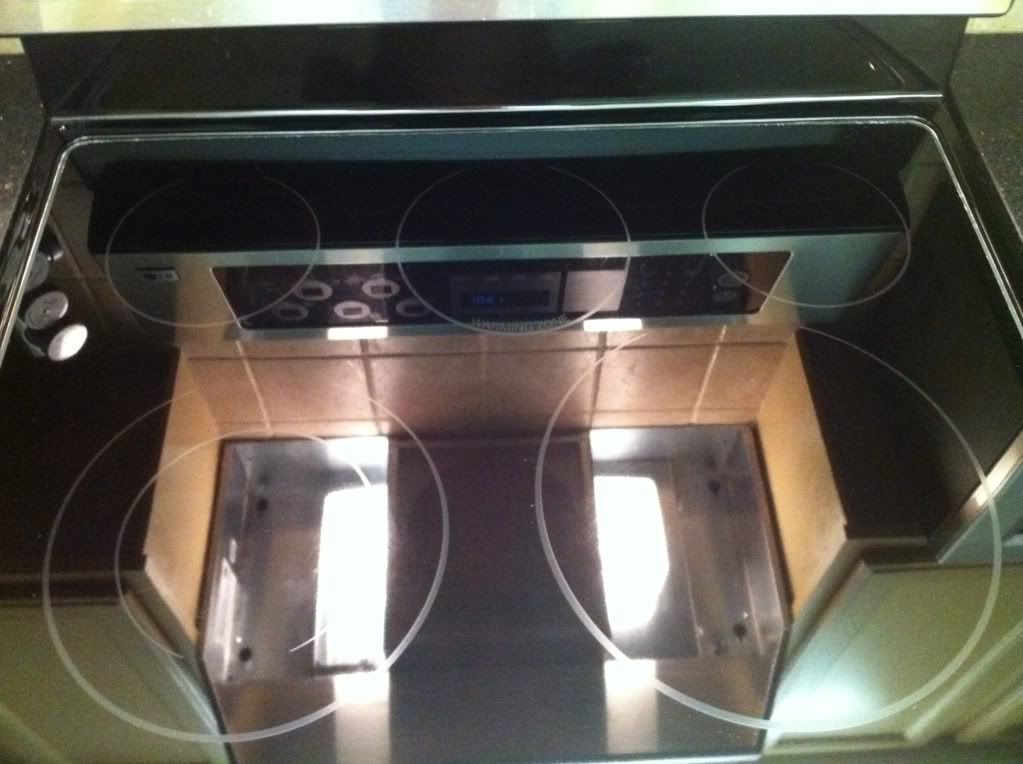
Pics After:


Pics before:
Pics After:

