

Wes_R x Testarossa (126 pics)


Thread Starter
Registered User
Joined: Feb 2009
Posts: 100
Likes: 2
From: Toronto
Hi everybody,
It's been a long time since my last write up here https://my350z.com/forum/cleaning-an...-103-pics.html in this section. I hope you don't mind that it is non Datsun/Nissan but I do feel it is an art of work that I would like to share.
The opportunity to work on this Testarossa presented itself to me when the owners co worker saw some of my work on the GTR https://my350z.com/forum/cleaning-an...-120-pics.html and referred me to him. I got a call near the end of November from the owner saying that he wanted to get his car detailed for storage.
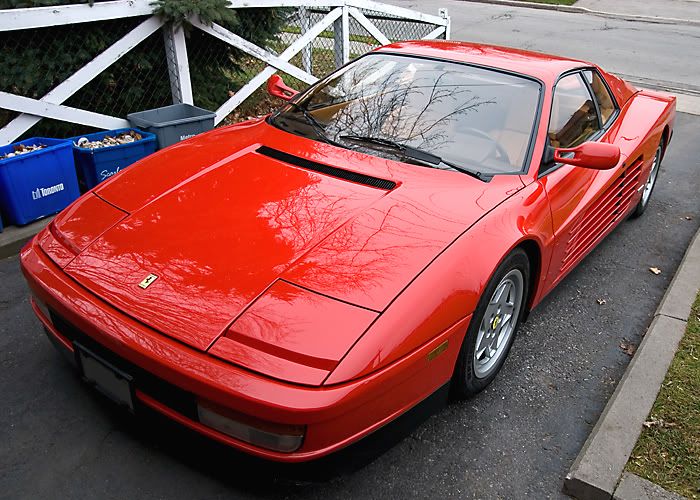
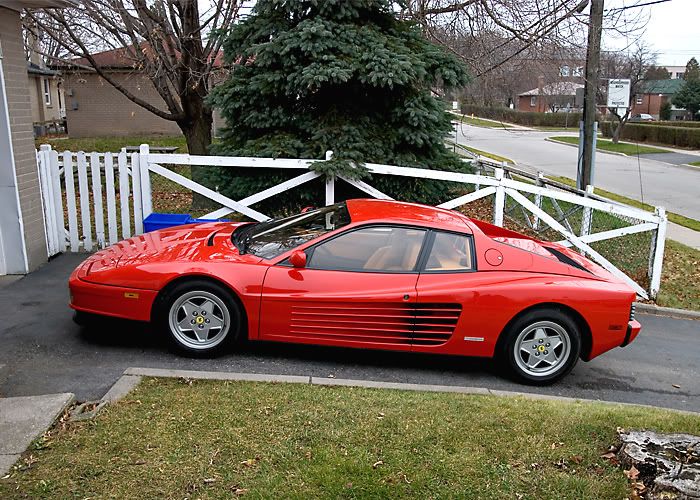
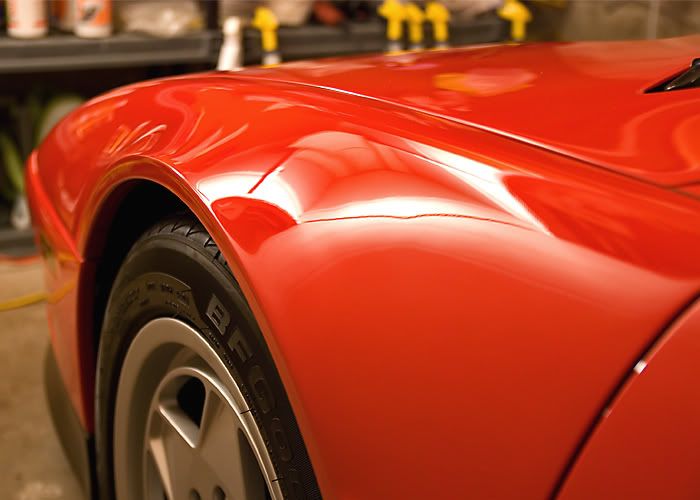
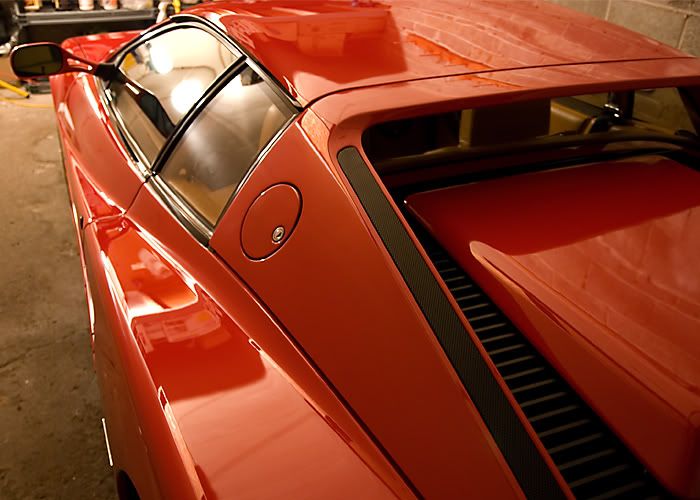
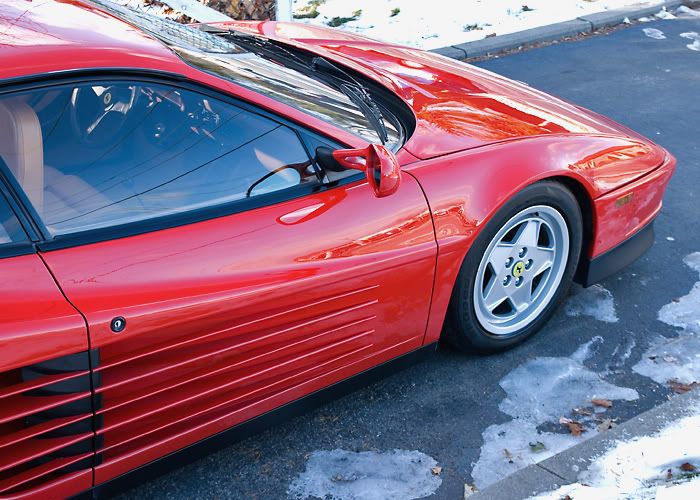
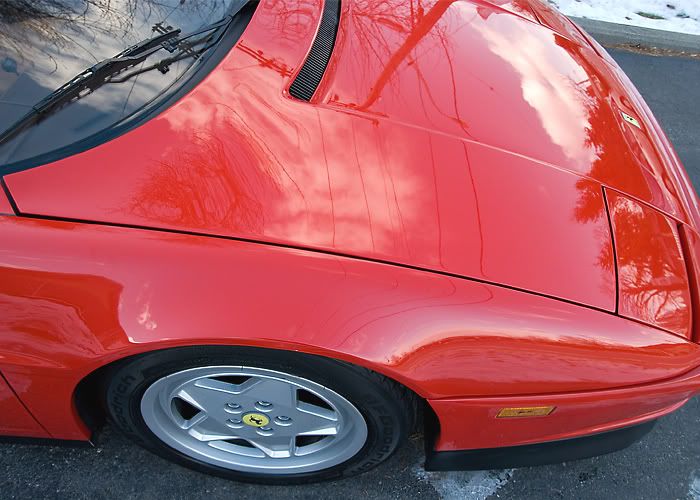
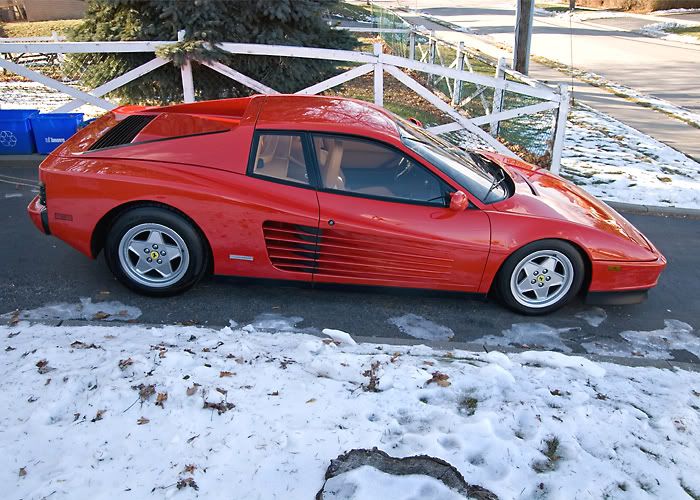
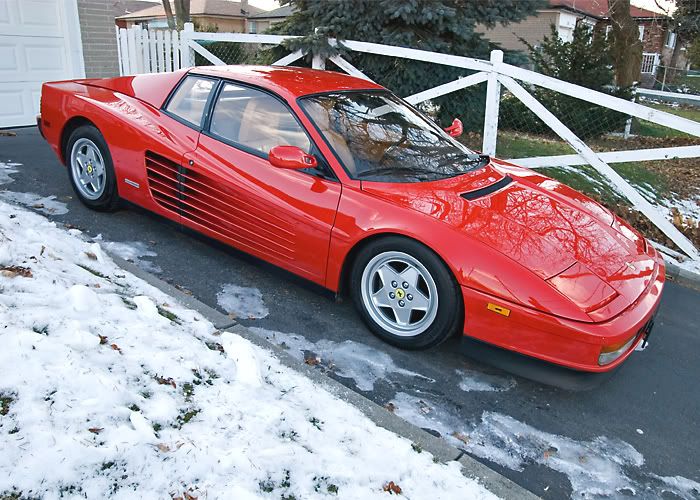
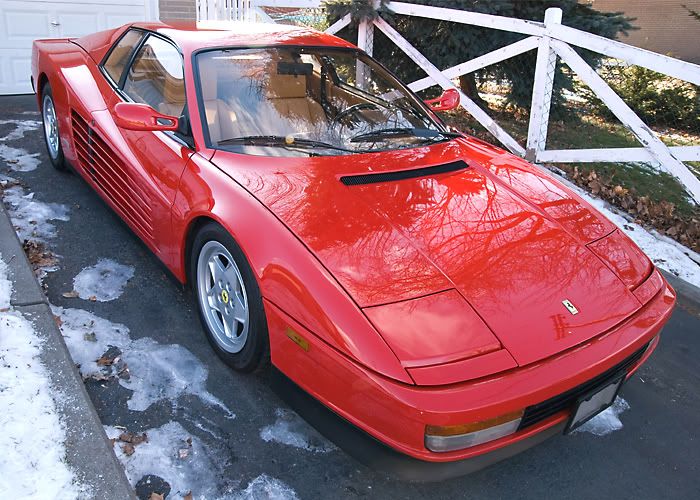
First off a walk around the bella macchina.

lol yes that is a dog biscuit
In defense of the owner he said it was a while since it was detailed and the last time it was just a quick job
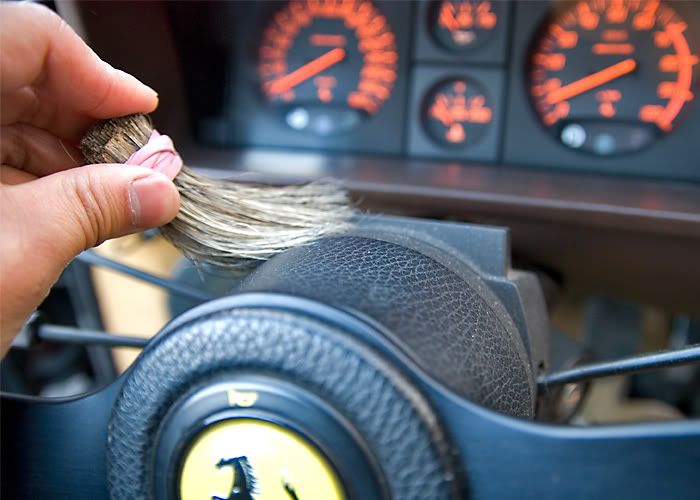
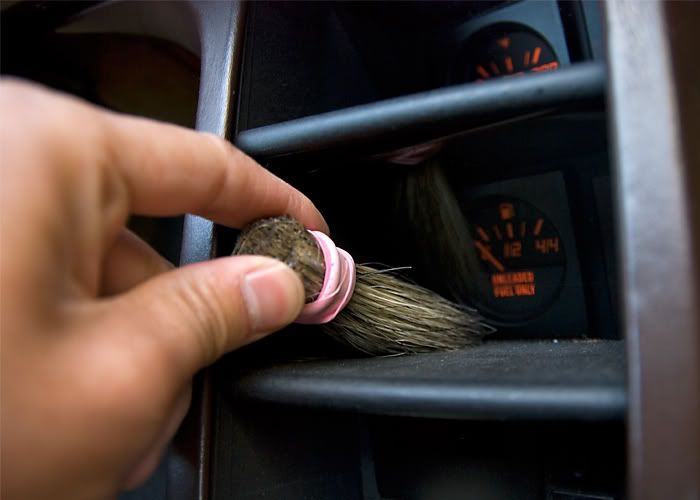
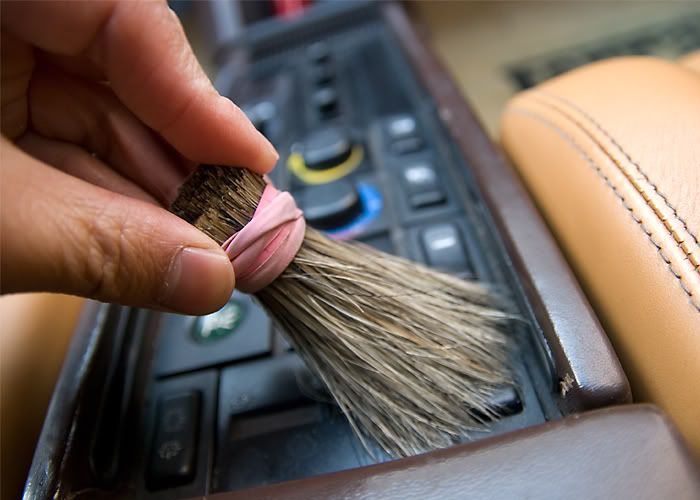
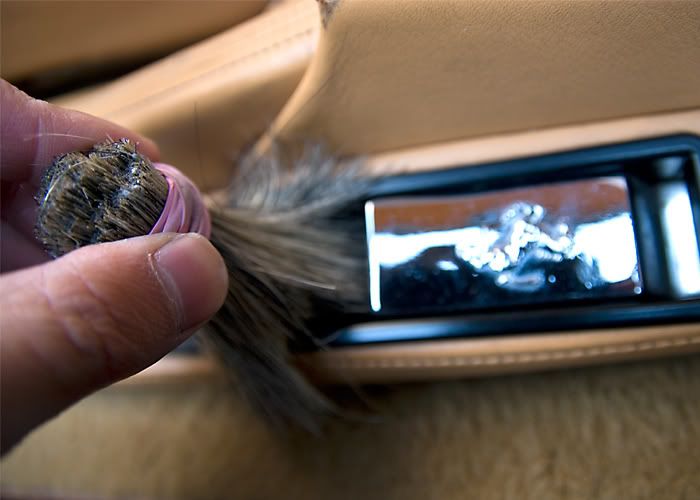
So starting off with the interior I dusted the car down to get in the tight areas. At the time I was using a Meguiars Slide Lock Brush but it gave out on me and I had to take what was left and wrap it in a rubber band, but it still did the job
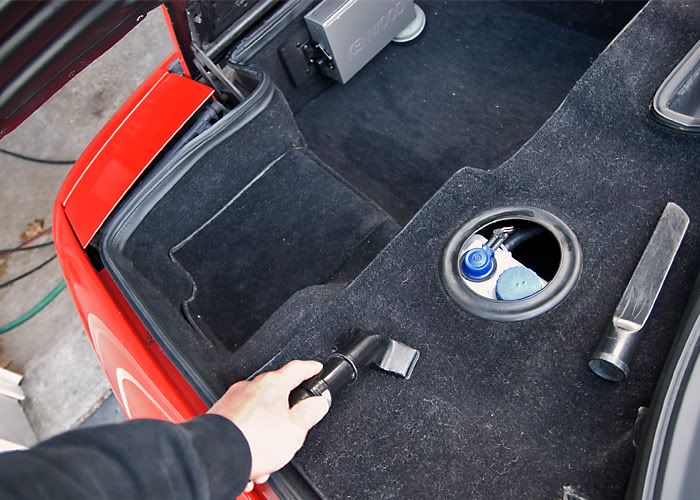
I then vacuumed the entire car with my Metro Vac n Blo and various attachments to get in the tighter areas
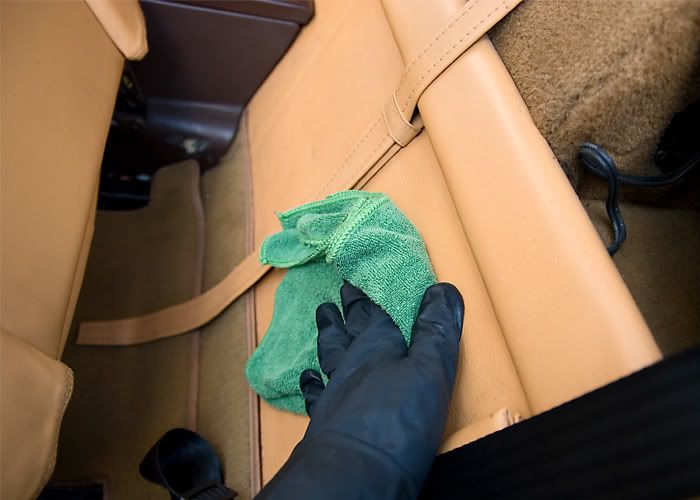
Then gave everything a wipe down with Meguiars All Purpose Cleaner cut 50/50 with water to have a clean surface to work with

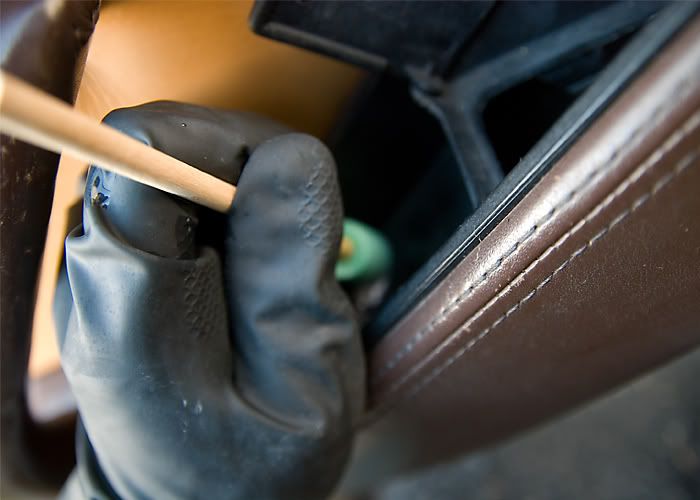
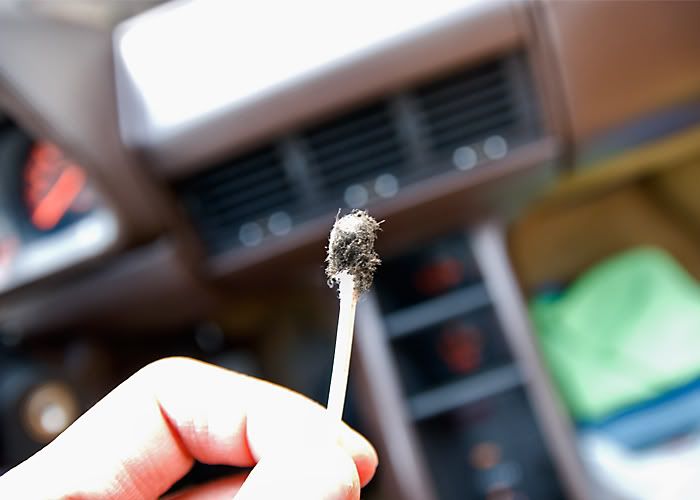
At the same time I used my foam stick to get in the tight areas that my fingers couldn't reach
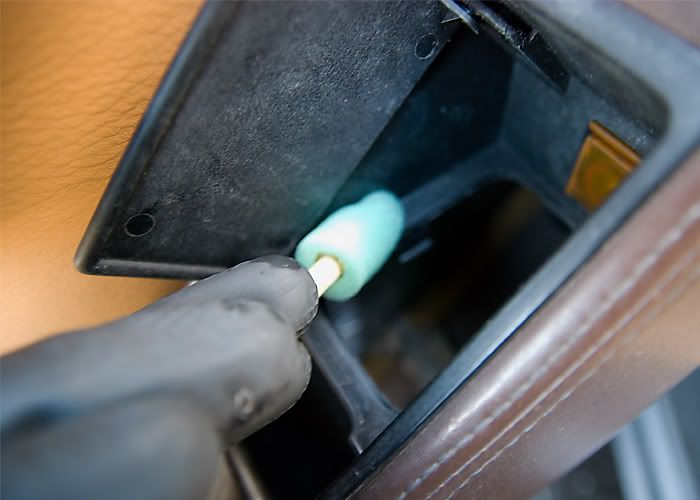

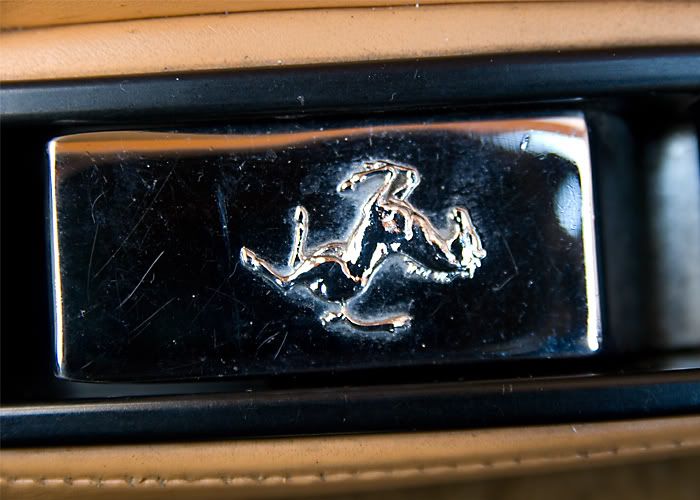
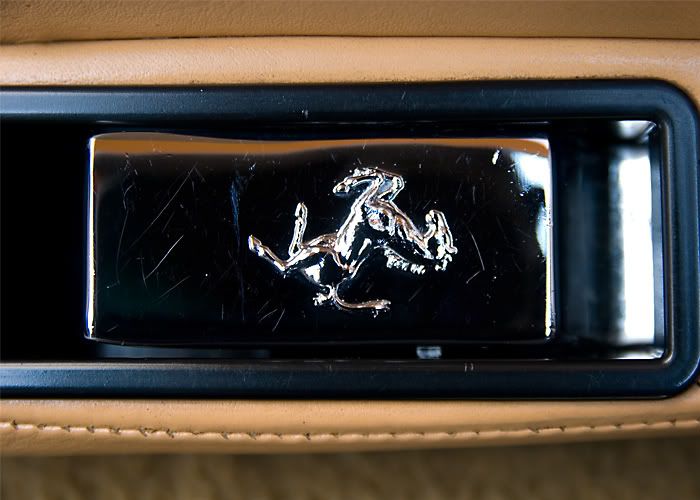
Got in the tight areas of the prancing horse on the hood and trunk latch and here are some before and afters
Before
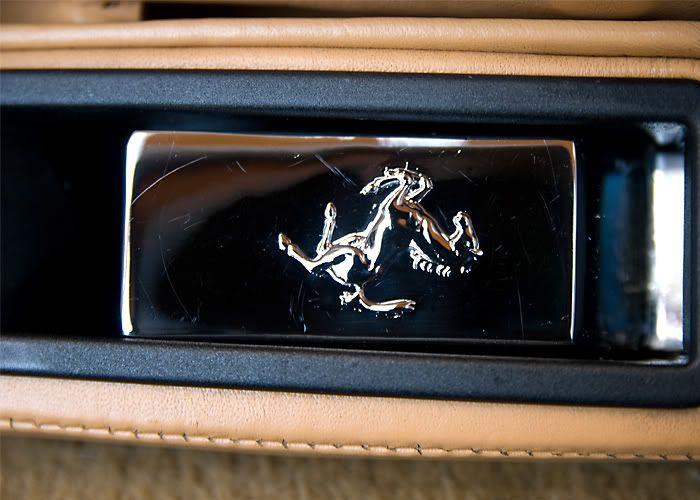
After
Before
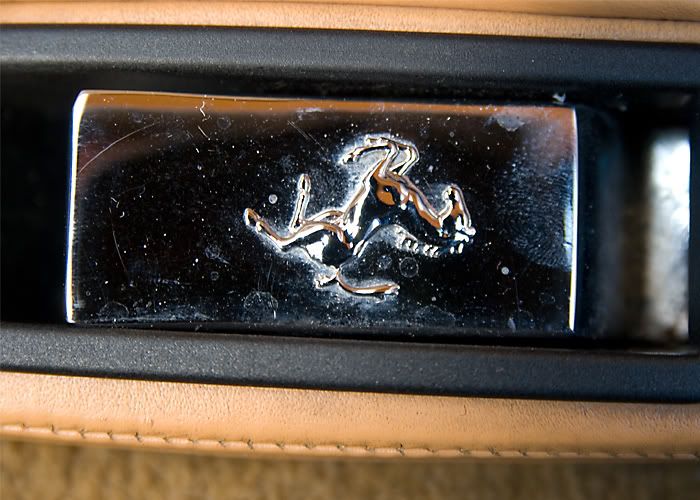
After
It's been a long time since my last write up here https://my350z.com/forum/cleaning-an...-103-pics.html in this section. I hope you don't mind that it is non Datsun/Nissan but I do feel it is an art of work that I would like to share.
The opportunity to work on this Testarossa presented itself to me when the owners co worker saw some of my work on the GTR https://my350z.com/forum/cleaning-an...-120-pics.html and referred me to him. I got a call near the end of November from the owner saying that he wanted to get his car detailed for storage.
First off a walk around the bella macchina.
lol yes that is a dog biscuit
In defense of the owner he said it was a while since it was detailed and the last time it was just a quick job
So starting off with the interior I dusted the car down to get in the tight areas. At the time I was using a Meguiars Slide Lock Brush but it gave out on me and I had to take what was left and wrap it in a rubber band, but it still did the job
I then vacuumed the entire car with my Metro Vac n Blo and various attachments to get in the tighter areas
Then gave everything a wipe down with Meguiars All Purpose Cleaner cut 50/50 with water to have a clean surface to work with
At the same time I used my foam stick to get in the tight areas that my fingers couldn't reach
Got in the tight areas of the prancing horse on the hood and trunk latch and here are some before and afters
Before
After
Before
After
Thread Starter
Registered User
Joined: Feb 2009
Posts: 100
Likes: 2
From: Toronto
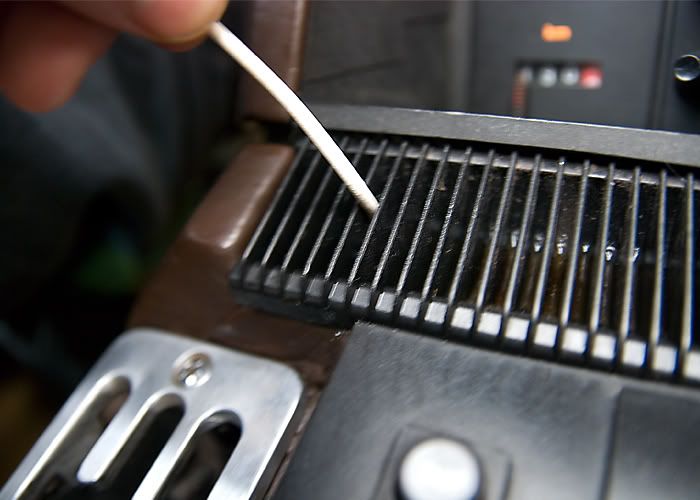
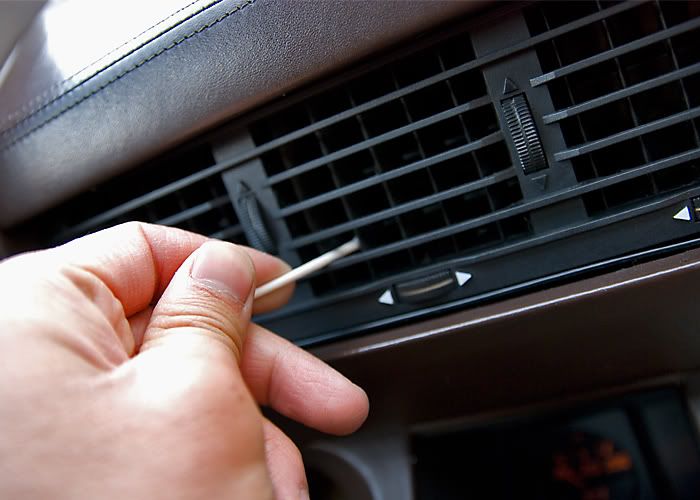
Got in the even tighter areas with a q-tip
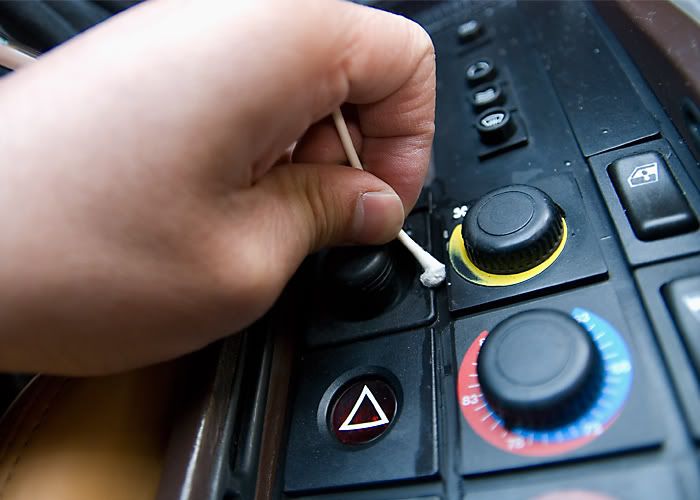
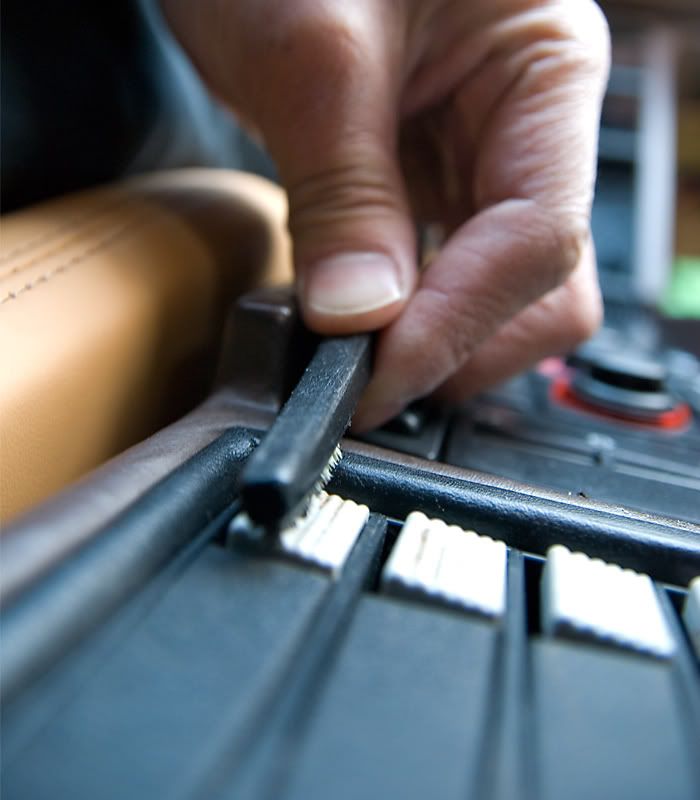
Had to scrub a few areas with the fine side of my Meguiars Triple Duty Brush like...
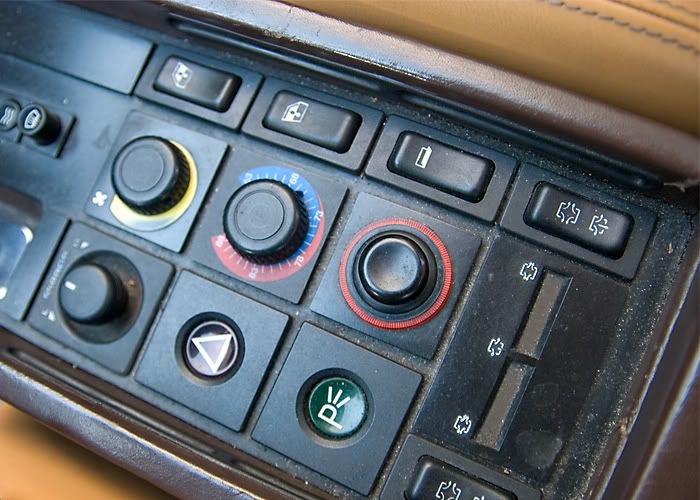
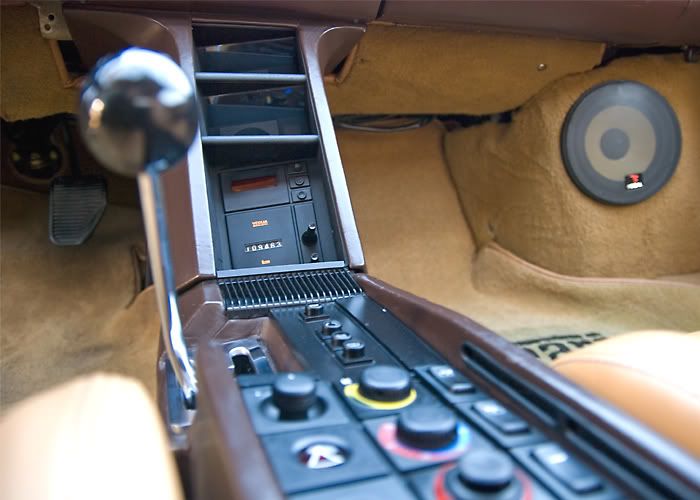
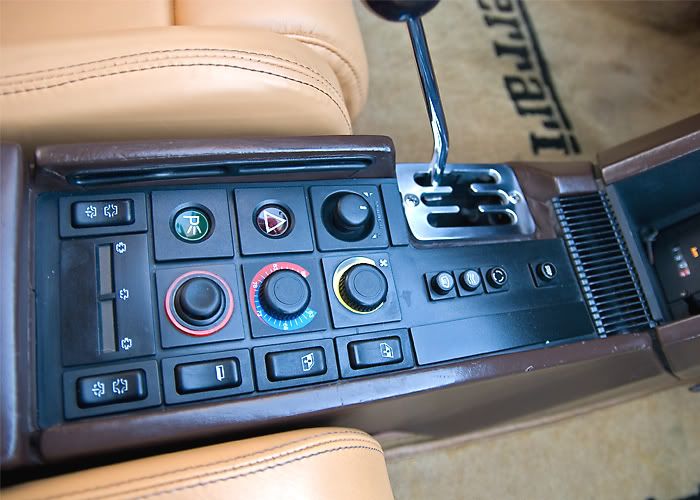
The cassette tape holder buttons
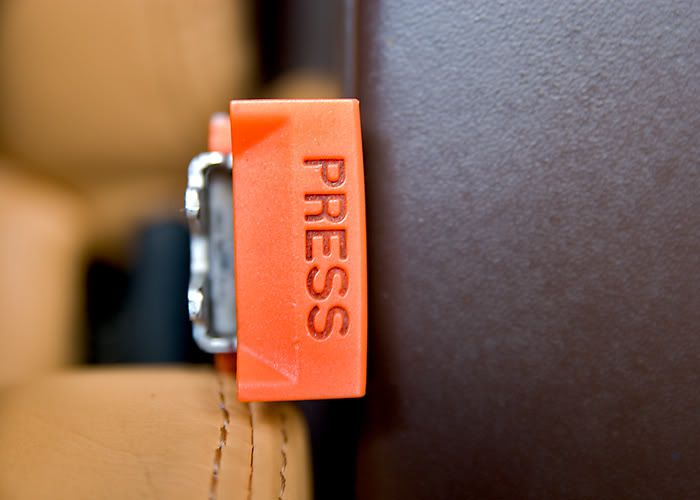
And the "PRESS" on the seat belt
Before
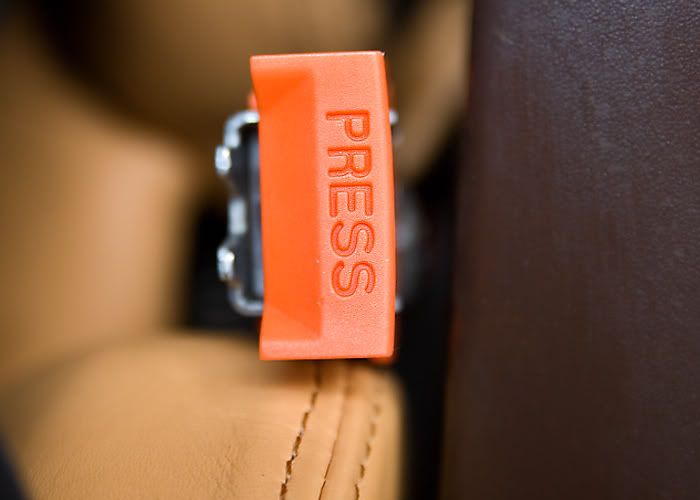
After
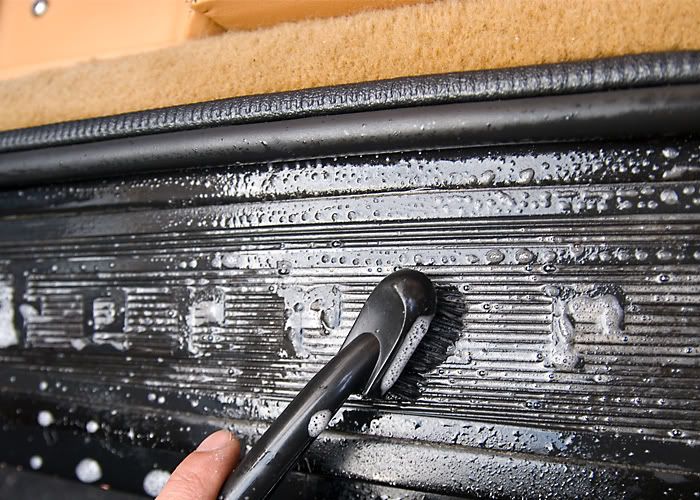
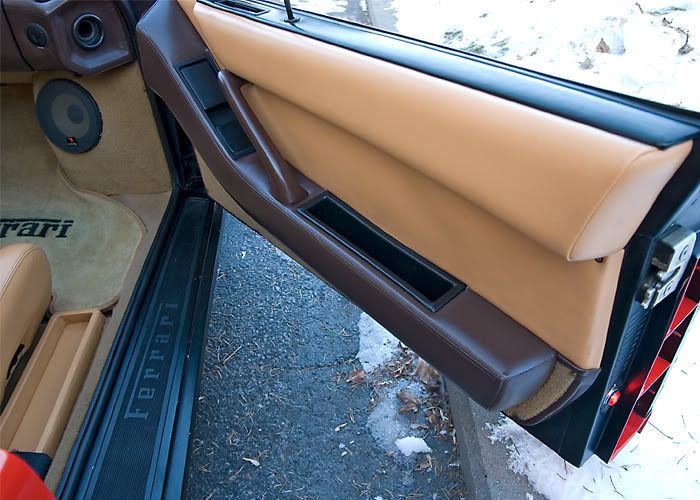
Scrubbed the door sill
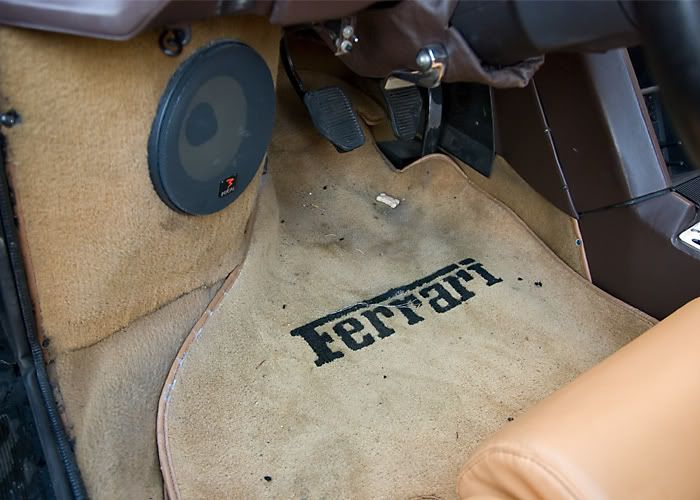
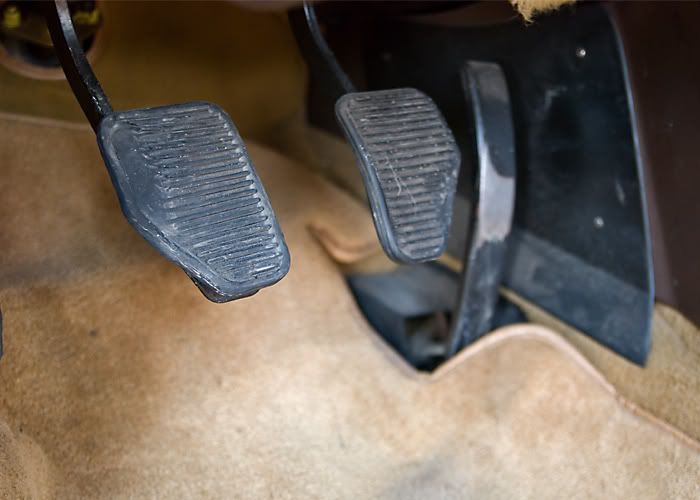
And the pedals, no dressing was applied after the clean up as common sense is I don't want the pedals slippery
Before
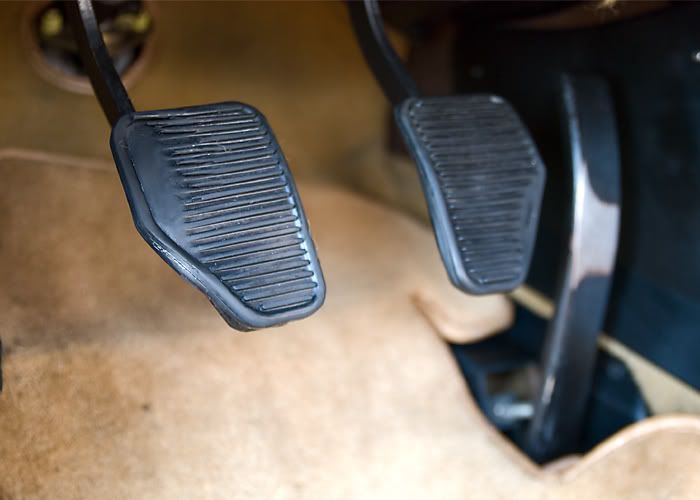
After
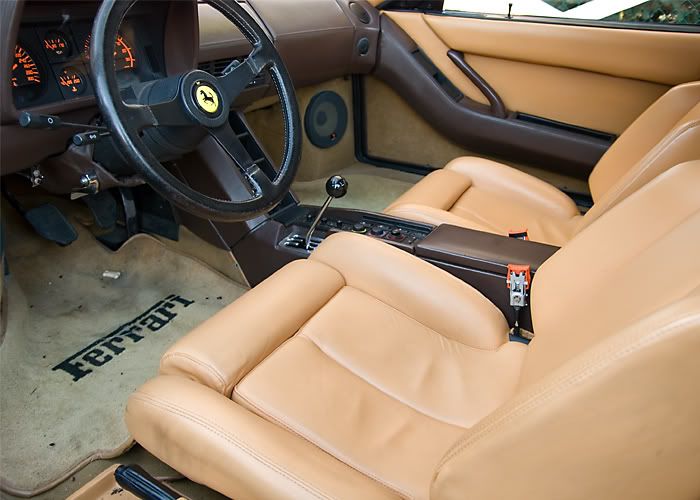
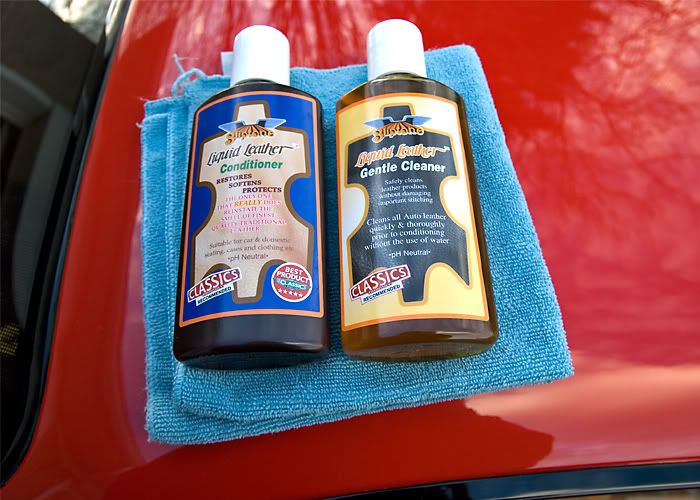
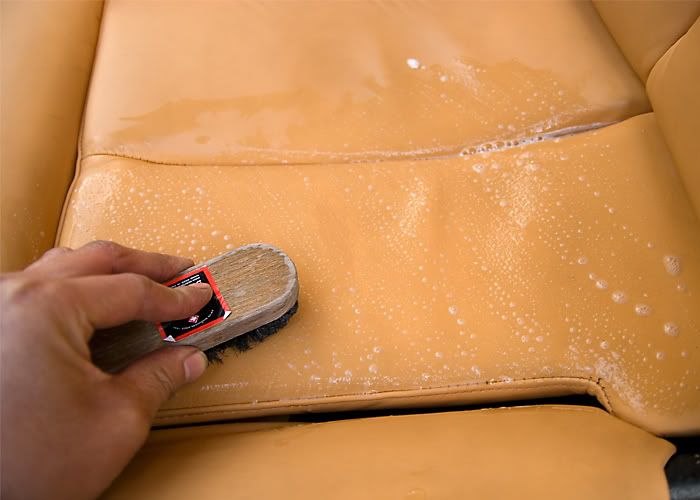
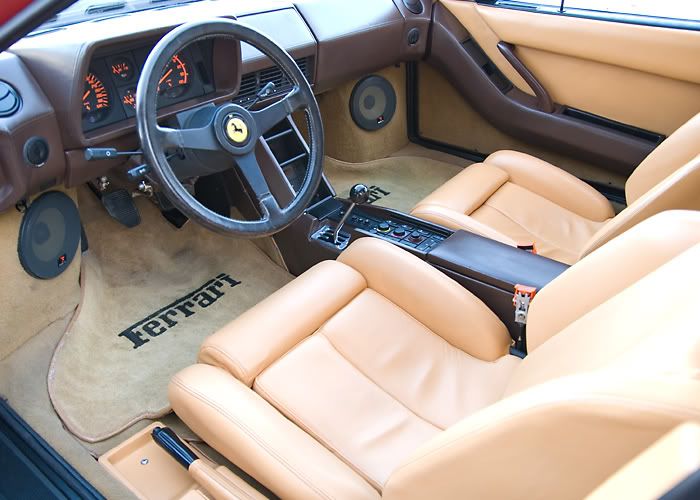
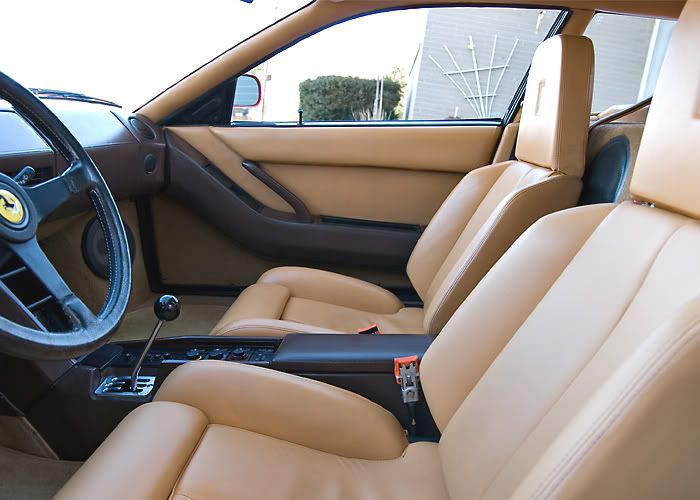
Pretty much everything in the interior is leather. So I leather cleaned and conditioned everything... the seats, dash, doors, and roof
Gliptone Leather Cleaner & Conditioner was what I used
Scrubbing away with my leather brush
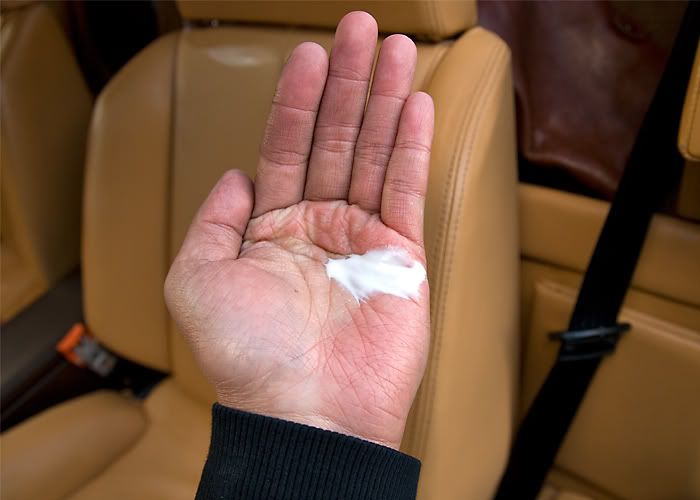
Leather conditioned by hand and massaged in to the leather
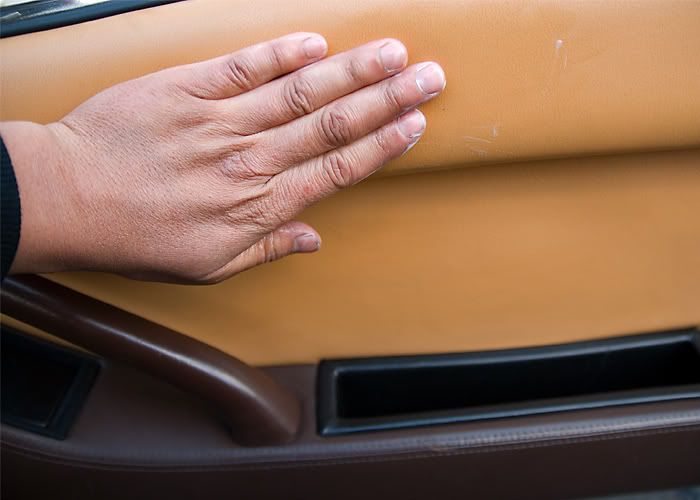
Doors
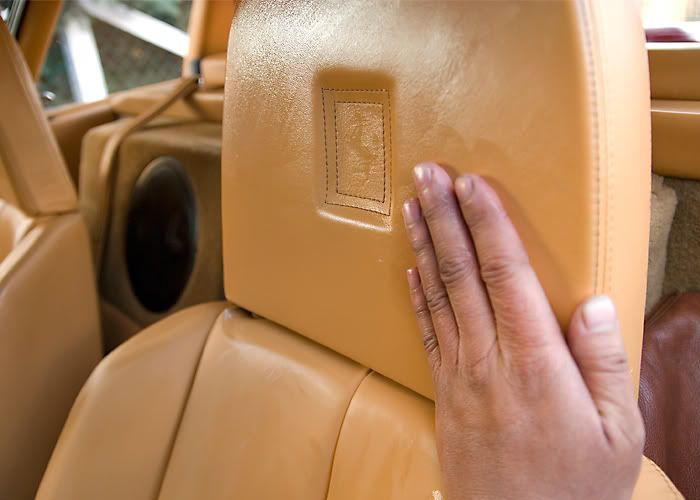
Seats
Roof
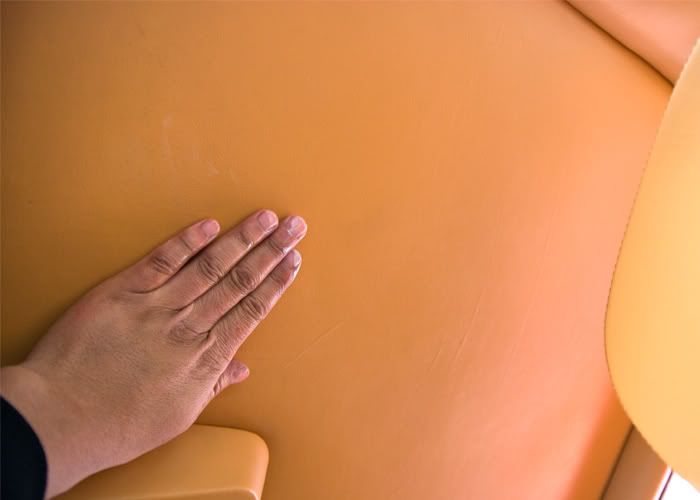
I let it soak in for a bit then wiped off the remainder for a nice natural finish.
Did I mention it was cold!!!
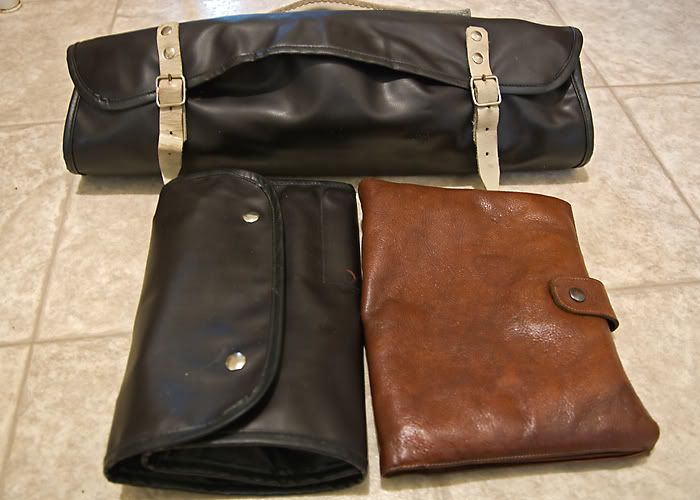
Brought the tool bag, owners manual, and jack inside for a cleaning.
Tool bag was dirty and disorganized
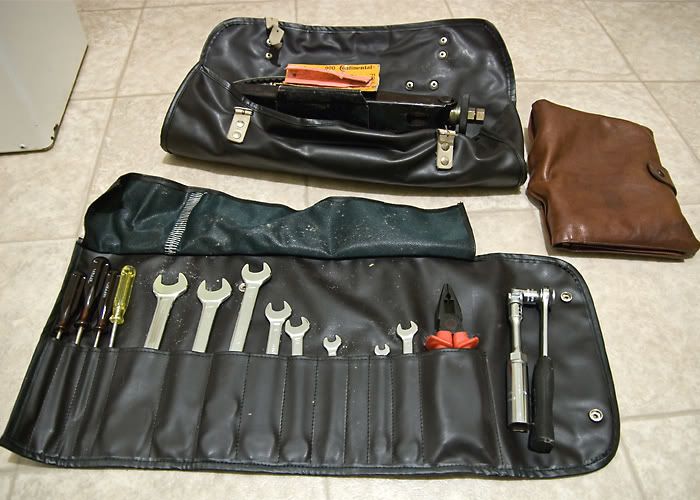
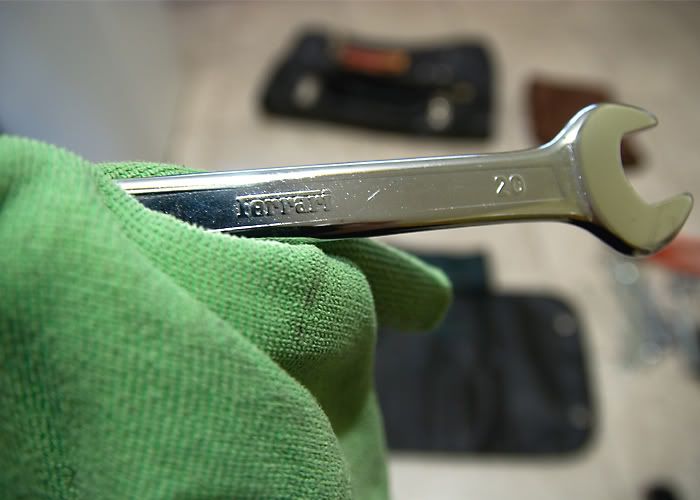
Cleaned up the bag with some APC and the tools as well
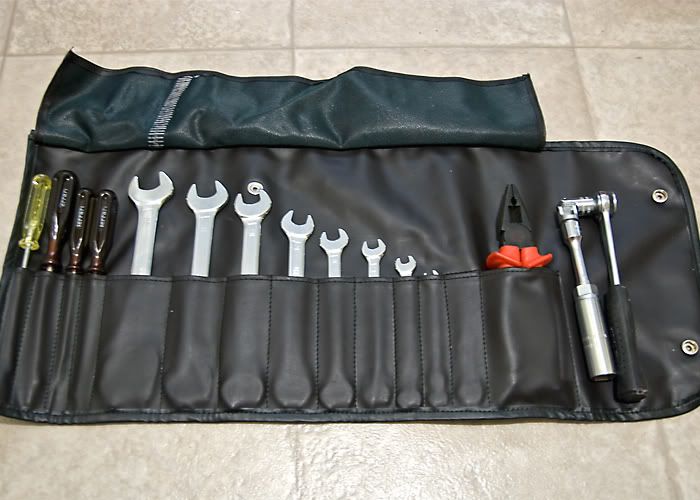
Clean and organized (yes I realized afterwards... one of them is backwards. I'm such a hack!!!!)
Had to scrub a few areas with the fine side of my Meguiars Triple Duty Brush like...
The cassette tape holder buttons
And the "PRESS" on the seat belt
Before
After
Scrubbed the door sill
And the pedals, no dressing was applied after the clean up as common sense is I don't want the pedals slippery
Before
After
Pretty much everything in the interior is leather. So I leather cleaned and conditioned everything... the seats, dash, doors, and roof
Gliptone Leather Cleaner & Conditioner was what I used
Scrubbing away with my leather brush
Leather conditioned by hand and massaged in to the leather
Doors
Seats
Roof
I let it soak in for a bit then wiped off the remainder for a nice natural finish.
Did I mention it was cold!!!
Brought the tool bag, owners manual, and jack inside for a cleaning.
Tool bag was dirty and disorganized
Cleaned up the bag with some APC and the tools as well
Clean and organized (yes I realized afterwards... one of them is backwards. I'm such a hack!!!!)
Thread Starter
Registered User
Joined: Feb 2009
Posts: 100
Likes: 2
From: Toronto
Leather cleaned and conditioned the owners manual bag
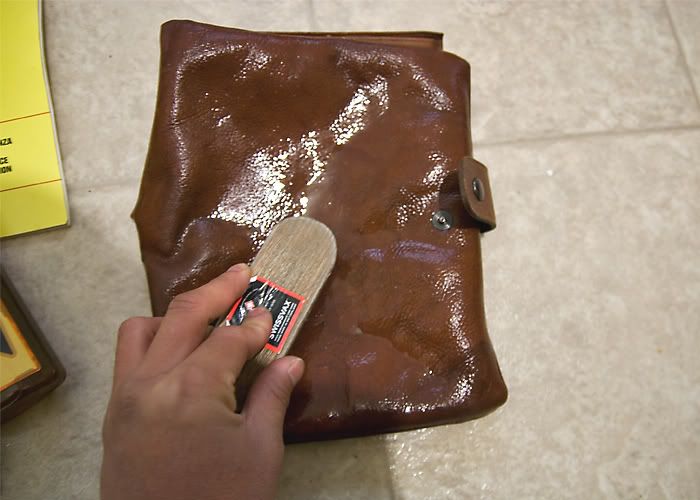
Cleaned the bag that held the jack etc and wiped down the jack and tools
And here they are ready to go back in the car
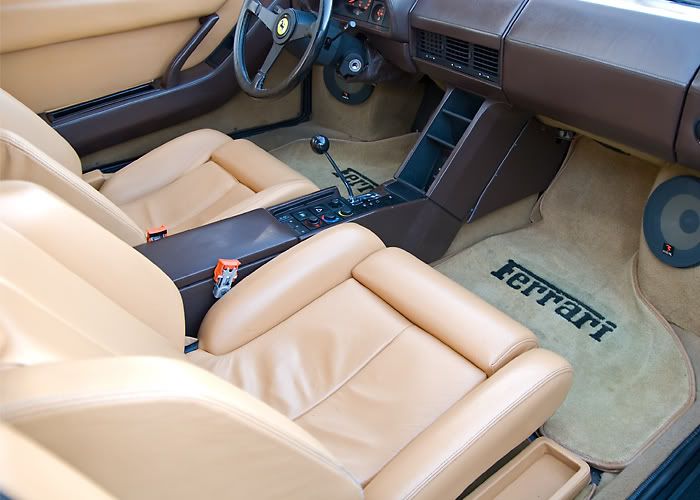
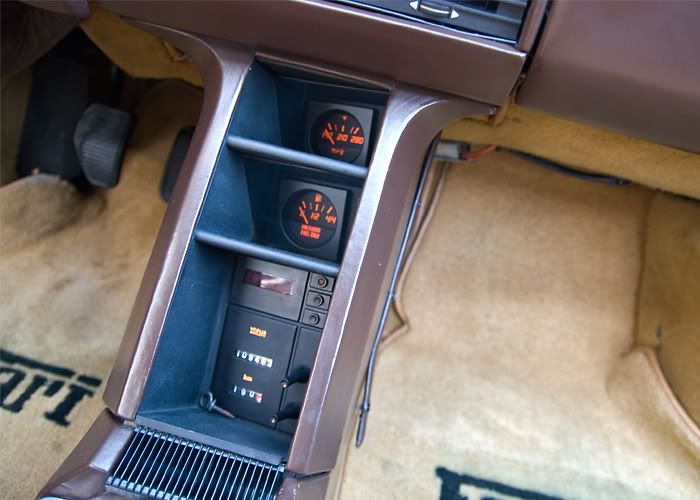
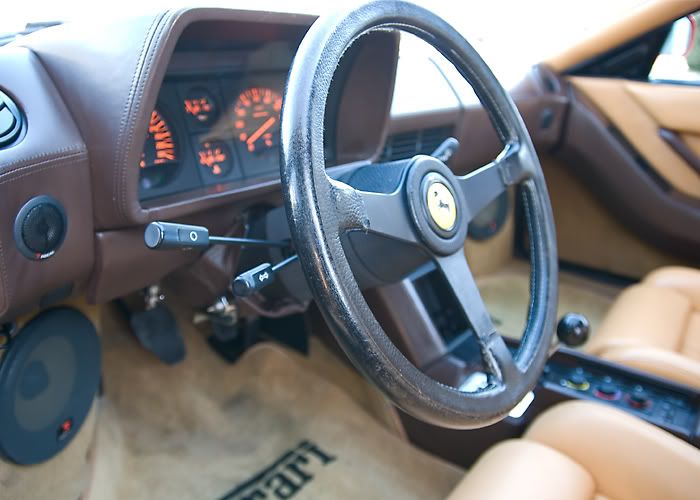
I took these pics at the final end of the detail but felt it was appropriate to put them here. These are the finished pics of the interior.
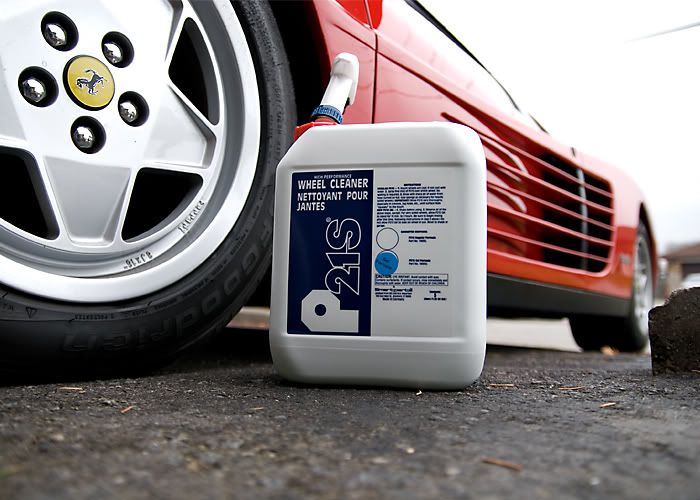
Now getting started on the exterior I begin with the wheels.
P21s Wheel Gel was used to clean the rims which is non acidic. I could leave this cleaner on the rims all night and no damage to the rim. Acid based wheel cleaners you can't say the same for and even a light application of them to ceramic brakes, anodized rims, etc and a beautiful rim or brake system is ruined. So no acid based wheel cleaners....ever!
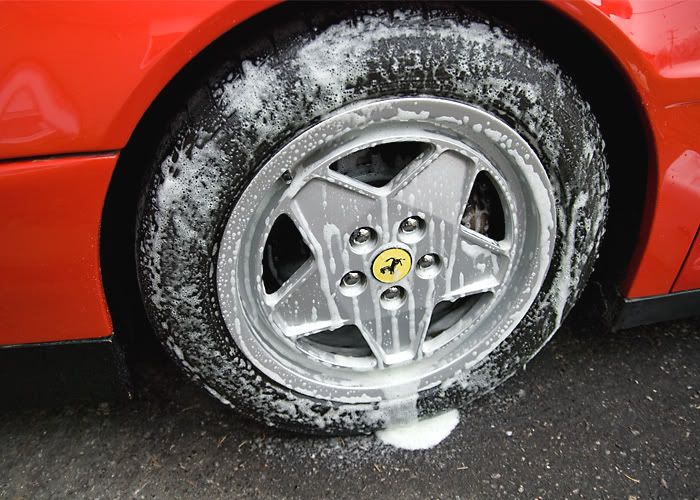
Let the rims soak while I attended to the engine bay
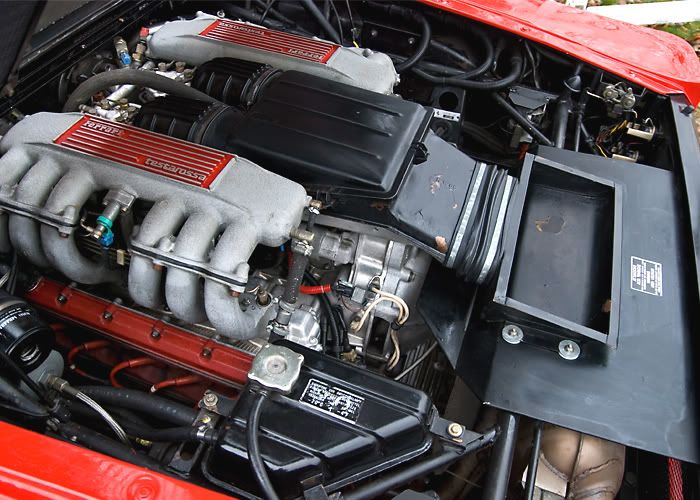
I didn't get to aggressive on the engine bay but still did the best I could. I wiped down with Meguiars All Purpose Cleaner and then dressed it with Meguiars Hyper Dressing cut 20/80 with water for a nice natural finish.
Here is a before and after pic
Before
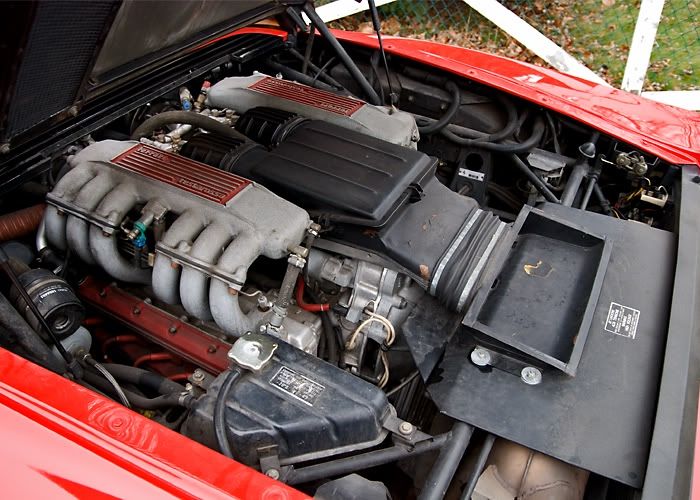
After (still a little wet from the dressing)
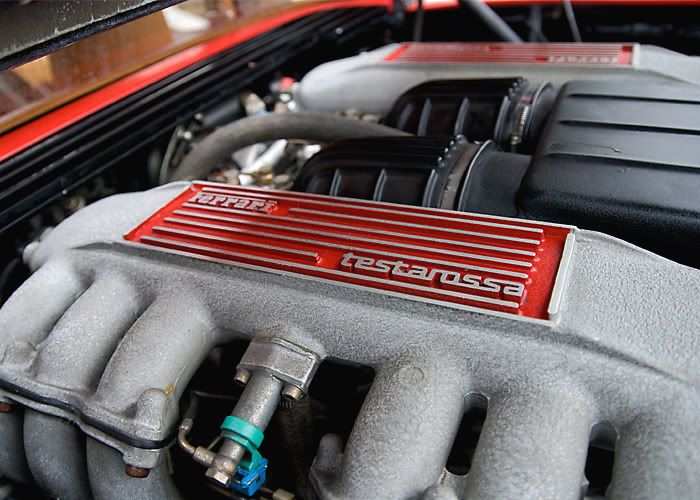
Artsy Fartsy
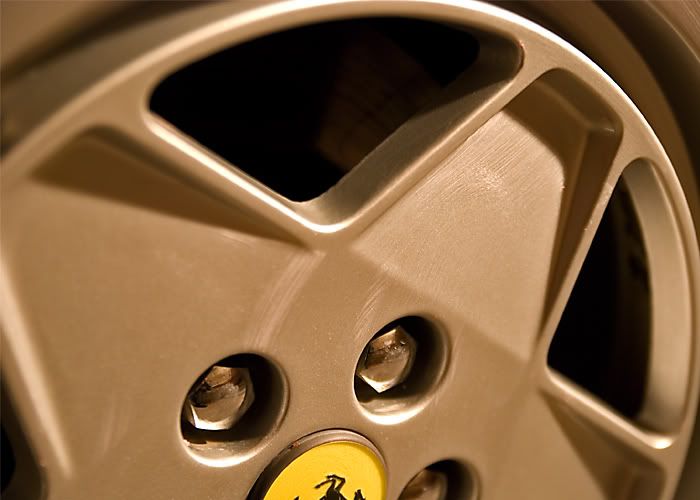
Moving on to the rims
Getting in the inner barrel with my handleless EZ brush
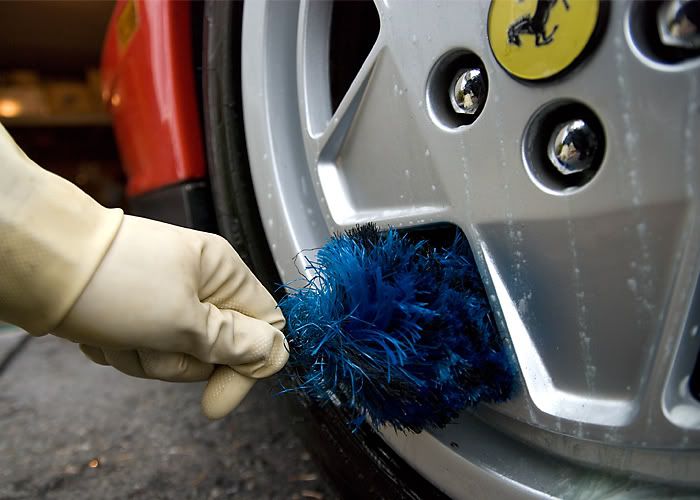
Behind the rim
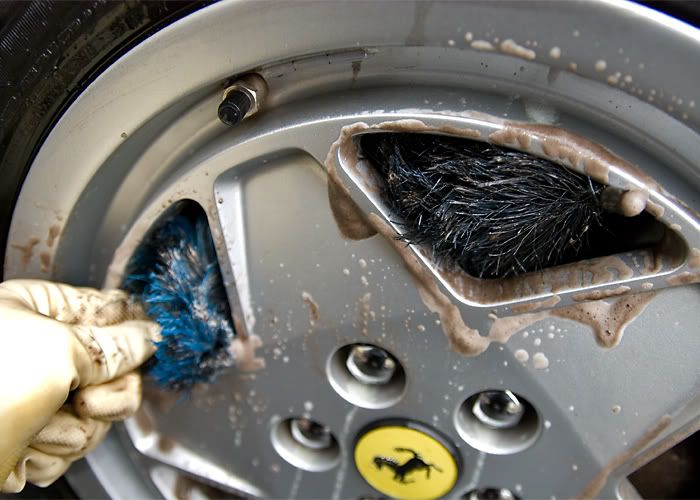
Cleaned the rim face with a micro fibre mitt

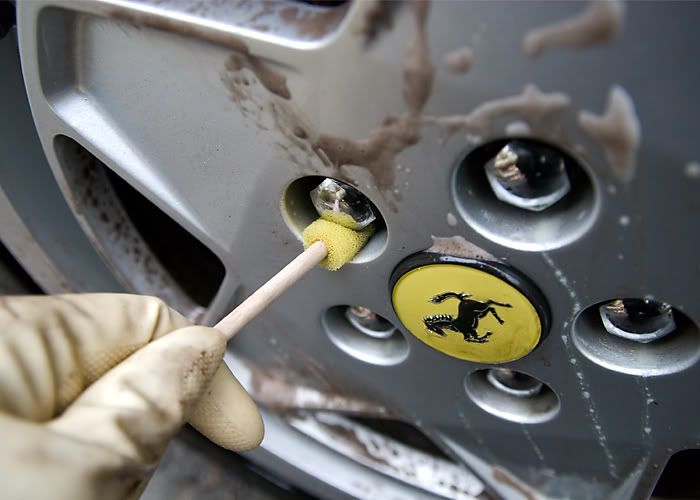
And used a foam stick to get in the lug nut area
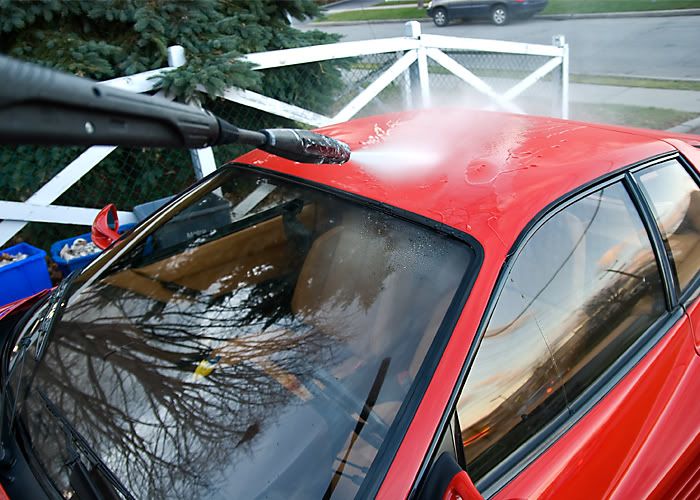
Rinsed down the car
Cleaned the bag that held the jack etc and wiped down the jack and tools
And here they are ready to go back in the car
I took these pics at the final end of the detail but felt it was appropriate to put them here. These are the finished pics of the interior.
Now getting started on the exterior I begin with the wheels.
P21s Wheel Gel was used to clean the rims which is non acidic. I could leave this cleaner on the rims all night and no damage to the rim. Acid based wheel cleaners you can't say the same for and even a light application of them to ceramic brakes, anodized rims, etc and a beautiful rim or brake system is ruined. So no acid based wheel cleaners....ever!
Let the rims soak while I attended to the engine bay
I didn't get to aggressive on the engine bay but still did the best I could. I wiped down with Meguiars All Purpose Cleaner and then dressed it with Meguiars Hyper Dressing cut 20/80 with water for a nice natural finish.
Here is a before and after pic
Before
After (still a little wet from the dressing)
Artsy Fartsy
Moving on to the rims
Getting in the inner barrel with my handleless EZ brush
Behind the rim
Cleaned the rim face with a micro fibre mitt
And used a foam stick to get in the lug nut area
Rinsed down the car
Thread Starter
Registered User
Joined: Feb 2009
Posts: 100
Likes: 2
From: Toronto
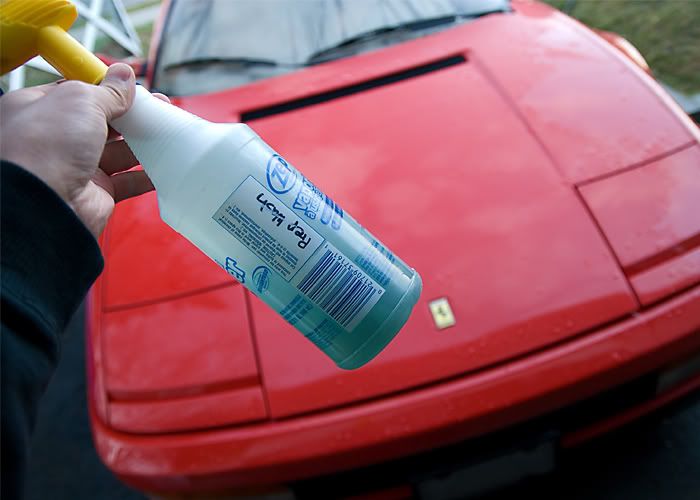
And sprayed on Prep Wash to strip off any silicones, which will, if left on hinder the paint correction process because the silicones fill scratches and if not removed the polish will not cut out the swirl but just glide over them
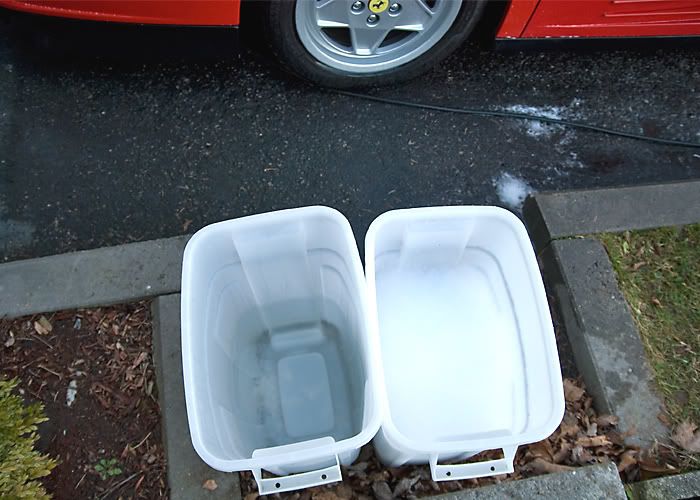
Then washed the car using the 2 bucket method and a natural sea sponge.
The reason for 2 buckets when washing is simple, 1 bucket is only water, and the 2nd bucket is soap water only. After washing every panel or even half a panel you rinse off the dirt from your mitt in the water only bucket before putting it in the soap bucket, there by keeping your soapy water dirt free. Most people use only 1 bucket to wash their car and this one bucket ends up with dirt in it and this same dirt filled soap water is what is rubbed all over the car and in time a perfect paint finish gets all swirled up.
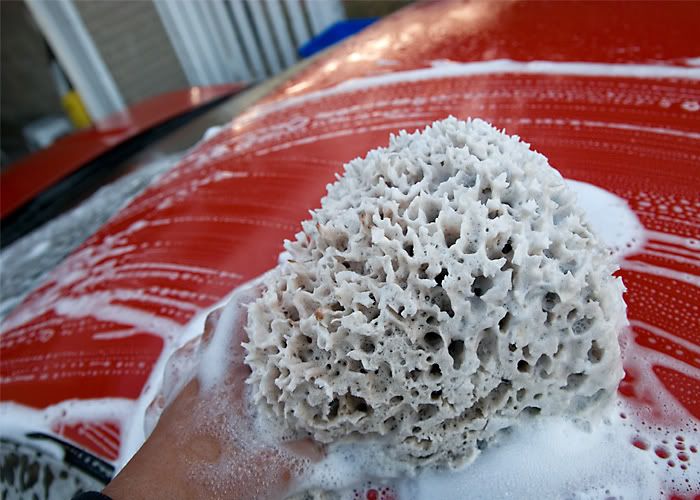
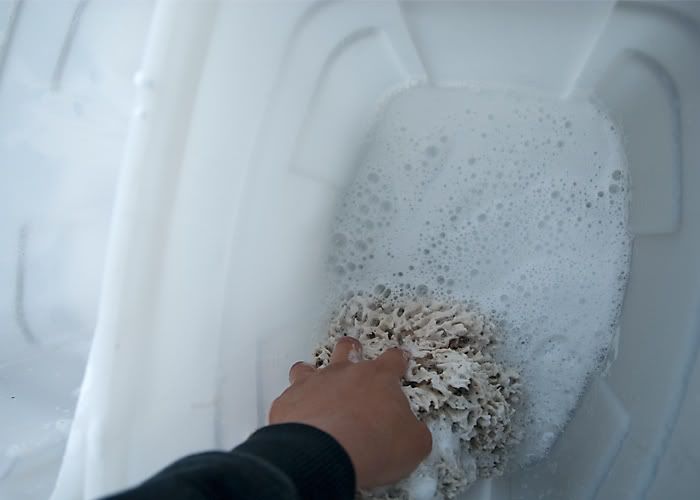
Rinsed my sponge off in the water only bucket after every panel or a half a panel
Dryed the car off and brought it in to clay bar it.
Riccardo Clay was used. The reason for clay barring your paint is it basically sheers out contaminants embedded in the paint. This can be raildust, fallout, or even just tiny dirt debris. If you wash your car and run your hands along the paint you will probably find that it is still pretty rough. What you are feeling is the surface contaminants.
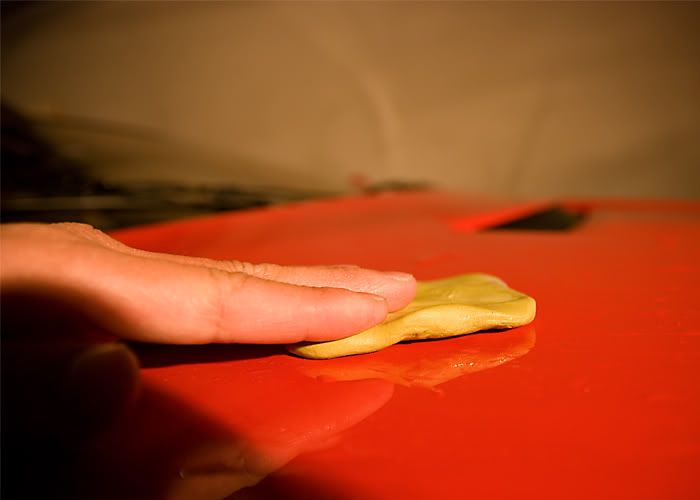
Pretty contaminated

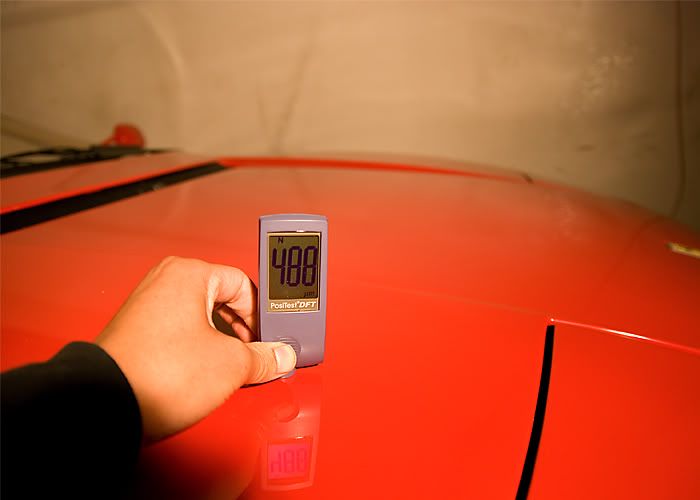
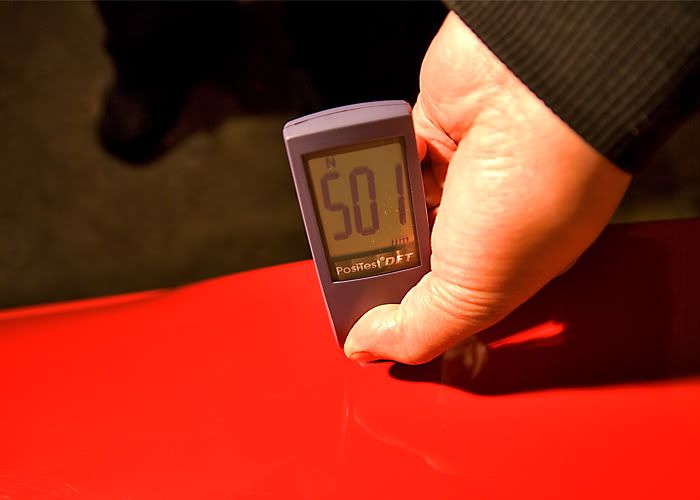
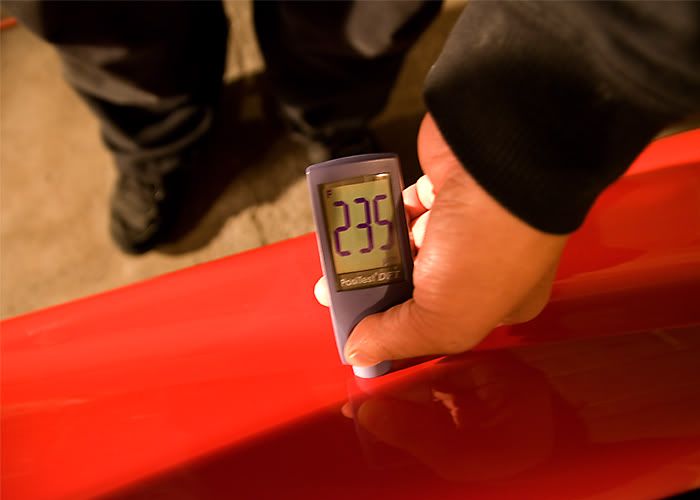
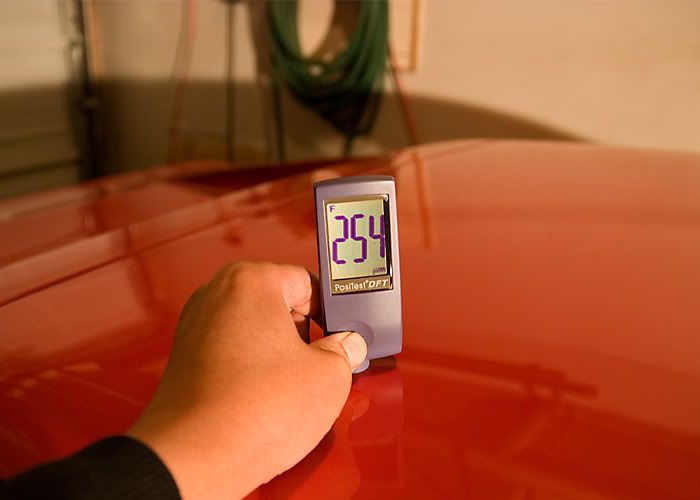
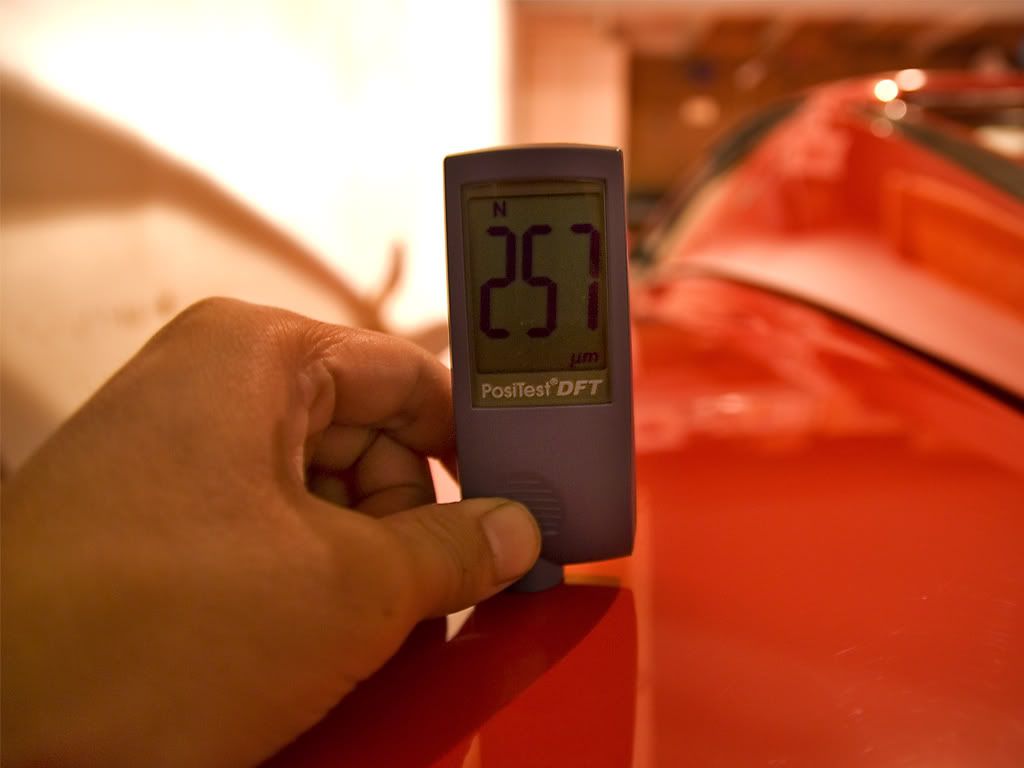
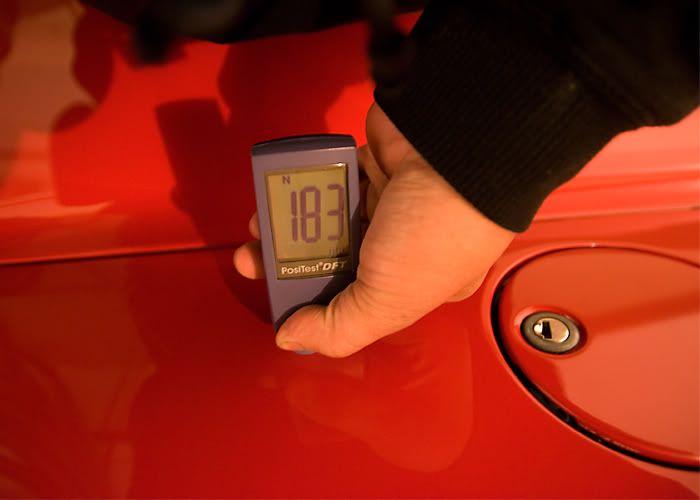
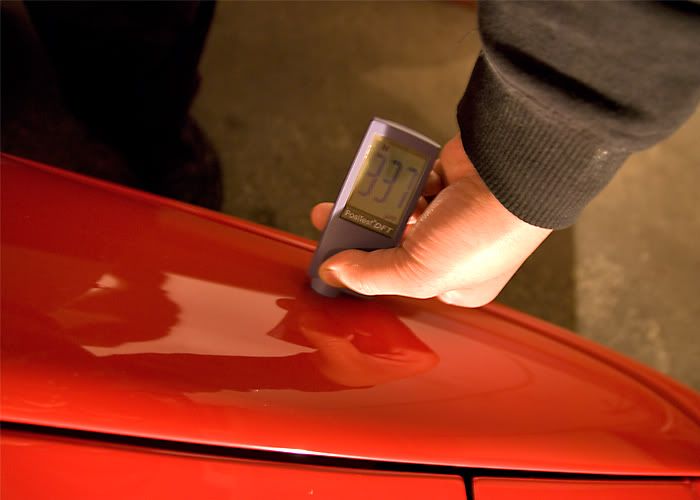
Measured the paint to see what I was dealing with and look out for any low spots. The owner had told me that the whole car had been repainted so I was dealing with fairly thick paint. Measurements were taken in microns which are a thousanth of millimeter.
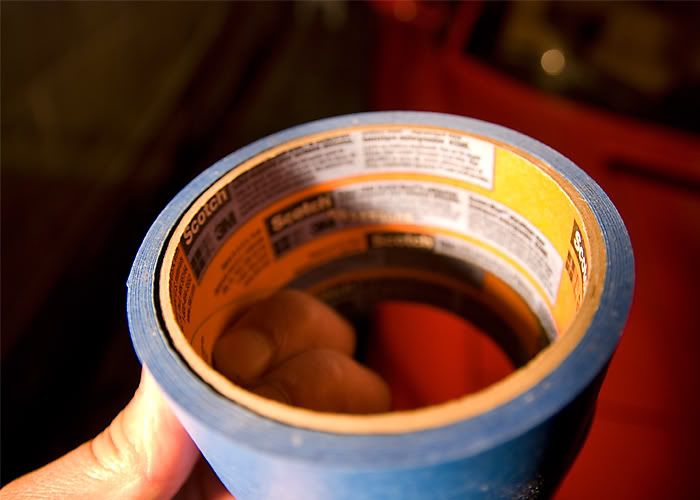
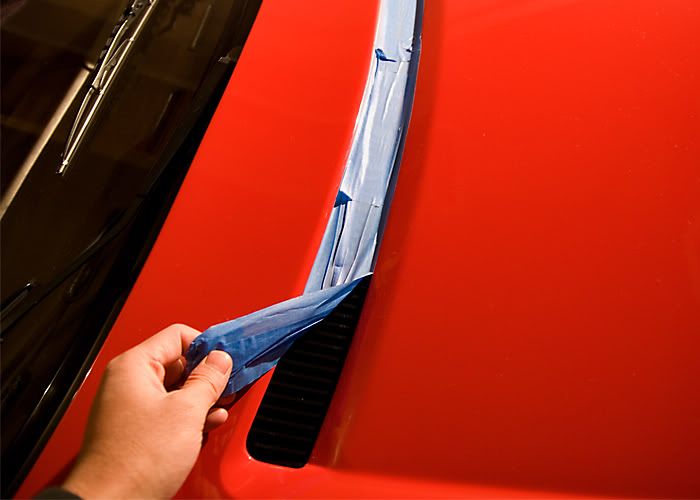
Masked off the rubber trimmings
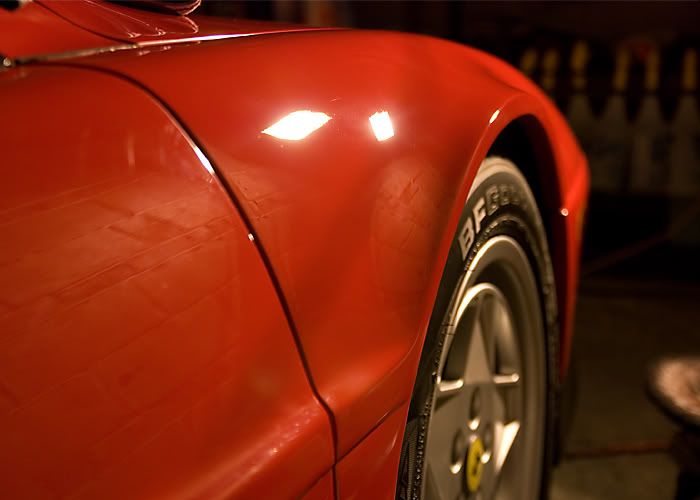
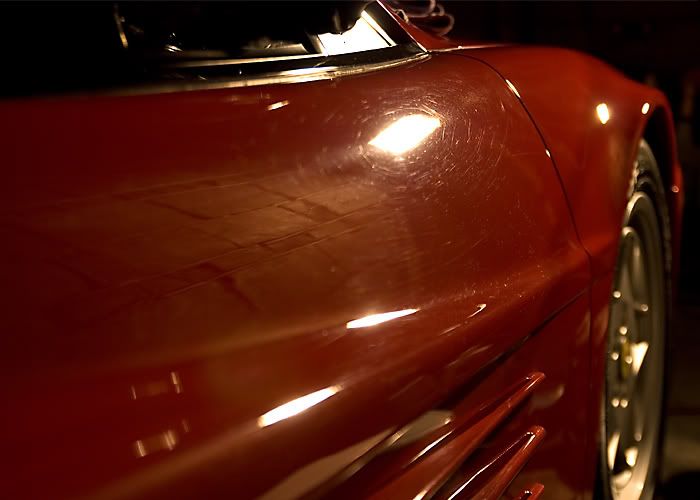
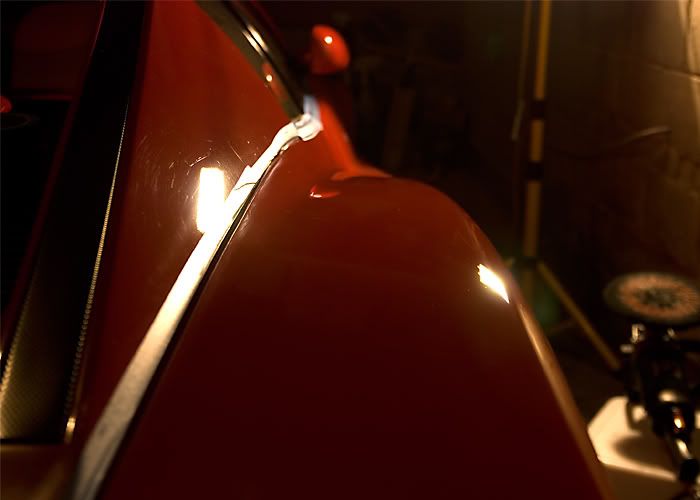
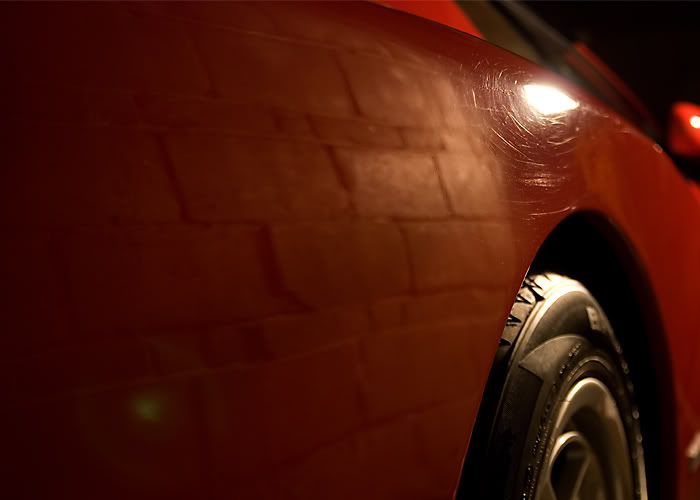
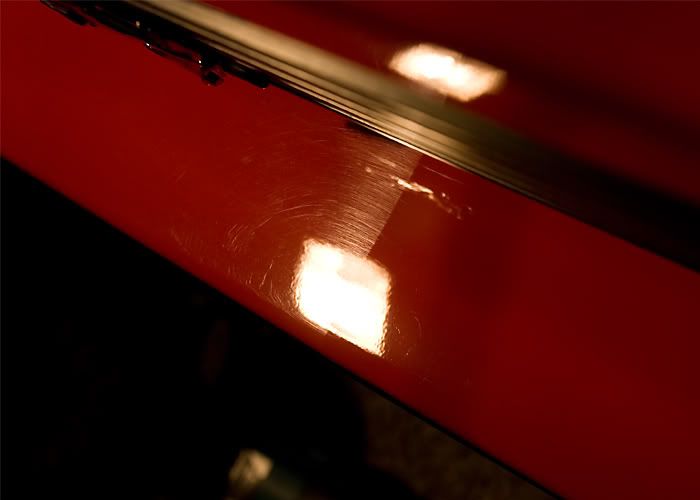
And here is what I was up against under 500w halogen lighting
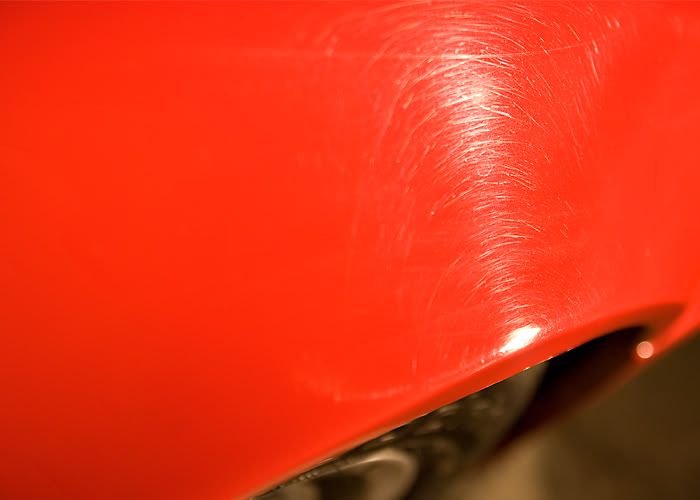
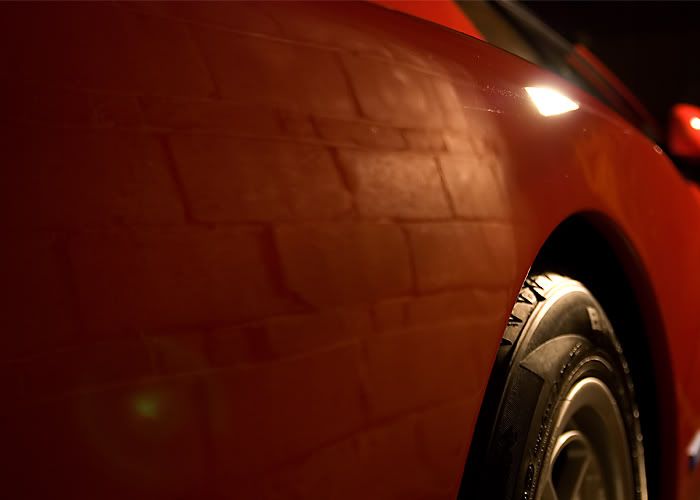
Did a quick test spot to find a combination that worked and here are the results of a wool pad and Menzerna Super Intensive Polish which is a medium cutting polish.
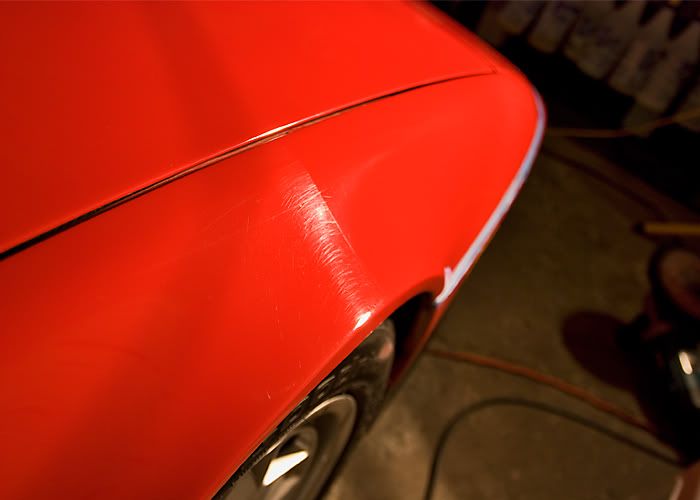
Now for a few before and afters of the body panels
Before

After
Then washed the car using the 2 bucket method and a natural sea sponge.
The reason for 2 buckets when washing is simple, 1 bucket is only water, and the 2nd bucket is soap water only. After washing every panel or even half a panel you rinse off the dirt from your mitt in the water only bucket before putting it in the soap bucket, there by keeping your soapy water dirt free. Most people use only 1 bucket to wash their car and this one bucket ends up with dirt in it and this same dirt filled soap water is what is rubbed all over the car and in time a perfect paint finish gets all swirled up.
Rinsed my sponge off in the water only bucket after every panel or a half a panel
Dryed the car off and brought it in to clay bar it.
Riccardo Clay was used. The reason for clay barring your paint is it basically sheers out contaminants embedded in the paint. This can be raildust, fallout, or even just tiny dirt debris. If you wash your car and run your hands along the paint you will probably find that it is still pretty rough. What you are feeling is the surface contaminants.
Pretty contaminated
Measured the paint to see what I was dealing with and look out for any low spots. The owner had told me that the whole car had been repainted so I was dealing with fairly thick paint. Measurements were taken in microns which are a thousanth of millimeter.
Masked off the rubber trimmings
And here is what I was up against under 500w halogen lighting
Did a quick test spot to find a combination that worked and here are the results of a wool pad and Menzerna Super Intensive Polish which is a medium cutting polish.
Now for a few before and afters of the body panels
Before
After
Thread Starter
Registered User
Joined: Feb 2009
Posts: 100
Likes: 2
From: Toronto
Before
After
Before
After
Before
After
Before
After
And a 50/50 shot
Single stage paint really clogs my pads up so I had to change them frequently
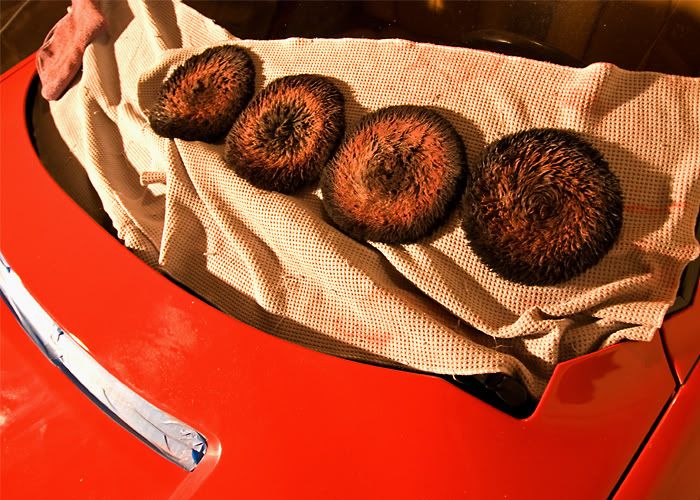
All the tight areas my rotary couldn't reach I did by hand with on orange lake country pad and Meguiars M105 then a white pad with Meguiars M205. They did not end up perfect but still a huge improvement to how they were before
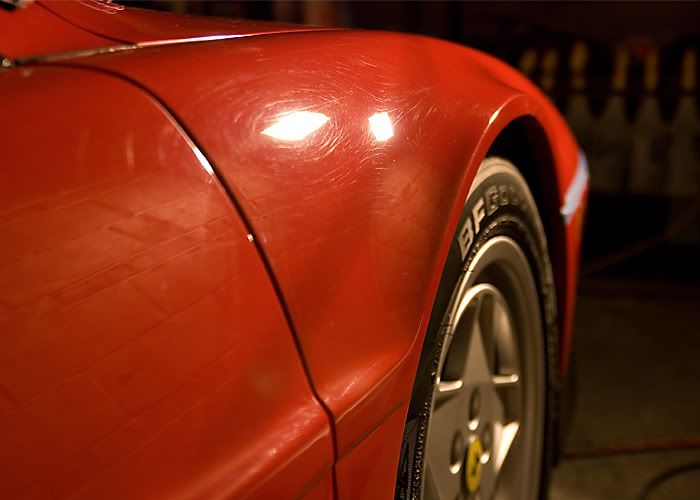
This was a full paint correction so the few deeper scratched I wetsanded with Micro Mesh sand paper 2400 grit and then 4000 grit to refine and then finally polish out the sanding marks. Results were either to round off the edges of the scratch to make it less apparent or to completely remove the scratch.
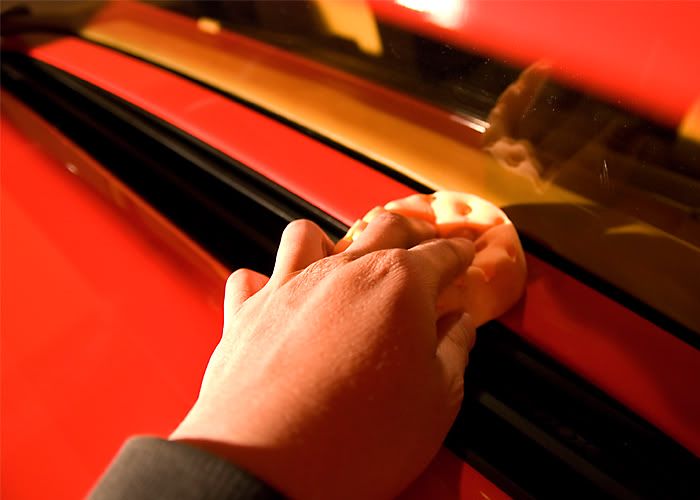
After all the compounding and wetsanding I finally jeweled the paint with a white Lake Country pad and Menzerna P085rd. Here is a shot of me jeweling the paint.

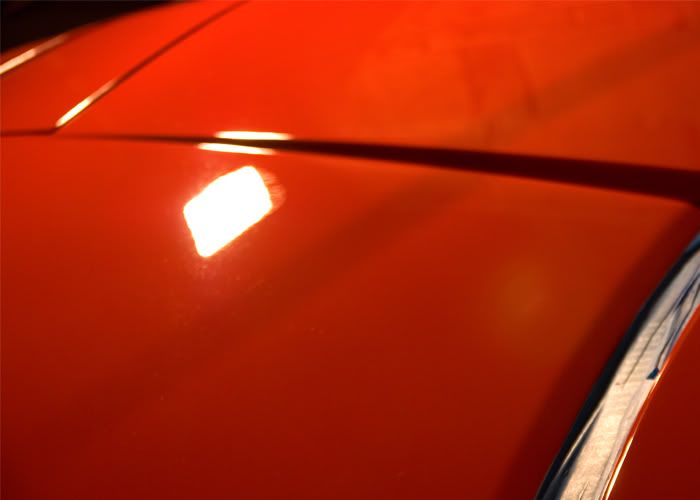
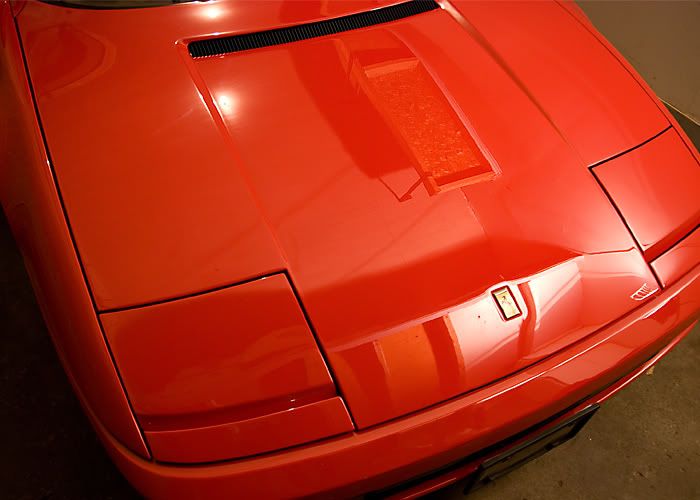
And finally the results of my work

Unmasked the car
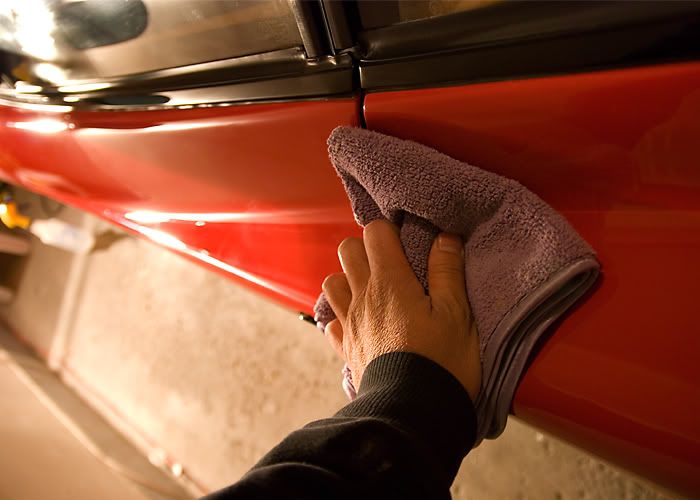
Dusted it down and got in the tight crevices.
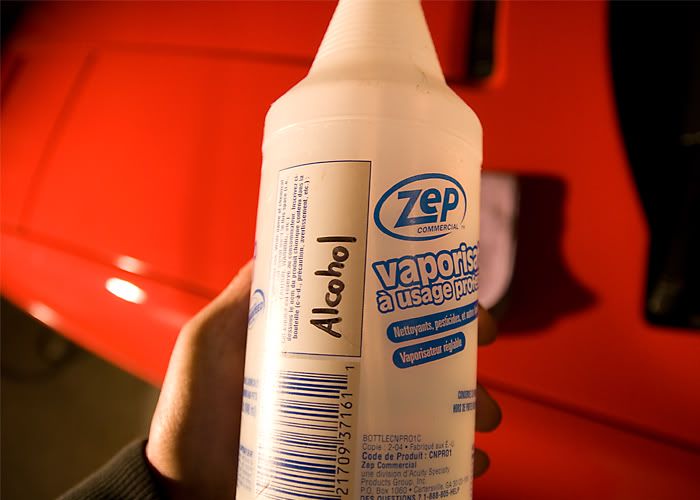
Gave it an alcohol wipe down to clean off the polishing oils
After
Before
After
Before
After
Before
After
And a 50/50 shot
Single stage paint really clogs my pads up so I had to change them frequently
All the tight areas my rotary couldn't reach I did by hand with on orange lake country pad and Meguiars M105 then a white pad with Meguiars M205. They did not end up perfect but still a huge improvement to how they were before
This was a full paint correction so the few deeper scratched I wetsanded with Micro Mesh sand paper 2400 grit and then 4000 grit to refine and then finally polish out the sanding marks. Results were either to round off the edges of the scratch to make it less apparent or to completely remove the scratch.
After all the compounding and wetsanding I finally jeweled the paint with a white Lake Country pad and Menzerna P085rd. Here is a shot of me jeweling the paint.
And finally the results of my work
Unmasked the car
Dusted it down and got in the tight crevices.
Gave it an alcohol wipe down to clean off the polishing oils
Thread Starter
Registered User
Joined: Feb 2009
Posts: 100
Likes: 2
From: Toronto
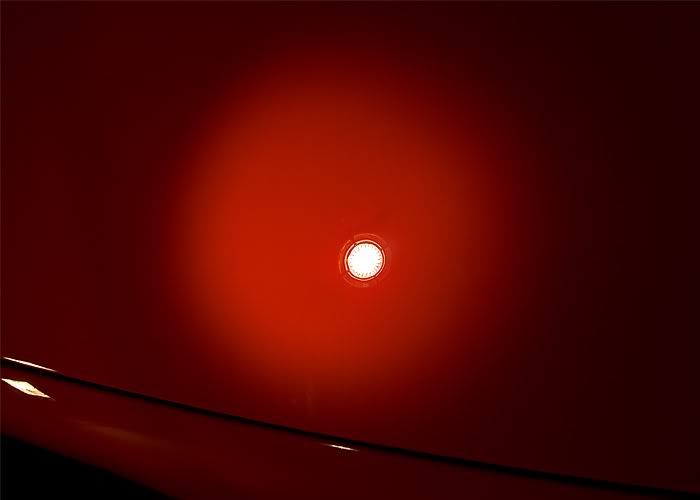
Then double checked my work with my 3M Sun Gun which omits the same color spectrum light as the sun. So basically what I see with this light is how it will look in natural daylight.
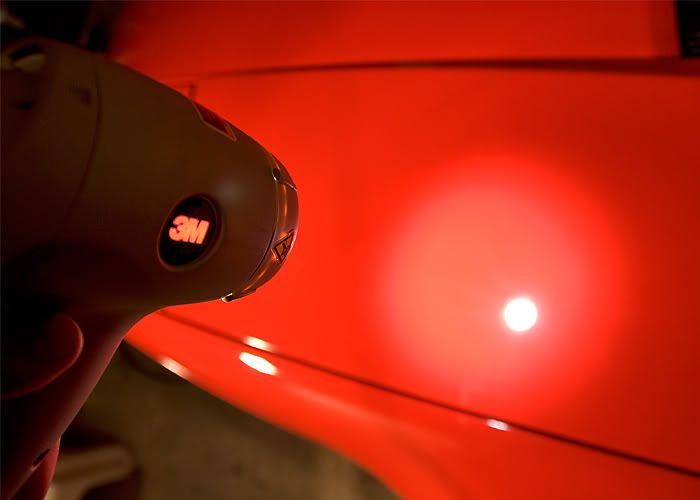
Perfect
Applied Swissvax Concorso
While the wax was curing I attended to some other areas
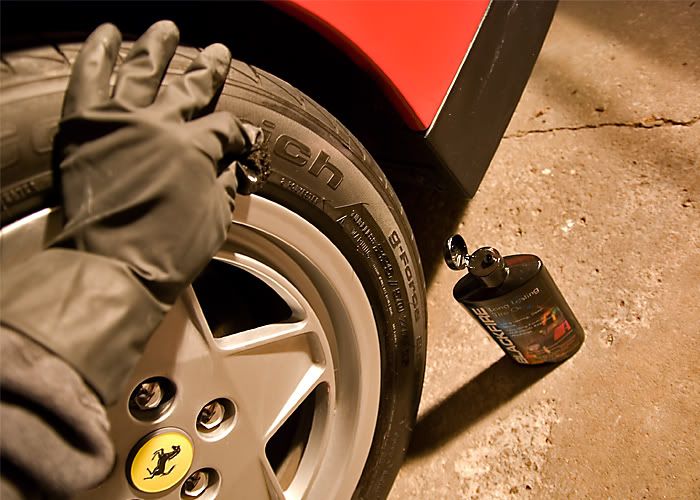
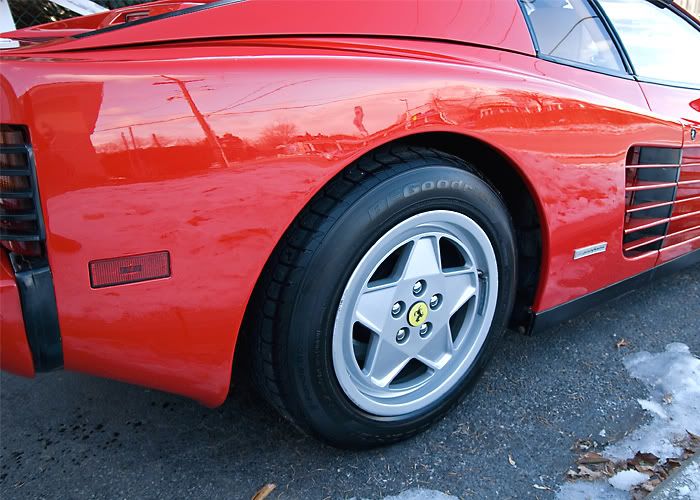
Sealed the rim with Poorboys Wheel Sealant to protect against brake dust
Dressed the tires with Blackfire Long Lasting Tyre Gel which after being left on for awhile then wiped off leaves a beautiful finish
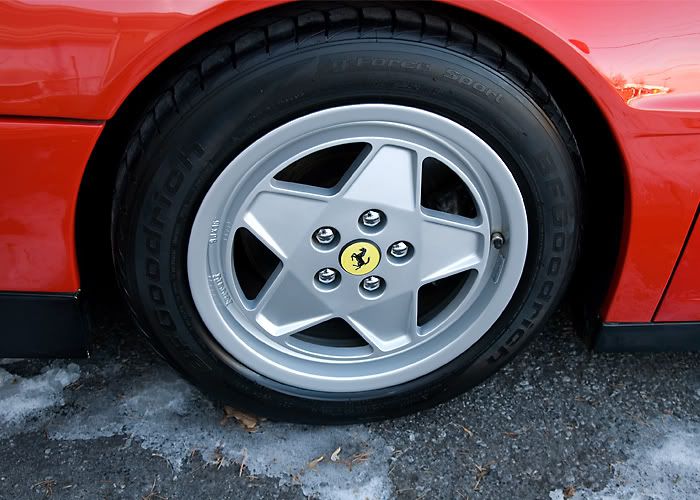
Here is an after pic of the tires and rim
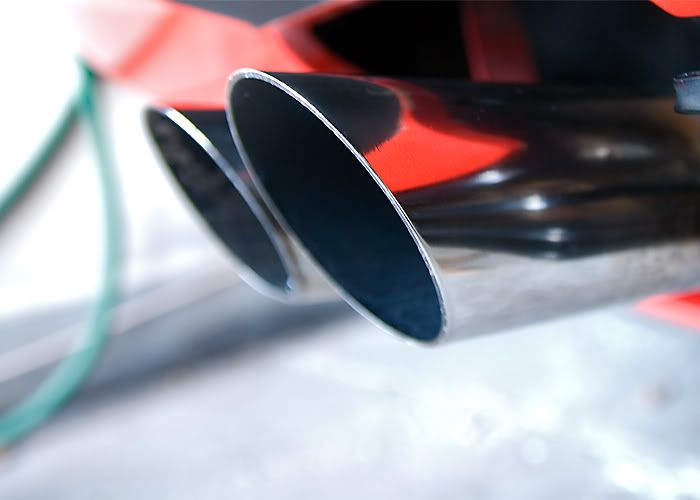
I couldn't get the exhaust perfect but still made an improvement.
Before
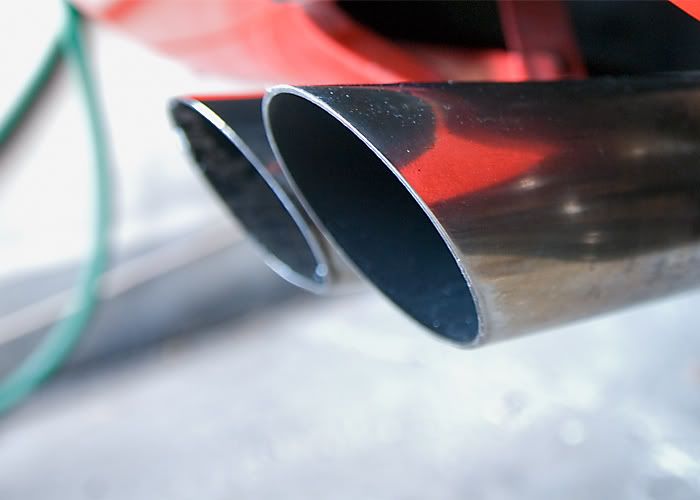
After
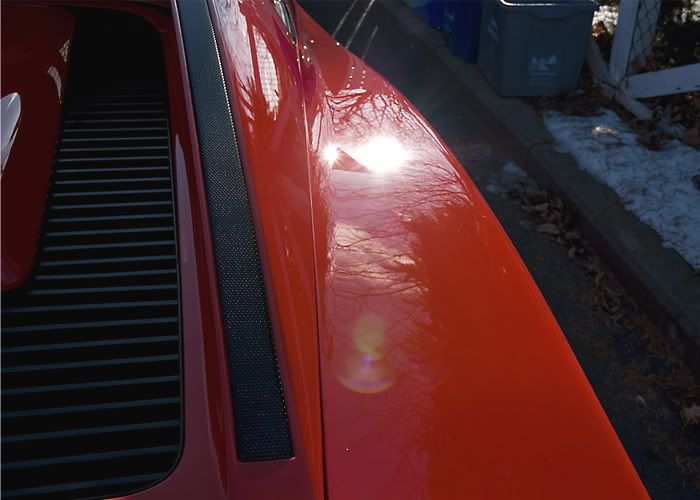
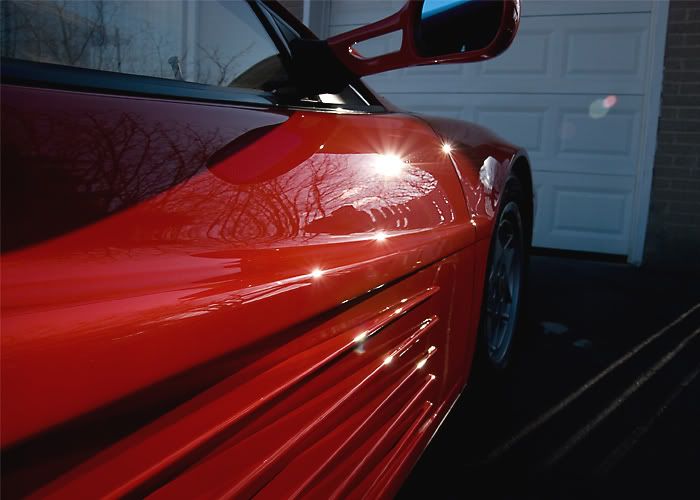
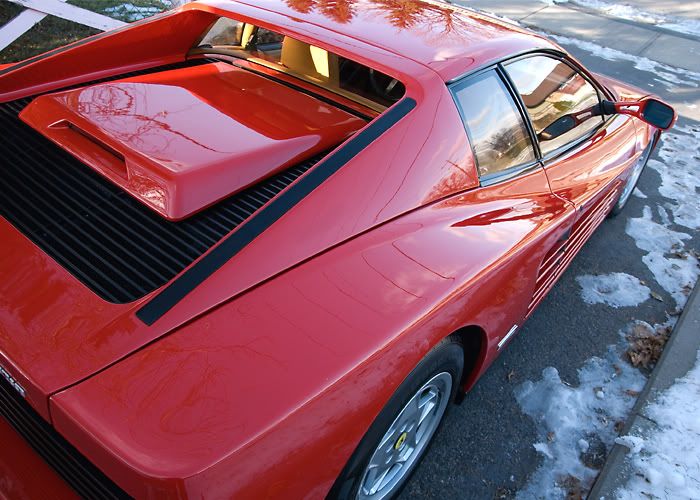
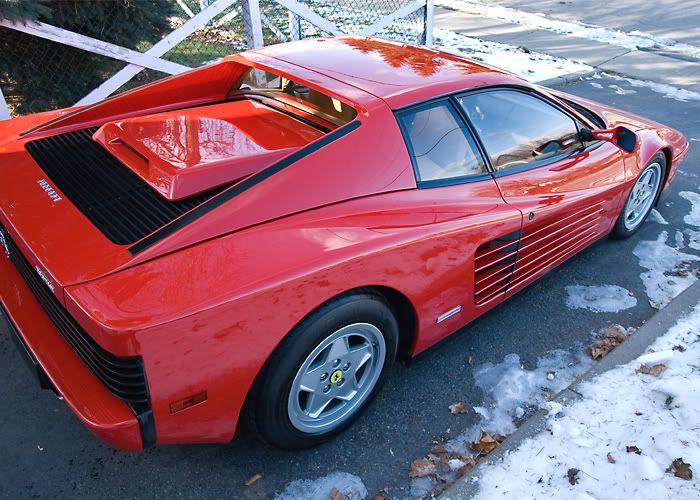
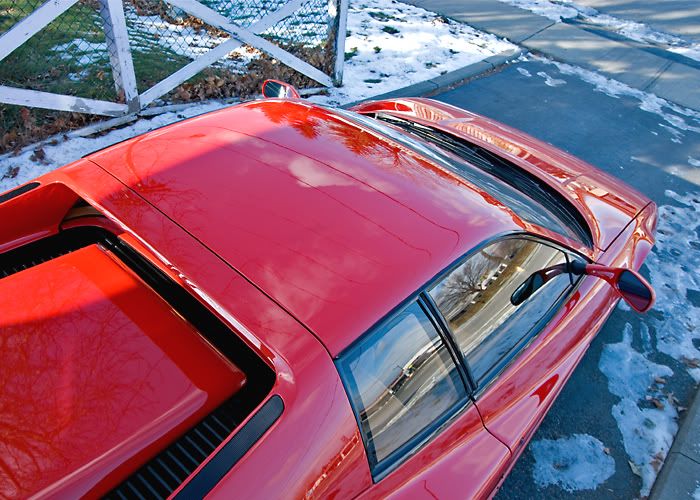
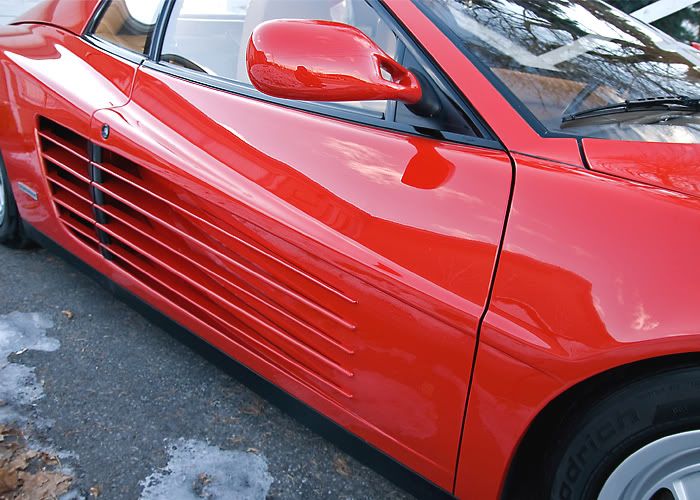
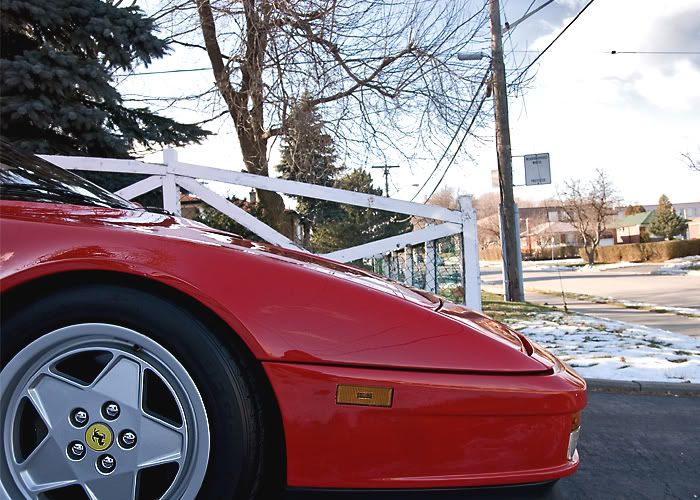
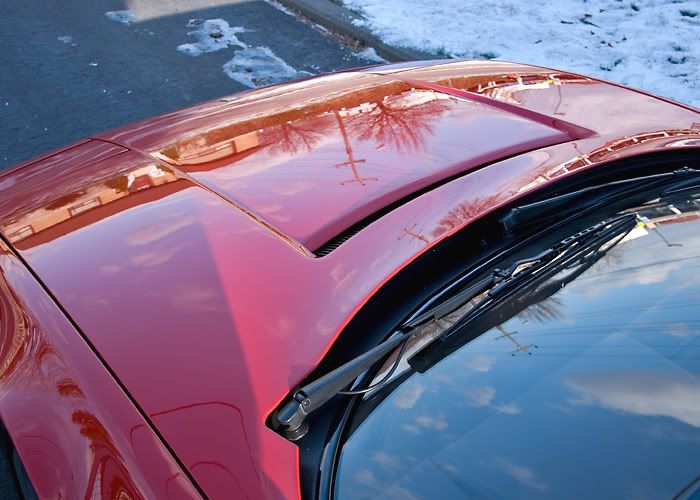
Now finally after 50+ hrs of work, -10 weather, and the first snowfall of winter here are the finished pictures.
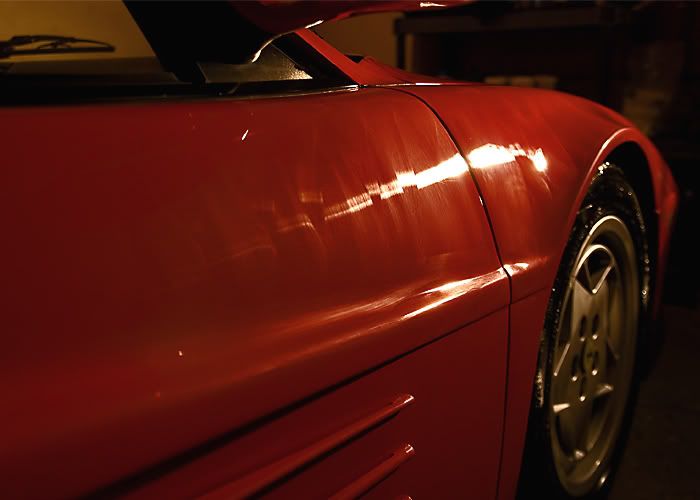
First up some shots of the sun on the paint

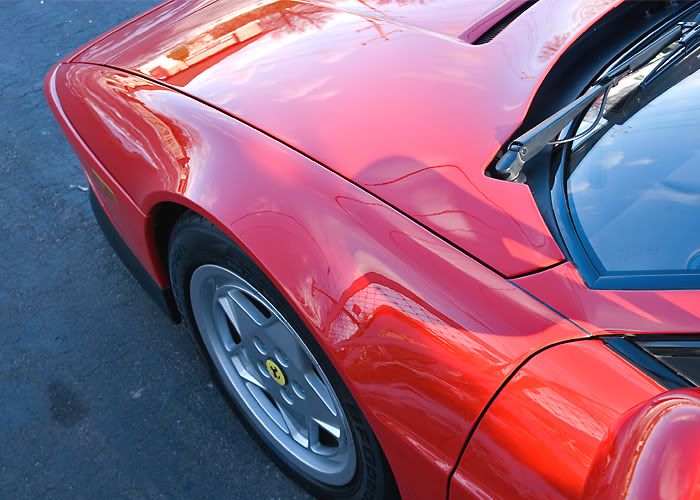
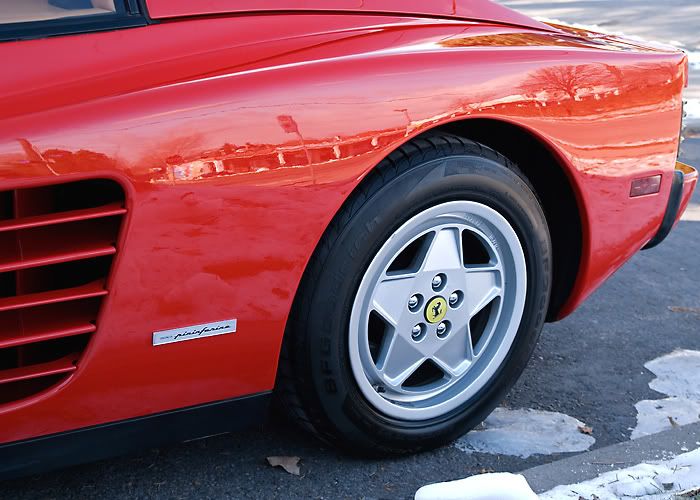
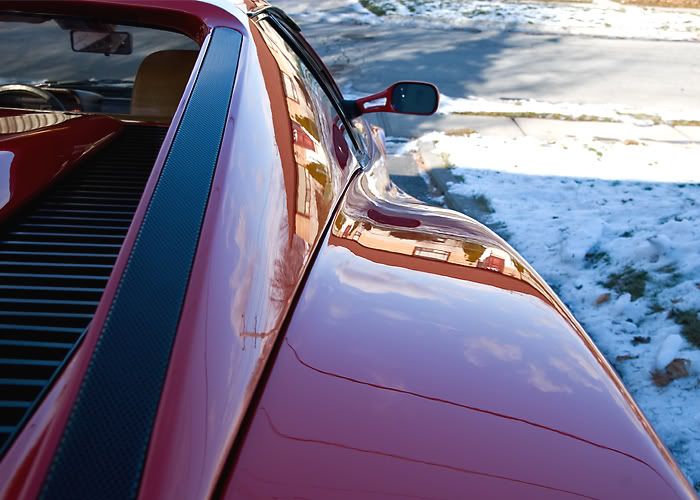
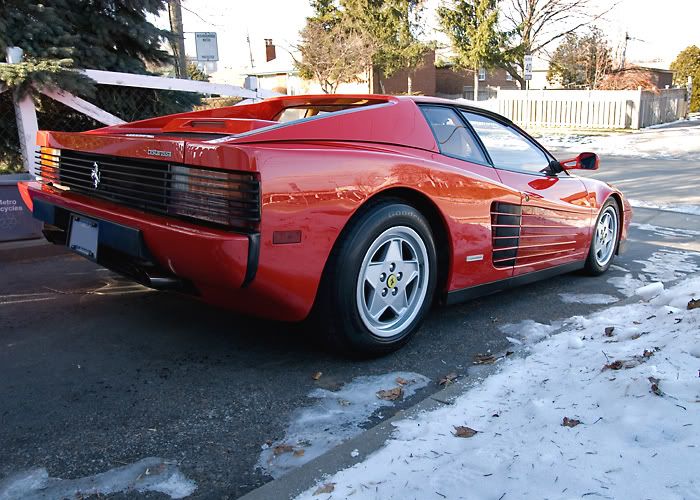
 .
.


