
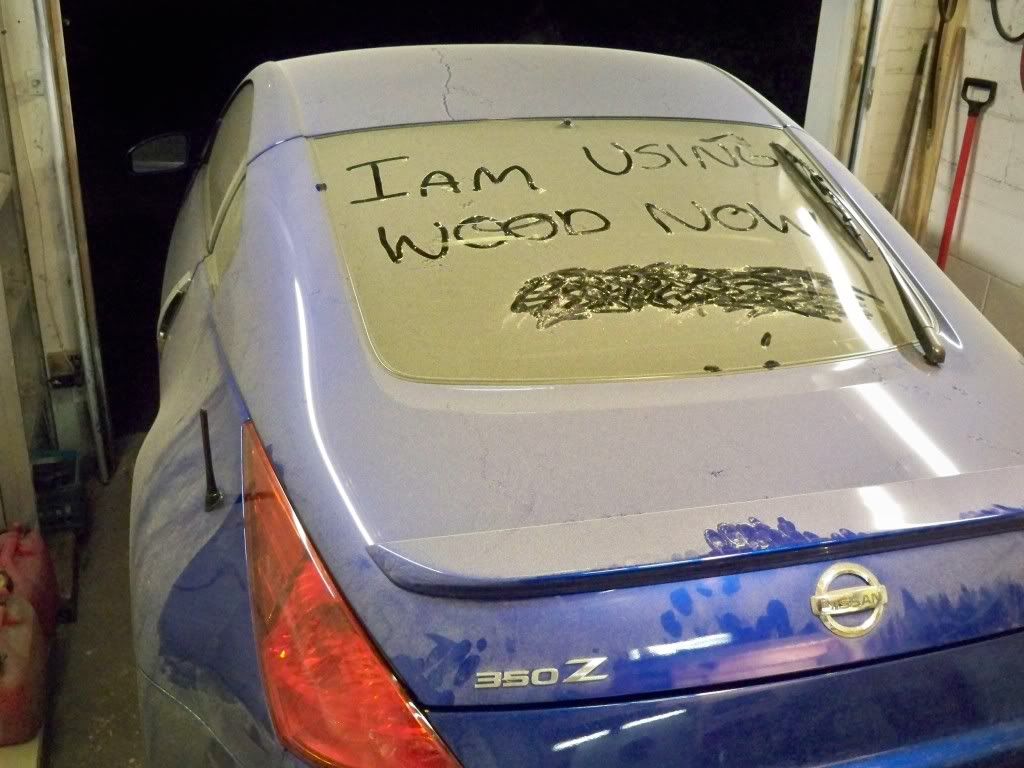
new audio stuff for the Z, install begins (pics)


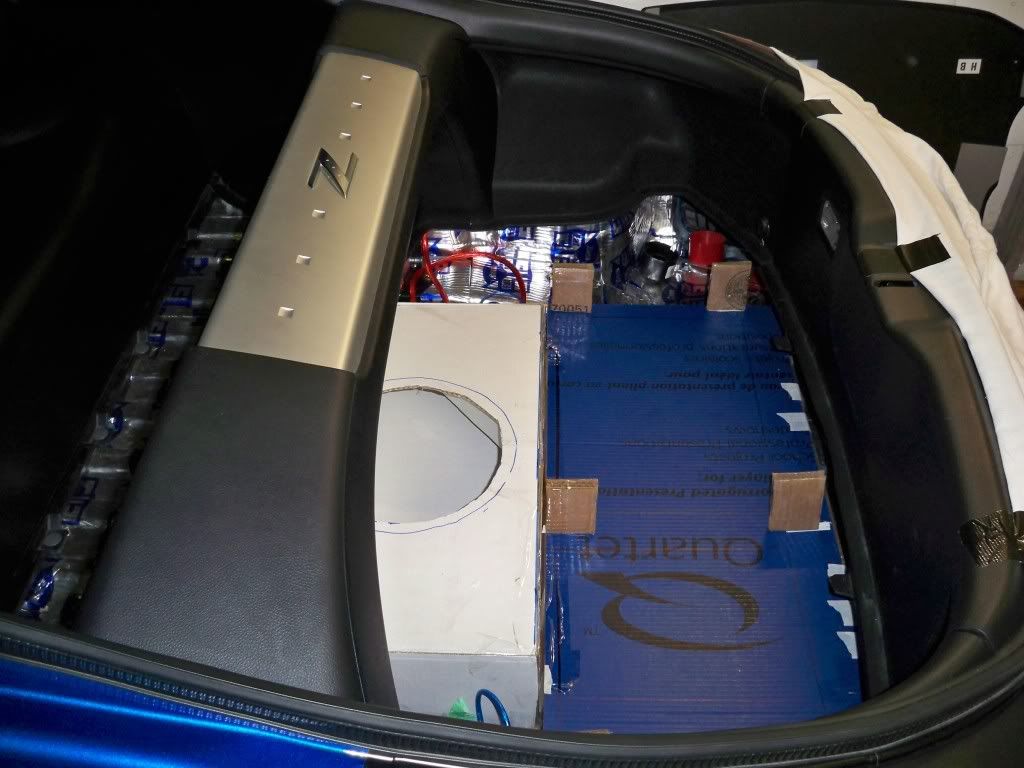
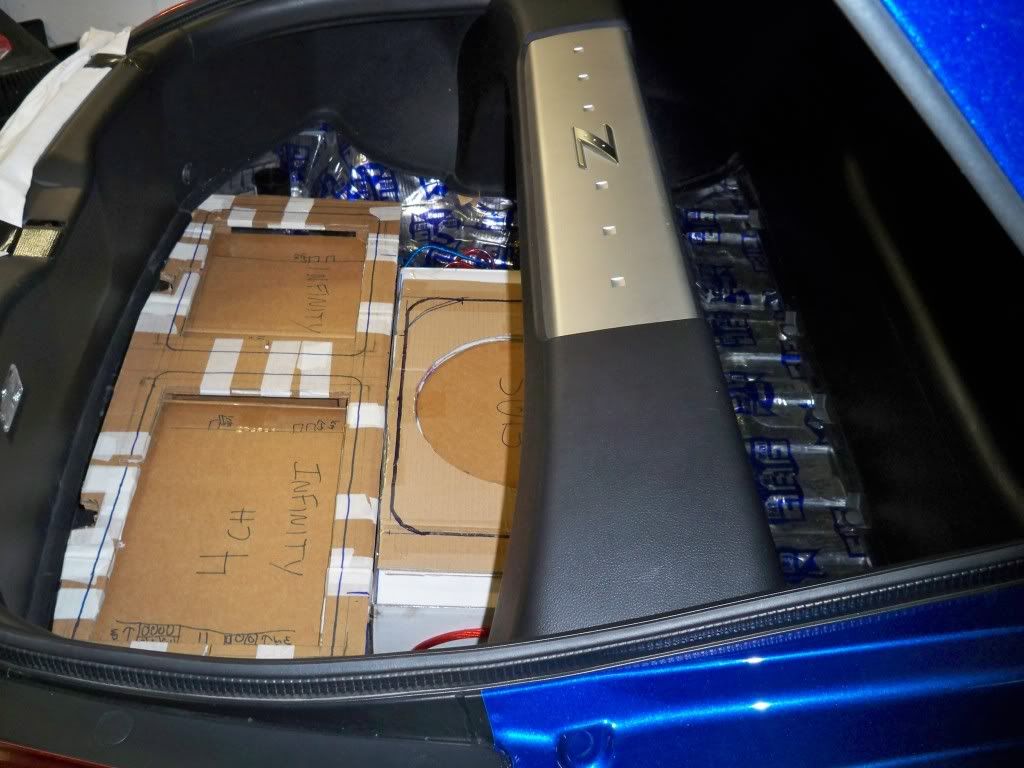
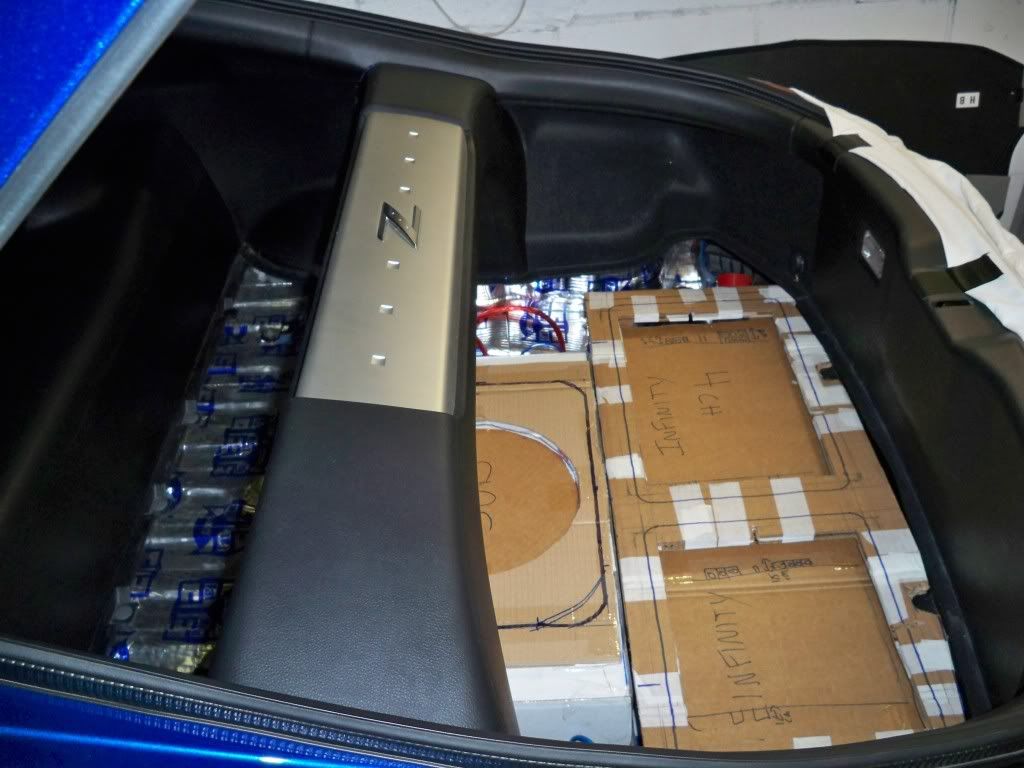
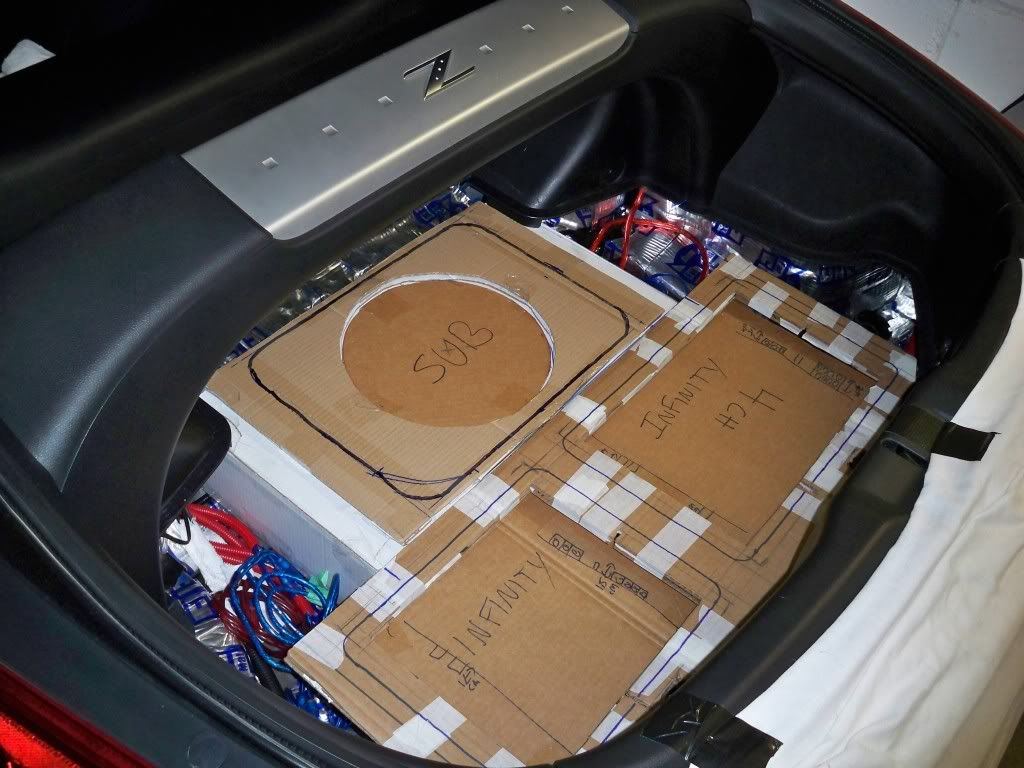
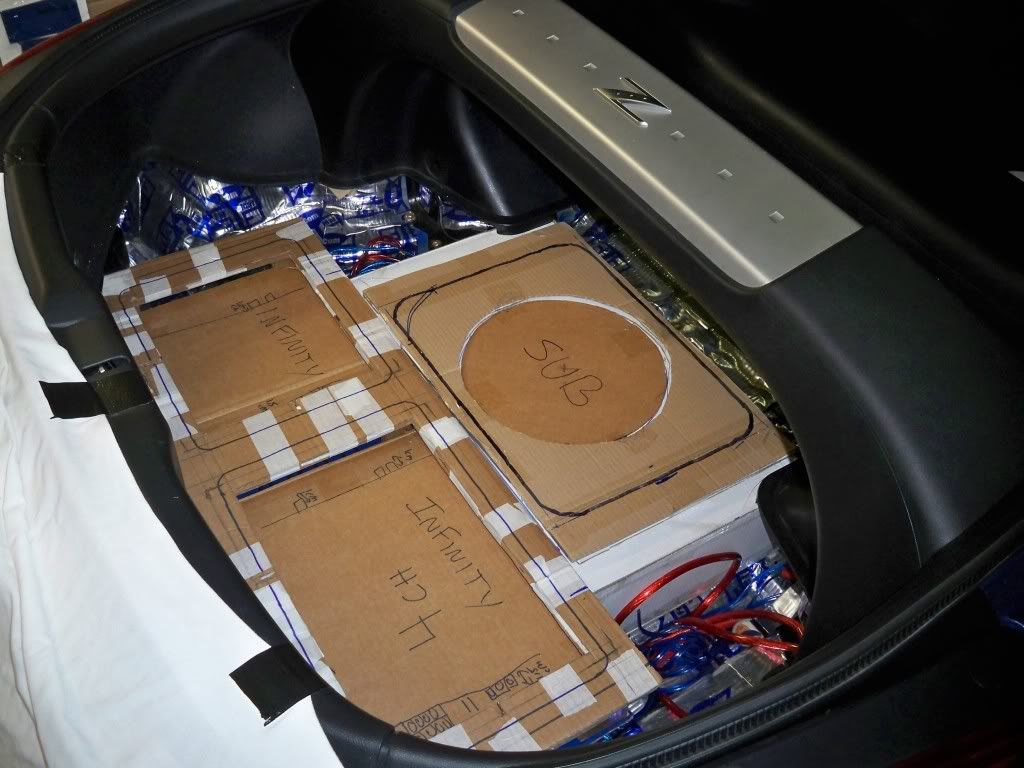
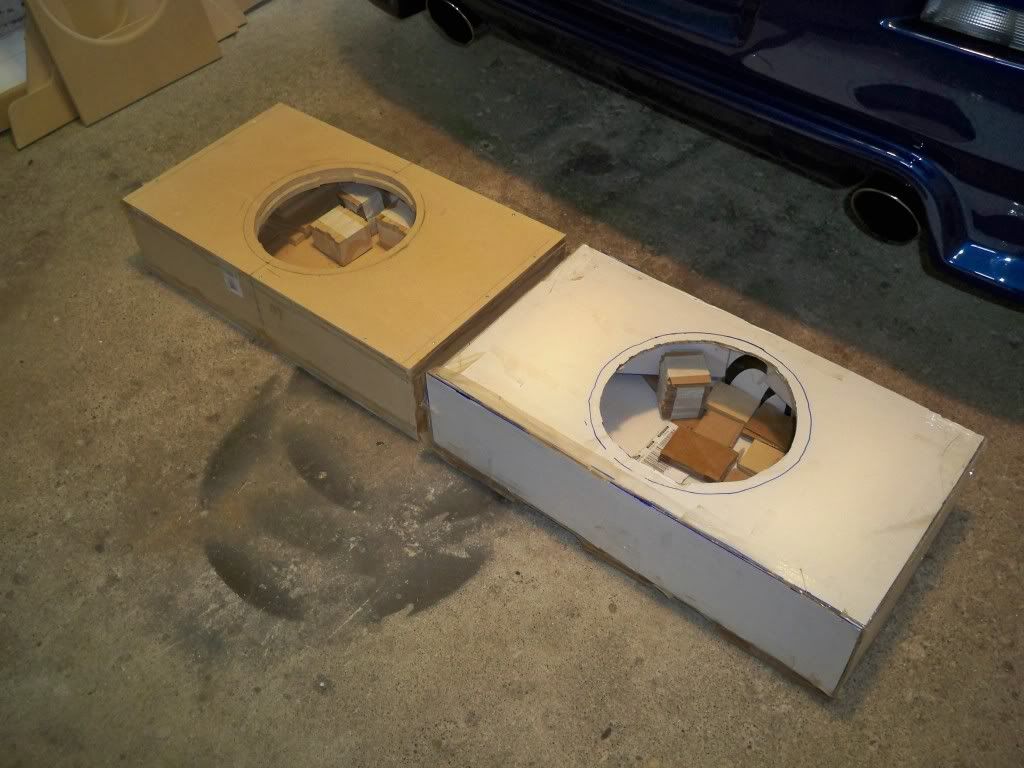
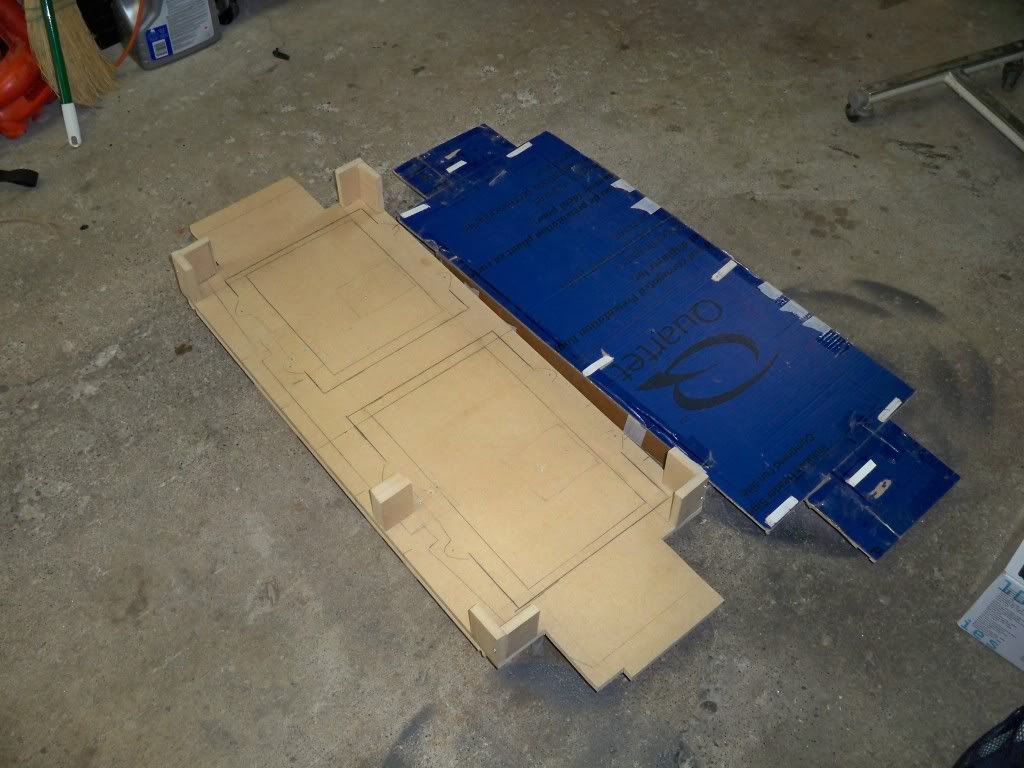
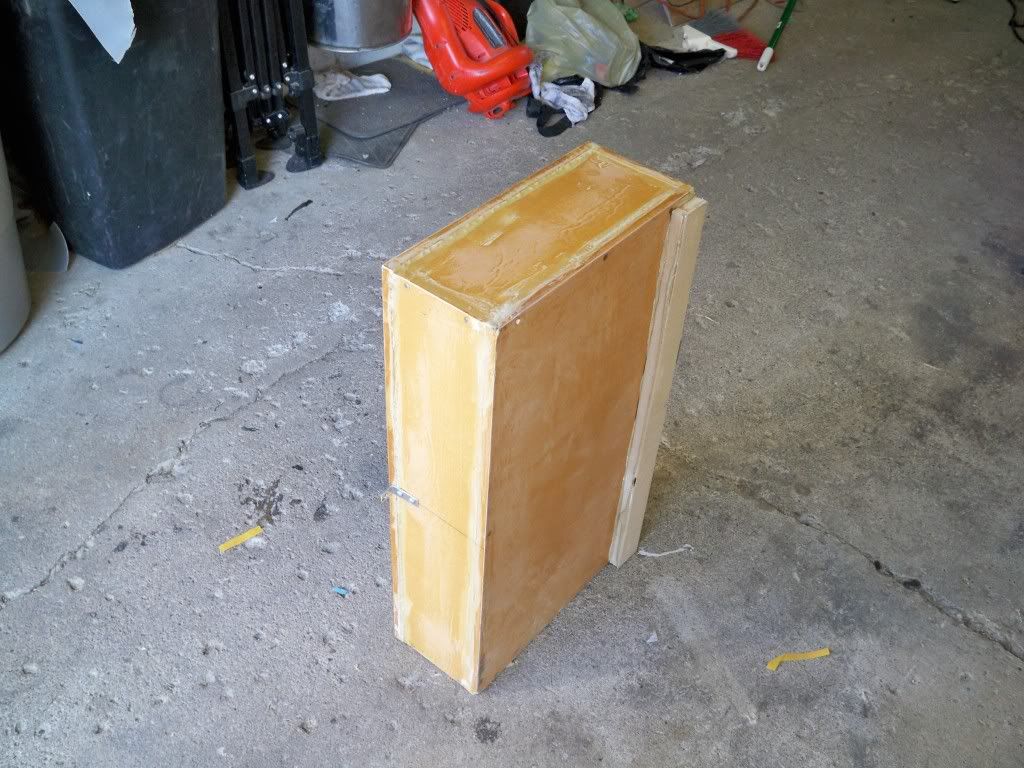
I am just making it out of MDF i will dress up the face a bit though. No fiberglass, The main design plan was to have some show but lose no usable storage space in the back of the car. When i am done i will lose my spare tire and the floor will be 1/2 higher but i will be able to still use my trunk as i did before.

I almost have the exact same box size.
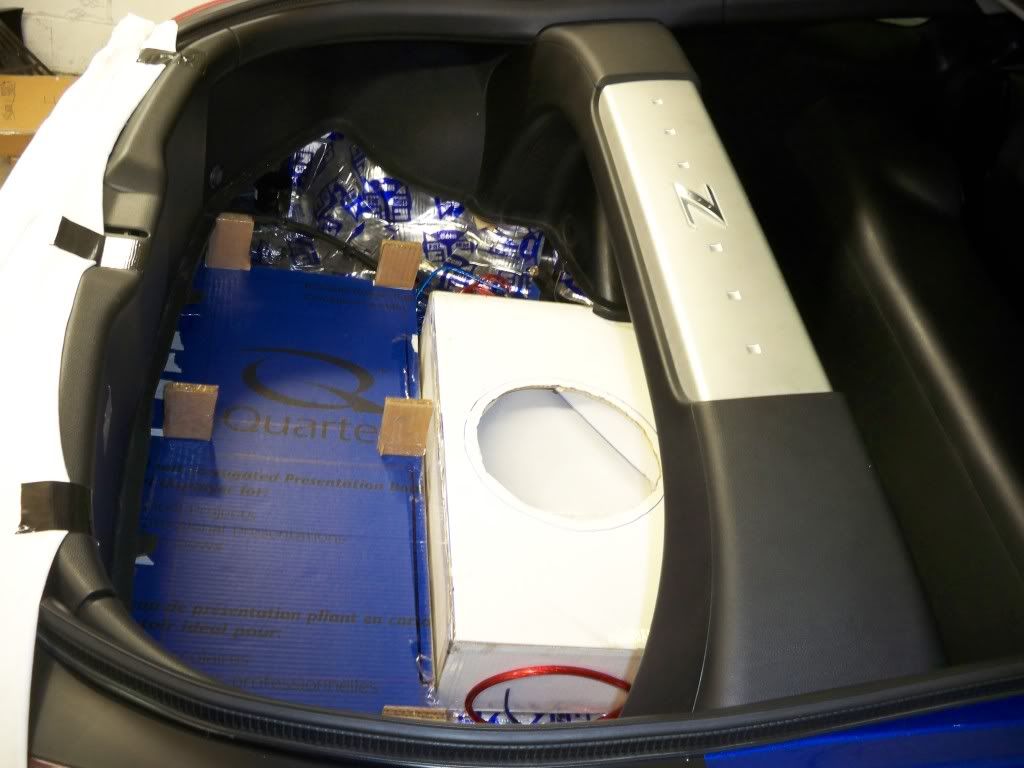
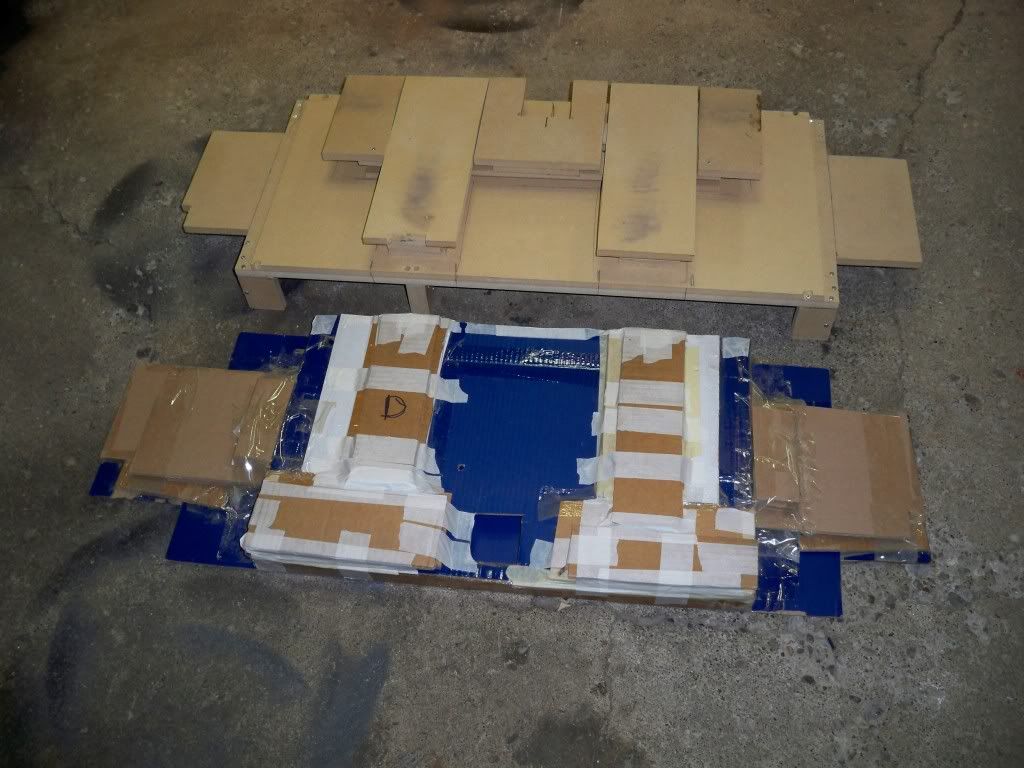
I'm running 22.5x7x13 with 3/4" MDF stuffed with 1.2 pounds of polyfill which emulates an interior volume of approximately 1.0cbft. The main difference is that I mounted a 12" sub. I attached a pic of what it looks like. It actually fits under the strut bar, I just moved it out to take a better pic.
I'm running 22.5x7x13 with 3/4" MDF stuffed with 1.2 pounds of polyfill which emulates an interior volume of approximately 1.0cbft. The main difference is that I mounted a 12" sub. I attached a pic of what it looks like. It actually fits under the strut bar, I just moved it out to take a better pic.
I almost have the exact same box size.
I'm running 22.5x7x13 with 3/4" MDF stuffed with 1.2 pounds of polyfill which emulates an interior volume of approximately 1.0cbft. The main difference is that I mounted a 12" sub. I attached a pic of what it looks like. It actually fits under the strut bar, I just moved it out to take a better pic.
I'm running 22.5x7x13 with 3/4" MDF stuffed with 1.2 pounds of polyfill which emulates an interior volume of approximately 1.0cbft. The main difference is that I mounted a 12" sub. I attached a pic of what it looks like. It actually fits under the strut bar, I just moved it out to take a better pic.
How close it the magnet to the bottom of the box?
Can i add poly, my magnet will have between 1/4 and 1/2 of clearance.
Are you gonna to make a new floor to cover it all? Don't forget about the part of the sub that sticks out after its been mounted depending on how you create the box. The height of my box is 7inches but its more like 8inches with the sub and grill sticking out.
I can't remember exactly the amount of bottom clearance I have but its very close, like 1cm.
EDIT:
Found the article
http://www.audiojunkies.com/blog/134...osure-resource
Last edited by steve774; Apr 22, 2009 at 01:30 PM.
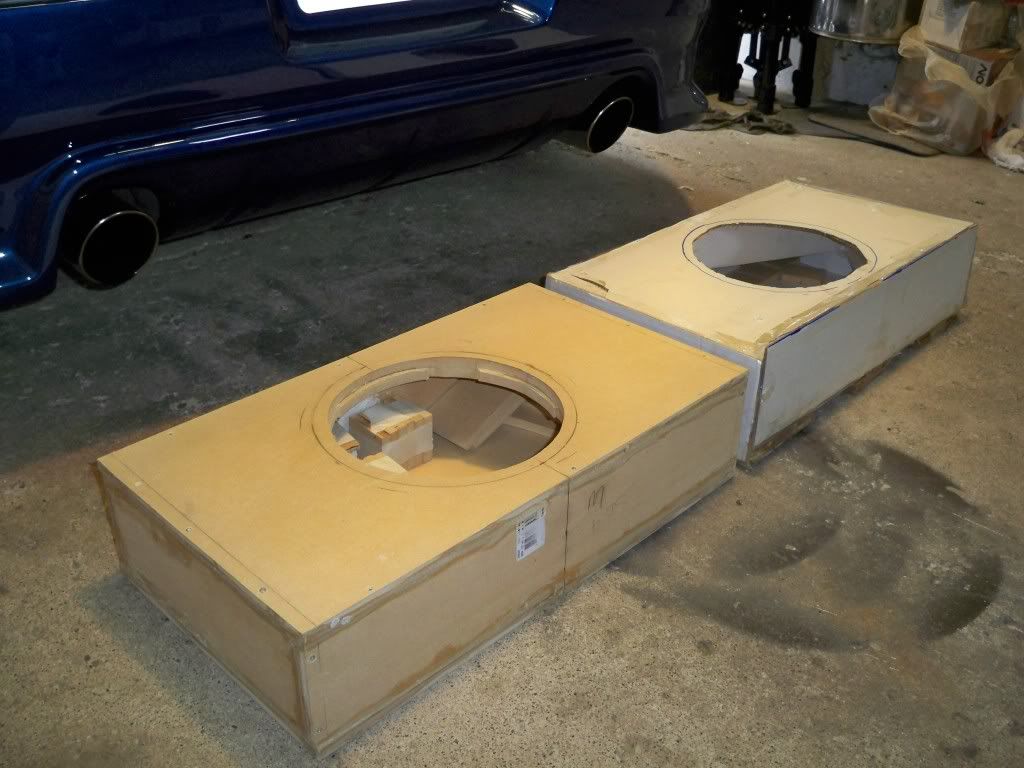
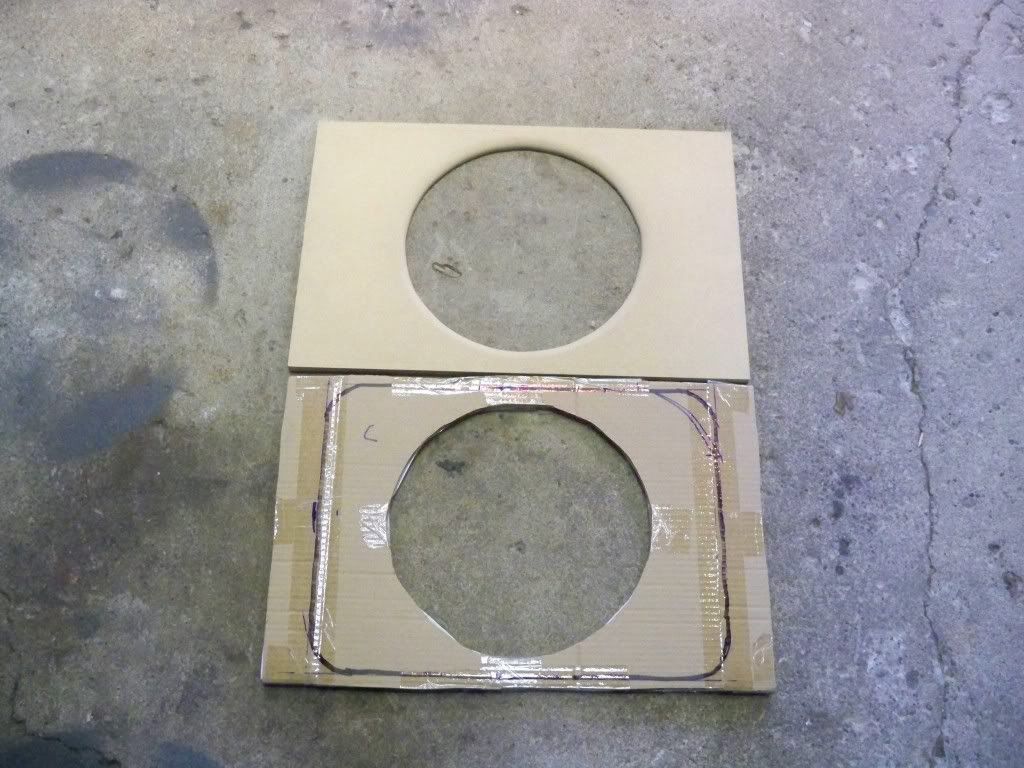
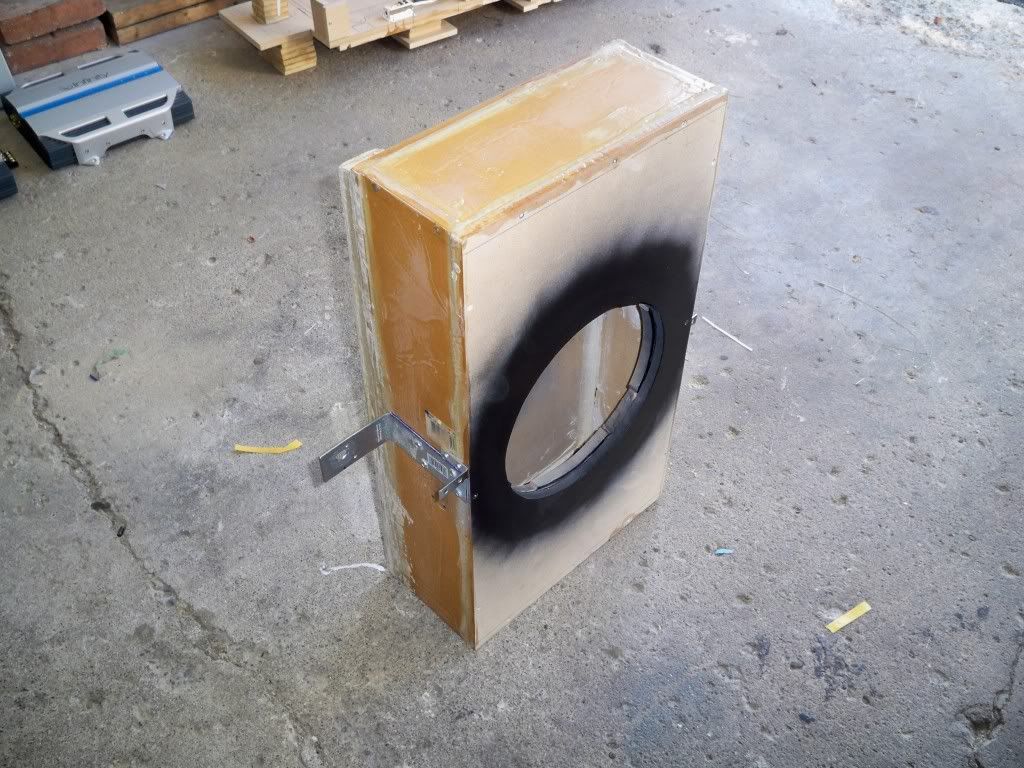
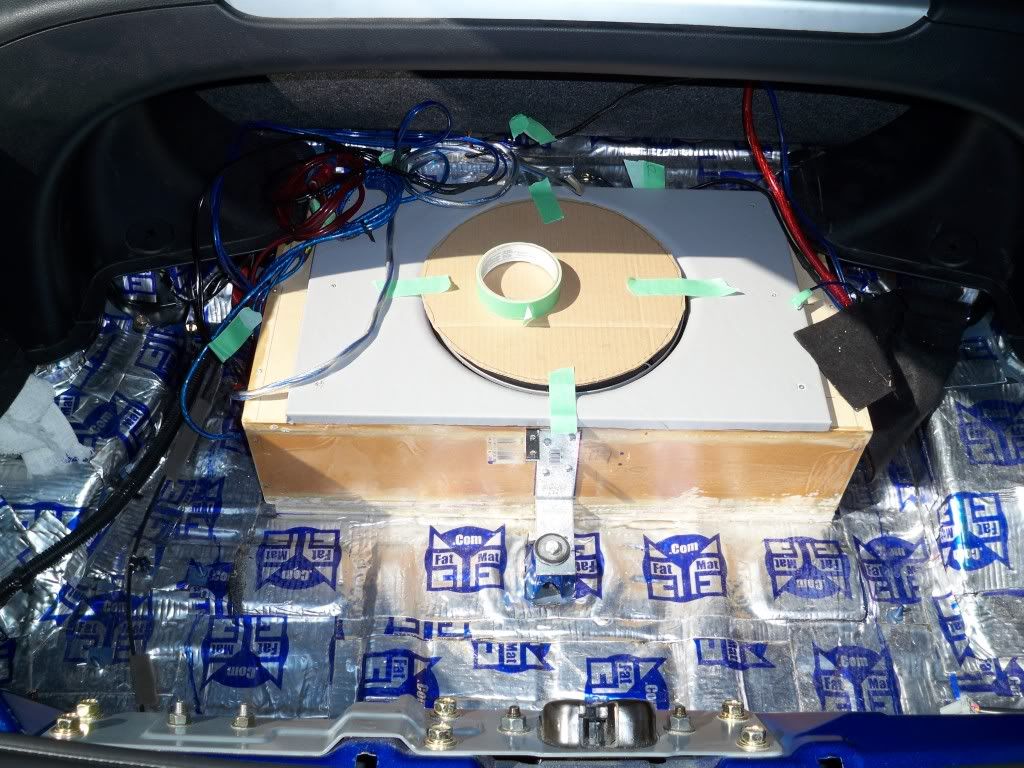
on top of the sub box there will be a 1/2 think trim plate, this will bring it to the hight of the stock floor. On top of that i am going to make the false floor, it will be made with 1/2 think mdf, so i should have an inch between the carpet and the box for the rubber part.
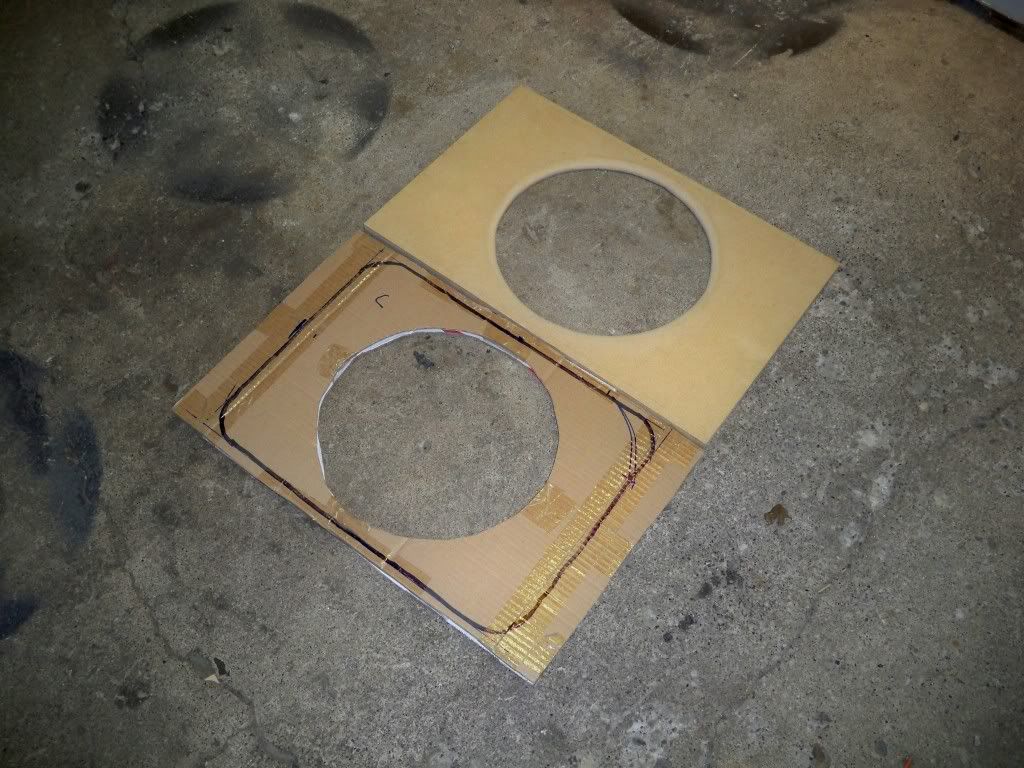
do to limited space i may have to go with 1/2 inch MDF for the box, the subs recommended air space is .75 cubic sq feet, the box will measure around 22inch x 6 inch x 13 inch x � think mdf = .72 cubic sq feet.
I was told that the 1 250 rms sub in a 1/2 inch box of that size reinforced with fiberglass resin should be strong enough. My other option is to lose some air space and go with thicker MDF but i don't know how the sub will respond to it.
Another option is to add poly to the 3/4 inch box, Can i add poly, my magnet will have between 1/4 inch and 1/2 inch of clearance without poly.
Last edited by XERMAN2001; Apr 22, 2009 at 01:45 PM.
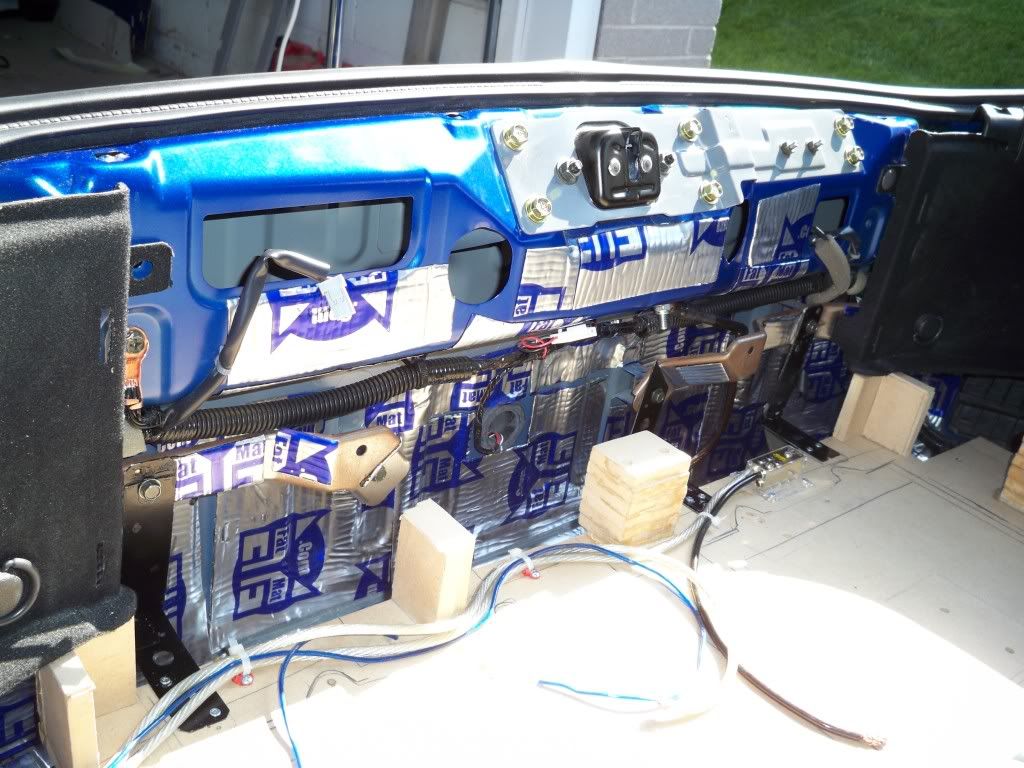
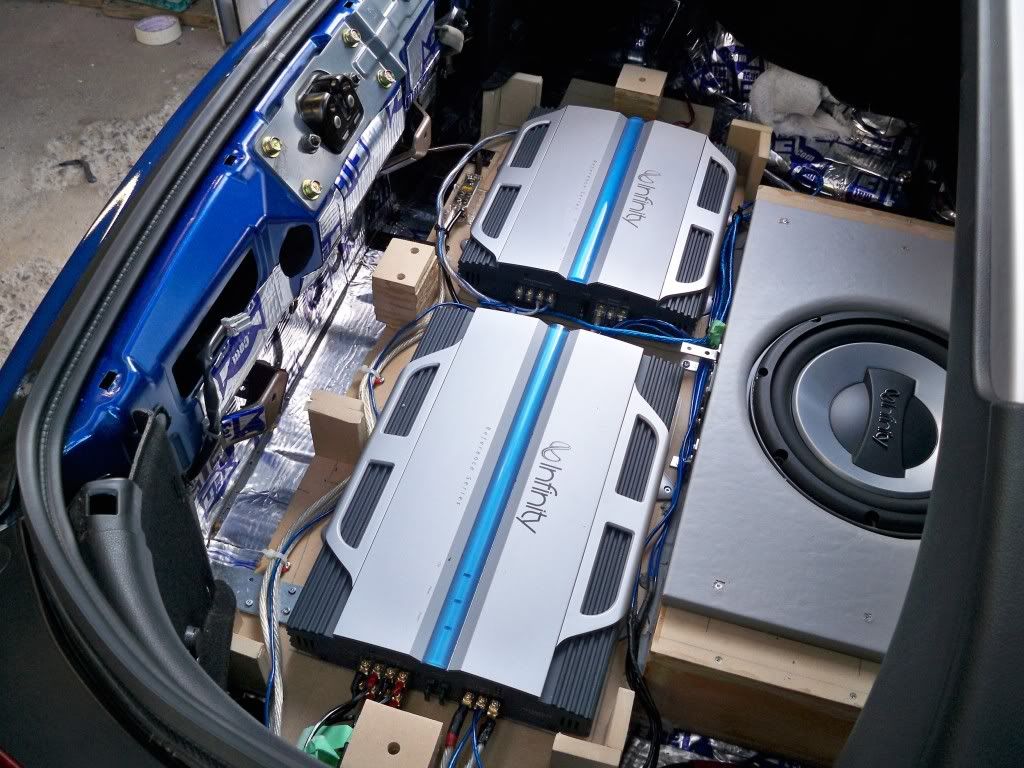
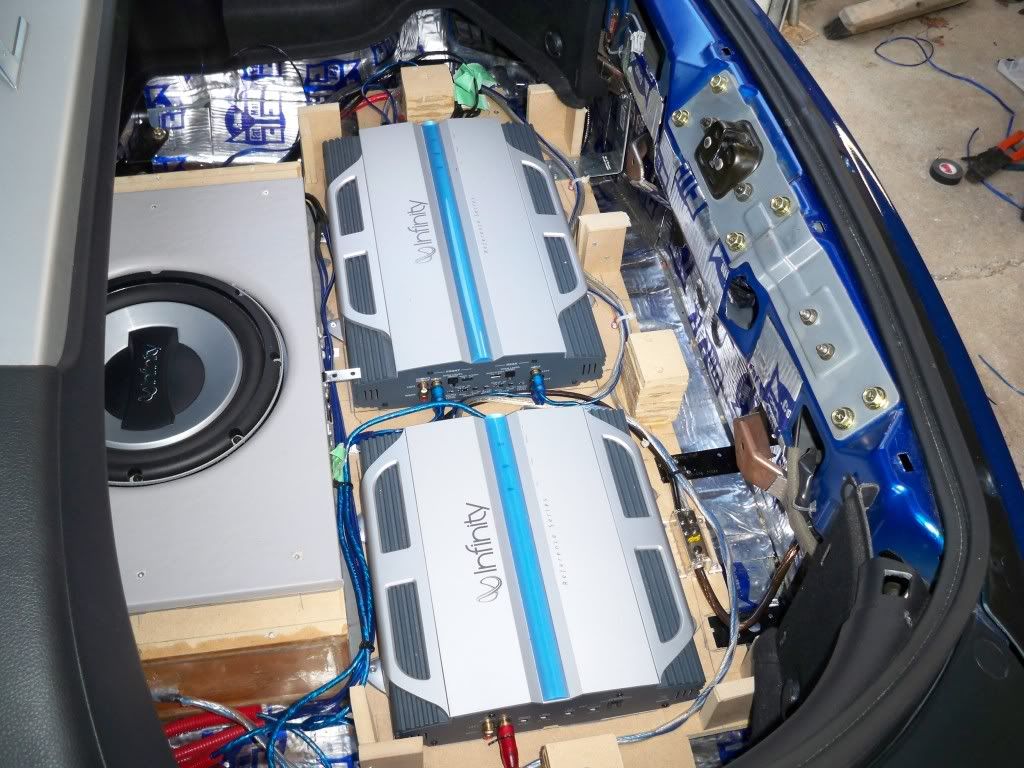
worked on the amp mounting area some more
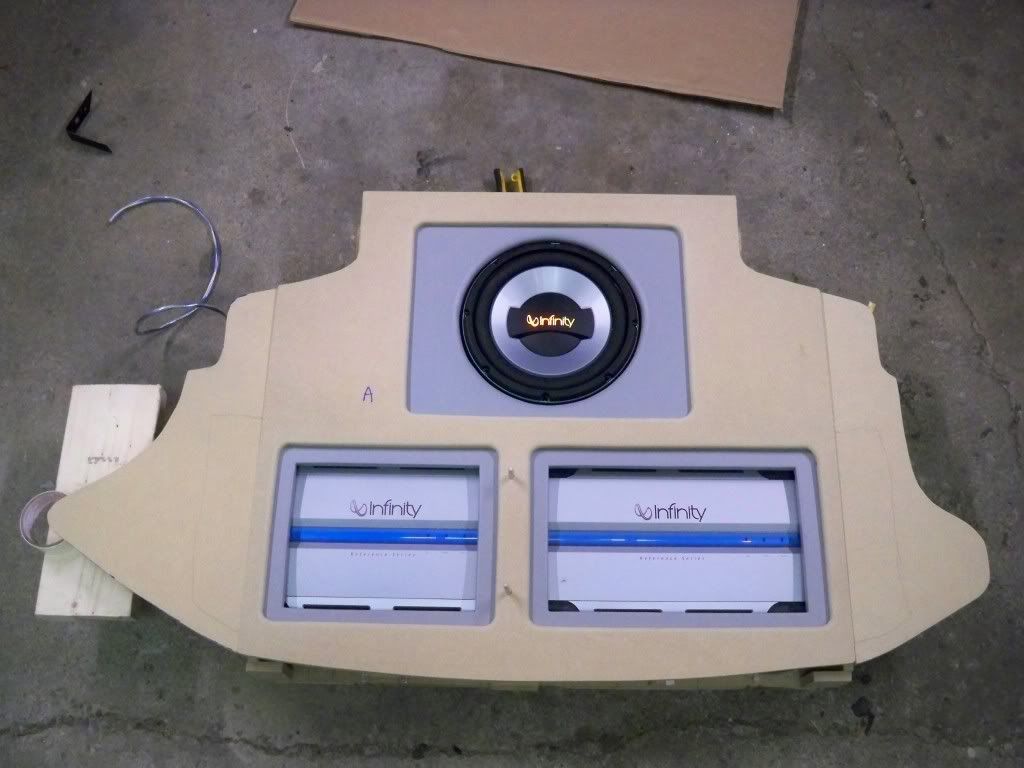
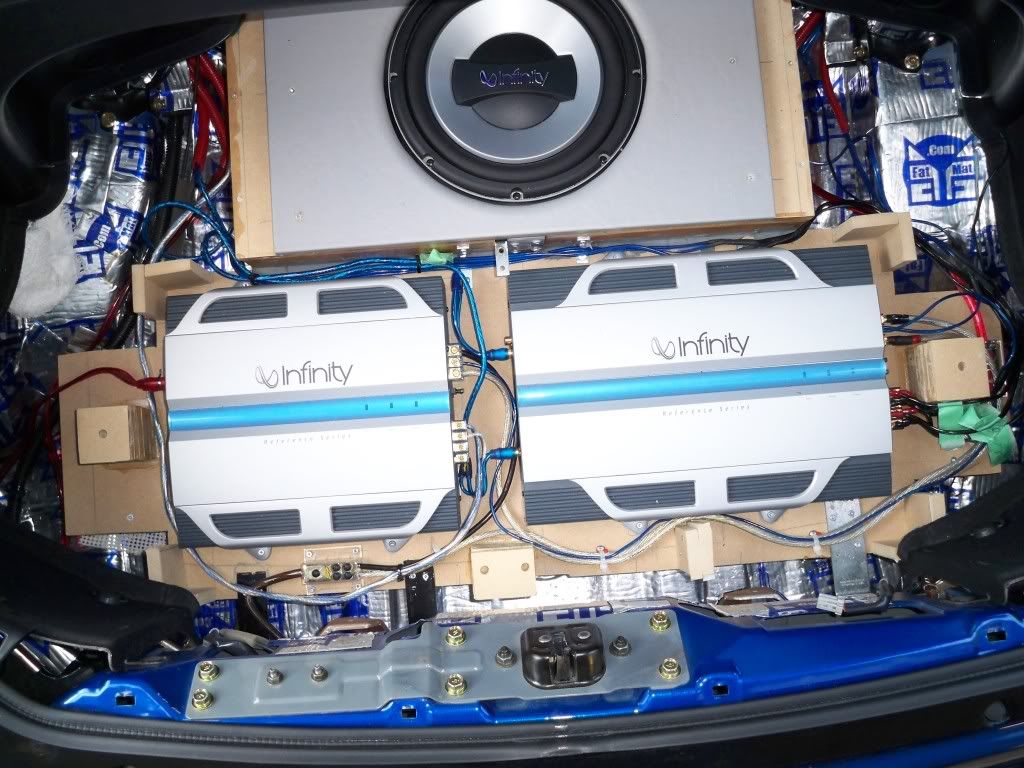
amps in
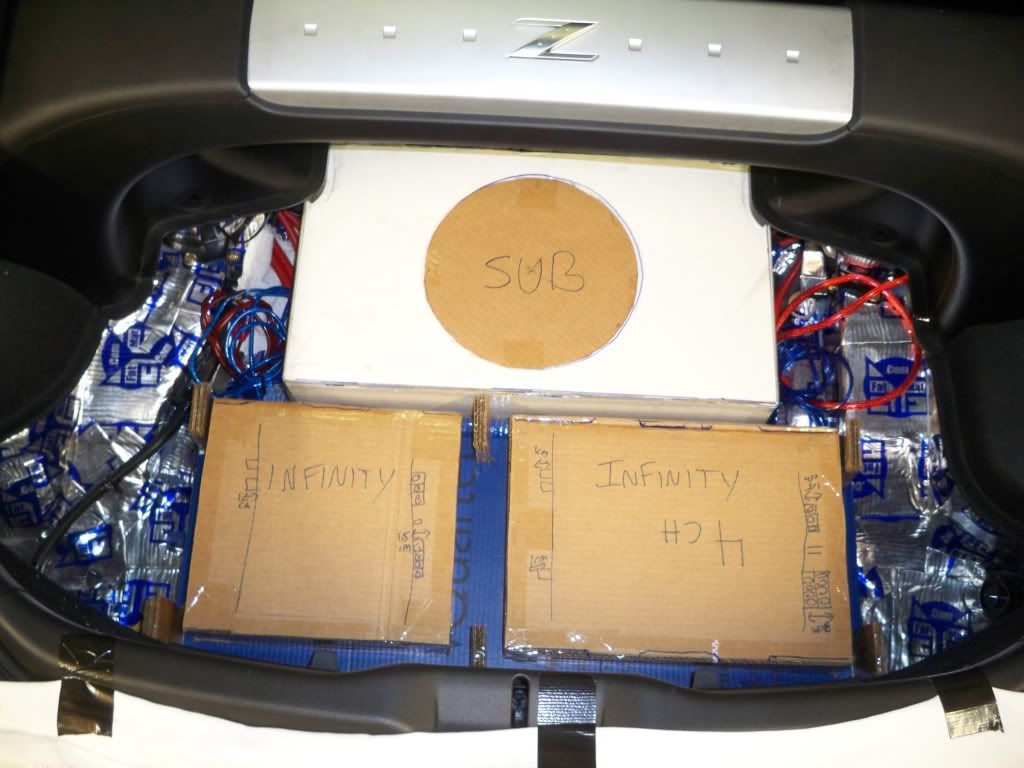
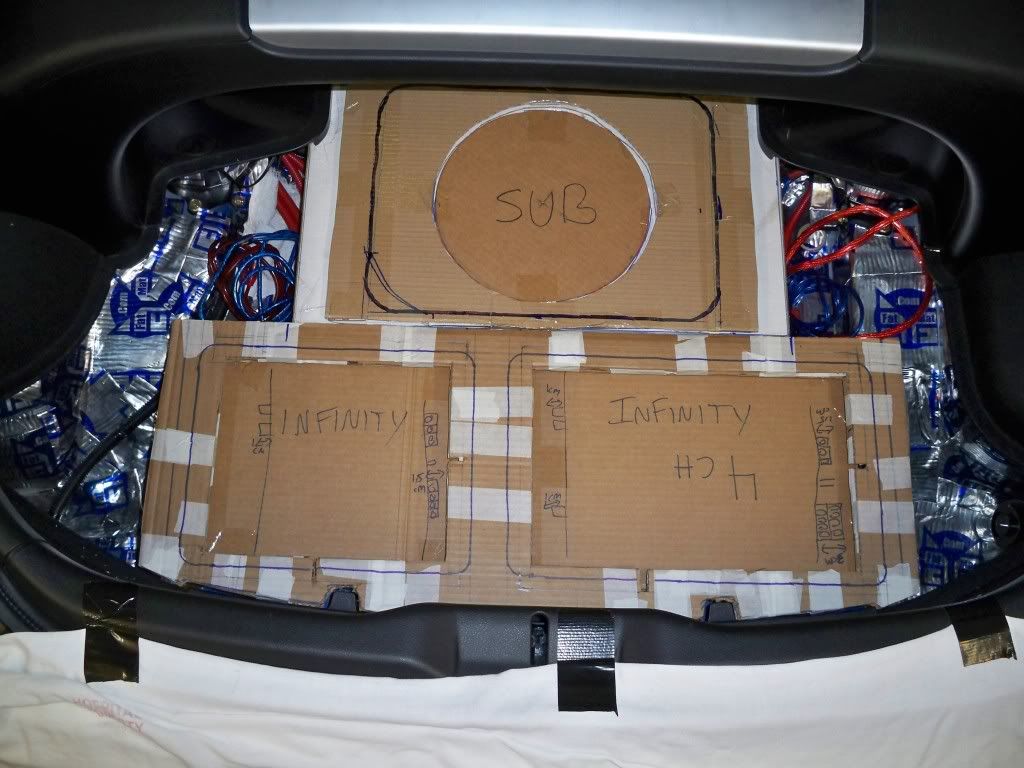
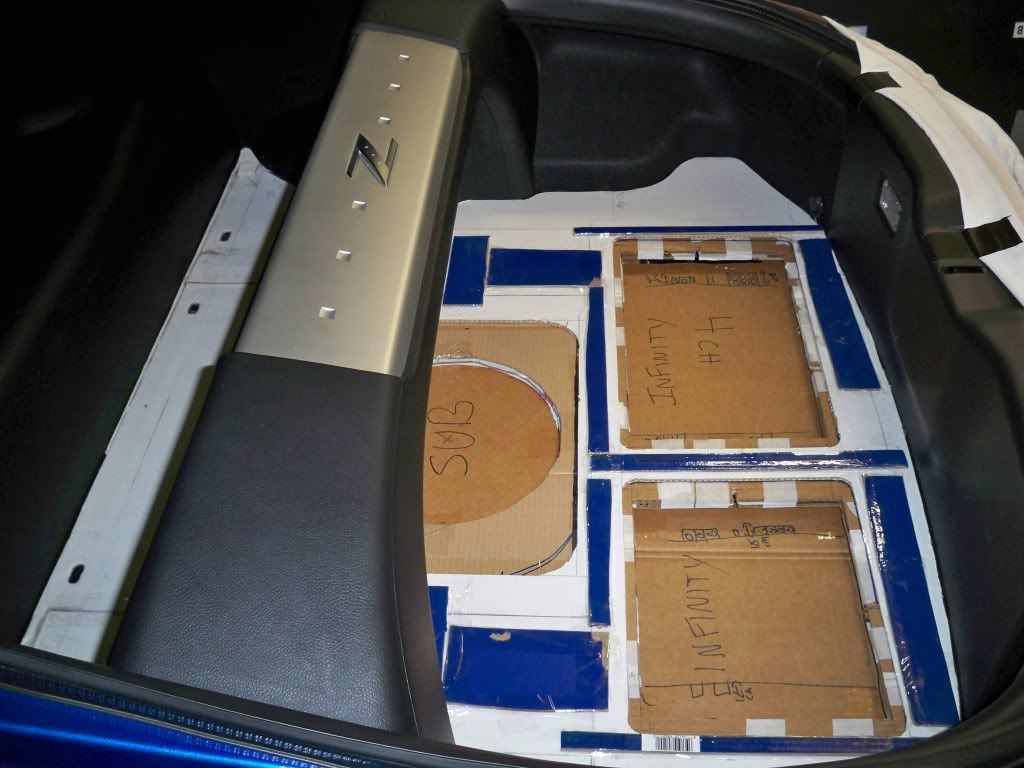
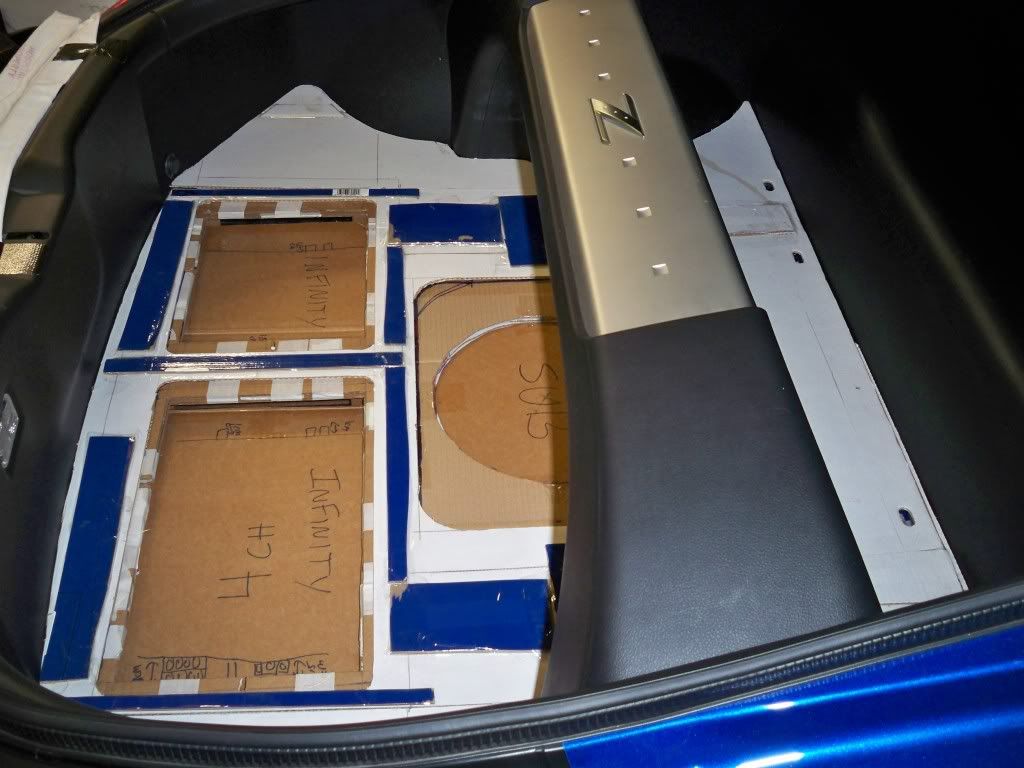
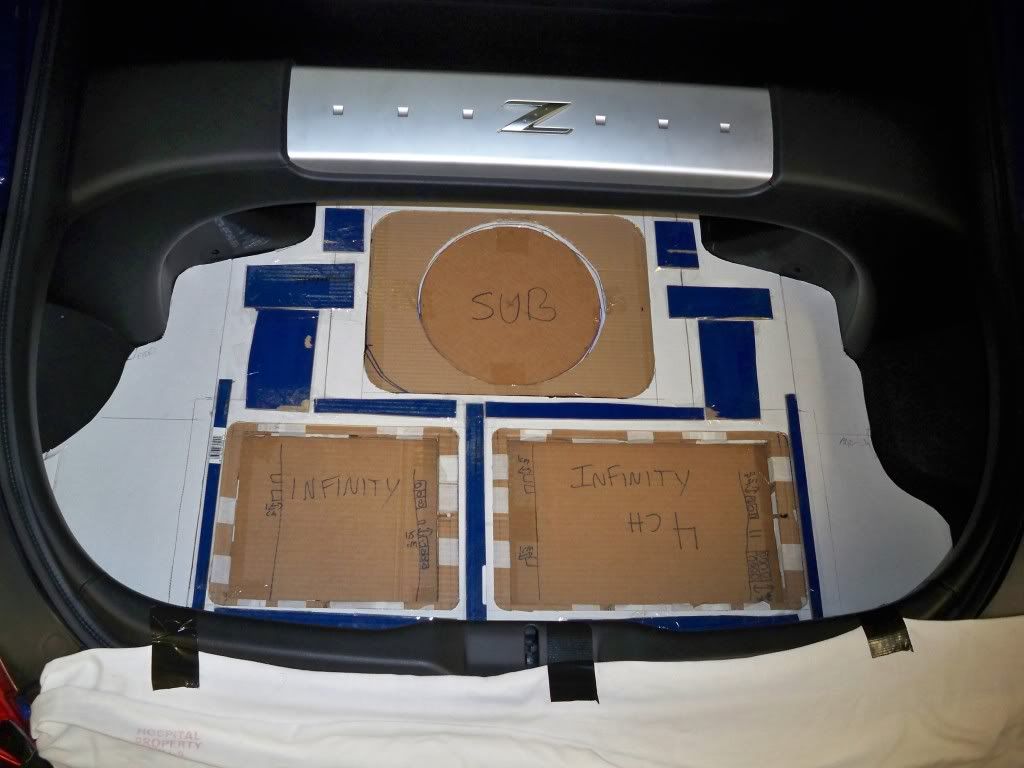
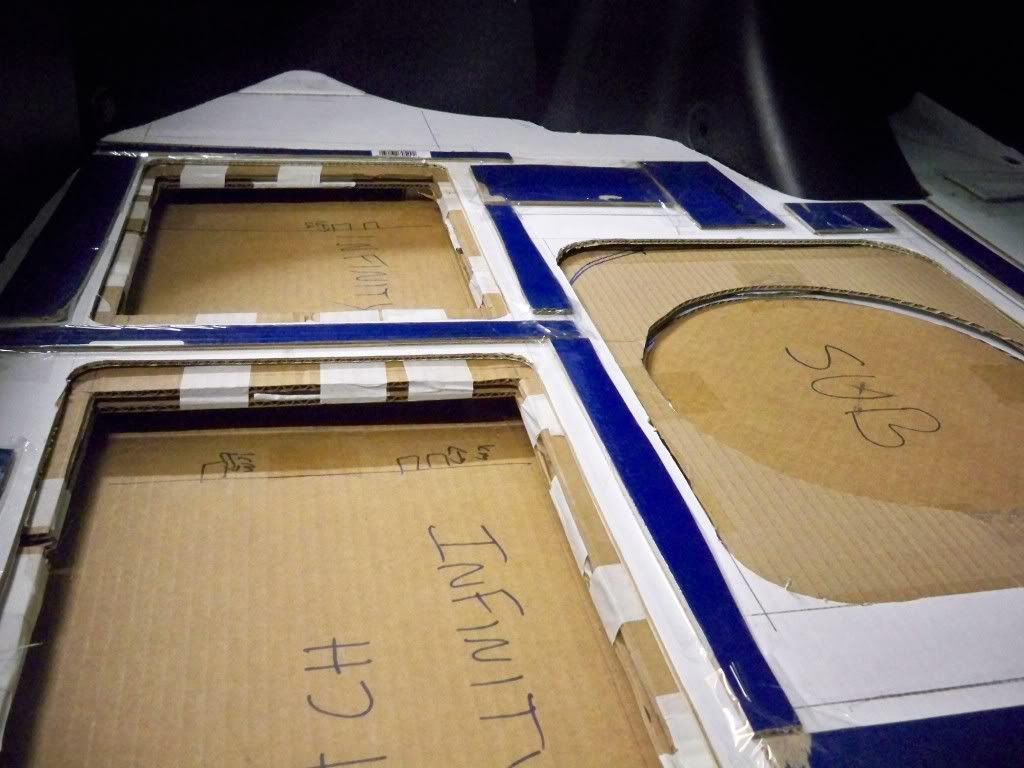
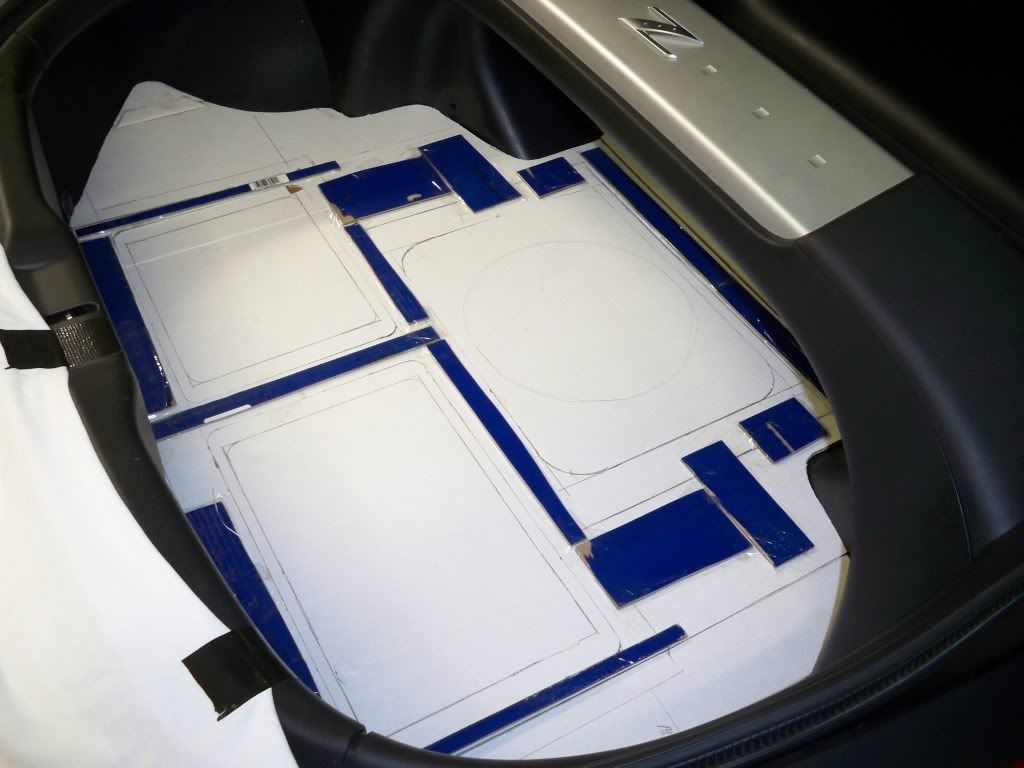
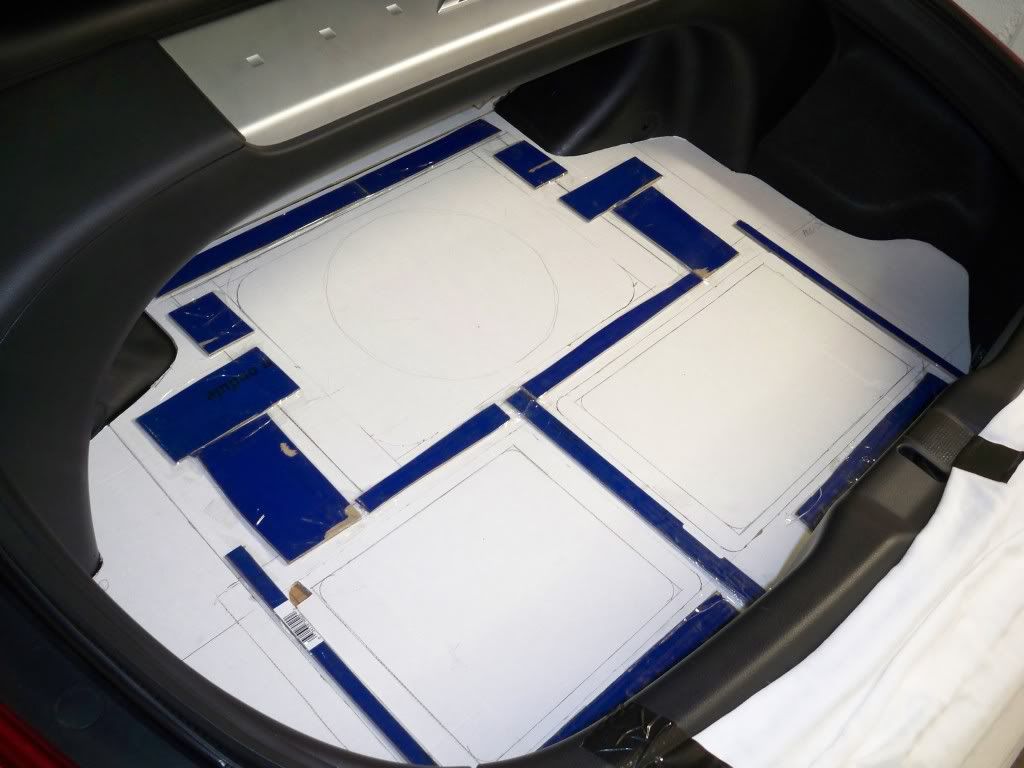
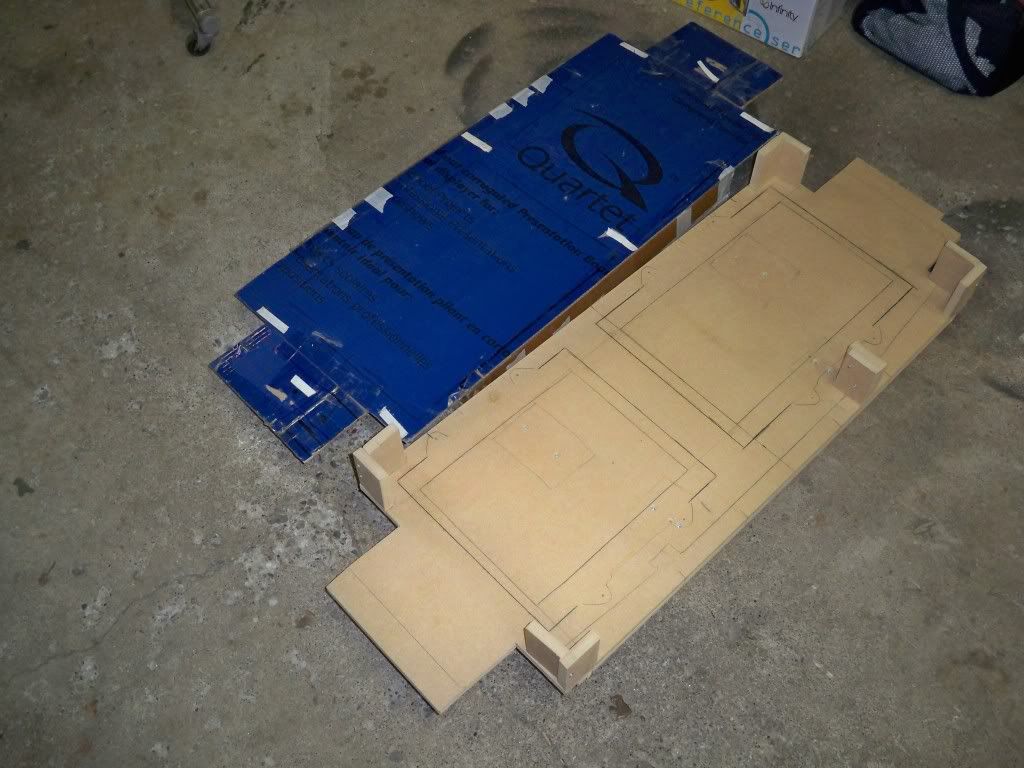
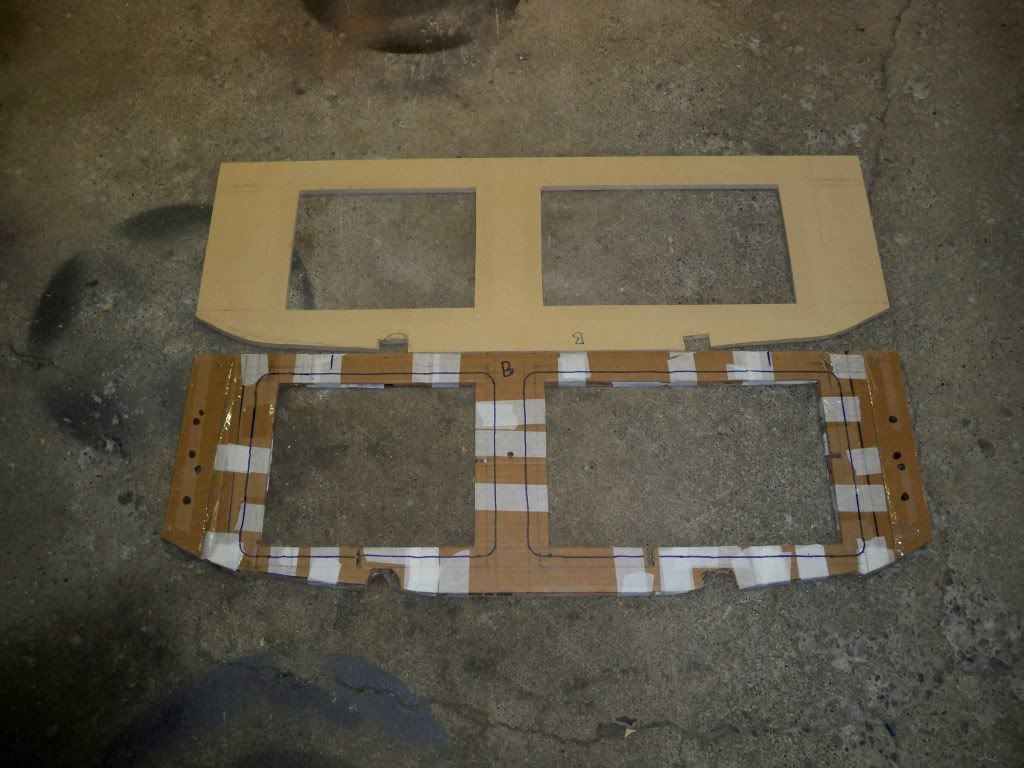
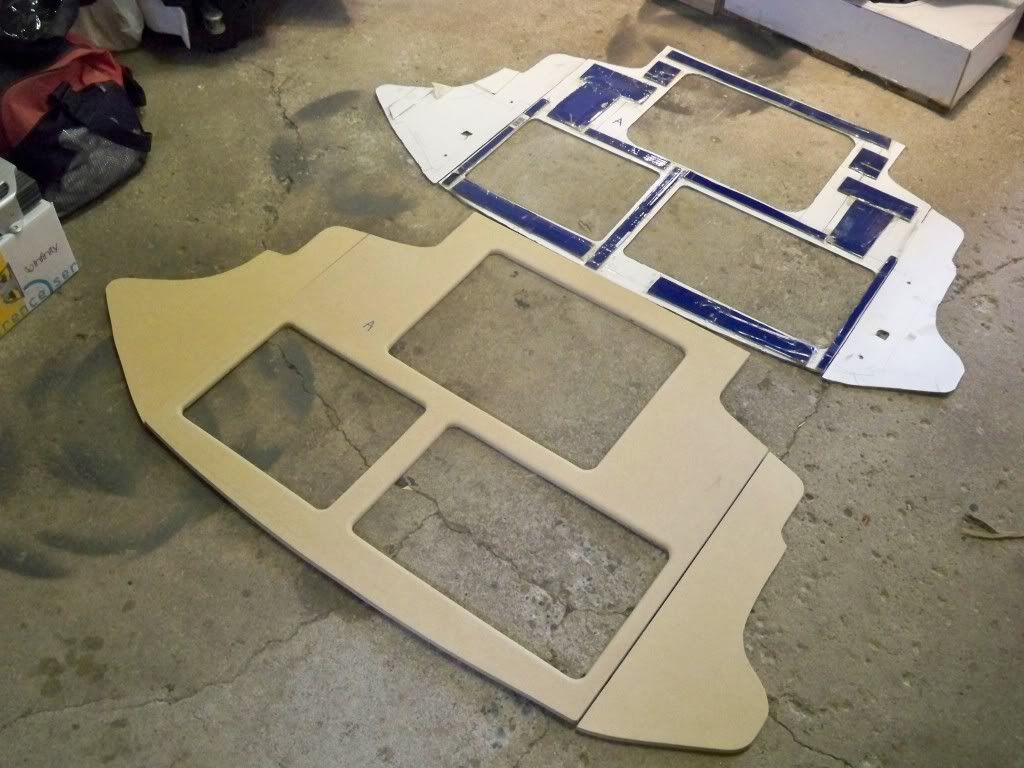
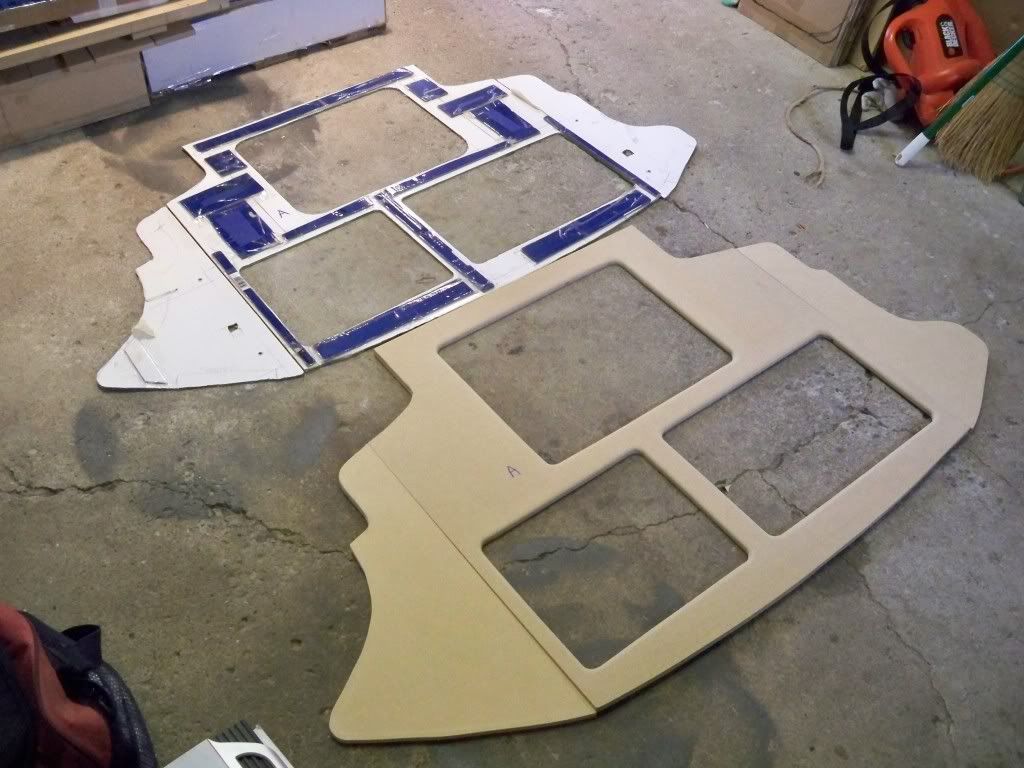
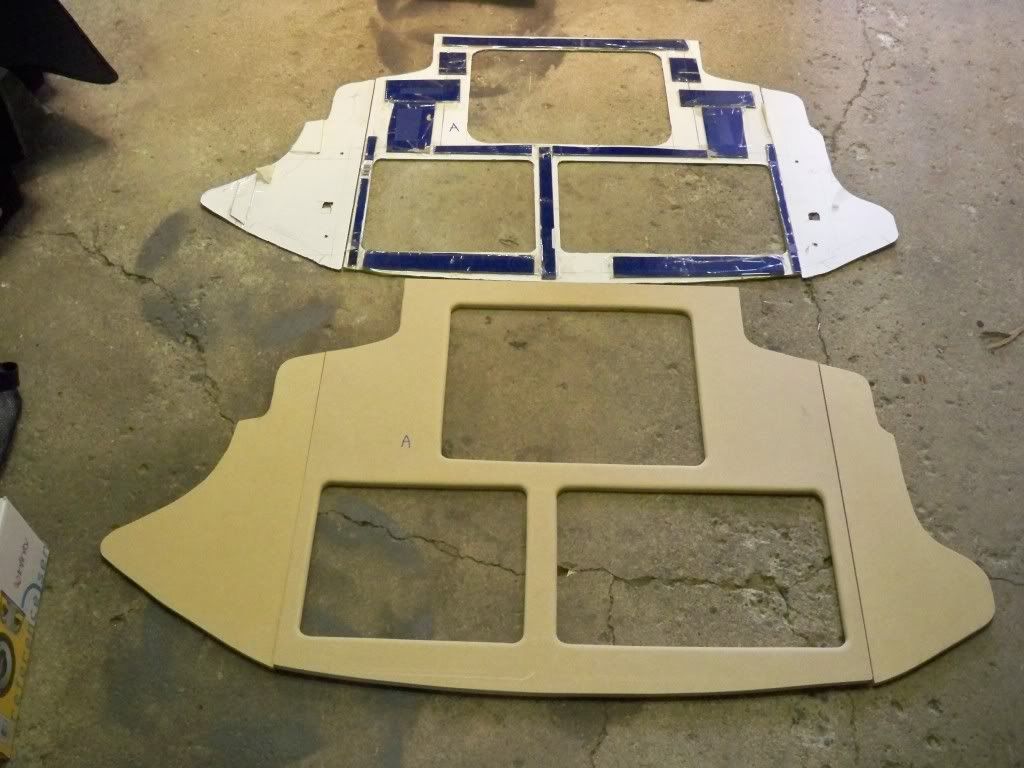
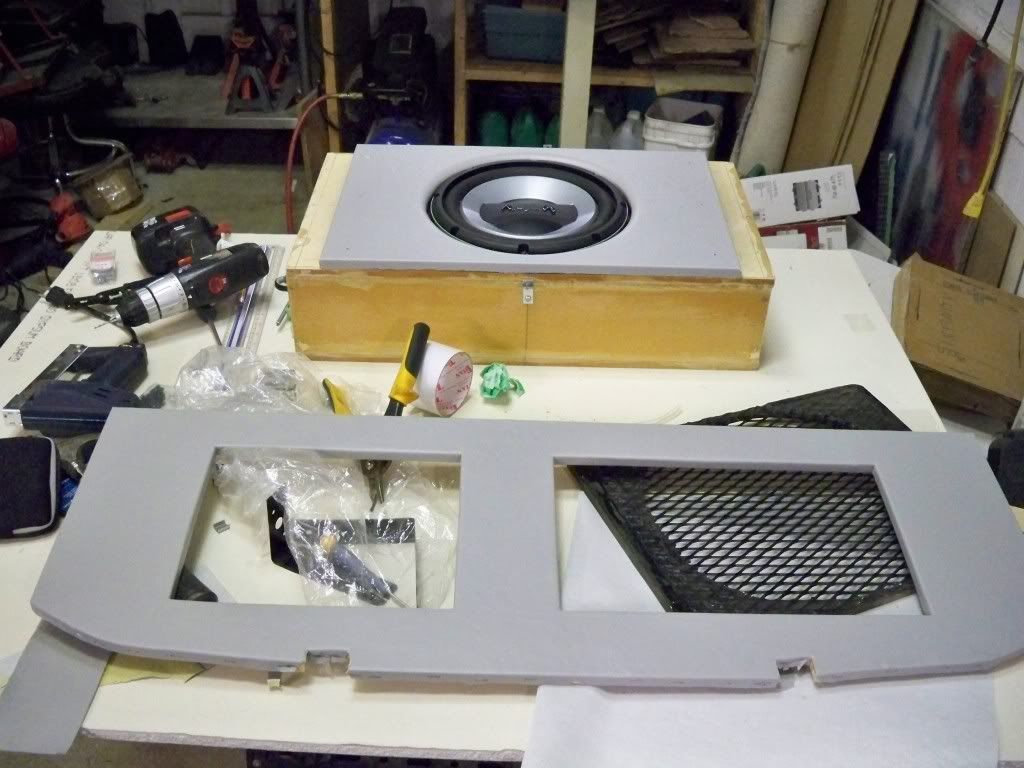
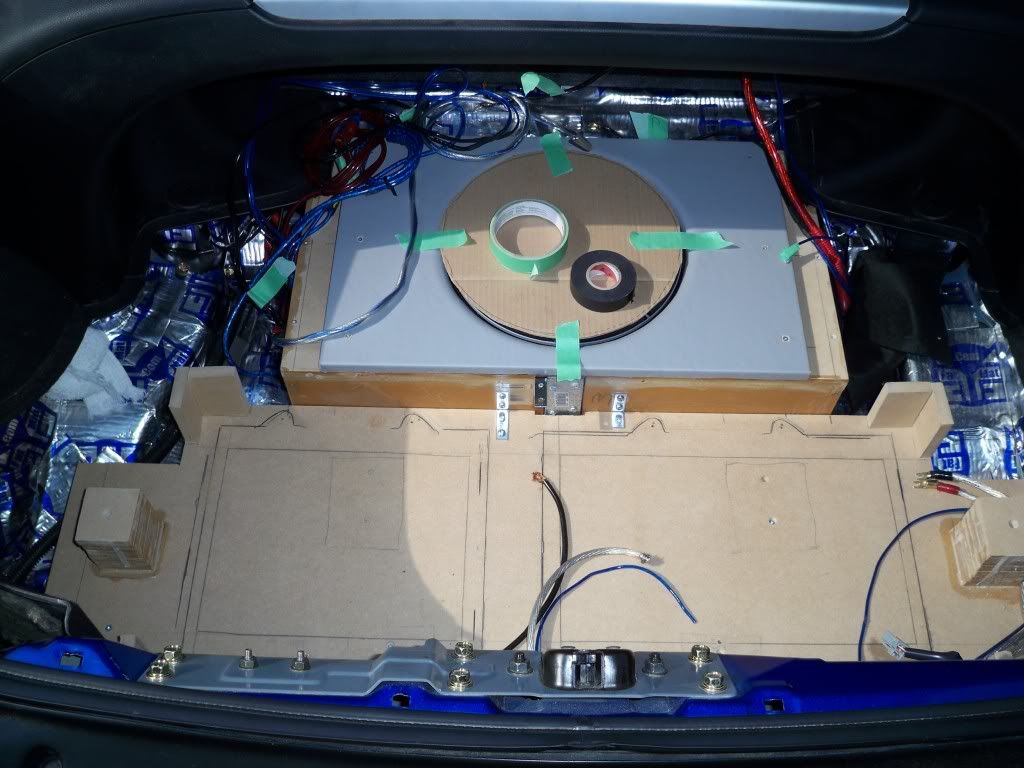
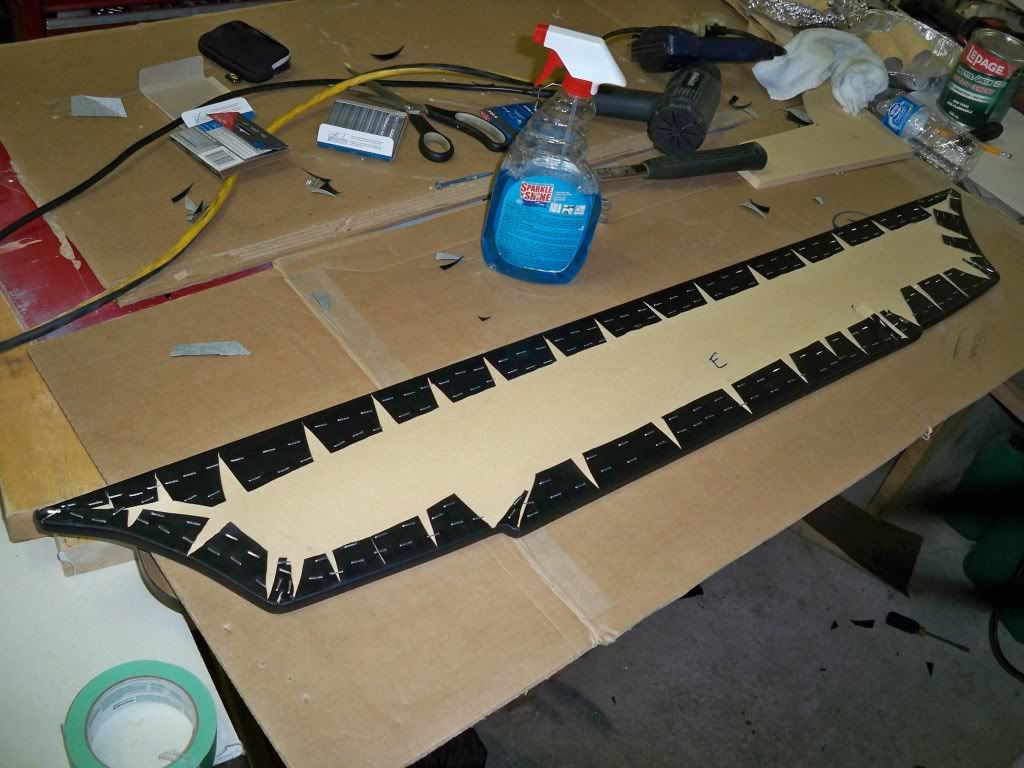
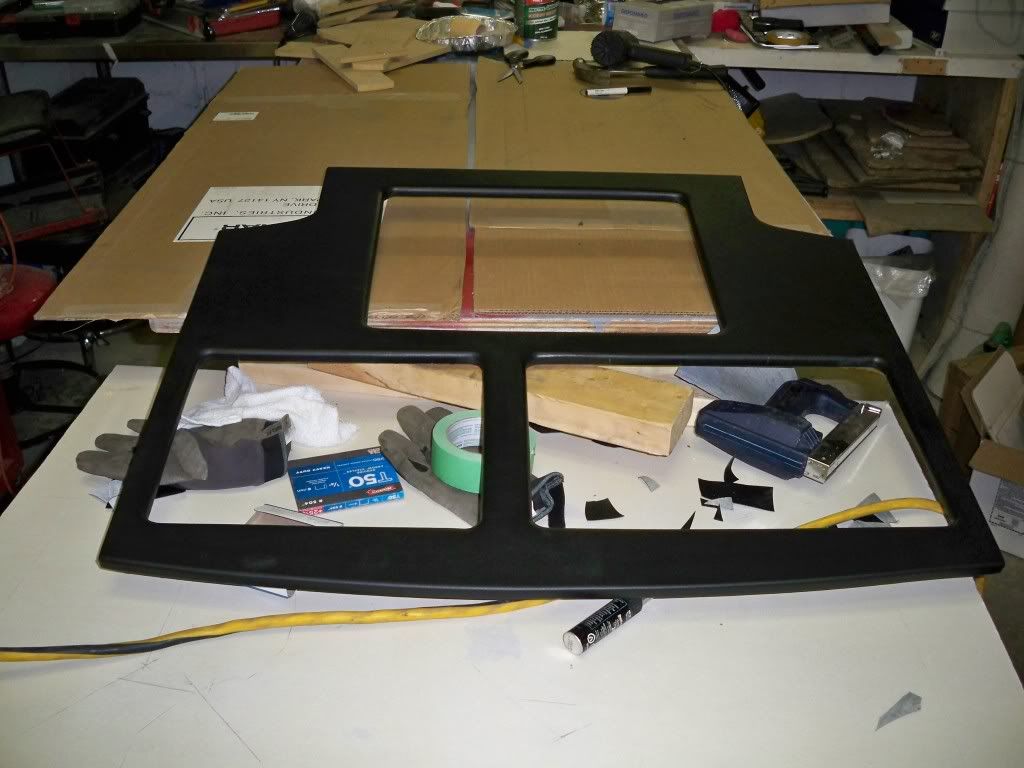
sub and amp trim rings. See the blue lines, the inside or the part closer to the amps and subs will be see when the final trim panel is on. I am thinking of making the this inside part silver, the rest will be black. The outside part will support the final trim panel or false floor panel.
amps in
sub and amp trim rings. See the blue lines, the inside or the part closer to the amps and subs will be see when the final trim panel is on. I am thinking of making the this inside part silver, the rest will be black. The outside part will support the final trim panel or false floor panel.

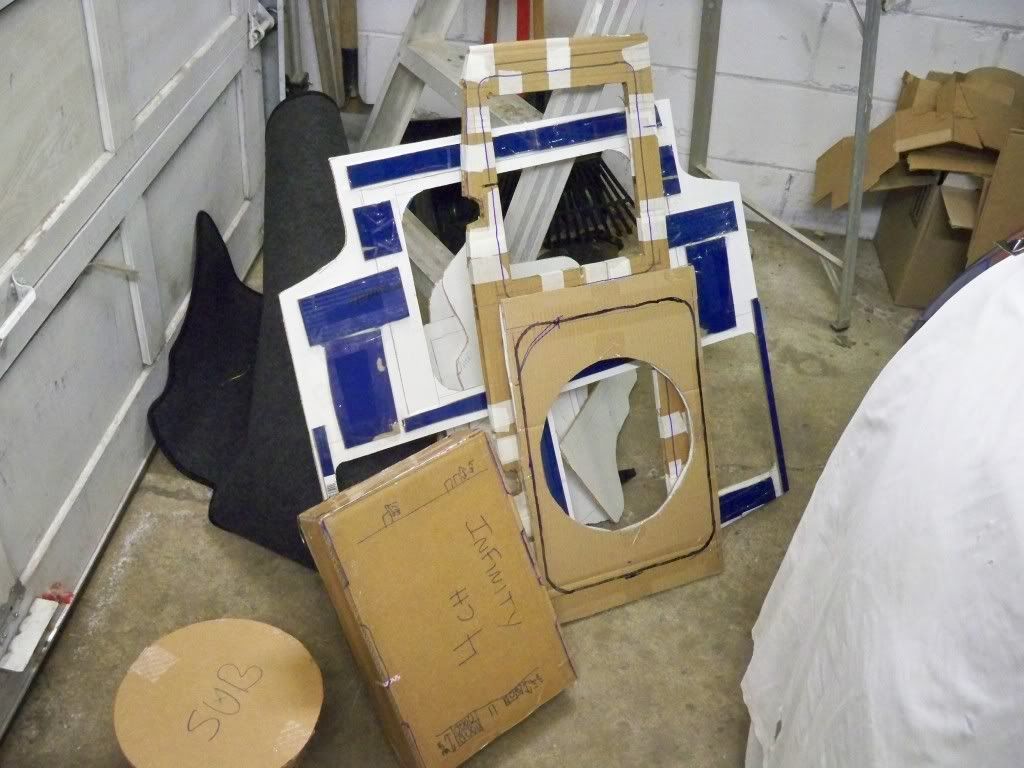
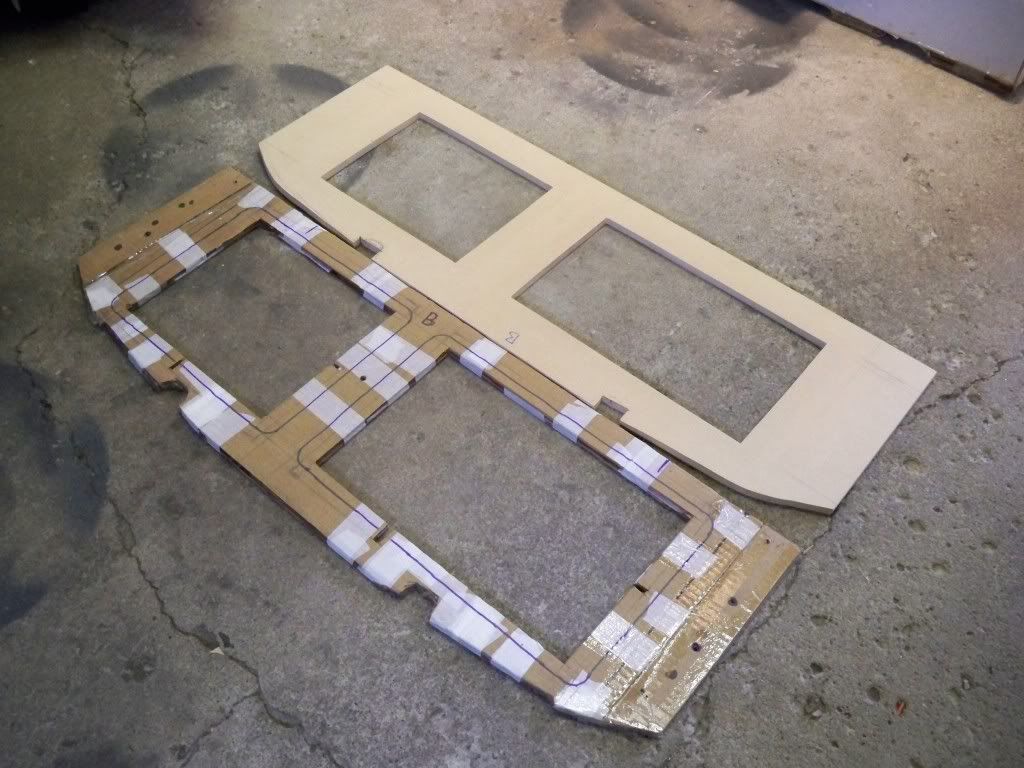
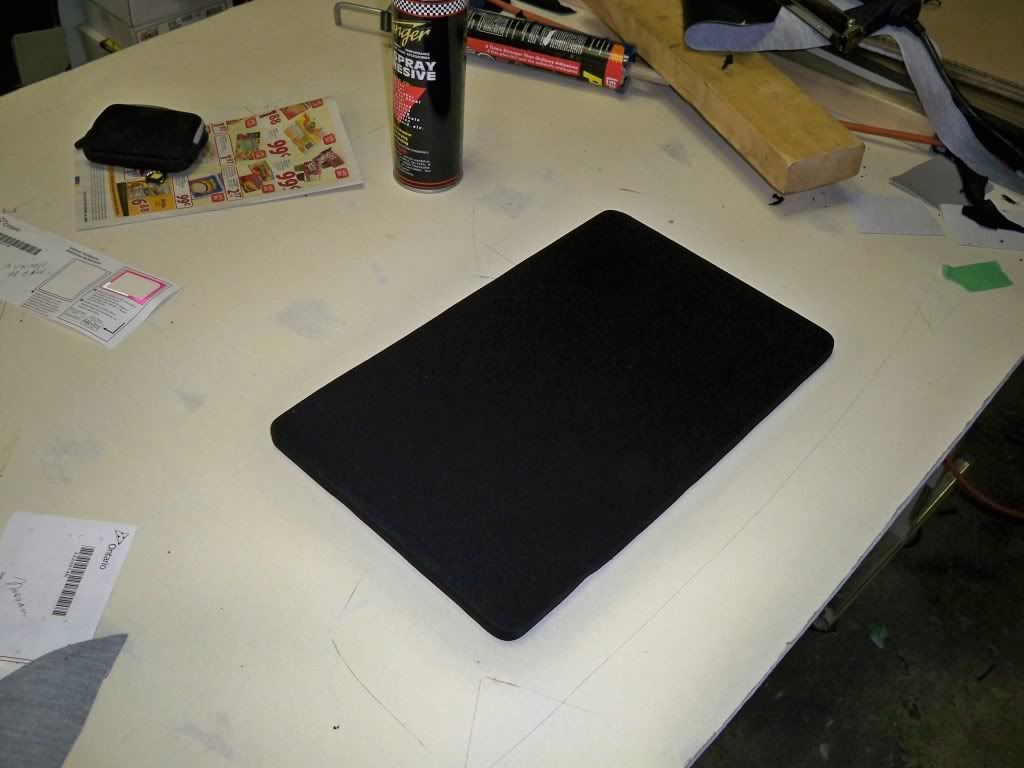
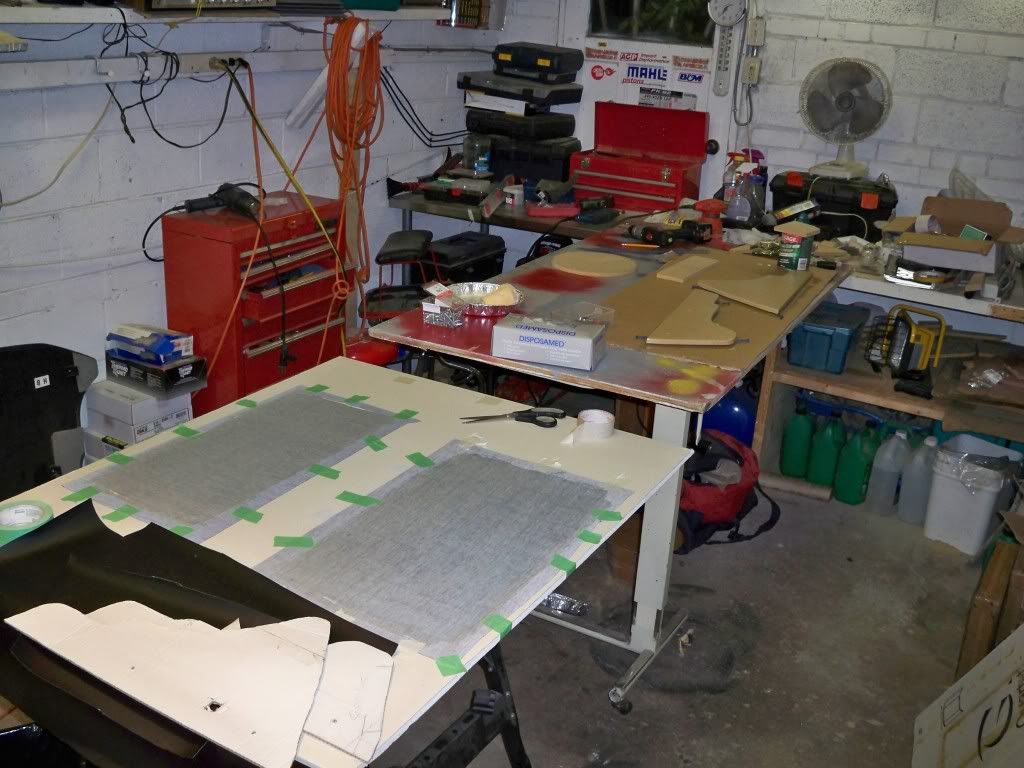
The false floor, or top trim panel. -- With a rounded inner edge.
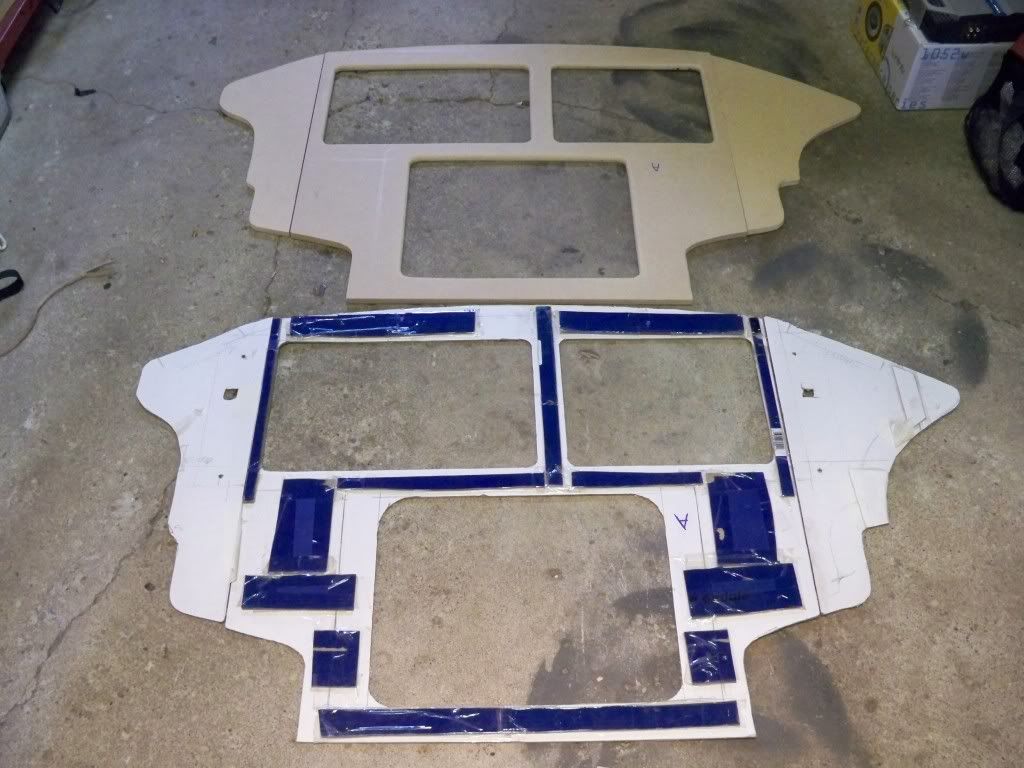
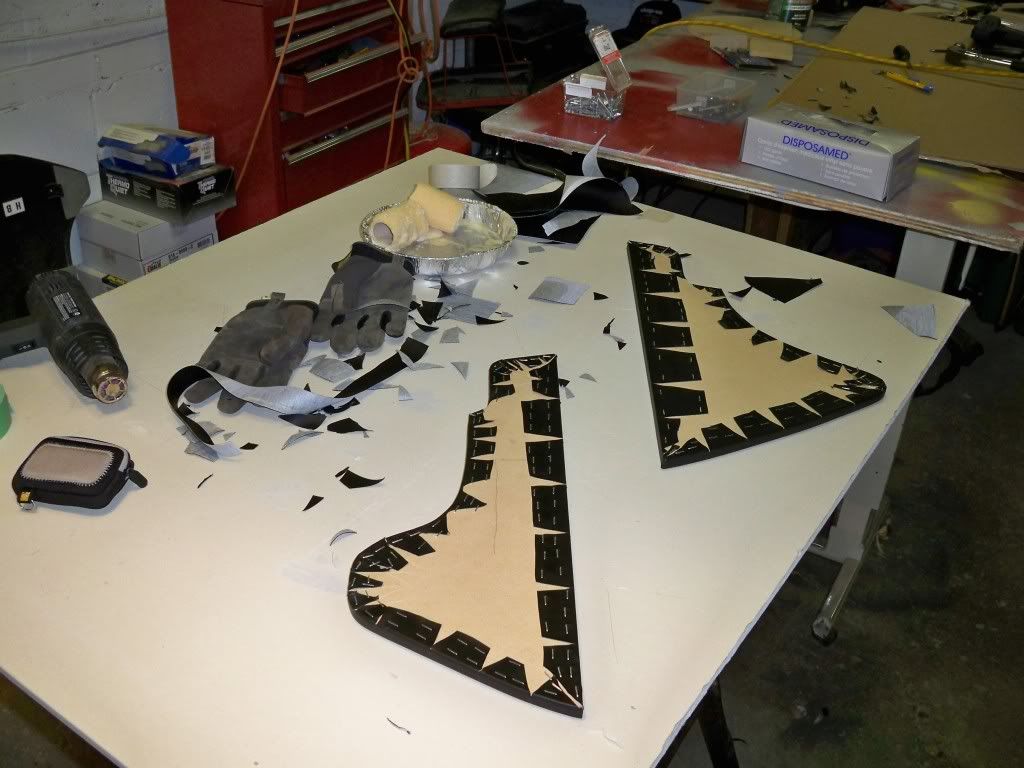
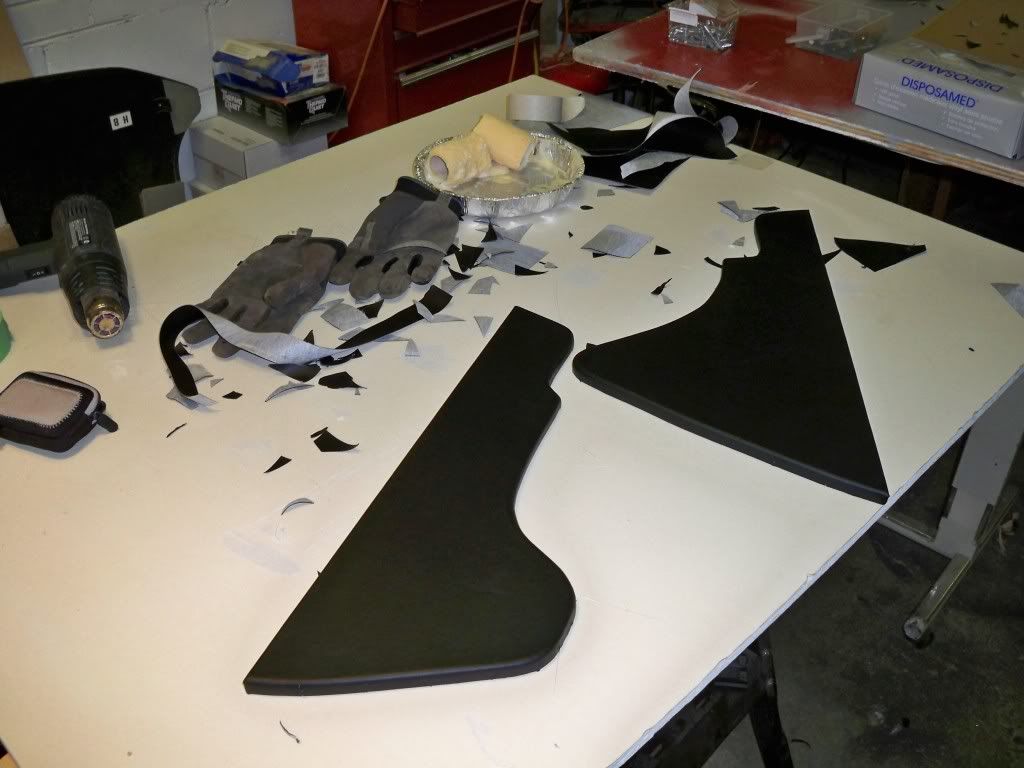
The filler panels, so i can put weigh over the amps and sub when using the trunk/hatch.
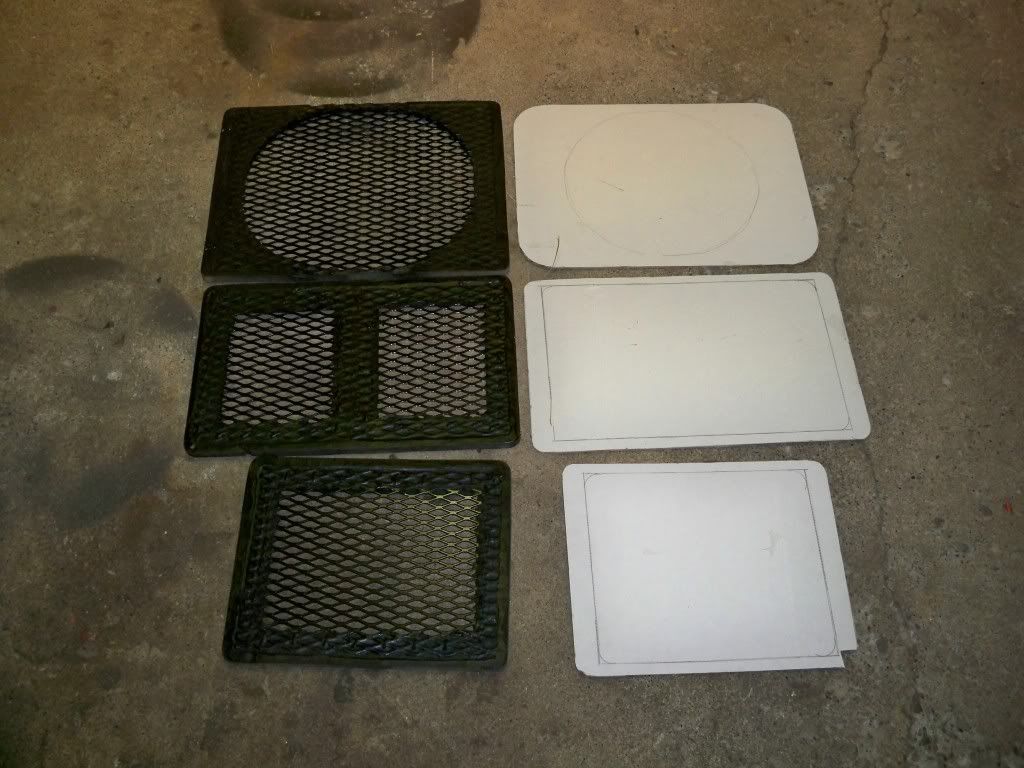
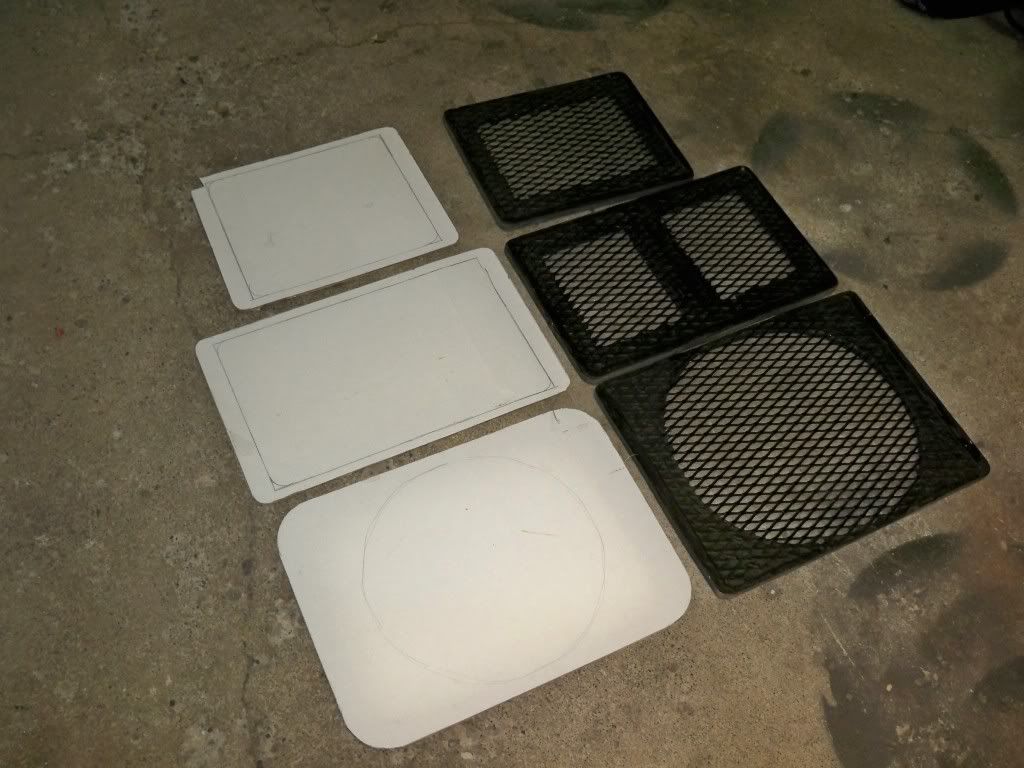
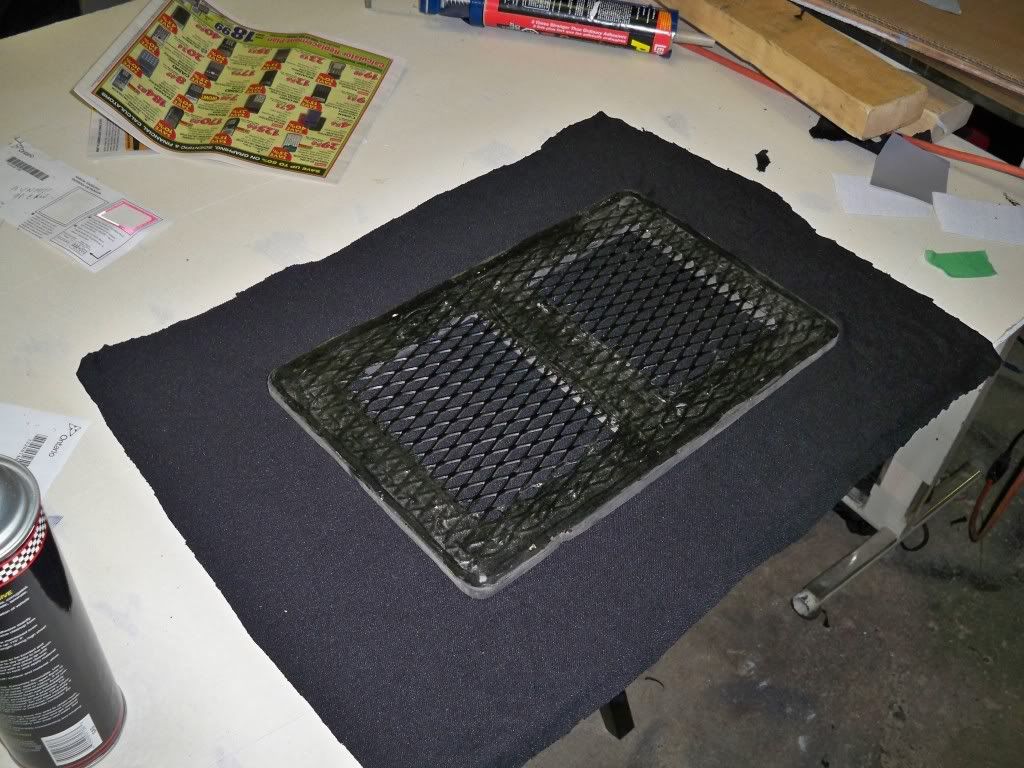
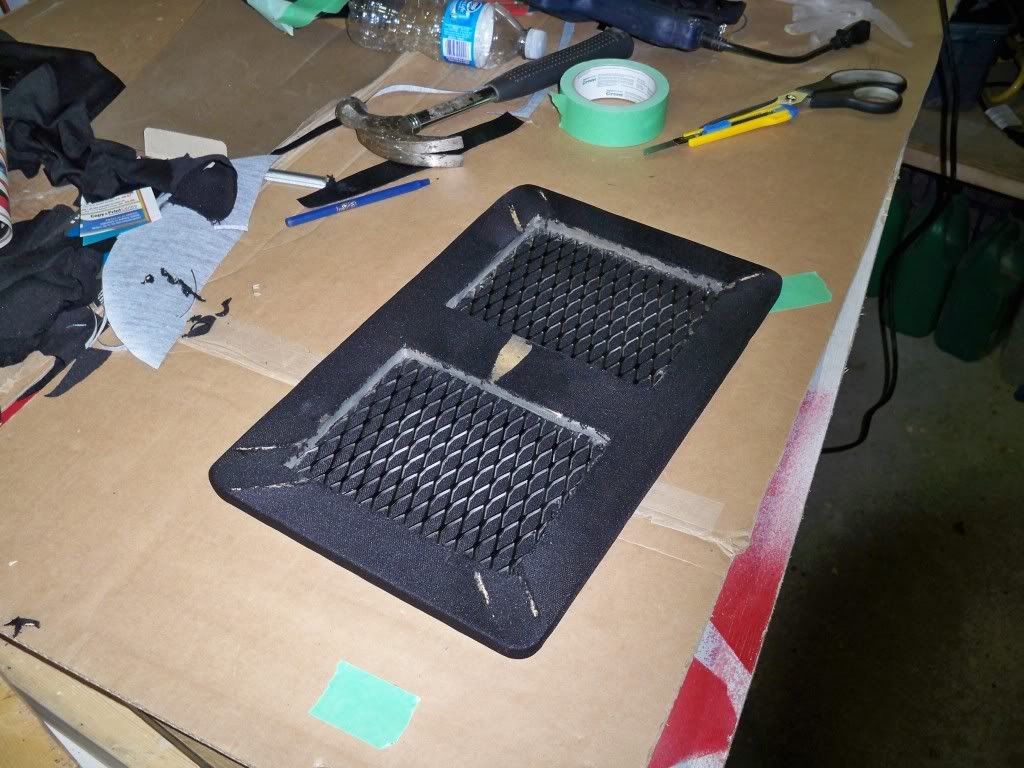
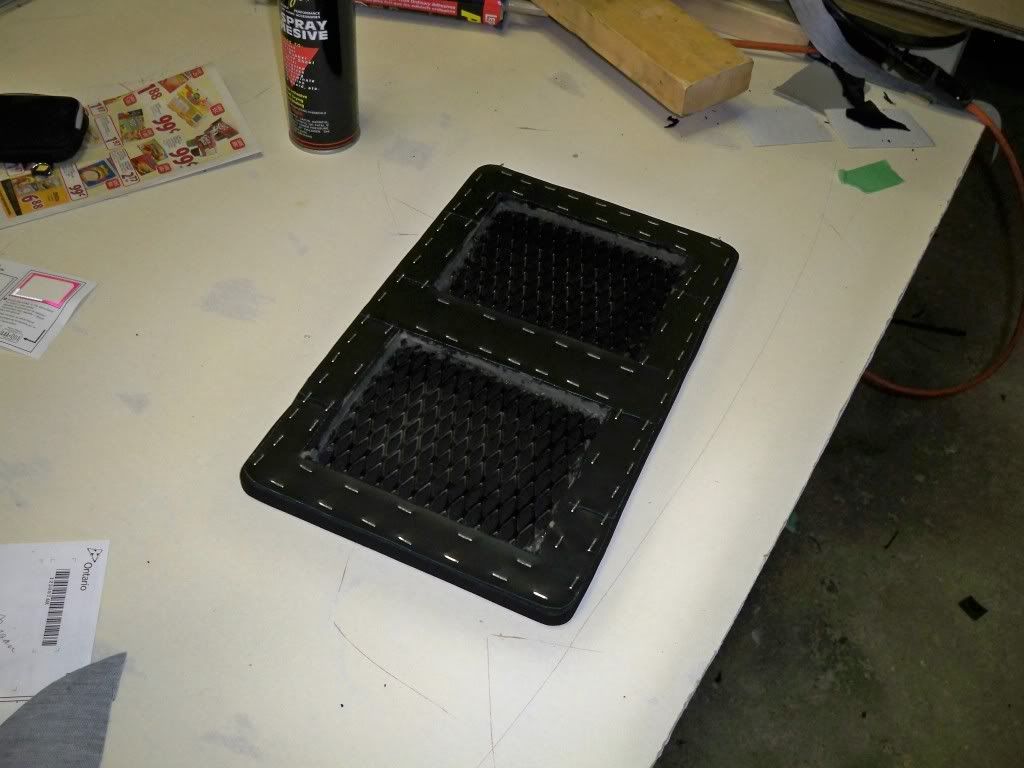
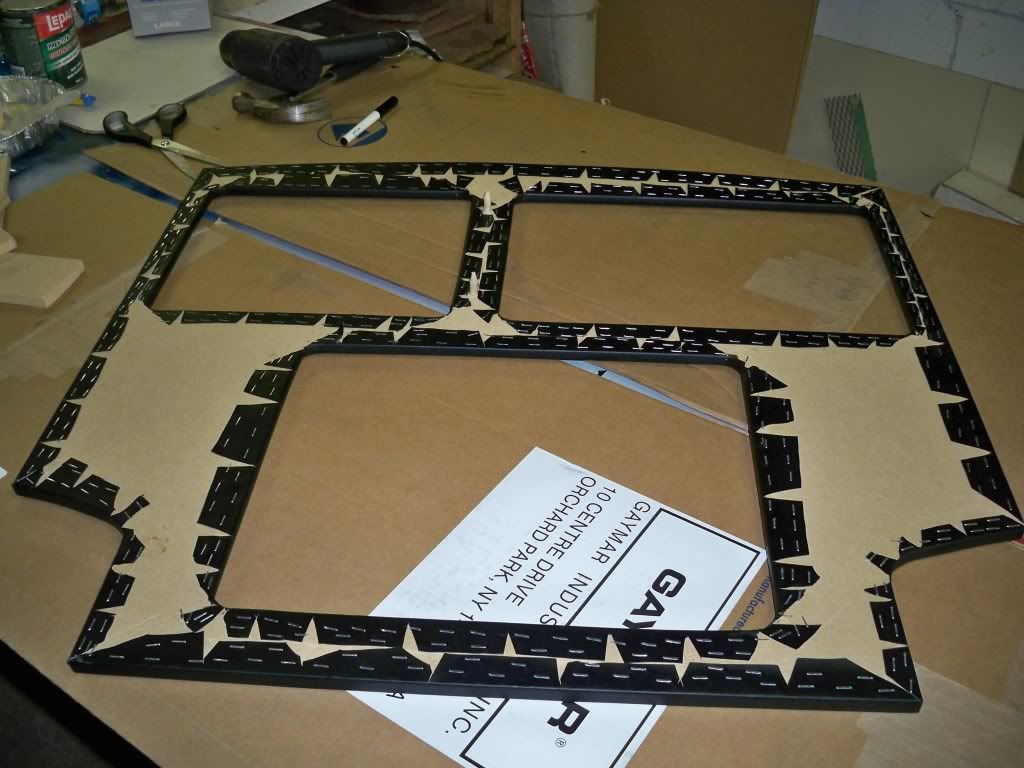
I used a rotor to remove MDF so i could counter sink the metal mesh. I stapled then used cocking to secure the mesh. Then i painted it all black.
MORE UPDATES SOON
The filler panels, so i can put weigh over the amps and sub when using the trunk/hatch.
I used a rotor to remove MDF so i could counter sink the metal mesh. I stapled then used cocking to secure the mesh. Then i painted it all black.
MORE UPDATES SOON

Dammmn finally an update  cant wait to see the final product =)
Those cuts look professional, only thing though, arnt you worried about a flat/blow out tire and no way of getting home with out a spare?
cant wait to see the final product =)Those cuts look professional, only thing though, arnt you worried about a flat/blow out tire and no way of getting home with out a spare?
true about the spare, Ive had one flat in the past 10 years so iam taking a calculated risk. If i get a flat and i am close to home i will call someone to get my spare, or call CAA for a flat bed. If i am really stuck i will use the can of tire sealer i have.
How much are run flats these days?
UPDATE: September 1st 2009
For added strength I coated the sub box with fiberglass resin.
I painted the front the will be seen black.
Rapped the amp trim panel and sub trim panel in grey vinyl.
An idea of what it will look like.
I didn’t want to drill any holes in the cars floor so I came up with a way to avoid it.
I made a bracket to attach the sub box to the spare tire mount. On the other side of the box I used a bracket and a screw into the metal, but not the floor.
The amp “rack, or mounting platform” is attached to the car using 3 brackets that I bent and cut, bolted to existing mounting points.

The other side is screwed into the box.
For added strength I coated the sub box with fiberglass resin.
I painted the front the will be seen black.
Rapped the amp trim panel and sub trim panel in grey vinyl.
An idea of what it will look like.
I didn’t want to drill any holes in the cars floor so I came up with a way to avoid it.
I made a bracket to attach the sub box to the spare tire mount. On the other side of the box I used a bracket and a screw into the metal, but not the floor.
The amp “rack, or mounting platform” is attached to the car using 3 brackets that I bent and cut, bolted to existing mounting points.
The other side is screwed into the box.
Last edited by XERMAN2001; Sep 1, 2009 at 04:28 PM.
UPDATE SEPT 21ST --------- THE AUDIO PROJECT IS FINALLY DONE!!!!!!!!!!!!!!!!!!!!!!!!!!!!!!!!!!!
amps installed and wired
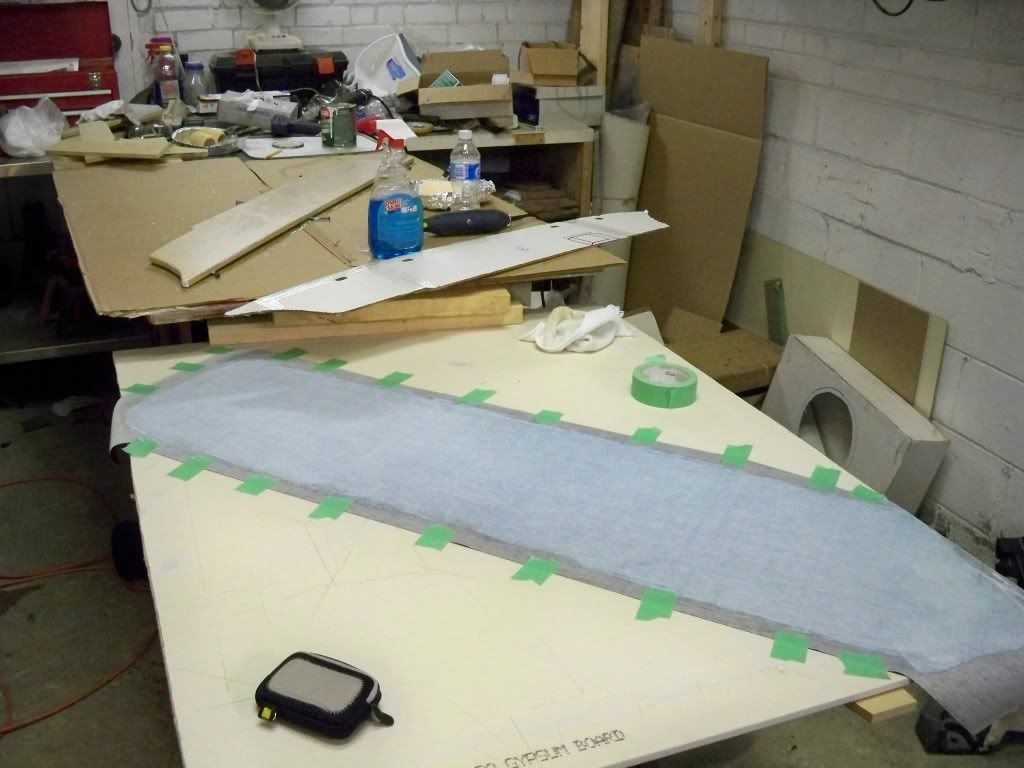
time to wrap the grills/covers in speaker cloth.
The cloth is glued to the mdf on the back, then i stapled black vynal on top of that.
amps installed and wired
time to wrap the grills/covers in speaker cloth.
The cloth is glued to the mdf on the back, then i stapled black vynal on top of that.
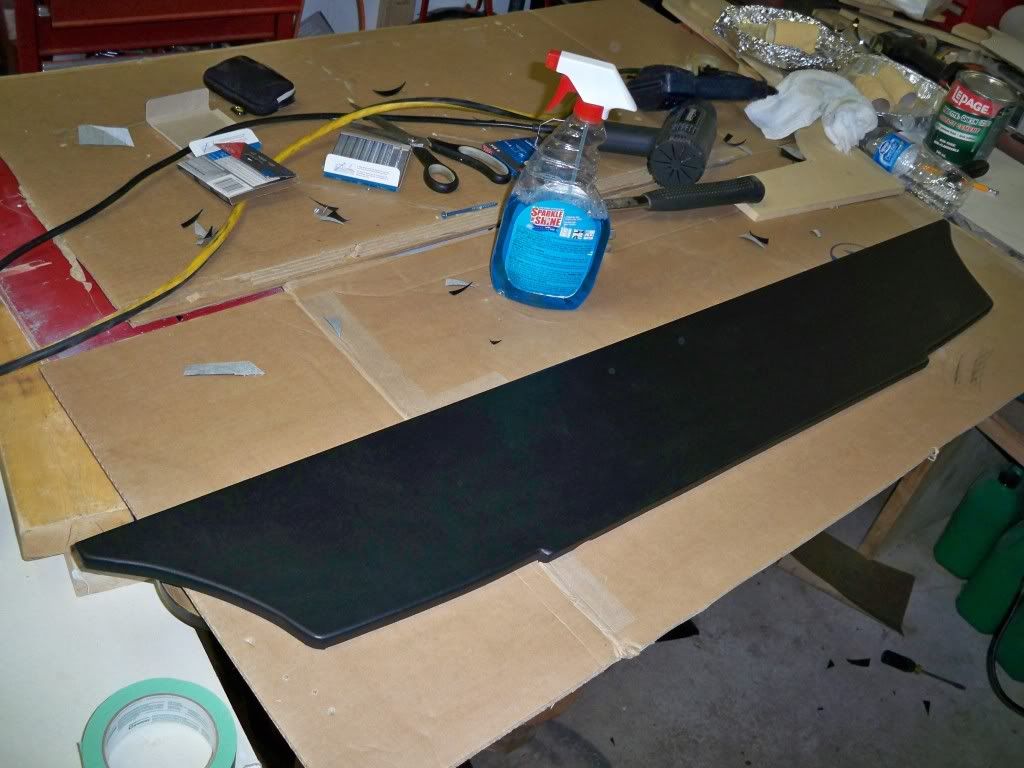
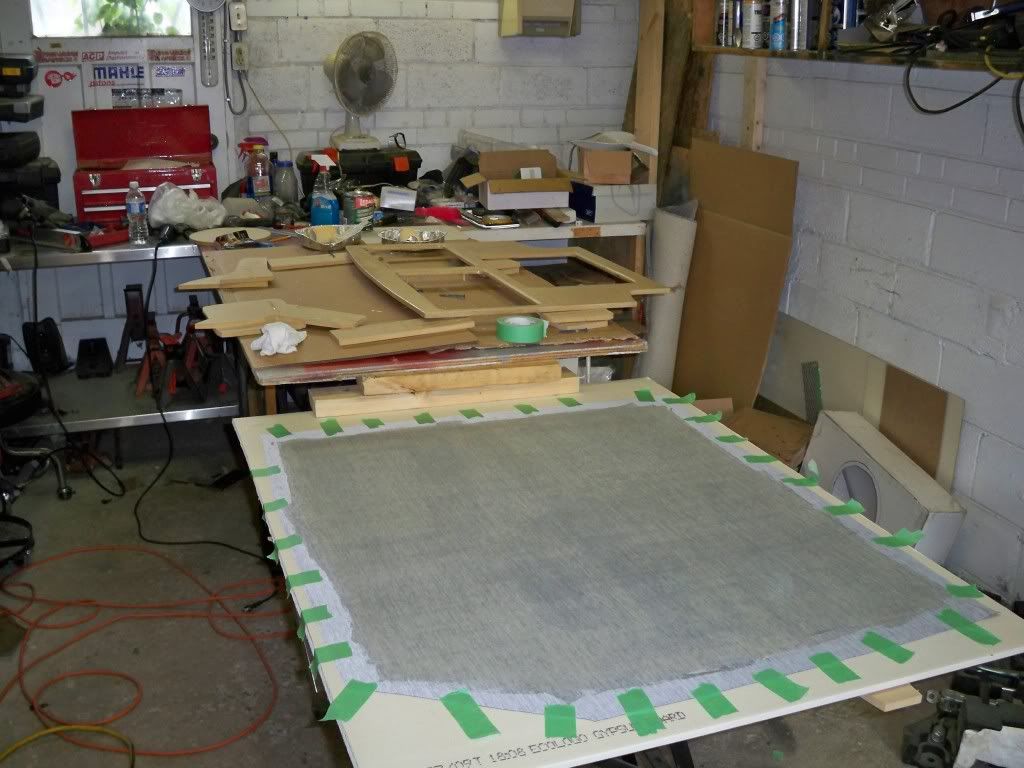
onto the vinyl, time to wrap it.
i used water based contact cement to adhere the vinyl to the MDF. Then i used a heat gun to wrap it around and staple it to the back.
top piece done
----------
sides
sides done
----------
middle

middle piece done --- this piece was allot more difficult than the other 2
i used water based contact cement to adhere the vinyl to the MDF. Then i used a heat gun to wrap it around and staple it to the back.
top piece done
----------
sides
sides done
----------
middle
middle piece done --- this piece was allot more difficult than the other 2

