
Max Ground System 6-wire Kit REVIEW


Thread Starter
Registered User
Joined: Mar 2004
Posts: 235
Likes: 0
From: Atlanta, Georgia
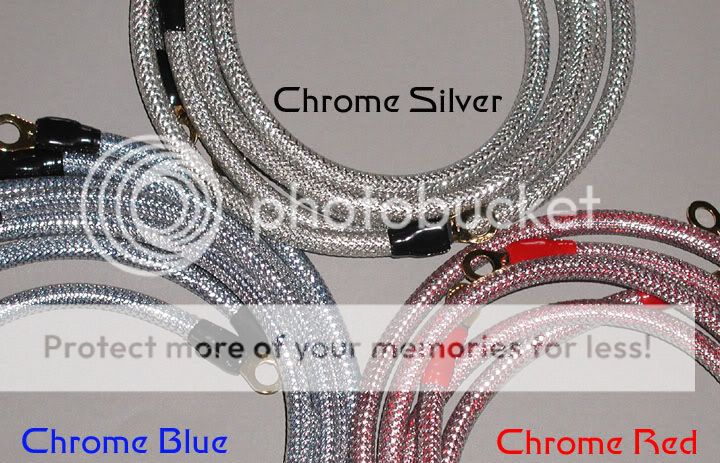
Ok, well first off I'd like to say that I went into this not expecting any night and day improvements. What I was expecting was having fun under the hood, installing my first mod on my car and improving my idle. The package arrived and I took out the wires and full color directions. First off, I thought the wires were going to be a dull grey, but they turned out to be somewhat metallic and shiny (good thing). The wires were thick and were put together very professionally. Second thing I noticed was all the wires were stamped with a number on the metal contact surface.
Next thing I did was take the directions, got in my car and drove to a mexican restaurant and had two pints of Budweiser and some texas fajita nachos while I mulled over the directions over and over. It seemed very straight forward except for the hood sensor part. Eventually I came to realize that my car either didn't have one or it wasn't very important in the process.
On with the install. It took me a little over one hour to do this and I was doing it in the dark with my roommate holding a flashlight under the hood so I could see (my stubborn *** HAD to do it at 8pm). The directions were simple and I never stumbled over anything. There are 4 bolts on the engine cover and the first three (upper left, lower left, lower right) were very easy to take off. The third one took me like 5 minutes to get off (upper right) because it was literally sitting right under the strut bar and had maybe an inch of clearance at most. I finally get it off somehow right before I was going to remove one side of the strut bar. When removing the engine cover, <b>make sure you don't lose any of the four spacers that are under it</b>. I removed the oil cap and was sliding the cover off the engine and the upper right spacer fell off and narrowly missed going in the engine!!!! YIKES! It landed in the protective pan under the engine and I easily recovered it (thank God). The rest of the install was a piece of cake. Very straight forward.
Ok, driving impressions. After making sure all the bolts were tightened, tools were collected, bolts that came with the kit were in the box, and the oil cap was back on, I jumped in the car for a spin.
1) Engine start - Didn't notice anything here, because I wasn't sure what to look for. Anybody know exactly the grounding wires were supposed to do??
2) Initial idle with car nearly at operating temp - All I have to say here is WOW. The car didn't even feel like it was on. I always got little sputters in the engine (not sure what the technical term for this is) while idling with the car warmed up at a light or parked, etc. The kit smoothed out the idle SO VERY MUCH. Night and day differences and truly blew me away.
3) Throttle response - Not sure if it was just me being excited over the extremely smooth idle, but I did notice that the throttle DID seem more responsive in 4th, 5th.
4) Idle after driving around for 10 minutes at a light at normal operating temp - Still smooooooooth as could be. Very, very happy with this outcome as it was the main reason I got the kit, besides making the engine look pretty.
5) Idle after HARD driving - This was my last test for the night. I drove her real hard and came back to the house and parked the car, and sat and listened.............near perfect. The idle was so close to being like it was before. There was very minor vibrations but that could have been from the stupid throw out bearing/clutch assembly after hard driving.
CONCLUSION: VERY good investment, awesome time installing it, greatly improved my idle during operating temps and after hard driving, more responsive throttle in 4th and 5th, excellent quality in the workmanship putting the wires together. Couldn't be more happy.
Now, time for another mod! Weeeeeee
Thanks for reading if you got this far

wow....i installed the same wires but i did not think there was much change in performance....maybe its becasue i installed them when i hardly had any miles on my car and so didnt have a good baseline reference
anyways, i agree the install was simple excpet for cutting that rubber thingy for the wire that goes to the battery
anyways, i agree the install was simple excpet for cutting that rubber thingy for the wire that goes to the battery
Thread Starter
Registered User
Joined: Mar 2004
Posts: 235
Likes: 0
From: Atlanta, Georgia
Actually, I didn't even cut a hole, I just put it under and it was fine. I really didn't think it was a big deal. The performance aspect was minimal, but the difference in operating temp idle was night and day imo.

ssc- the reason you didn't feel a change in performance was because you forgot to install the 2 pints of bud before installing the kit. I suggest removal of the kit, preinstallation of the bud, THEN reinstallation of the kit. The difference will be dramatic.
Thread Starter
Registered User
Joined: Mar 2004
Posts: 235
Likes: 0
From: Atlanta, Georgia
Originally Posted by jcpeyton
ssc- the reason you didn't feel a change in performance was because you forgot to install the 2 pints of bud before installing the kit. I suggest removal of the kit, preinstallation of the bud, THEN reinstallation of the kit. The difference will be dramatic.


Trending Topics
Thread Starter
Registered User
Joined: Mar 2004
Posts: 235
Likes: 0
From: Atlanta, Georgia
You would benefit from the 7-wire kit as the 6-wire is for MT. The 7th wire actually goes under the car and secures on a point on the transmission. I can't remember which site I got them from. I'll try and dig up the paperwork, but I paid around $100 shipped I think. Might have been less...it was a while ago.

Originally Posted by sluggoZ
Queens 350z...Courtesy has the 7 wire Max Ground Kit. $129.00 + & in 3 colors.


Queens_350z...What you can do is put on the 6 wires and the 7th wire take it to a nearby mechanic garage or call up places to see what they would charge? Make sure it's away from the hot exhaust. The connection wire to the battery, I drilled a hole thru the rubber grommet for a neat looking appearance. After reading the instructions go to the last page... it shows a numbered & lettered over-view of the entire set-up A for first placement & B for the other end placement...plus each wire is numbered...just keep analyzing that pic and it will make a big difference. It shows the whole set-up. lol
Thread Starter
Registered User
Joined: Mar 2004
Posts: 235
Likes: 0
From: Atlanta, Georgia
It's VERY easy....the only hard part was getting the upper right bolt on the engine cover...there's barely any room to get it out...keep the oil cap on until you get the screw out and make sure the spacers don't fall out either!


Thread
Thread Starter
Forum
Replies
Last Post
Lt_Ballzacki
Brakes & Suspension
39
Aug 6, 2021 06:19 AM