
DIY - Titek CF rad cooling plate


This really is the simplest thing to install next to an air freshener...mine just came in so was doing it anyway. Maybe this will help someone, in someway, sometime.
Tools needed:
Flat head screwdriver
Needlenose plyers
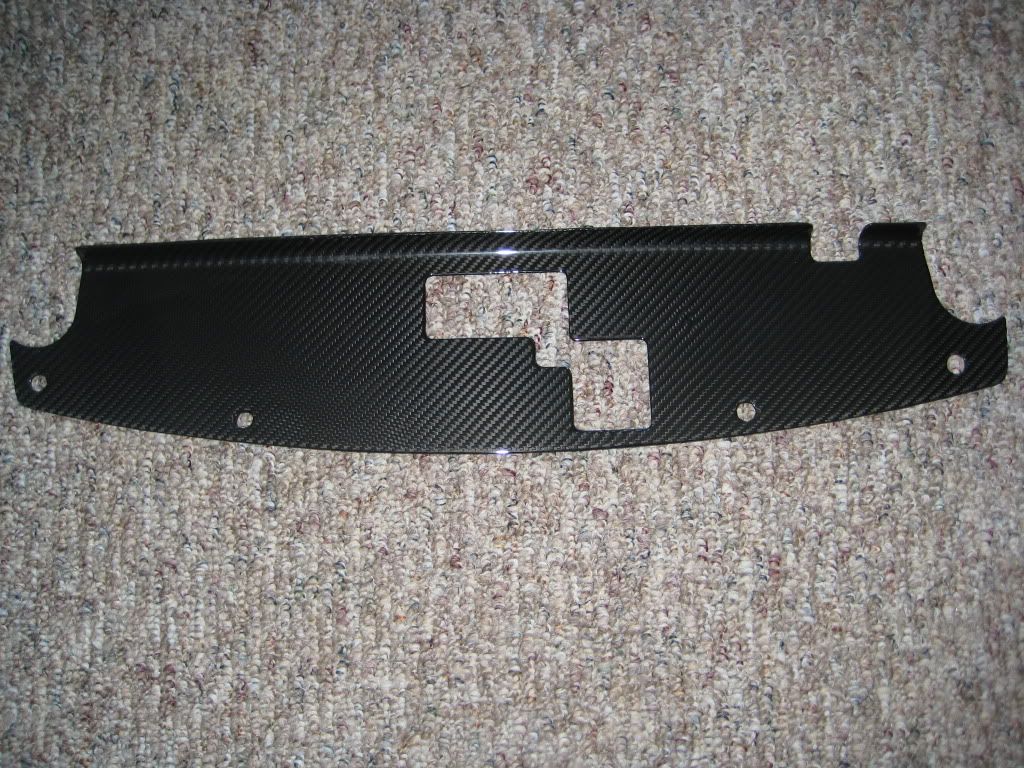
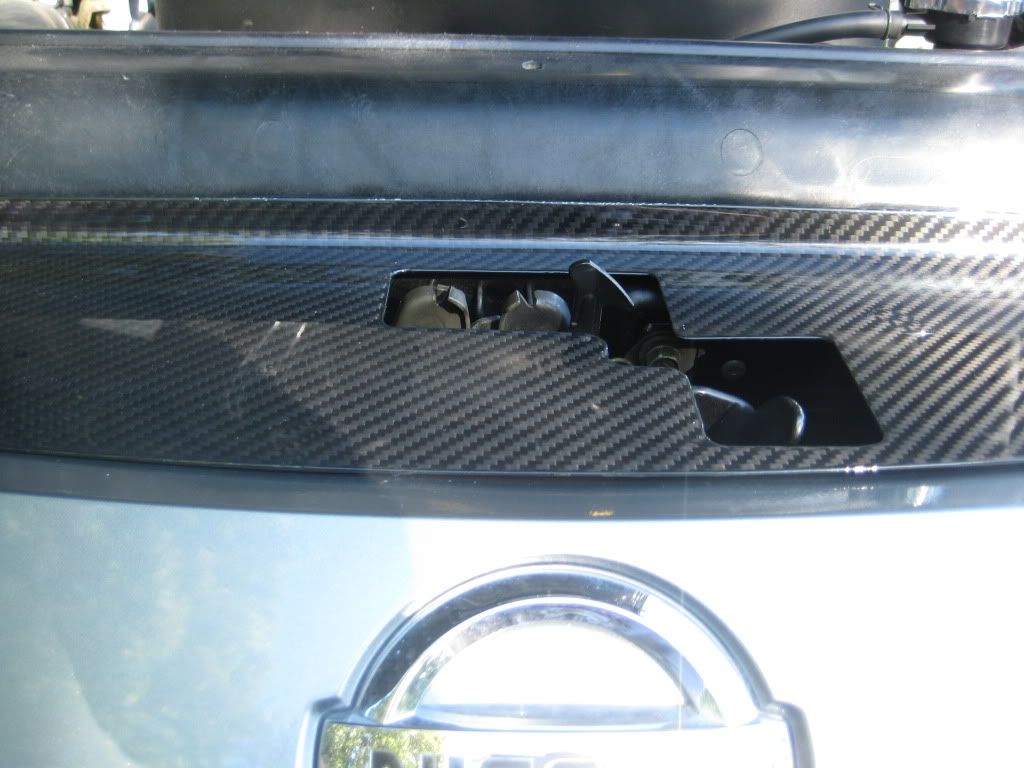
The part - titek cf rad cooling plate
Step 1:
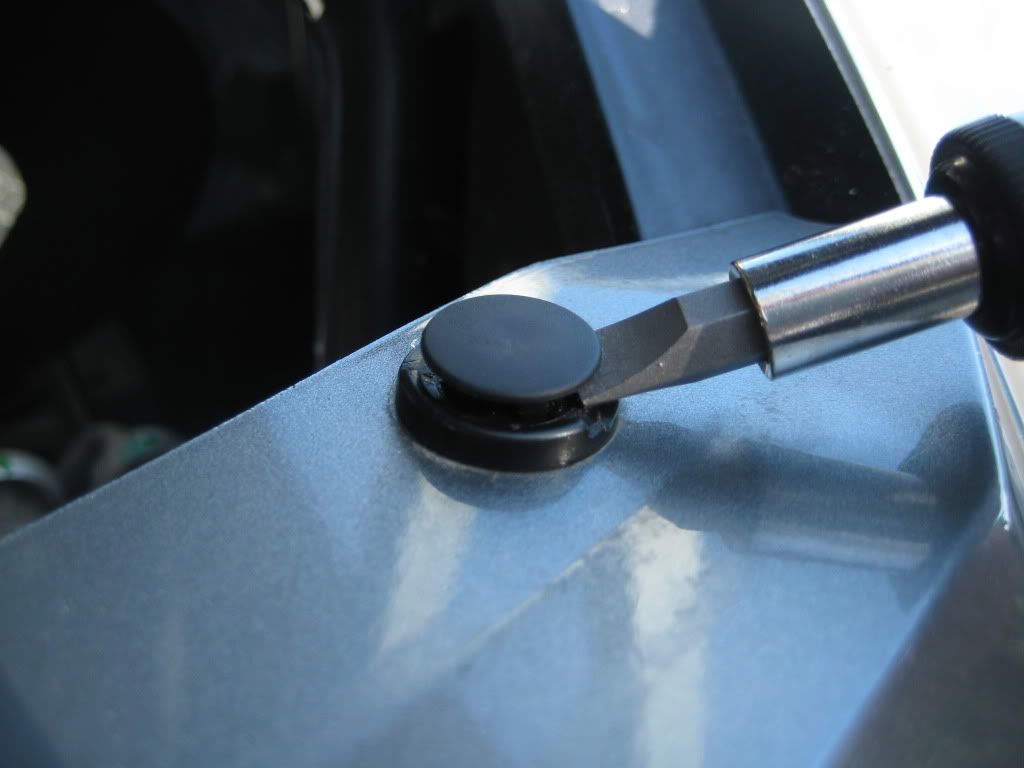
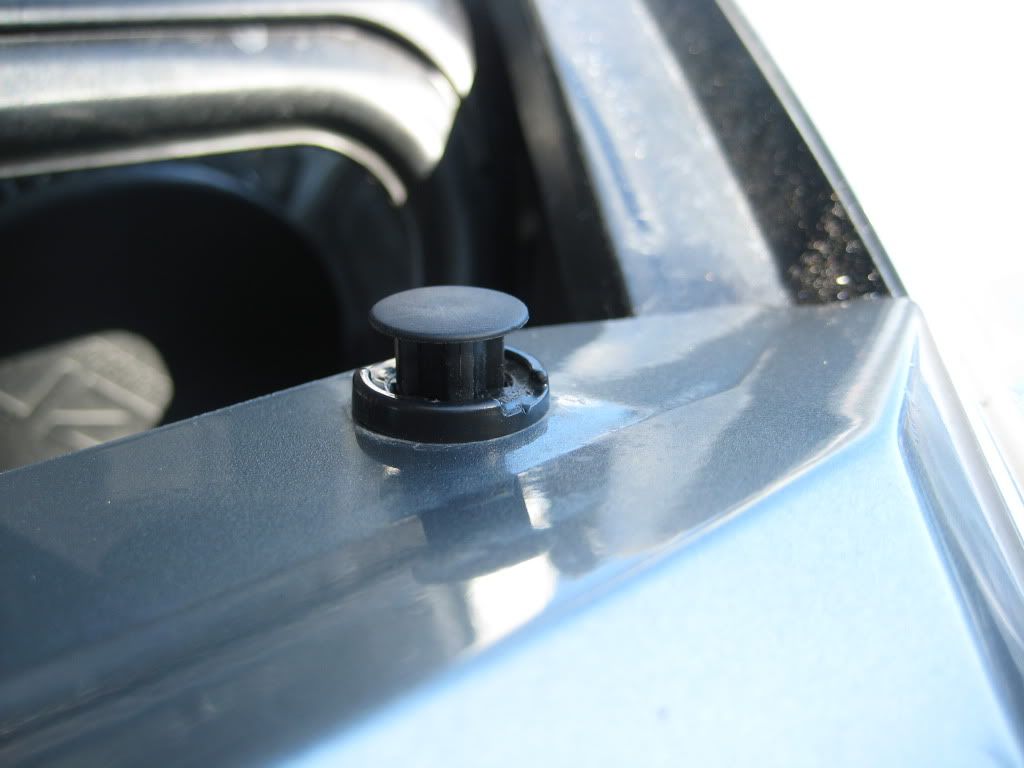
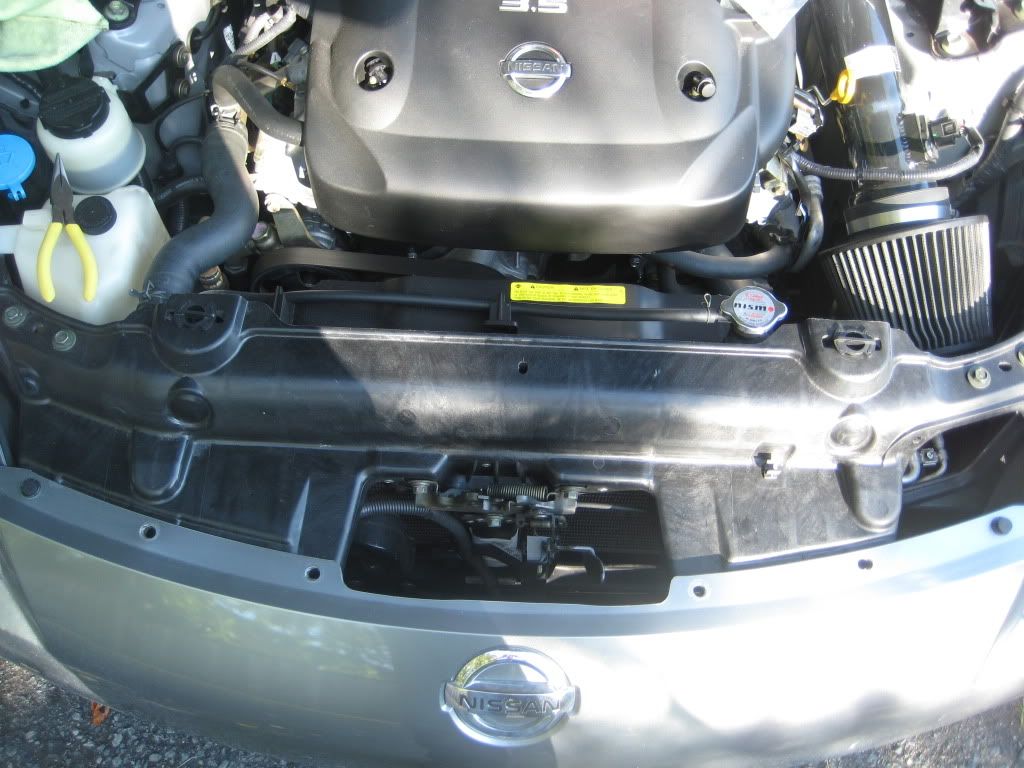
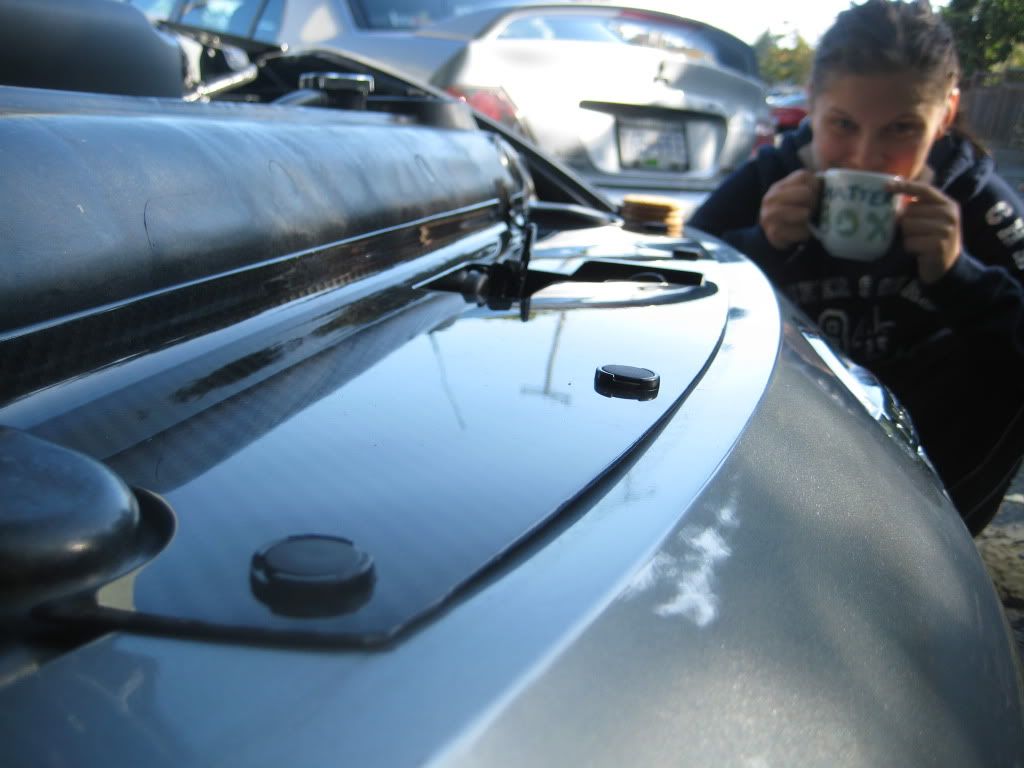
Remove the 4 center plastic circular tabs on the front bumper.
If you haven't removed these before, just take your flathead edge and get under the center circle and pry it up. Pull the center circle about 3/4's from fully up position, this will allow the tabs underneath room to pinch in when you pull up on the clip.
Step 2:
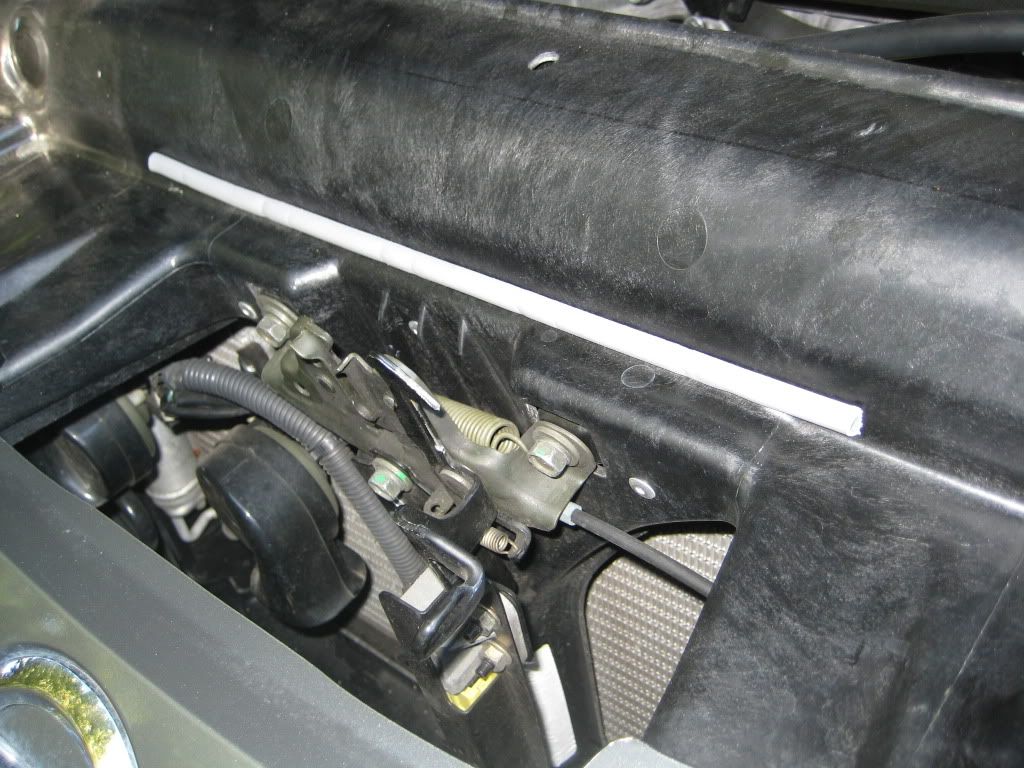
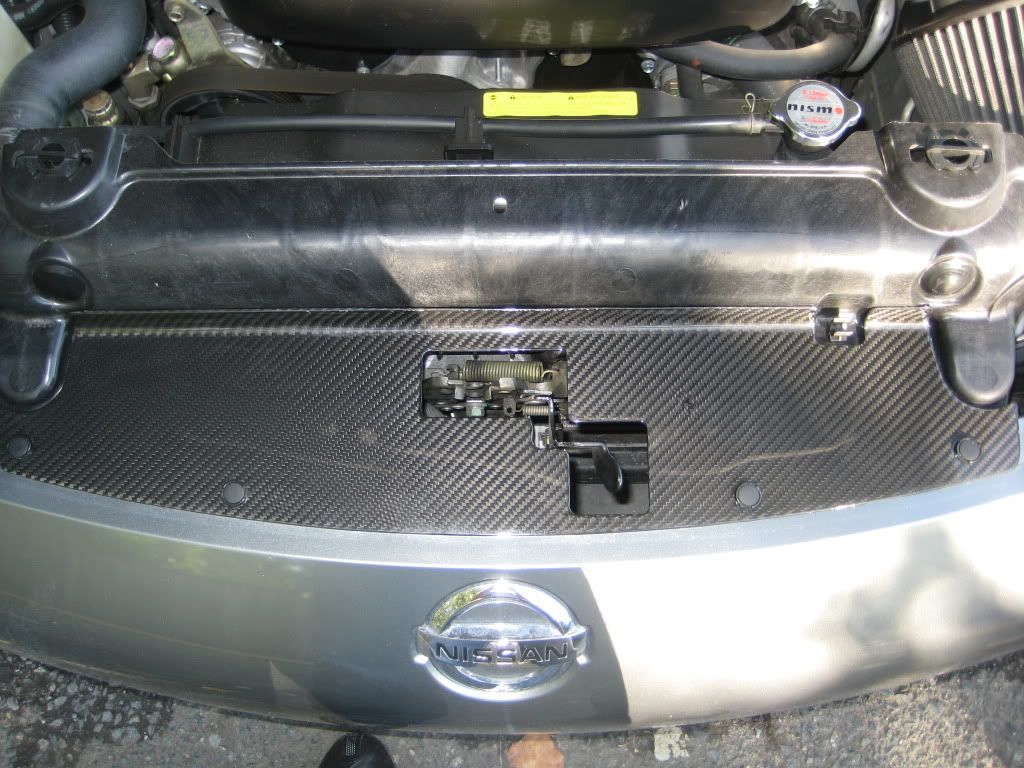
Place the cooling plate in the correct position.
The titek plate came with a piece of foam with glue strip on one side.
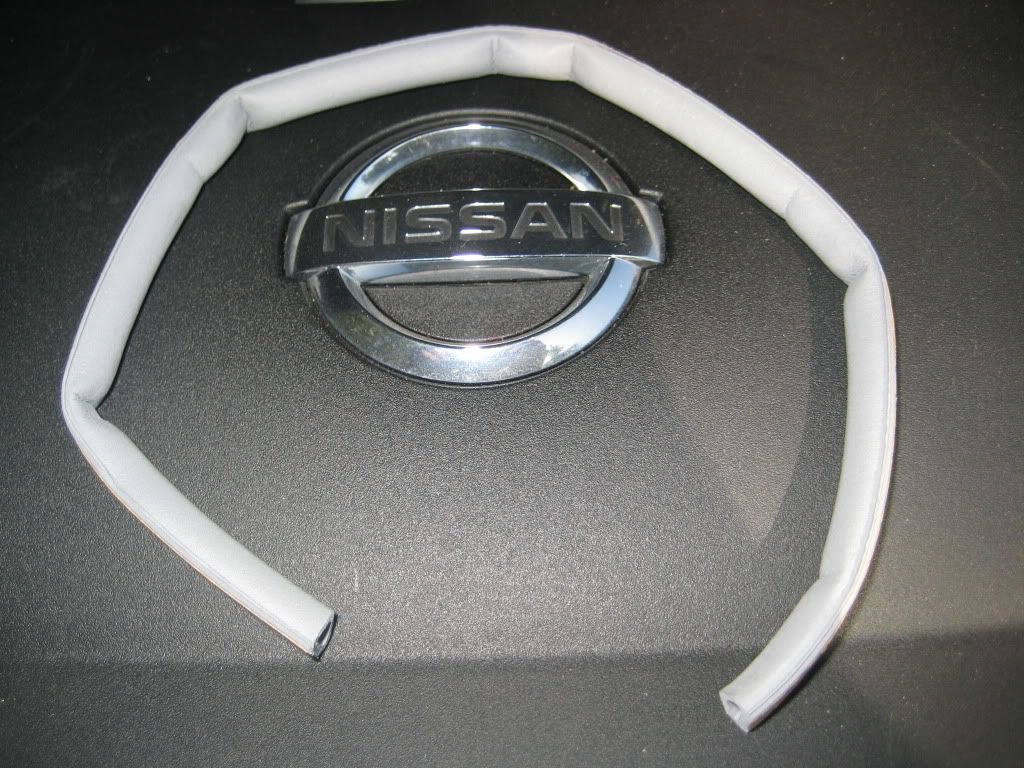
I placed this where the back of the plate contacts the body to reduce movement/rattle because the clips keep the front of the plate secure.
Step 3:
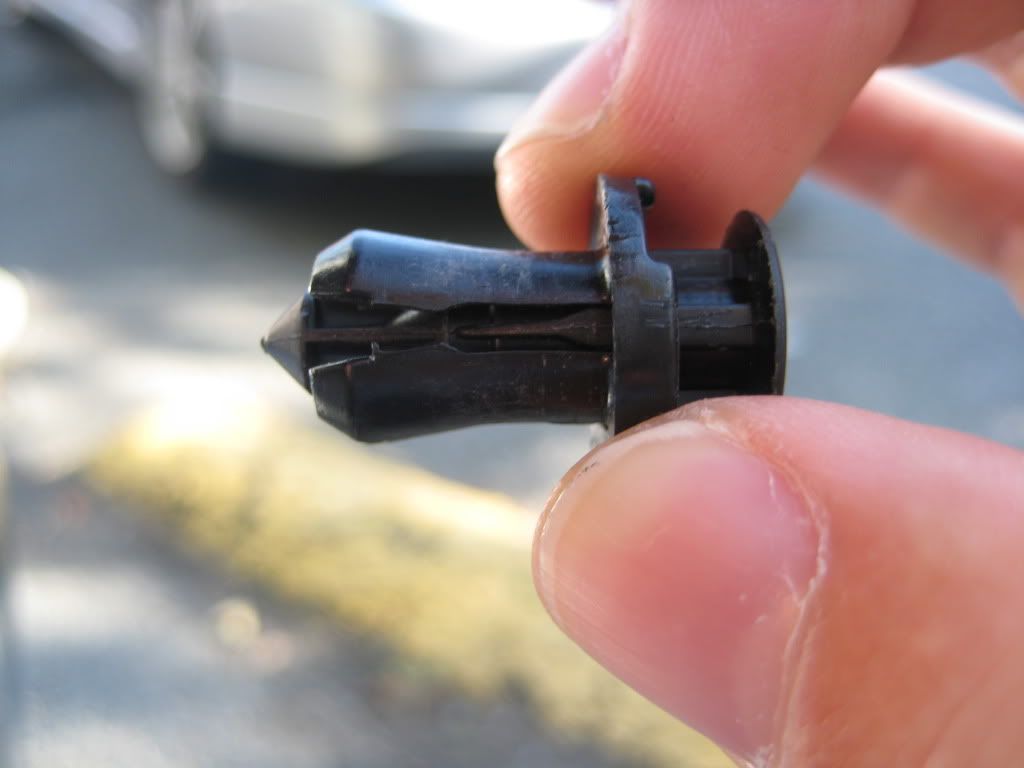
Re-insert the 4 black clips into the holes. They will just slide right in if you keep the center circle in the 3/4 position then push the center down until it clicks. It will be tighter this time because of the thickness of the cf plate.
And you're finished. Give yourself a pat on the back for you're grueling 45 second install.
Tools needed:
Flat head screwdriver
Needlenose plyers
The part - titek cf rad cooling plate
Step 1:
Remove the 4 center plastic circular tabs on the front bumper.
If you haven't removed these before, just take your flathead edge and get under the center circle and pry it up. Pull the center circle about 3/4's from fully up position, this will allow the tabs underneath room to pinch in when you pull up on the clip.
Step 2:
Place the cooling plate in the correct position.
The titek plate came with a piece of foam with glue strip on one side.
I placed this where the back of the plate contacts the body to reduce movement/rattle because the clips keep the front of the plate secure.
Step 3:
Re-insert the 4 black clips into the holes. They will just slide right in if you keep the center circle in the 3/4 position then push the center down until it clicks. It will be tighter this time because of the thickness of the cf plate.
And you're finished. Give yourself a pat on the back for you're grueling 45 second install.
Last edited by TPerry109; Sep 19, 2009 at 06:27 PM.


Trending Topics

Registered User
Joined: Sep 2008
Posts: 908
Likes: 28
From: Winnipeg, MB
I think my Z's been hit in the front at one time in it's life and isn't perfectly lined up


Registered User
Joined: Jun 2004
Posts: 76
Likes: 0
From: Hixson Tn
just add one thing... before you pry the plastic caps place a microfiber towel on top of the painted surface of the bumper to prevent accidental scratches...if you break the clips they are just like $2.00 from nissan

Nice, I bought a sheet of aluminum from a local home depot.
Have not used it yet, so last night I went to the Z and made a stencil to make a cooling plate out of that metal. so far so good.
Have not used it yet, so last night I went to the Z and made a stencil to make a cooling plate out of that metal. so far so good.

Thread
Thread Starter
Forum
Replies
Last Post