
DIY Wire Tuck


Registered User
Joined: Sep 2008
Posts: 908
Likes: 28
From: Winnipeg, MB

I`d love to do the body harnesses as well if it`s not too much work. (I don`t consider the motor tuck much work)....
I`d also love to shave the engine bay, not this time though. If the car ever goes in for a good paint job I`ll do it then for sure.

Great DIY thread! I wish I had the time to do something like this.


Registered User
Joined: Sep 2008
Posts: 908
Likes: 28
From: Winnipeg, MB
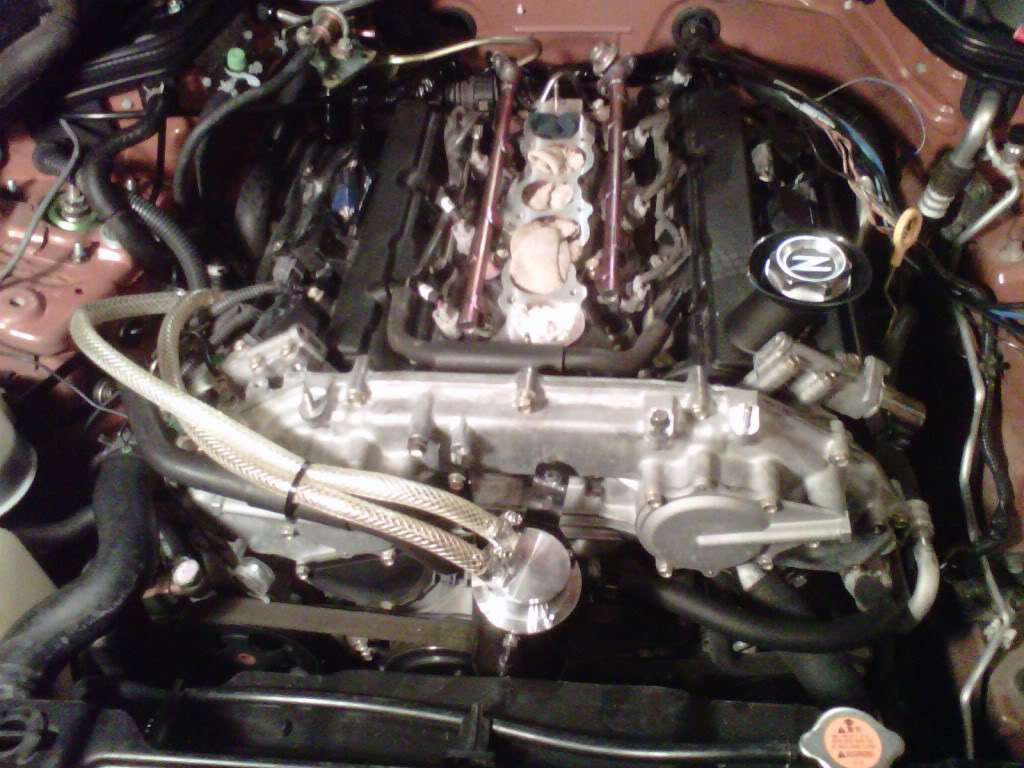
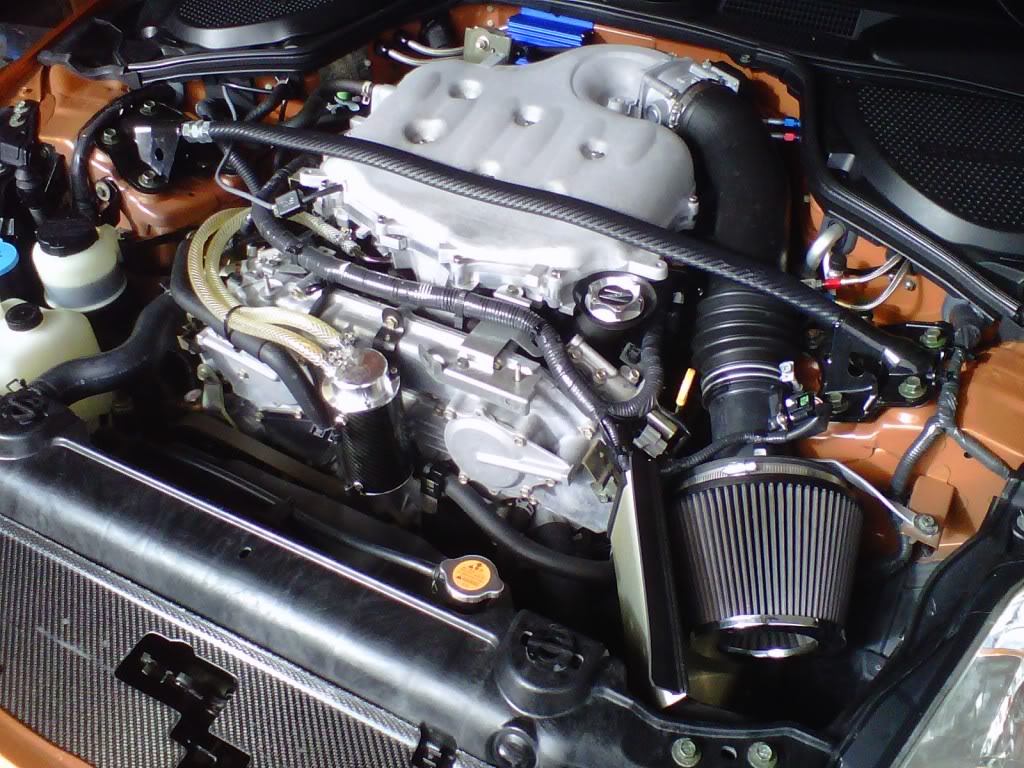
This is what I started with at the beginning of day 3. To this point, I have about 4 hours into it:
The only thing left was the harness under the intake tubing. This was for the throttle body, cam phase solenoid, MAF sensor, AC and ground. To do this, I figured I'd put the intake manifolds back on so I could get my wire lengths right:
\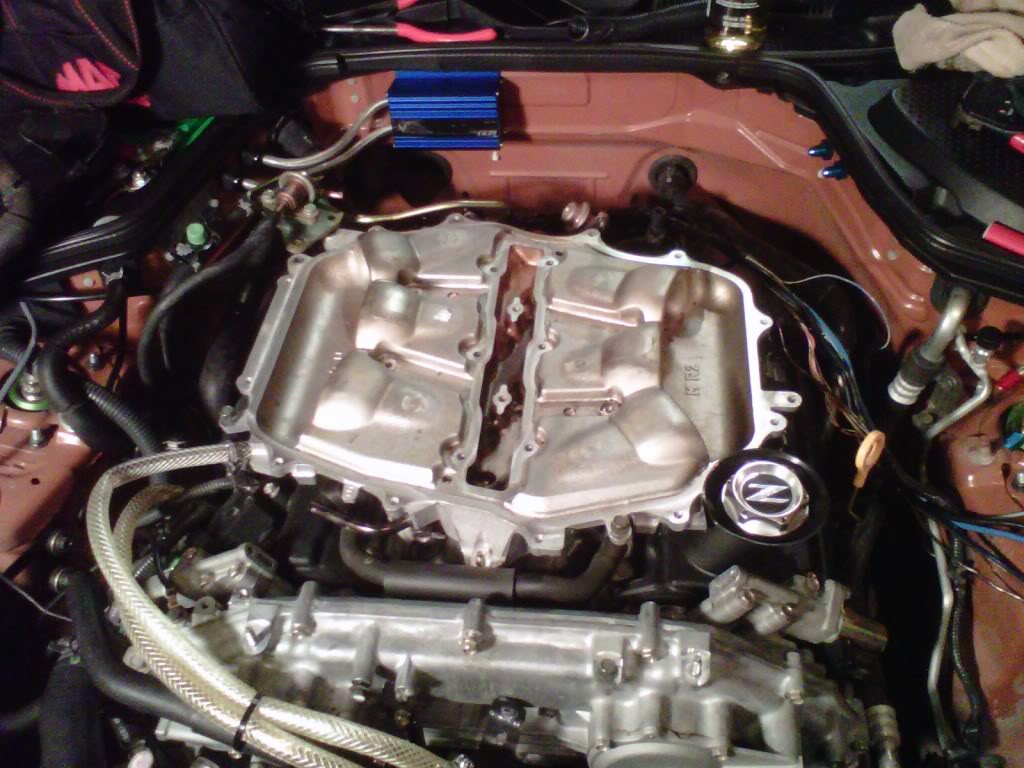
After putting the intake back I realized where I put my harness was really close to the factory fuel hard line. I'm fine with that, as that hard line won't be there for long
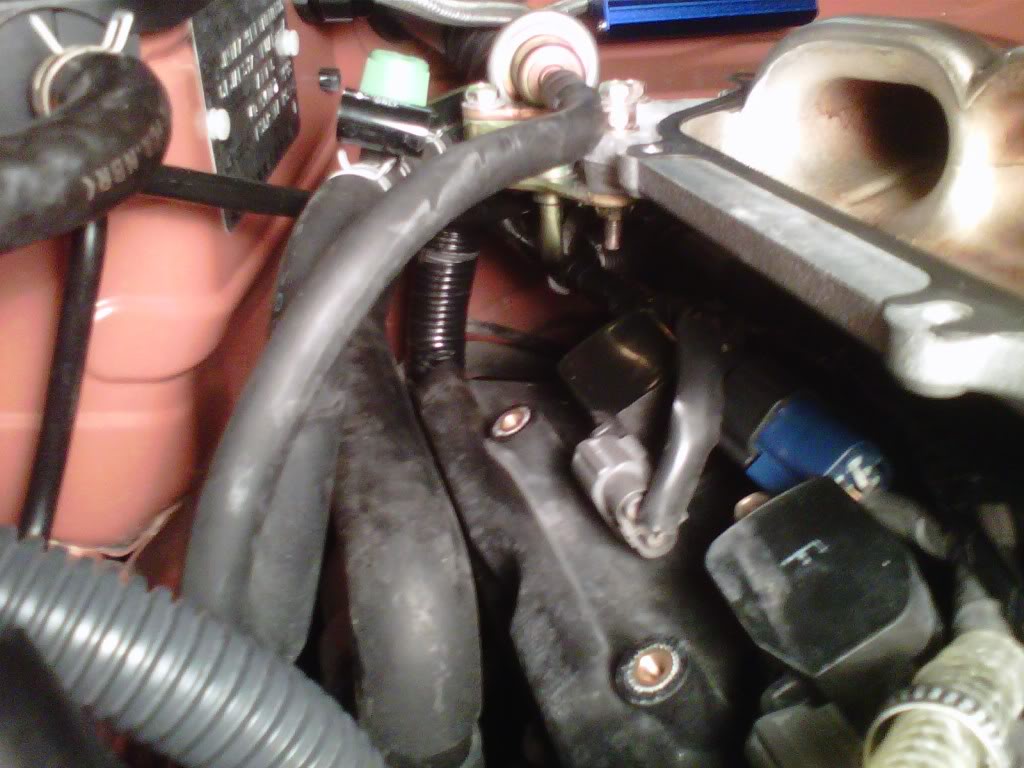
I also relocated a vacuum solenoid for the fuel system that was mounted to the back of the intake. Just flipped it over vertically and moved it down a few inches. Cleaned up the back of the manifold quite a bit.
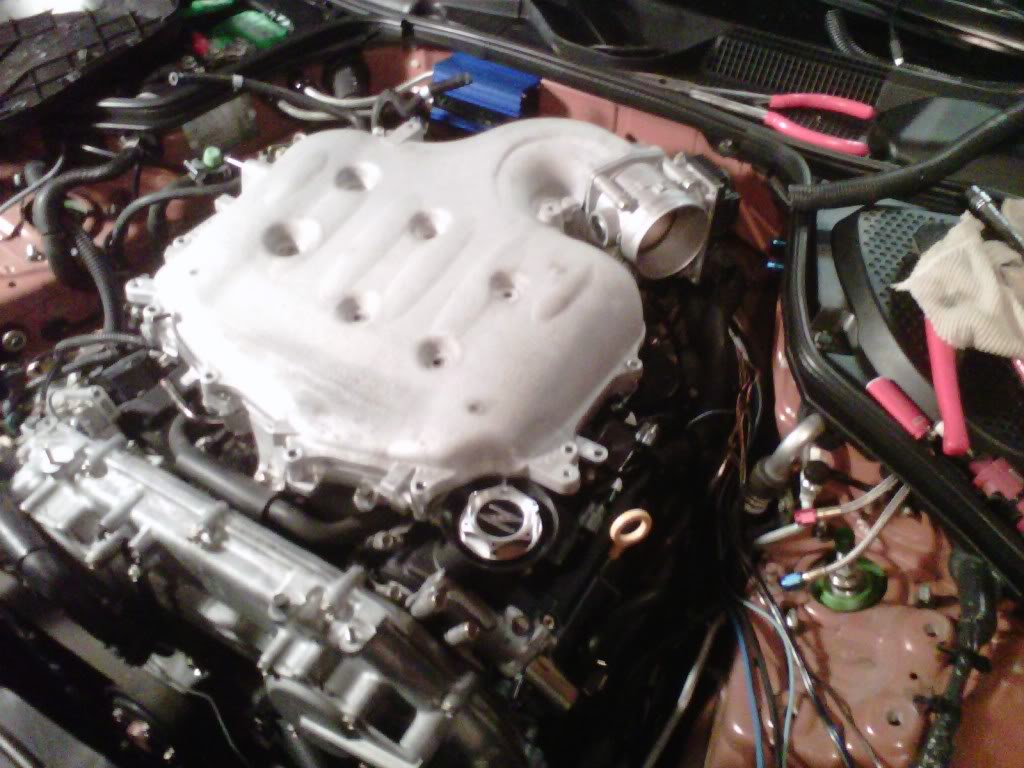
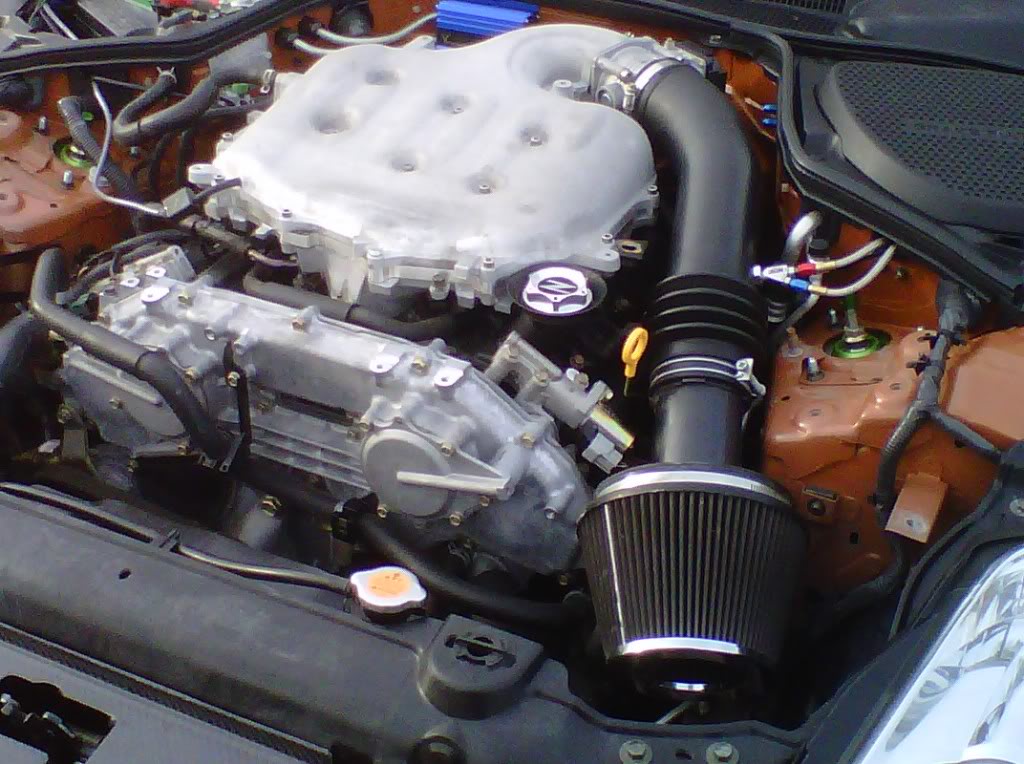
And the "Wire Tuck Stage 1" done pics:

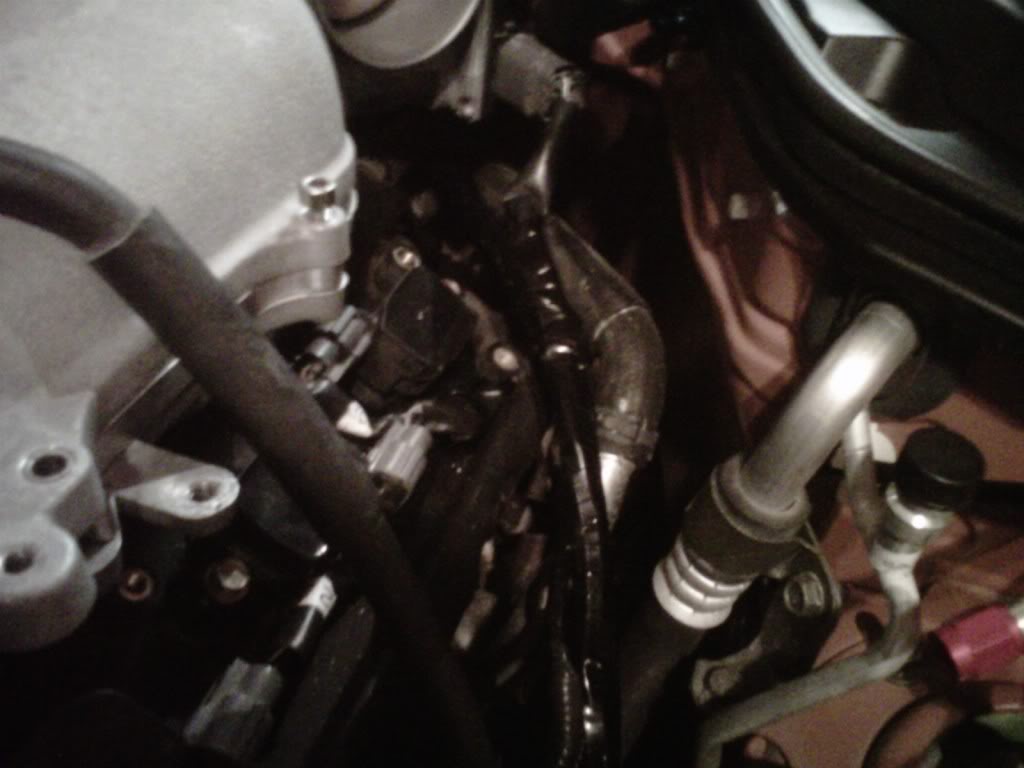
I'm still not happy with the passenger side of the engine compartment. I want to clean up this harness that is still showing and relocate the ground strap.
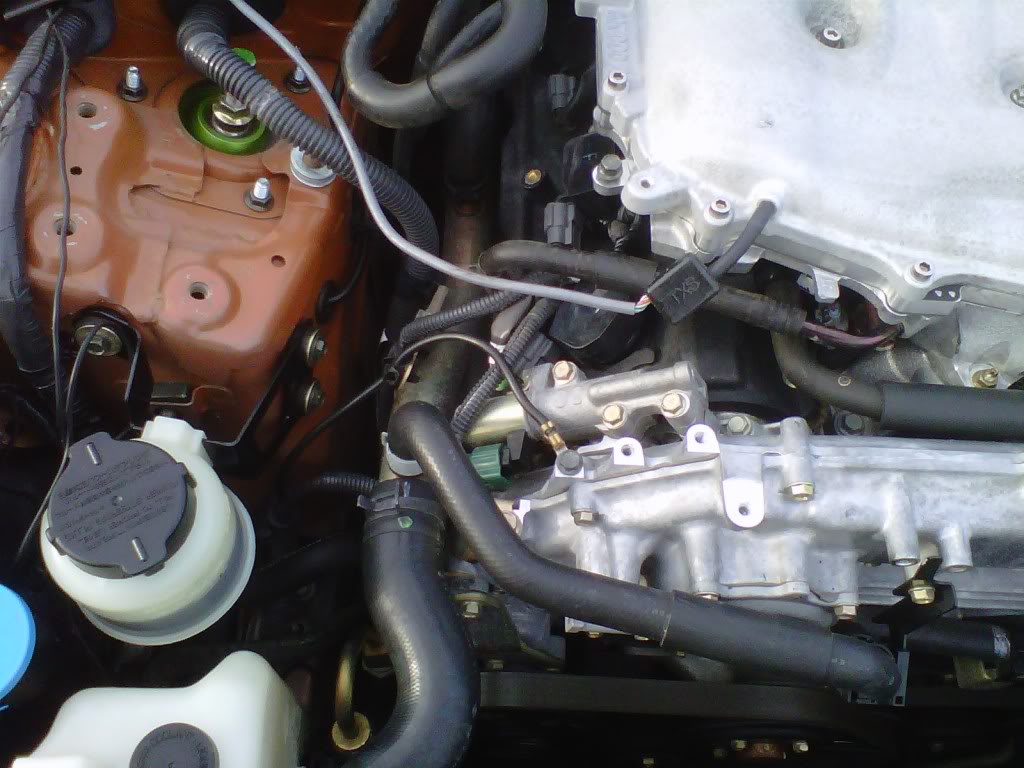
I have a feeling this is just the beginning........
The only thing left was the harness under the intake tubing. This was for the throttle body, cam phase solenoid, MAF sensor, AC and ground. To do this, I figured I'd put the intake manifolds back on so I could get my wire lengths right:
\
After putting the intake back I realized where I put my harness was really close to the factory fuel hard line. I'm fine with that, as that hard line won't be there for long
I also relocated a vacuum solenoid for the fuel system that was mounted to the back of the intake. Just flipped it over vertically and moved it down a few inches. Cleaned up the back of the manifold quite a bit.
And the "Wire Tuck Stage 1" done pics:
I'm still not happy with the passenger side of the engine compartment. I want to clean up this harness that is still showing and relocate the ground strap.
I have a feeling this is just the beginning........
Registered User
Joined: Sep 2008
Posts: 908
Likes: 28
From: Winnipeg, MB
This is the "Gotta Go" list for the next round of work, just a few things that bother me now. I'll probably do these when I pull my intakes off again to put in my bigger fuel injectors.
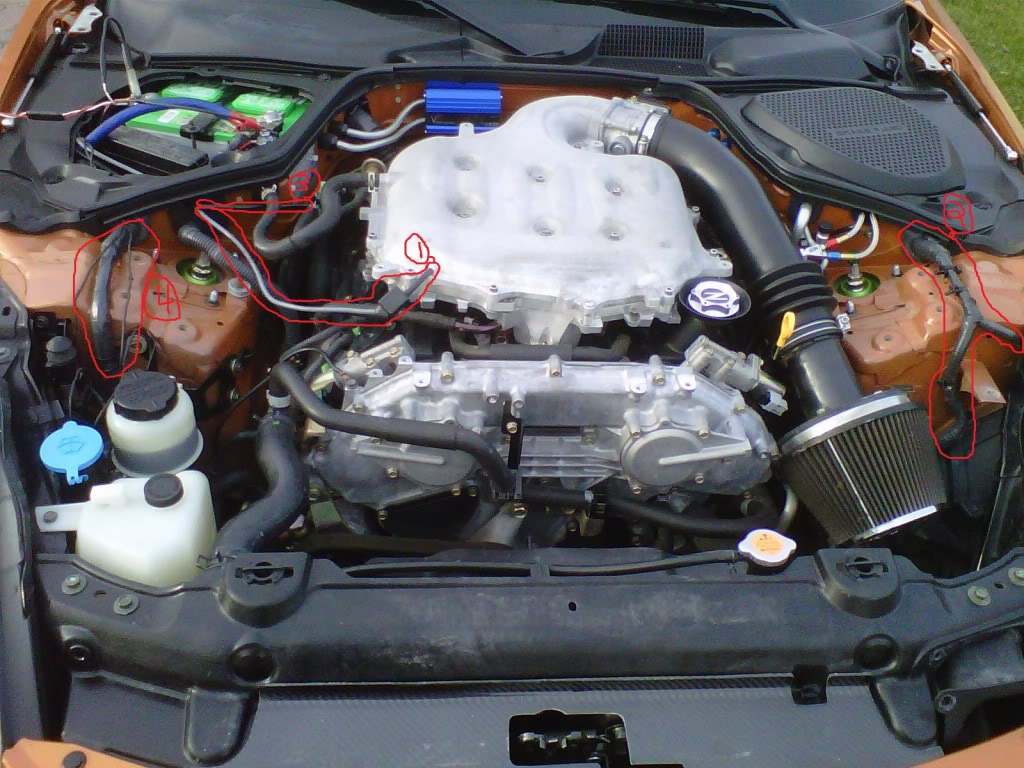
Items that have to disappear:
1. Turbo XS MAP sensor for my ECM.
2. Drivers Side body wire harness.
3. AEM Wideband Sensor Harness.
4. Drivers Side body wire harness.
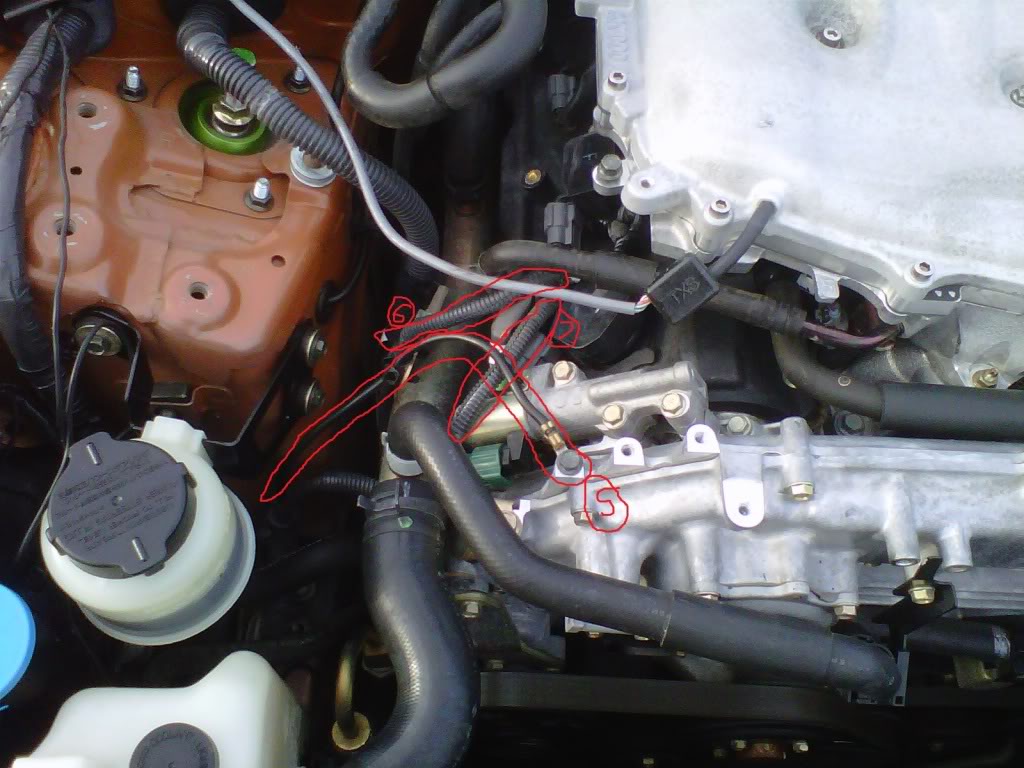
5. Engine Ground Strap.
6. Misc Small wire harness.
7. Passenger Side Cam Phase Solenoid harness
Before:
After:
Total time, approximately 6 hours.
Items that have to disappear:
1. Turbo XS MAP sensor for my ECM.
2. Drivers Side body wire harness.
3. AEM Wideband Sensor Harness.
4. Drivers Side body wire harness.
5. Engine Ground Strap.
6. Misc Small wire harness.
7. Passenger Side Cam Phase Solenoid harness
Before:
After:
Total time, approximately 6 hours.

I started this process today, Spent about an hour Removing everything that needs to be removed. Going to start cutting into the wires 2morrow and most likely finish... I'm also gunna do the headlight/battery wire tuck.
I'm thinking about relocating the battery in the trunk for some weight distribution, But unlike other cars the Z has a nice cozy little compartment for the battery.
I'm thinking about relocating the battery in the trunk for some weight distribution, But unlike other cars the Z has a nice cozy little compartment for the battery.
Registered User
Joined: Sep 2008
Posts: 908
Likes: 28
From: Winnipeg, MB
I started this process today, Spent about an hour Removing everything that needs to be removed. Going to start cutting into the wires 2morrow and most likely finish... I'm also gunna do the headlight/battery wire tuck.
I'm thinking about relocating the battery in the trunk for some weight distribution, But unlike other cars the Z has a nice cozy little compartment for the battery.
I'm thinking about relocating the battery in the trunk for some weight distribution, But unlike other cars the Z has a nice cozy little compartment for the battery.
Take LOTS of pics of the body harness wire tuck for me please. I'm going to tackle it in the next couple weeks it my schedule permits.
I thought about relocating the battery too, but it's already nice an hidden.... Maybe move some of the fluid containers from the passenger side like the PS fluid and the Rad Overflow to the battery compartment?
Take LOTS of pics of the body harness wire tuck for me please. I'm going to tackle it in the next couple weeks it my schedule permits.
Take LOTS of pics of the body harness wire tuck for me please. I'm going to tackle it in the next couple weeks it my schedule permits.
What a great series of projects to do while the car is stored for the winter! Keep up the DIY! There are a few more harnesses with potential to be hidden. Look forward to your next DIY.

Well i finished the engine harness today, and was checking out how i would hide/tuck the other wires. I'm gunna save it for another rainy day because you have to pull the fenders off the car and extend the whole harness it looks like.


Registered User
Joined: Sep 2008
Posts: 908
Likes: 28
From: Winnipeg, MB

I found this info on Sexy Rob's project page (hope you don't mind SexyRob):
http://xbcustoms.com/Rob/tuck.htm
Looks like the wires HAVE to be extended for the body harnesses. This is also on a G35 as well, but wires should be roughly the same.
http://xbcustoms.com/Rob/tuck.htm
Looks like the wires HAVE to be extended for the body harnesses. This is also on a G35 as well, but wires should be roughly the same.
yesterday i was doing my wire tuck and wanted to share some image of the sides hardness now they are under the fenders...i didnt have tu cut any wire they were ok...


IF YOU WANT I CAN PUT SOME MORE FOTO
IF YOU WANT I CAN PUT SOME MORE FOTO


Here's how mine turned out...it indeed was quite the pain in the azz, and I'm not quite finished yet...gonna do the body harnesses next week. But anyway, so far I like it!
