
DIY Wire Tuck


Posted this over on G35driver, but I know a lot of Z owners like to get busy in the engine bay. Hope this helps some enthusiasts!
LINK:
Wire Tuck DIY


LINK:
Wire Tuck DIY
Last edited by Heist.; Oct 14, 2010 at 08:54 PM.


Trending Topics

Registered User
Joined: Sep 2008
Posts: 908
Likes: 28
From: Winnipeg, MB
Harness is stripped 
3:13pm Edit: DR Side wiring is sorted out, ready to be re-run after I modify the pass side wire bracket.
4:00pm Edit: Done and cleaned up for tonight. I need to do some studying
Last Edit: Heist, Going through your pics you did the body harness on both sides of the shock towers as well... Very Nice! Do you have any pics of how you did those two harnesses? I would think wires will need to be extended...
Last edited by 350Z_Al; Oct 14, 2010 at 01:19 PM.

Registered User
Joined: Sep 2008
Posts: 908
Likes: 28
From: Winnipeg, MB
A little something something I spent a couple free hours on today. Car needs to run on Sunday because I need the garage for another project, so Sunday is the deadline for getting this one done.
Right now I'm just doing the engine harness. I'd love to do the two body harnesses under the hood as well, we'll see.. Maybe later this winter when I pull the front end apart to install other misc stuff.
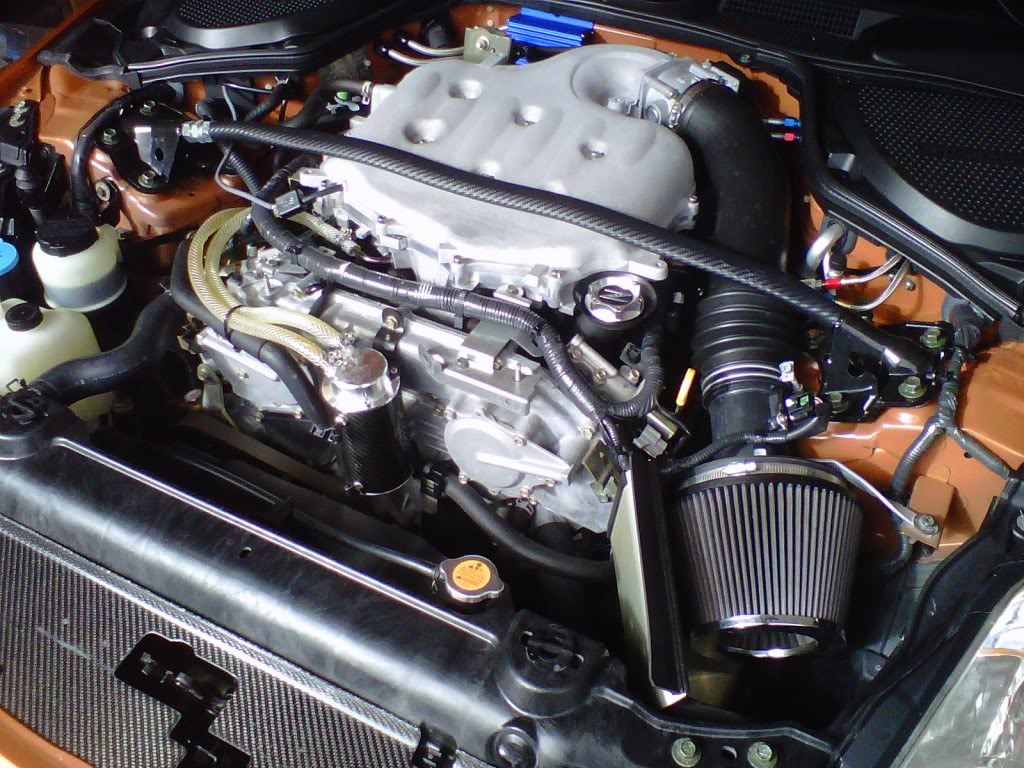
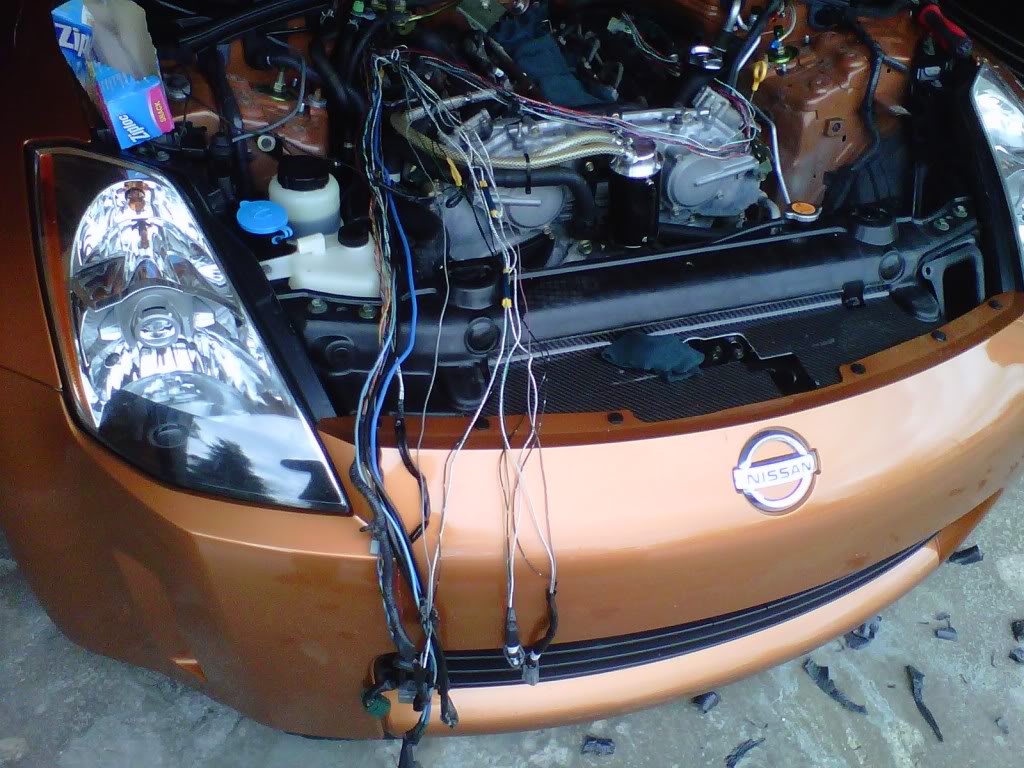
Before:
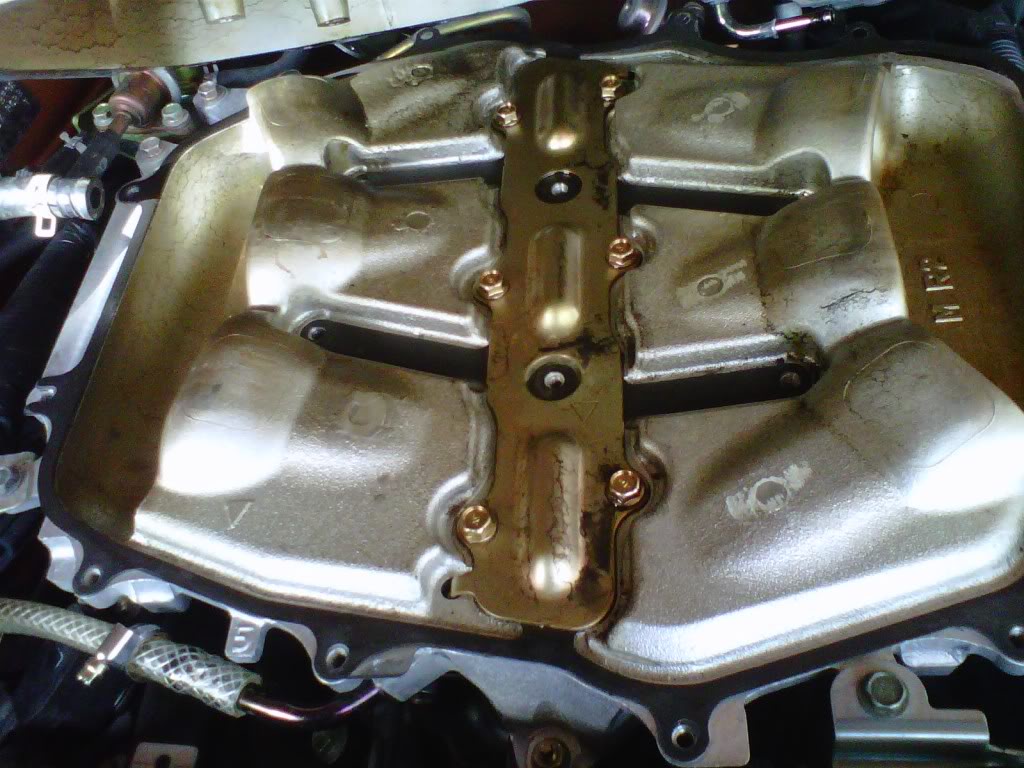
Starting to strip the intakes off:
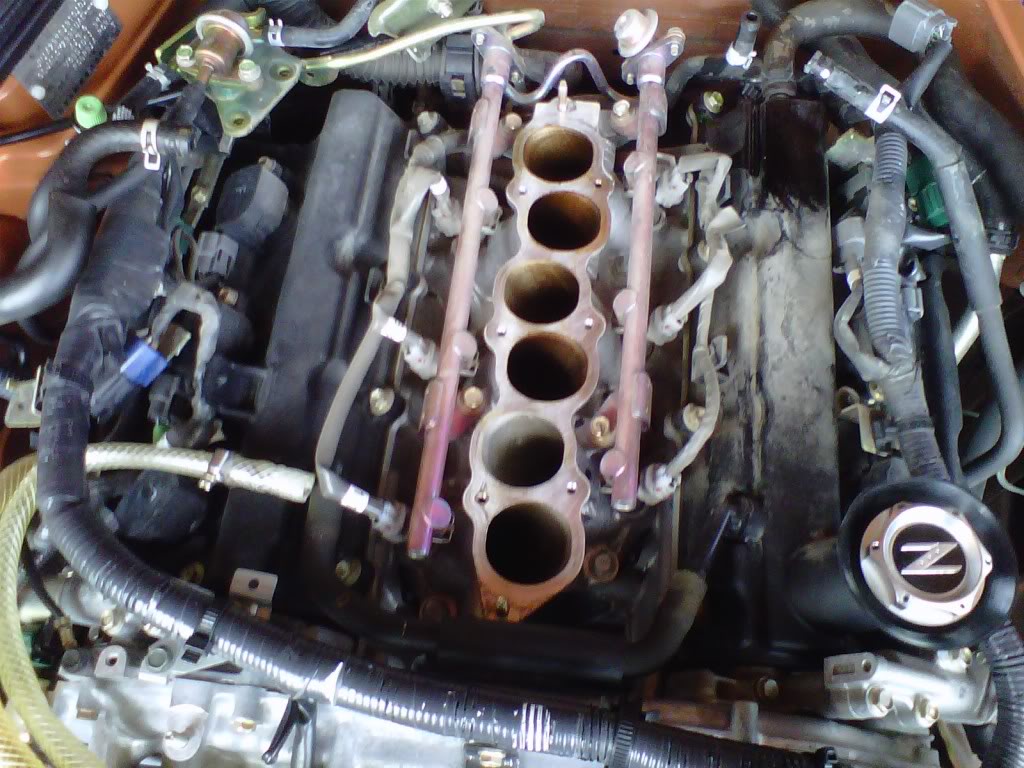
Starting to strip the harness:
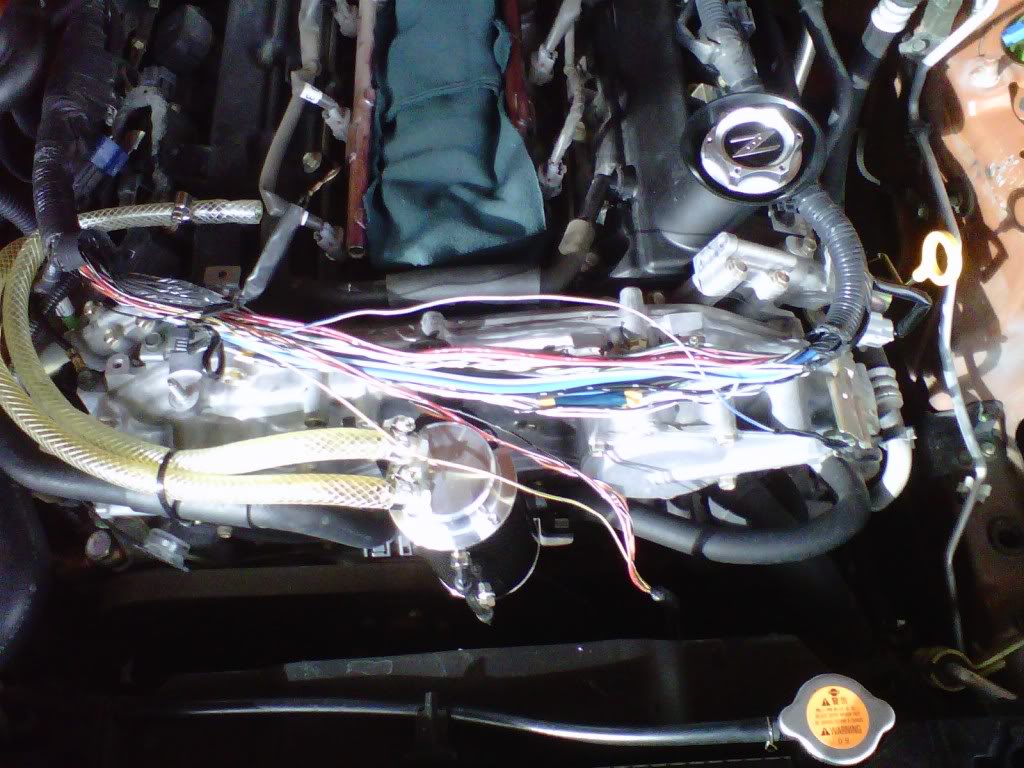
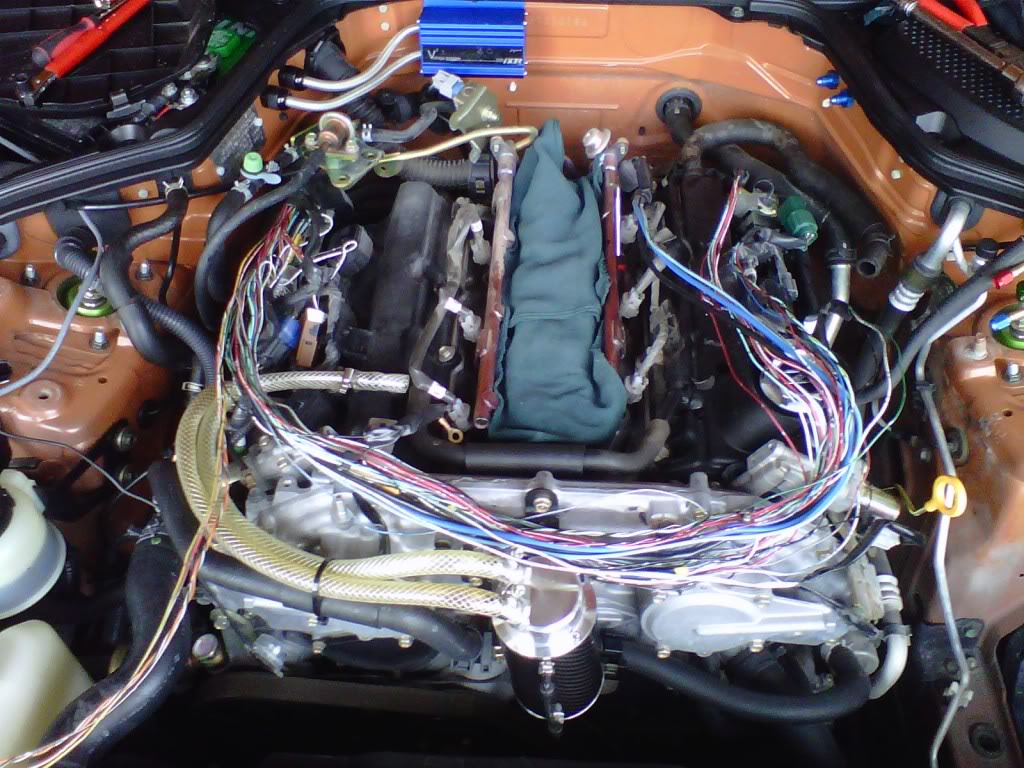
Sorting out the wiring:
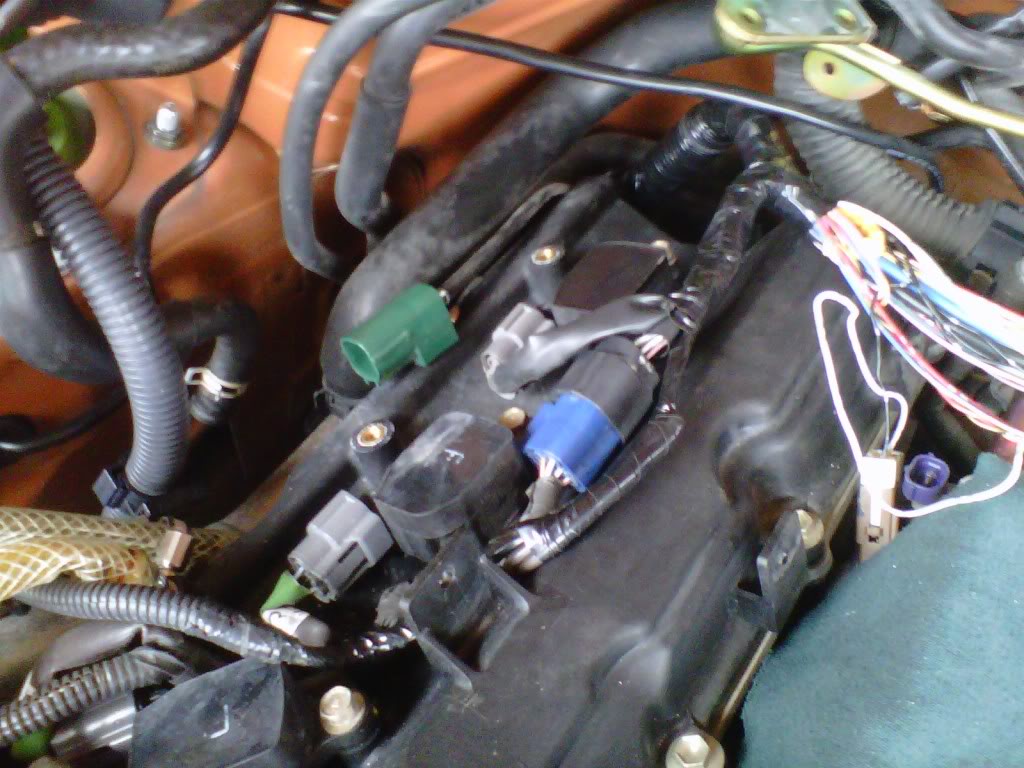
Modified the wire harness cover on the passenger side. Shortened it about 6" to allow the harness to go to the drivers side instead of the passenger side. Cleaned up and ran as little wire as possible on the passenger side. Coil packs, Cam timing wiring and a couple other misc wires all run down by the coil packs. They should hide real well once the intake manifold is on.
The rest of the wires will get run down behind the motor, above the transmission instead of being on the front of the motor. The wires for the driver's side front of the motor (Cam timing, MAF and A/C) will be run under the intake piping.
That's all for today. Time to study.
Right now I'm just doing the engine harness. I'd love to do the two body harnesses under the hood as well, we'll see.. Maybe later this winter when I pull the front end apart to install other misc stuff.
Before:
Starting to strip the intakes off:
Starting to strip the harness:
Sorting out the wiring:
Modified the wire harness cover on the passenger side. Shortened it about 6" to allow the harness to go to the drivers side instead of the passenger side. Cleaned up and ran as little wire as possible on the passenger side. Coil packs, Cam timing wiring and a couple other misc wires all run down by the coil packs. They should hide real well once the intake manifold is on.
The rest of the wires will get run down behind the motor, above the transmission instead of being on the front of the motor. The wires for the driver's side front of the motor (Cam timing, MAF and A/C) will be run under the intake piping.
That's all for today. Time to study.
lookin good. id be careful with some of the wiring as it has rf(?) shielding and is super sensitive to cutting. i tucked mine but just by using self wrapping braided nylon, instead of the ugly clumsy stock looming.

keep us updated on the pics!
keep us updated on the pics!
Registered User
Joined: Sep 2008
Posts: 908
Likes: 28
From: Winnipeg, MB
Thanks for your pic.. If I didn't have a time limit to do this, I should have pulled my valve covers and painted them
Registered User
Joined: Sep 2008
Posts: 908
Likes: 28
From: Winnipeg, MB
Registered User
Joined: Sep 2008
Posts: 908
Likes: 28
From: Winnipeg, MB
* Sorry for the crappy pics today.... No sunlight and a cell phone camera  *
*
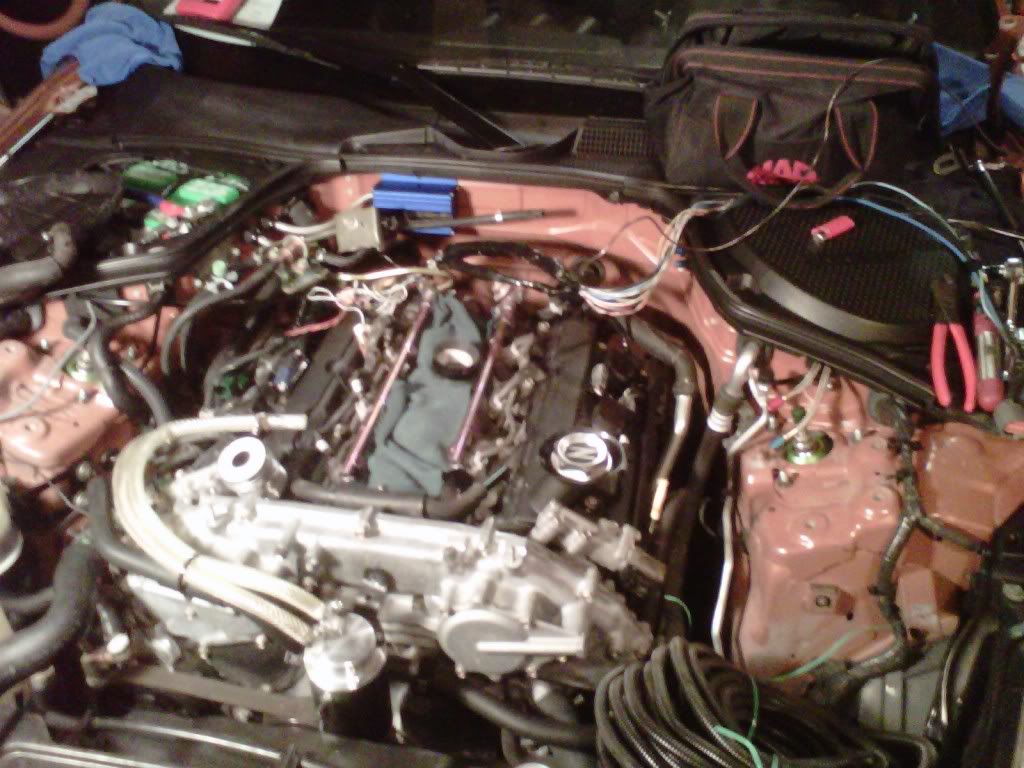
Ok, now on to today's progress:
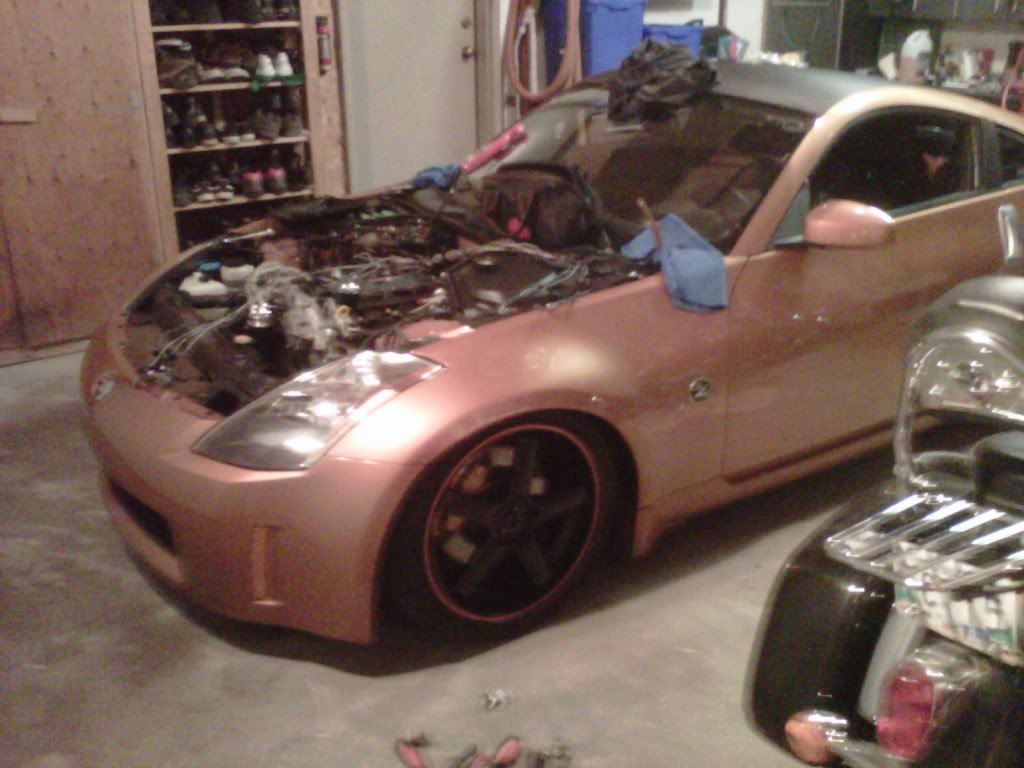
I finally got annoyed and just took the damn hood off. Soooooo much easier to work now!
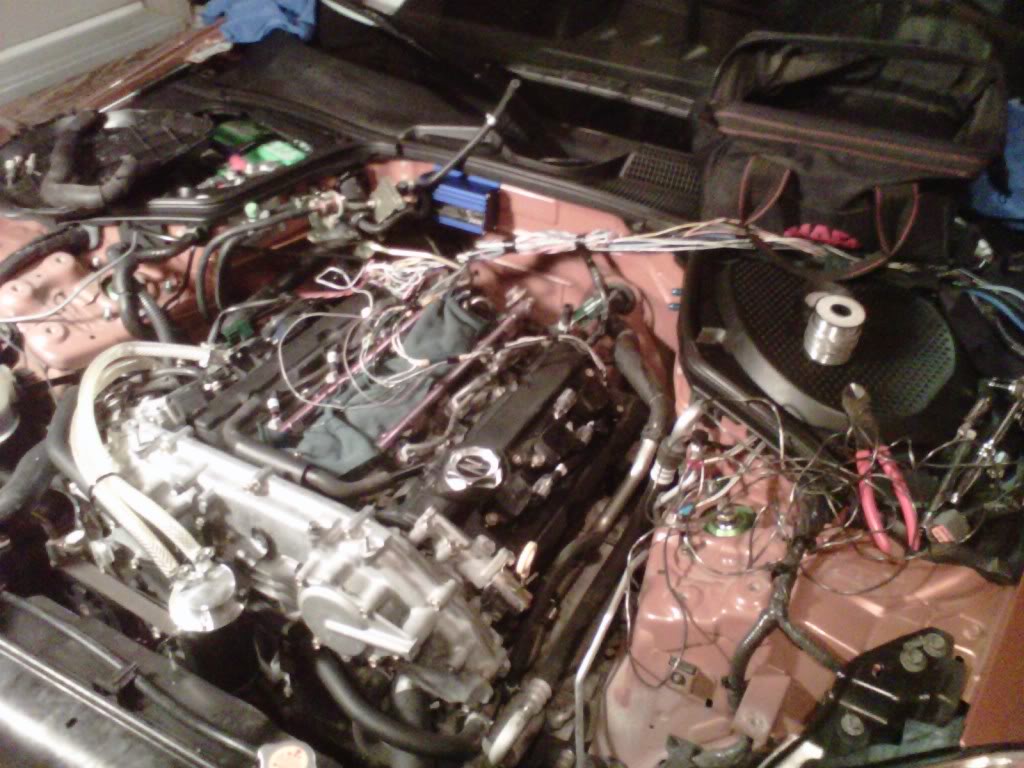
This is what I started with tonight:
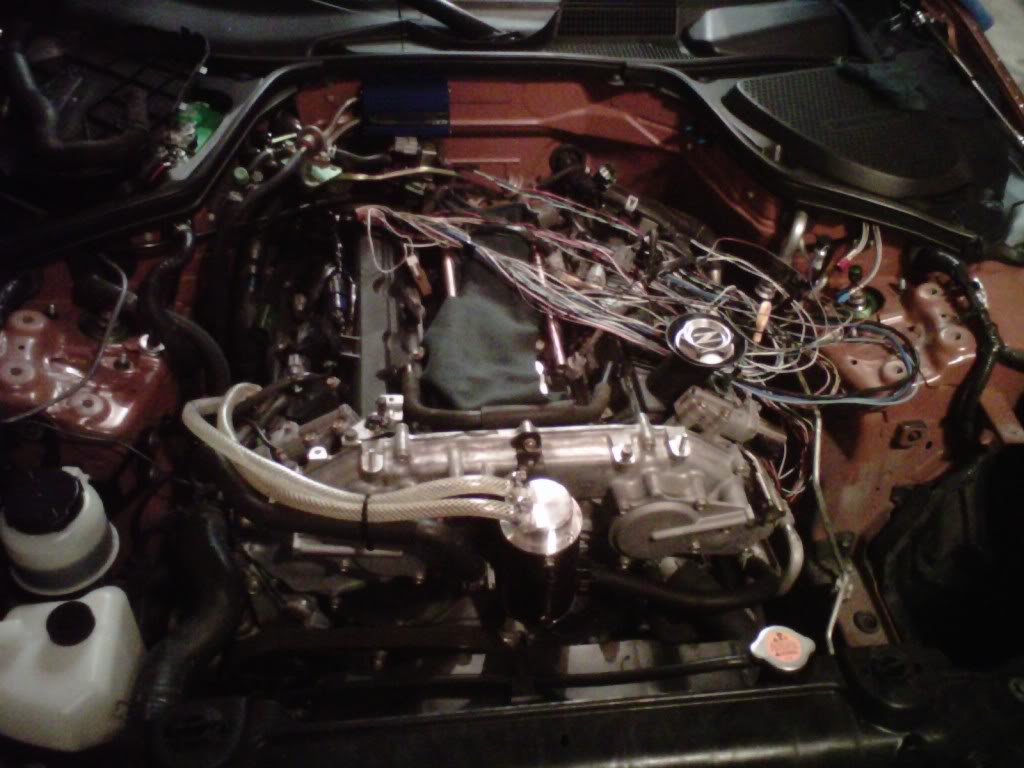
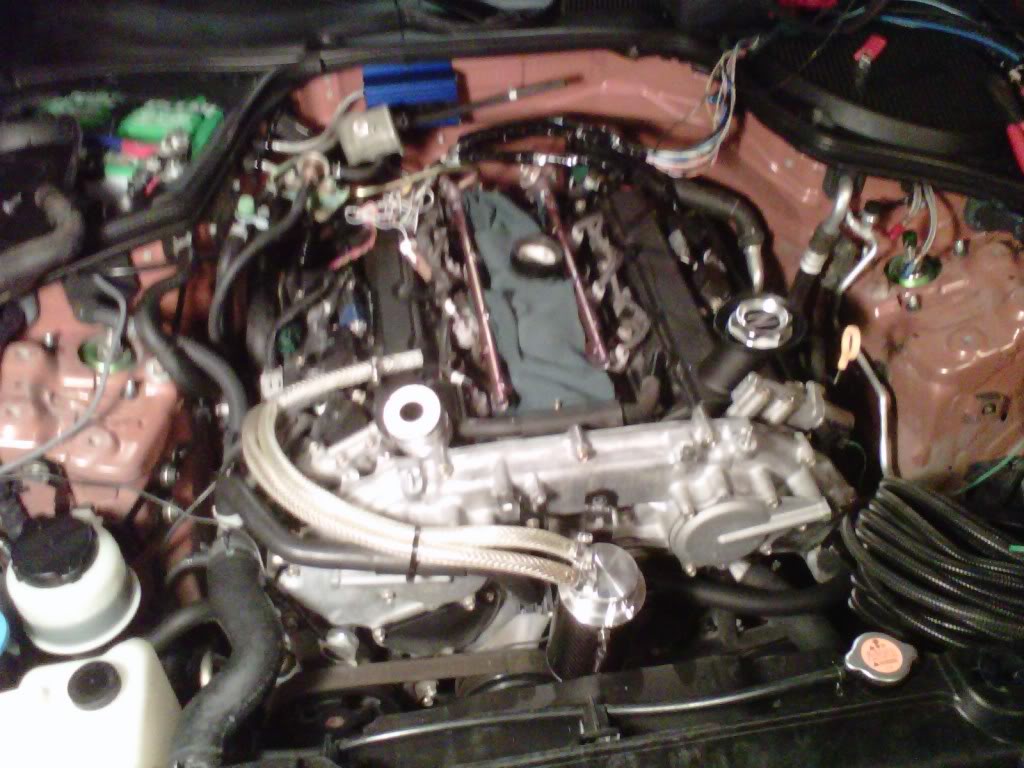
First up was the main bulk of the harness. This one is nice to work with, all the wires are the same length and there are no connectors or anything in it. I had some extra slack do deal with:
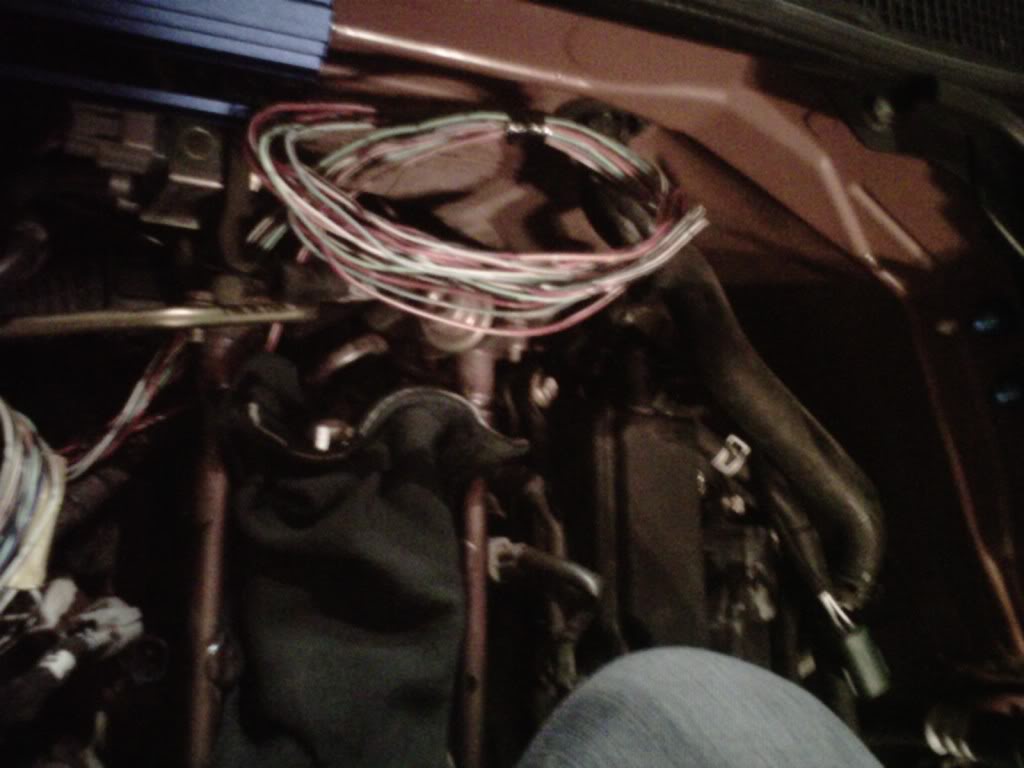
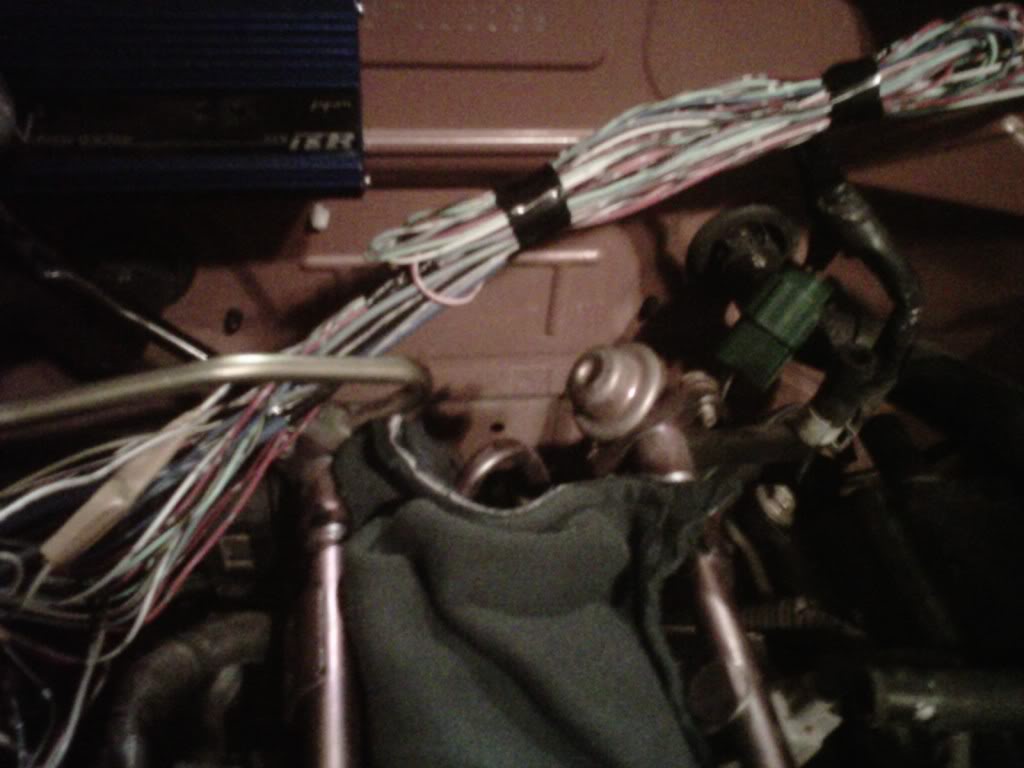
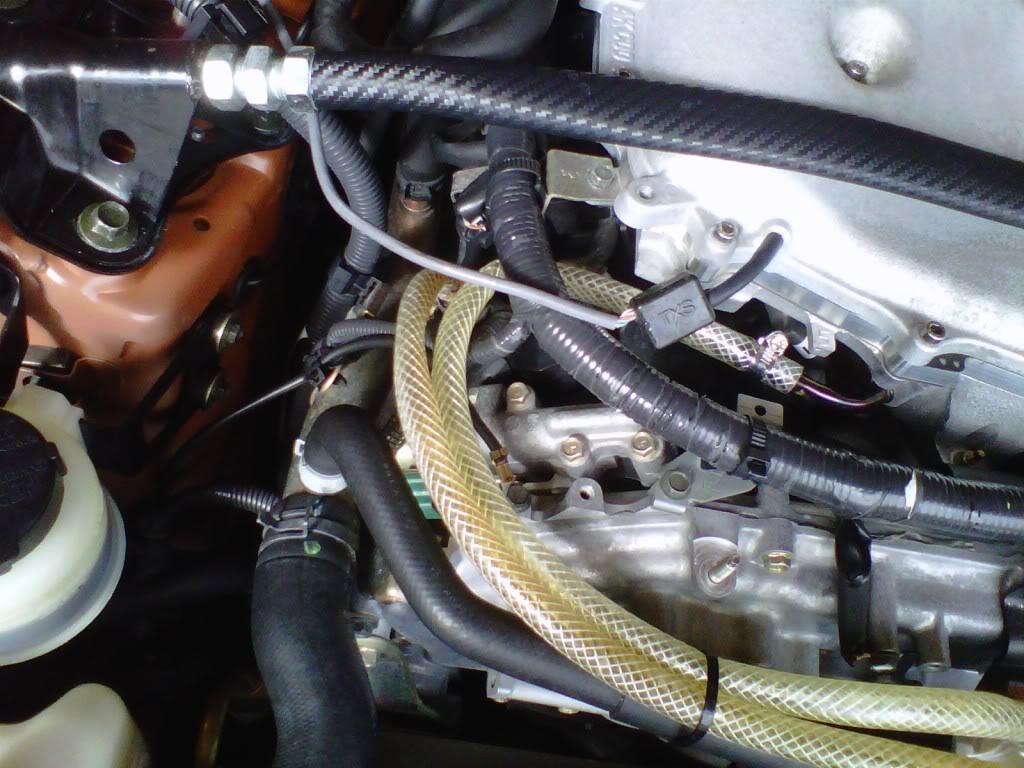
I ran ALL the wires going to the drivers side under the fuel hard line just to get them a bit lower down to hide them better. The mess that you see in this pic is all the wires for the passenger side coil packs. These wires SUCK! They are all different lengths with misc butt connectors and crap in them:

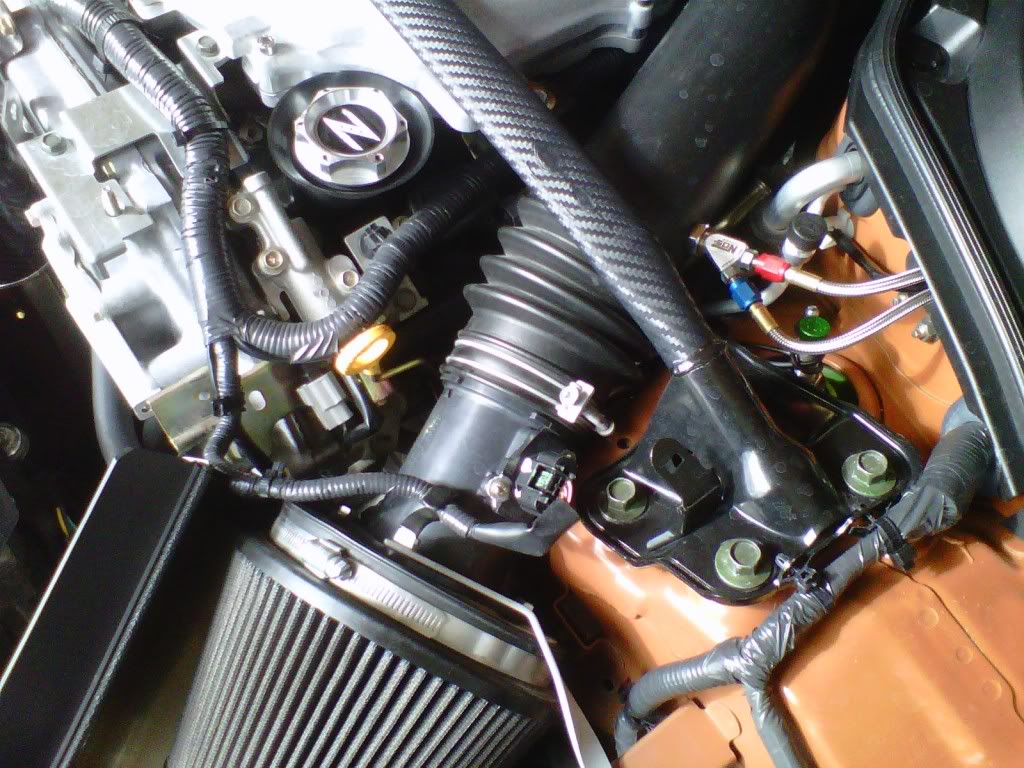
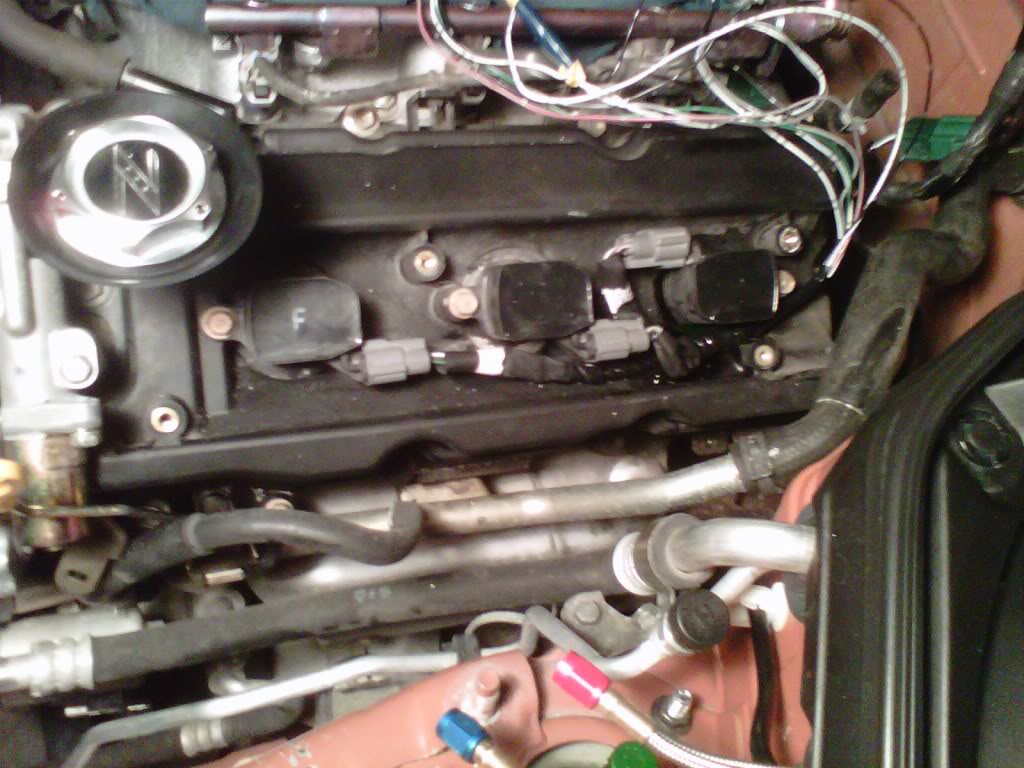
Most of the wires were nice and even length to their respected connectors. With those I worked from the main harness out towards the connector. Because the Coil Pack wires were all whack I actually cleaned and did the wiring at the coil packs first, then worked towards the main harness. This is the finished passenger side coil packs:
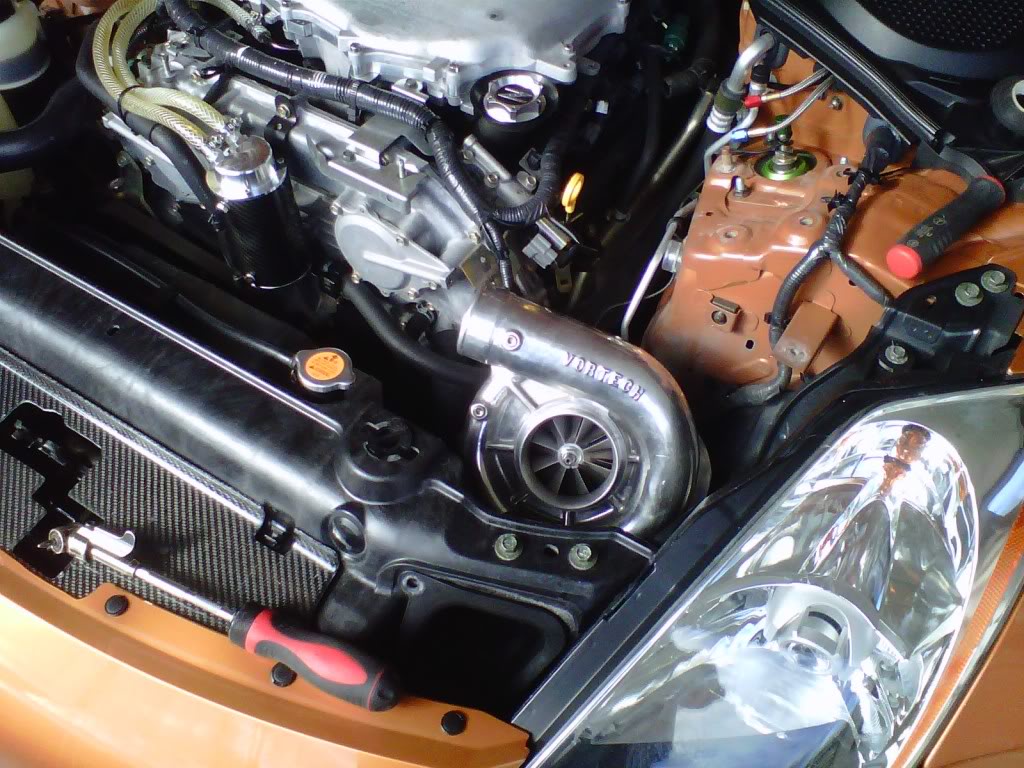
Getting closer to the end. I still have the Throttle Body, Pass Side Cam Timing, A ground for the coil packs and the MAF sensor left:
This is what is left for tomorrow. I had to extend a few grounds for the coil packs. I`m going to hide the ring terminal under the cam phase sensor/actuator. I also had to extend the two wires for the cam phase sensor/actuator so I could run them low enough to be hidden:
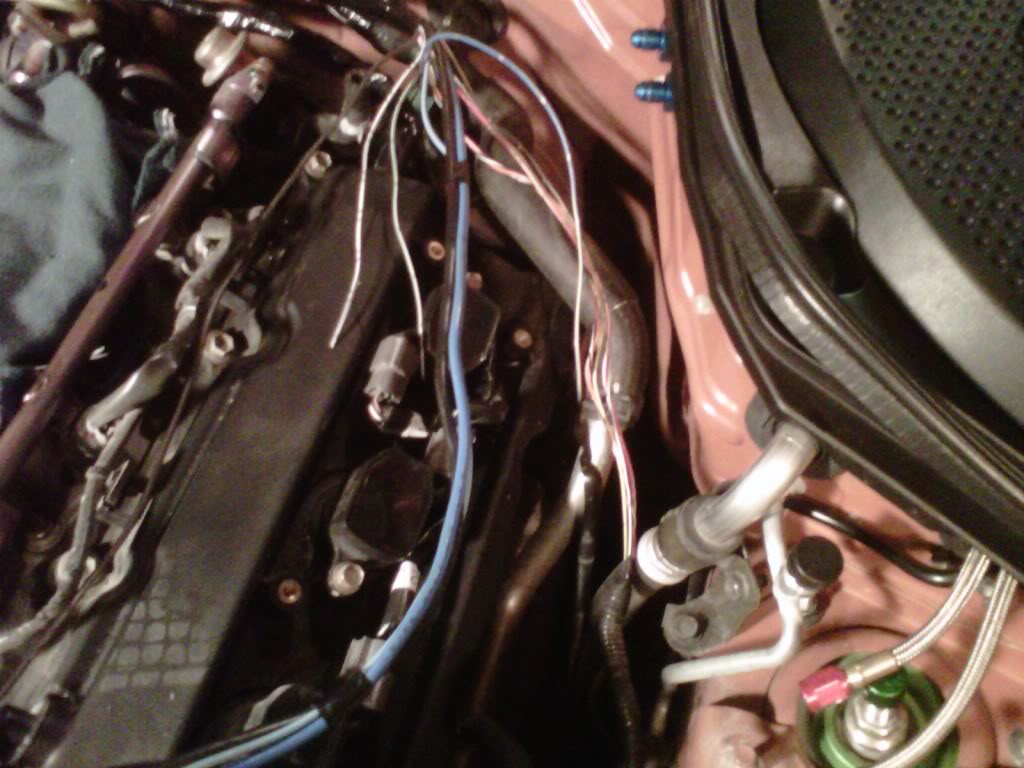
I don`t have any of the right size wire loom, so the wires are just taped up for now. The car is being stored for the winter right now, so I`ll loom everything up when the intakes come off again to do the fuel system and fuel injectors.
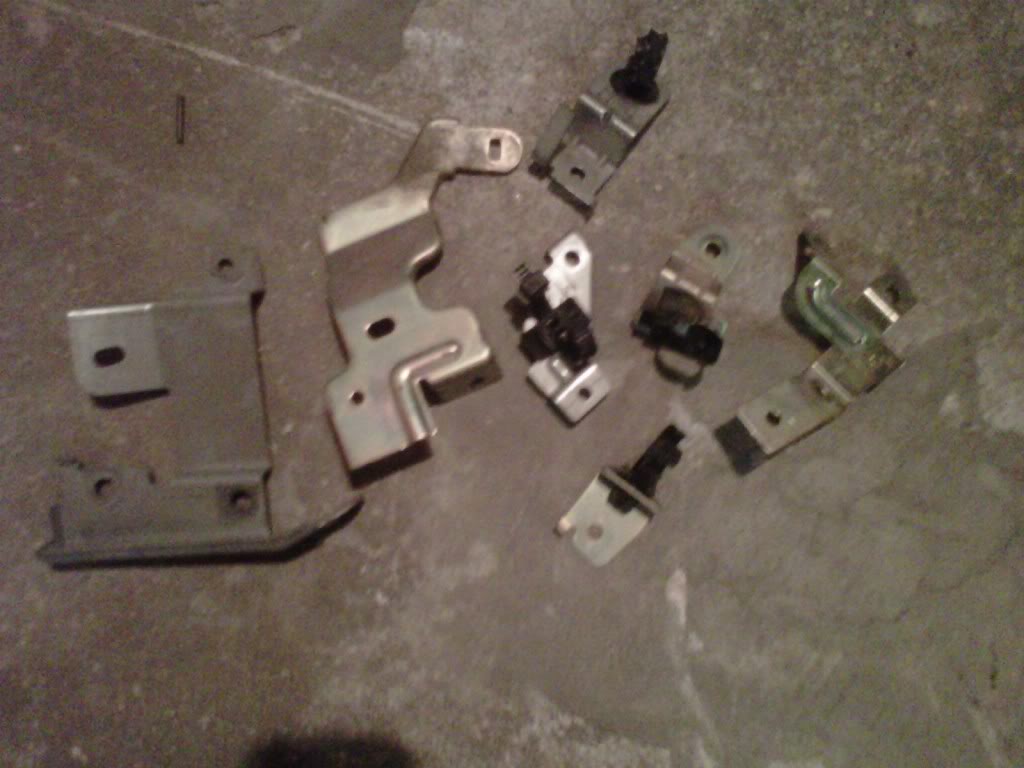
There was an ungodly amount of brackets holding the motor cover and wire harness on the motor. These all aren't needed anymore. Getting rid of these cleans up the front of the motor a lot. I still have to pull of the two studs from the engine cover.
These are just a few of the brackets that came off:
So far I have about 4 hours into it. 2.5 hrs yesterday and 1.5 today. Today wasn't too productive though, I had a couple girls that wouldn't leave me alone
* Ok, now on to today's progress:
I finally got annoyed and just took the damn hood off. Soooooo much easier to work now!
This is what I started with tonight:
First up was the main bulk of the harness. This one is nice to work with, all the wires are the same length and there are no connectors or anything in it. I had some extra slack do deal with:
I ran ALL the wires going to the drivers side under the fuel hard line just to get them a bit lower down to hide them better. The mess that you see in this pic is all the wires for the passenger side coil packs. These wires SUCK! They are all different lengths with misc butt connectors and crap in them:
Most of the wires were nice and even length to their respected connectors. With those I worked from the main harness out towards the connector. Because the Coil Pack wires were all whack I actually cleaned and did the wiring at the coil packs first, then worked towards the main harness. This is the finished passenger side coil packs:
Getting closer to the end. I still have the Throttle Body, Pass Side Cam Timing, A ground for the coil packs and the MAF sensor left:
This is what is left for tomorrow. I had to extend a few grounds for the coil packs. I`m going to hide the ring terminal under the cam phase sensor/actuator. I also had to extend the two wires for the cam phase sensor/actuator so I could run them low enough to be hidden:
I don`t have any of the right size wire loom, so the wires are just taped up for now. The car is being stored for the winter right now, so I`ll loom everything up when the intakes come off again to do the fuel system and fuel injectors.
There was an ungodly amount of brackets holding the motor cover and wire harness on the motor. These all aren't needed anymore. Getting rid of these cleans up the front of the motor a lot. I still have to pull of the two studs from the engine cover.
These are just a few of the brackets that came off:
So far I have about 4 hours into it. 2.5 hrs yesterday and 1.5 today. Today wasn't too productive though, I had a couple girls that wouldn't leave me alone