When you click on links to various merchants on this site and make a purchase, this can result in this site earning a commission. Affiliate programs and affiliations include, but are not limited to, the eBay Partner Network.
When I searched for a DIY on this and couldn't find one, I thought to myself it must be easy enough that no one feels the need to write one. Well, turns out it's a little more complicated than oil change so I hope this will help others when they do this.
Started easy enough by draining the coolant. Then taking the intake tube and the plenums out of the way. If you need instructions on this, you can go to Motordyne and get the instructions. http://www.motordyneengineering.com/manual.pdf
After that I took the passenger coolant pipe out. That was all i did on the first day.
Next I disconnect all the hoses connecting the oem coolant pipe to remove it. 4 nuts (12mm I think) holding it to the block. and yes, you'll need to fight with harnesses to get that pipe out. Also you need to loosen the transmission breather hose in order to get the pipe out.
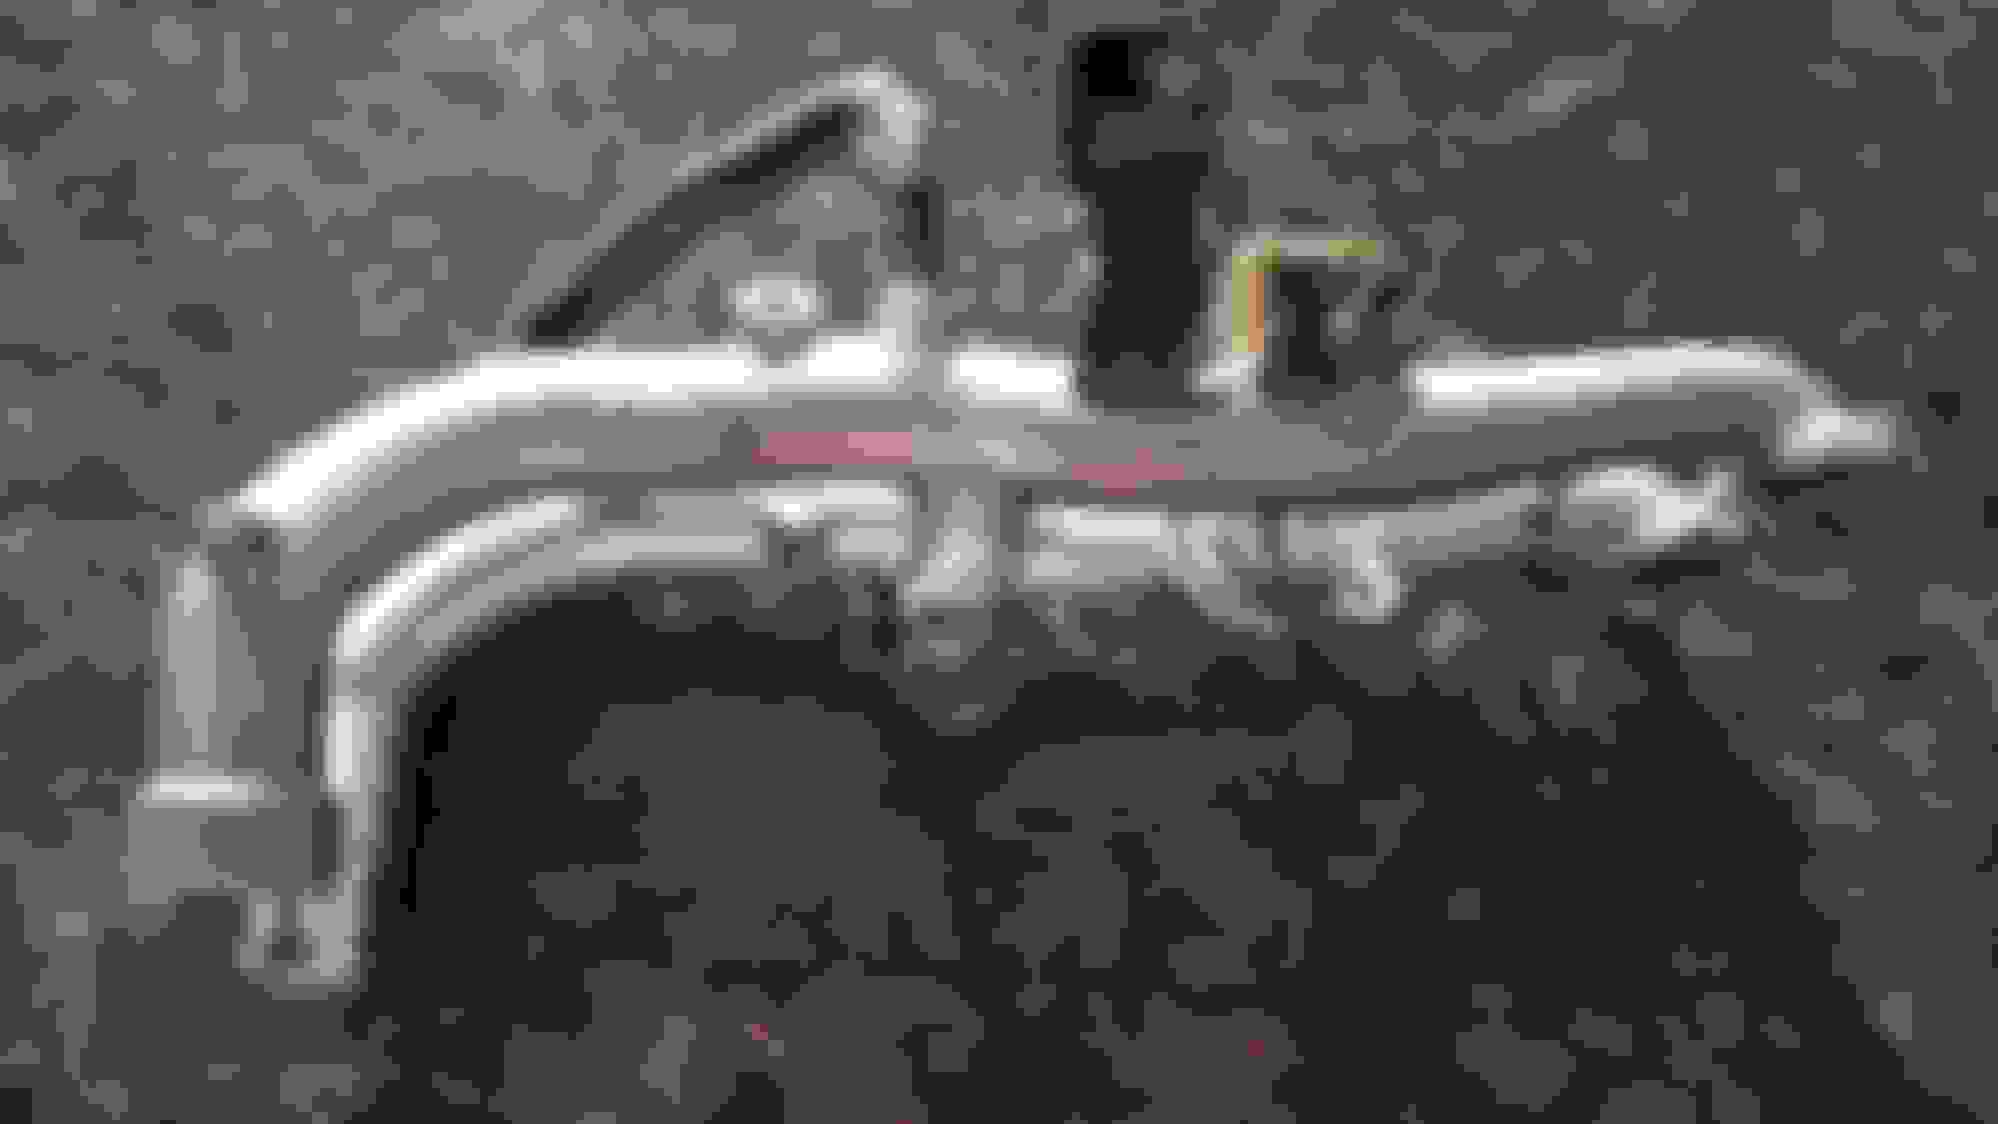
from FSM
2 bolts on the back of the oem pipe holding harnesses and brackets
comparison between the oem and the PF pipe
Notice the hose connection. the PF pipe is missing the bypass connection (it connects back to the passenger coolant pipe). So the hose on the left side is useless. The one on the right side fits at the long nipple connection on the PF pipe, and the t-stat sensor is back at where the hole is (next to the additional t-stat on the left) There's another connection that blocked off next to the t-stat connection, I used that to put my water temp gauge sender unit in.
you'll need to drill a hole, and use a tap and dye tool to make threads to connect the sender unit to the PF pipe
Next comes the uncharted territory for me: removing the fuel rails and the intake manifold. Turns out it wasn't too bad, I didn't need to remove the injectors so no fuel leaks. unplug the connectors to the injectors. remove the 4 bolts holding the rails in place, and 8 bolts/nuts holding the intake manifold. There's a bracket on the back of the manifold that you need to remove as well.
From there you should be able to see the square plate with 4 bolts holding it, that's where the new connection goes.
now you're ready to re-install everything.
I first put the PF pipe in first, using the 4 nuts to hold it in place. Then I connect the new connection to the new t-stat.
how it looks with the new connection to the PF pipe
Well, everything went pretty smooth until this point. I then tried to plug the oem t-stat sensor back, only to realize the harness is now too short......... so I had to extend it. Kinda scary if you never have to cut up your oem wires.......
and now comes the scariest part...... cutting the passenger coolant pipe! I never knew the PF mod requires any cutting, always thought it's plug and play. But since I couldn't find any DIY or any instructions, I didn't know until I tried to line up the 2 pipes together!
PF pipe is longer and uses a different connection to connect to the passenger coolant pipe
another comparison of the oem pipe and the PF pipe, notice the difference in length and connection that connects to the passenger pipe.
how much you need to cut to make it work. Also remember I said earlier about the bypass connection being useless? That little nipple on top parallel to the passenger pipe now needs to be cap off.
And if you're still reading this, congrats you've done 80% of the work! And the worst is over! Now all you need to do is putting everything back together, make sure you tq the intake bolts/nuts to spec according to FSM/Motordyne.
While I had the plenums out, I also replaced the spark plugs. It's much easier to access them with the plenums out imo. There's a DIY post here on how to replace them. That's what I used as my guide.
I just finished all the work above this past weekend. Still haven't fill coolant in order to test everything. Hopefully the car runs like it has always been when I start her up. Praying I didn't miss a connection here or there, all bolts are tightened correctly (no leaks!), etc etc........ I need to finish this before next weekend so I can go to a DE event.
So far, I think I've spent about 20hrs or so on this at a leisure pace. I also installed the water temp gauge which is also new to me (took me forever to figure out what color wire is the switched 12V at the radio......... smh noob ) So in 20hrs, I've replaced the oem coolant pipe with PF pipe, installed a water temp gauge, and replaced spark plugs.
Update 7/20/2015:
Just went to an DE event this past weekend and wanted to share what I found. Weather was in the high 90s, possibly reach 100+ on track in TX heat at TWS. The car ran flawlessly. Highest temp the car reached while on the tracking running is 228F. The car mostly run in the 200-220 range, I only have time to check the gauge during the straights and that's what I had seen reading. I don't have any data on water temp before doing the PF mod so this is not really a comparison, more like a FYI. The car also has an oil cooler and a AMS radiator (don't know the size).
Last edited by cyc5181; Jul 20, 2015 at 06:22 AM.
Reason: update
Before doing this mod, keep in mind, the new pipe on the back of the motor no longer has a bend to allow remove of the cam sensor on the passenger's side. If your sensor goes bad, you'll have to drain the coolant and unbolt the pipe to remove it.
Before doing this mod, keep in mind, the new pipe on the back of the motor no longer has a bend to allow remove of the cam sensor on the passenger's side. If your sensor goes bad, you'll have to drain the coolant and unbolt the pipe to remove it.
Did you ever get sorted chrisde ? I have a UK rev up and was about to start this job but it would be nice to know if it will be a waste of time or not before I go taking everything apart.
Thanks i8acobra. Impatience got the better of me in the end last night so I went ahead and took it apart... So if it's of any help to anyone in future my UK 06 rev up does have the coolant port open in the block so it's all fairly plug and play and no need to cut or grind at it and send metal fillings everywhere (but who knows if all cars of that model year do or not).
Did you ever get sorted chrisde ? I have a UK rev up and was about to start this job but it would be nice to know if it will be a waste of time or not before I go taking everything apart.
Yeah it turned out I was wrong and my engine (and presumably all VQ engines) does have the port opened, but it just doesn't look like it at first. The opening is in the side walls and faces downwards, so you can't actually see it.


 ) So in 20hrs, I've replaced the oem coolant pipe with PF pipe, installed a water temp gauge, and replaced spark plugs.


