
LS1 Drift Build 'Nuff Said'


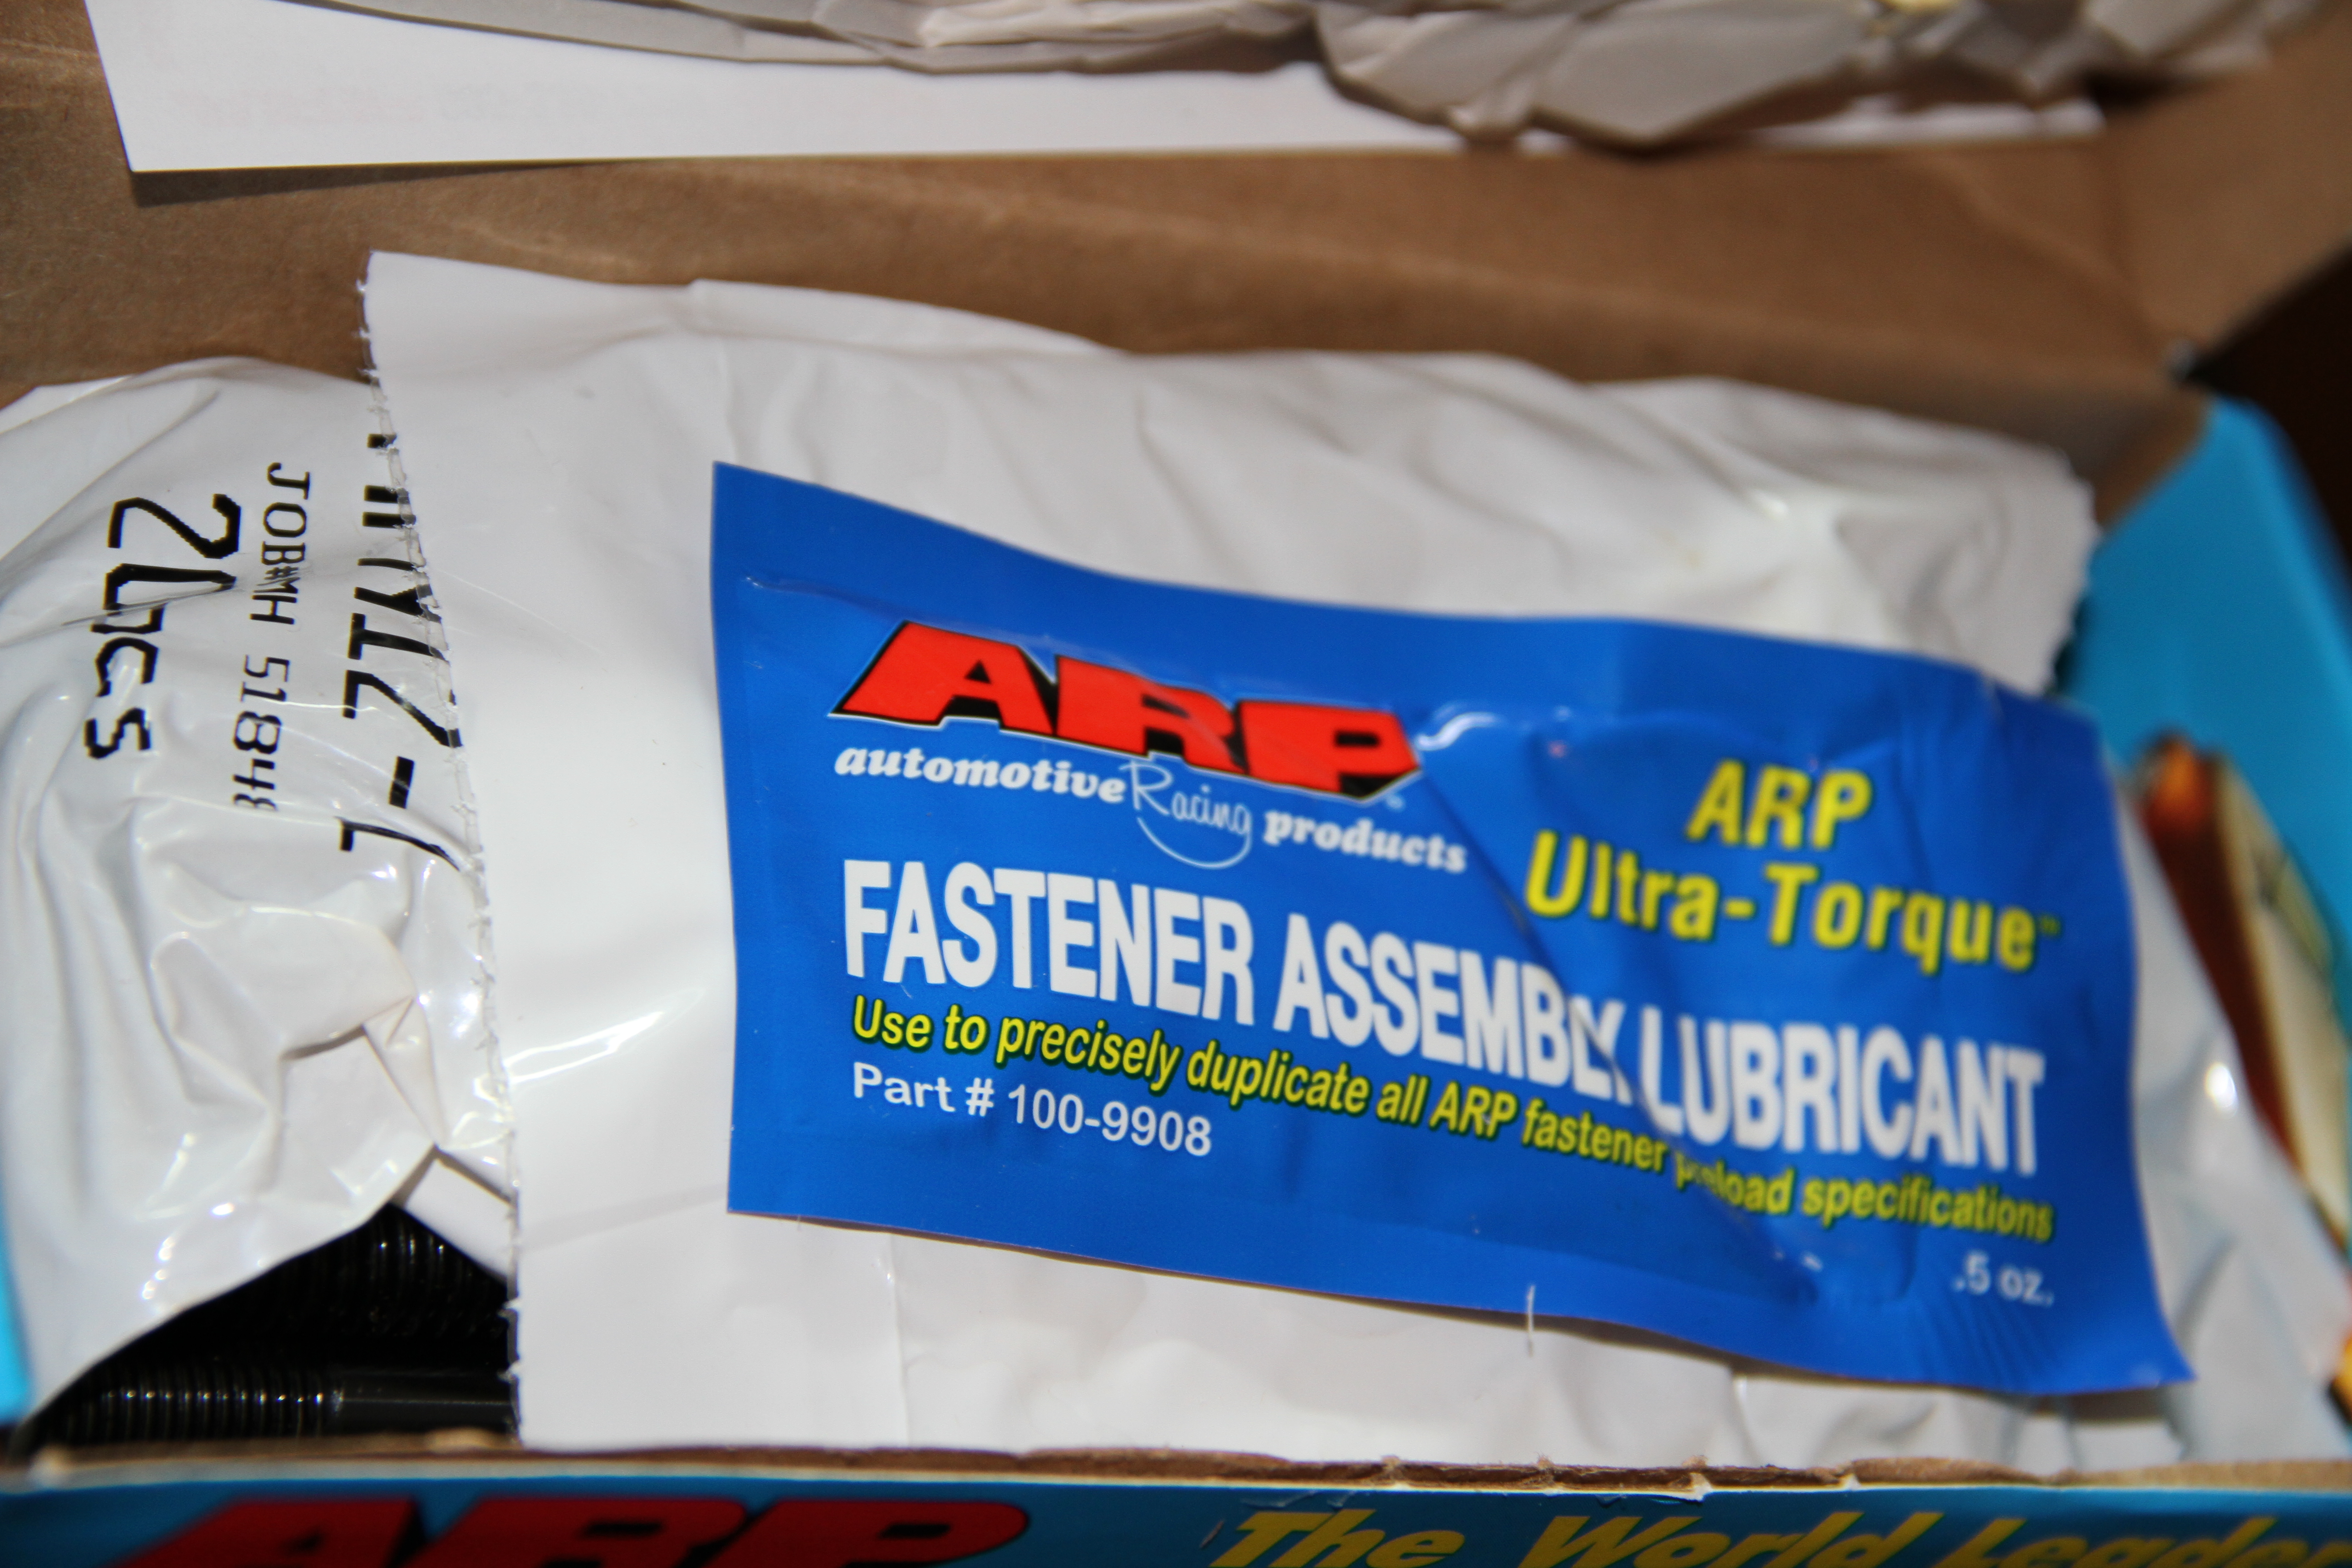
Thanks buddy.. I left out some info I should have touched on.. But make sure you spry every thing with this stuff if you do not plan on starting the engine right away.. http://www.torcousa.com/torco_product/mpz_spray.html
I really don't know.. I will must likely have someone do this part for me as I am a little confused with the whole thing. Some people on LS1tech said don't worry about it but I just want to be safe.. So once my tube chassis is done and I will do this for sure.. How about you.. I know Comp Cam makes a kit..
Me too
I have a number of books that outline the degreeing process and a number of friends who have done it before so I am going to tackle it myself.

Thread Starter
New Member
iTrader: (9)
Joined: Sep 2004
Posts: 2,840
Likes: 14
From: San Antonio, TX
^^ Thats good you are going to do it yourself.. You should def document the process for us if you could.. Would love to know..
Thanks everyone for the kind words...they are a huge motivation to me and this is the main reason why I love building cars..
Anyways,, since it is about to be hump day (Wednesday for people that don't know). I had to get a workbench cause working on fold out tables is not cutting it for me...lol
I also cleaned up the garage just a little..
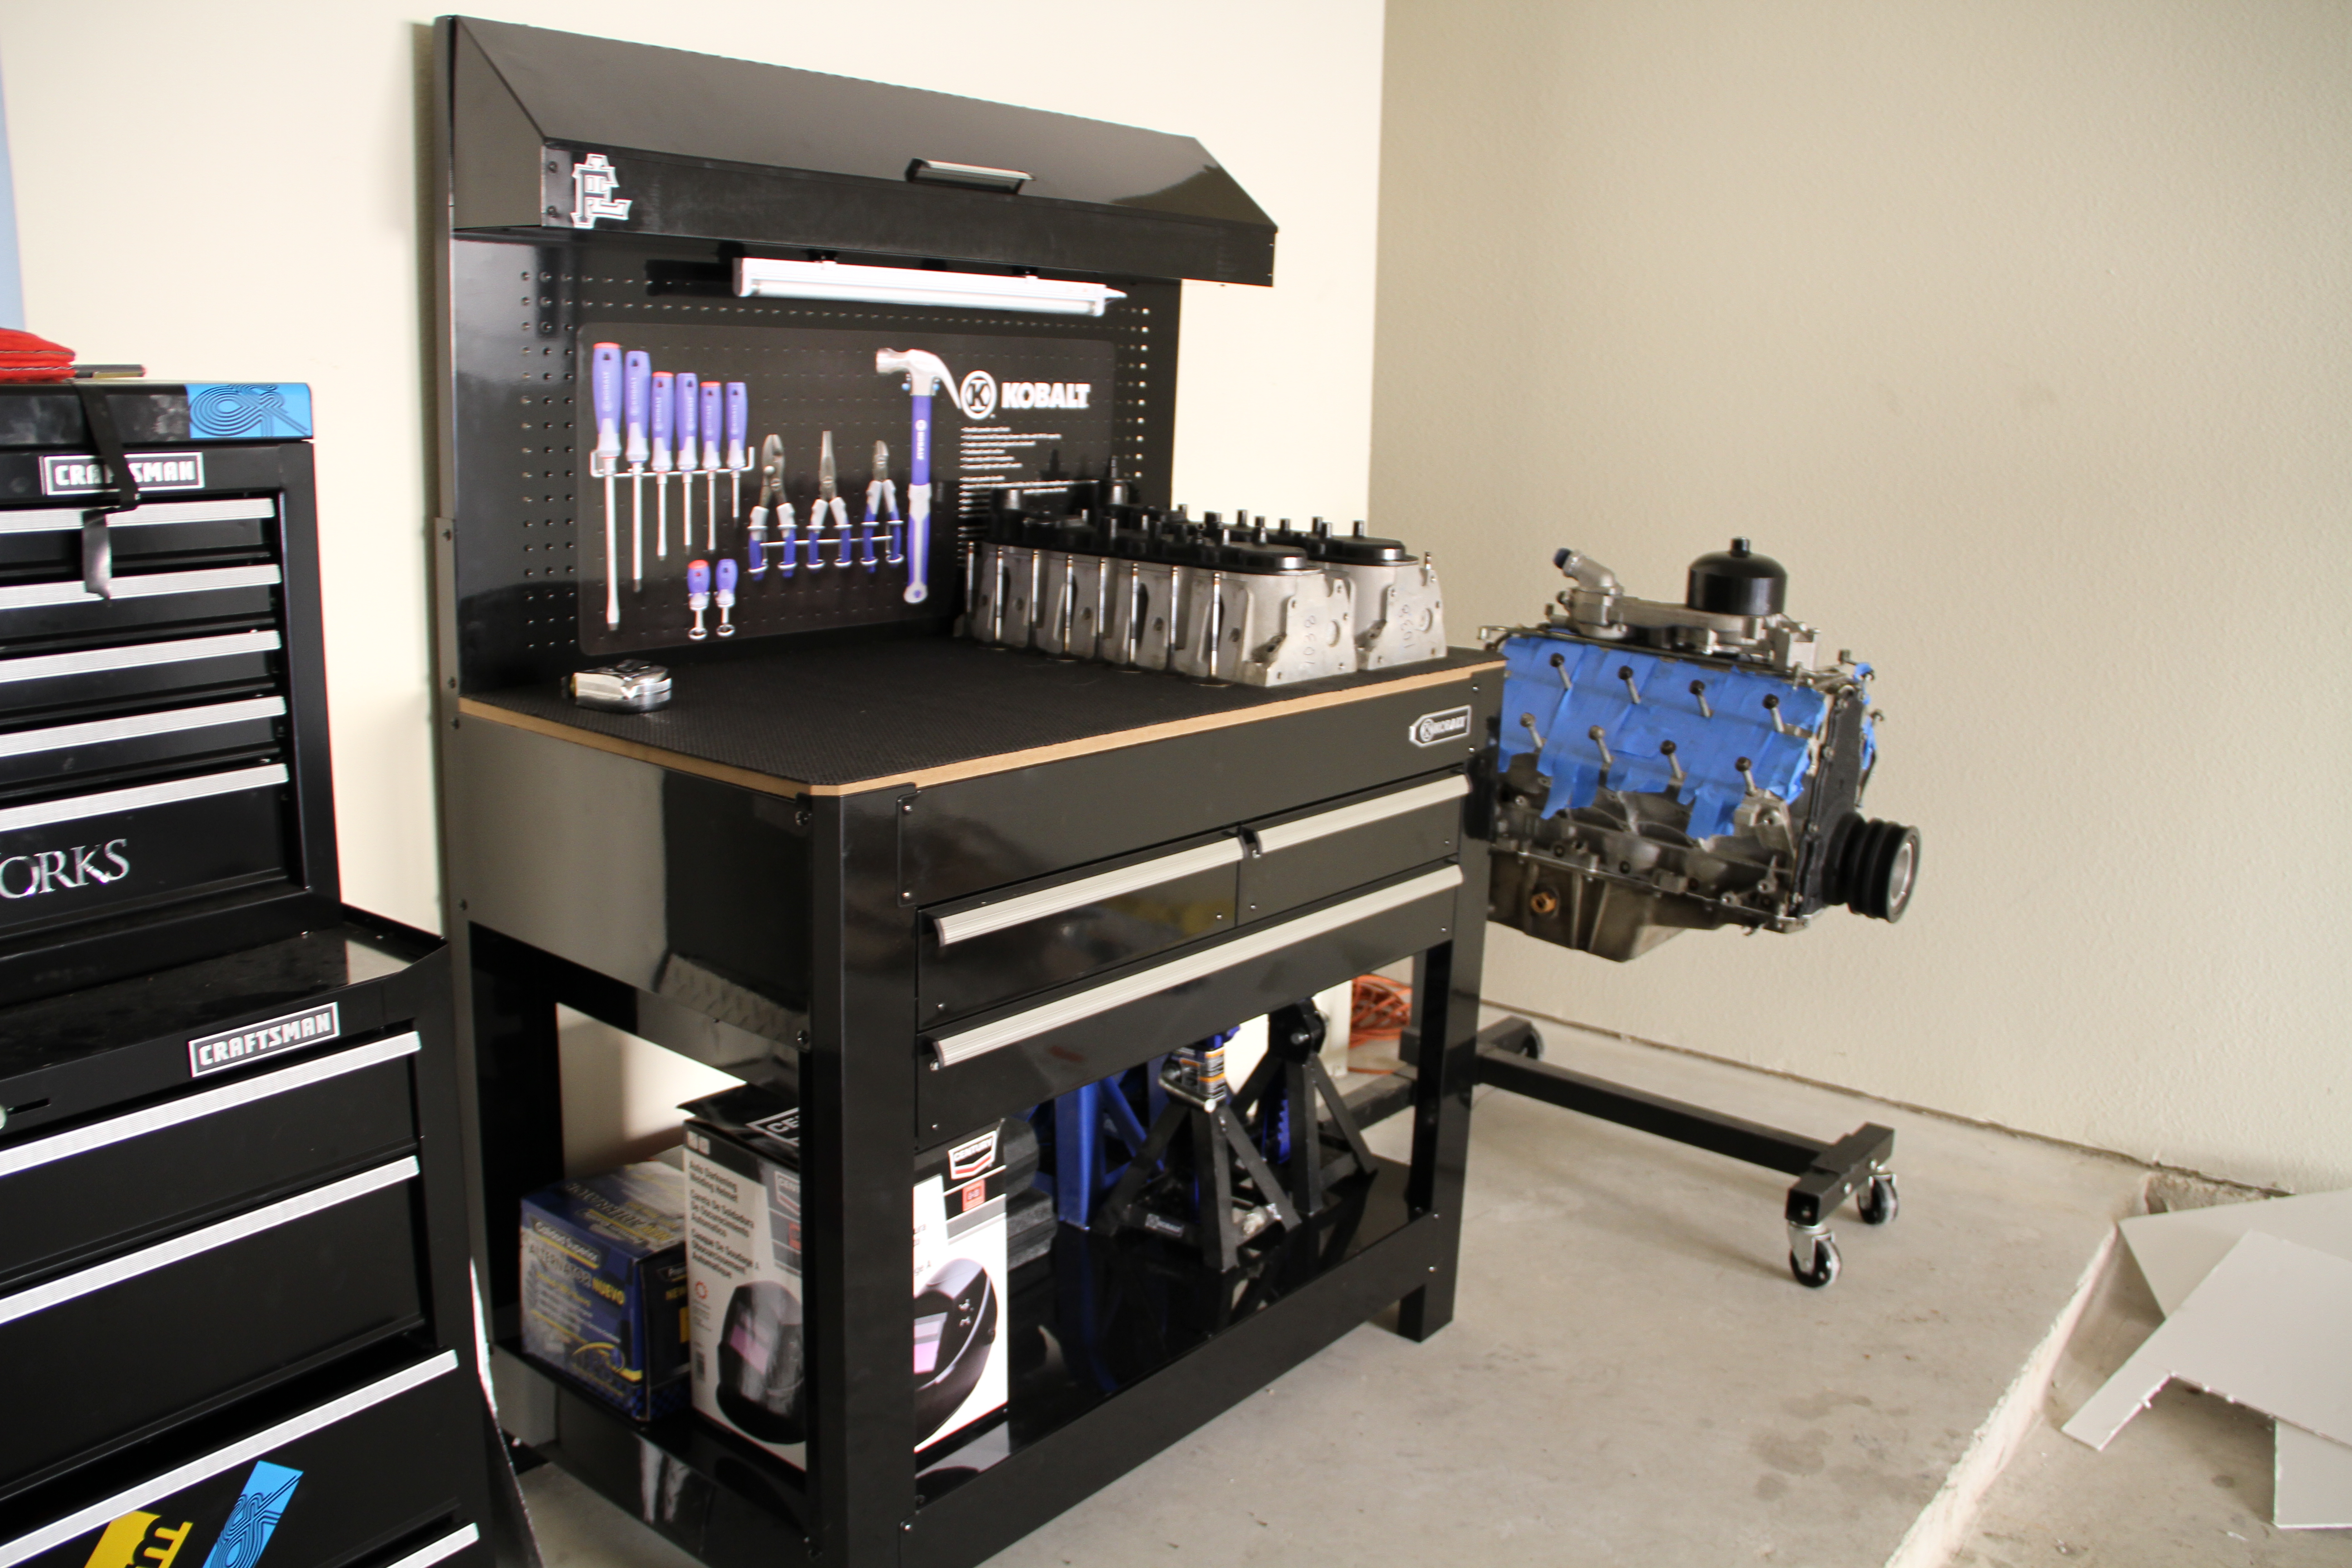
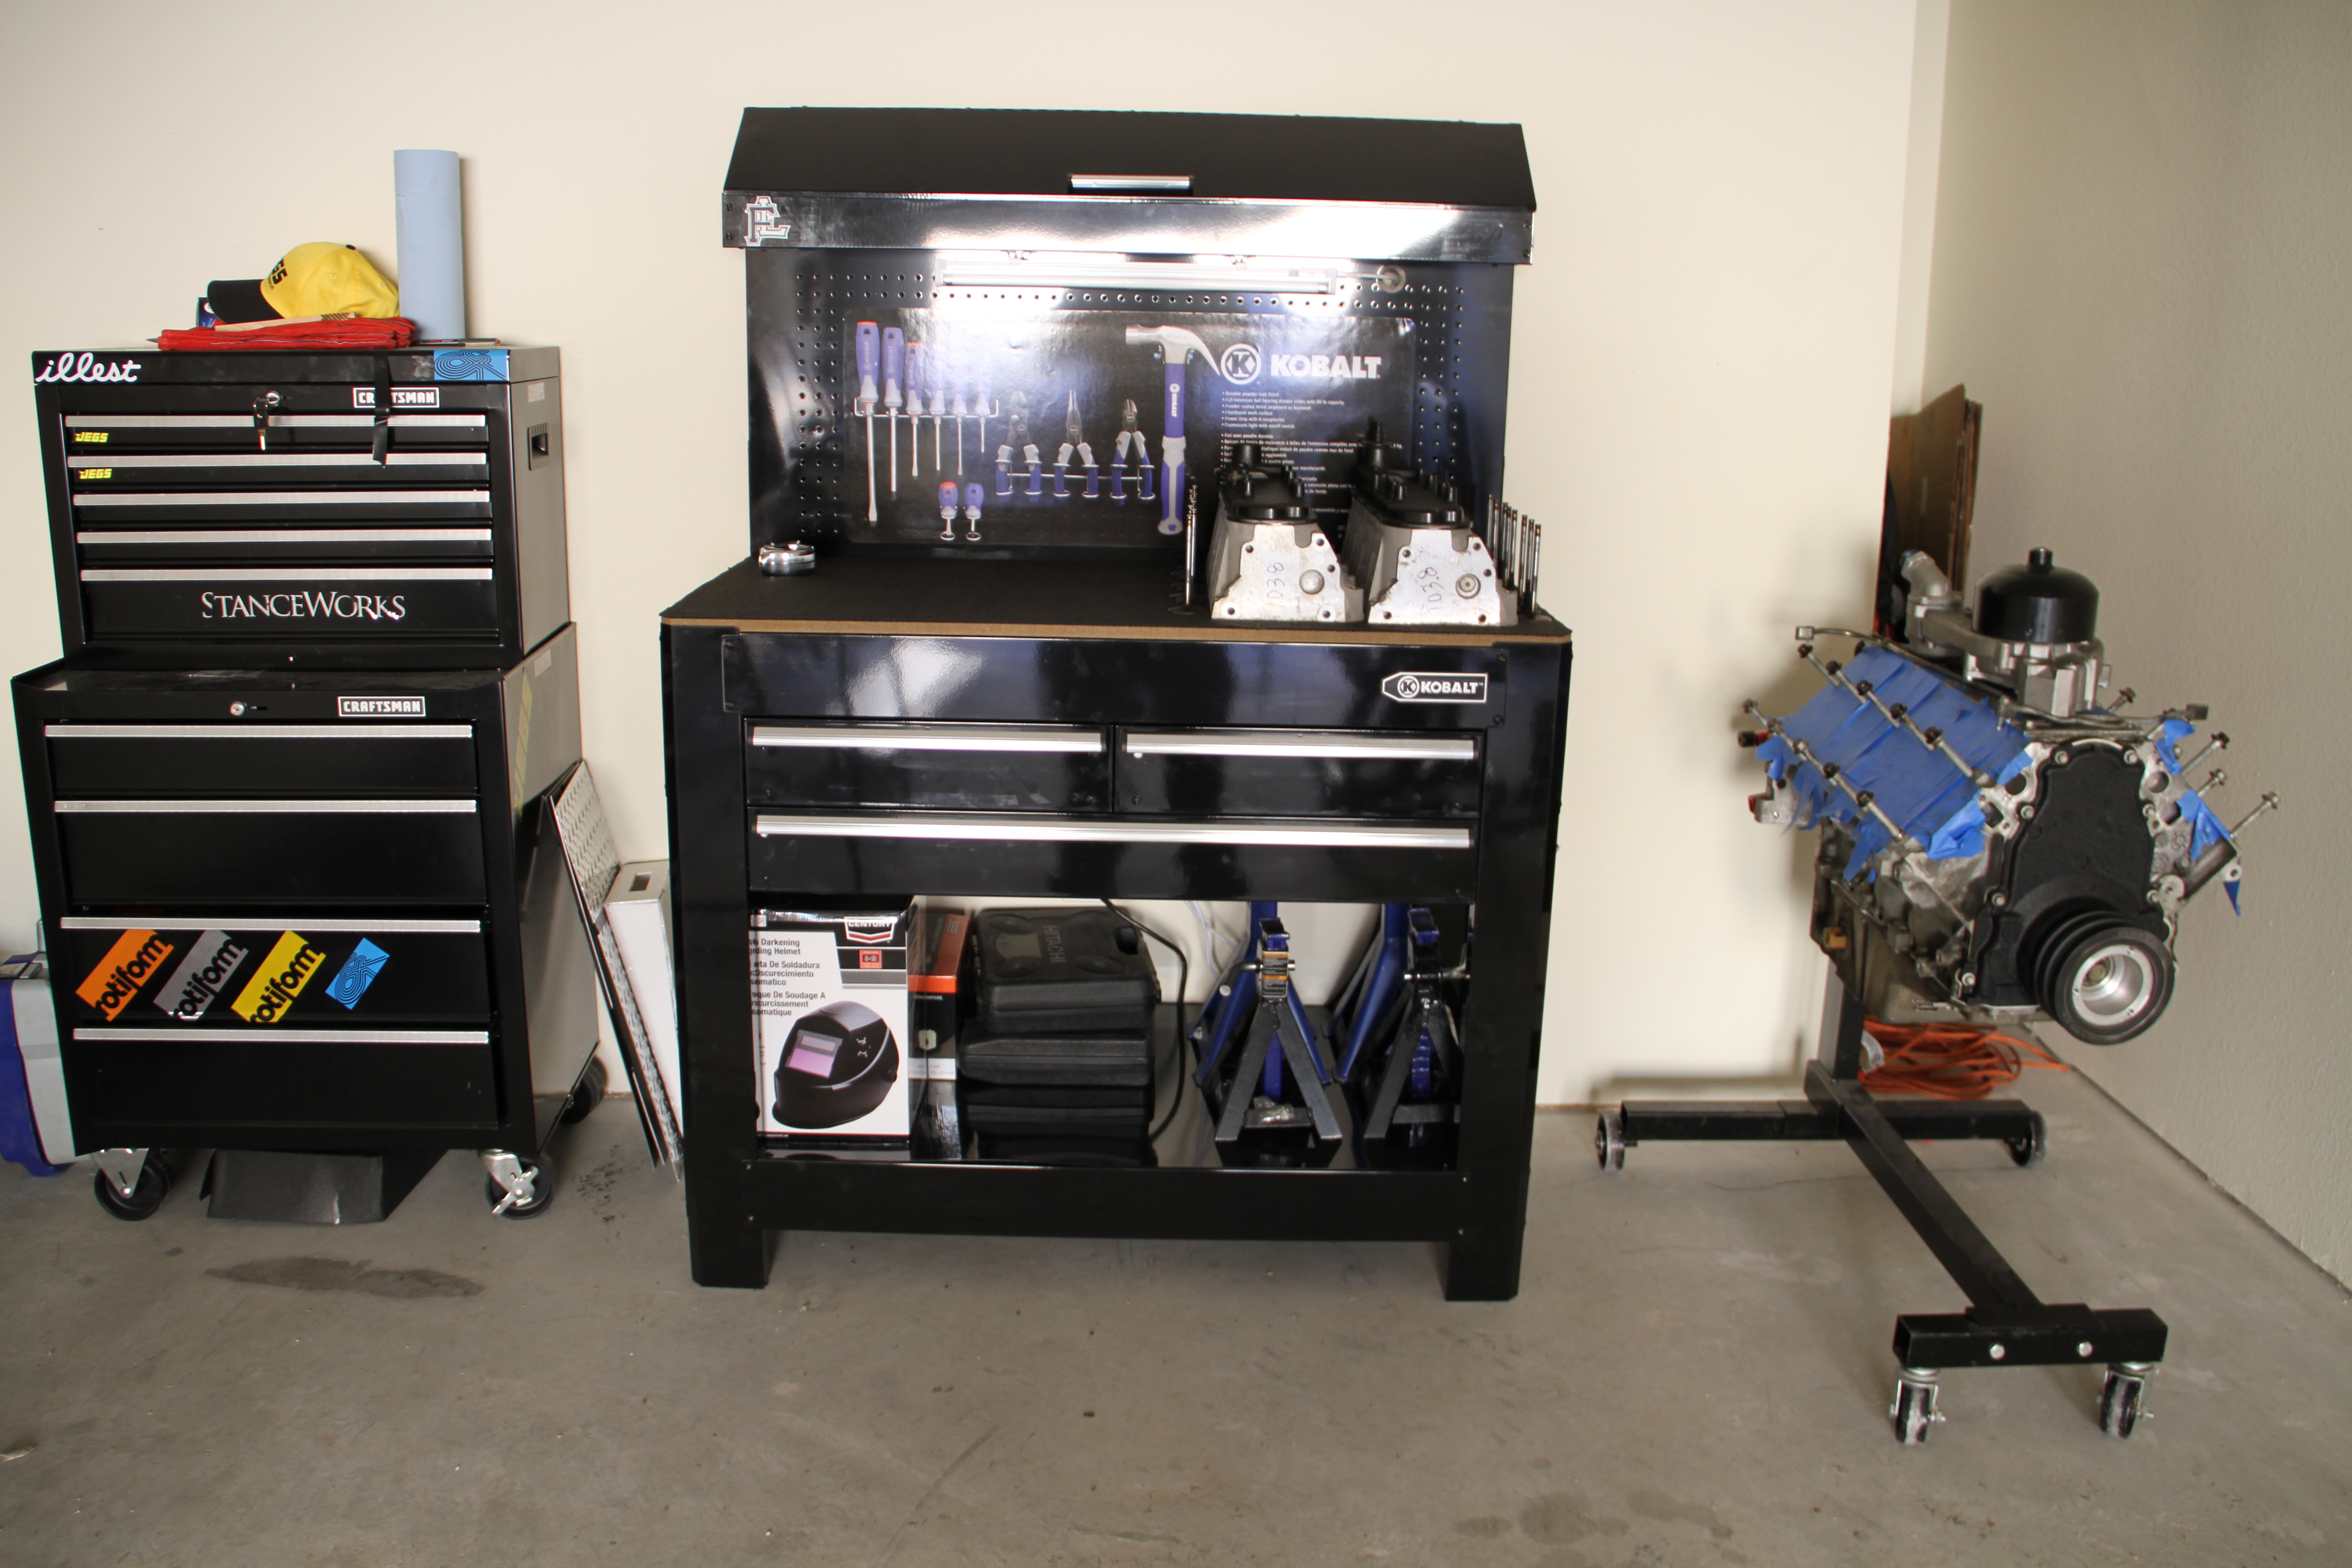
I might update little pics from time to time, during the week if something comes up that need to be posted.. Like little treats for you guys.. lol
Tell next week enjoy.
Thanks everyone for the kind words...they are a huge motivation to me and this is the main reason why I love building cars..
Anyways,, since it is about to be hump day (Wednesday for people that don't know). I had to get a workbench cause working on fold out tables is not cutting it for me...lol
I also cleaned up the garage just a little..
I might update little pics from time to time, during the week if something comes up that need to be posted.. Like little treats for you guys.. lol
Tell next week enjoy.


Thread Starter
New Member
iTrader: (9)
Joined: Sep 2004
Posts: 2,840
Likes: 14
From: San Antonio, TX
STAGE 1: Phase 3 'rocker arms/valve springs/ head Install'
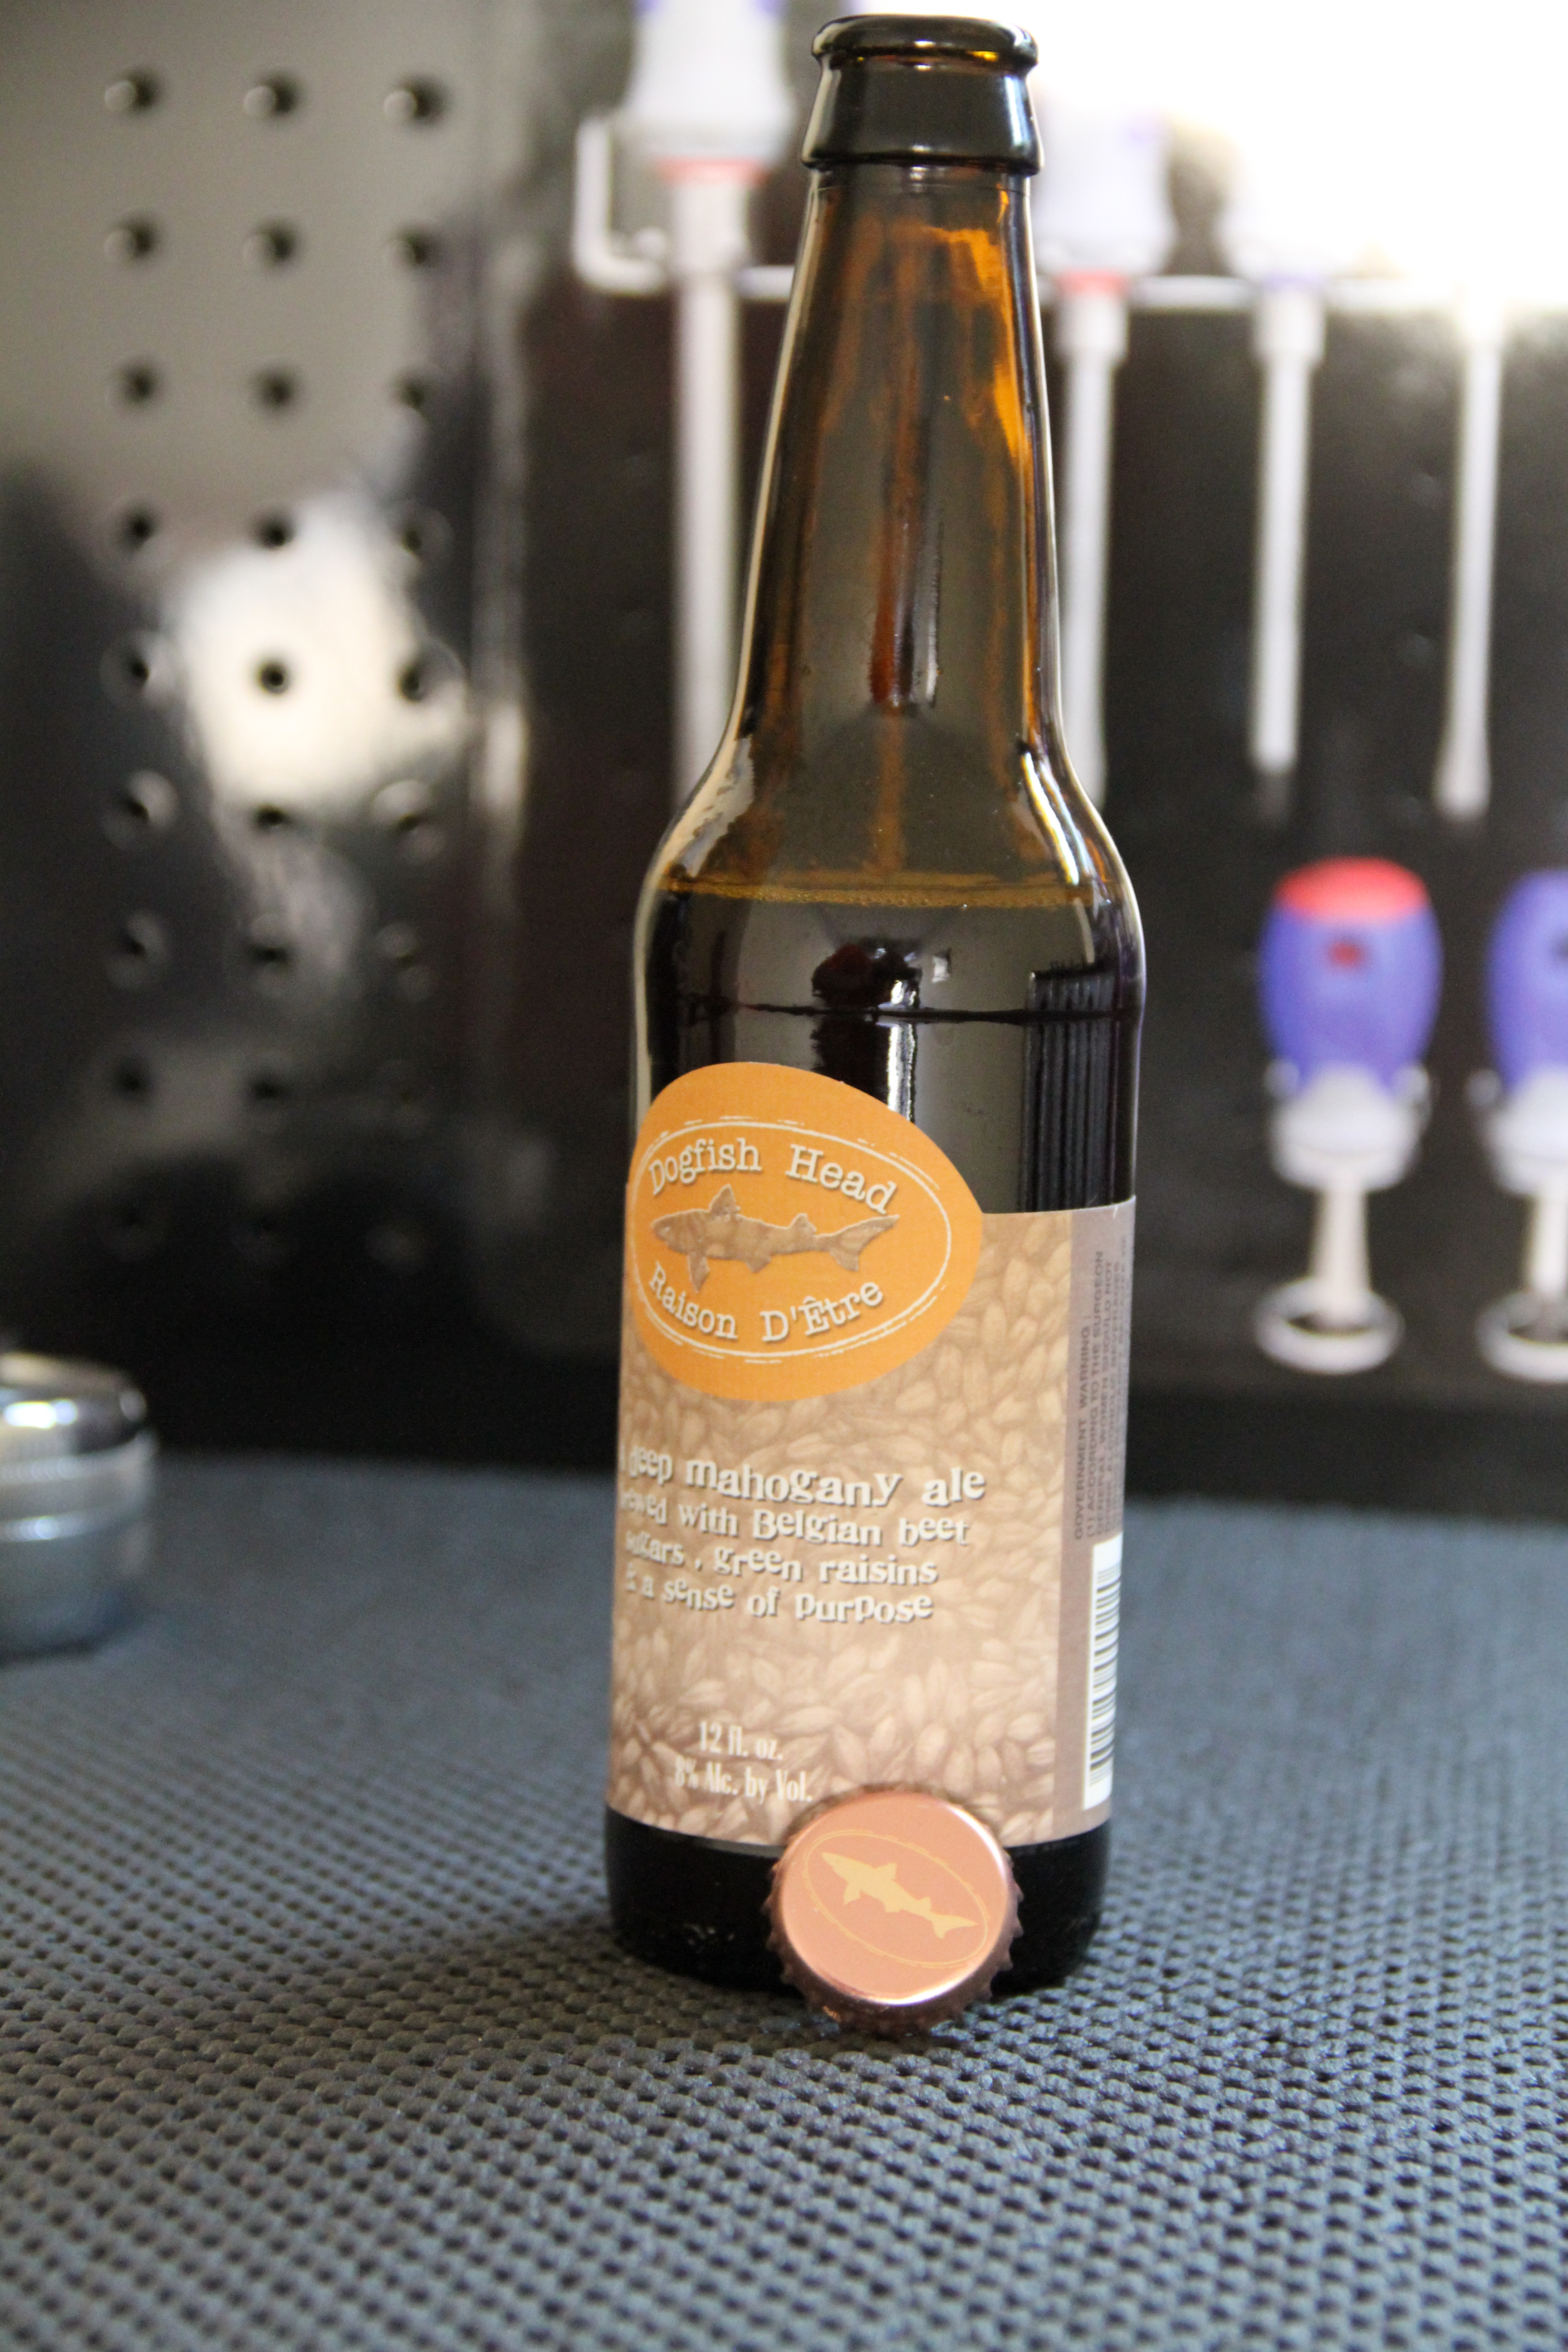
Beer of choice this week is DogFish Head again but their Raison D'Etre. A deep, mahogany Belgian-style brown ale brewed with beet sugar, raisins, and Belgian-style yeast.
Man I just love the after taste of this beer, def a good summer time beer..
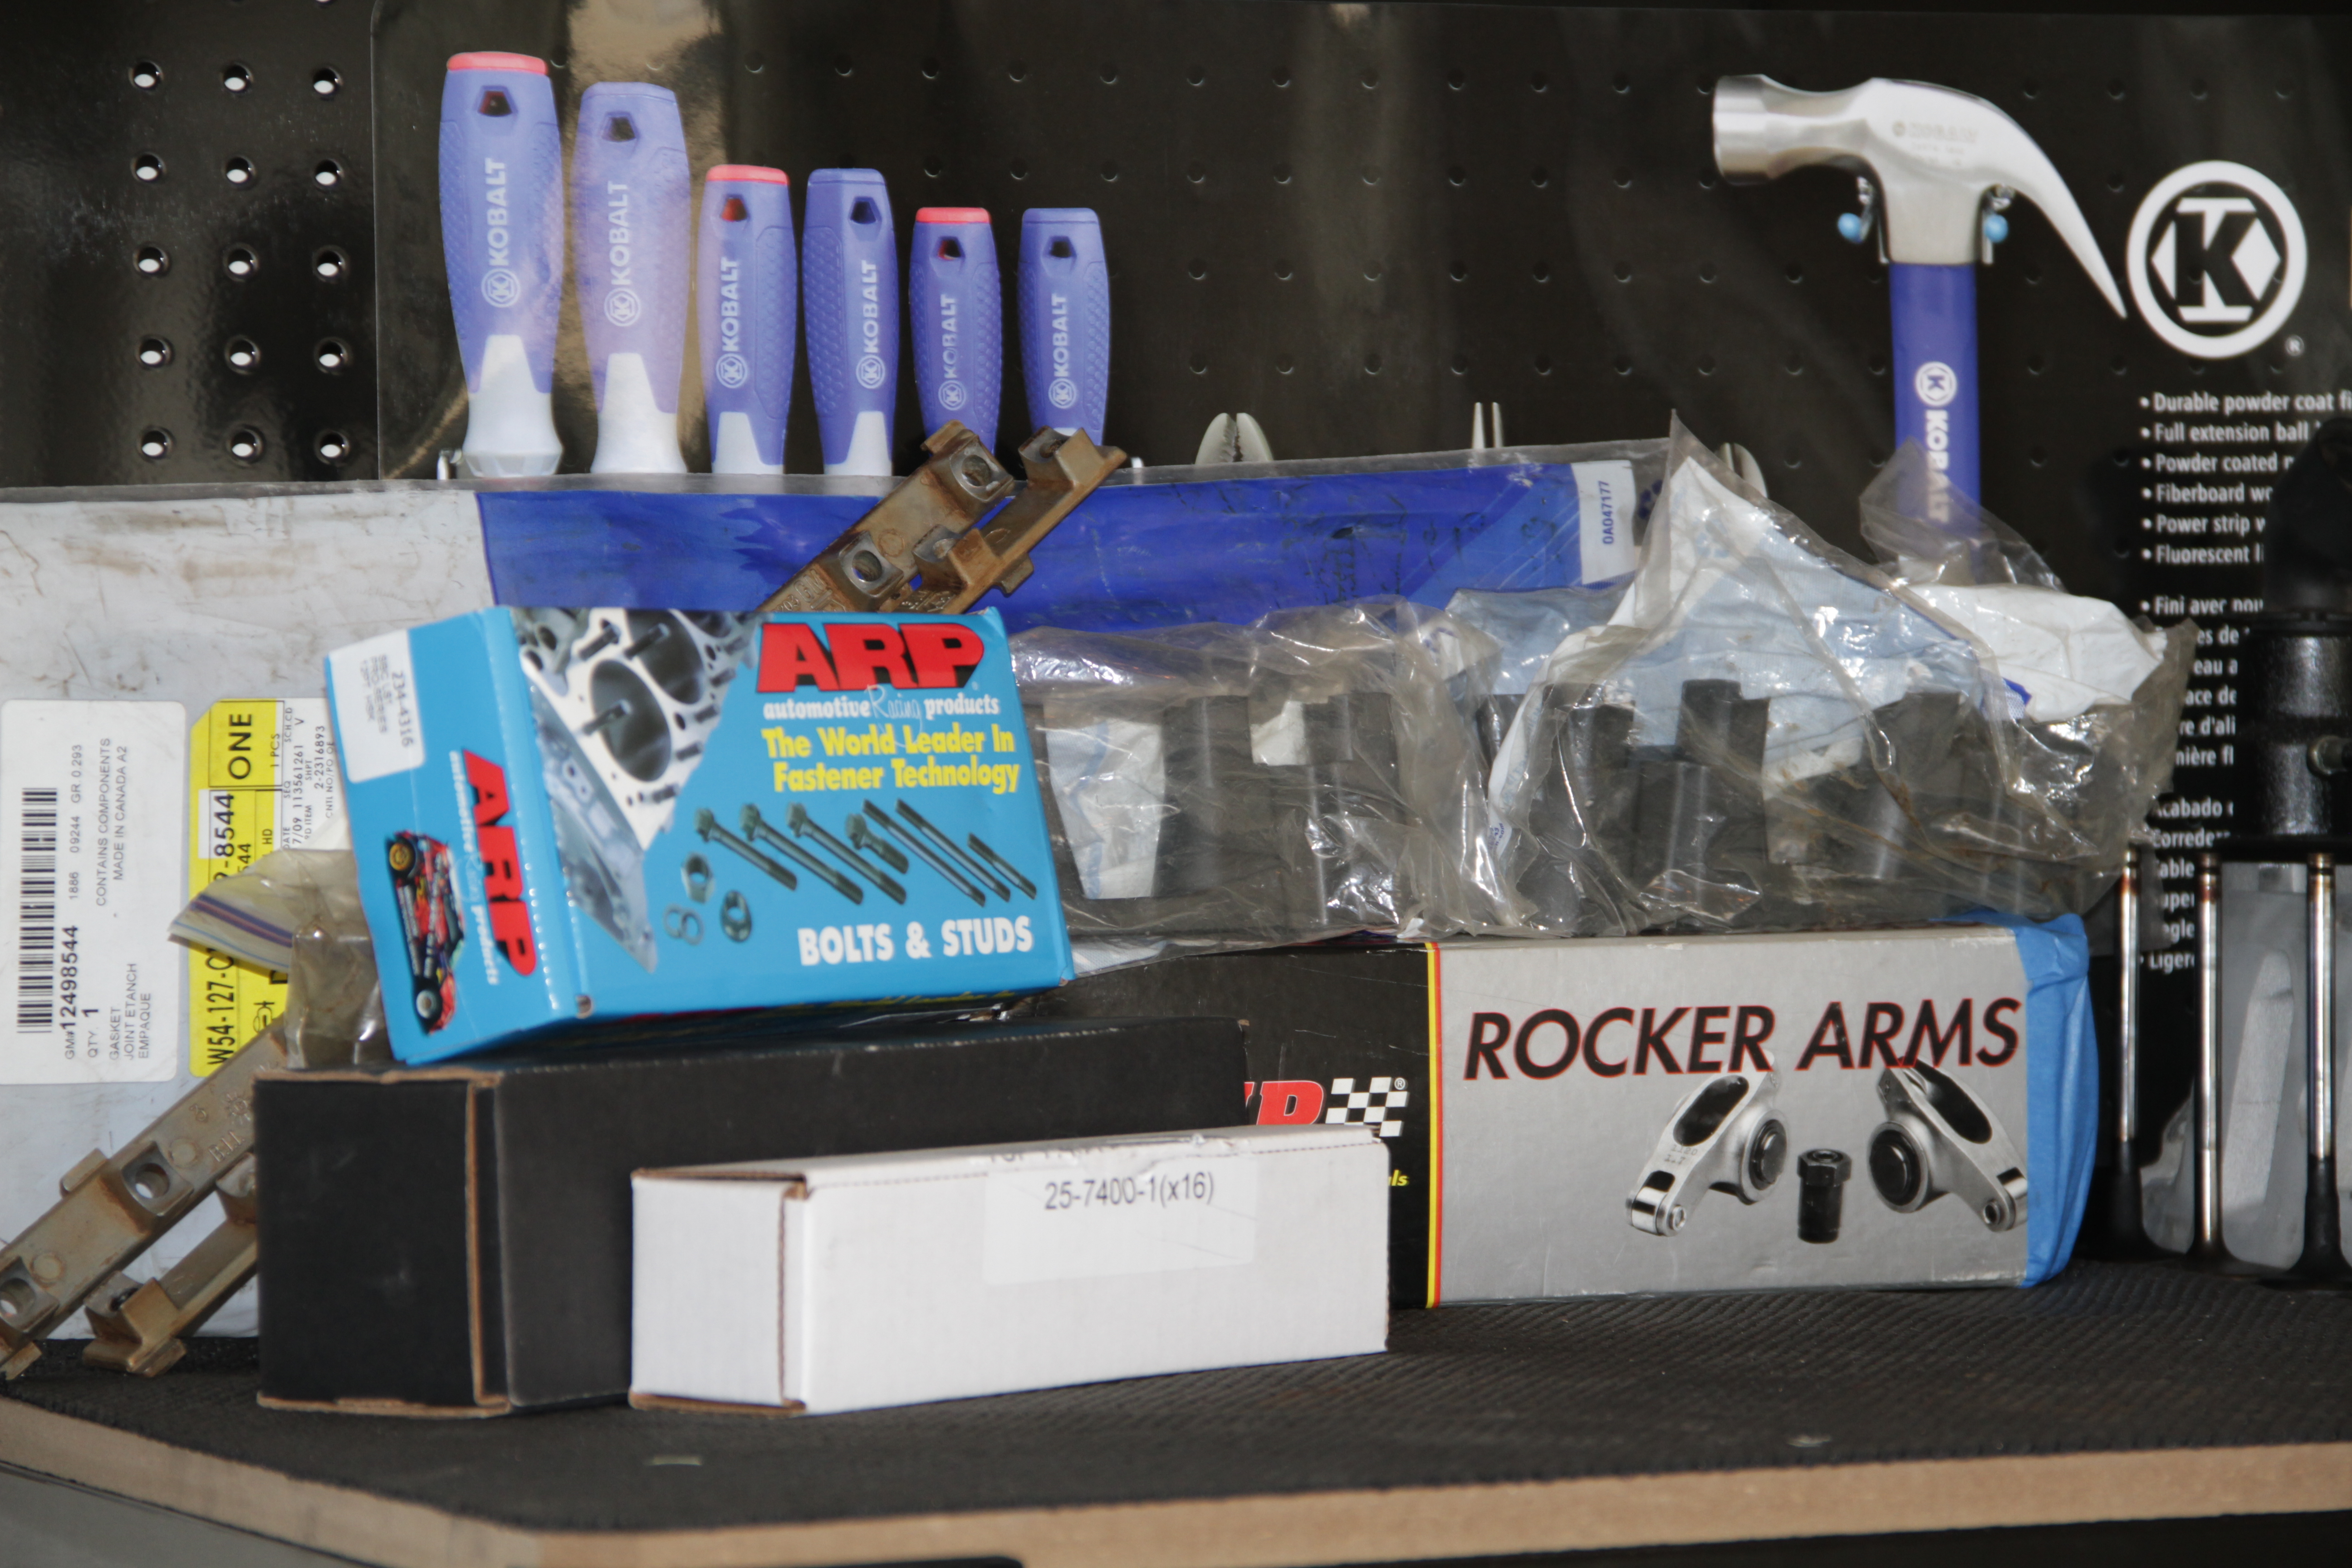
Okay what I have to install today is some, Dual Valve Springs, Hardened Chromoly Pushrods and Titanium Retainers that came with the Camshaft package I mentioned last week..Also ARP head studs, Comp Pro Rocker Arms and Comp Cam High Performance Valve Locks.
Comp Pro Rocker Arms: $300 (got from LS1tech.com)
Comp Cam High Performance Valve Locks: $31.99
ARP 12-point head studs: $279.99
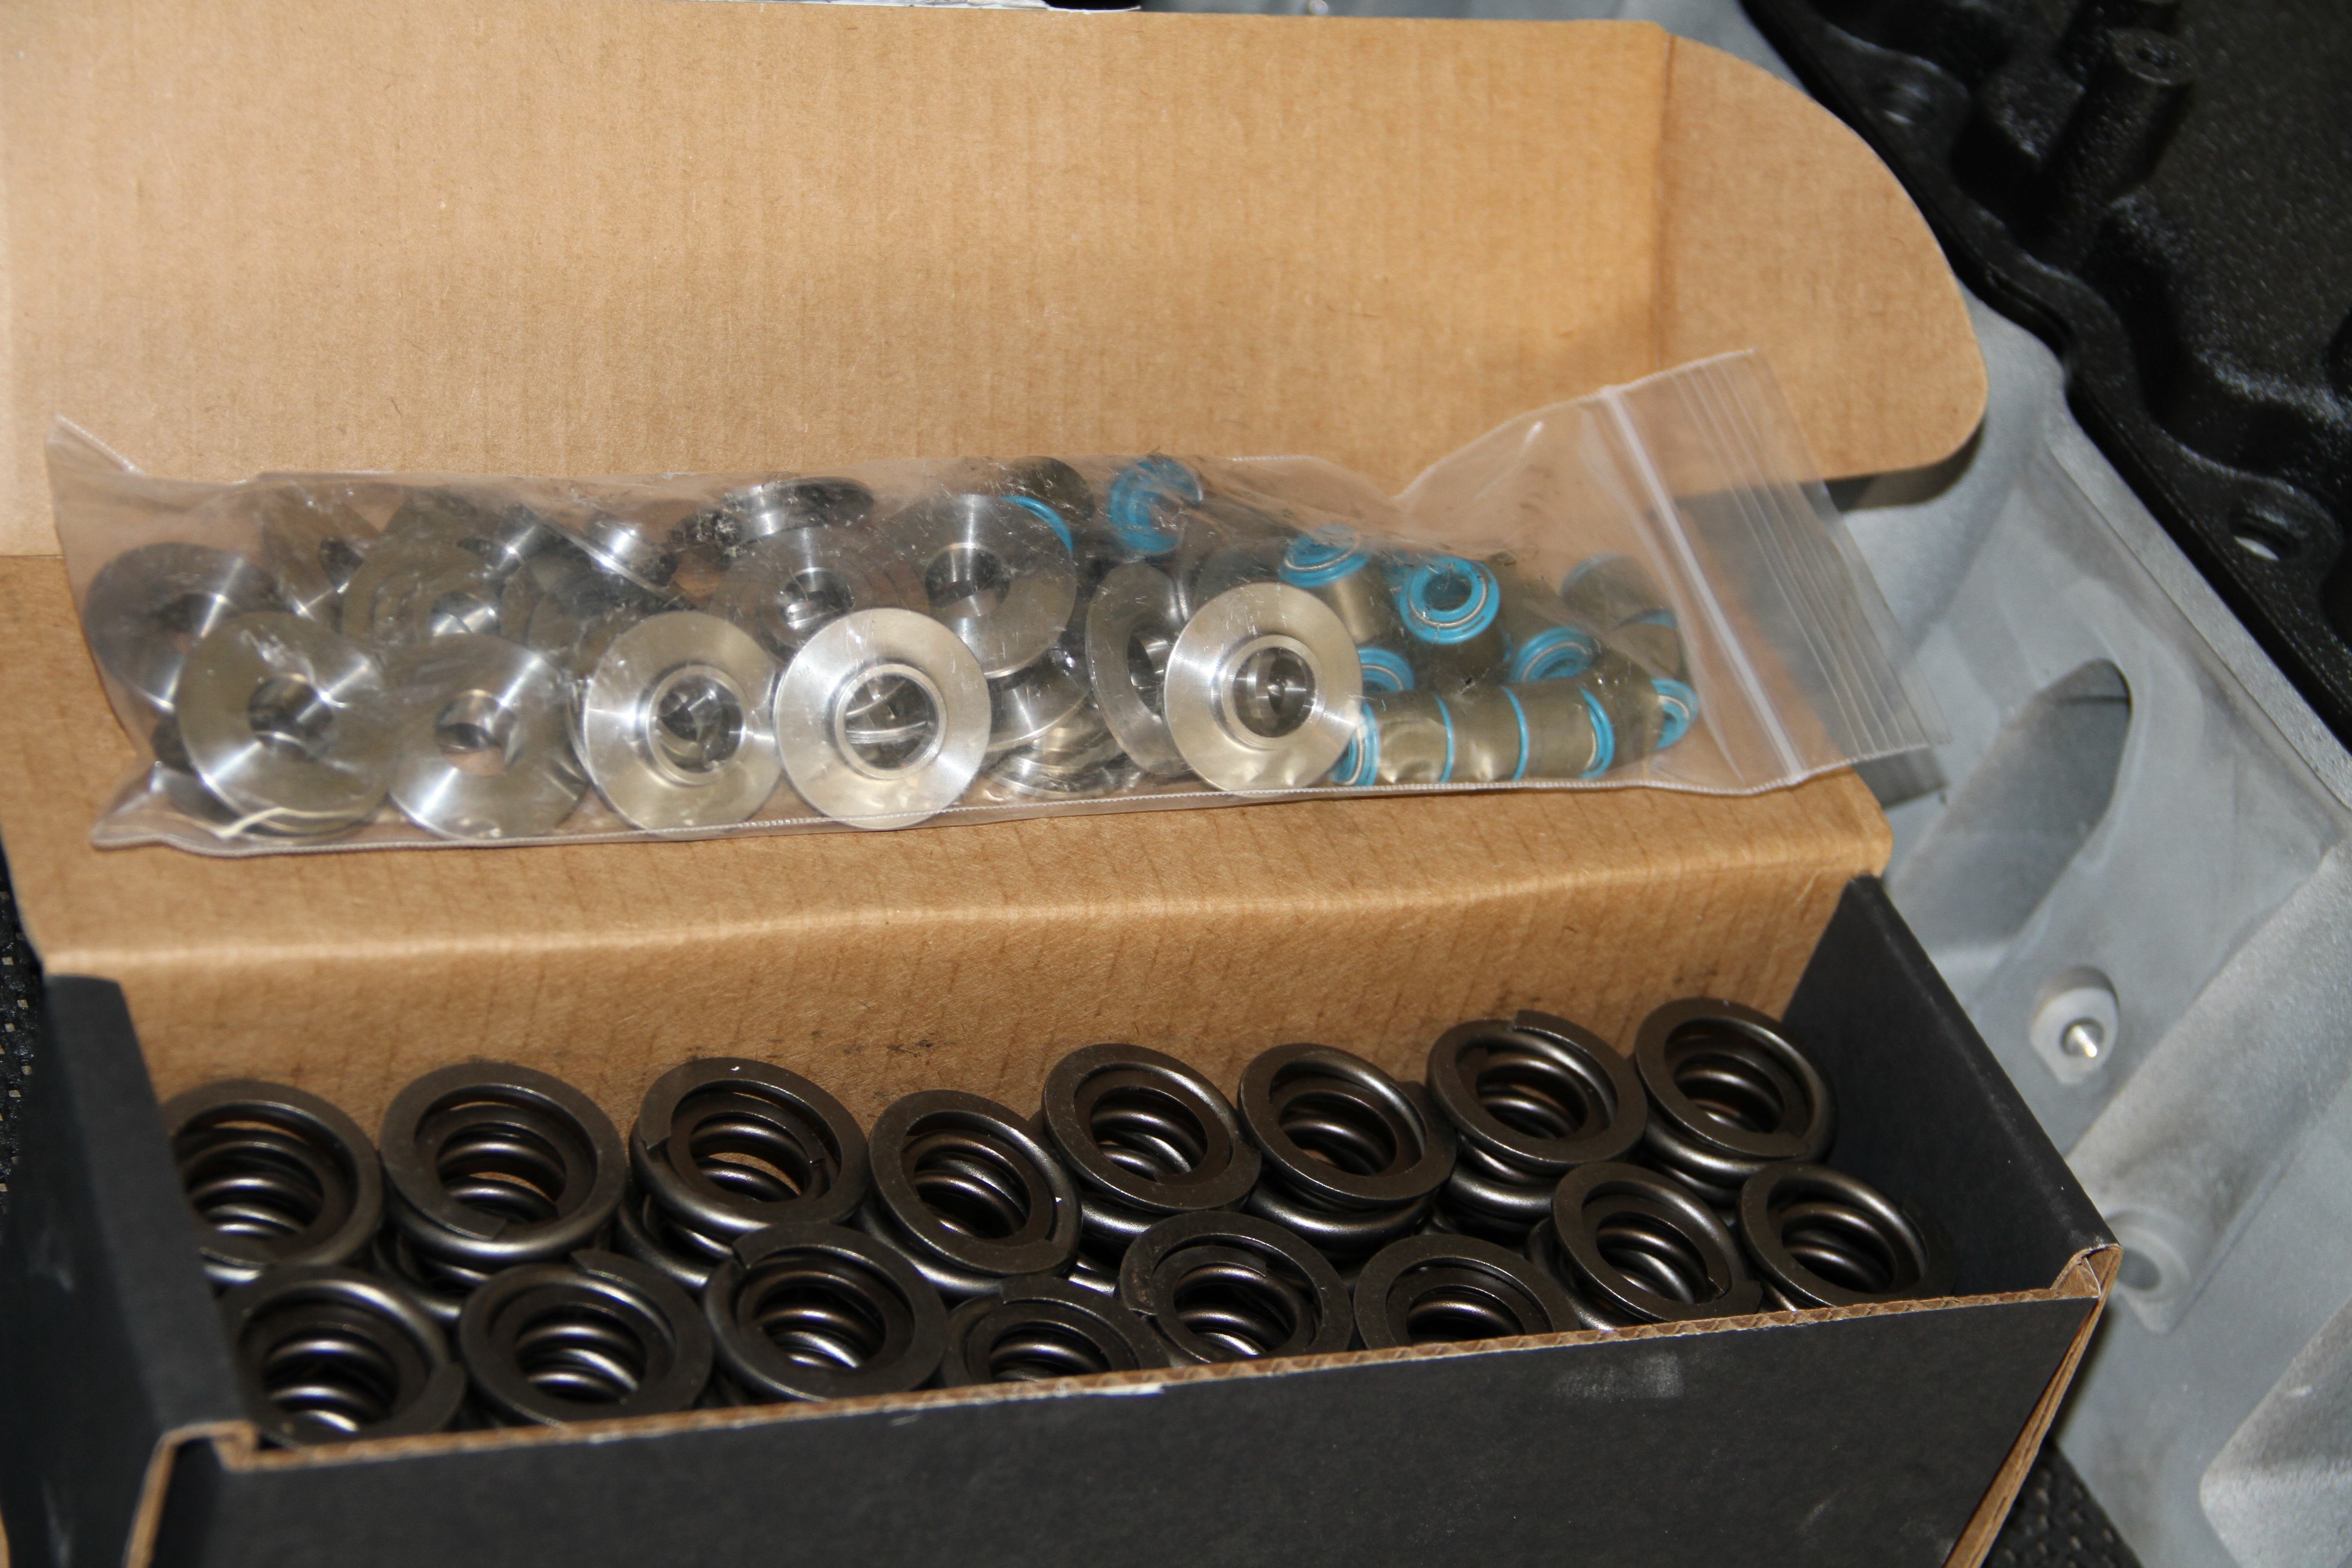
First we have the Dual Valve Springs and Titanium Retainers...
These things are sooo sick..
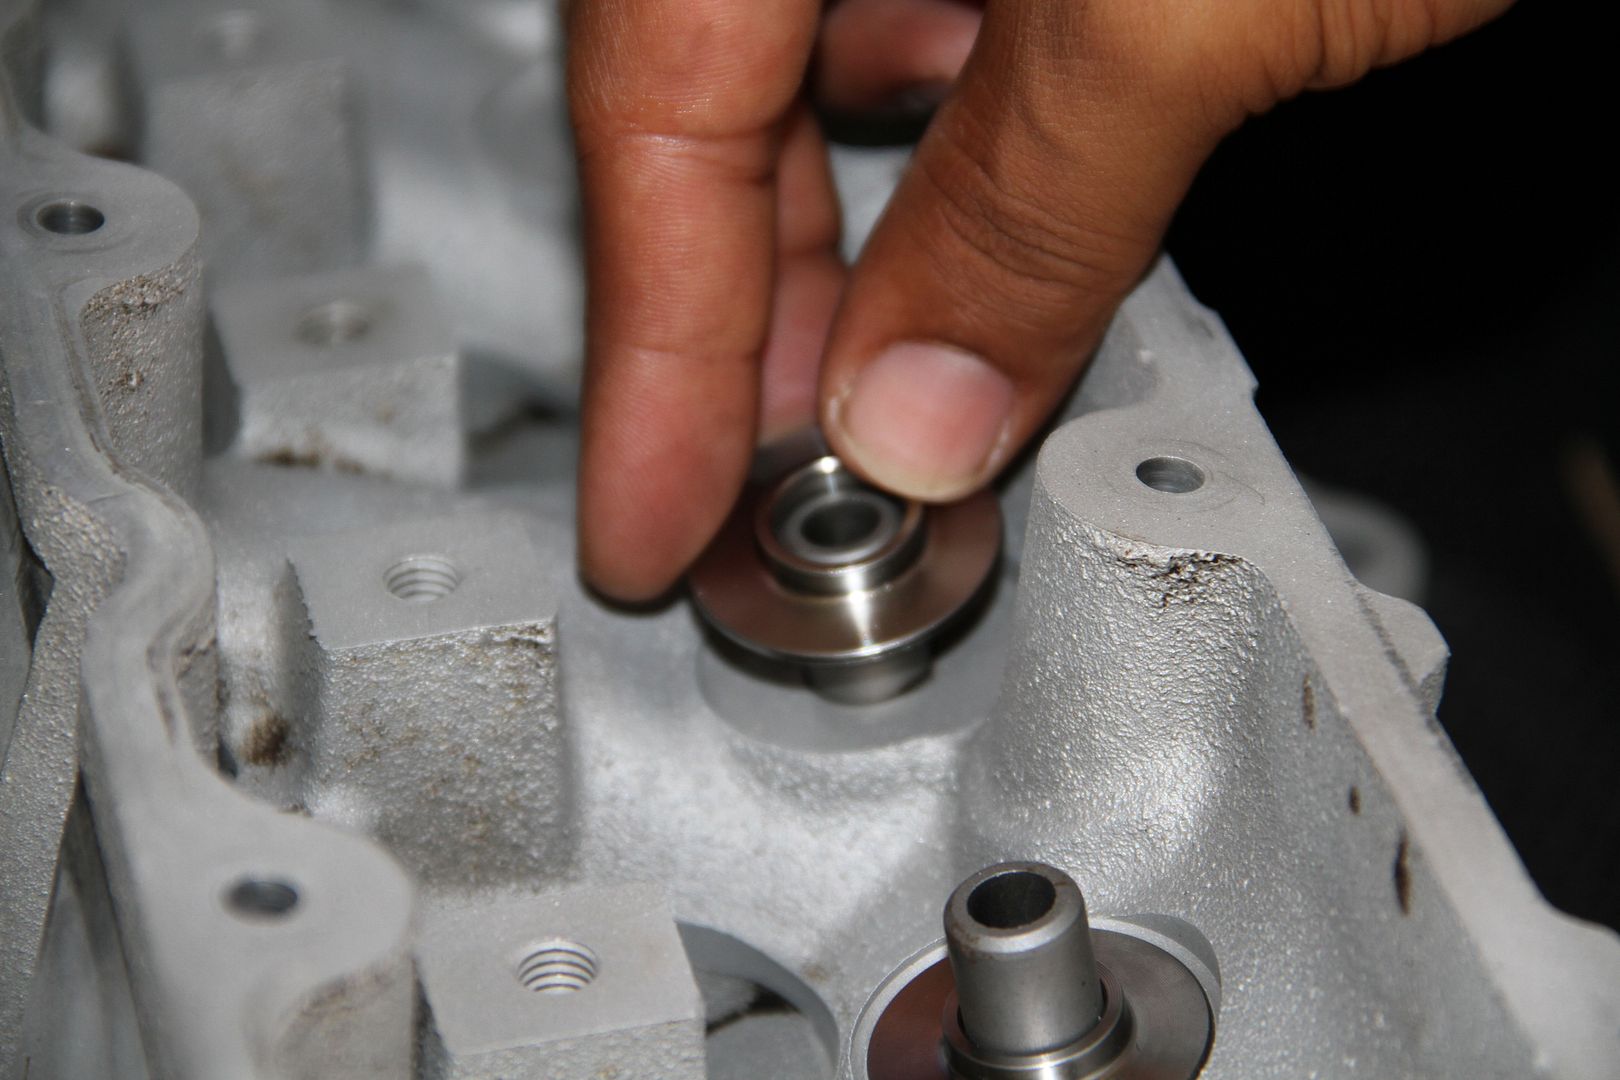
First you have to place the bottom Retainers..
Pretty straight forward on this part..
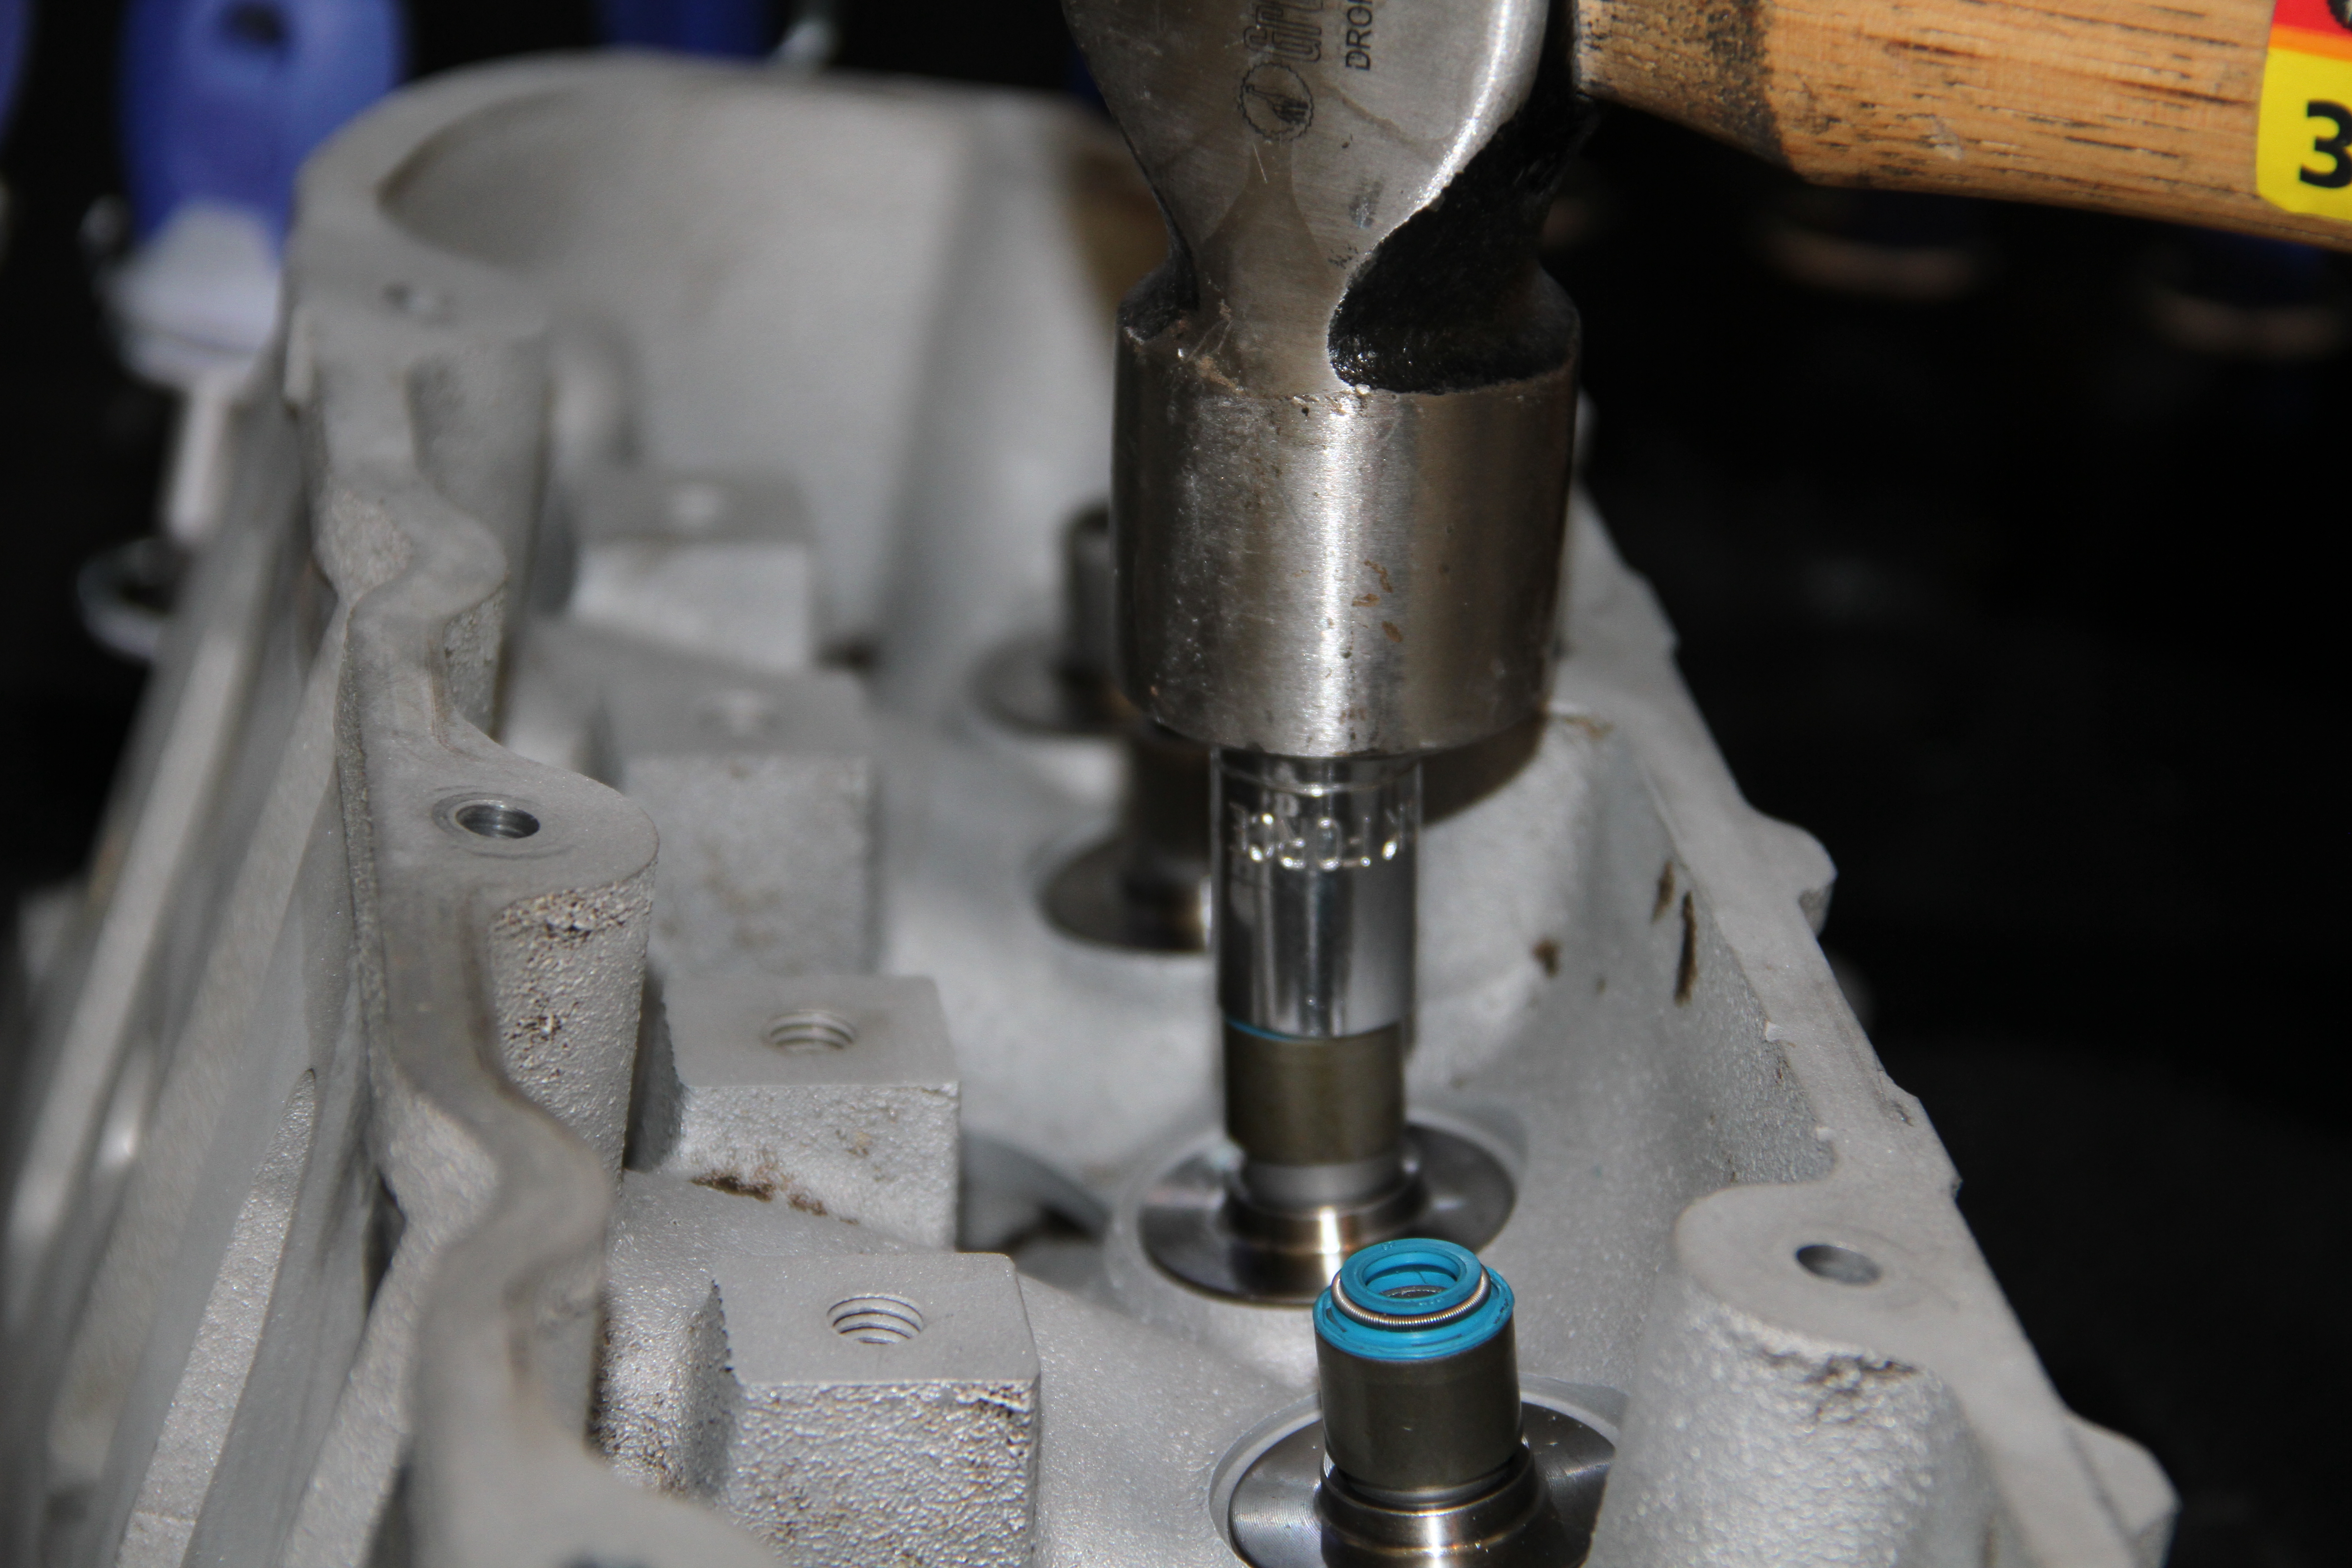
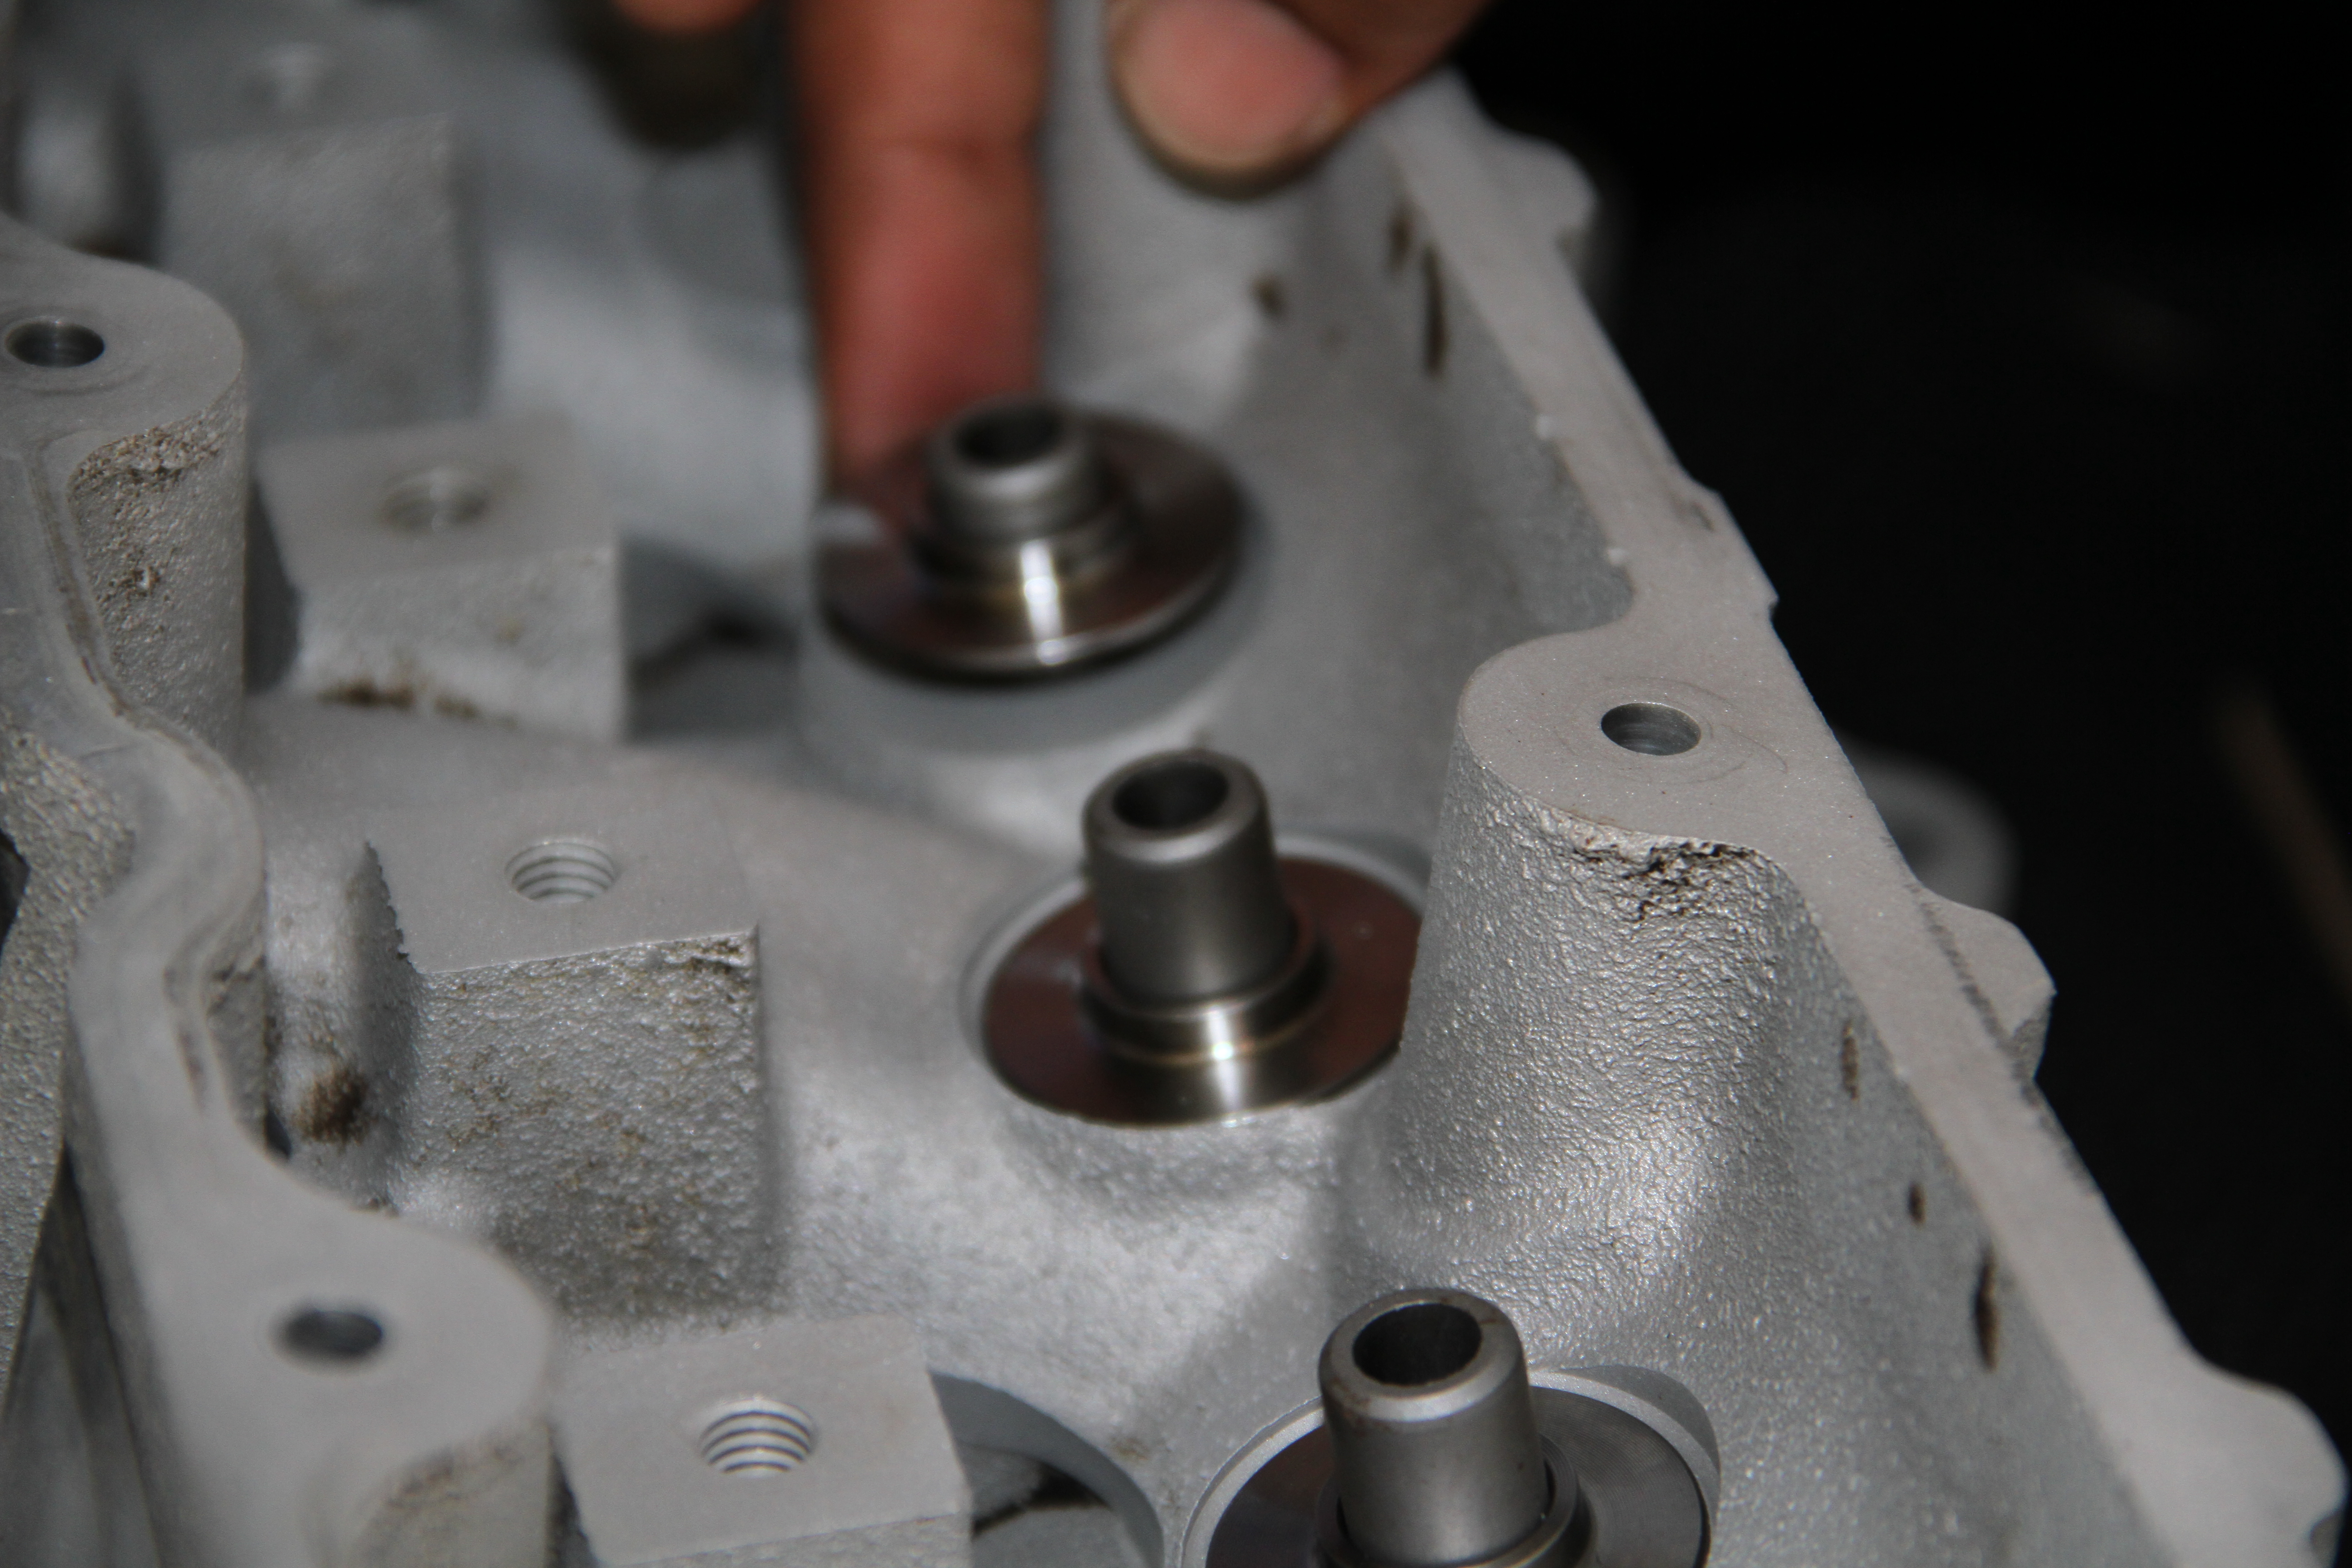
Next is the Valve Seals.. Now to install these you will need a 12mm and a hammer. Tap, Tap, Tap, take your time and make sure they are straight. You don't want to F one of these up and have to go out and buy new ones..
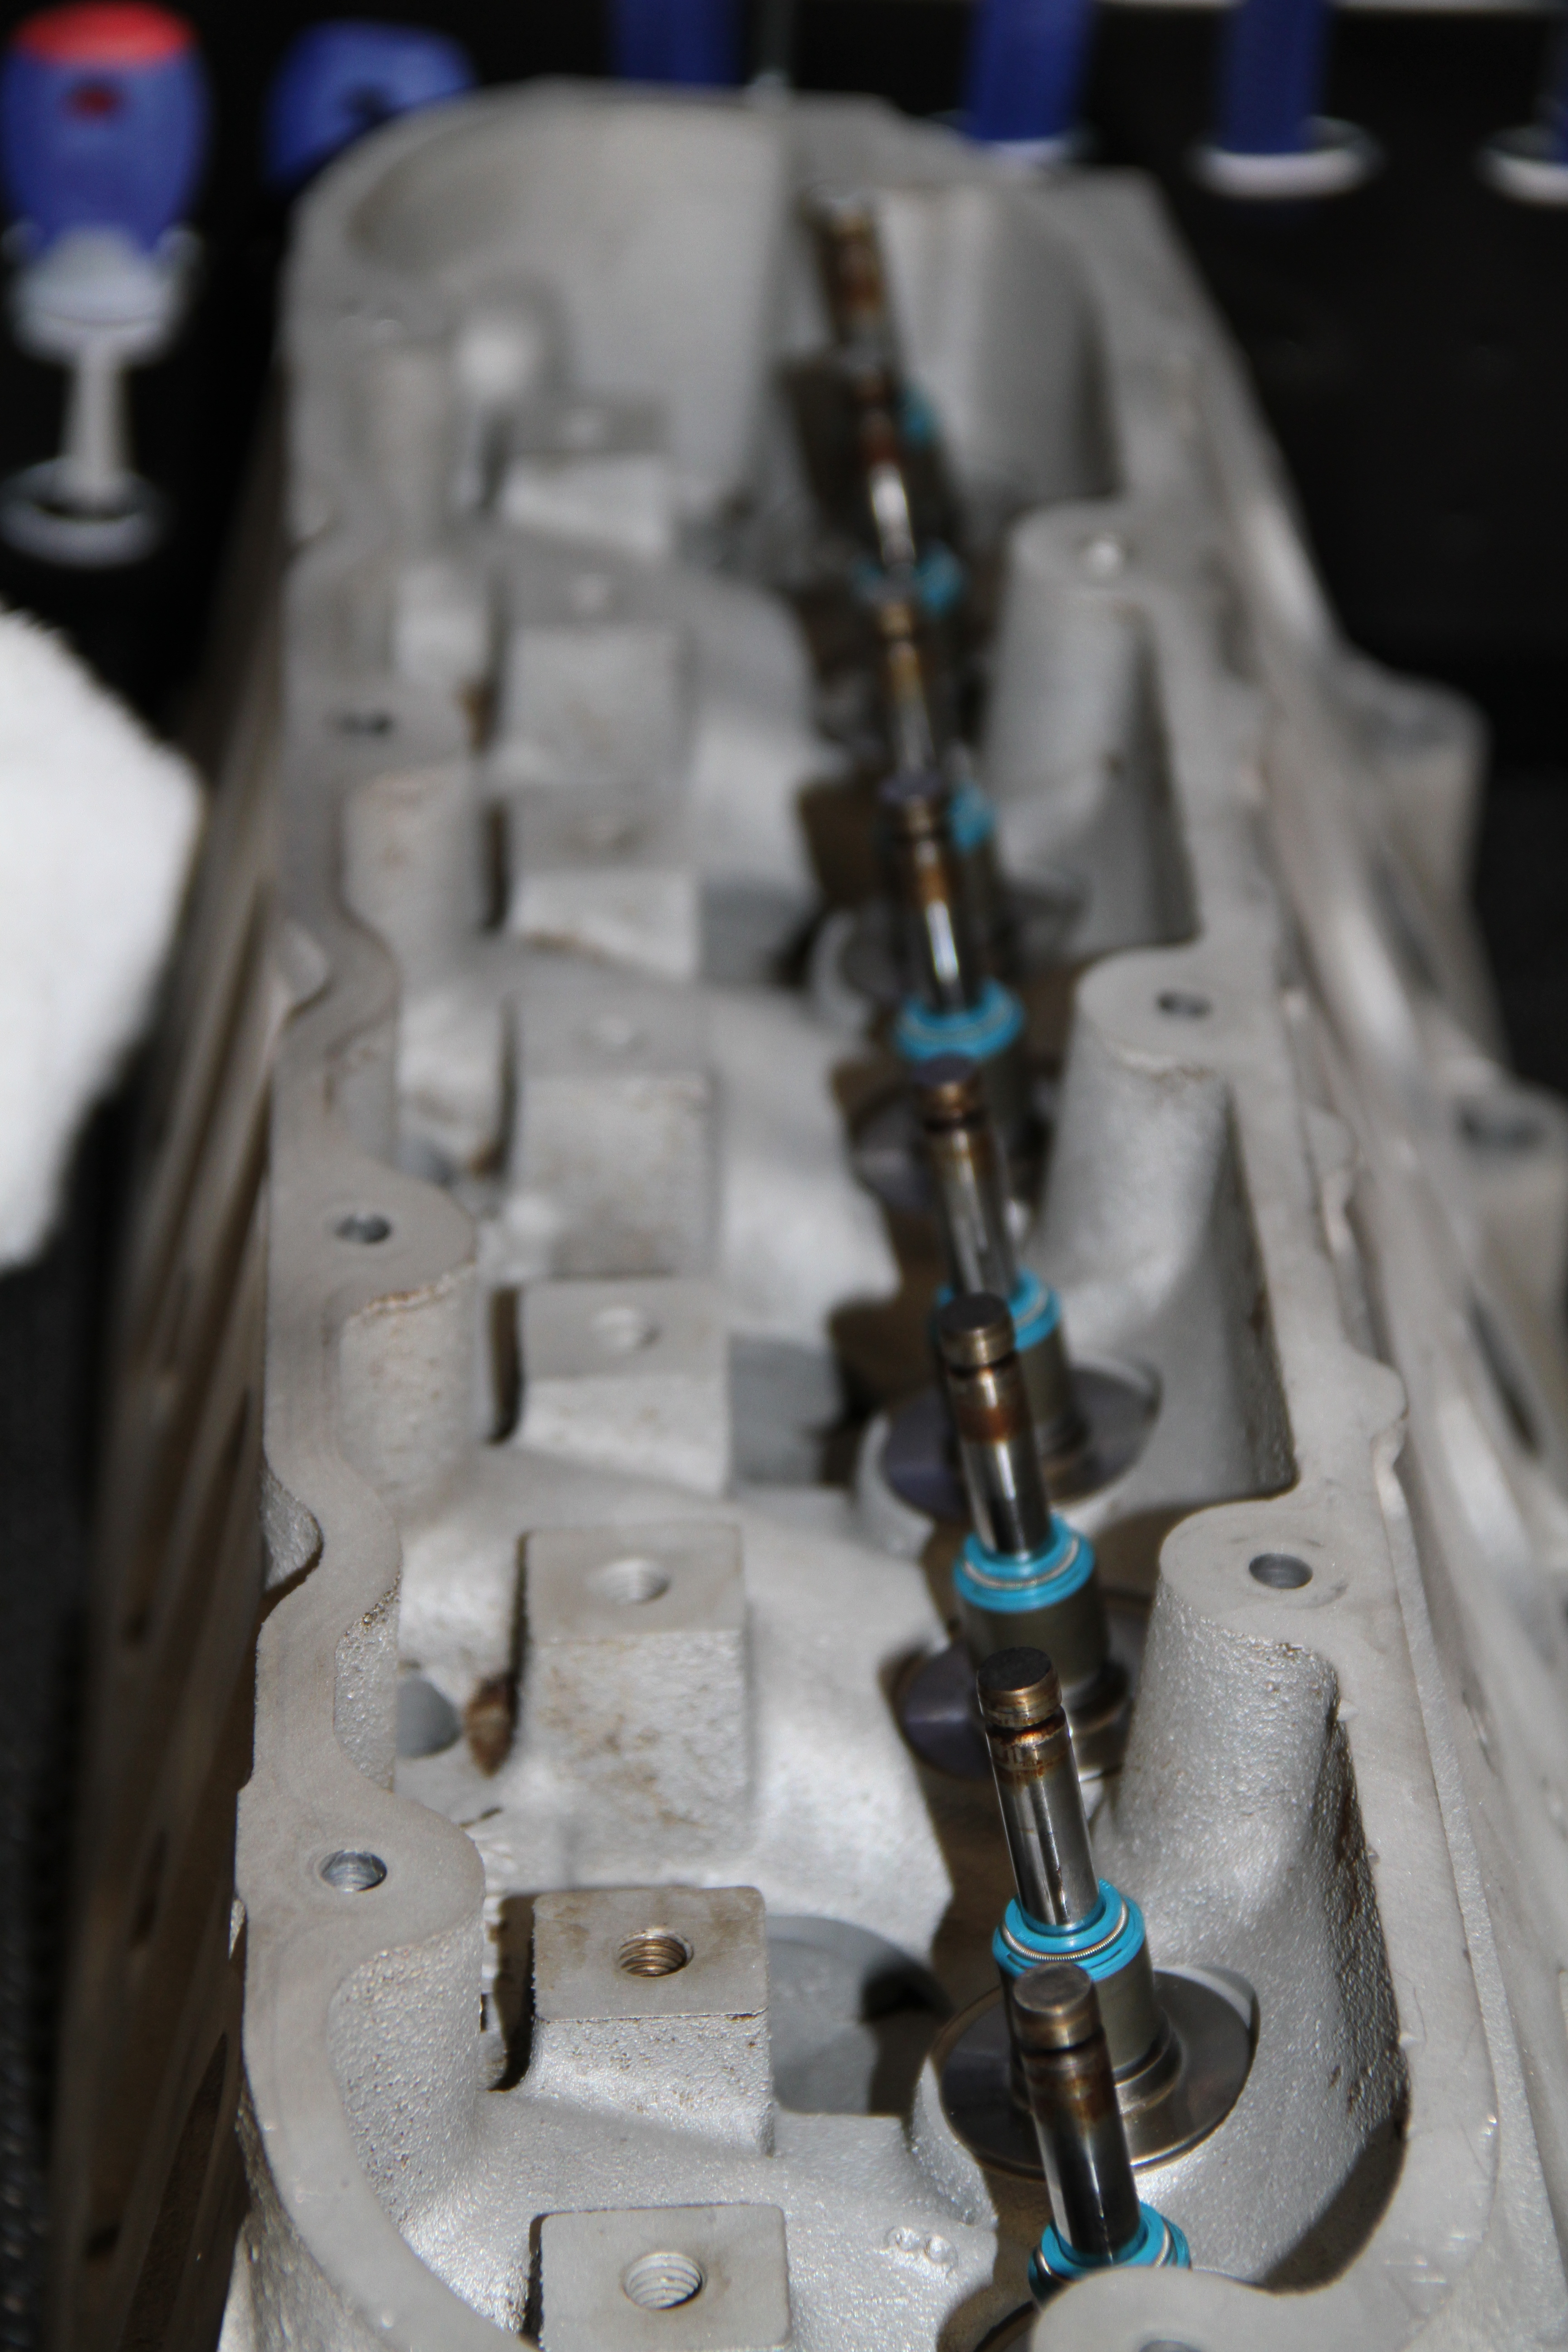
Seals all in place. Next reinstall the Valves
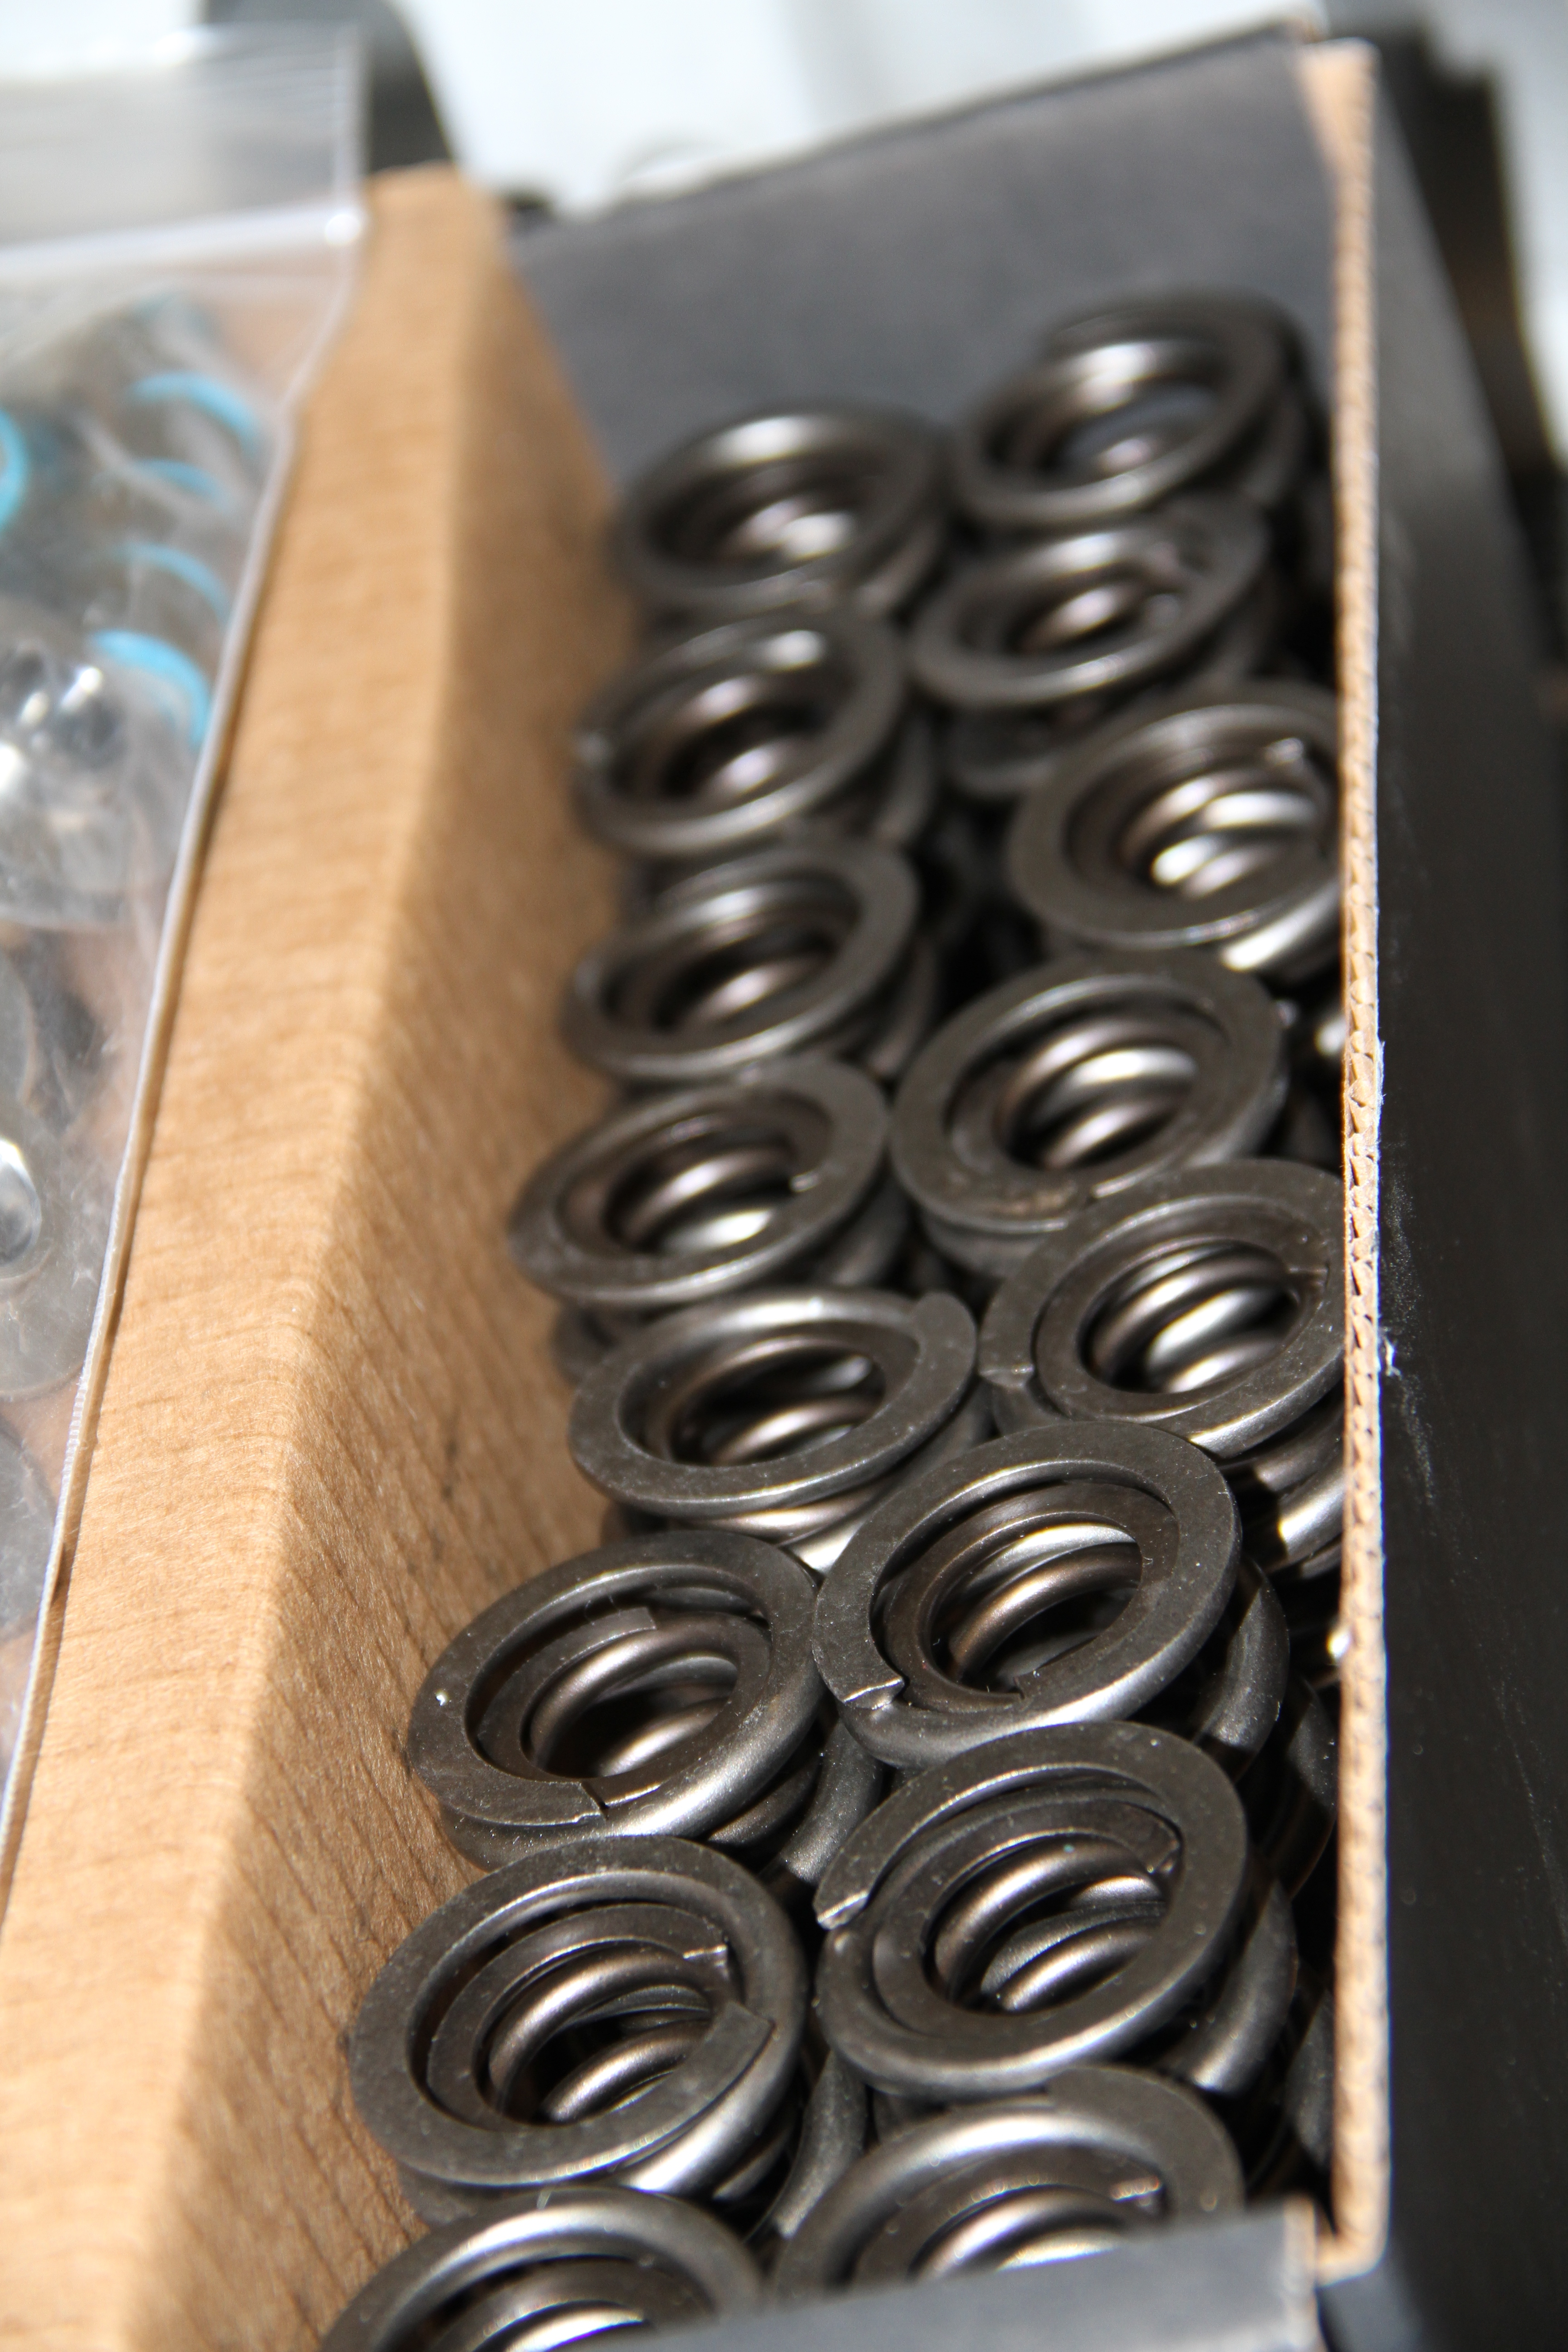
Bam!! Next are the Dual Springs
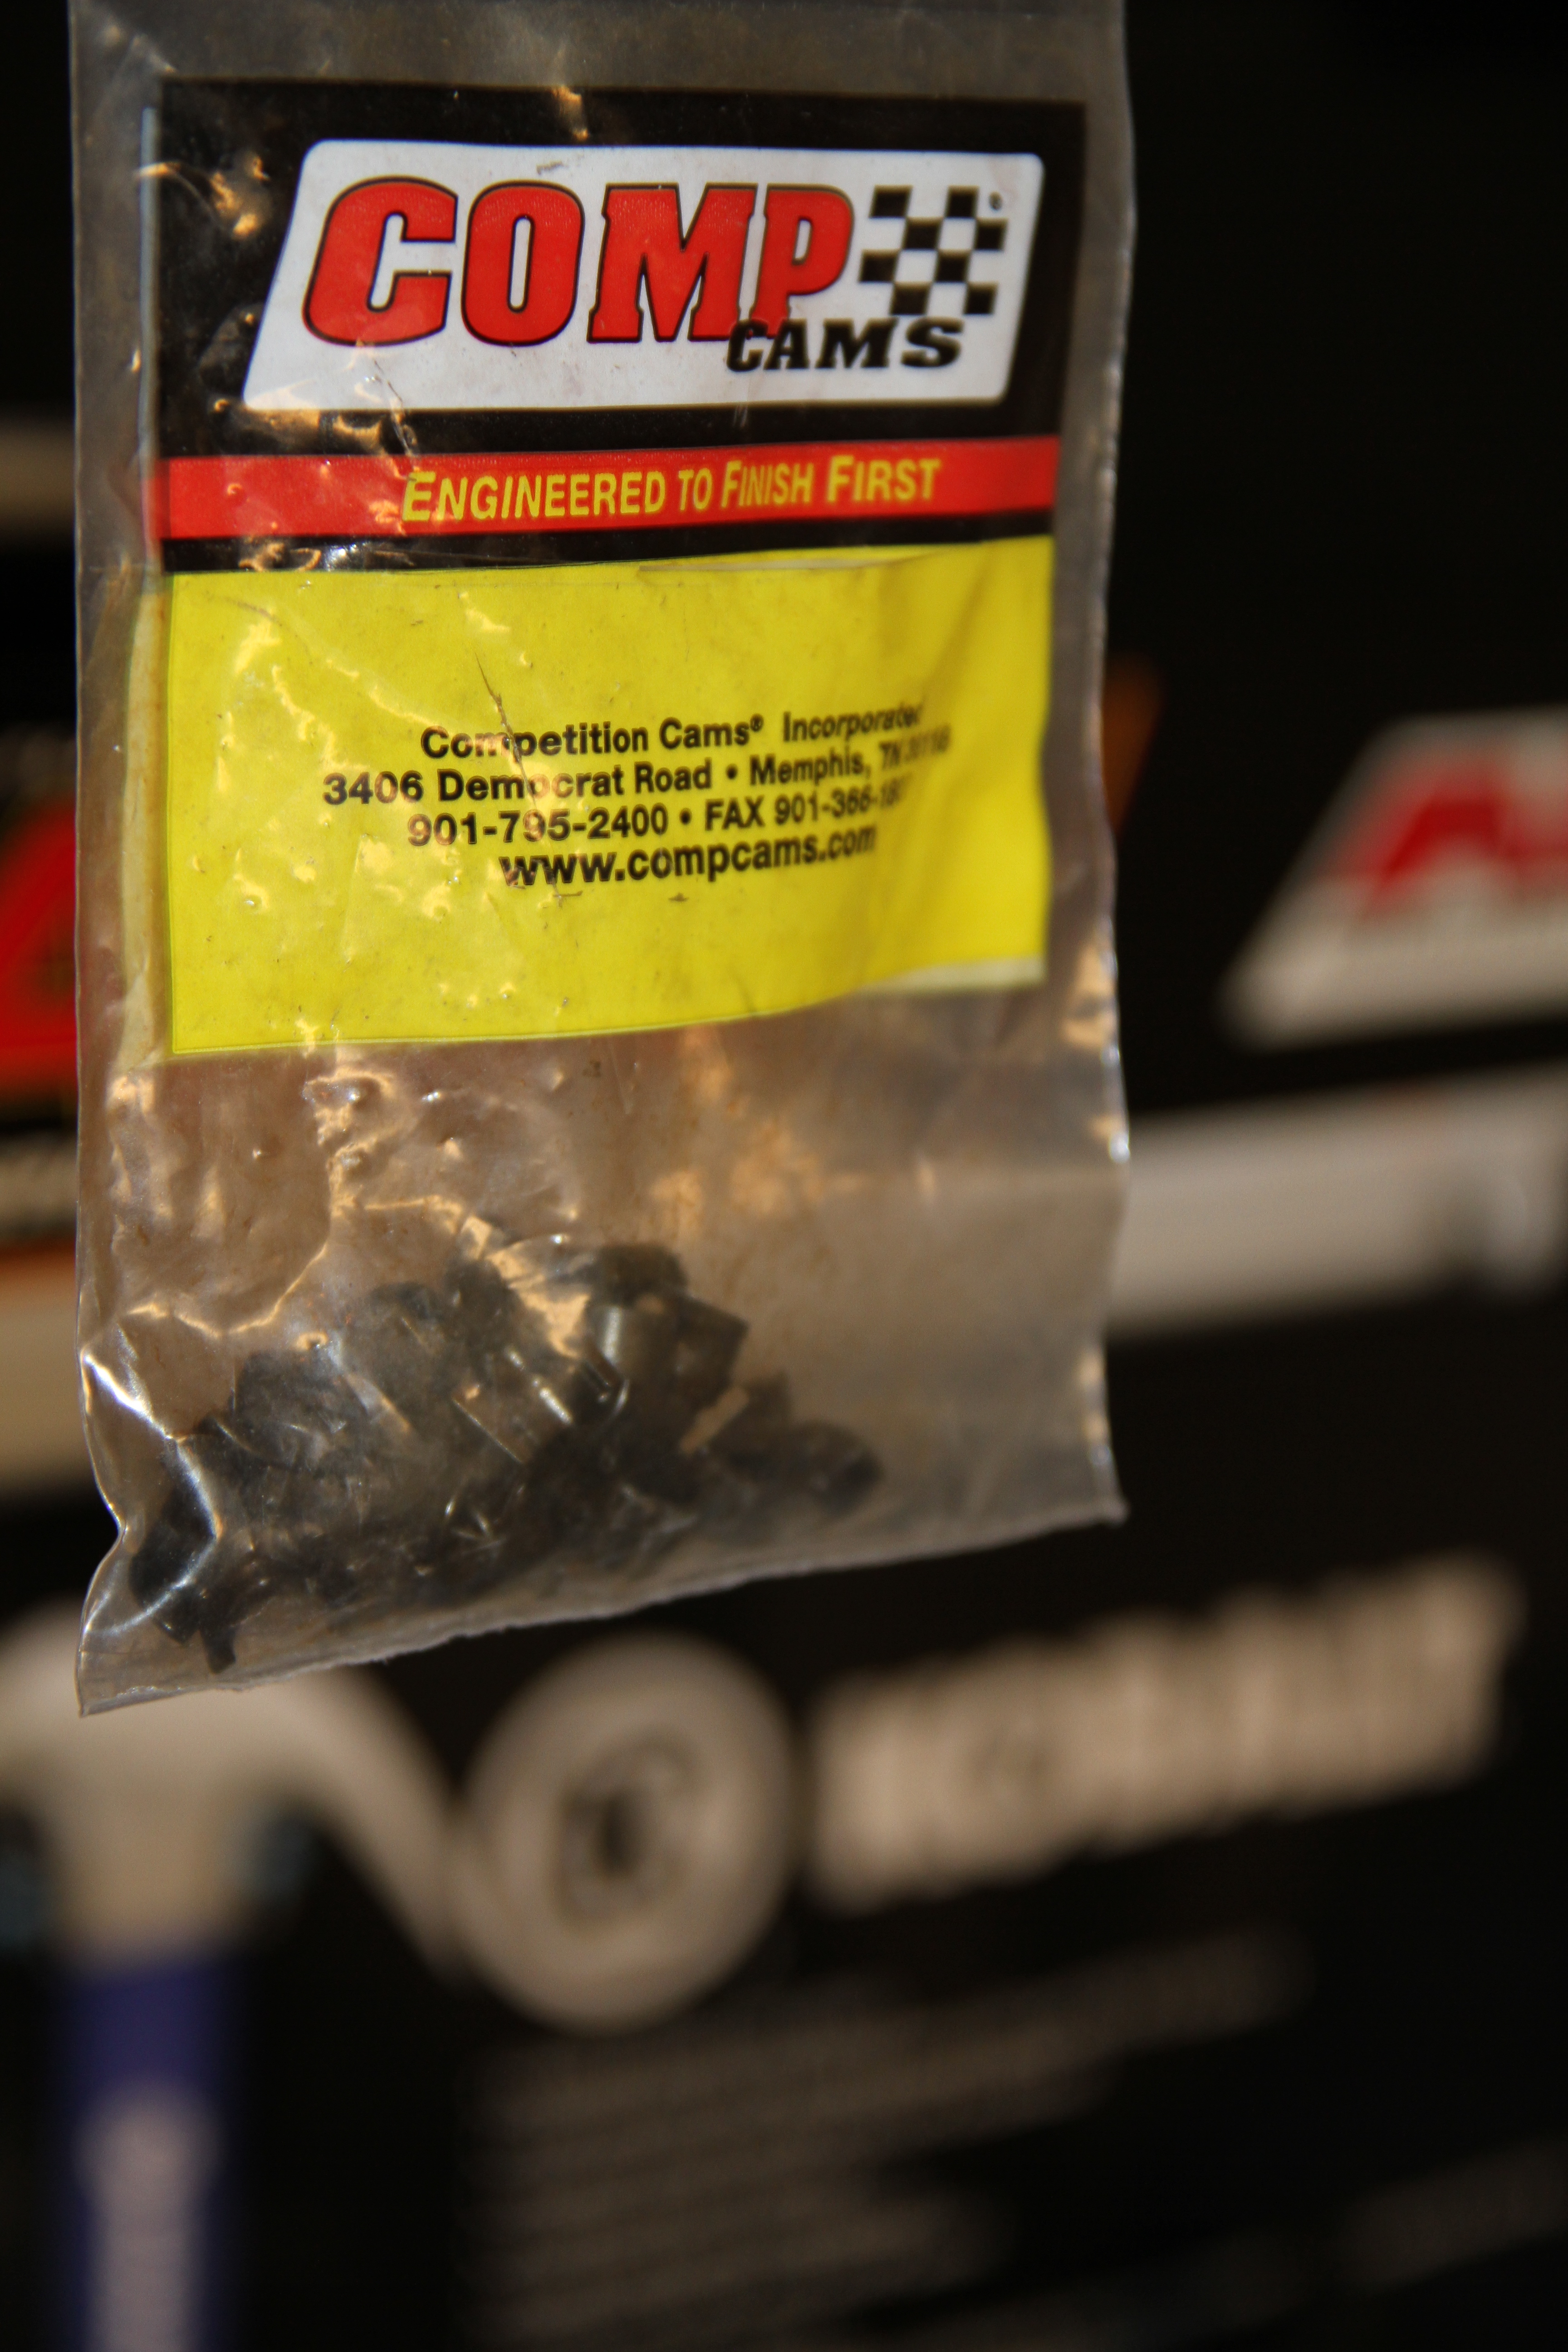
I bought some Comp Cam High Performance Valve Locks
Now you are going to use the same Valve Spring Compressor tool you rented from Advance Auto Parts to install them..
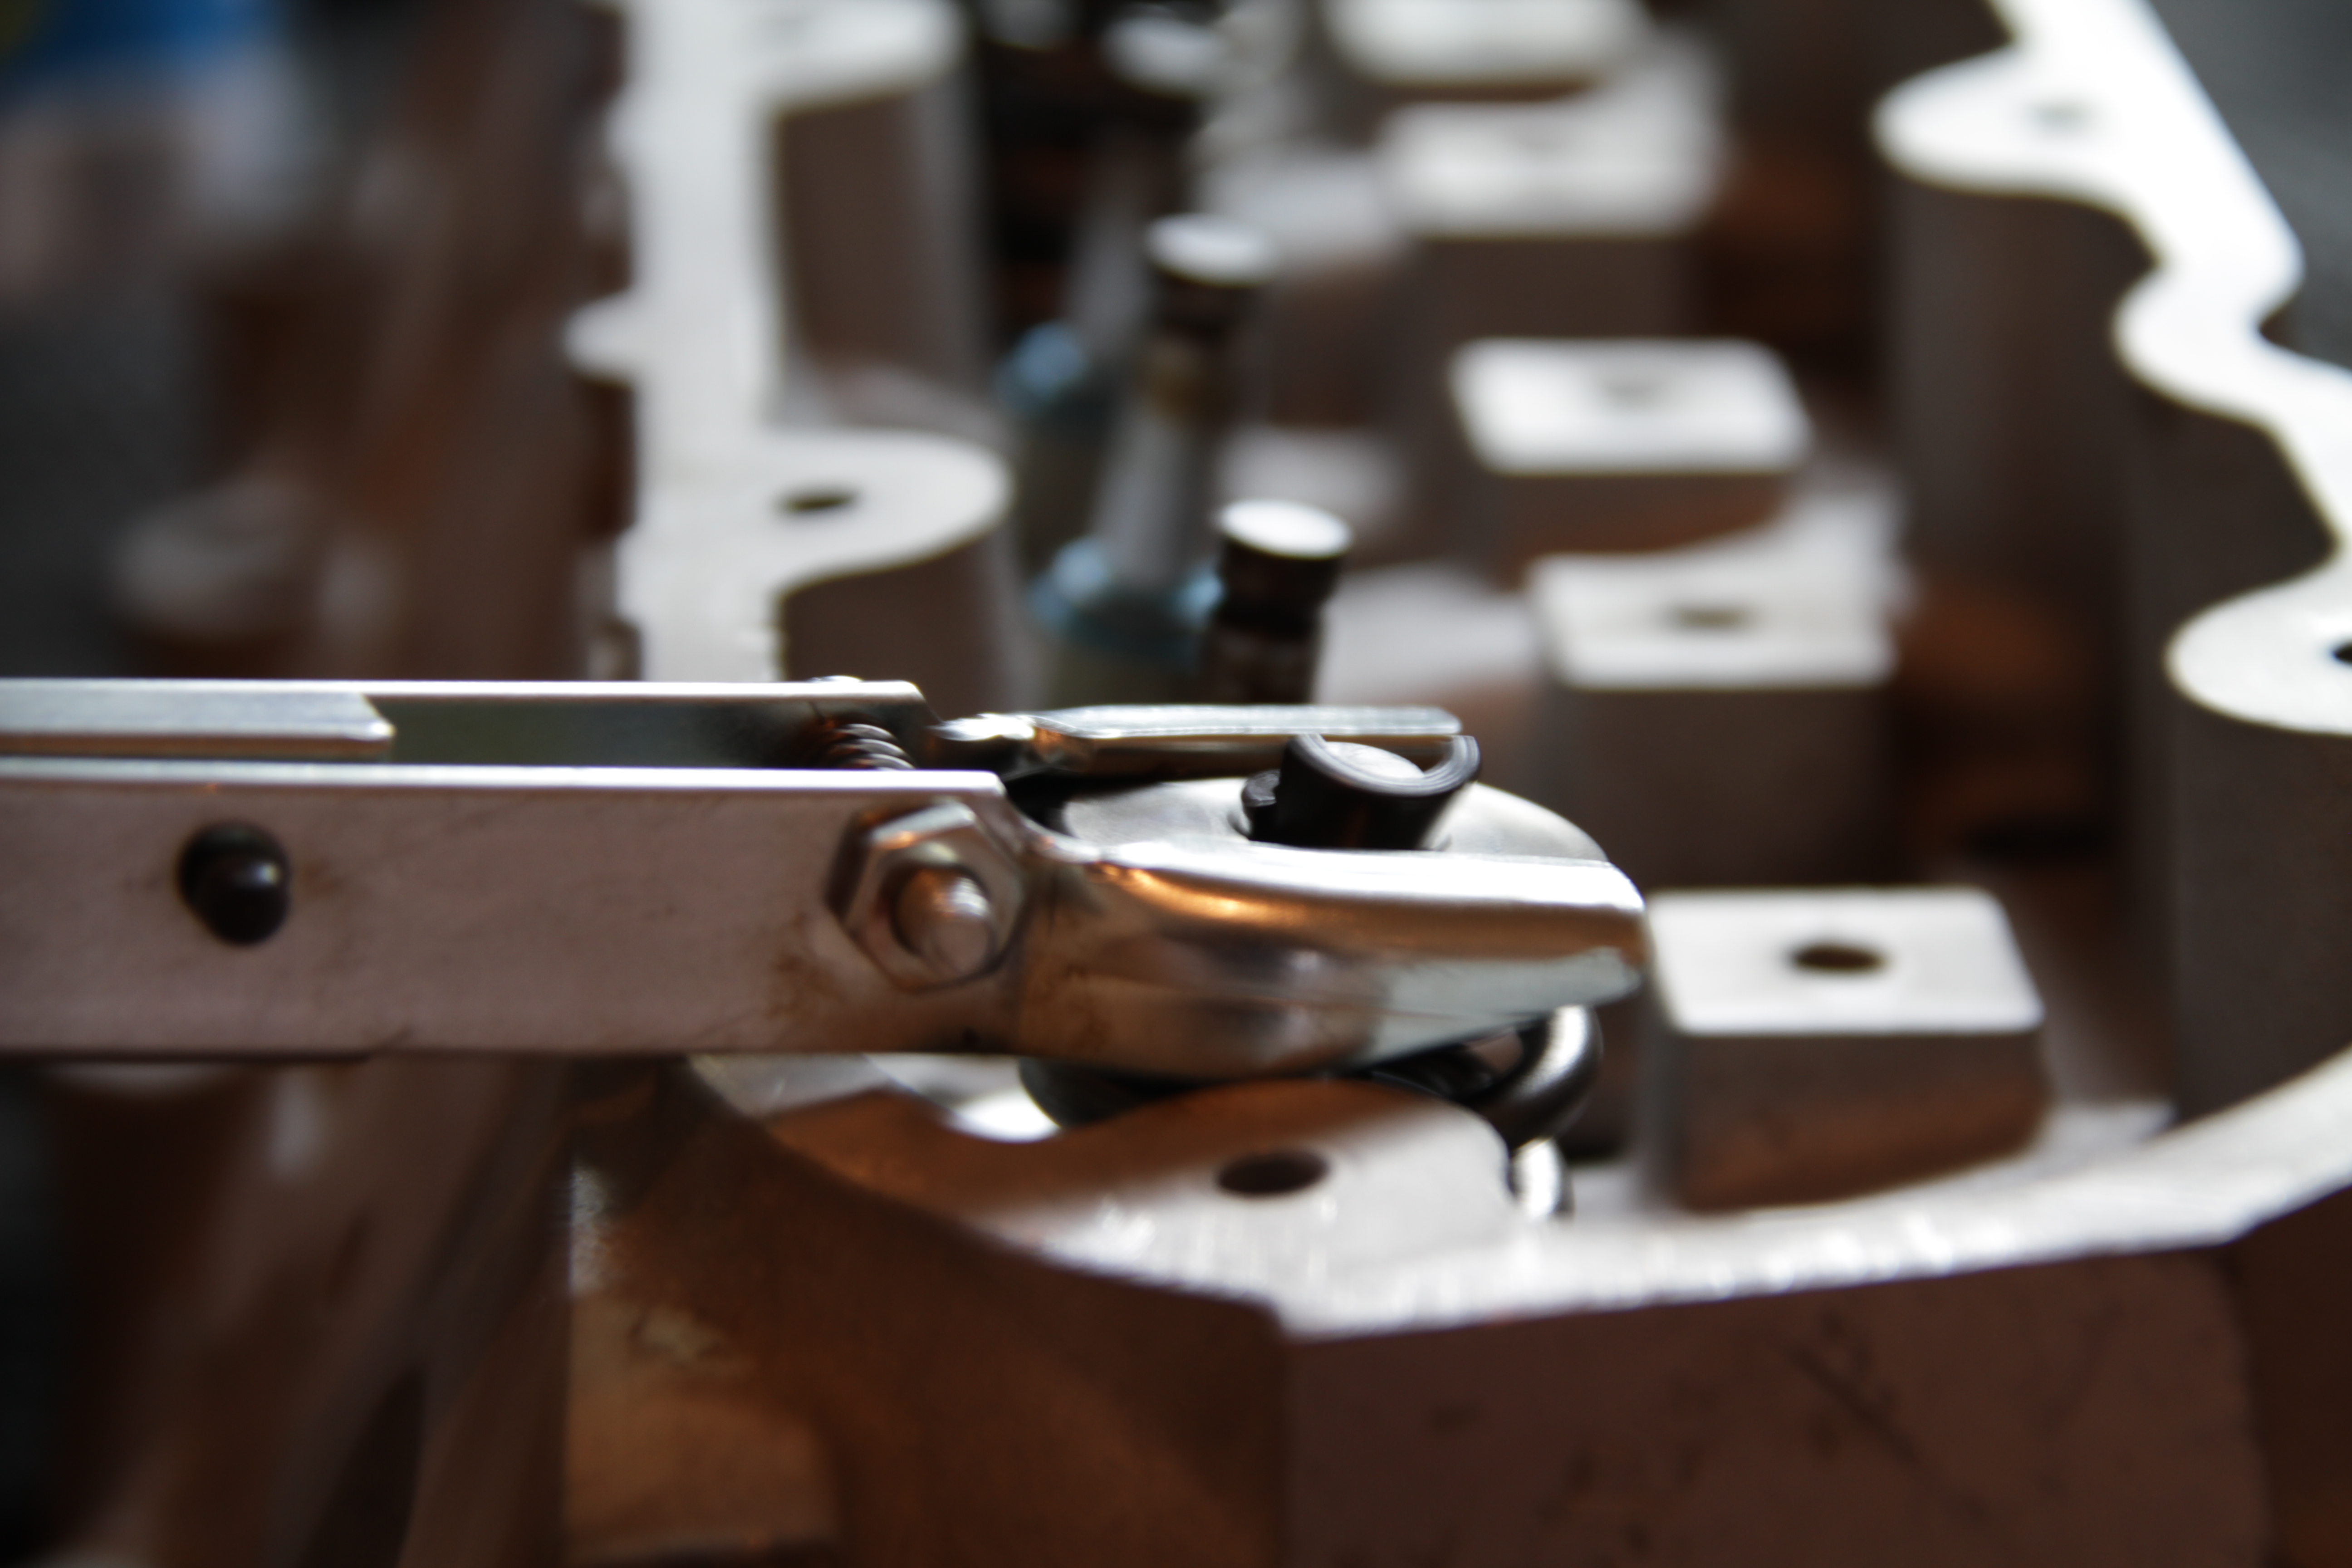
Place the Spring over the valve and then the top Retainer. Compress the Spring with the tool and then insert the Valve locks. Slowly release the tool and bam you have money...
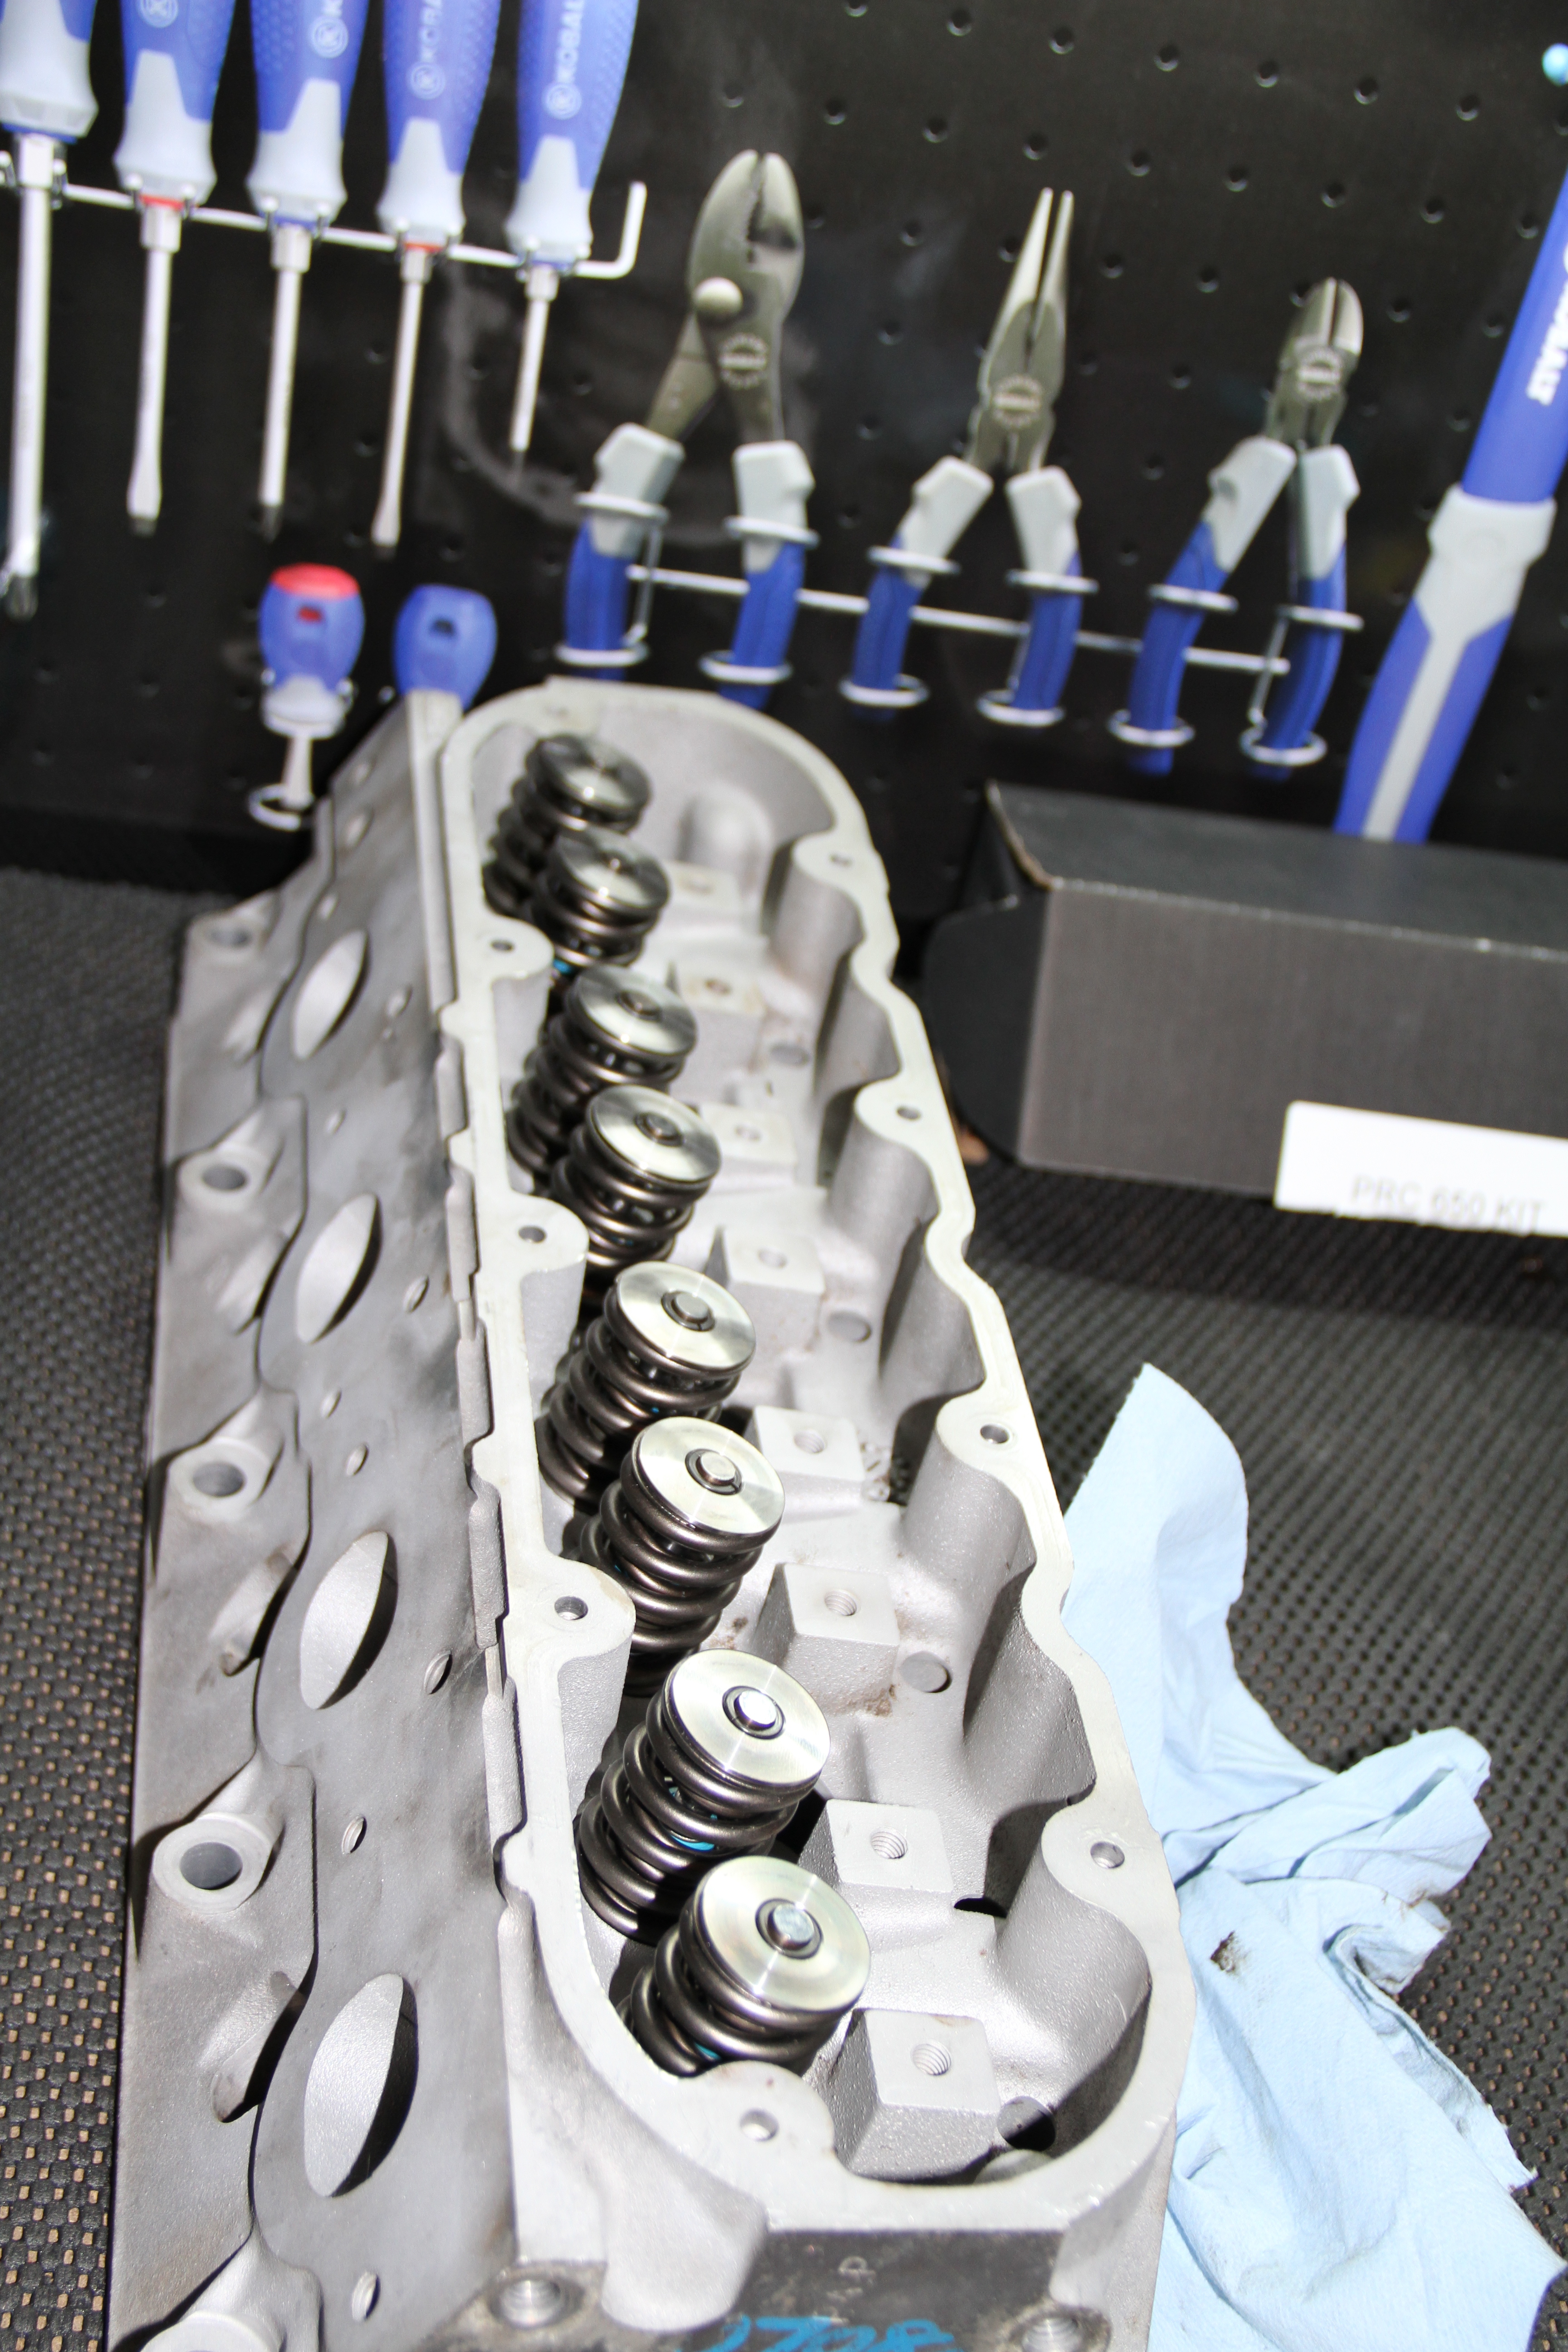
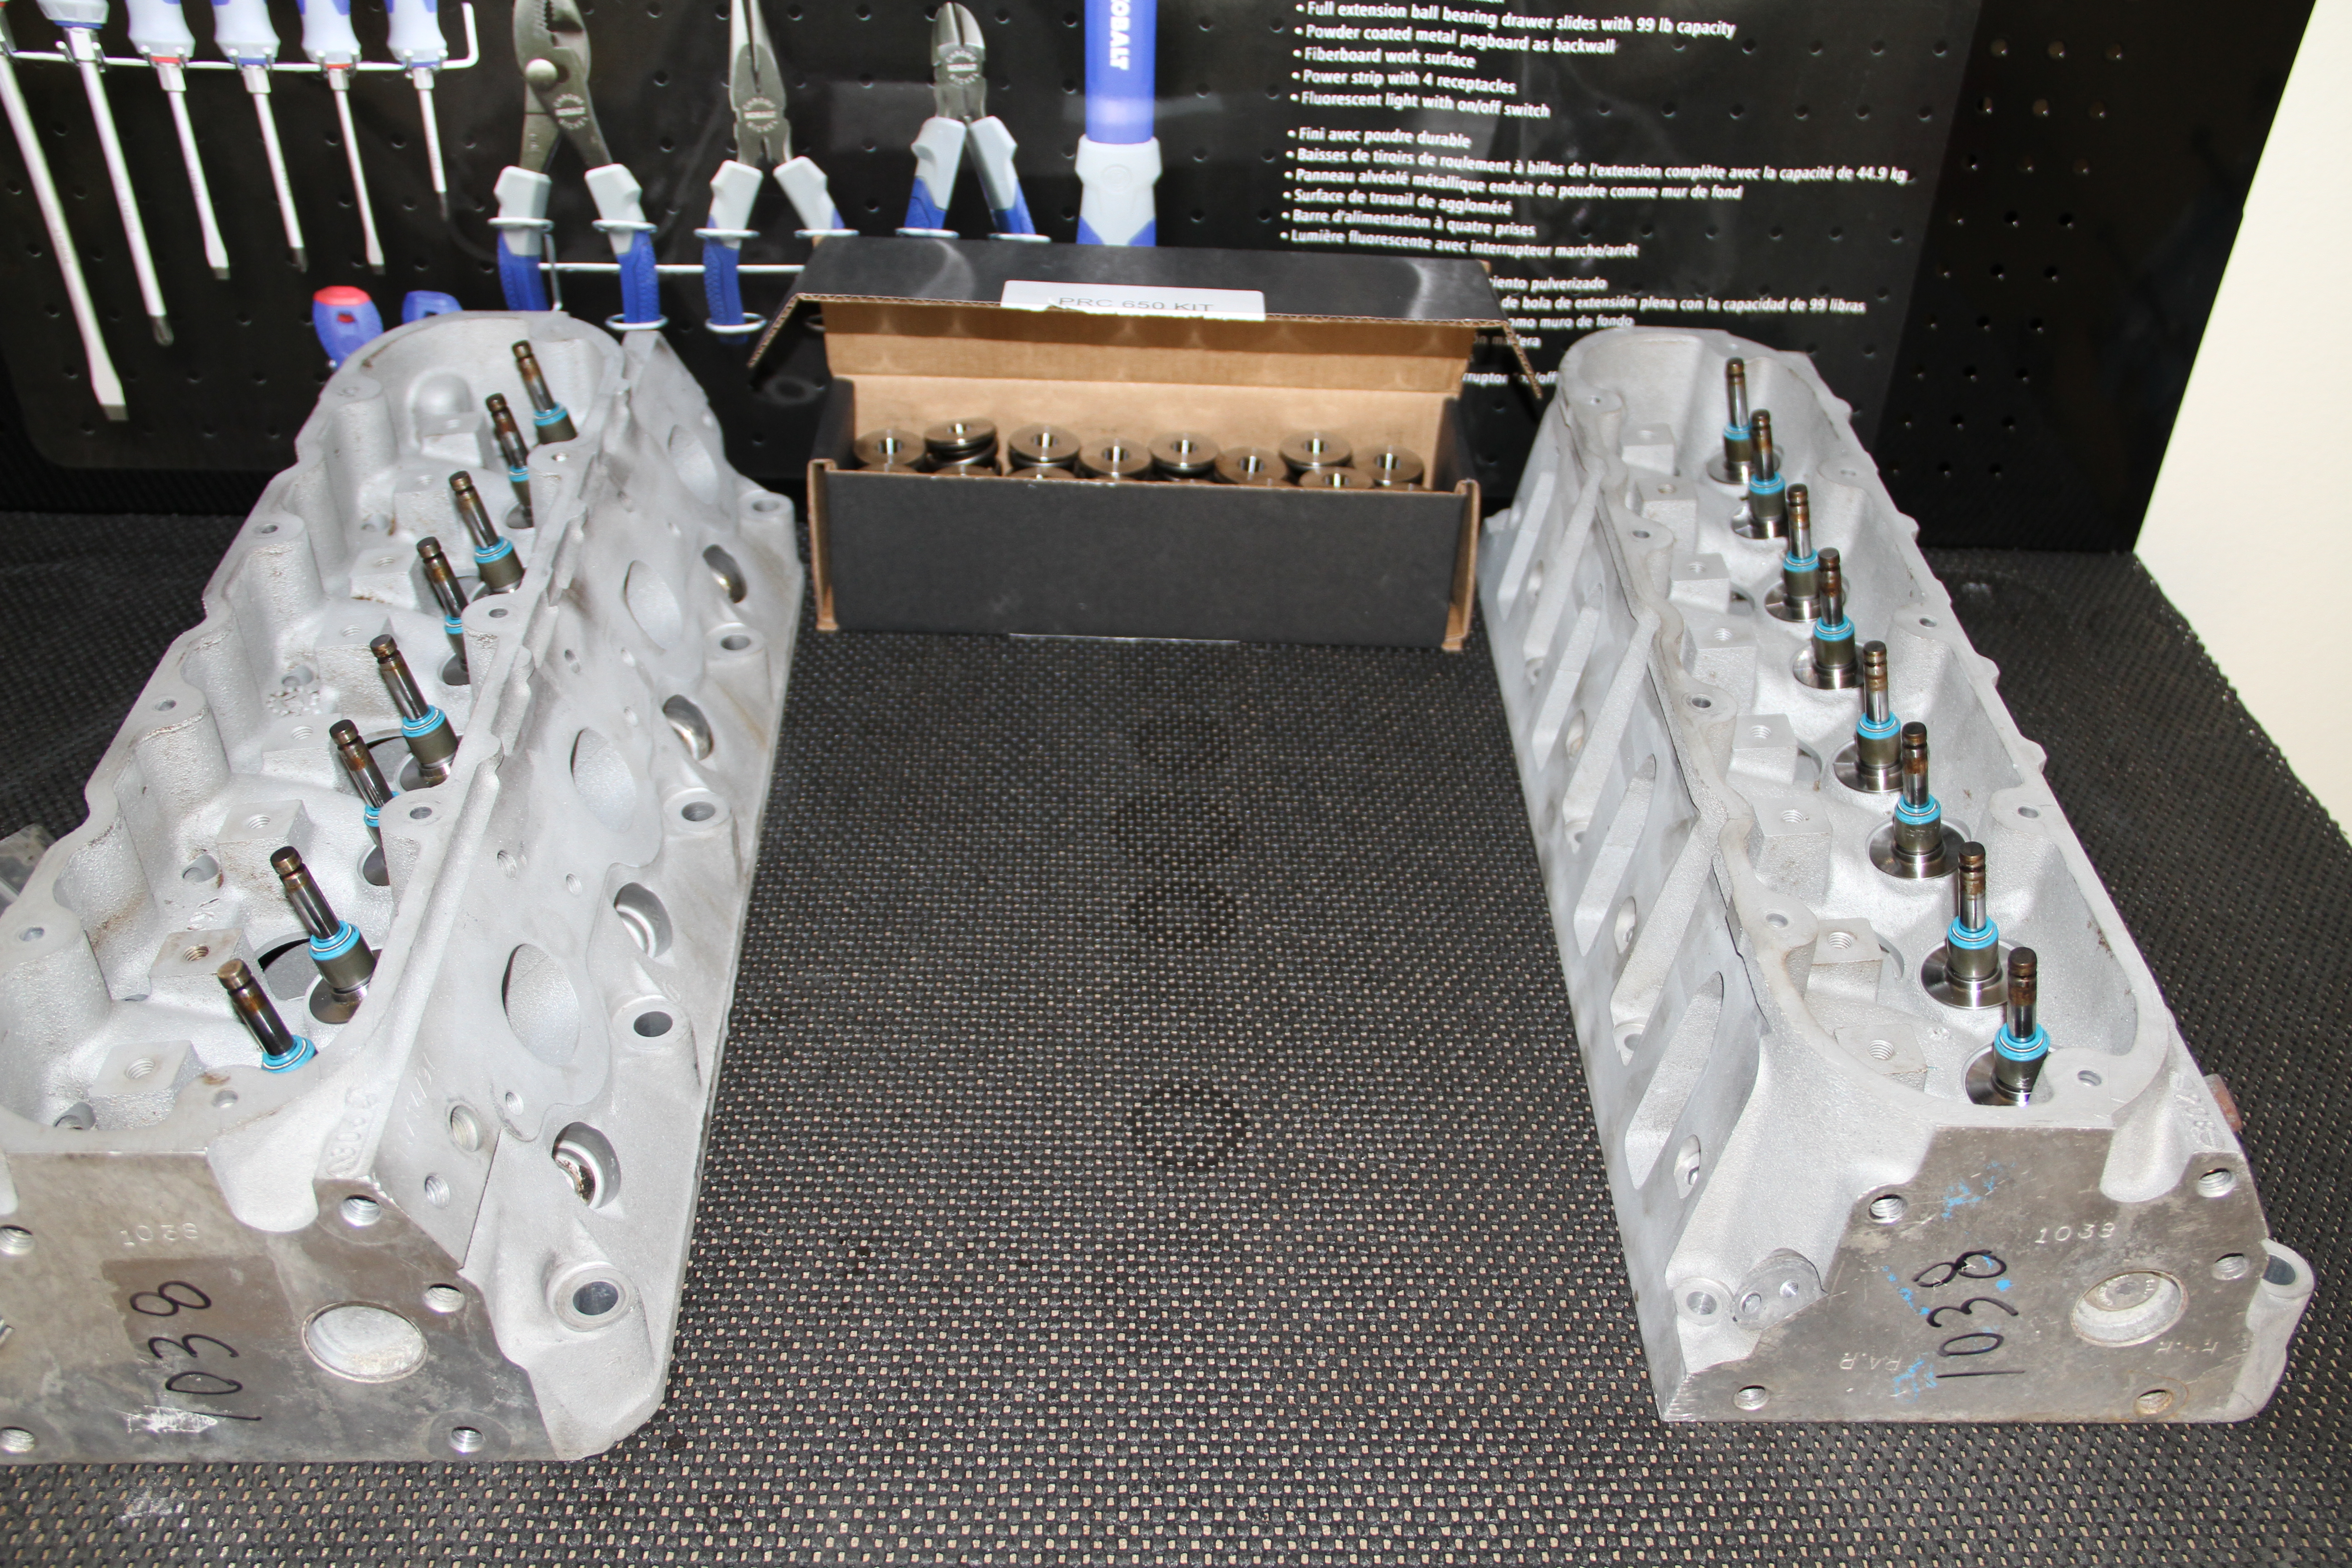
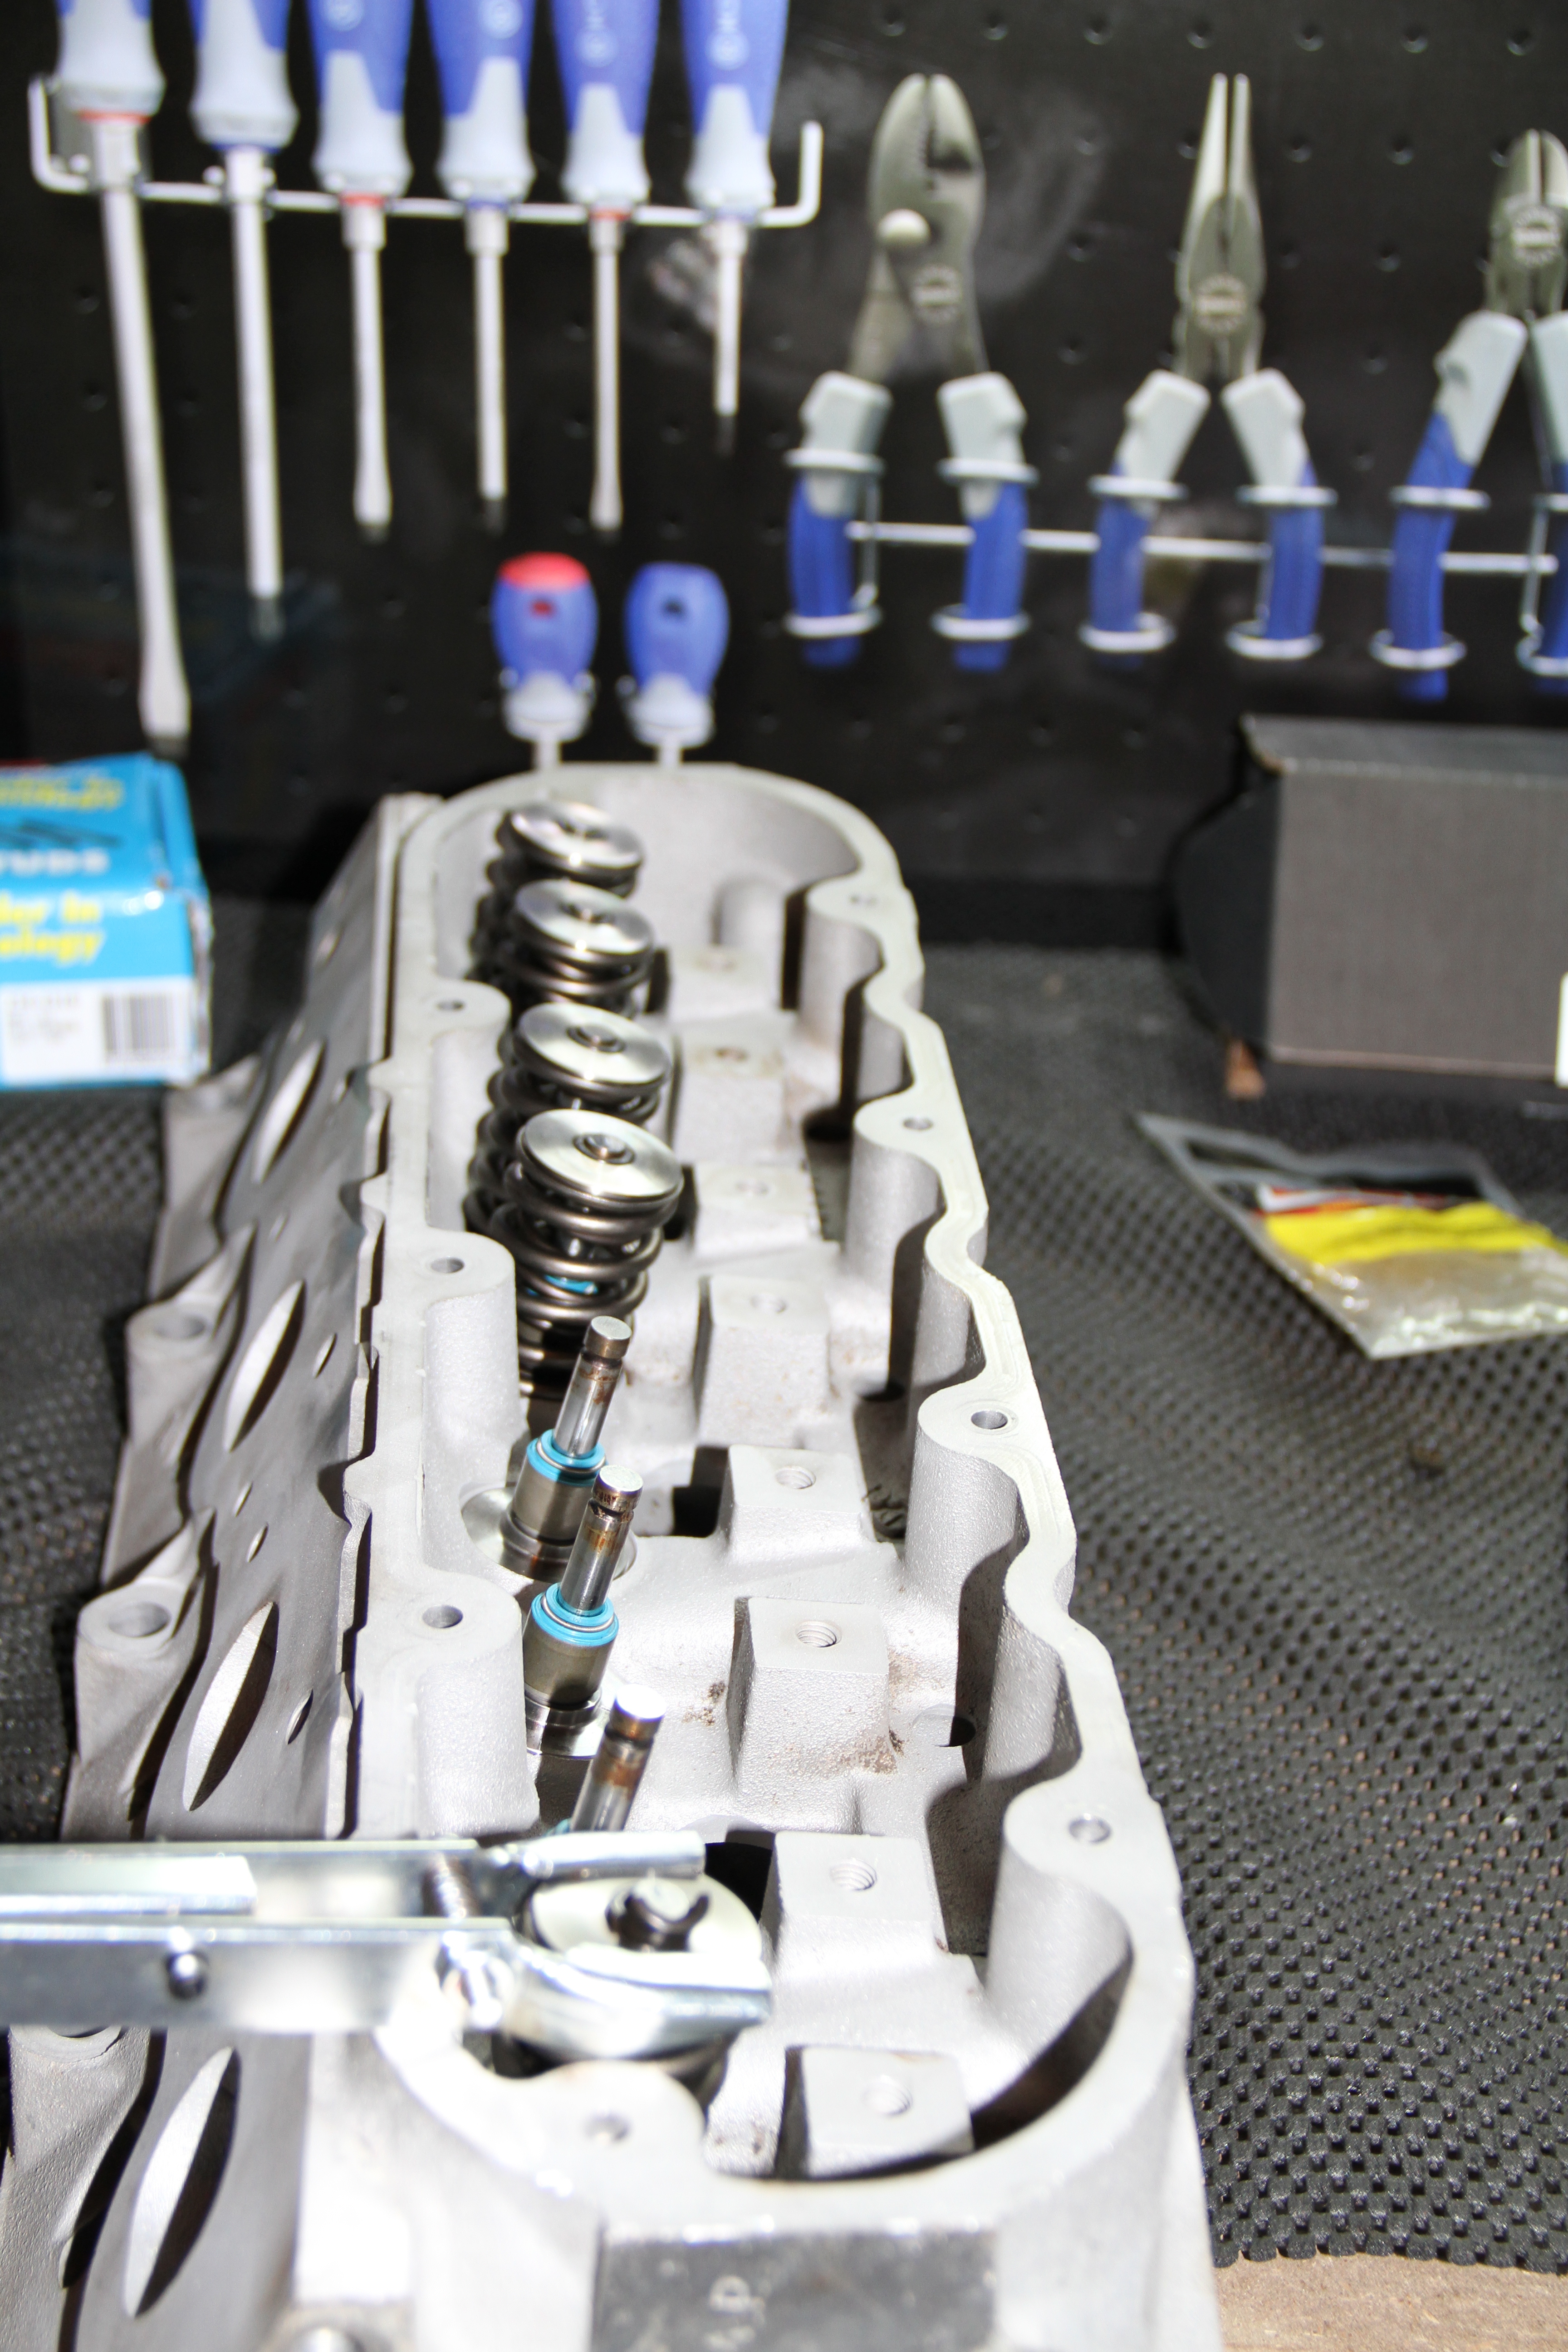
All done with this head..On to the next..

Nice and easy.. These things looks so damn good..

Both heads are complete.. On to the next item at hand..
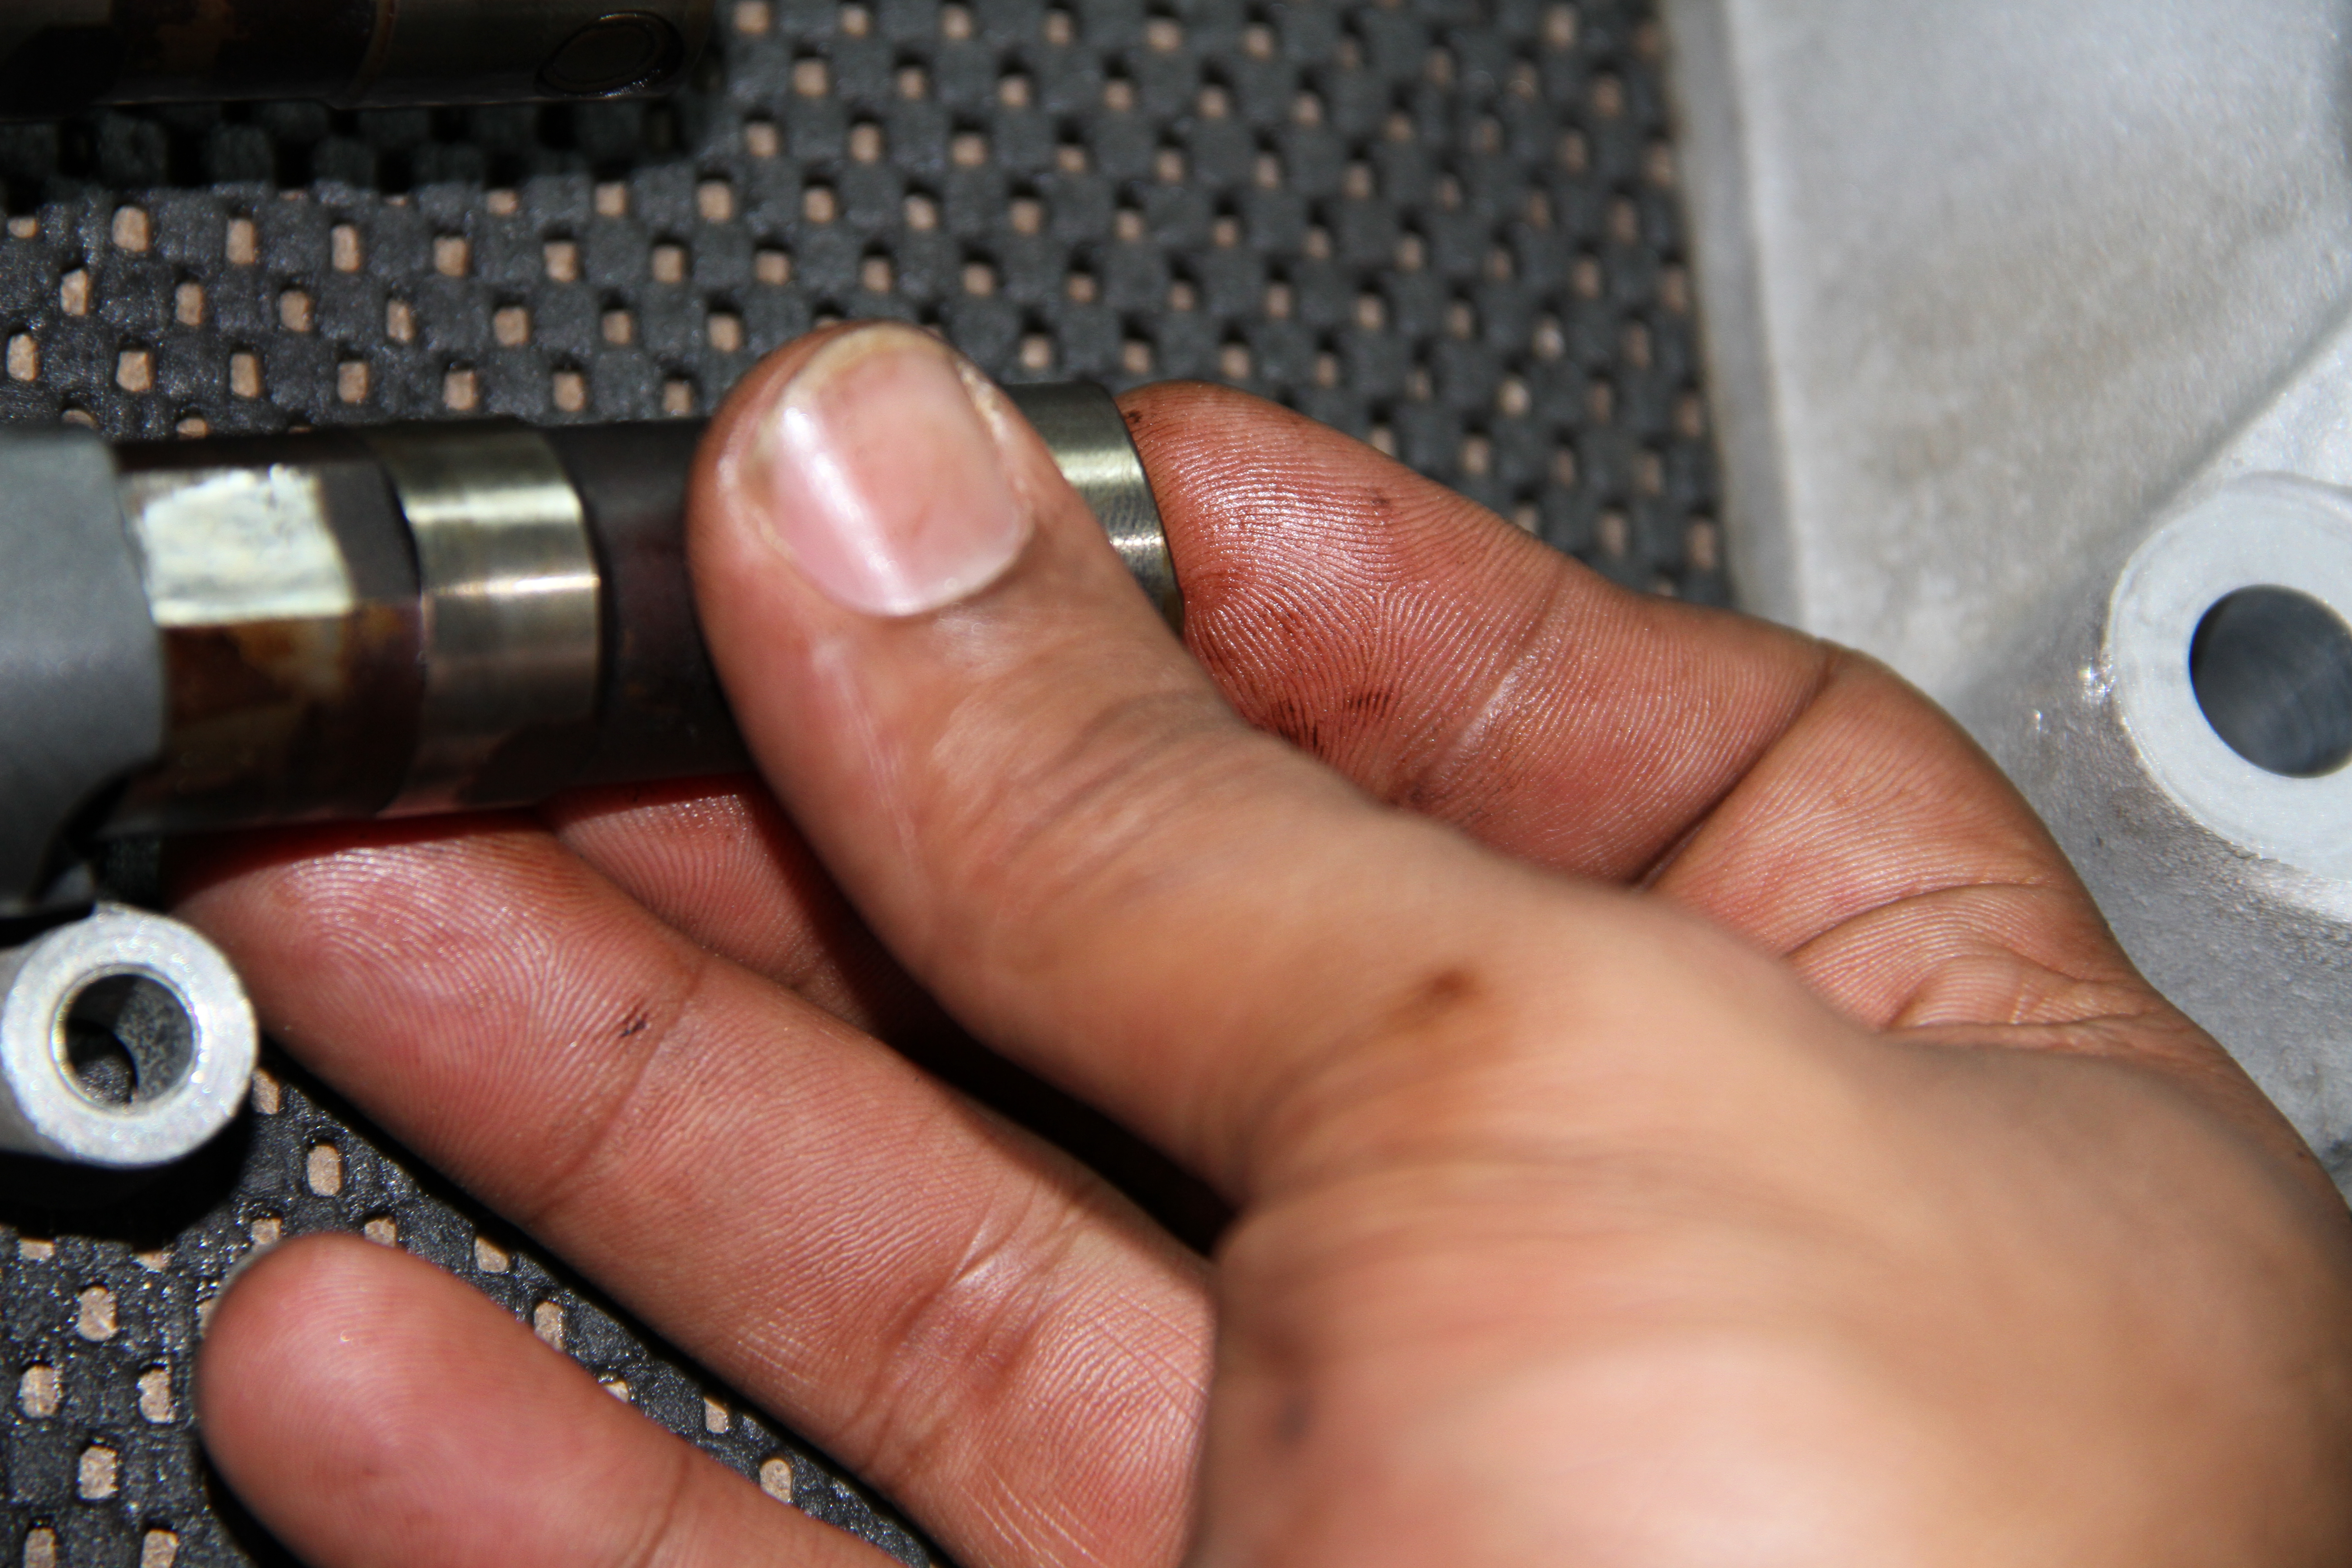
Next we have the lifters and lifter try. Pretty simple install...
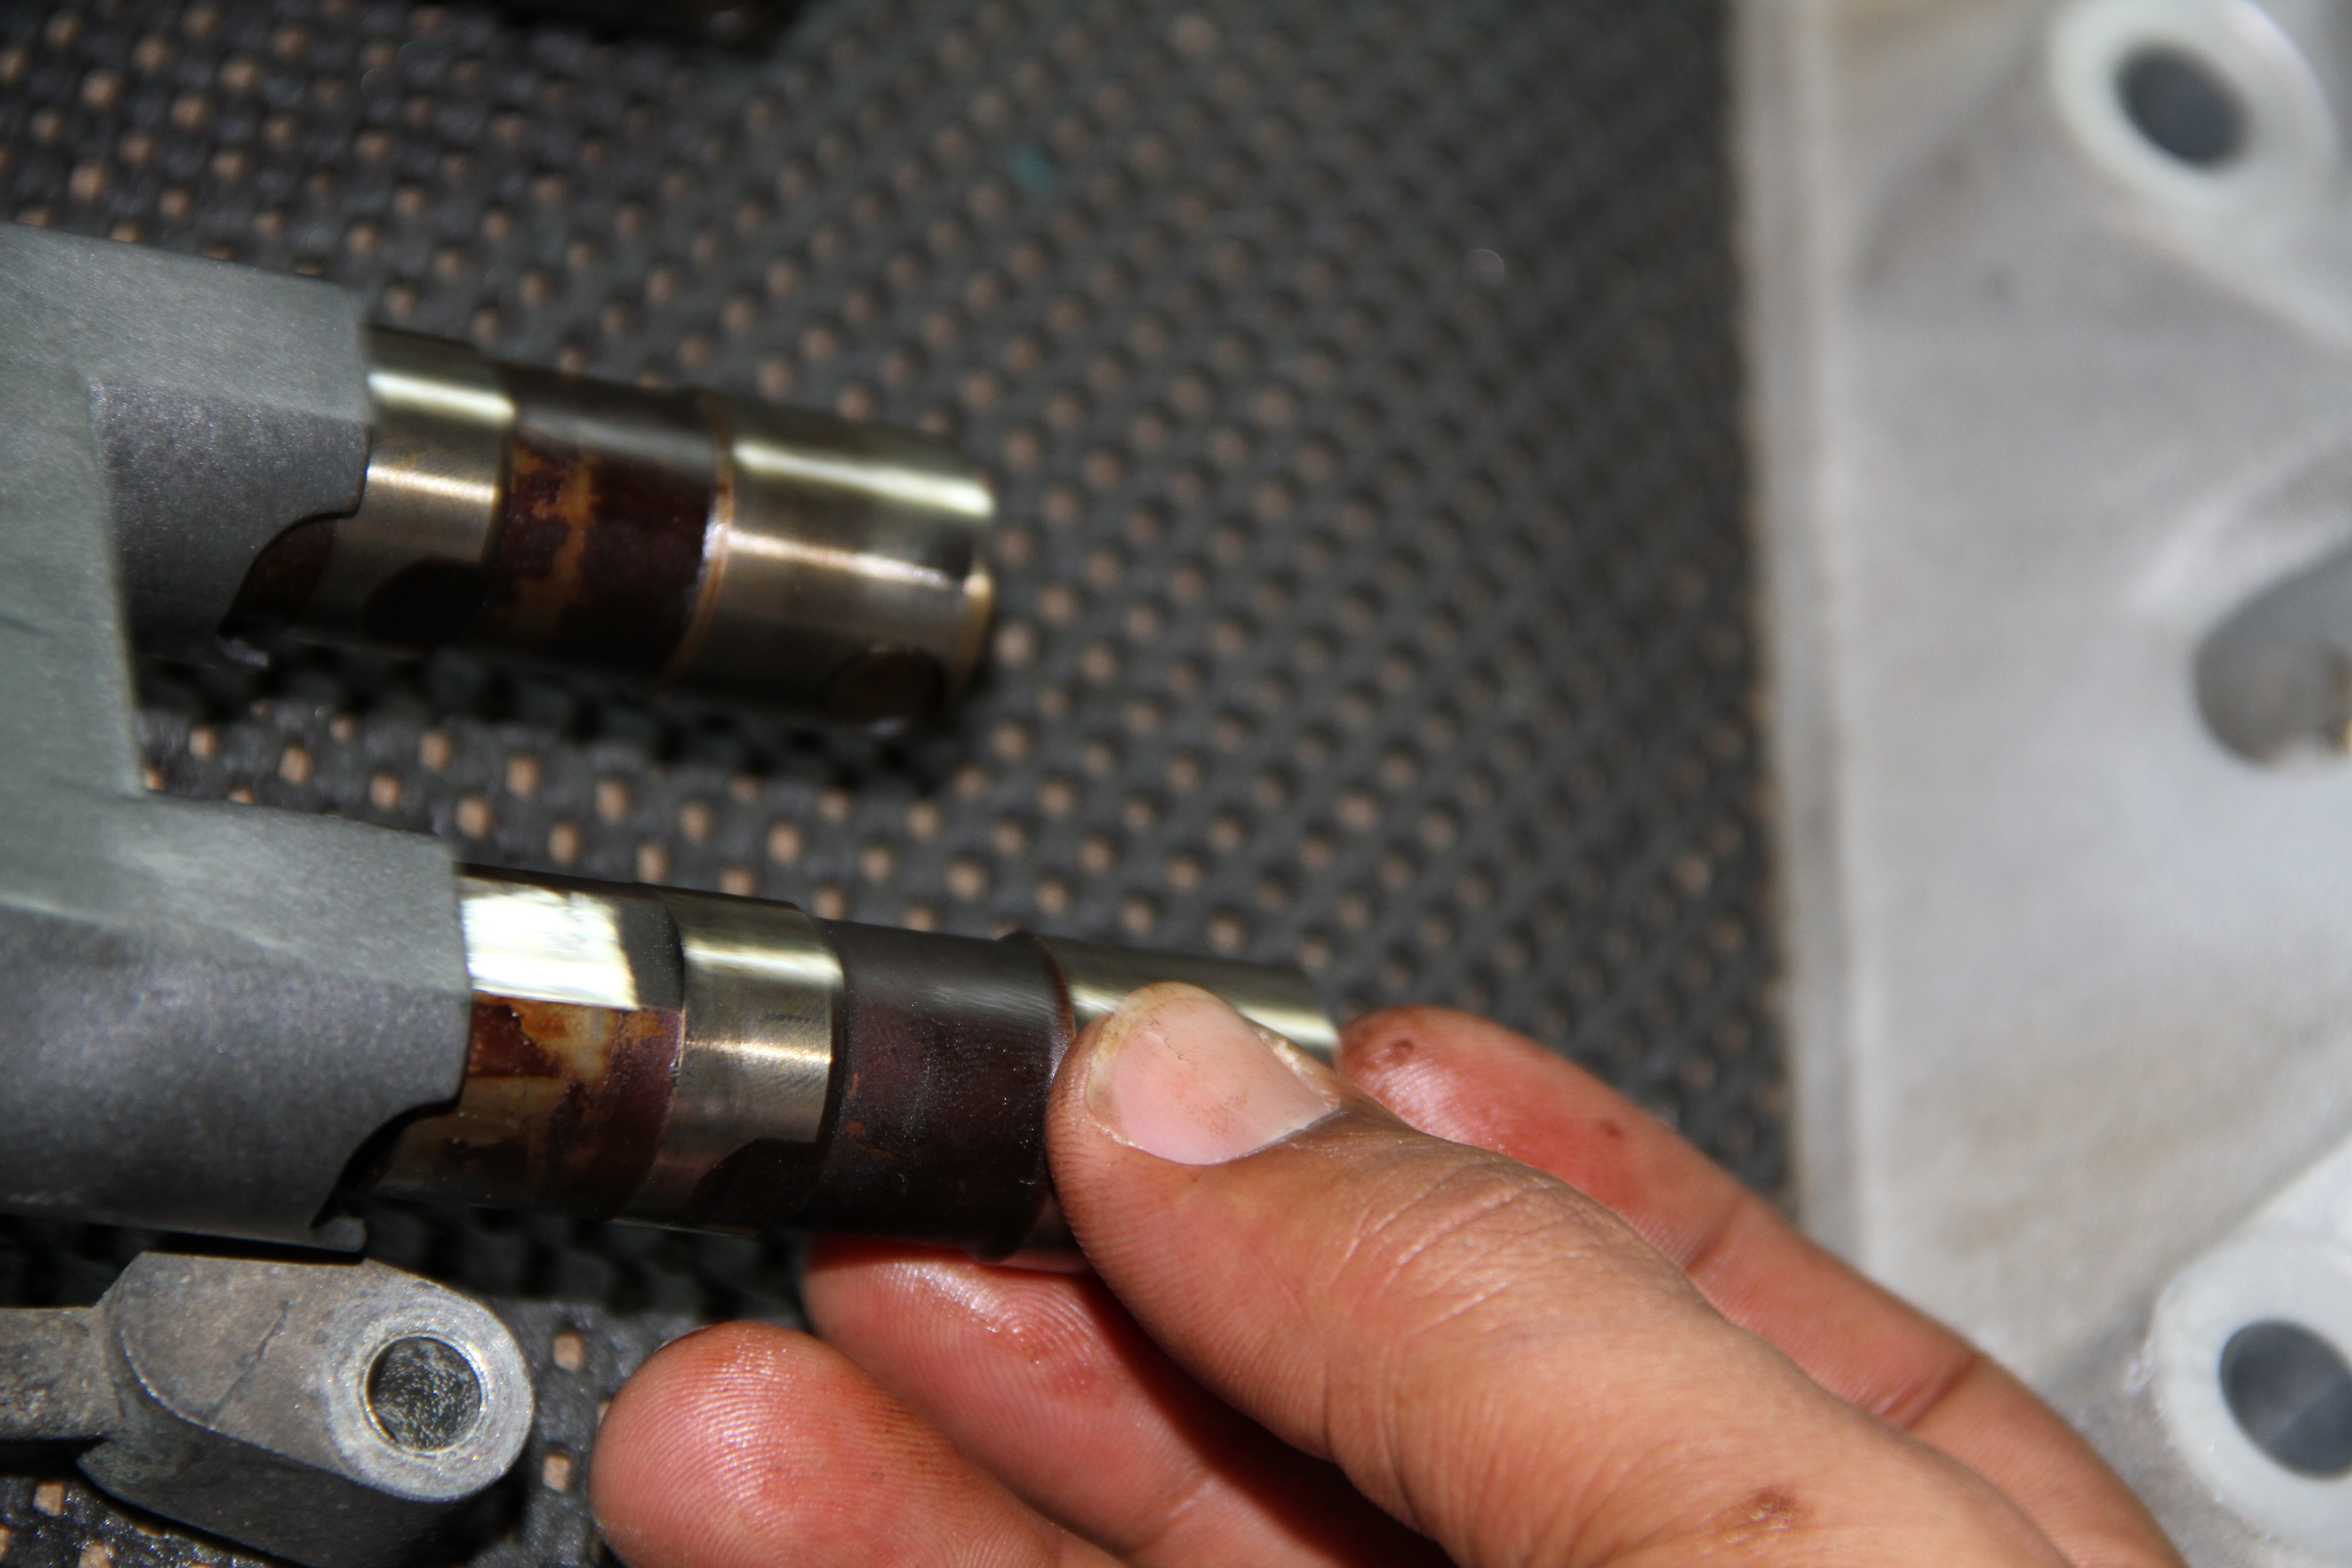
Just place the roller lifters in the tray,, easy as it sounds..
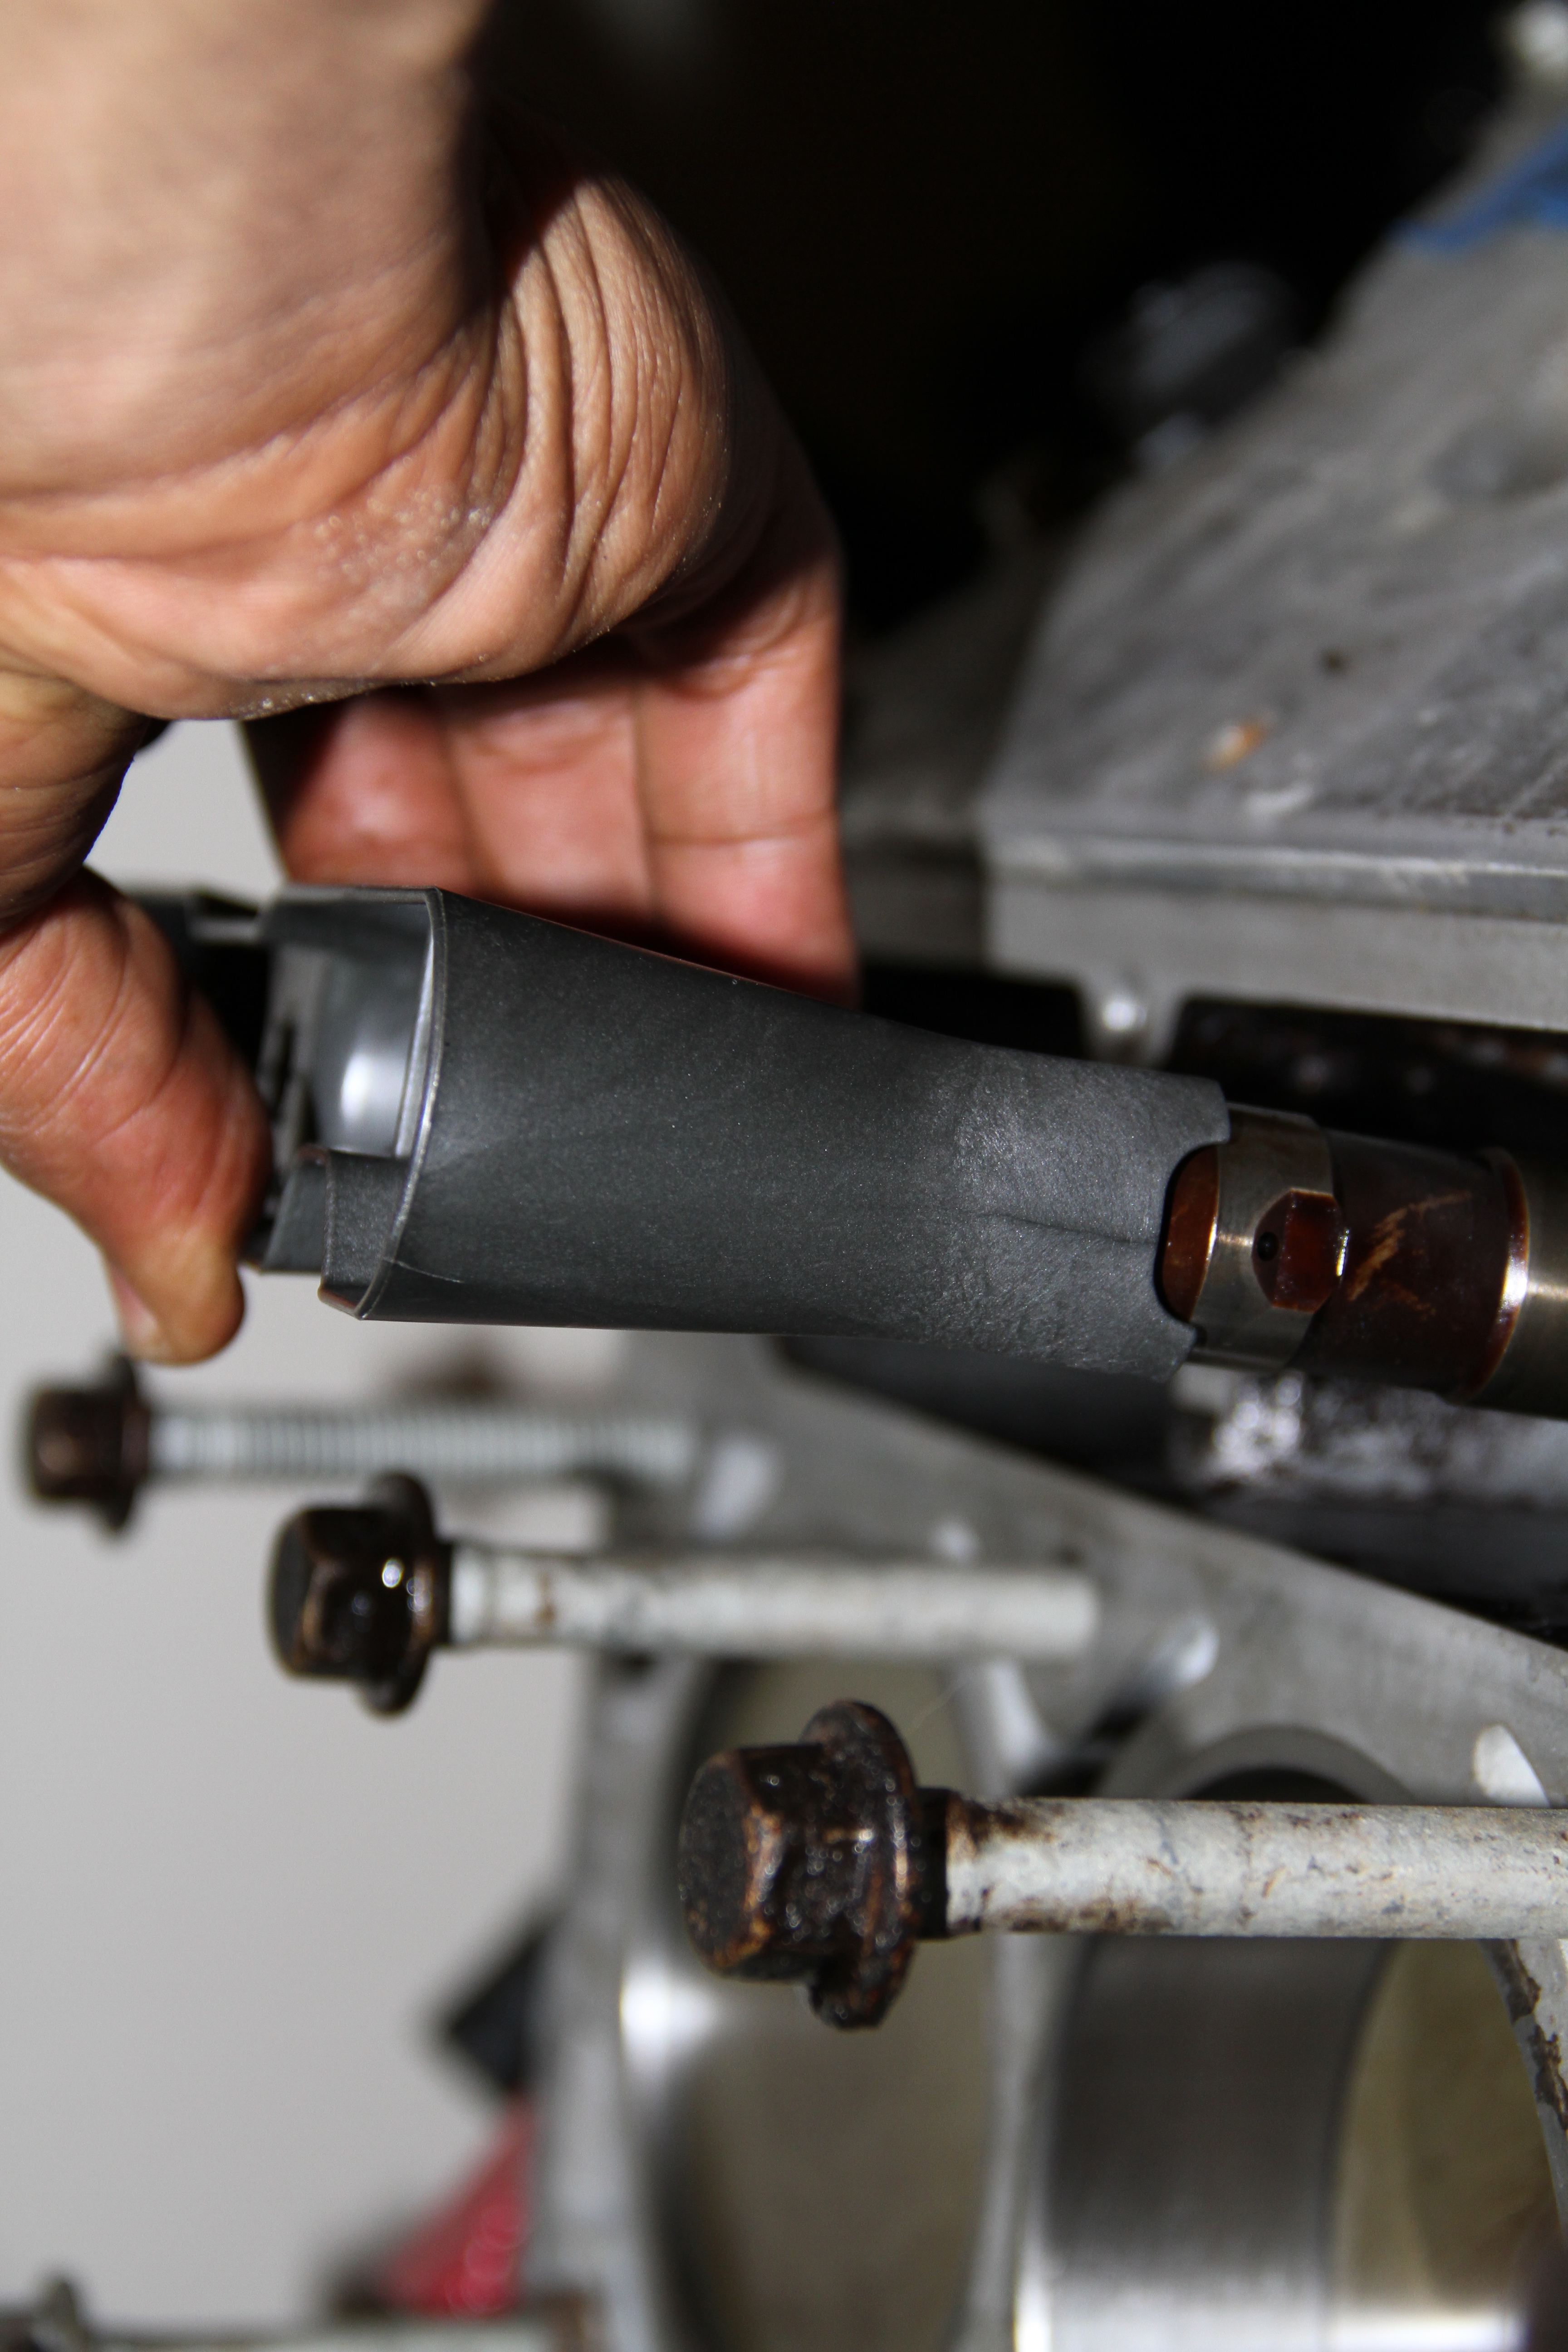
Now drop into place...
Good to go...

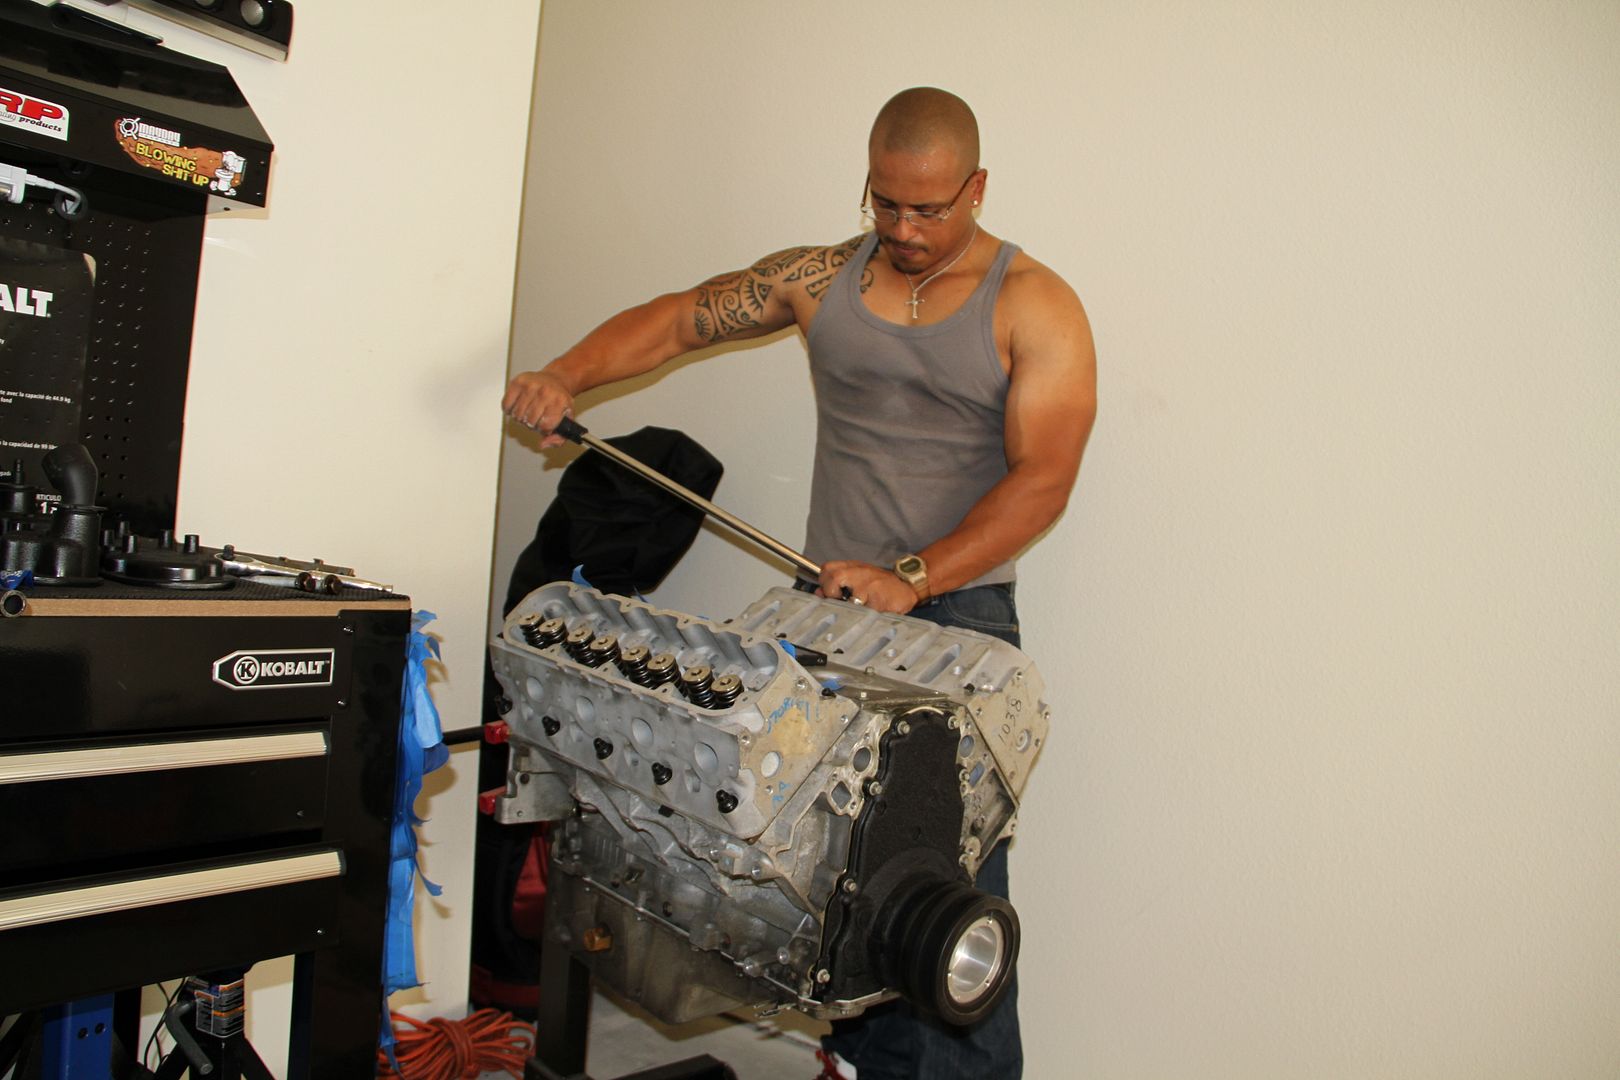
And use a 10mm and torque to 106 in-lb.
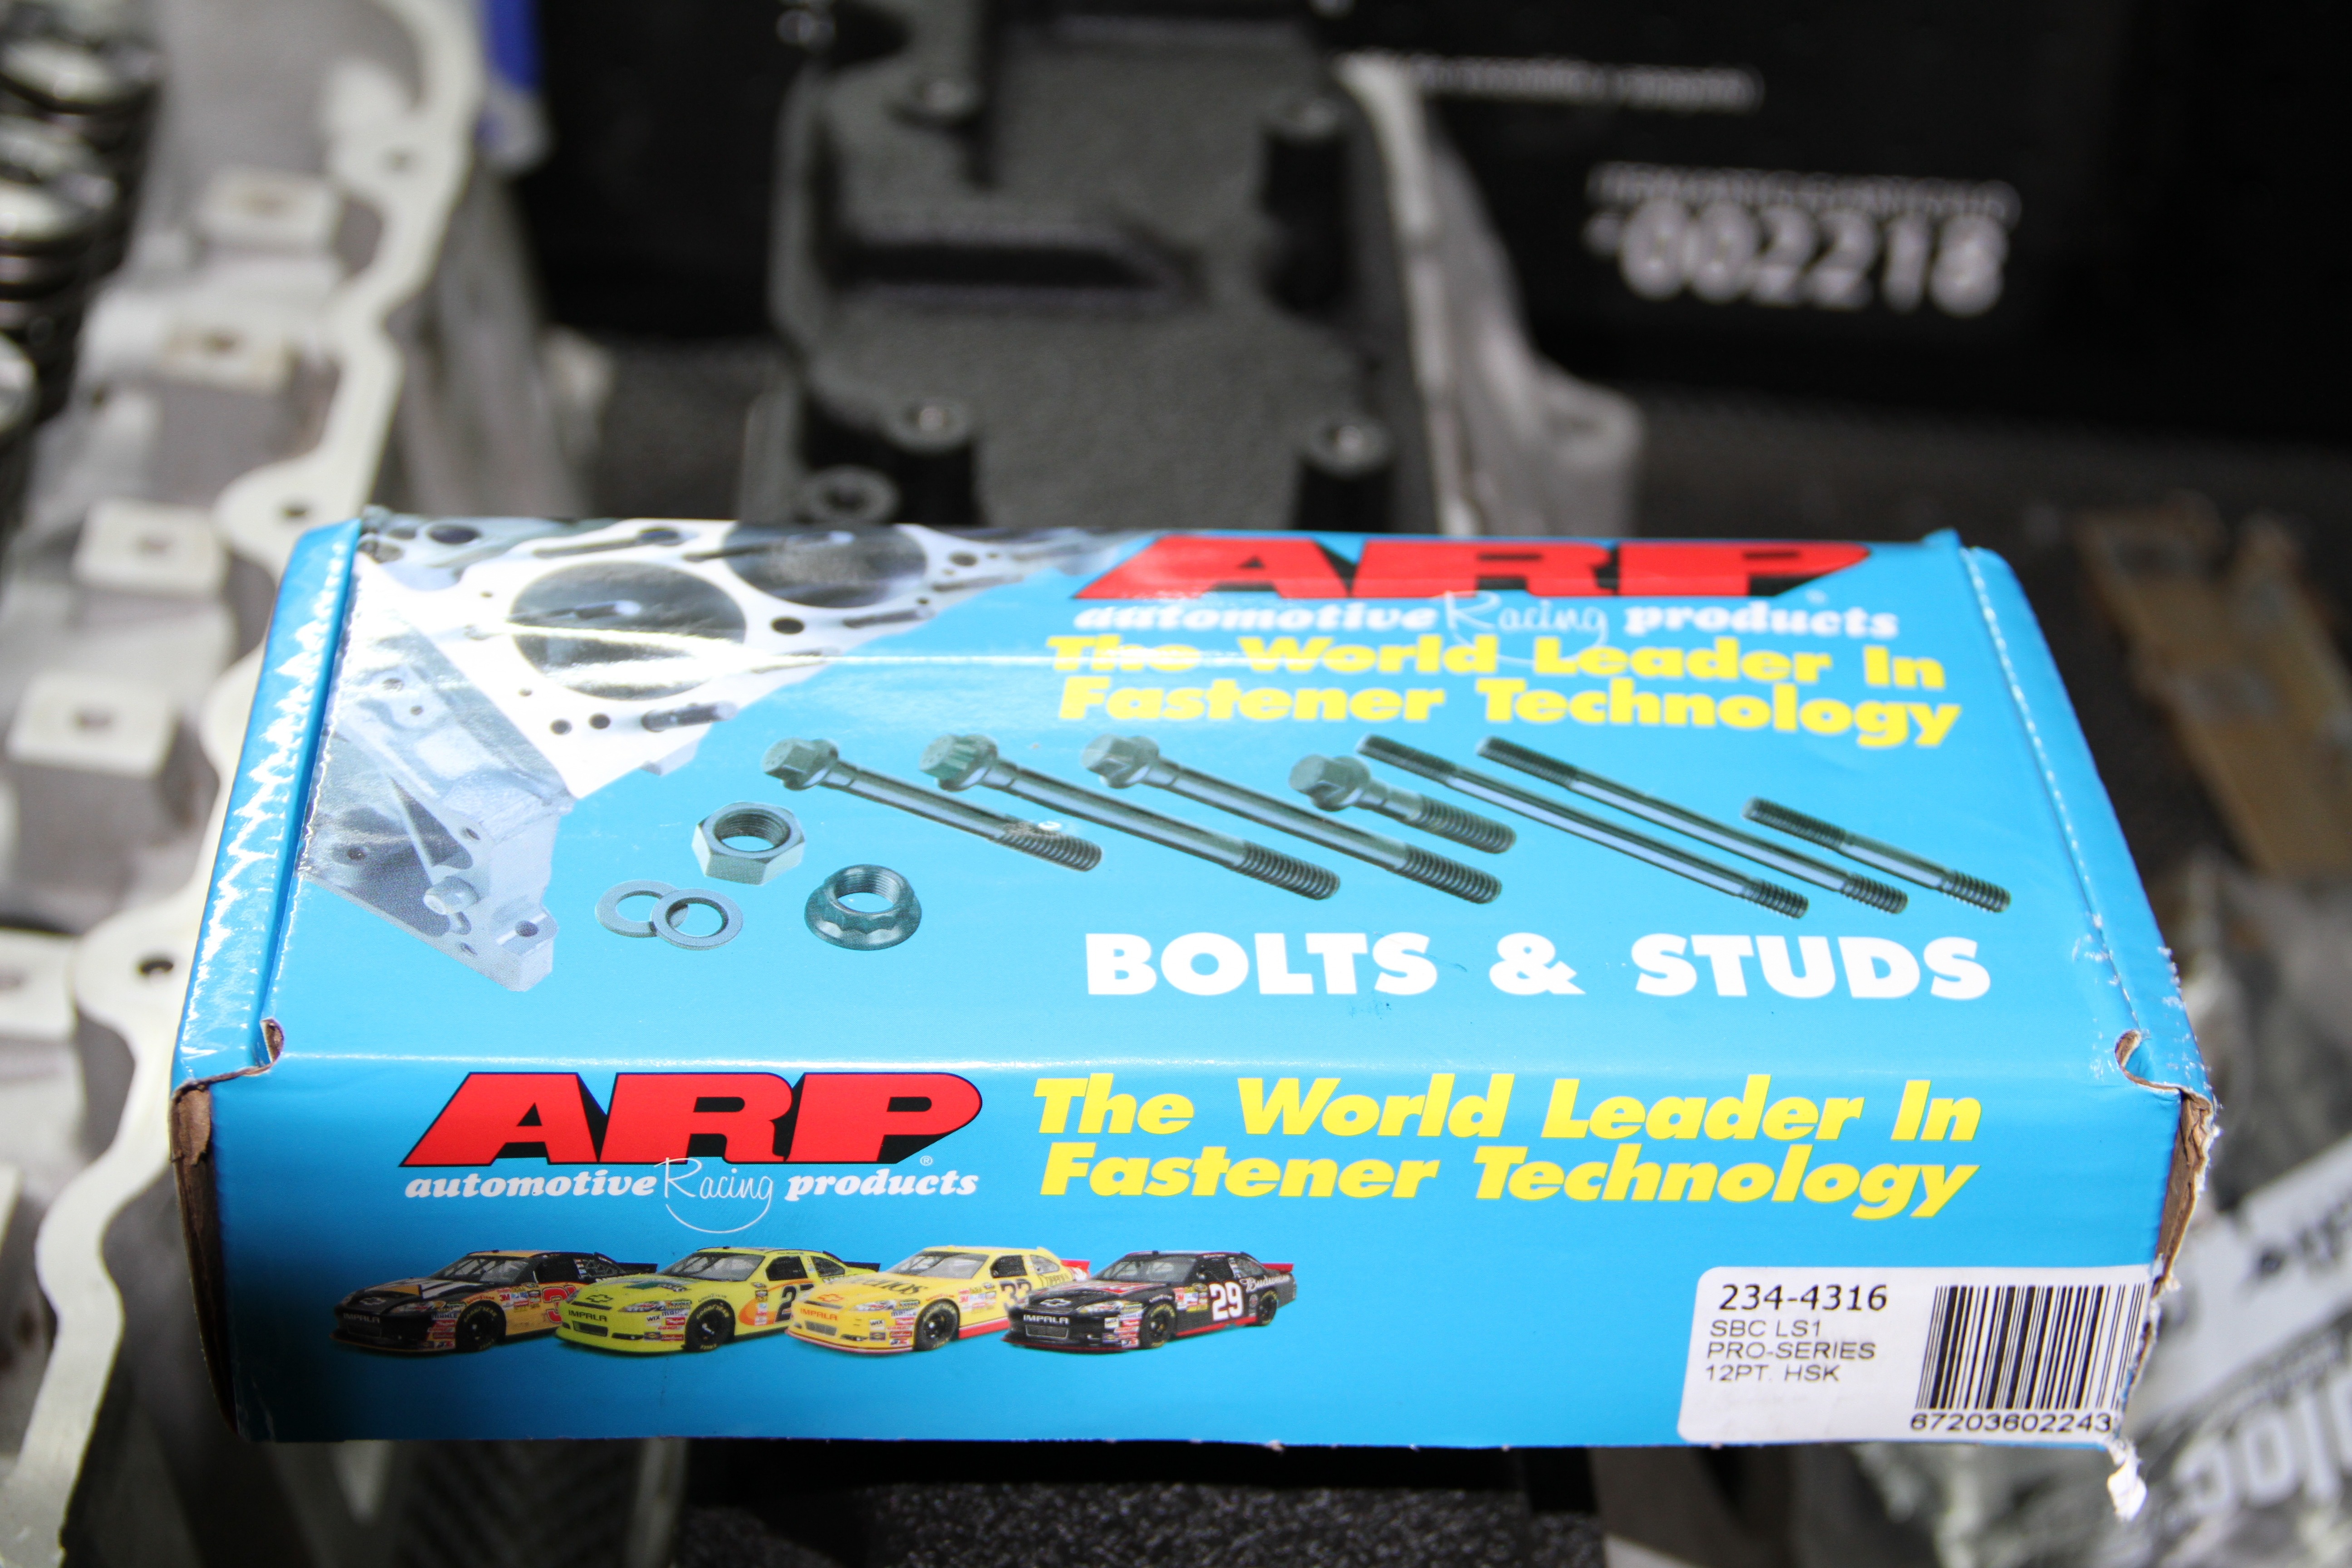
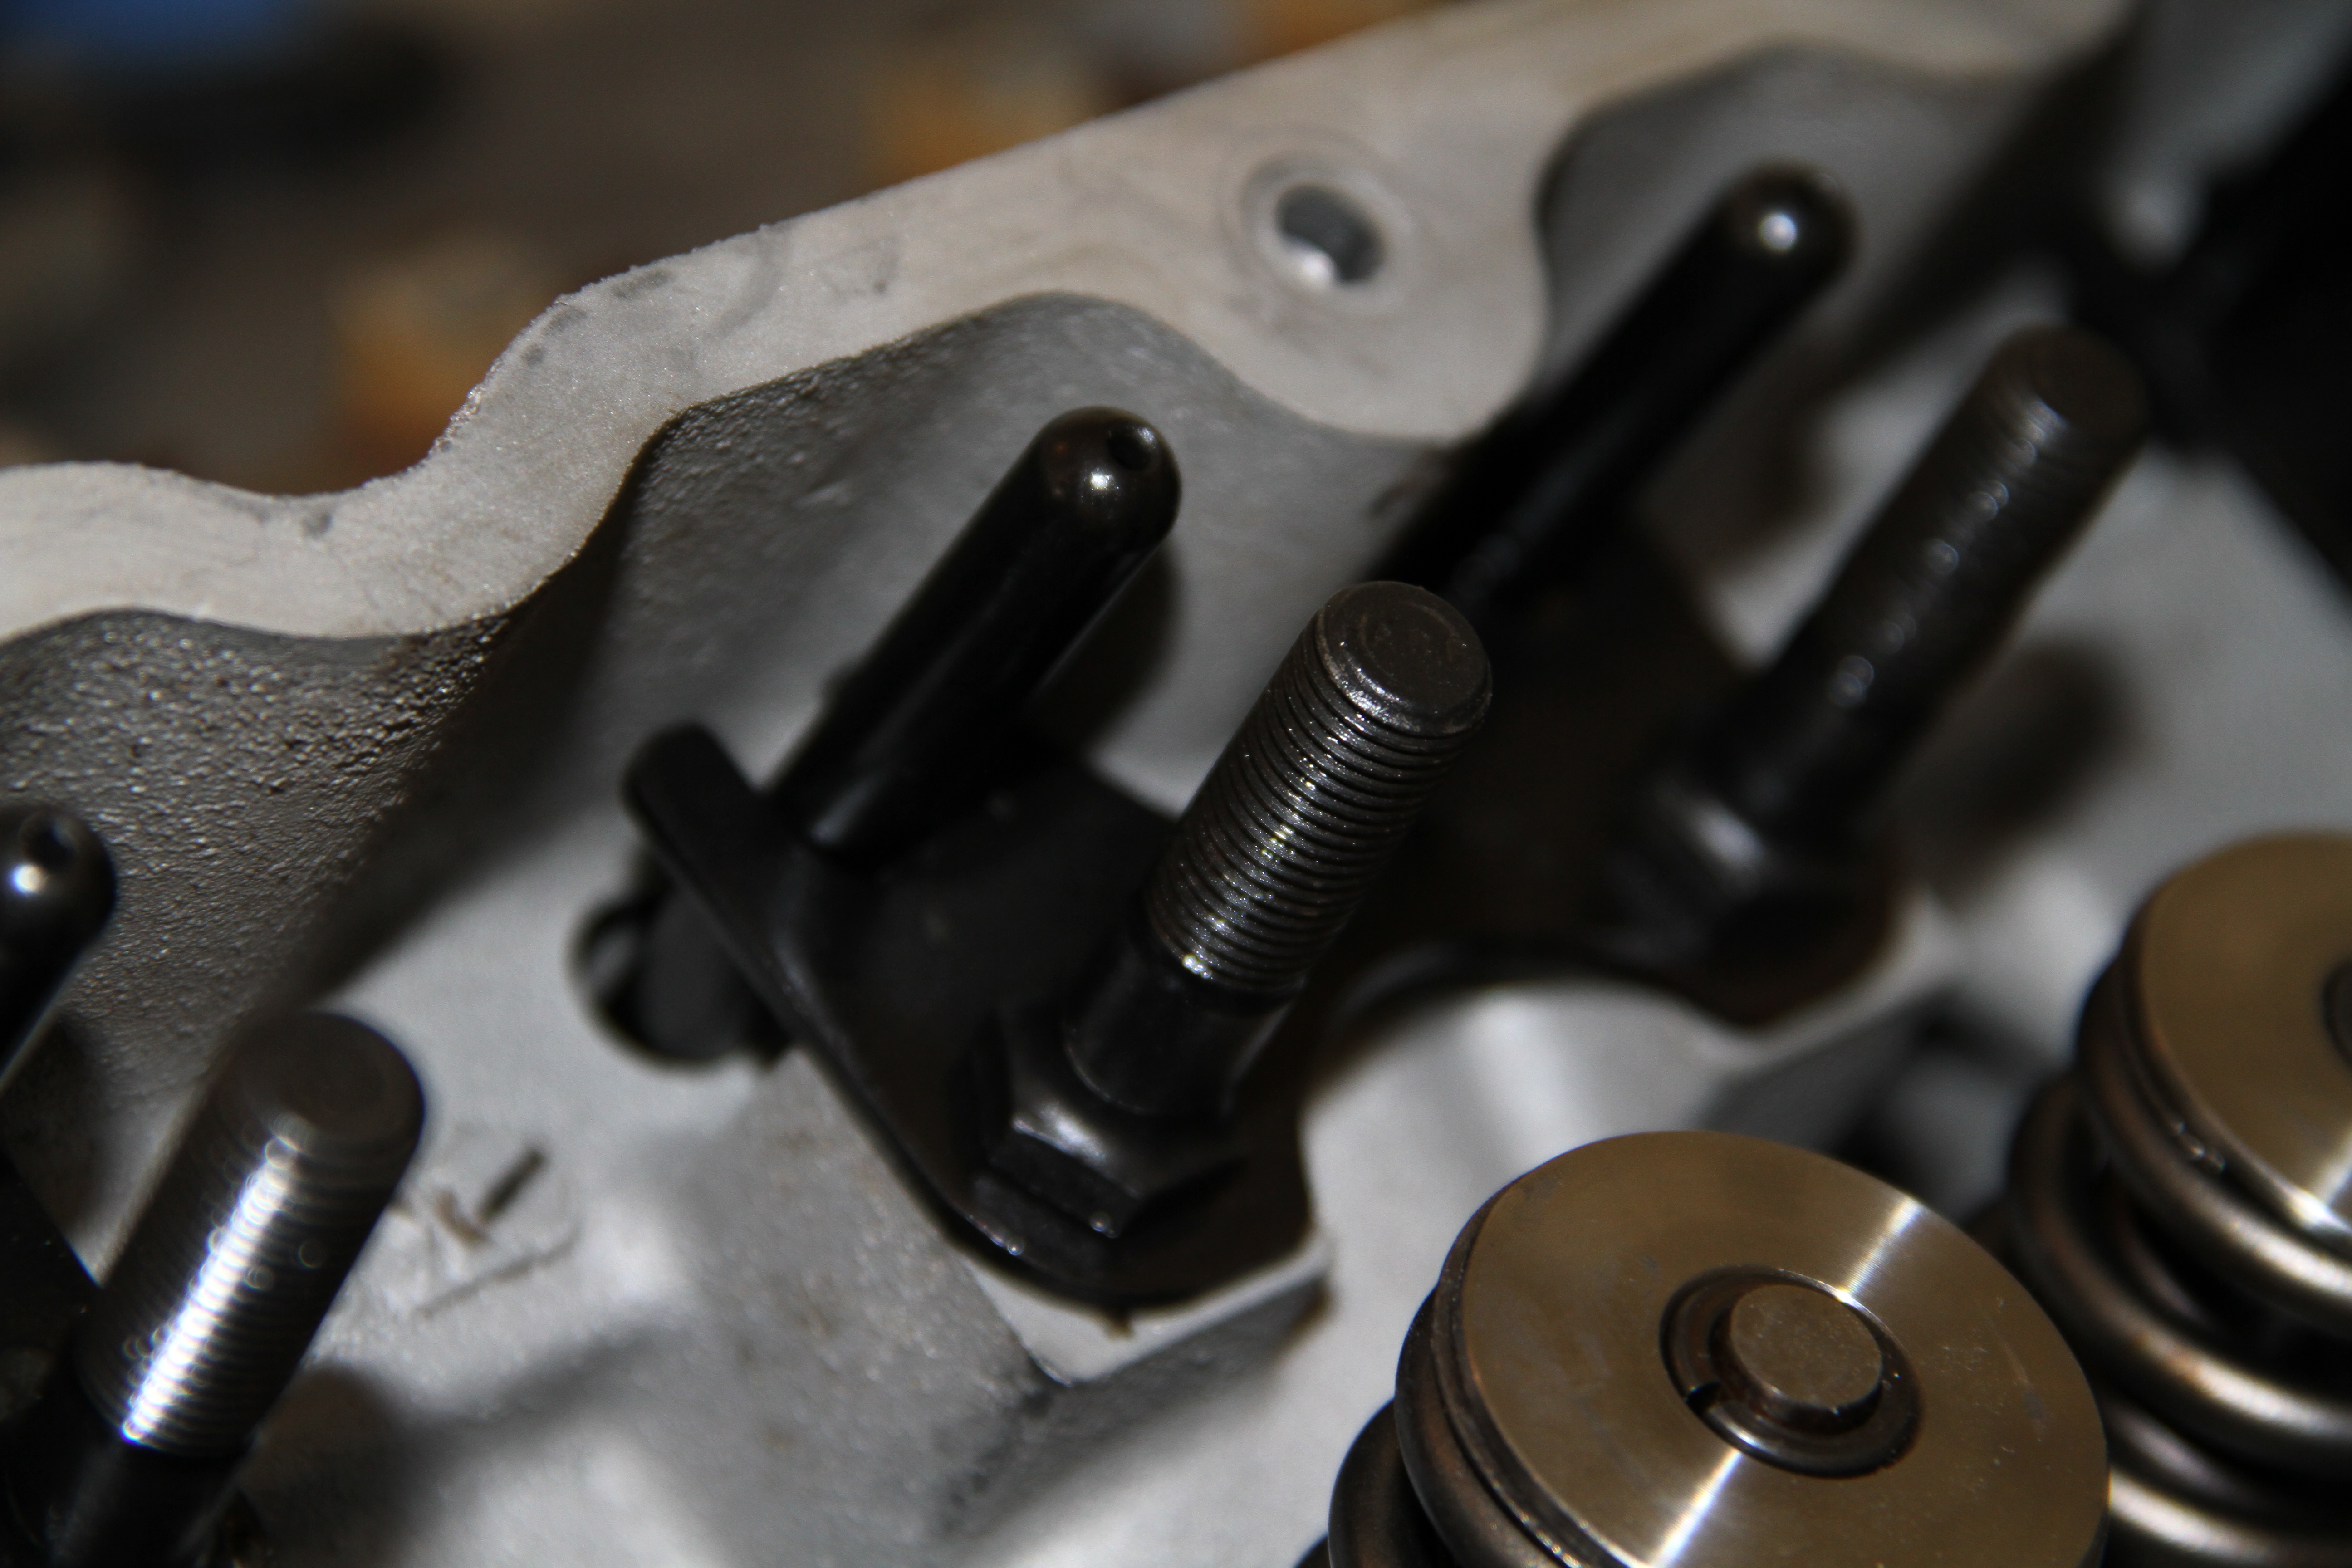
Next we have the 12-point ARP head bolts
Comes with all the bolts to mount your heads to the block..

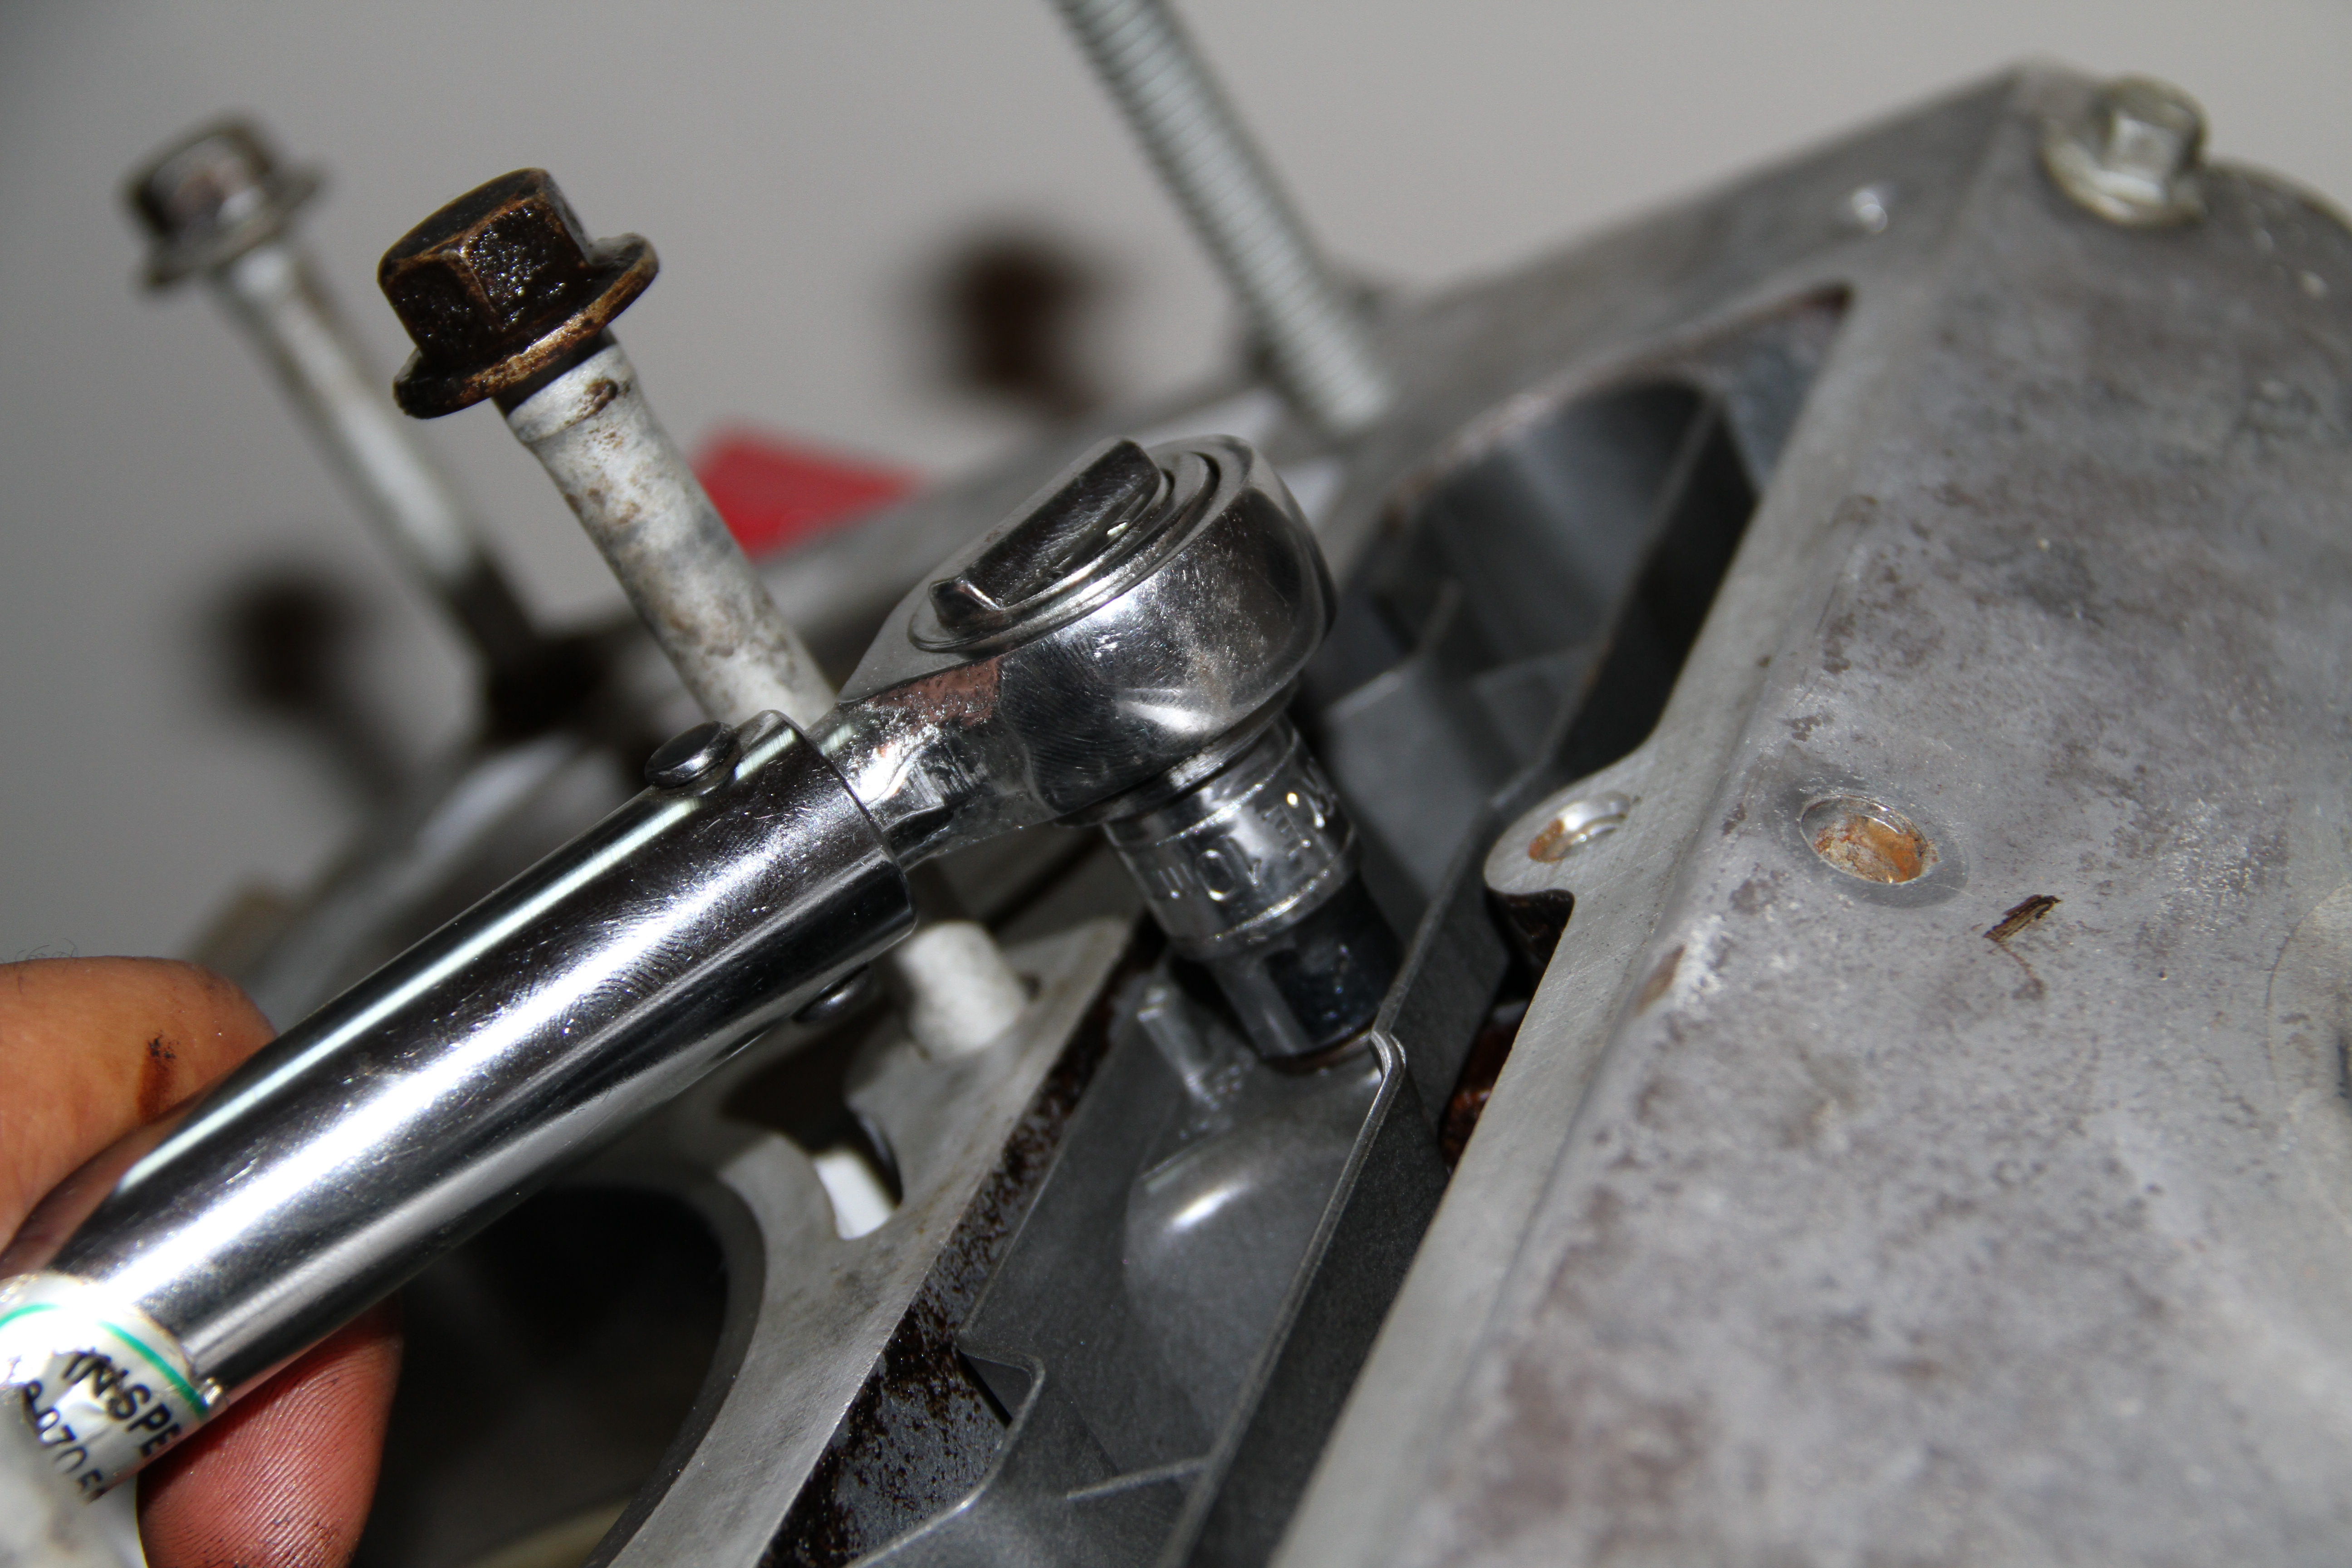
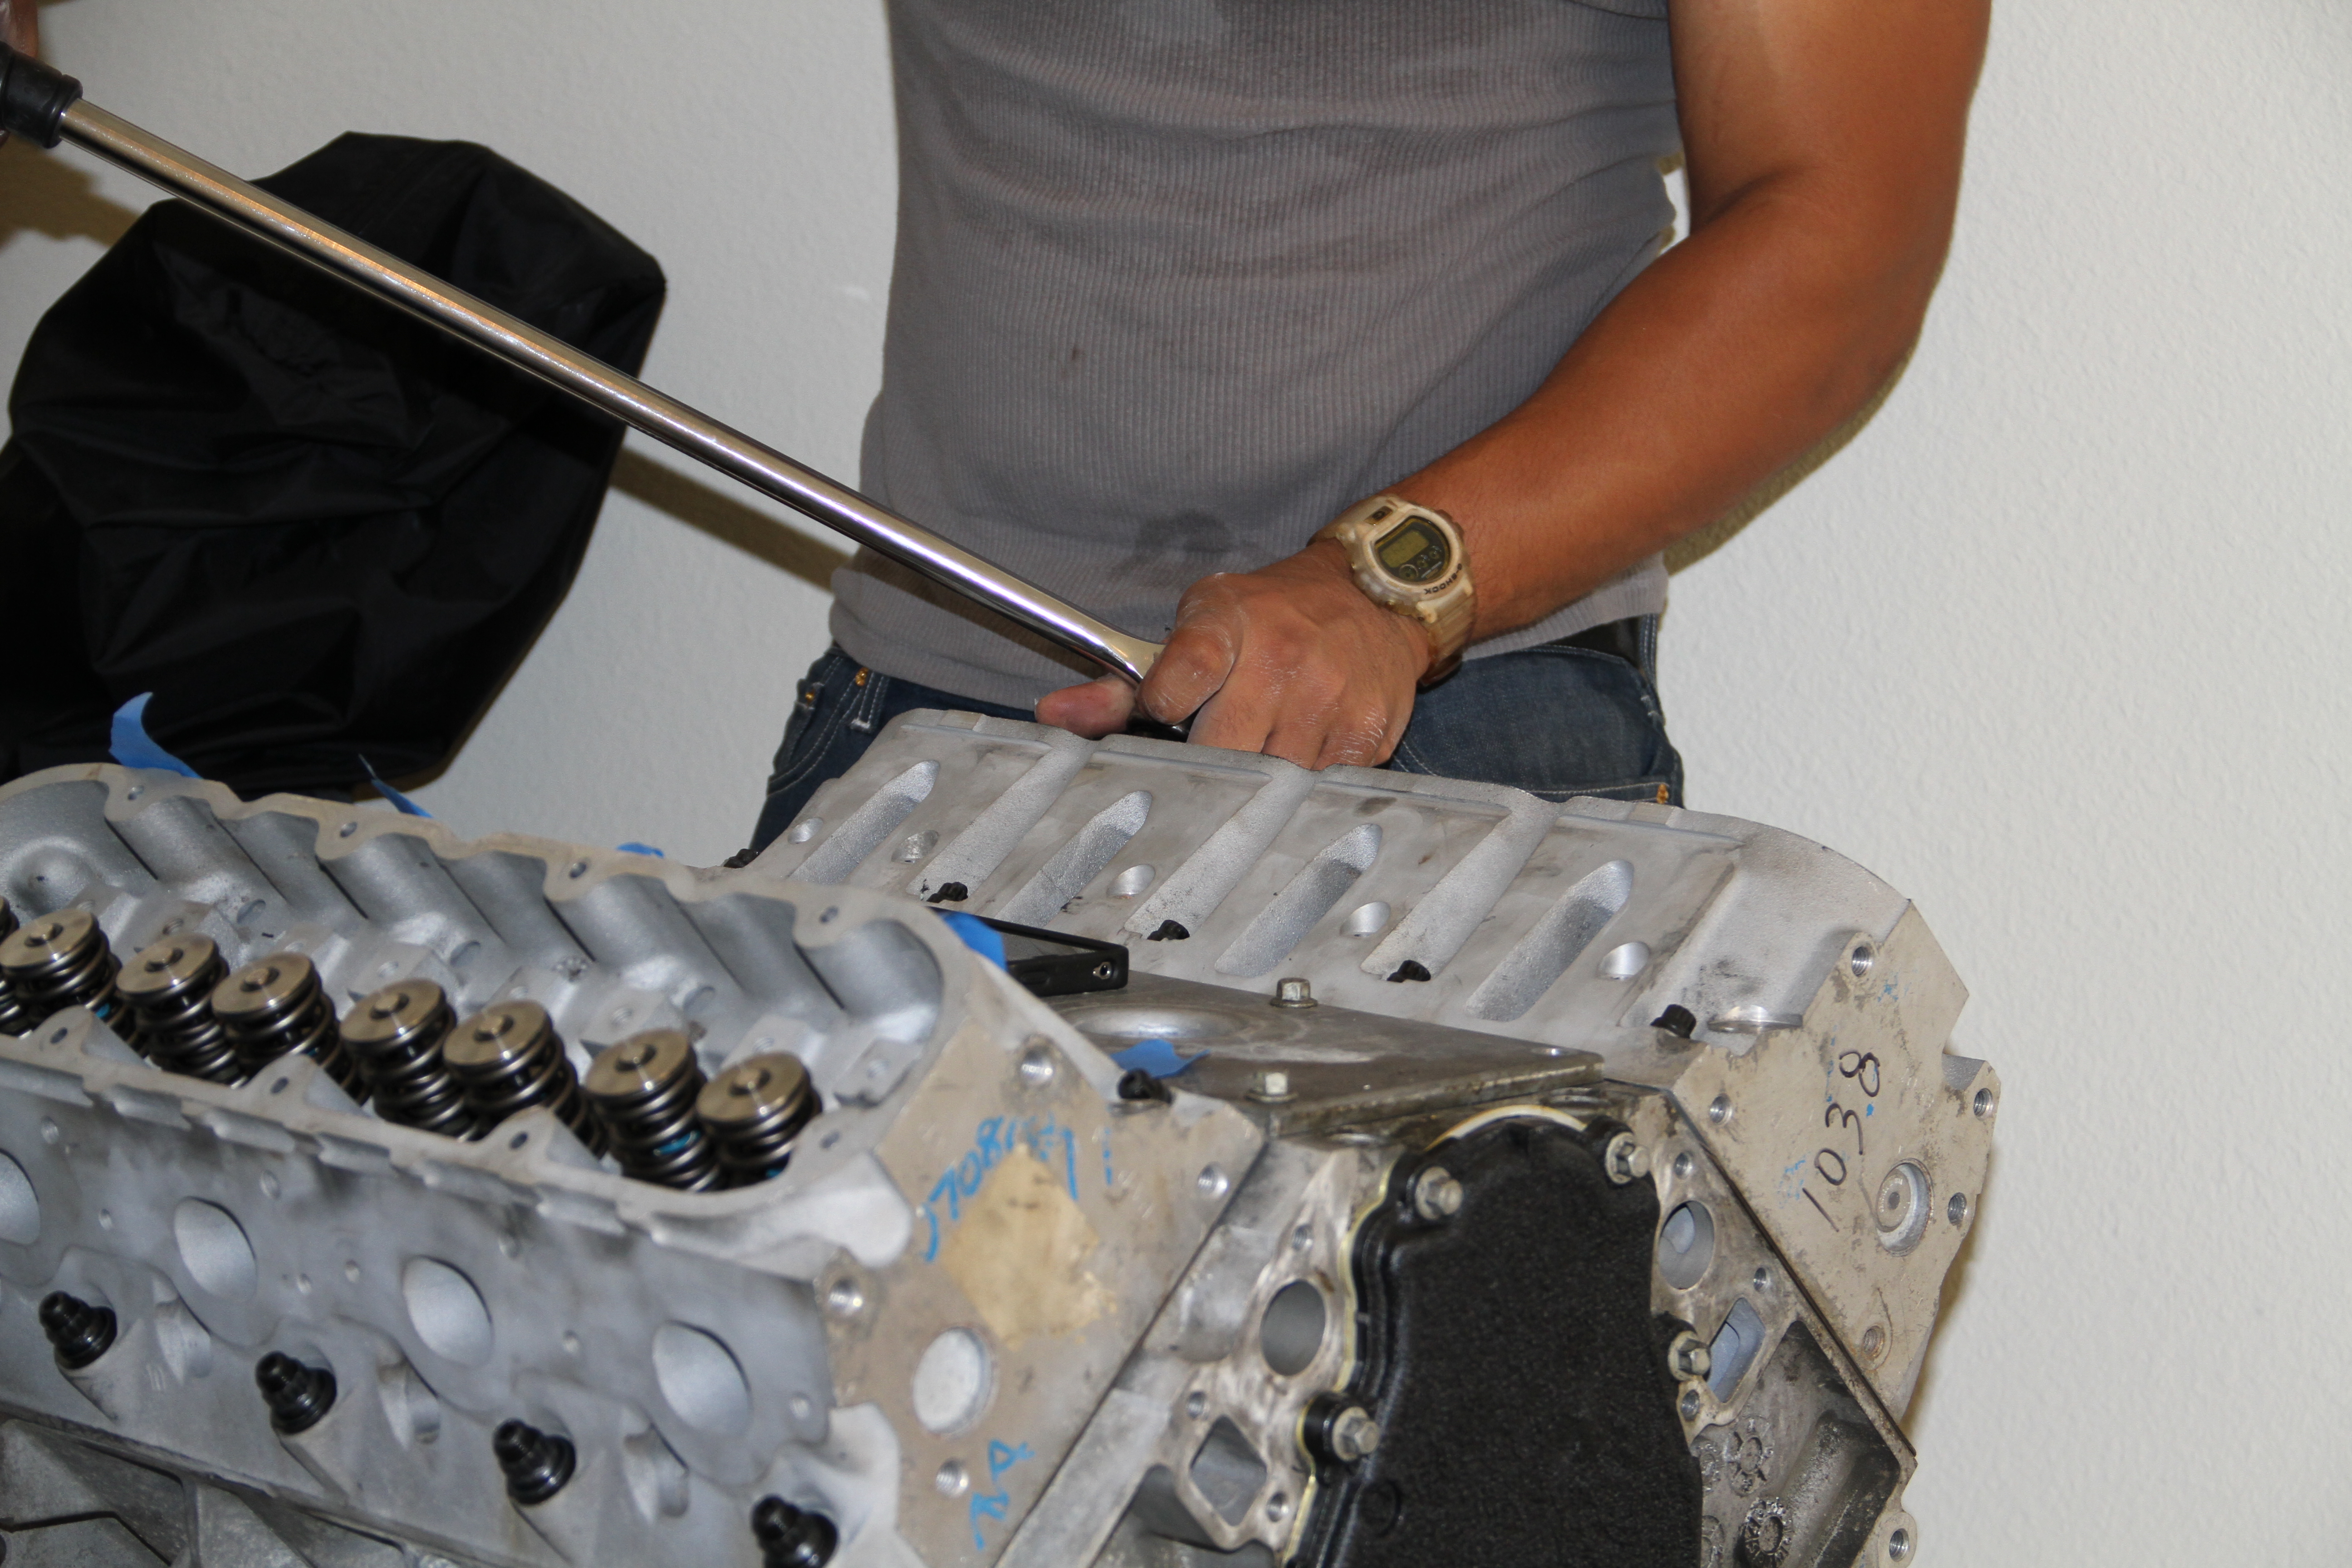
First you will install all the bolts in their proper location and tighten with an allen wrench.
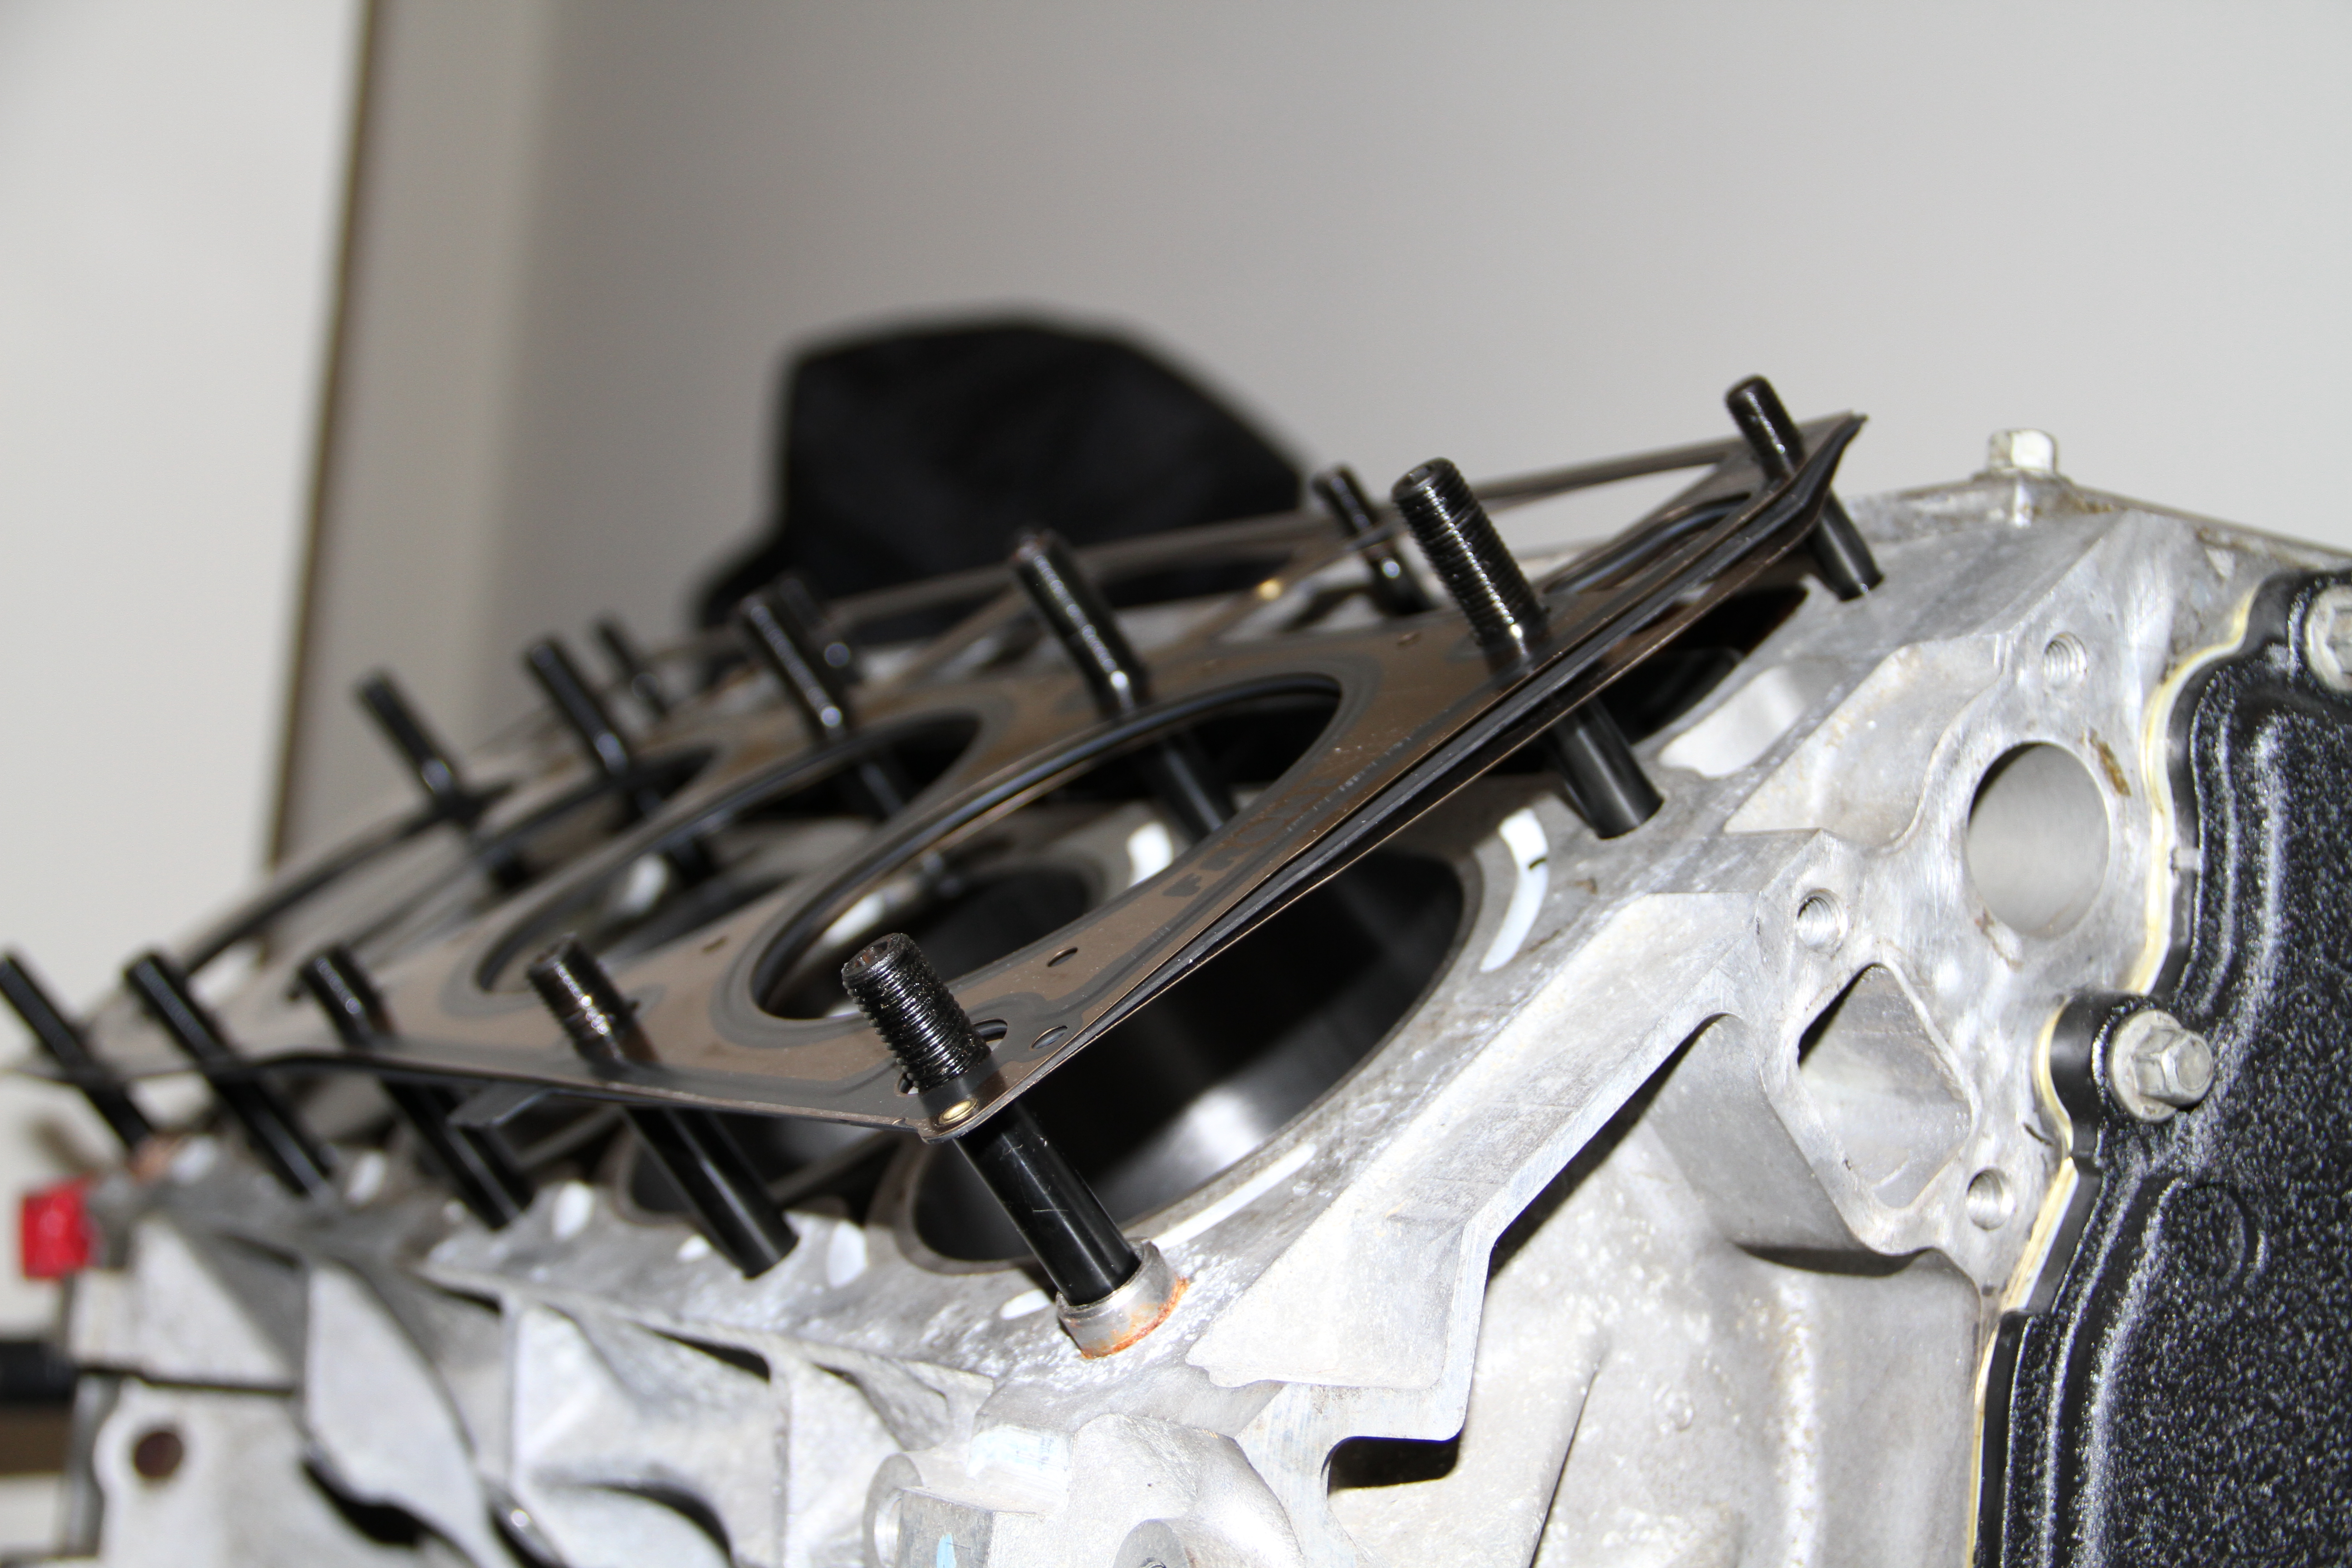
Next install the head gasket. Mine came with my long block so I did not have to buy one.. It was brand new in the bag still.

Next I placed the heads on the block. Then installed the ARP bolts. Now to touque these down I followed the pic above and torque all 10 15mm bolts to 22lb-ft.
Edit: Okay I was confusing some people about the torque specs on the ARP bolts. You just need to follow the ARP instructions that came with the box.
Again it is a lot of work but worth it..
Close up...
Next are the Hardened Chromoly Pushrods
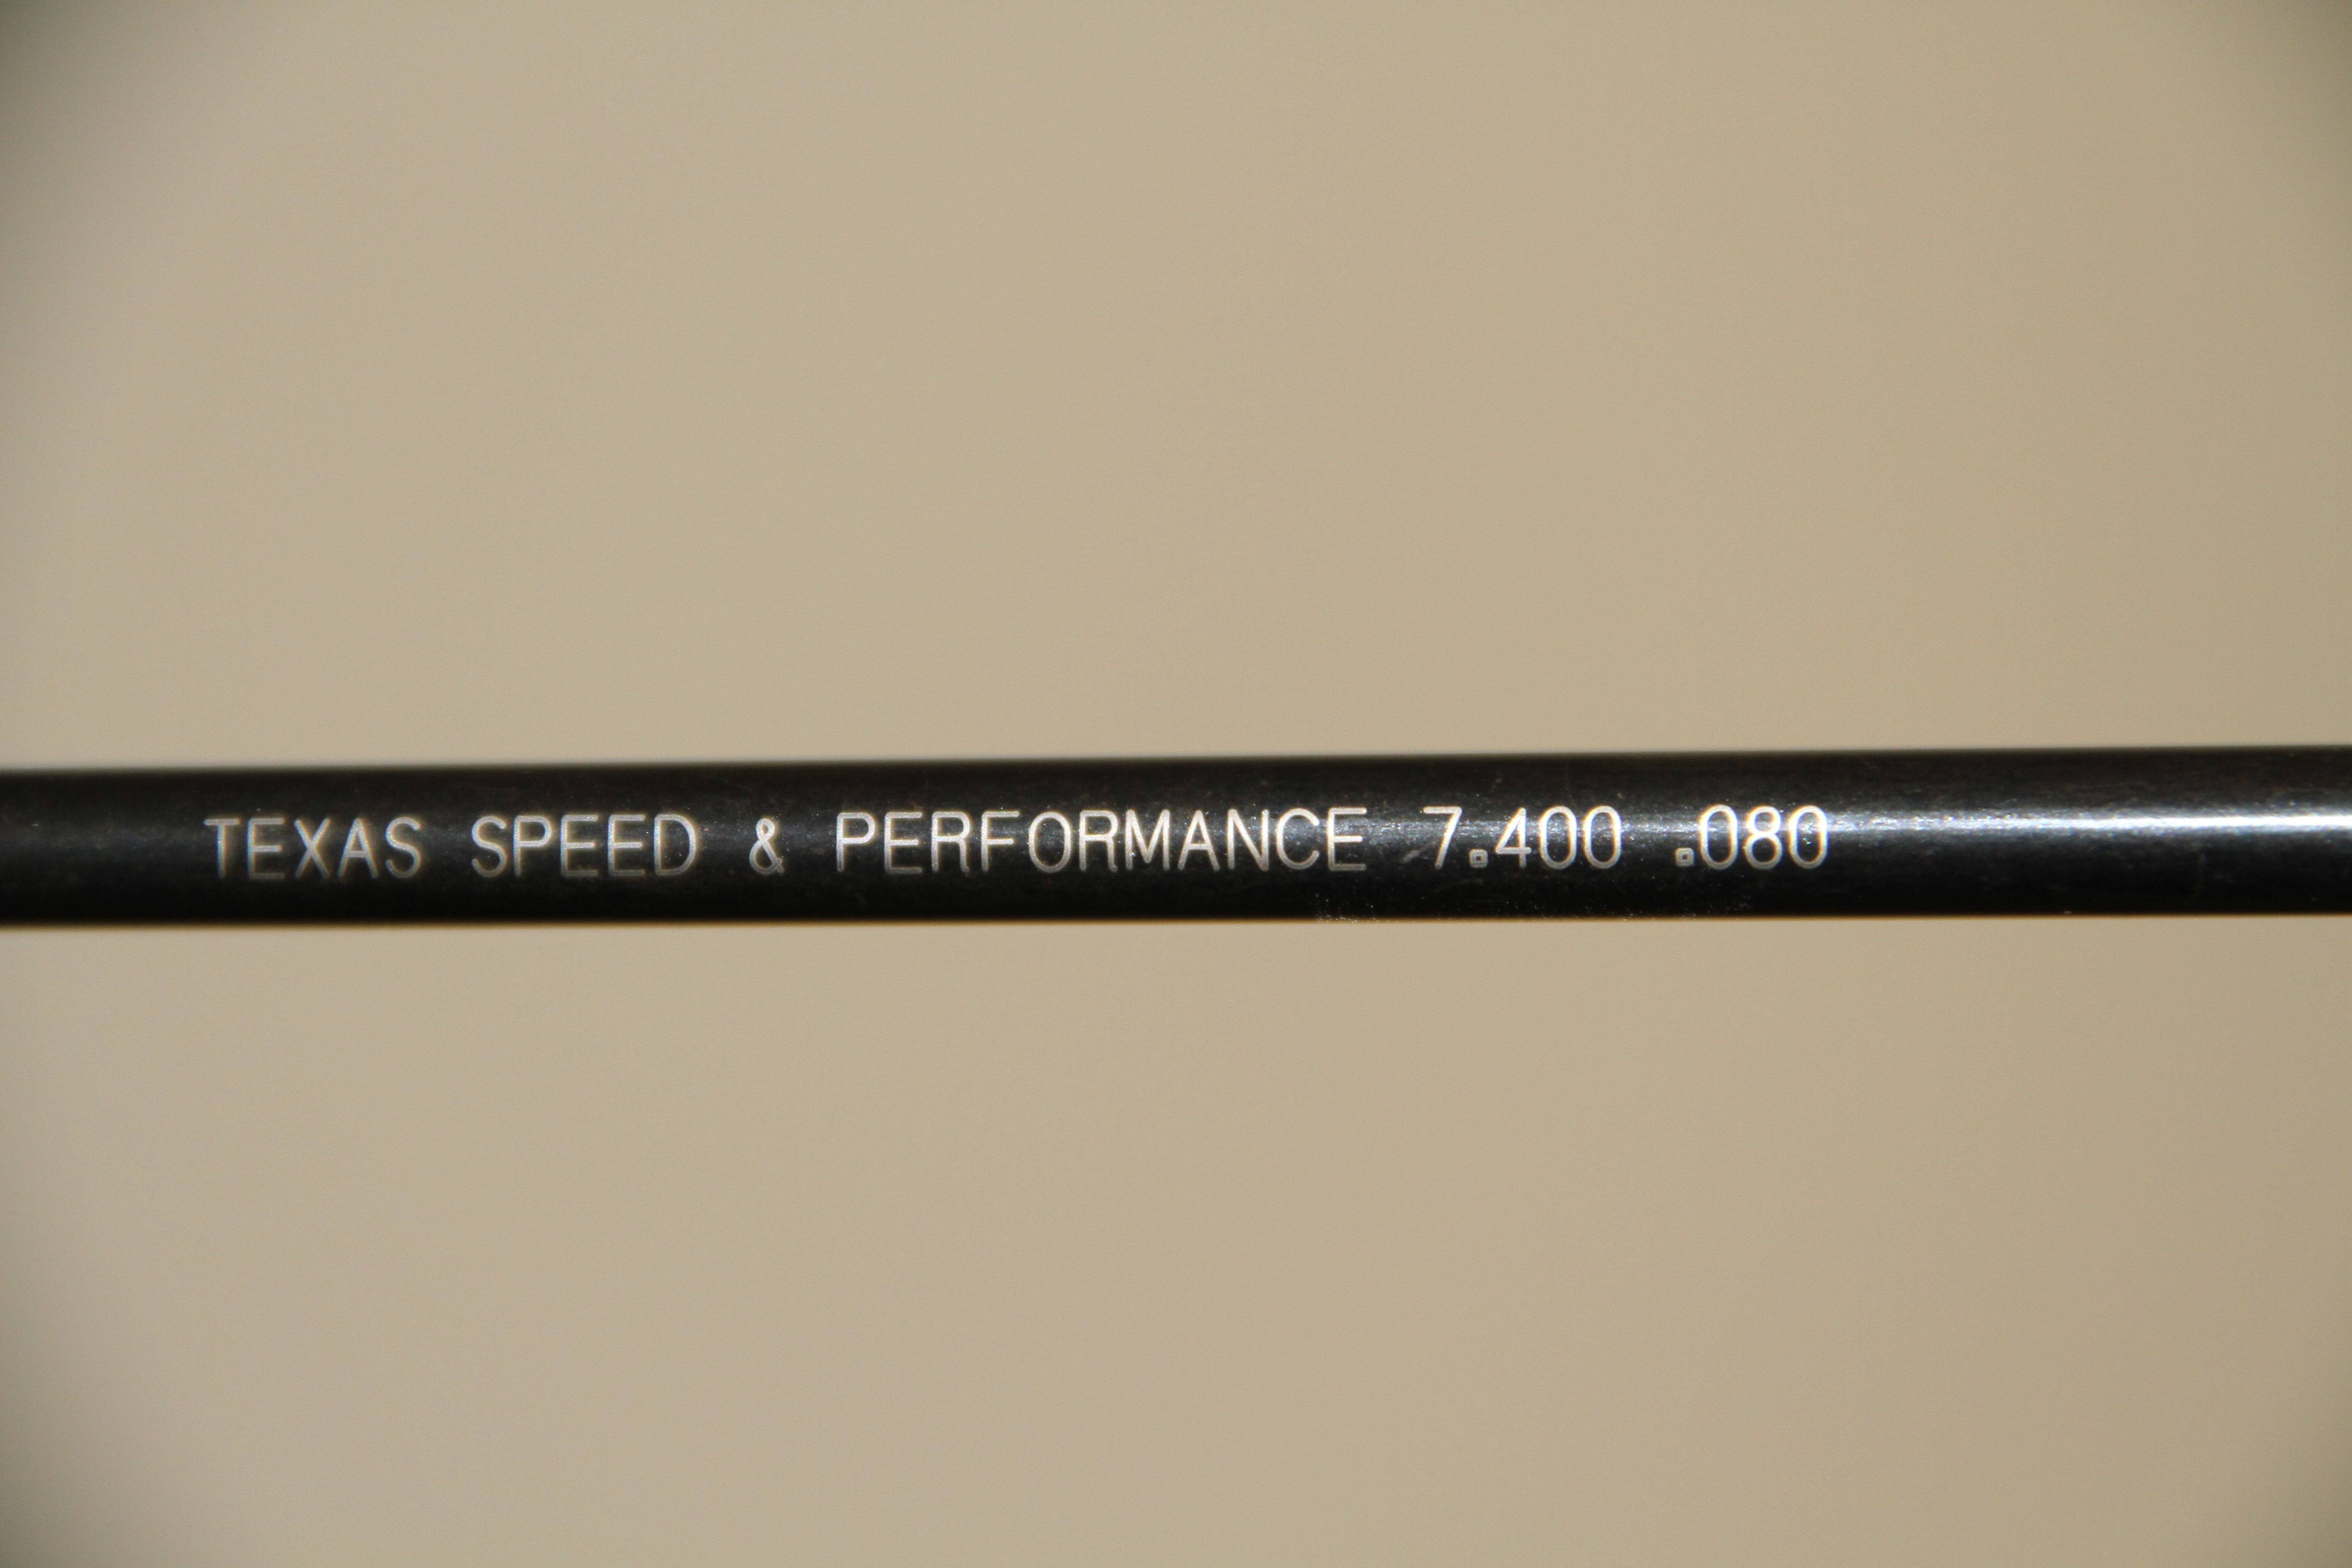
Texas Speed Shop knows their stuff and so glad they are in TX.. Good stuff..
To install the pushrods just drop them in...
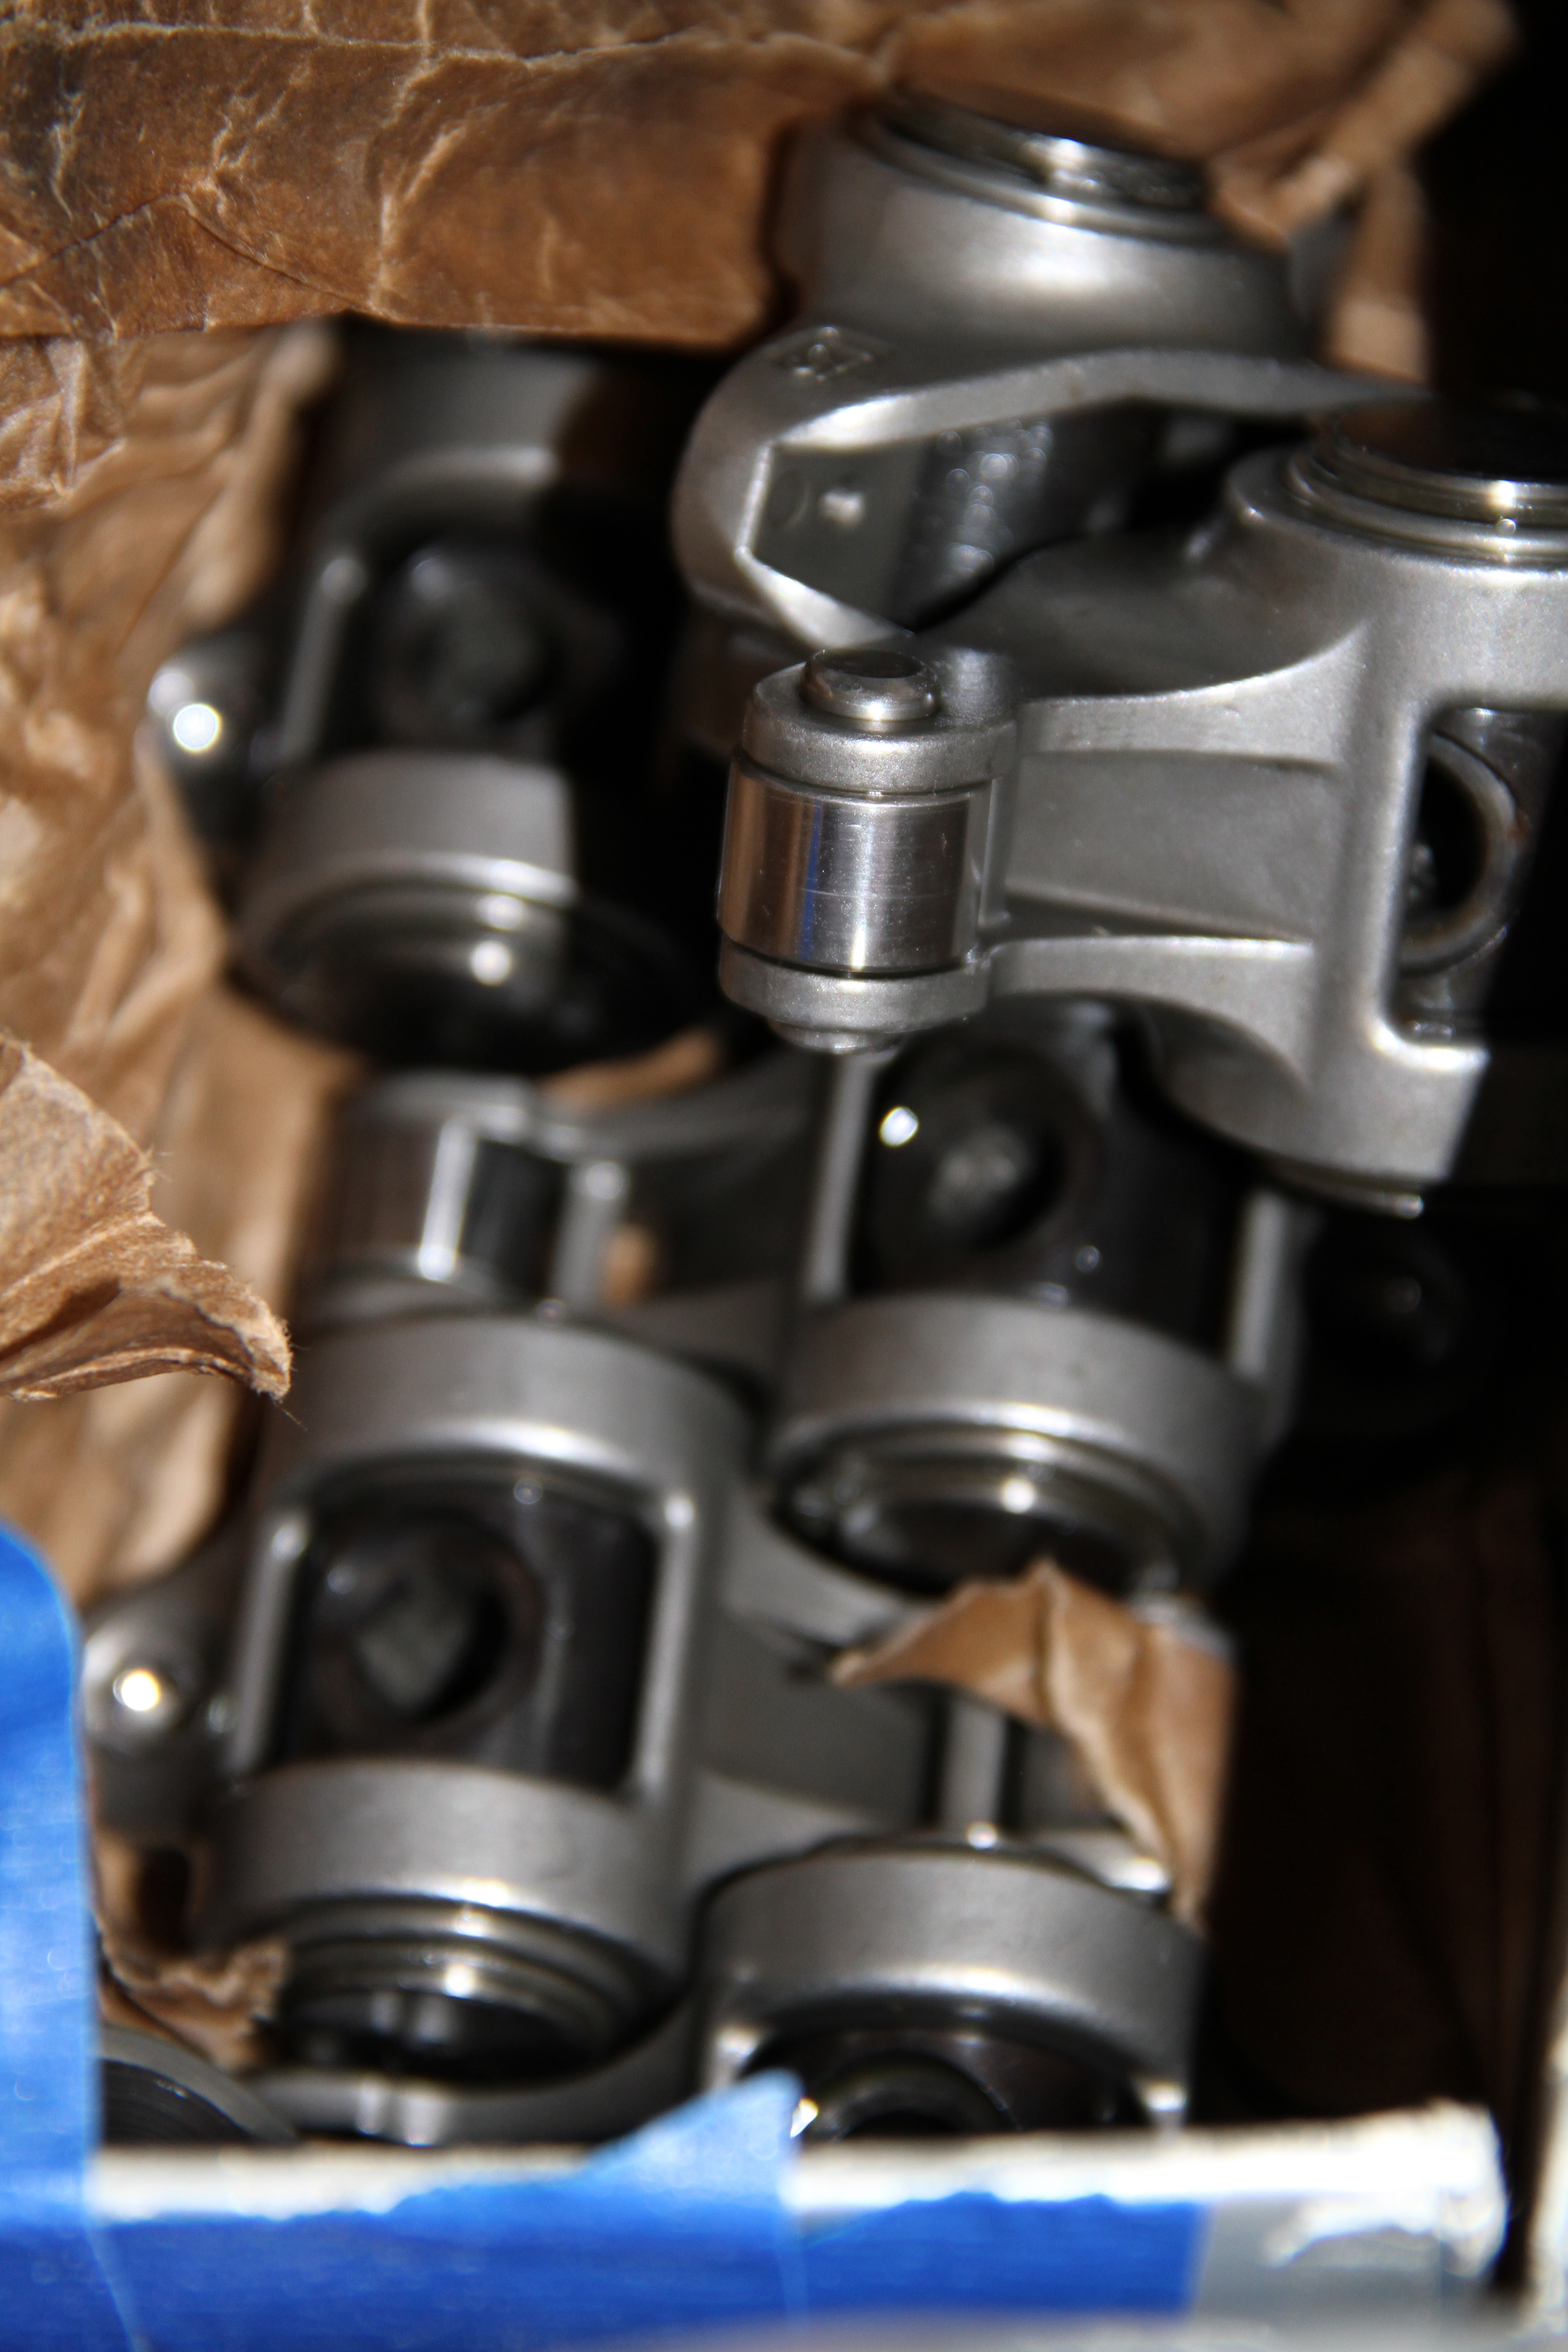
Next are Comp Pro Rocker Arms. I got these off of LS1tech..
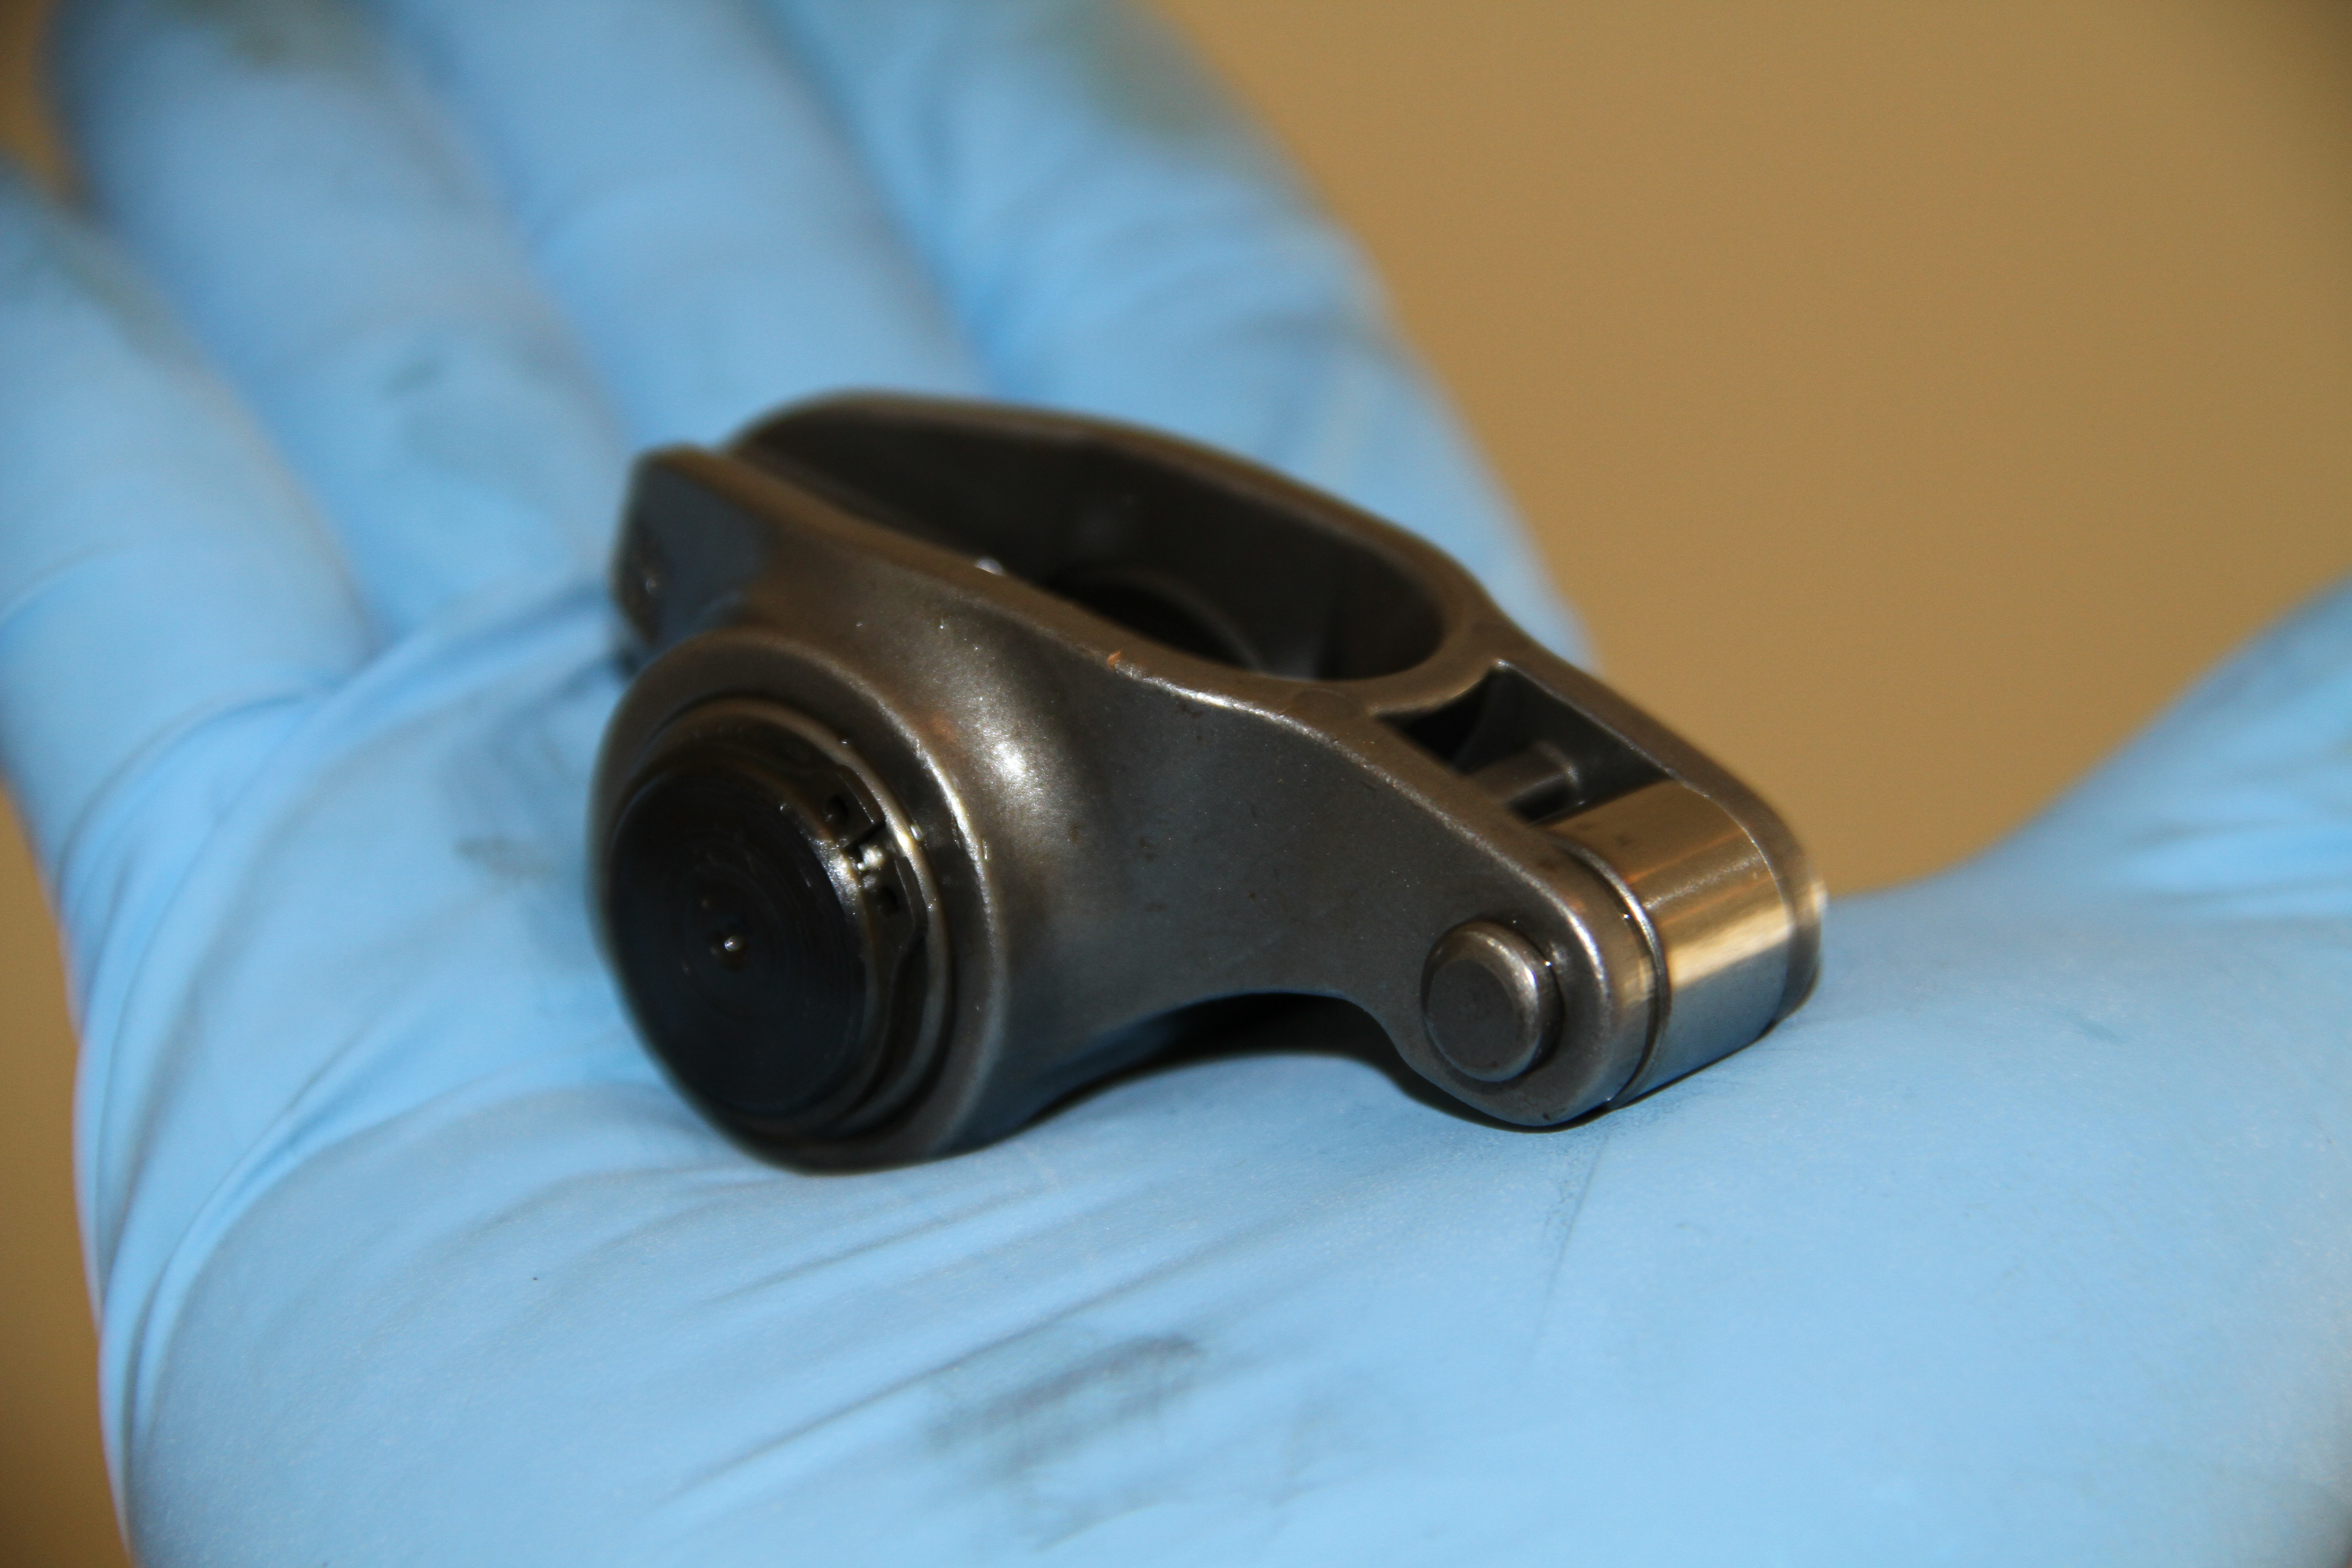
These things are so sick..
They come with there own guide plates.. You just need to torque them down to 22lb-ft.
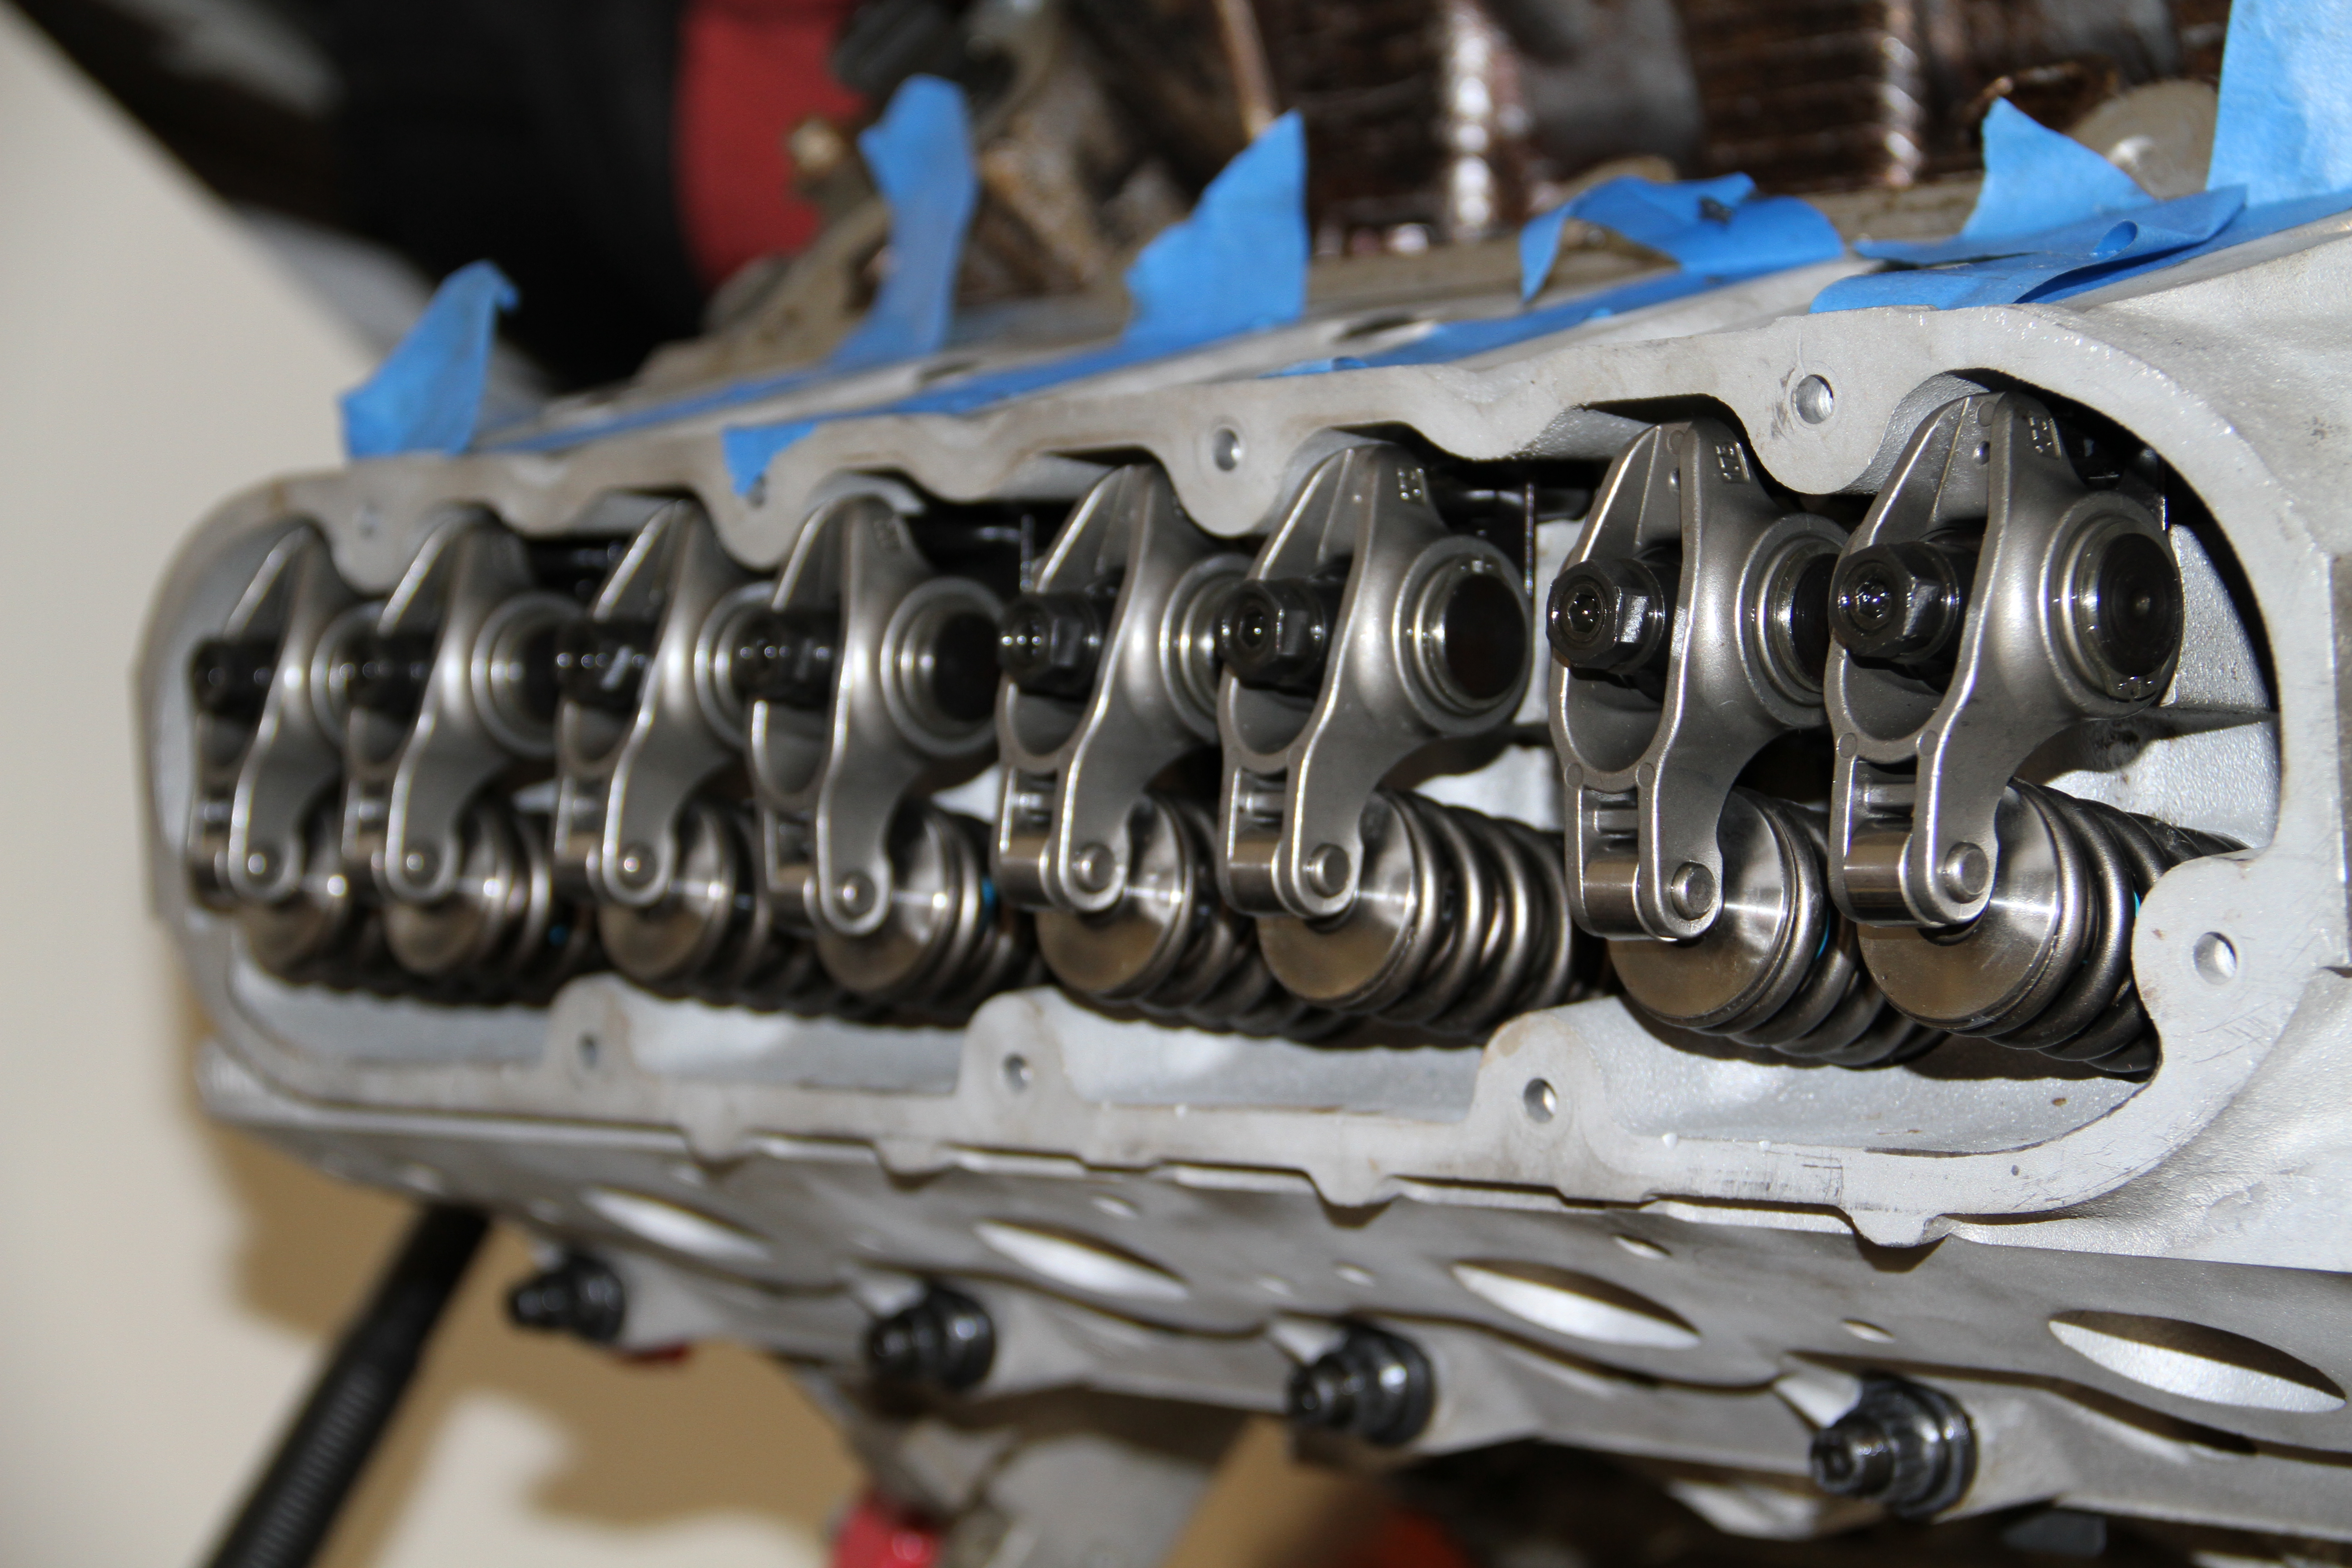
Next install the rocker arms, and also torque them down to 22lb-ft
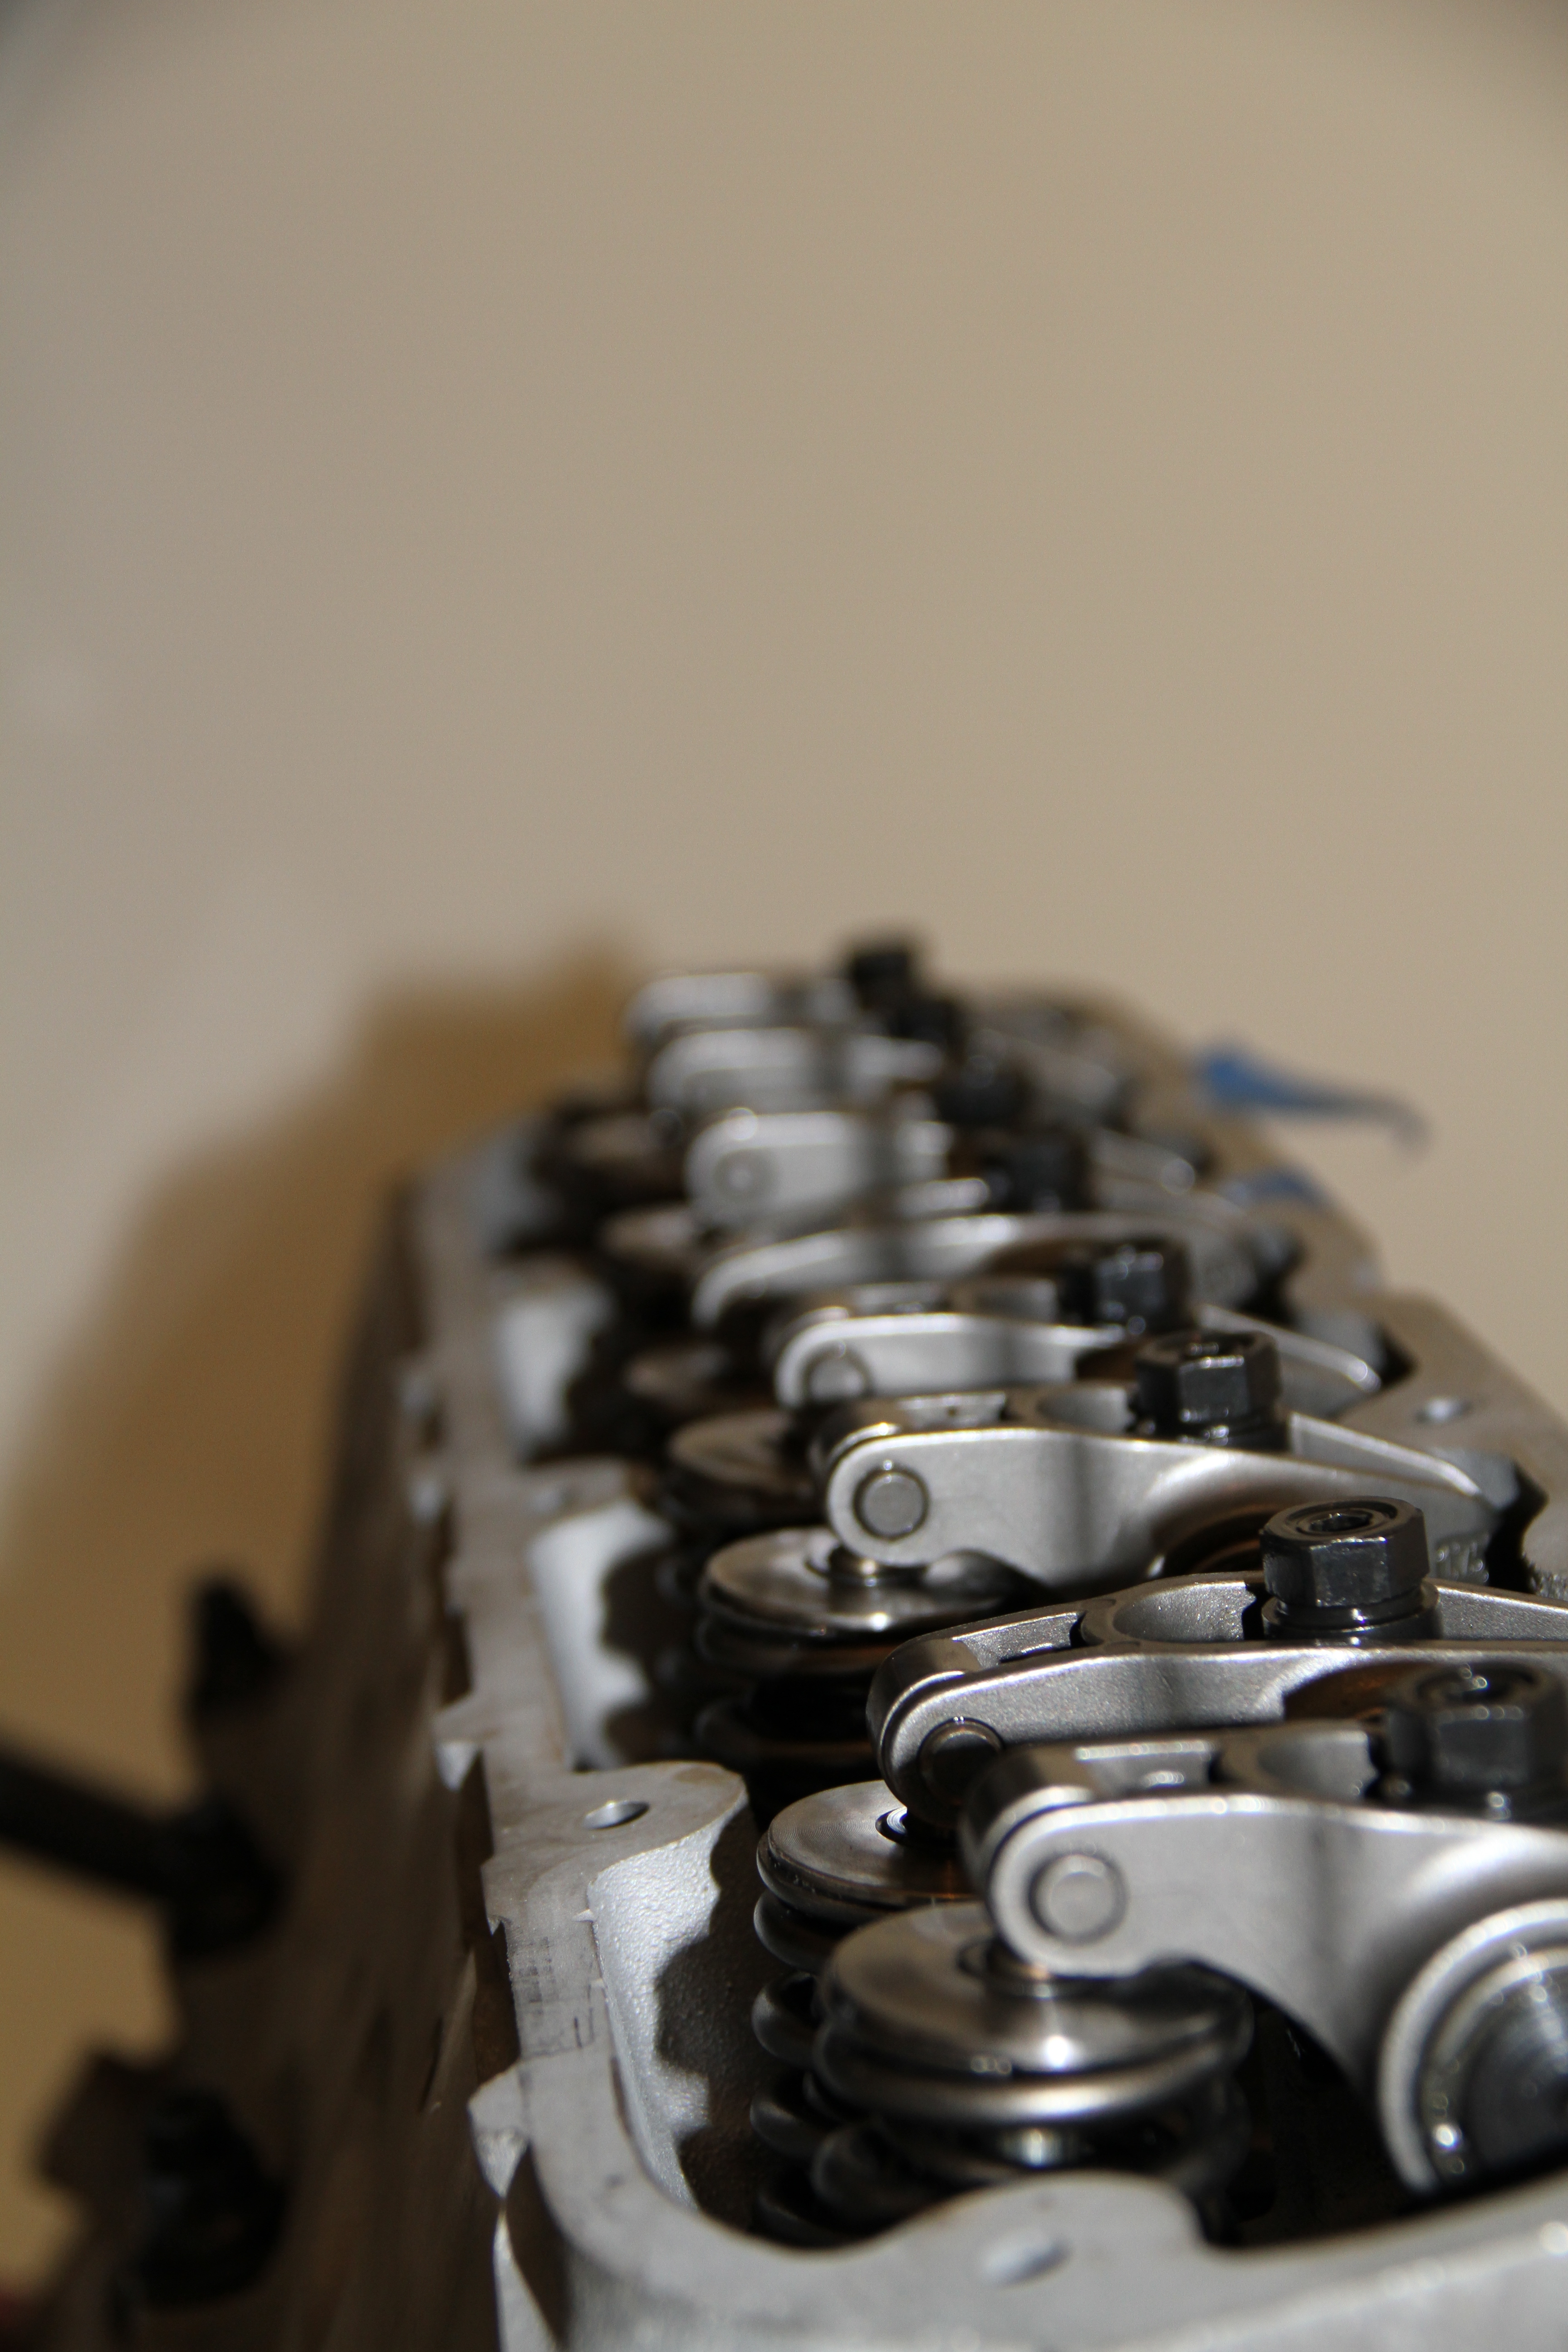
There you have it, all rocker arms installed, looks sick..
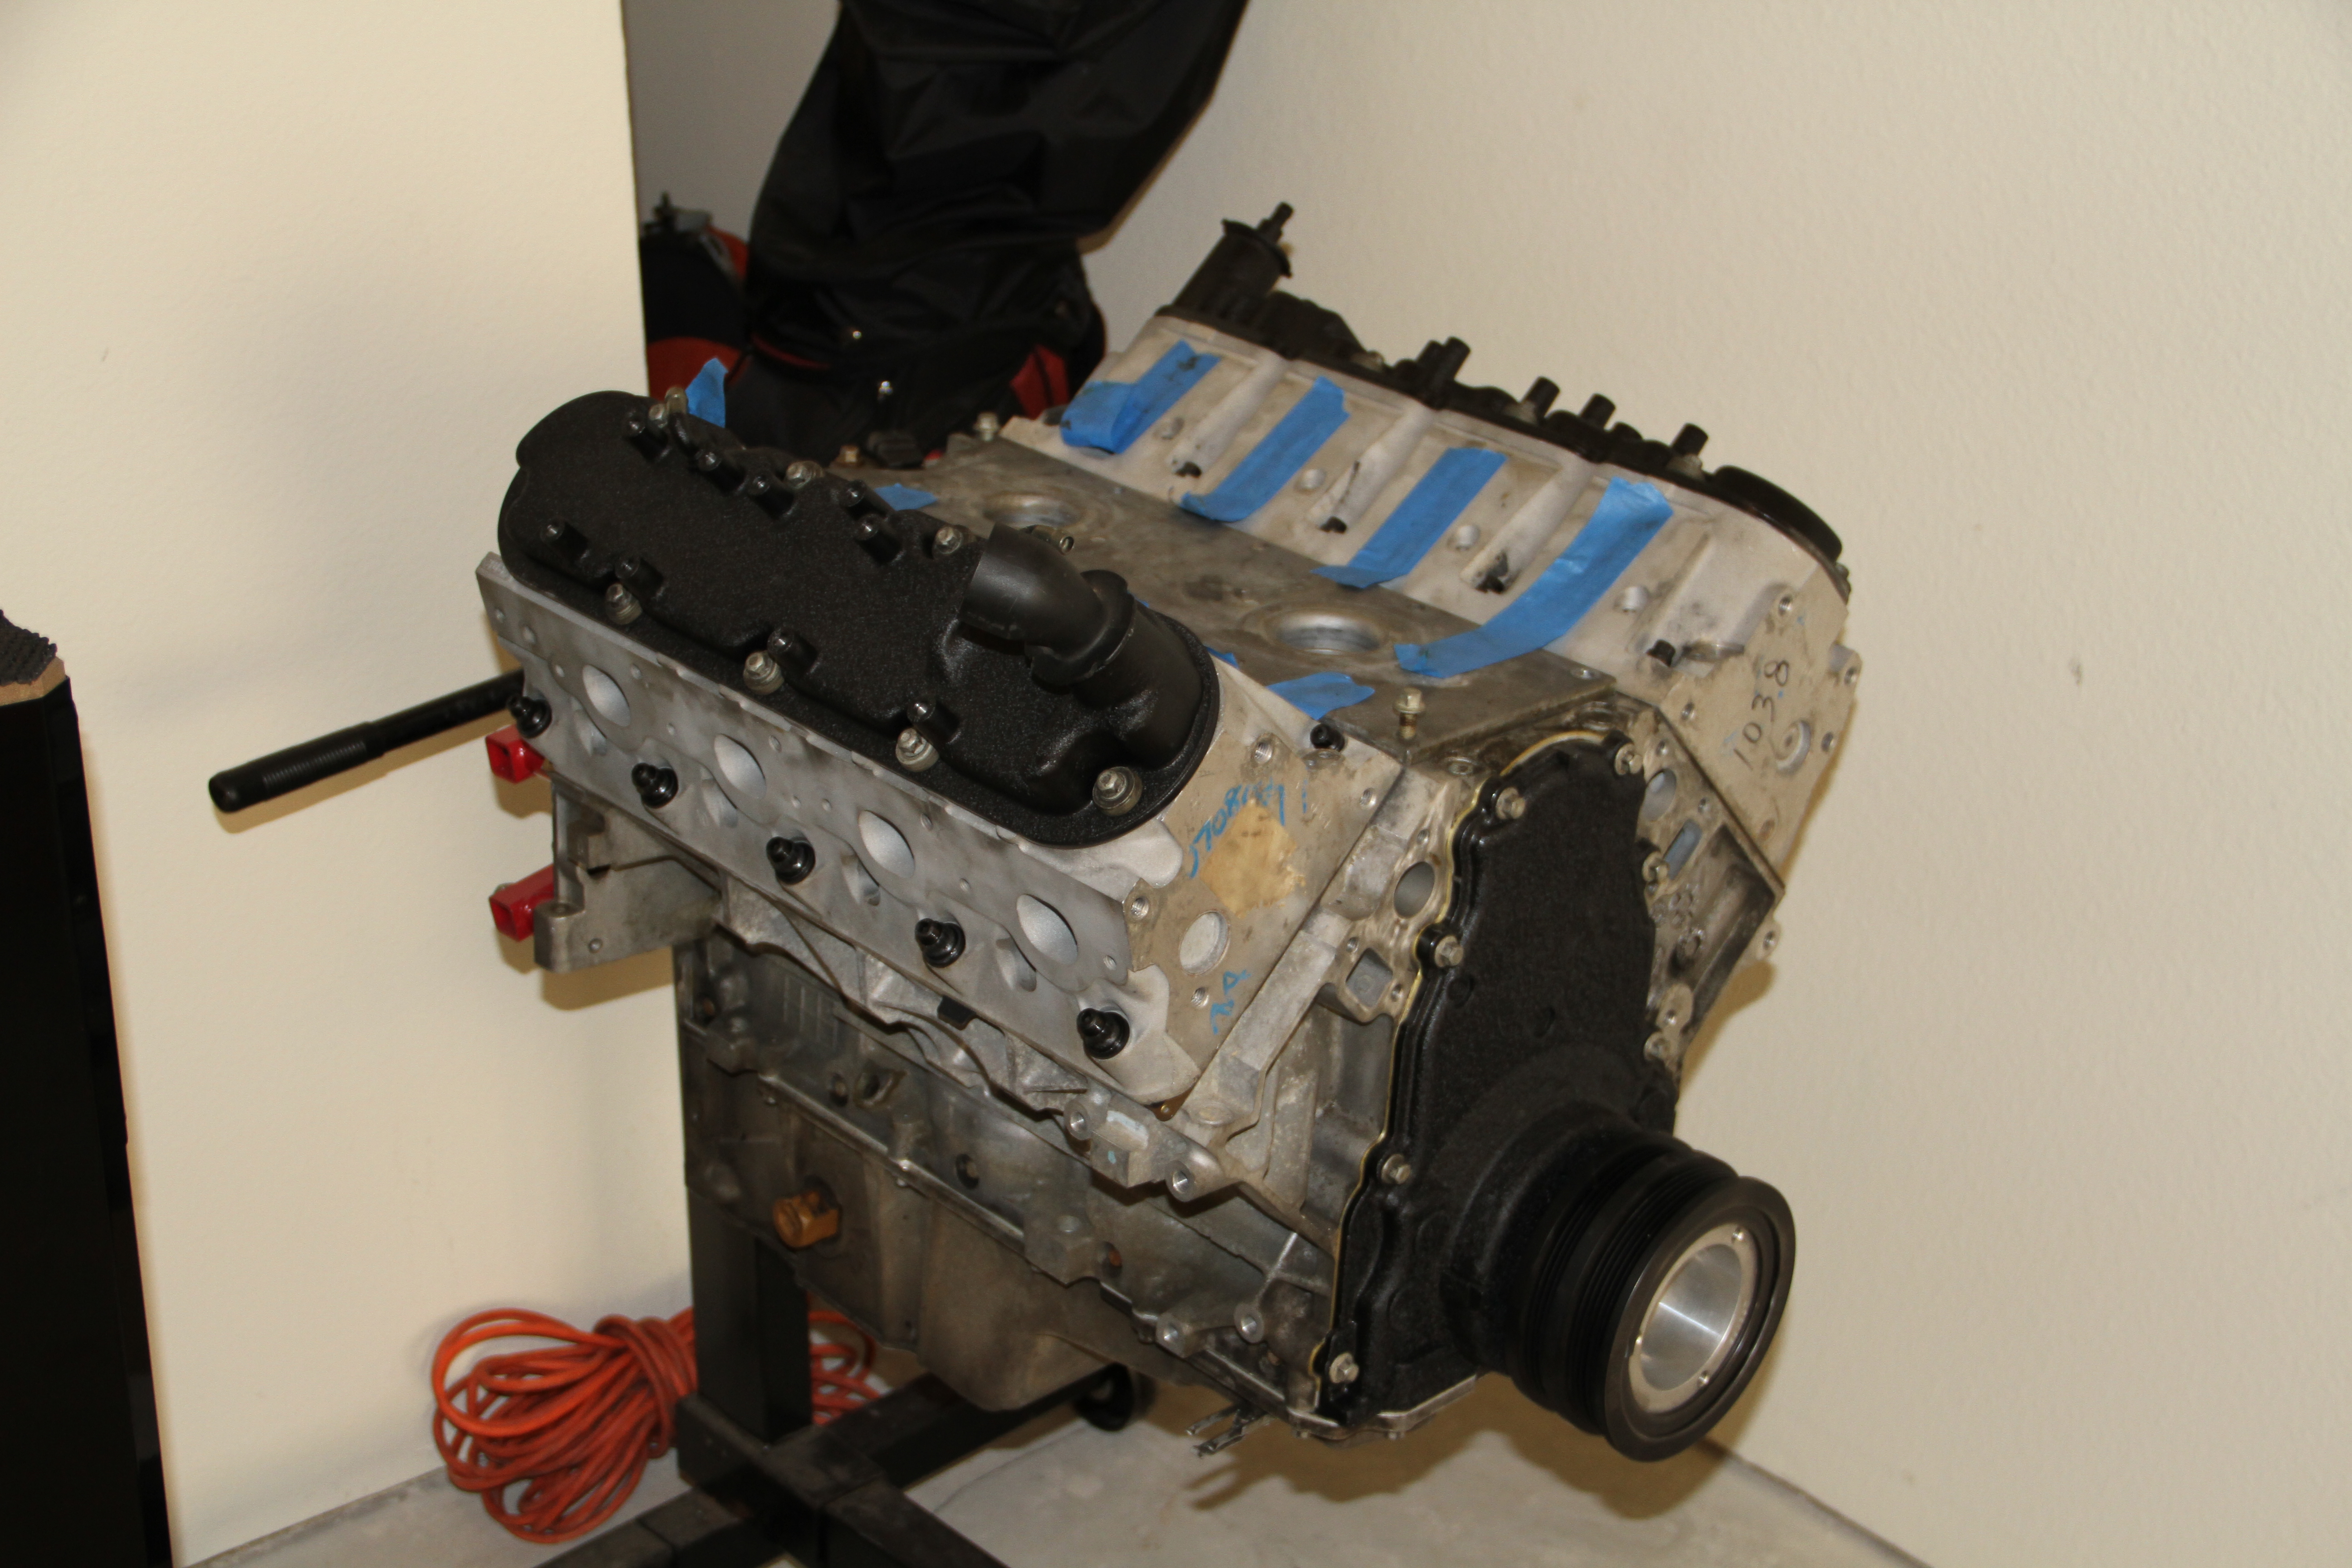
Now I painted my Valve covers the same black crinkle.. I think it looks legit..
Well folks there you have it. Heads all bolted up..
Total price so far: $3,076.96
Next week STAGE 1: Phase 3 'Front Drive Assembly & Accessories'
Beer of choice this week is DogFish Head again but their Raison D'Etre. A deep, mahogany Belgian-style brown ale brewed with beet sugar, raisins, and Belgian-style yeast.
Man I just love the after taste of this beer, def a good summer time beer..
Okay what I have to install today is some, Dual Valve Springs, Hardened Chromoly Pushrods and Titanium Retainers that came with the Camshaft package I mentioned last week..Also ARP head studs, Comp Pro Rocker Arms and Comp Cam High Performance Valve Locks.
Comp Pro Rocker Arms: $300 (got from LS1tech.com)
Comp Cam High Performance Valve Locks: $31.99
ARP 12-point head studs: $279.99
First we have the Dual Valve Springs and Titanium Retainers...
These things are sooo sick..
First you have to place the bottom Retainers..
Pretty straight forward on this part..
Next is the Valve Seals.. Now to install these you will need a 12mm and a hammer. Tap, Tap, Tap, take your time and make sure they are straight. You don't want to F one of these up and have to go out and buy new ones..
Seals all in place. Next reinstall the Valves
Bam!! Next are the Dual Springs
I bought some Comp Cam High Performance Valve Locks
Now you are going to use the same Valve Spring Compressor tool you rented from Advance Auto Parts to install them..
Place the Spring over the valve and then the top Retainer. Compress the Spring with the tool and then insert the Valve locks. Slowly release the tool and bam you have money...
All done with this head..On to the next..
Nice and easy.. These things looks so damn good..
Both heads are complete.. On to the next item at hand..
Next we have the lifters and lifter try. Pretty simple install...
Just place the roller lifters in the tray,, easy as it sounds..
Now drop into place...
Good to go...
And use a 10mm and torque to 106 in-lb.
Next we have the 12-point ARP head bolts
Comes with all the bolts to mount your heads to the block..
First you will install all the bolts in their proper location and tighten with an allen wrench.
Next install the head gasket. Mine came with my long block so I did not have to buy one.. It was brand new in the bag still.
Next I placed the heads on the block. Then installed the ARP bolts. Now to touque these down I followed the pic above and torque all 10 15mm bolts to 22lb-ft.
Edit: Okay I was confusing some people about the torque specs on the ARP bolts. You just need to follow the ARP instructions that came with the box.
Again it is a lot of work but worth it..
Close up...
Next are the Hardened Chromoly Pushrods
Texas Speed Shop knows their stuff and so glad they are in TX.. Good stuff..
To install the pushrods just drop them in...
Next are Comp Pro Rocker Arms. I got these off of LS1tech..
These things are so sick..
They come with there own guide plates.. You just need to torque them down to 22lb-ft.
Next install the rocker arms, and also torque them down to 22lb-ft
There you have it, all rocker arms installed, looks sick..
Now I painted my Valve covers the same black crinkle.. I think it looks legit..
Well folks there you have it. Heads all bolted up..
Total price so far: $3,076.96
Next week STAGE 1: Phase 3 'Front Drive Assembly & Accessories'
Last edited by Royal_T; Aug 8, 2011 at 08:54 AM.


Loving it!!! Will try the new Dogfish Head as soon as I polish off the 90 min. I've tried some of their special brews that come in what look like small wine bottles (or maybe 40oz.), they were fantastic and similar in color to Blue Moon or Shock Top.
If next week is the cam, could you take a paragraph and explain the numbers in the LS cam sizing and how they relate to the VQ? I understand VQ, but this is where I get truly lost.
If next week is the cam, could you take a paragraph and explain the numbers in the LS cam sizing and how they relate to the VQ? I understand VQ, but this is where I get truly lost.
However, I would suggest just calling a company like Texas Speed, Thunder Racing or Pat G up and giving them the specs for your motor. They will all be able to make purchasing a cam a hassle free and effecient process.
Simply put, it is near impossible to compart them to the VQ cams that are available. I know that there are a couple VQ cams with the duration and the lift specified. However, the LS cams have a much larger variety due to selectable lobe seperation angles and lobe profiles. LSA and LP can have a huge impact and make similar duration/lift cams act quite differently.
However, I would suggest just calling a company like Texas Speed, Thunder Racing or Pat G up and giving them the specs for your motor. They will all be able to make purchasing a cam a hassle free and effecient process.
However, I would suggest just calling a company like Texas Speed, Thunder Racing or Pat G up and giving them the specs for your motor. They will all be able to make purchasing a cam a hassle free and effecient process.
 - I was just hoping for a quick primer like what the numbers mean on the LS cams.


