So you want a custom molded ings apron? ***PICS***
#1
I posted pics of my custom molded rear bumper a few months ago, Never got the chance to post the process until now. Work was completed at Car Medics in Arlington Heights IL. The owner Eddie does incredible work!
More pics of some of his other stuff here:
http://chicagoz.com/gallery/Car-Medics-Auto-Body
Here are the pics:
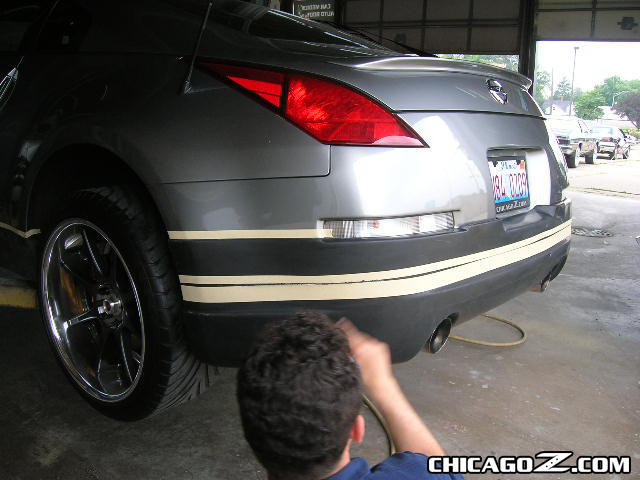
Setting up the apron on top of the OEM bumper. Tape is used to measure cutting points:
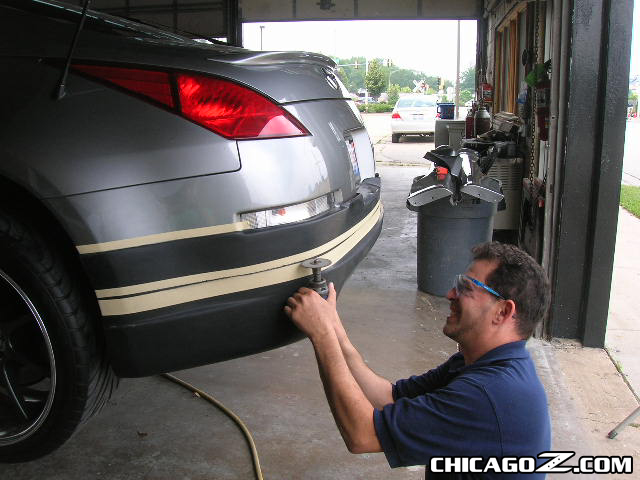
Eddie starts to cut off the portion of the rear apron he won't need:
Rear apron is cut into 3 sections:
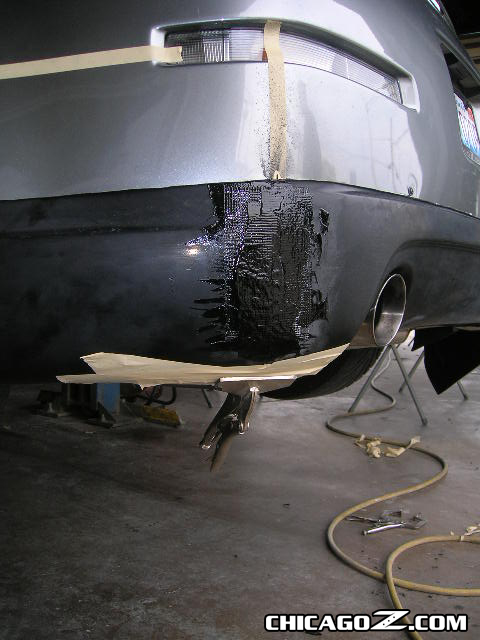
Excess on the edges
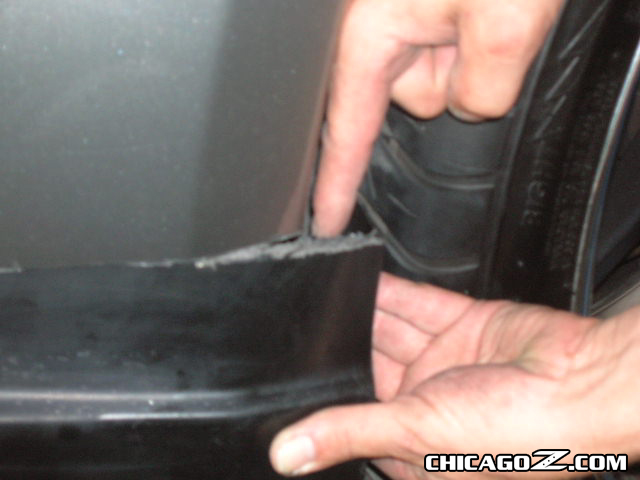
Excess (arial angle). Eddie will have to cut this portion off.
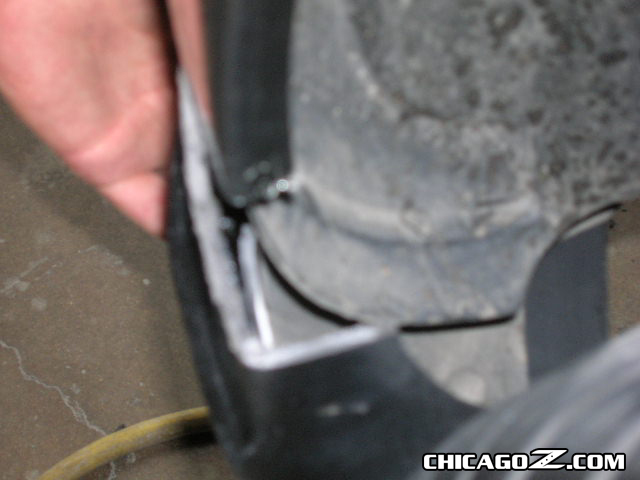
Another angle of what needs to be cut off.
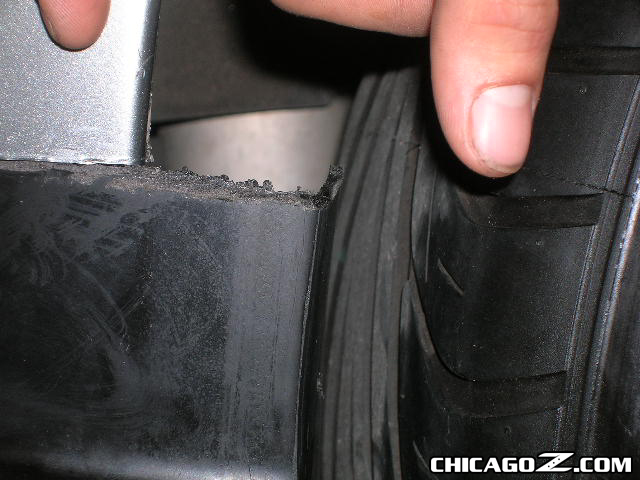
You can see how Eddie cut the rear apron into three sections. Now we are ready to prep!
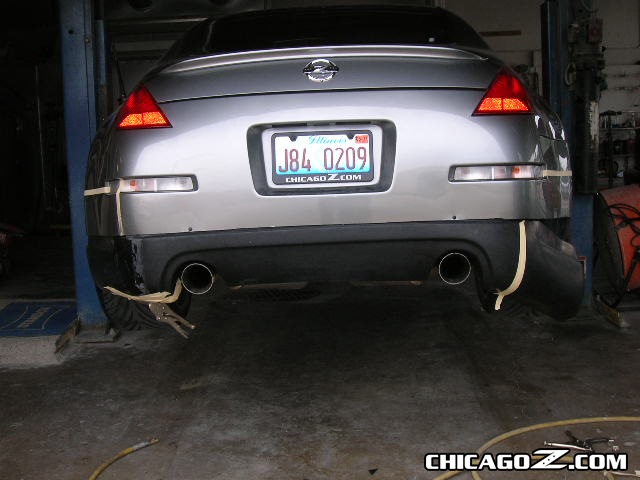
Another angle of the third piece.
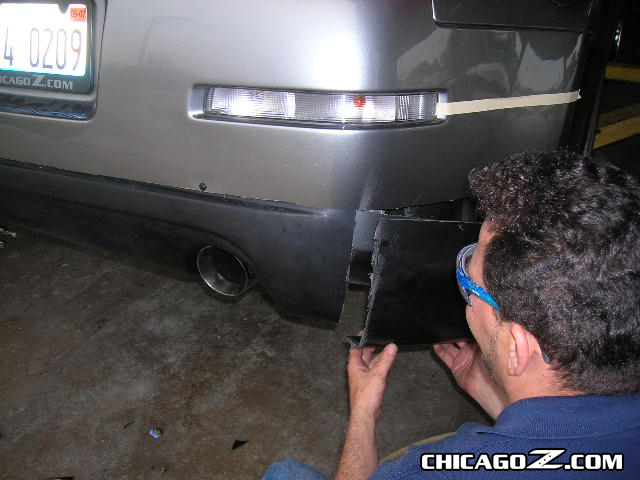
Another angle in the prep phase. Notice the tape, from the apron to the tape, that is how much of the apron was cut off!
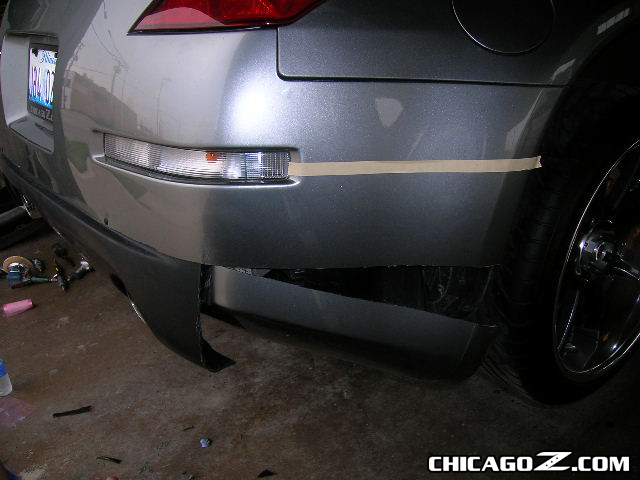
Here are all three sections:
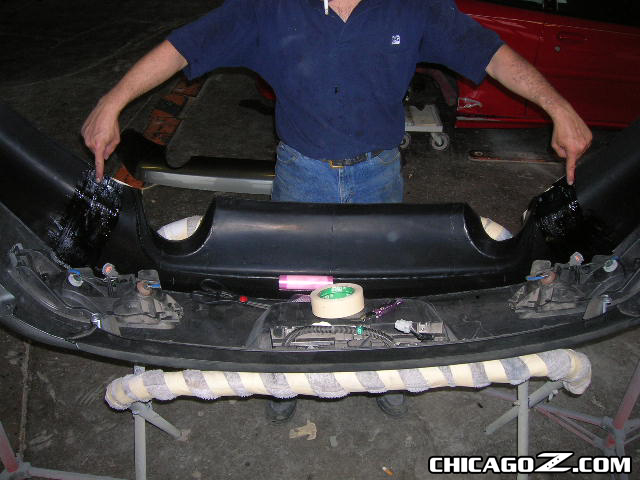
Starting to take shape, apoxy applied:
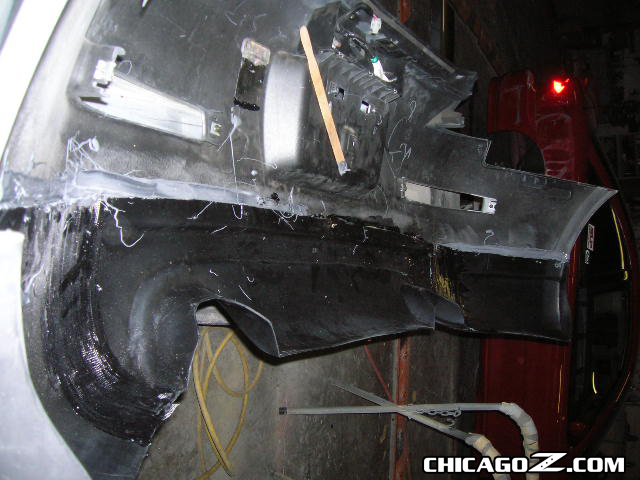
More Appoxy applied
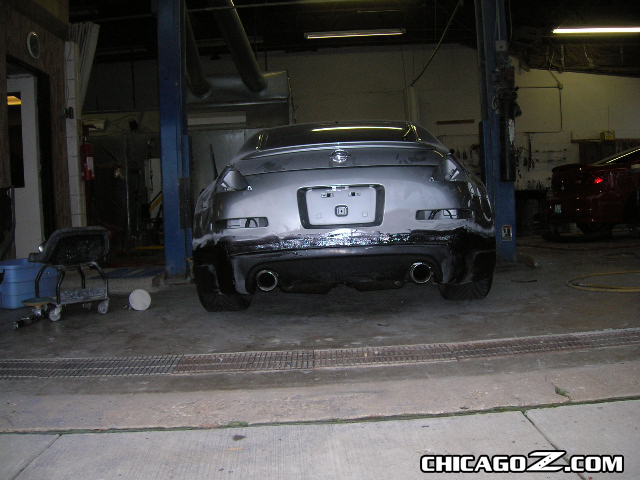
Another Angle (Those are my OLD wheels, new iforged on order):
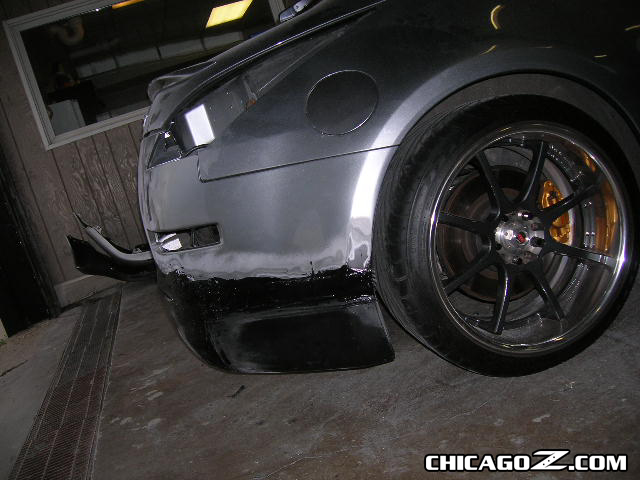
More prepwork:
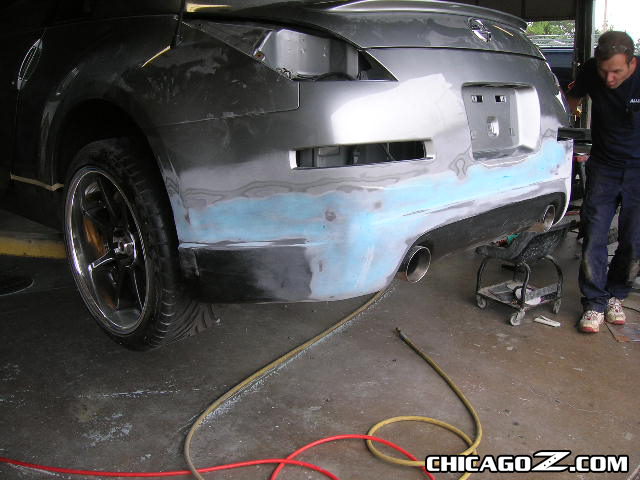
Another angle:
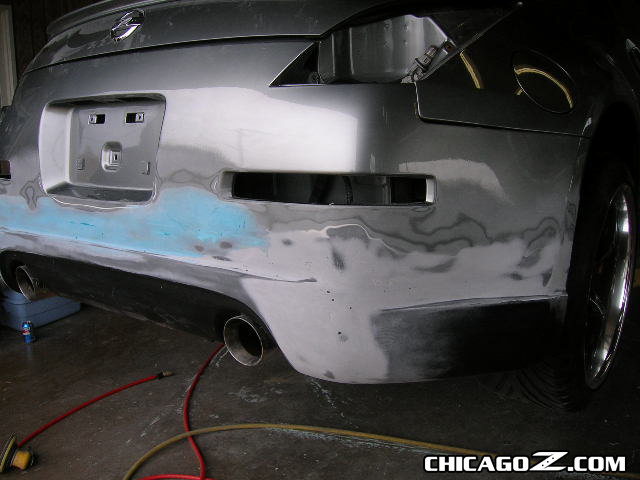
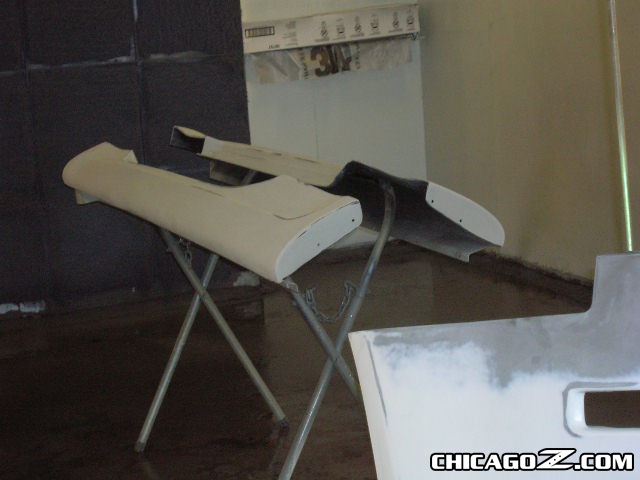
Prepped and close to paint:
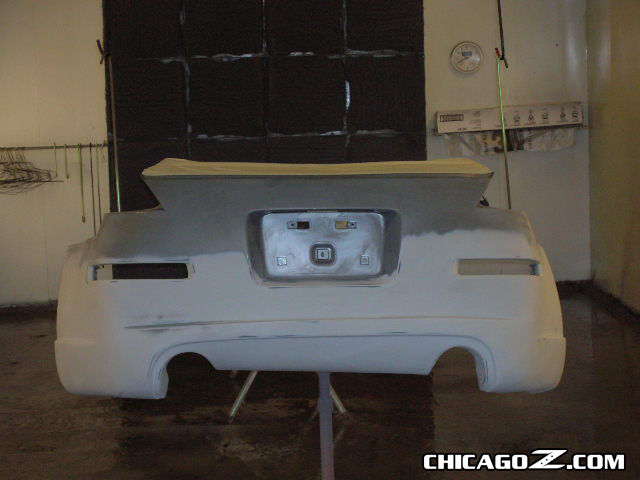
Central 20 sides ready for paint:
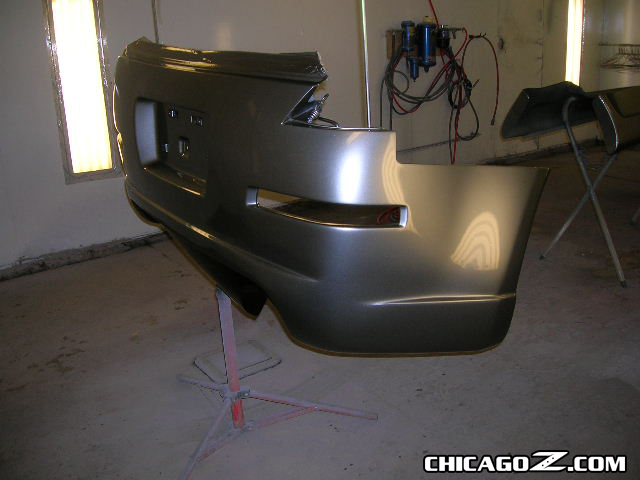
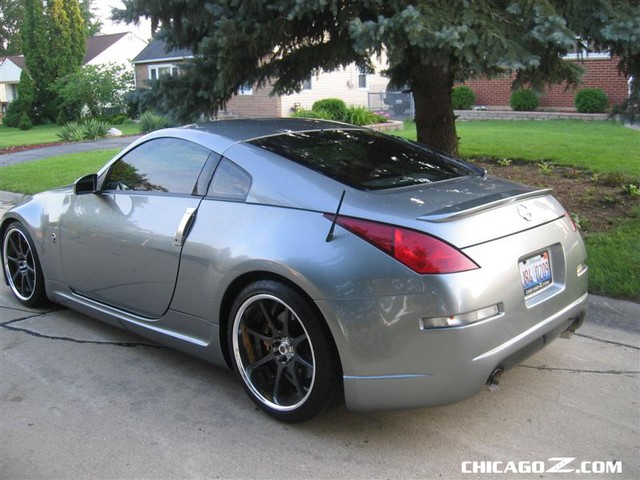
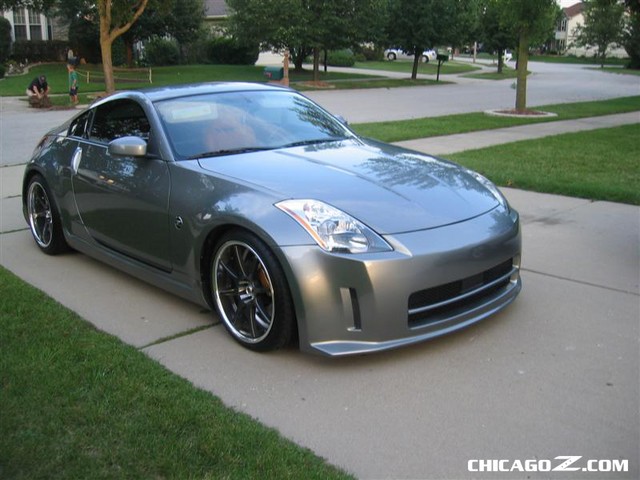
The final product
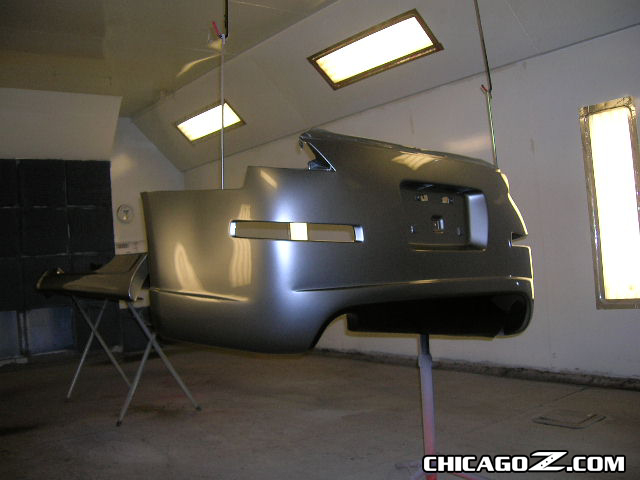
The final product, angle 2
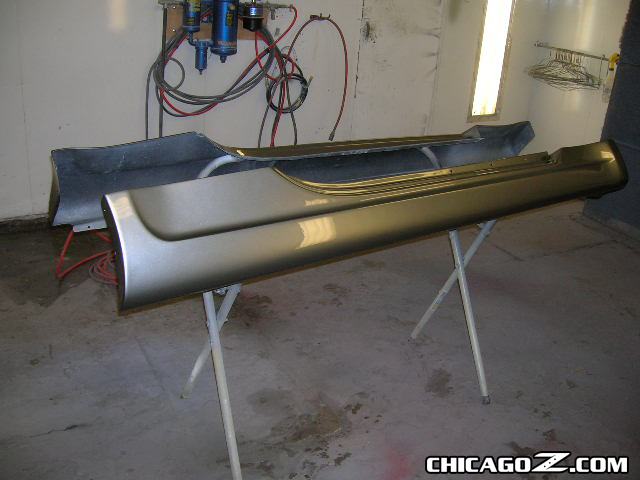
Sideskirts painted
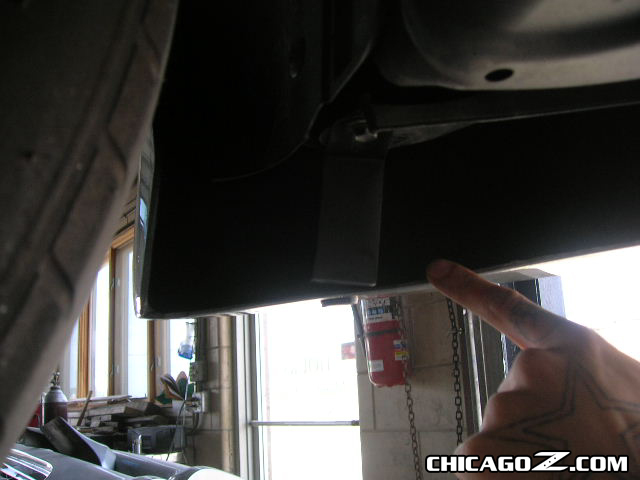
Custom brackets for stability on bottom portion of the bumper.
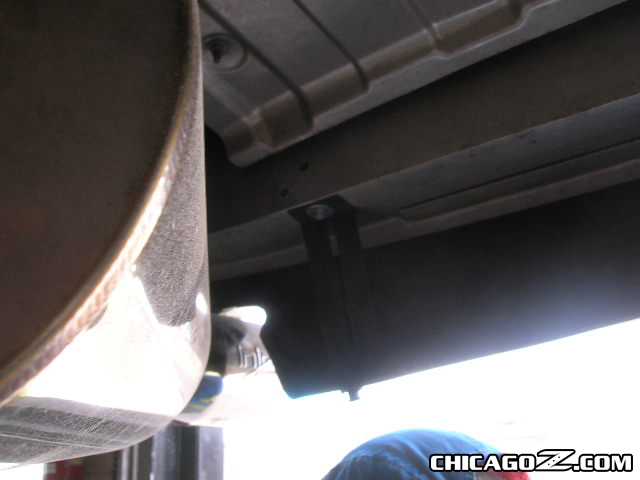
Another angle of the brackets
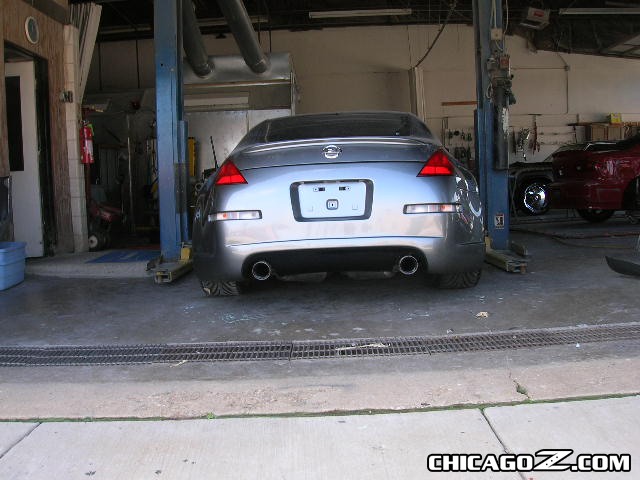
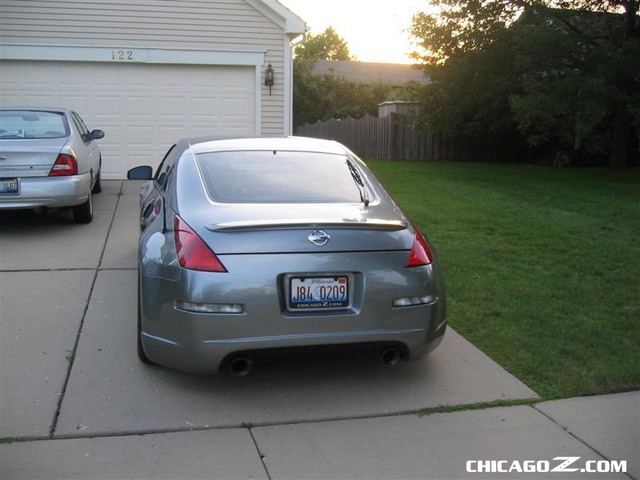
The final product!
More pics of some of his other stuff here:
http://chicagoz.com/gallery/Car-Medics-Auto-Body
Here are the pics:
Setting up the apron on top of the OEM bumper. Tape is used to measure cutting points:

Eddie starts to cut off the portion of the rear apron he won't need:

Rear apron is cut into 3 sections:

Excess on the edges

Excess (arial angle). Eddie will have to cut this portion off.

Another angle of what needs to be cut off.

You can see how Eddie cut the rear apron into three sections. Now we are ready to prep!

Another angle of the third piece.

Another angle in the prep phase. Notice the tape, from the apron to the tape, that is how much of the apron was cut off!

Here are all three sections:

Starting to take shape, apoxy applied:

More Appoxy applied

Another Angle (Those are my OLD wheels, new iforged on order):

More prepwork:

Another angle:

Prepped and close to paint:

Central 20 sides ready for paint:

The final product

The final product, angle 2

Sideskirts painted

Custom brackets for stability on bottom portion of the bumper.

Another angle of the brackets

The final product!


#5
Wow, I wet my pants a lil' bit after seeing the work done. That guy is good...pretty damn good. If I had the money, I'd ship my Z out for him to work on, but I don't...so Ill just sit here and mull around with envy. Beautiful car my friend.
#6
The cool thing about him is he does whatever he can to make sure everything is perfect. Matter of fact, It was his idea to add the bracketts to reinforce the bottom portion of the apron... he does things on his own initiate because he's such a perfectionist!
Originally Posted by tree phidday
Wow, I wet my pants a lil' bit after seeing the work done. That guy is good...pretty damn good. If I had the money, I'd ship my Z out for him to work on, but I don't...so Ill just sit here and mull around with envy. Beautiful car my friend.
Trending Topics
#11
trust me, it's fine in real life. Perhaps the angle of the pics.  (lol... I just noticed that both pics that show the rear are both angled funky. heh).
 (lol... I just noticed that both pics that show the rear are both angled funky. heh).
Originally Posted by G352NV
Great work and it looks great! BUT I think its off a bit. The left side is lower then the right.
#20
The bottom portion has a "ledge" so my bodyshop guy make brackets and attached them to that portion. He felt that without the added support, it would have been too flimsy on the bottom.
Originally Posted by Roger V
How are those brackets connected to the bumper?


