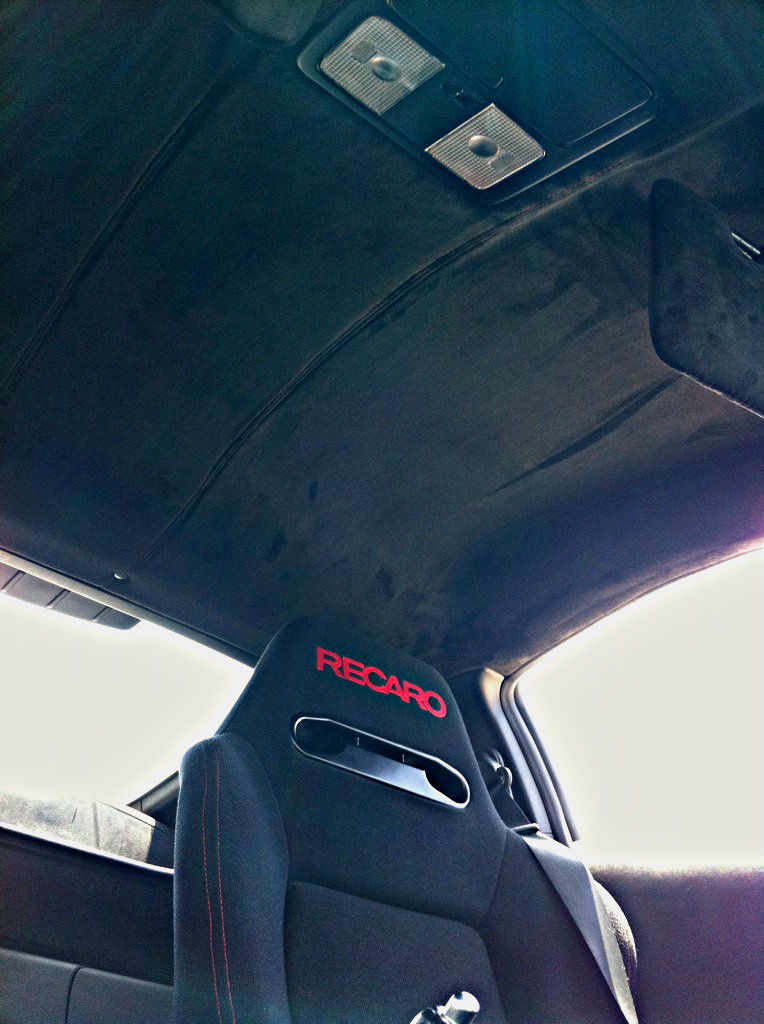
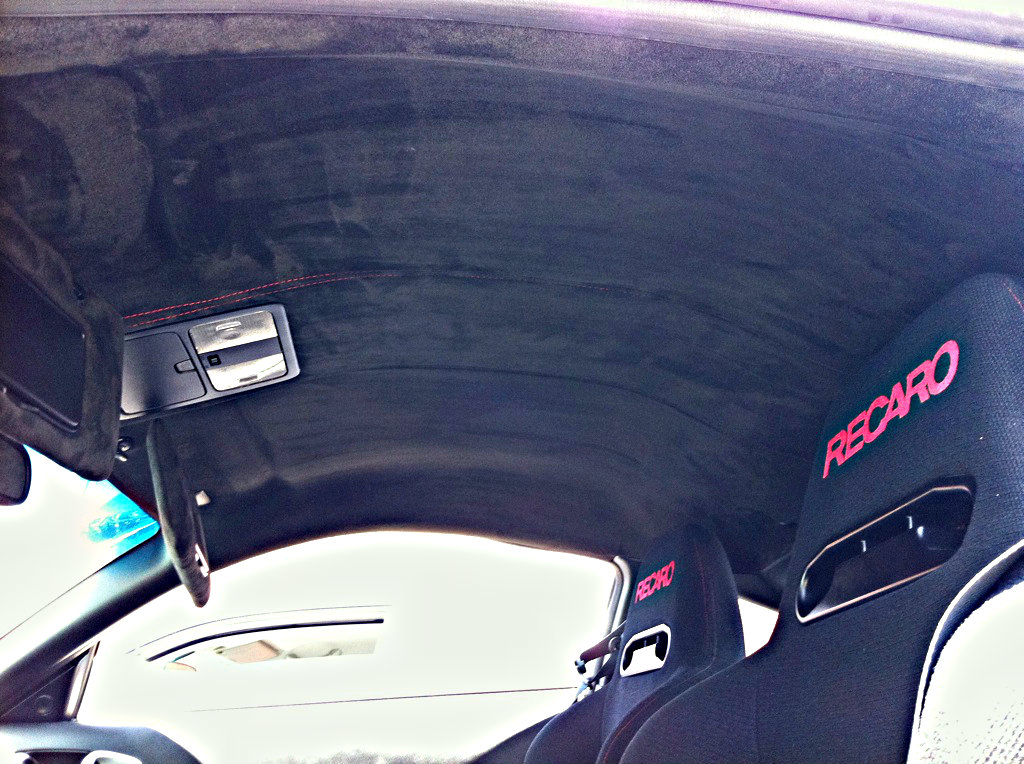
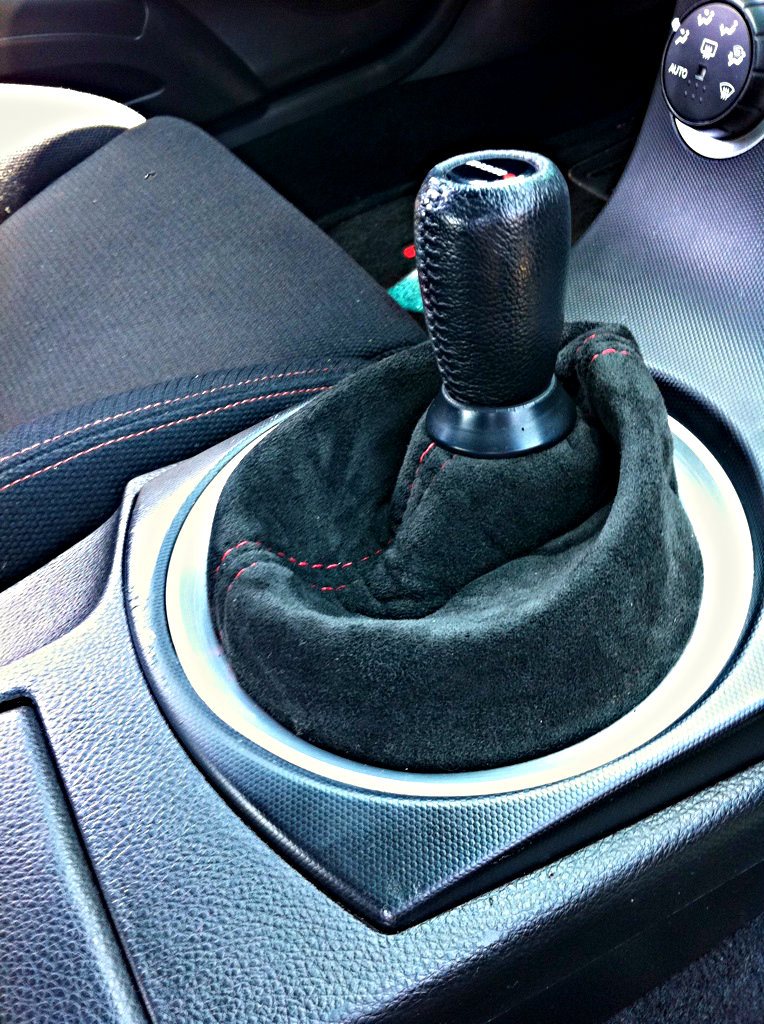
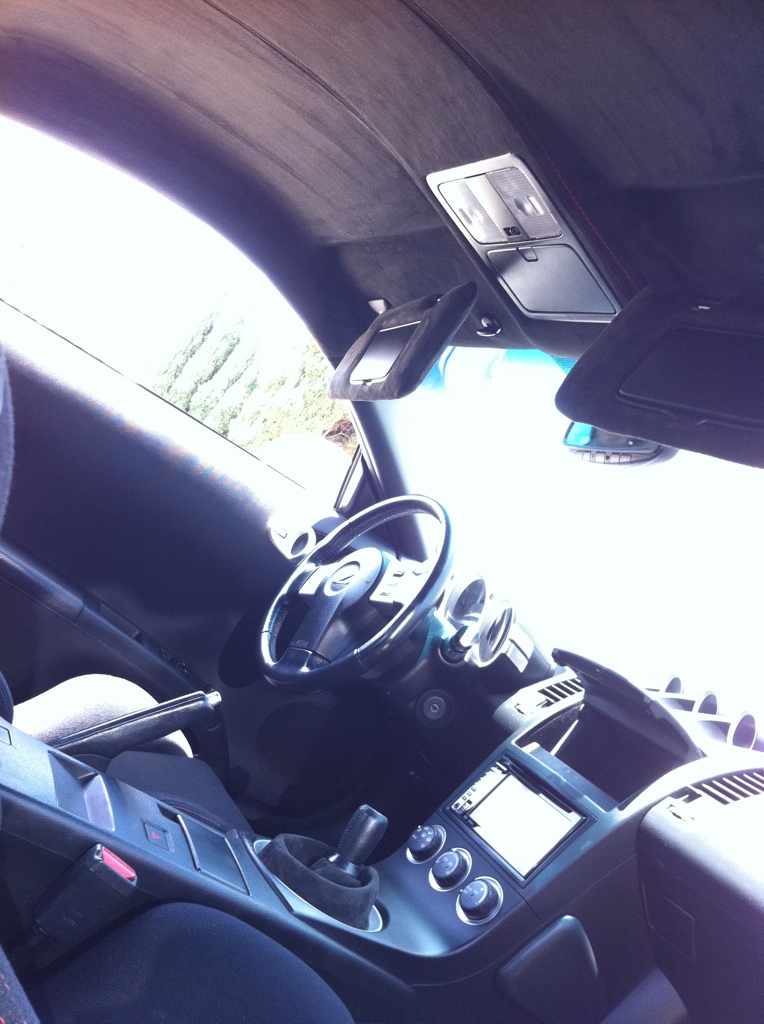
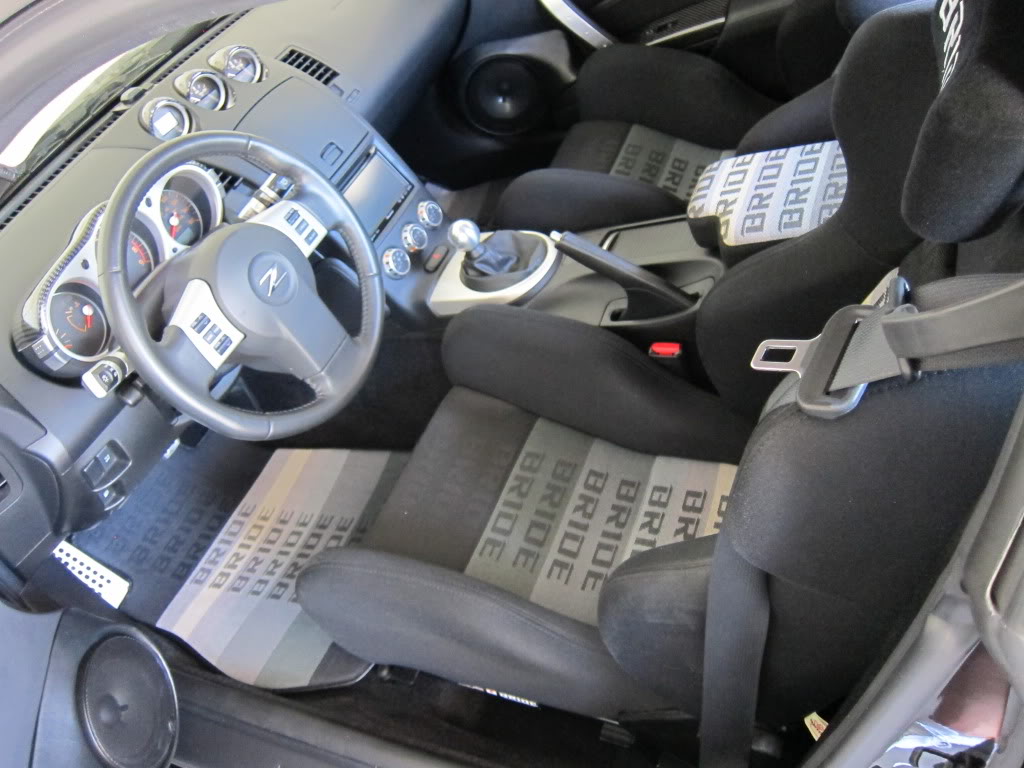
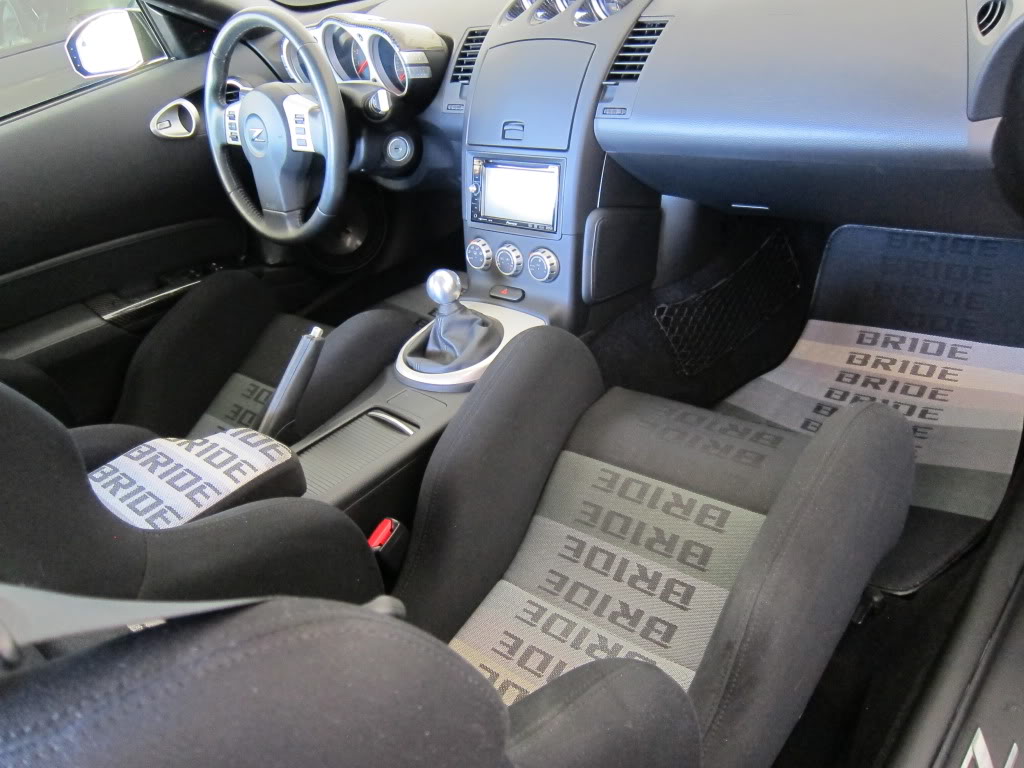
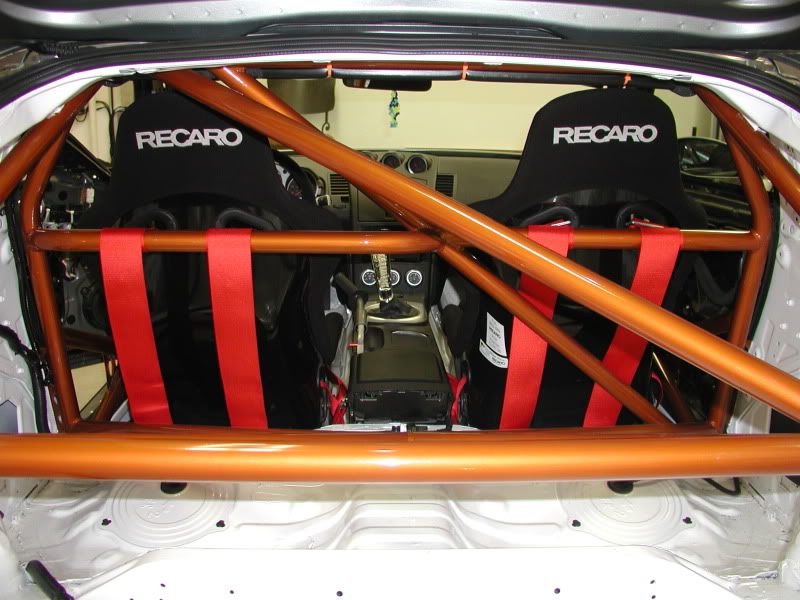
Post Your Interior Pics!!


PMd
PMd
Thanks for the idea and compliment! Although I know mine is not even close to how custom yours is haha. I am definitely keeping the perforated seats since I have the heated option already.
The door handle, as we discussed previously, wasn't as simple as we thought. Originally we thought we could just tap into the window sub-switch panel wiring, but there is no wiring that links up to illumination with the parking/headlights. So I had to hook it up to an illumination wire from somewhere else.
I used a 6 LED VLEDS amber strip inside the grab handle. Mounted inside with aluminum foil covering the whole inside ( i know it sounds ghetto, but I don't know anything about soldering in general, let alone building LED circuits). That allows the light to bounce off the reflective surfaces of the foil. I drilled the holes accordingly to where the impressions were and viola! The LEDs are hooked up to the illumination wire that runs into the radio (#7 in the service manual). Obviously I had to run wiring in order for it to work.
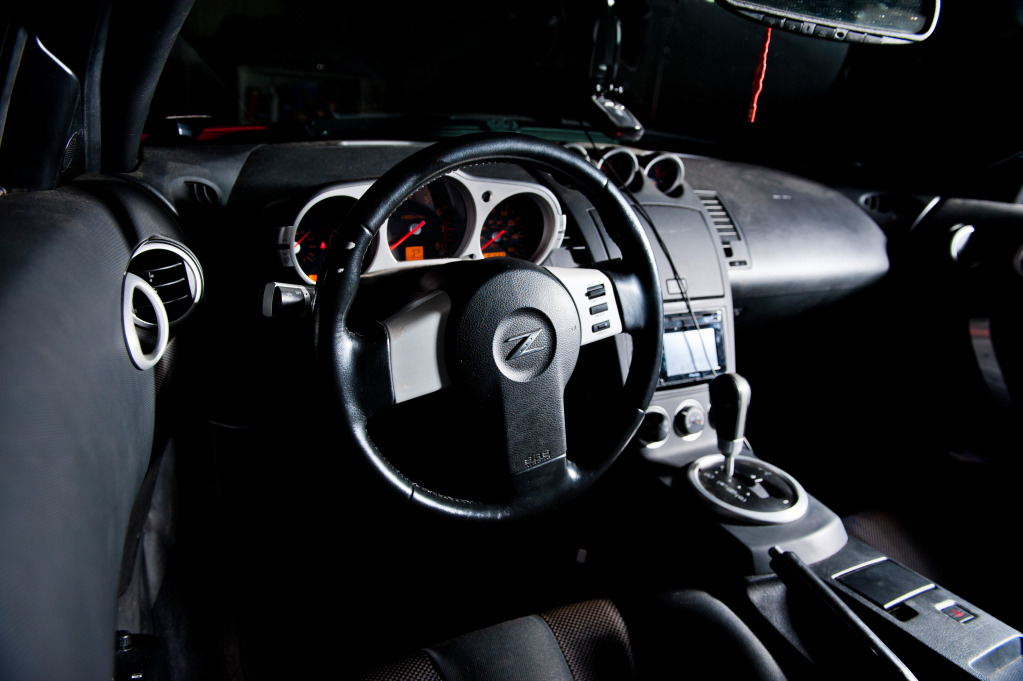
I also have amber mood lighting on my dome light assembly (you can see it in my first night interior photo) and driver side grab handle as well. I tried having mood lighting coming from behind my little Z in the cubby hole but it didn't turn out that great. Some light comes through but not evenly. I had one shot to do it since there was very minimal space to begin with. I think I'll take it and just make my openings bigger for the light to pass through the 3 holes on the emblem.
PMd

The door handle, as we discussed previously, wasn't as simple as we thought. Originally we thought we could just tap into the window sub-switch panel wiring, but there is no wiring that links up to illumination with the parking/headlights. So I had to hook it up to an illumination wire from somewhere else.
I used a 6 LED VLEDS amber strip inside the grab handle. Mounted inside with aluminum foil covering the whole inside ( i know it sounds ghetto, but I don't know anything about soldering in general, let alone building LED circuits). That allows the light to bounce off the reflective surfaces of the foil. I drilled the holes accordingly to where the impressions were and viola! The LEDs are hooked up to the illumination wire that runs into the radio (#7 in the service manual). Obviously I had to run wiring in order for it to work.
I also have amber mood lighting on my dome light assembly (you can see it in my first night interior photo) and driver side grab handle as well. I tried having mood lighting coming from behind my little Z in the cubby hole but it didn't turn out that great. Some light comes through but not evenly. I had one shot to do it since there was very minimal space to begin with. I think I'll take it and just make my openings bigger for the light to pass through the 3 holes on the emblem.
Last edited by cgkp0925; May 24, 2012 at 06:51 AM.
I work at a large format print company, and we had silver metallic vinyl on hand. The photos are the result. It has a little bit bigger metallic flake to it, but the color match is pretty much dead on to my Chrome Silver.


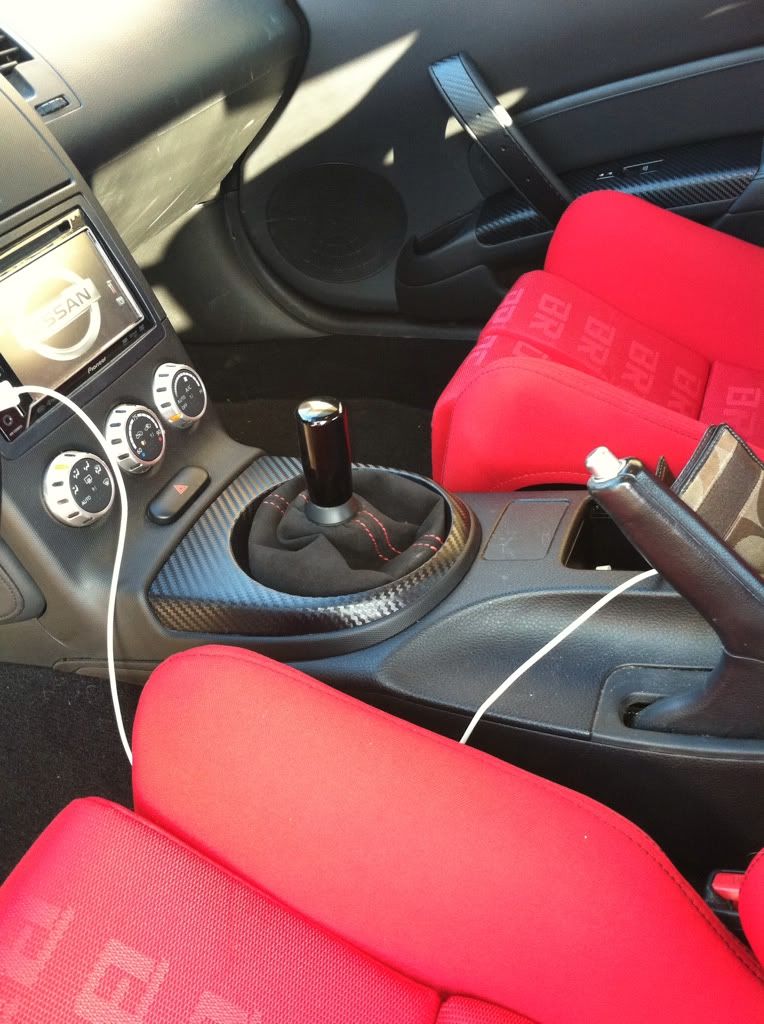
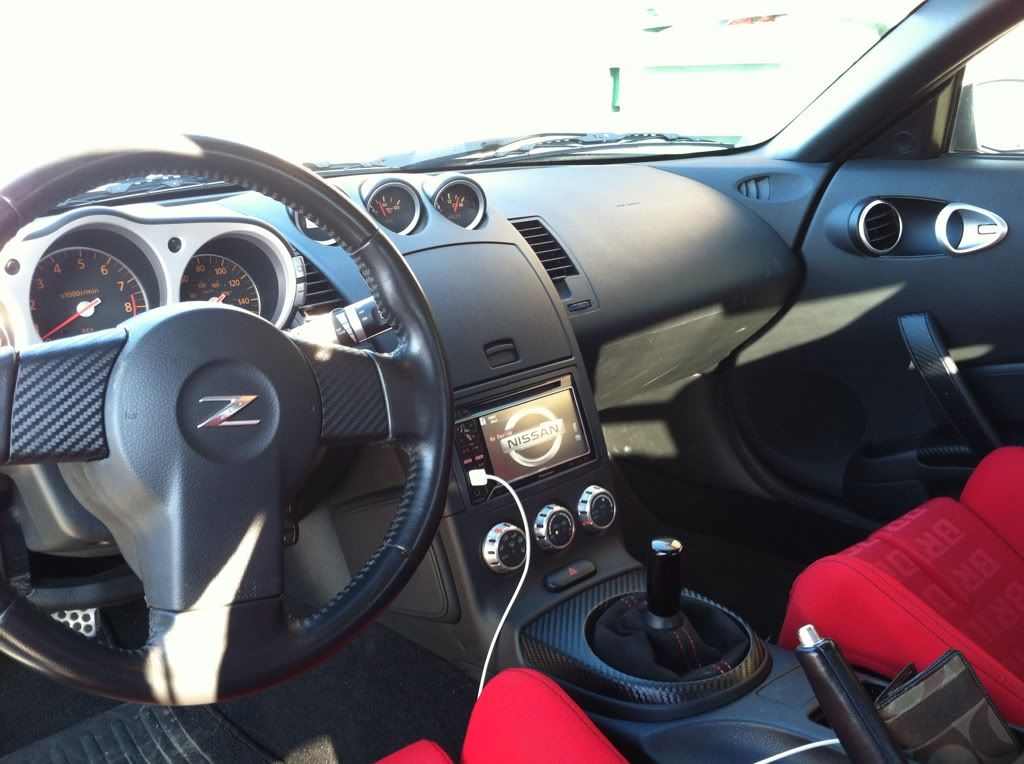
I like the carbon fiber pieces. How long did it take you to do all of that and how much did you need? I was thinking about doing the same thing but wasn't sure how much I needed. Thinking about starting with 24"x48" ($60) to start and see where that gets me. I want to do the door trim pieces and steering wheel first then the shift boot area before I think about tackling the center console.


I like the carbon fiber pieces. How long did it take you to do all of that and how much did you need? I was thinking about doing the same thing but wasn't sure how much I needed. Thinking about starting with 24"x48" ($60) to start and see where that gets me. I want to do the door trim pieces and steering wheel first then the shift boot area before I think about tackling the center console.


Registered User
Joined: Apr 2012
Posts: 237
Likes: 0
From: Reston
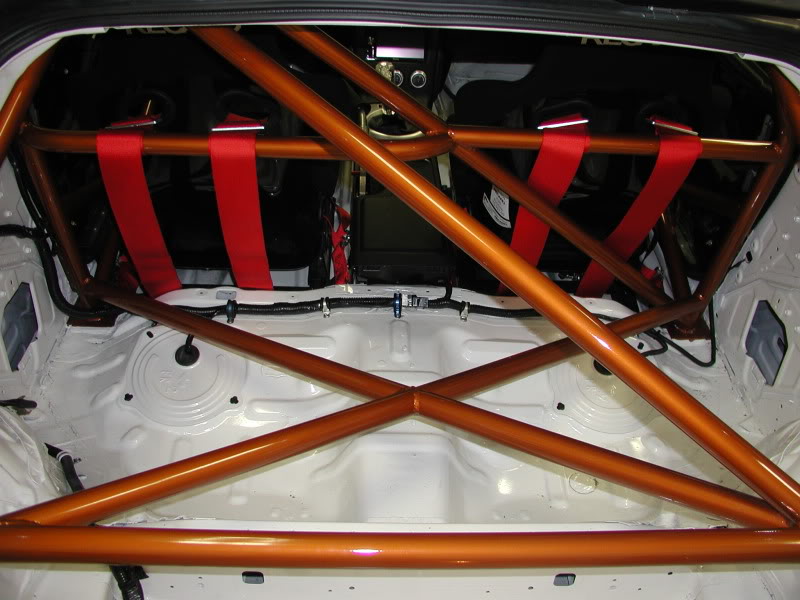
It only took me a few hours. I could do it in much less time no (1.5 hr top), there is just a learning curve with the material. I did all of that with a 1 ft x 5 ft piece with a little to spare. I bought more to play with though and did the strut bar in the back as well. You wouldn't be upset with the big piece just to have some laying around. It's a pretty cool material! Make sure to have a heat gun and razor blades, and to clean the areas very well before applying. Good luck with it, and post pics when you're finished!
It only took me a few hours. I could do it in much less time no (1.5 hr top), there is just a learning curve with the material. I did all of that with a 1 ft x 5 ft piece with a little to spare. I bought more to play with though and did the strut bar in the back as well. You wouldn't be upset with the big piece just to have some laying around. It's a pretty cool material! Make sure to have a heat gun and razor blades, and to clean the areas very well before applying. Good luck with it, and post pics when you're finished!