
Before Vs. After

Thread Starter

Joined: Jan 2008
Posts: 351
Likes: 0
From: !!!Viva Las Vegas!!!
It took near 3weeks with average 2hrs per day. Spent about 60bucks with plenty left over stuff for the next project... so here it is... I drove the dang thing to the TOUCHLESS CARWASH where they have the pressure washer for the under carriage. I miss calculated and hit bottom and ripped it in 6 different places... the lip itself was off aligned anyway to begin with. So I thought I'll fixed her up and modify it a bit...
Veilside damage repair/Slightly modified
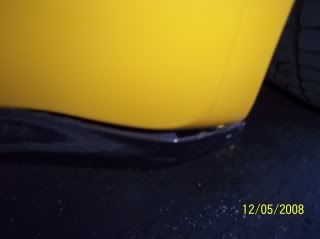
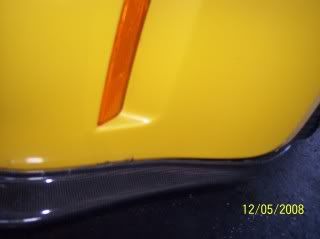
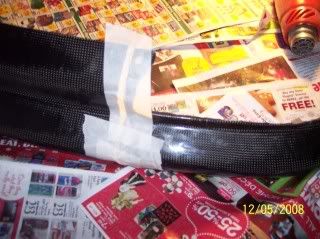
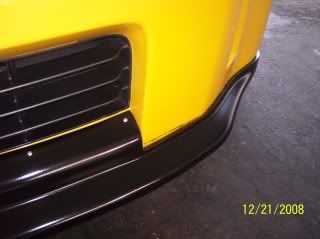
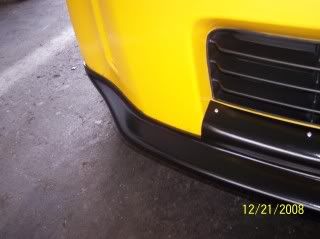
Before
Huge gap
Right side, Fitment is OFF, and it's VEILSIDE
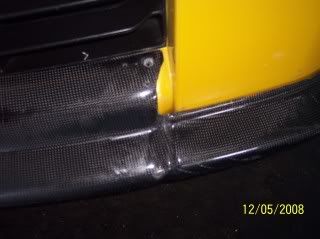
Well, one side was ALMOST right :P
Gap Left side
Gap right side
The Aftermath of my laziness...
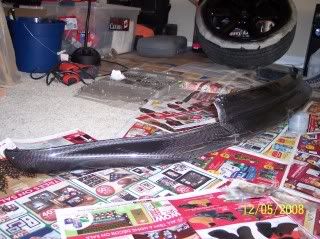
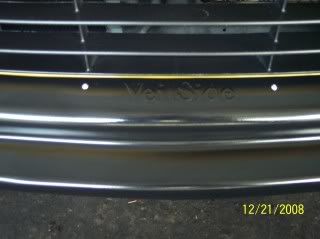
UNDER CONSTRUCTION
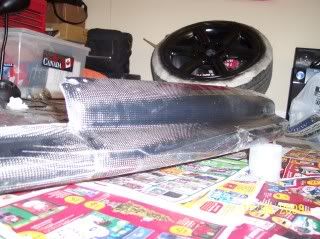
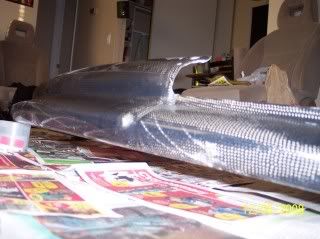
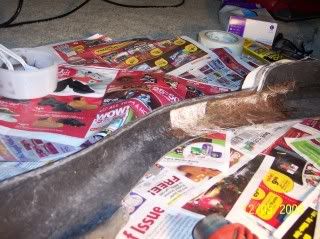
Filling, Sanding, cutting, carbon fiber reinforcing, priming...
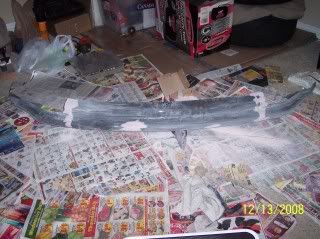
Got rid of the gaps,
Got rid of the curves
this is where i have to make adjustments to fit
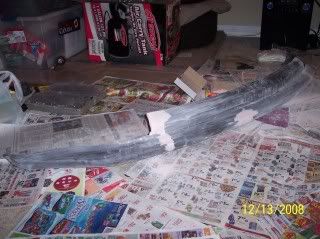
Reinforced carbon fiber and CF Jell behind the cracks, applied generous amounts
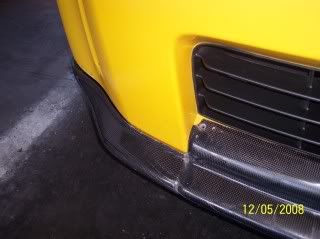
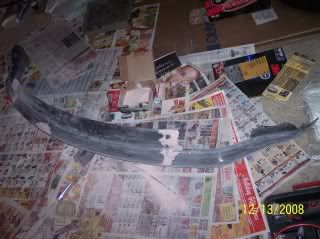
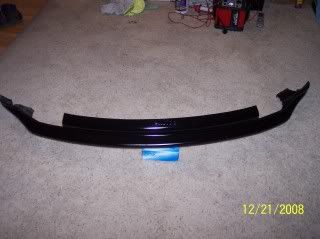
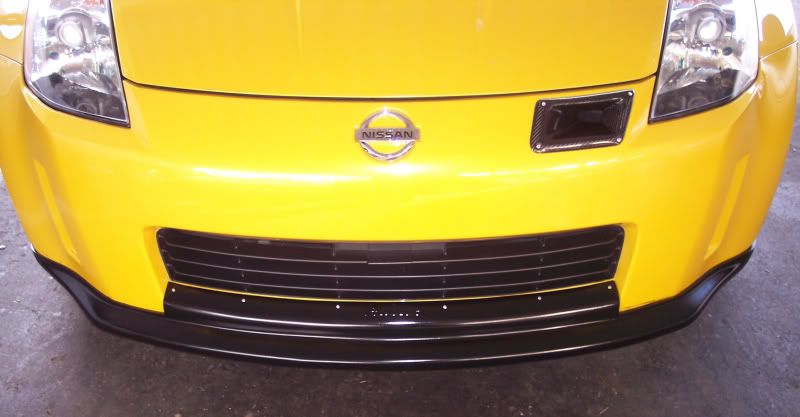
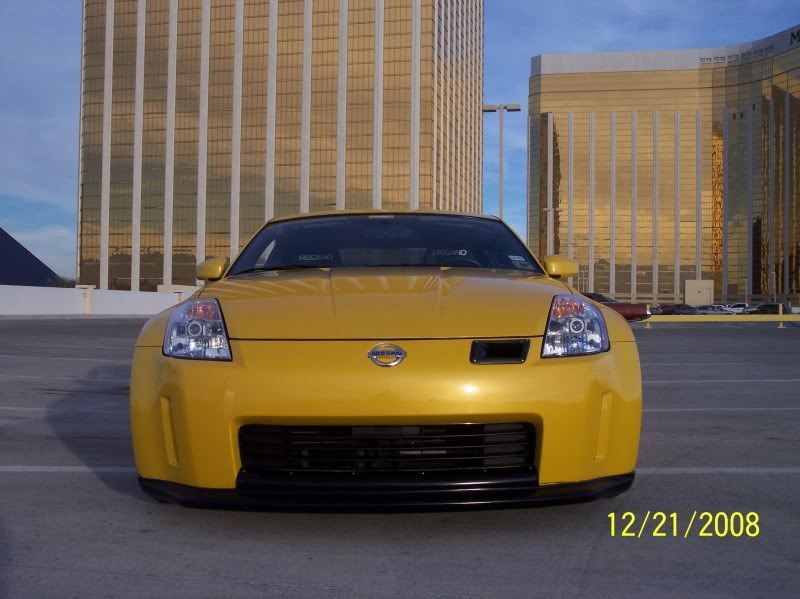
A F T E R
my 3, 6, 9 method... 3 coats primer, 6 coats paint, 9 coats clear coat... that's just me though If you notice the right side, that's also carbon fiber I extended so I could mount the bolt to hold the lip. The bolt was about an inch away from the hole before it was modified. I don't know where the VEILSIDE got their templates, it was OFF it wasn't even funny...
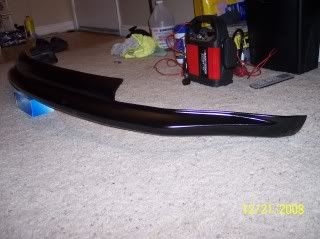

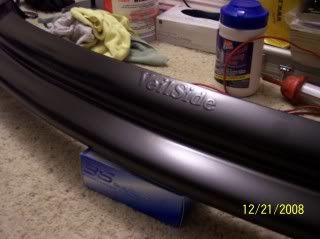
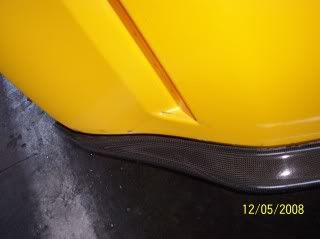
FINISHED PRODUCT
except for the gap on top it all works well IMHO...
got rid of the gaps...

after I went down the ramp, I bottomed it and scraped the lip not even a day after repairs!!! LOL I guess i got lucky and there's no damage!!! not even a scratch LOL it was weird
Veilside damage repair/Slightly modified
Before
Huge gap
Right side, Fitment is OFF, and it's VEILSIDE
Well, one side was ALMOST right :P
Gap Left side
Gap right side
The Aftermath of my laziness...
UNDER CONSTRUCTION
Filling, Sanding, cutting, carbon fiber reinforcing, priming...
Got rid of the gaps,
Got rid of the curves
this is where i have to make adjustments to fit
Reinforced carbon fiber and CF Jell behind the cracks, applied generous amounts
A F T E R
my 3, 6, 9 method... 3 coats primer, 6 coats paint, 9 coats clear coat... that's just me though
If you notice the right side, that's also carbon fiber I extended so I could mount the bolt to hold the lip. The bolt was about an inch away from the hole before it was modified. I don't know where the VEILSIDE got their templates, it was OFF it wasn't even funny... FINISHED PRODUCT
except for the gap on top it all works well IMHO...
got rid of the gaps...
after I went down the ramp, I bottomed it and scraped the lip not even a day after repairs!!!
LOL I guess i got lucky and there's no damage!!! not even a scratch LOL it was weird Last edited by Bumble_Zee; Dec 22, 2008 at 02:23 AM. Reason: more photos...


You did a good job fixing those edges. But the edge on top where it should sit flush against the grill seeing the yellow part would drive me nuts. It's like that on my vs v1 replica lip. Only because it's black in the middle and my car is white.


Trending Topics


Nice work. Always good to see people repairing instead of just chunking it out.
I dont know how veilside can release stuff with such poor fitment. This is one of the best lips out but it has worse fitment then ebay lips.
My only suggestions are to paint the rivets black and maybe even paint the lower lip of the bumper the same black so that the gap is less noticeable.
If you have a moment you can check out some of my CF repair in this thread https://my350z.com/forum/exterior-in...on-56k-no.html


Damn nice work, guess I was lucky my old original VS lip fit perfect with no gaps. Instead of using six rivets to hold the lip down you should have applied double sided tape underneath the top portion, thats what I did and it held on no matter how many times I scraped it.
Thread Starter
Joined: Jan 2008
Posts: 351
Likes: 0
From: !!!Viva Las Vegas!!!
then that's an easy fix. Buy a black silicone, put a bit in between the gap and scrape the excess with a plastic credit card like or something, wipe the mess then you should be good to go, it's temporary and gets rid of the gap. I tried looking for black rivets and I can only find them on ebay. I will change the rivets when I get back from vacation, and maybe put some black silicone on that gap.
The lip used to sit flush on the grill before the repairs, but because I have the CF jell on the corners to make it sturdier, that's why it ended up with a small gap.
The reason I can't return the lip because it came with the car when I purchased it. The old mad bought it from the auto shop where he gets his car detailed. But it wasn't too bad for a FREE stuff even with all the flaws to it

this is what i use on my black rivets.
http://www.iragreen.com/view/574/5421/
worked great on my rank when i needed it, and if it ever chips off you just touch it up again.
http://www.iragreen.com/view/574/5421/
worked great on my rank when i needed it, and if it ever chips off you just touch it up again.

You should take the lip off and lay a strip of black vinyl down on the bumpers lip and then put the lip back on to cover that little yellow strip going across. Nice work fixing it!

Thread Starter
Joined: Jan 2008
Posts: 351
Likes: 0
From: !!!Viva Las Vegas!!!
this is what i use on my black rivets.
http://www.iragreen.com/view/574/5421/
worked great on my rank when i needed it, and if it ever chips off you just touch it up again.
http://www.iragreen.com/view/574/5421/
worked great on my rank when i needed it, and if it ever chips off you just touch it up again.
 but I think I would go with the black rivets since they only cost 5bucks shipped for 100pcs. I remember using a similar product on the side of my black boots and on my pin on rank before the army went with the ACU's, which they are all now sewn on and velcroed.
Last edited by Bumble_Zee; Dec 22, 2008 at 01:30 PM.
thanks bro, I swear I always tried, but I guess my LAZINESS ALWAYS overwhelms my being... GOD, I'M SO WEAK
HAHA I was thingking about the ghetto way (cough) sharpie marker (cough) (cough) but I think I would go with the black rivets since they only cost 5bucks shipped for 100pcs. I remember using a similar product on the side of my black boots and on my pin on rank before the army went with the ACU's, which they are all now sewn on and velcroed.
HAHA I was thingking about the ghetto way (cough) sharpie marker (cough) (cough)
but I think I would go with the black rivets since they only cost 5bucks shipped for 100pcs. I remember using a similar product on the side of my black boots and on my pin on rank before the army went with the ACU's, which they are all now sewn on and velcroed.