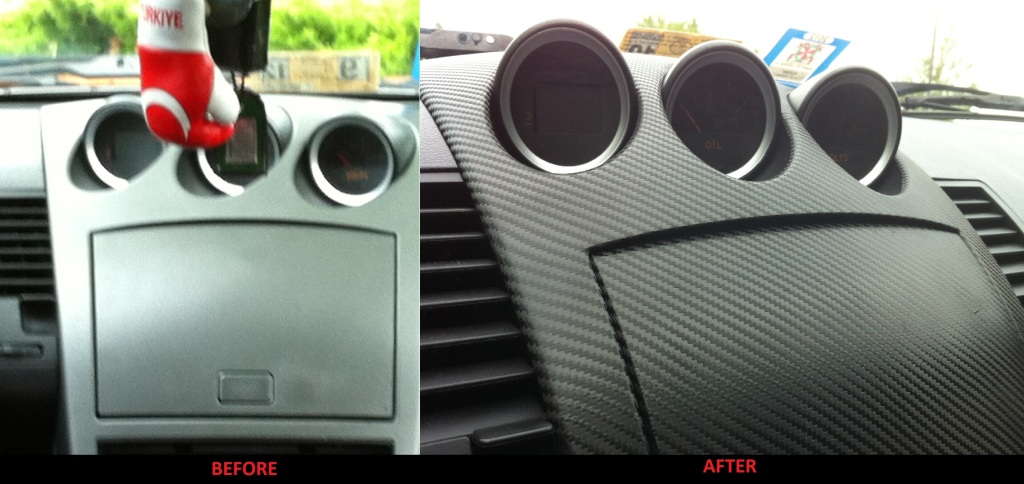
Carbon Fiber Vinyl Pattern Wrap Thread


Okay. I work at a hardware store in town and I know we don't have that product. you think there is anyway a paint store or like a Menards would have something like that?

Will it last? Maybe, maybe not.
I've done small items without primer and the edges lift after a while.
I did my window switch panels and center console with primer and they've lasted without any issues.
Last edited by TPete19; Jun 15, 2012 at 08:46 AM.

I'm having trouble with the door handles. I can't get it to stretch far enough for the actual handle on the driver side piece. I ended up cutting small pieces and putting it over the bare spots in the corners but I found that it looks like crap. Can anyone give me any pointers?
I finally understood what you guys were talking about with the primer 94 when I tried to install some of the di-noc this past weekend. Decided to order some today after wasting about a foot of the di-noc I ordered. Hopefully I'll get the primer before this weekend and I can try installing it again.
I'm having trouble with the door handles. I can't get it to stretch far enough for the actual handle on the driver side piece. I ended up cutting small pieces and putting it over the bare spots in the corners but I found that it looks like crap. Can anyone give me any pointers?


I'm having trouble with the door handles. I can't get it to stretch far enough for the actual handle on the driver side piece. I ended up cutting small pieces and putting it over the bare spots in the corners but I found that it looks like crap. Can anyone give me any pointers?
Also, in my honest opinion, fake carbon on the exterior is pretty obvious. The interior is a different story since every almost car's interior has the fake leather texture on the plastics.
I haven't done door handles before, but by the looks of them, you'll want to pull them off and completely disassemble them. Once you've got them to that point, it should be easy, especially once you're using primer.
Also, in my honest opinion, fake carbon on the exterior is pretty obvious. The interior is a different story since every almost car's interior has the fake leather texture on the plastics.
Also, in my honest opinion, fake carbon on the exterior is pretty obvious. The interior is a different story since every almost car's interior has the fake leather texture on the plastics.
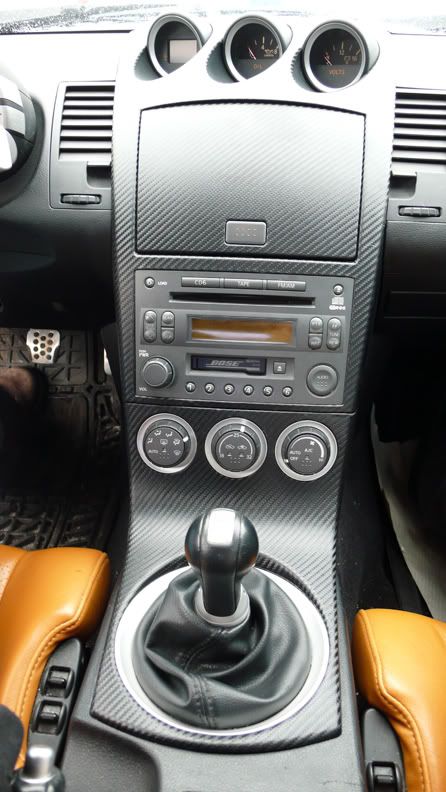
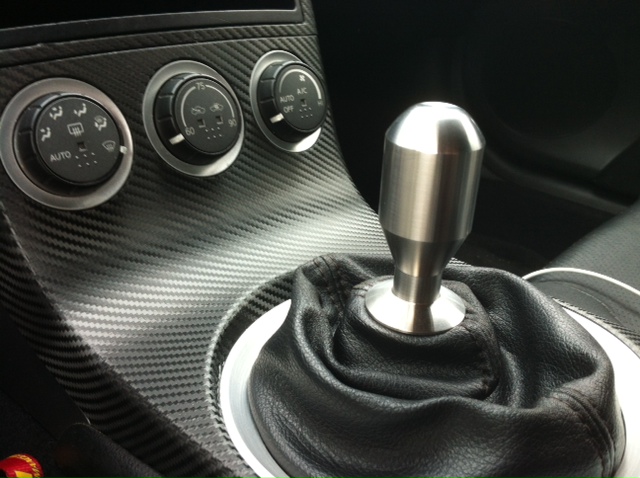
Oh. I did mine. The hardest part on those is the window switch indent. For that, I sliced the vinyl so that the sides of that space are not covered. Only the part that swoop straight down has the carbon print on it.

Registered User
Joined: Apr 2012
Posts: 237
Likes: 0
From: Reston
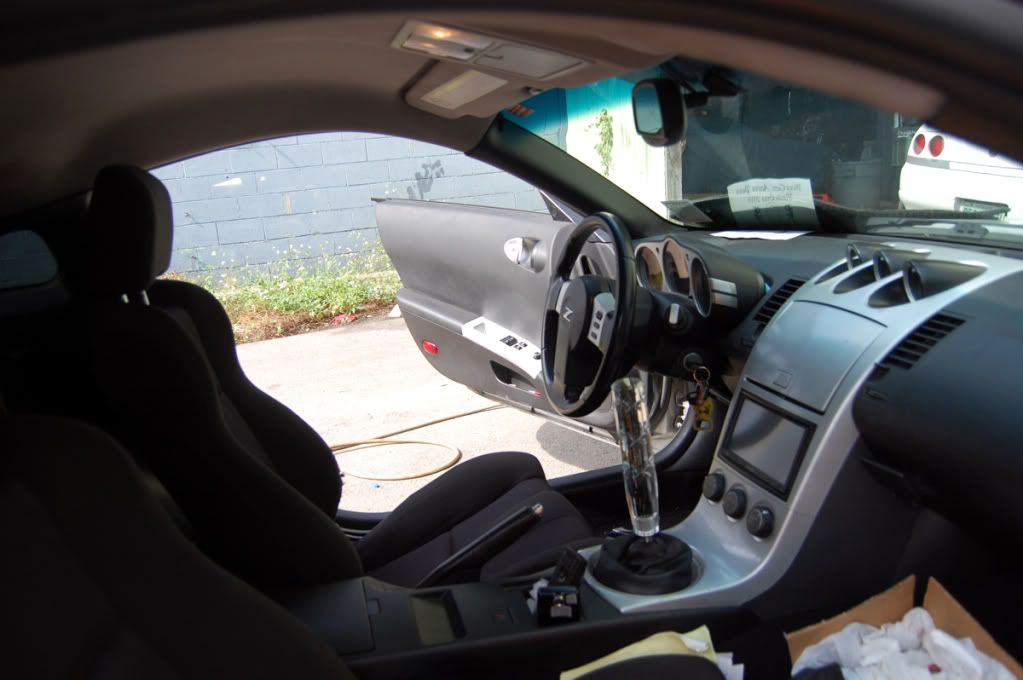
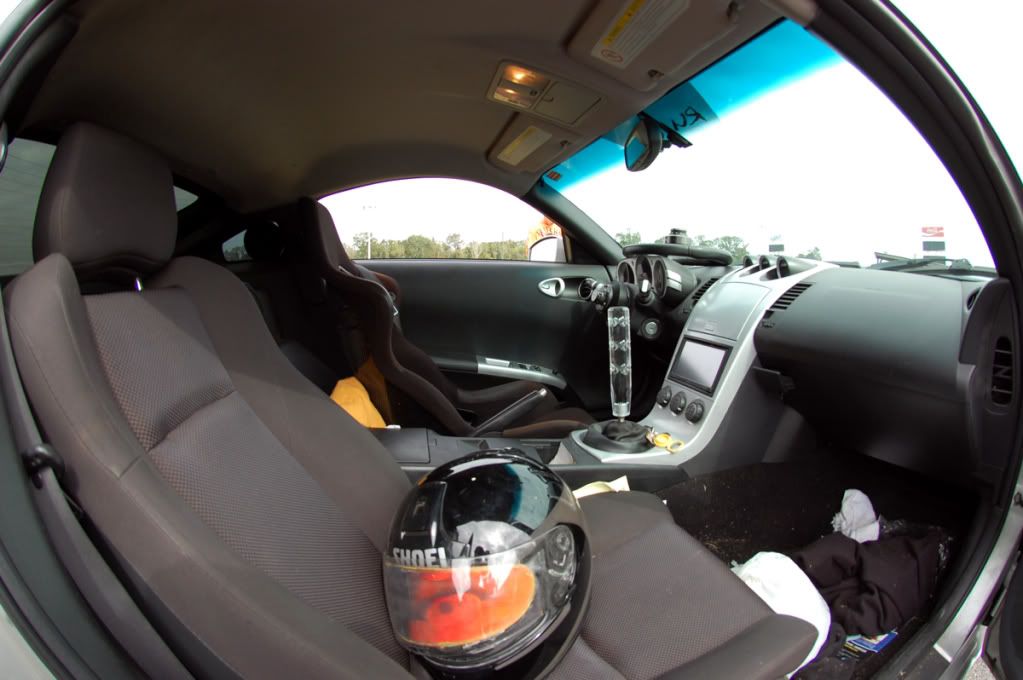
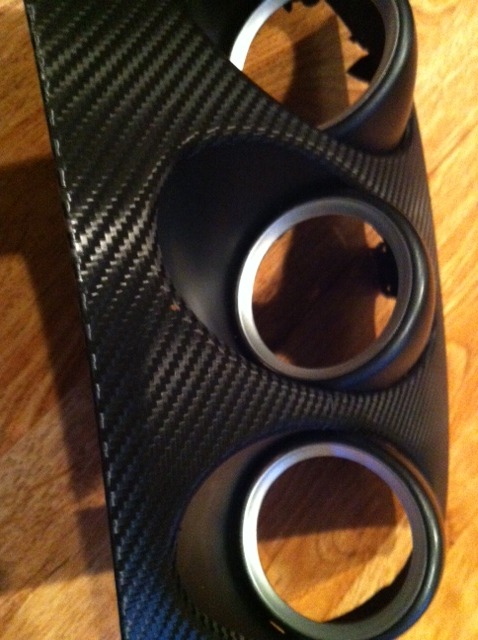
I just started doing vinyl for the first time. I didn't use any adhesive or w/e. It came out pretty decent and I learned a lot in the process. I can probably start doing them flawlessly now.
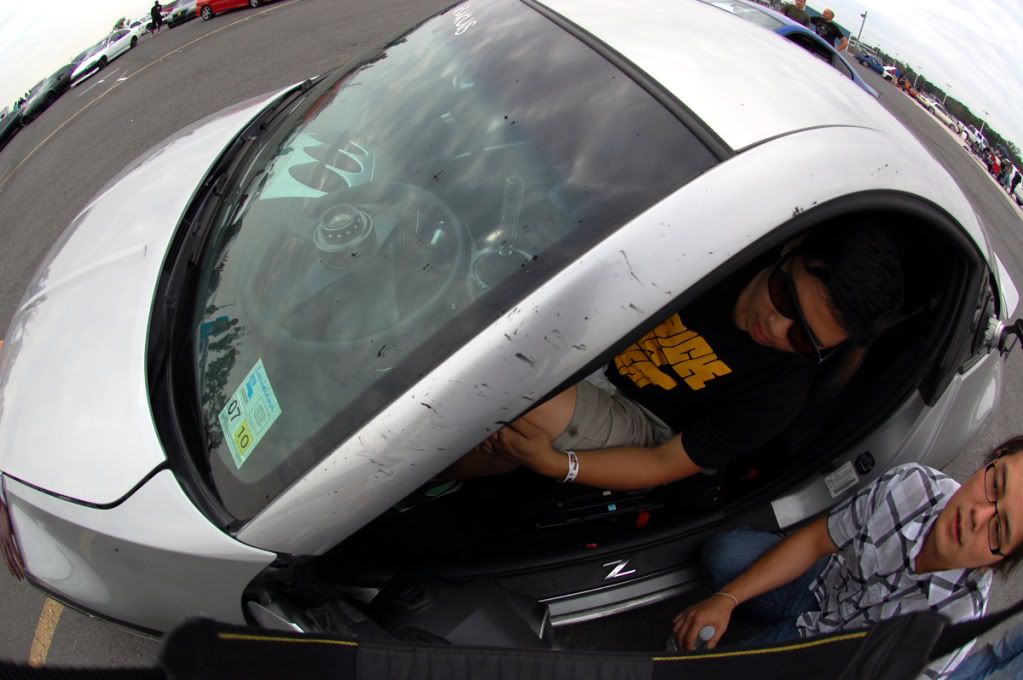
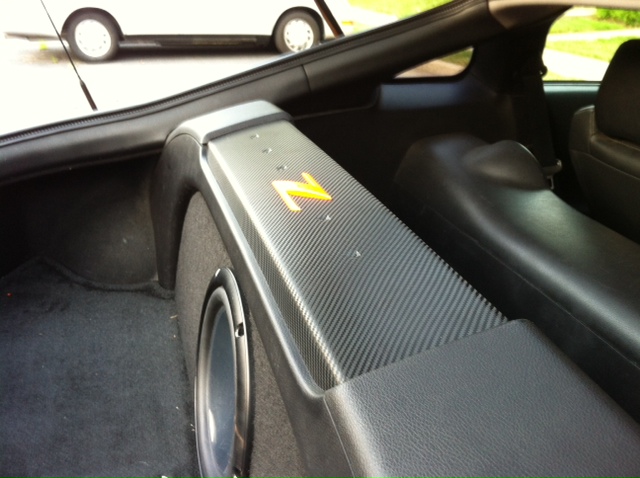
I also did the bar because the damn Z started peeling and it looked horrible. I don't know why the Z looks yellow in the picture (maybe because of the sun), but it's a very close match to my Le Mans Sunset exterior.
If anyone needs advise you are more than welcome to shoot me a PM.
I also did the bar because the damn Z started peeling and it looked horrible. I don't know why the Z looks yellow in the picture (maybe because of the sun), but it's a very close match to my Le Mans Sunset exterior.
If anyone needs advise you are more than welcome to shoot me a PM.

I've done mine w/o any adhesive and it bubbles in the sun...looked flawless when installed then a week later I left it outside after washing it and these air bubbles everywhere...
Registered User
Joined: Apr 2012
Posts: 237
Likes: 0
From: Reston
I got the cheapest heat gun from Lowes for like $25. I didn't want to order one online and wait for it. Thankfully it turned out to be perfect.
I tried wrapping the silver pieces on the steering wheel. It probably wouldn't have been that difficult if I had a base but I have an enthusiast and there's buttons everywhere which makes it difficult when cutting and also when taking off the silver pieces because all the buttons and little screws fly everywhere. I decided against putting the wrap on after trying it and realizing my buttons only work half as good as they used to because of uninstalling them and then trying to reinstall them.