
10 Easy Steps To Headlight Restoration

Thread Starter

Joined: Nov 2008
Posts: 695
Likes: 1
From: Dallas (Colleyville), Texas
I have seen quite a few threads popping up recently asking how to "restore" headlights. It seems like for some they seem to think that the only way to clear up their headlights is to spray clear coat on them. That is an option, however ther is a much easier and cheaper way to do so that works just as well. And you can do this at home in less than an hour! This is one application where spending more doesn't guarante better results.
Ok here are the steps I used:
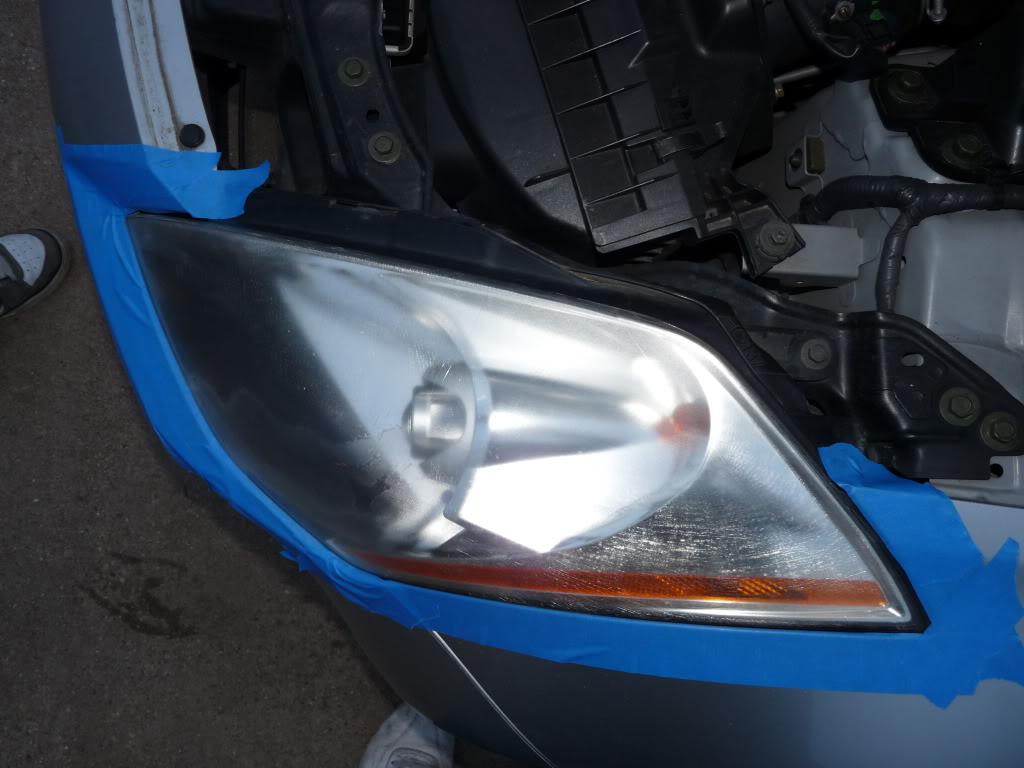
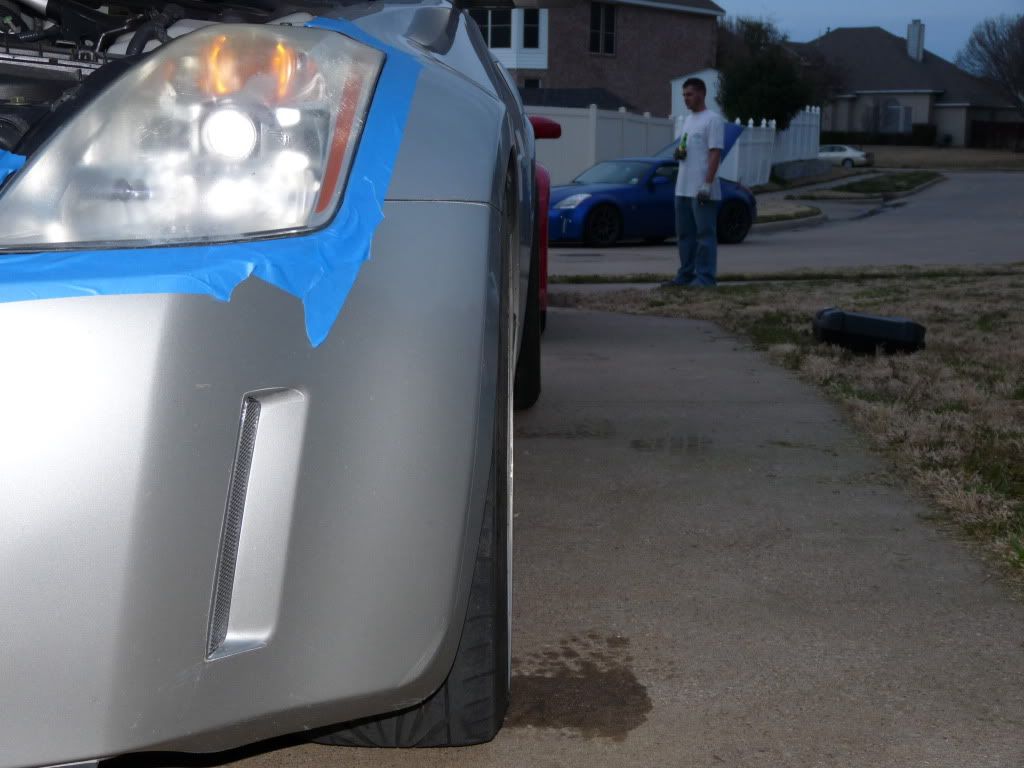
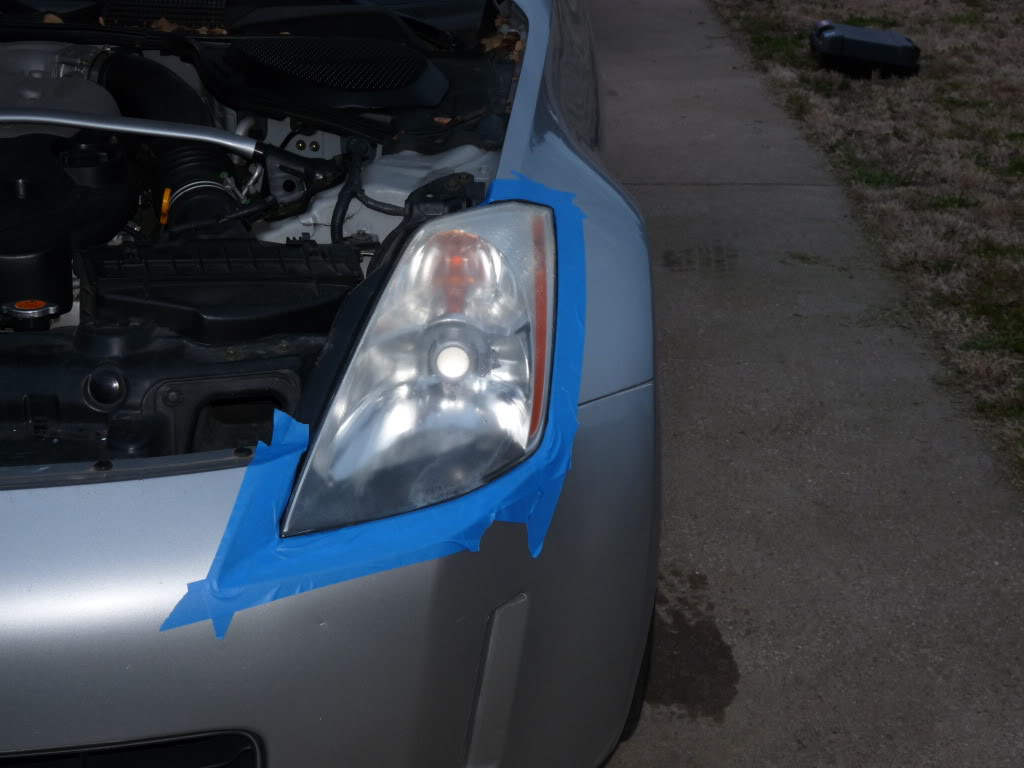
If you are going to leave the headlights on the car to do this, tape around them before you start sanding!!
1. Dry sand the headlights with 2000 grit untill the haze/yellowing is 98%-100% gone.
2. Clean sanding dust off with a wet rag (a paper towel works also).
3. Wet sand with 3000 grit 1.5-2 times as long as you did with the 2000 grit.
4. Clean headlights with a wet rag (or paper towel), and wipe them dry with another.
5. Rent an orbital buffer and a foam buffing pad, or use the one you already have lying around.
6. Buy some rubbing compound, I perfer 3M.
7. Apply the rubbing compound to the headlights (one at a time) and buff in with the foam pad. If you can manage, try to avoid sling the compound everywhere.
8. When you are finished bufffing wipe down the headlights with a microfiber cloth, and then apply some wax to keep them looking new!
9. Remove the tape that you applied around the headlights.
10. Stand back and and say WOW!
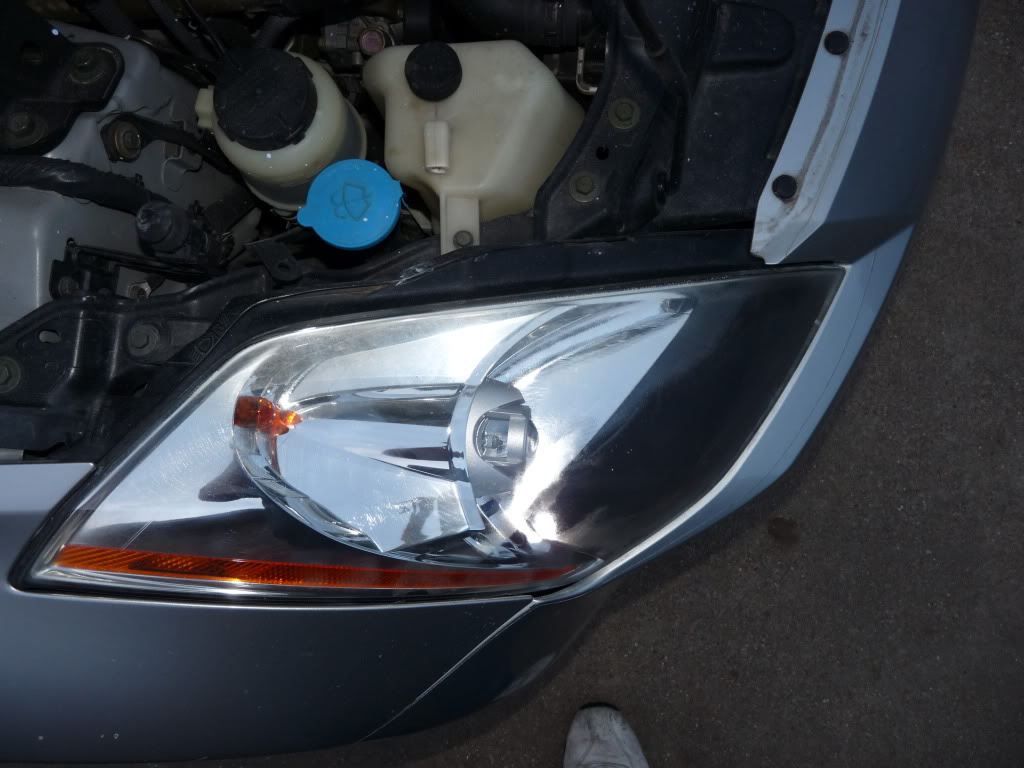
Here are some pics that I took early today, they aren't 350Z headlights but the principle is the same.
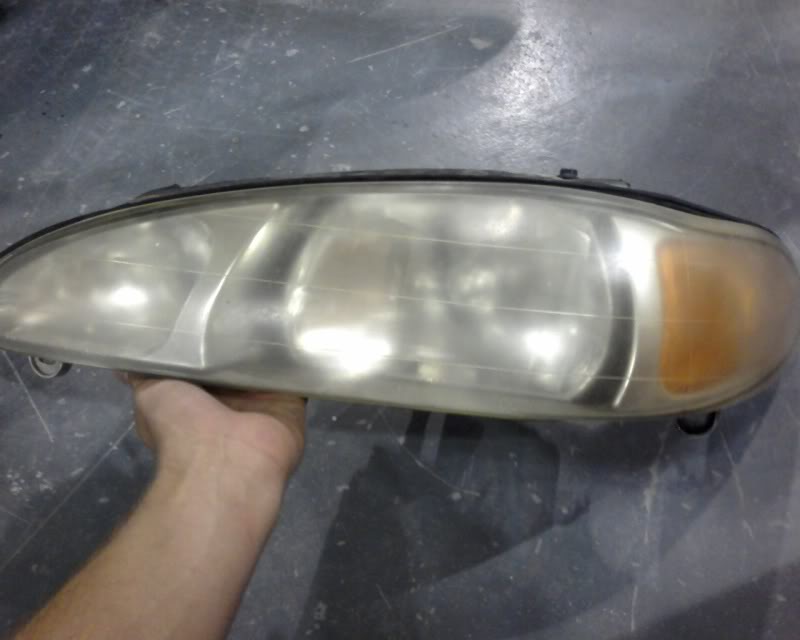
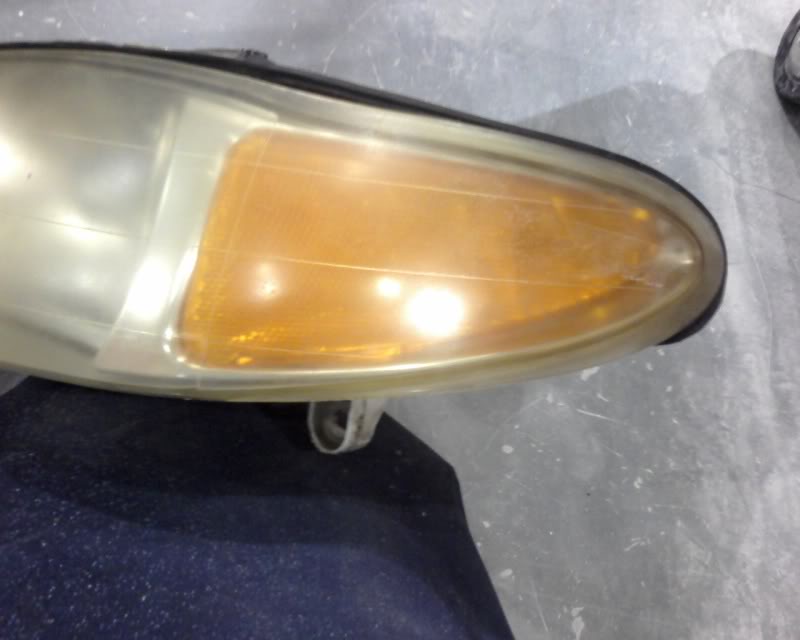
Before:
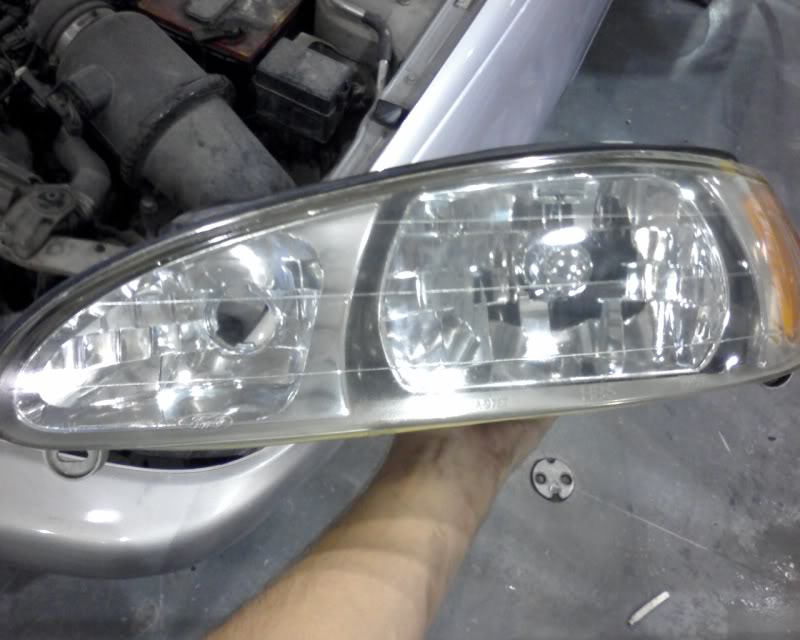
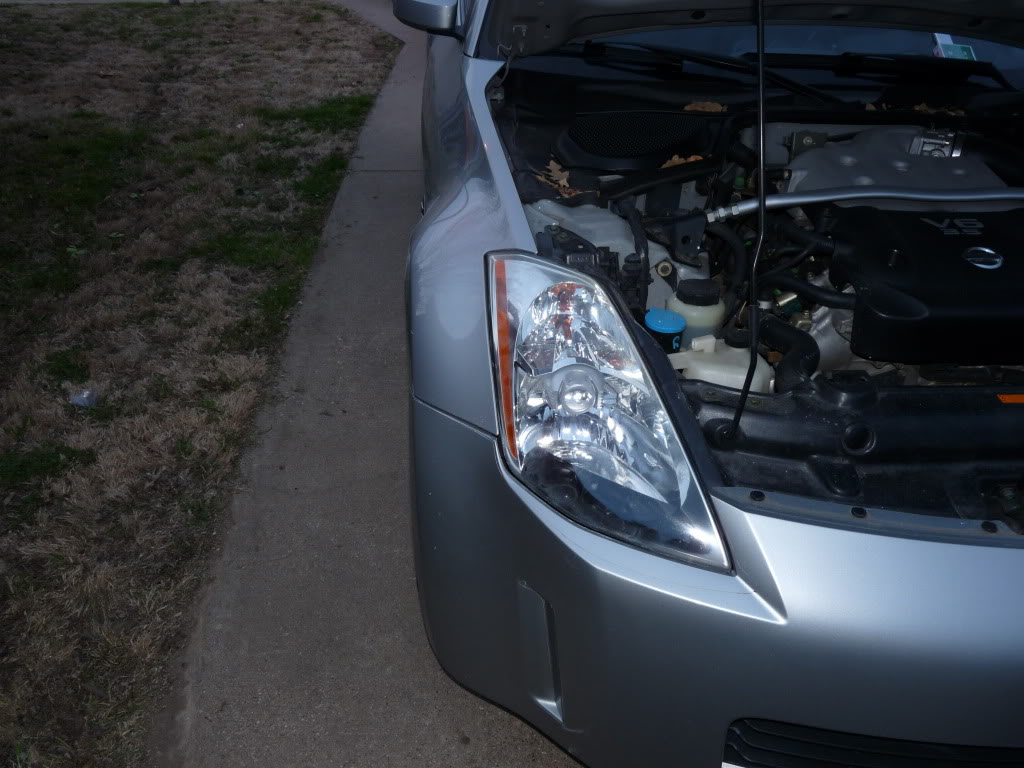
After:
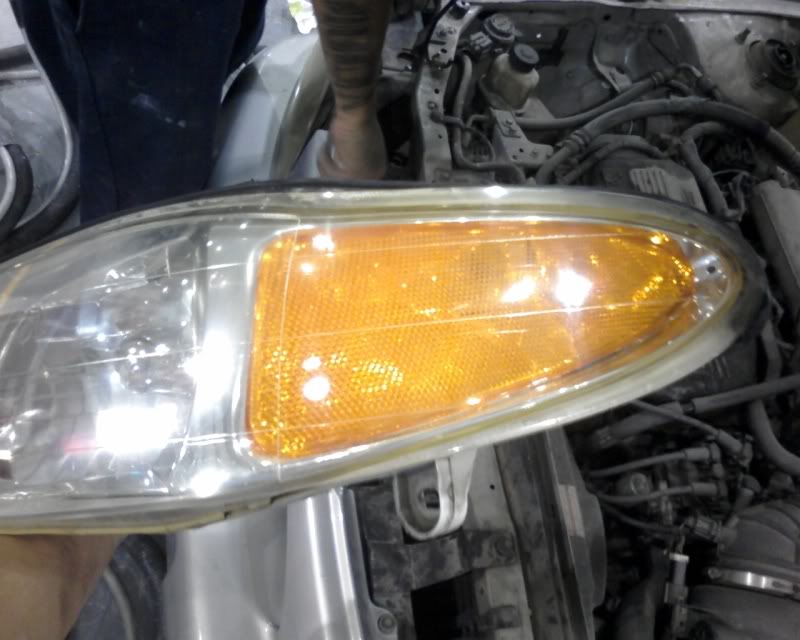
Side by side comparison to the other headlight before I did it too:
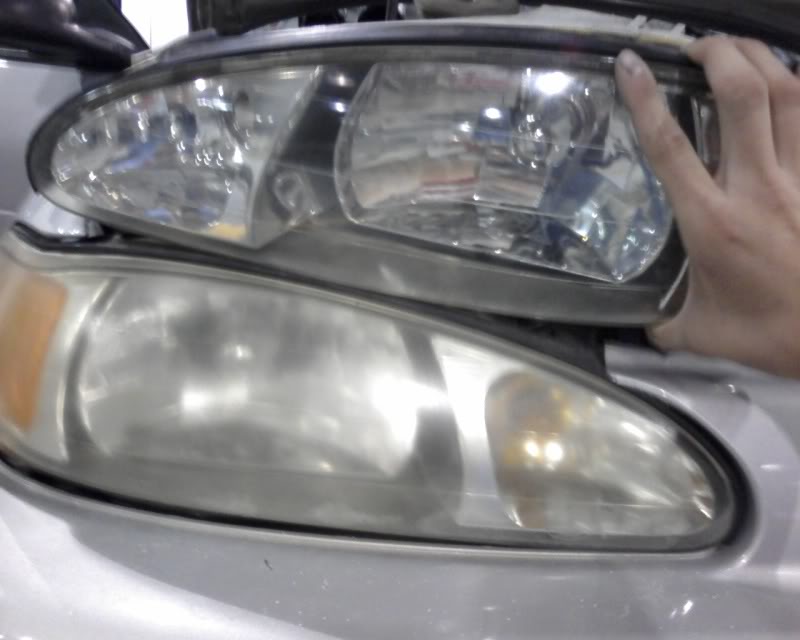
Sorry for the crappy cellphone pics.
Ok here are the steps I used:
If you are going to leave the headlights on the car to do this, tape around them before you start sanding!!
1. Dry sand the headlights with 2000 grit untill the haze/yellowing is 98%-100% gone.
2. Clean sanding dust off with a wet rag (a paper towel works also).
3. Wet sand with 3000 grit 1.5-2 times as long as you did with the 2000 grit.
4. Clean headlights with a wet rag (or paper towel), and wipe them dry with another.
5. Rent an orbital buffer and a foam buffing pad, or use the one you already have lying around.
6. Buy some rubbing compound, I perfer 3M.
7. Apply the rubbing compound to the headlights (one at a time) and buff in with the foam pad. If you can manage, try to avoid sling the compound everywhere.
8. When you are finished bufffing wipe down the headlights with a microfiber cloth, and then apply some wax to keep them looking new!
9. Remove the tape that you applied around the headlights.
10. Stand back and and say WOW!
Here are some pics that I took early today, they aren't 350Z headlights but the principle is the same.
Before:
After:
Side by side comparison to the other headlight before I did it too:
Sorry for the crappy cellphone pics.
Last edited by Gibbs; Jun 30, 2009 at 10:43 PM. Reason: Apology for crapy pics


Trending Topics


Registered User
Joined: Feb 2010
Posts: 117
Likes: 0
From: El Paso, TX
thanks for the info.
quick question?? why does this happen in the first place?? Only the right headlamp was hazed in my car and not the left one. lol

New Member
Joined: Aug 2006
Posts: 456
Likes: 0
From: Florida
i actually paid a guy a few months to clean my '06 headlights but i noticed that on some of the corners of both of the headlights are either cracking or stripping I cant really tell but I doesnt look that good. specially at night when the headlights are on, can the headlight glass/plastic be replaced or is it just worth it replace the "whole" headlight. many thanks!
I am worried about using the sand paper on the lights. I am usually crap with DIY stuff so I am worried that I'll ruin it. Do you guys think that just using some kind of a polish or wax and rubbing them like crazy might do the trick somewhat?
